no ******* match intended. i am grateful for any and all information you, or anyone can share. so lets assume i was willing to surface mount the lights.
Good.
problem #1. lighting layout.
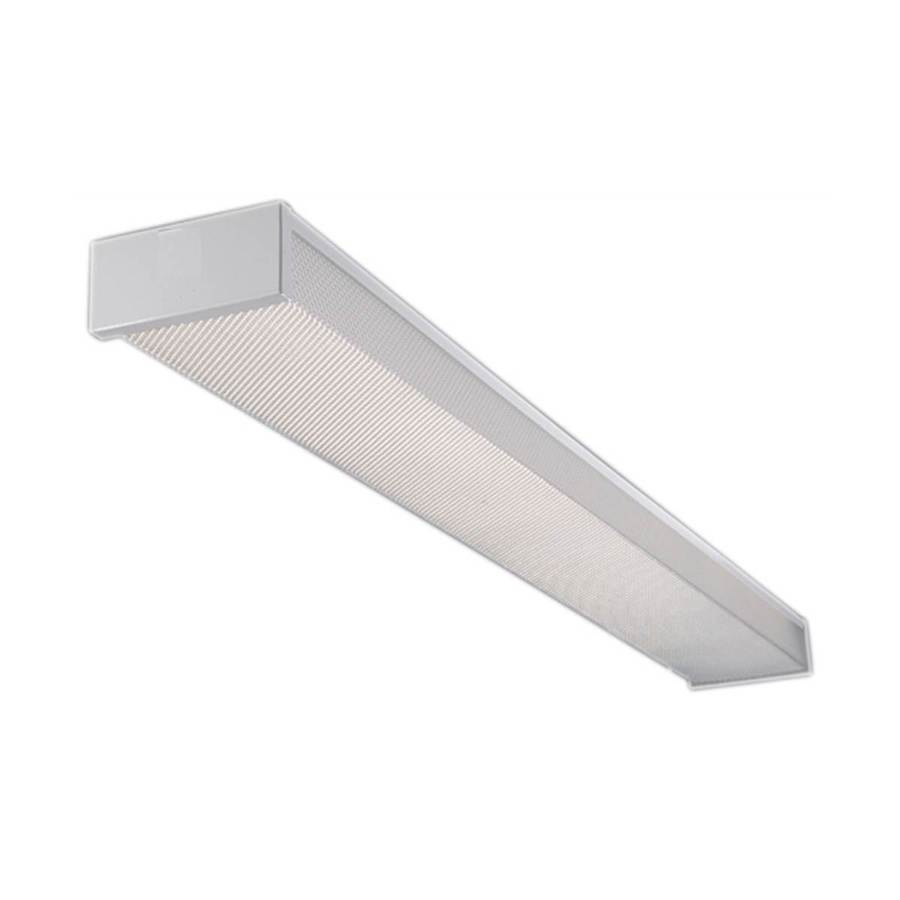
what do you think about this layout, using F32T8's?
My first reaction is that it's something of a mixed bag, but not horrible overall.
I generally like the two main front/back runs, and especially the fact that you've kept them from being blocked by the overhead door; but the various isolated fixtures in the middle are unlikely to be as effective. At the very least, I'd probably "flesh out" that row running across the back to at least three fixtures; I
might do the same with at least the "middle" pair, and maybe even make those single crossways fixtures into pairs. Yes, this will up the fixture count considerably; but as long as you set up the switching right, that is a GOOD thing.
the fixtures near the walls are centered approximately 20 inches from the walls. in my old garage layout, i constantly had shadows on my workbenches from the lights being behind my head. it was awful.
Depending on exactly what you put on/near those walls in the way of shelving. cabinetry, etc., that should be fine. I might fudge it out to 24 inches O/C, but probably no more than that.
However, be aware that either way, the workbench itself should ALSO be served by some dedicated task lighting; and it should be generously proportioned, because this is likely to be where you do most of your most finely detailed and "fussy" work. Exactly what form that should take will again depend somewhat on the configuration of the workbench and the area immediately above it; Typically, some sort of "under cabinet" lighting is used. But for the REALLY fussy stuff, you may want to add some additional tightly focused and very "aimable" lighting, such as:
http://www.officedepot.com/a/products/665891/Ledu-Illuminated-Magnifier-Lamp-Fluorescent-22/
http://www.prlog.org/10823231-aven-...s-with-wide-field-of-view-and-brightness.html
or even a used Dentist's lamp, if you can find one at a good price.
problem #2. walk through lighting.
since it is an attached, i find myself going in and out of the garage countless times per day. i don't like the idea of turning fluorescents on and off that frequently, so i'd like to have my "walk through" lighting zone be something other than fluorescent. with ceiling height a concern, what would you put in for separate lighting for walk through lighting?
Well normally, I recommend that the walk-through lighting be simply some small number of the same fixtures that comprise the main general lighting, so that those fixtures can also easily serve as part of that main general lighting (two birds, one stone, and all that). However, I do understand your concern about frequent/rapid cycling of fluorescent lights.
If fluorescent is out, we need to look at other basic lighting forms...
-- The plain ol' conventional incandescent light bulb is easy to live with, cheap, and ideally suited to many applications (heck, even near-essential to SOME applications). But it's both relatively inefficient and going the way of the dinosaur (thank you, Federal Do-Gooders

); so before too much longer, finding replacement bulbs will be near-impossible. So I can no longer in good conscience recommend it for applications where something else will suffice.
-- Most Halogen lights are either well into the "overkill" territory in terms of brightness, or so tiny and "spotty" that the would not serve well in this application. They're also not much more efficient than incandescent (in part because they are a subset of that class). And they run HOT.
-- While they use a somewhat different operating principle, from your point of view Metal Halide lamps are effectively "Halogens On Steroids". The most common types are even further into "overkill" from brightness/power standpoint (400 Watts or more per bulb being fairly typical); and at least most of the "small" ones I'm aware of are all tightly focused PAR-type "spot" lamps, which would be horrid as "walk-through" lighting. On top of all this, they are very slow to come up to full brightness when first turned on -- again, just what you DON'T need for walk-through lighting.
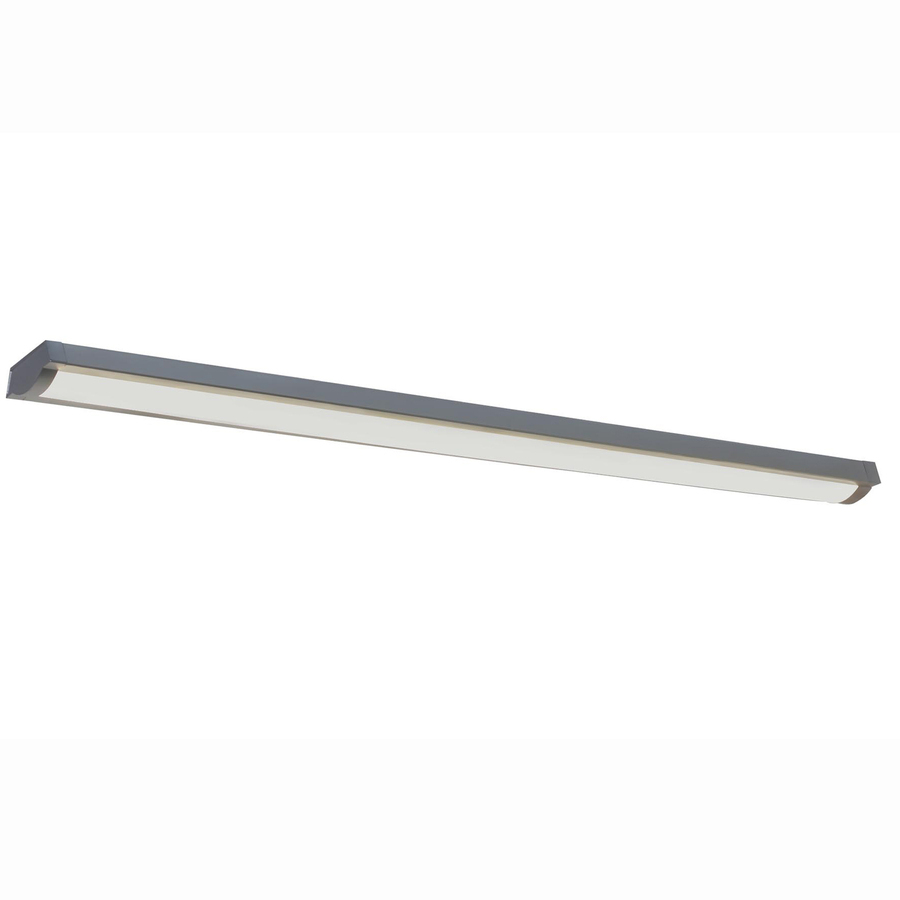
-- At this point, about the only thing "left standing" is LED. They are (at least usually) electrically efficient, start instantly, run cool, and generally don't mind frequent cycling. So while they are potentially well-suited to this sort of duty, much depends on the SPECIFIC fixture(s) in question. The technology is not yet really mature; so there are literally hundreds/thousands of VERY different choices out there, ranging from the wonderful to the awful; and prices are all over the map, too. That said, one which comes to mind (in part because I happen to see it almost every time I'm in my local Lowe's) is:
http://www.lowes.com/pd_1345-43921-MXL-301_0__?productId=4480261
But you should not infer that this is even close to your only possible choice; or even that I'm really "recommending" this particular fixture. Among the obvious caveats, they do not specify ANY photometric data (not even its nominal total light output); so while it's obvious that they are marketing this as a replacement for conventional twin-tube fluorescent wrap fixtures, it is not at all certain that it would produce similar results. OTOH, for a dedicated "walk-through" application, that probably doesn't really matter all that much; as long as it makes enough light to keep you from tripping over a tricycle, you're good.
One recessed downlight, near the center, on two 3-way switches, near the exits.
For all the reasons already discussed, there is no good reason to recess the "walk-through" lights, unless they are MUCH taller than the one I cited above; and all the reasons to NOT do so with the main lighting near-certainly also apply to this as well.
other than cost, would you see any reason not to put 4 recessed spread out a little farther, instead of just 1?
If we are assuming that the "walk-through" lighting is dedicated to that task ONLY, and NOT also doing double-duty as part of your general area lighting, then using more of it than you really need is simply a waste. If you WANT to be wasteful, that's up to you. In the space in question, I cannot imagine more than one or two such fixtures really being NEEDED, as long as they do a passable job of distributing their output over a wide angle/area.
the only thing i don't like about recessed is the loss of R-value in those areas. otherwise, i think they are a good match for what i'm looking for in walk through lighting.
Methinks you are presuming a particular TYPE of "recessed" fixture here. There's nothing inherently implied by "recessed" which dictates a particular fixture design or type of lighting source (save for the fact that it would fit flush to the ceiling, of course).