FarmerSid
Well-known member
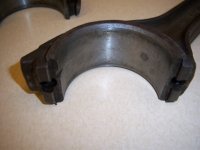
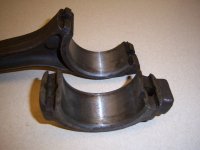
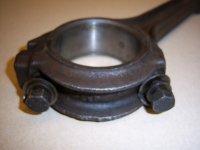
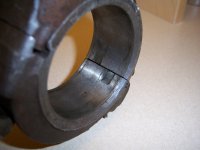
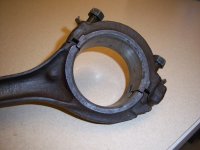
Hey All! I think I got a new project I want to try. I have access to a Haas super mini mill CNC mill. I want to try and make pistons and connecting rods for my tractor. It's a Farmall 300 gas. I have a original rod to go by. The rod cap is angled. How much of the piston can I make on the CNC? Anybody interested in sharing their skills? I have MasterCAM X4 to use.
")