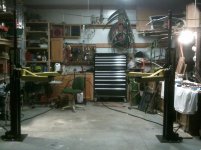
Finally finished the lift. Added a bottom safety lock location for tires, brakes and fluid changes.
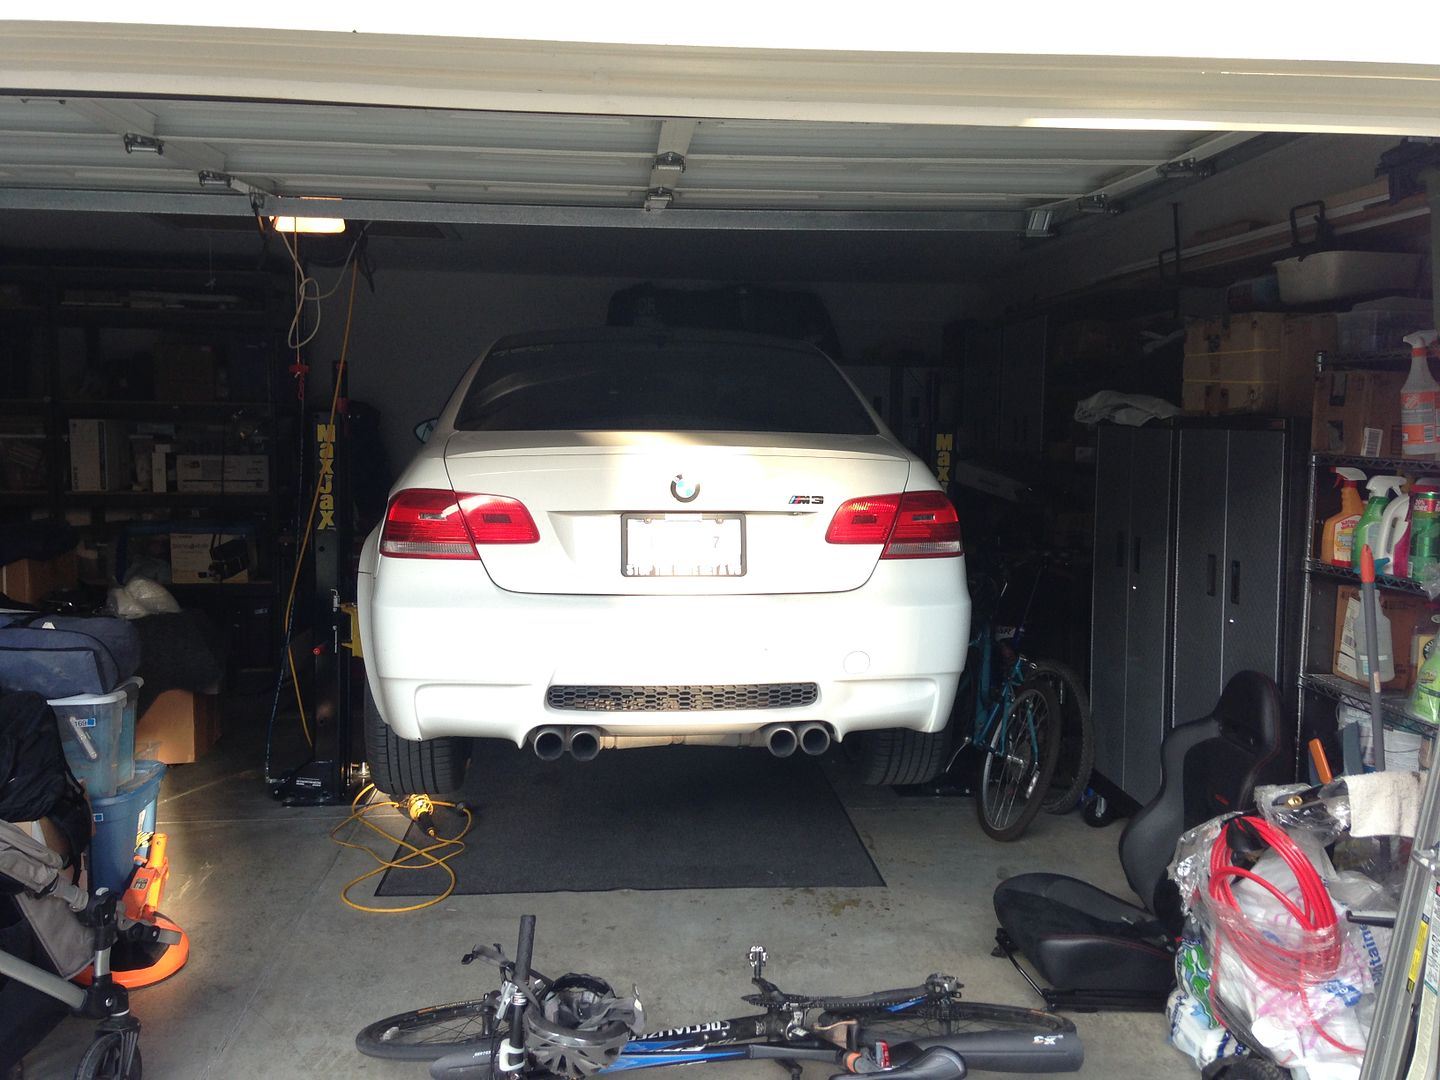
Ceiling is 96" and the door is in the way when it's open if the car is nose in, but the middle safety lock position on the posts is more than high enough for 99% of the stuff I do with my track car.
I ended up going with the epoxy anchors because I'm paranoid and I have EDIT: *three* daughters and a wife. All of them hold 95 ft/lbs without issue, no pulling up or spinning. I love it. At one point I had a small piece of concrete spall under one of the bolts thanks to the plate not being 100% smooth/flush to the concrete, but that was a small piece that doesn't concern me much. The thickness of the slab was exactly 4" with a void, so I was forced to use hardware cloth. I regret using 1/4" because the epoxy was able to flow pretty easily through the openings (in the end, it worked just fine) so if I add any extra holes to allow for wider cars (I purchased extra anchors) I'll be using 1/8" hardware cloth.
I decided on higher quality fittings as well as skid steer quick release fittings and custom lines from Discount Hydraulics. The lines turned out great, but I went with connectors that don't swivel which quickly made running the hydraulic lines a bit of a challenge, especially when trying to connect two lines to a 90* elbow. After an order for some 90* swivel fittings, I was on my way.
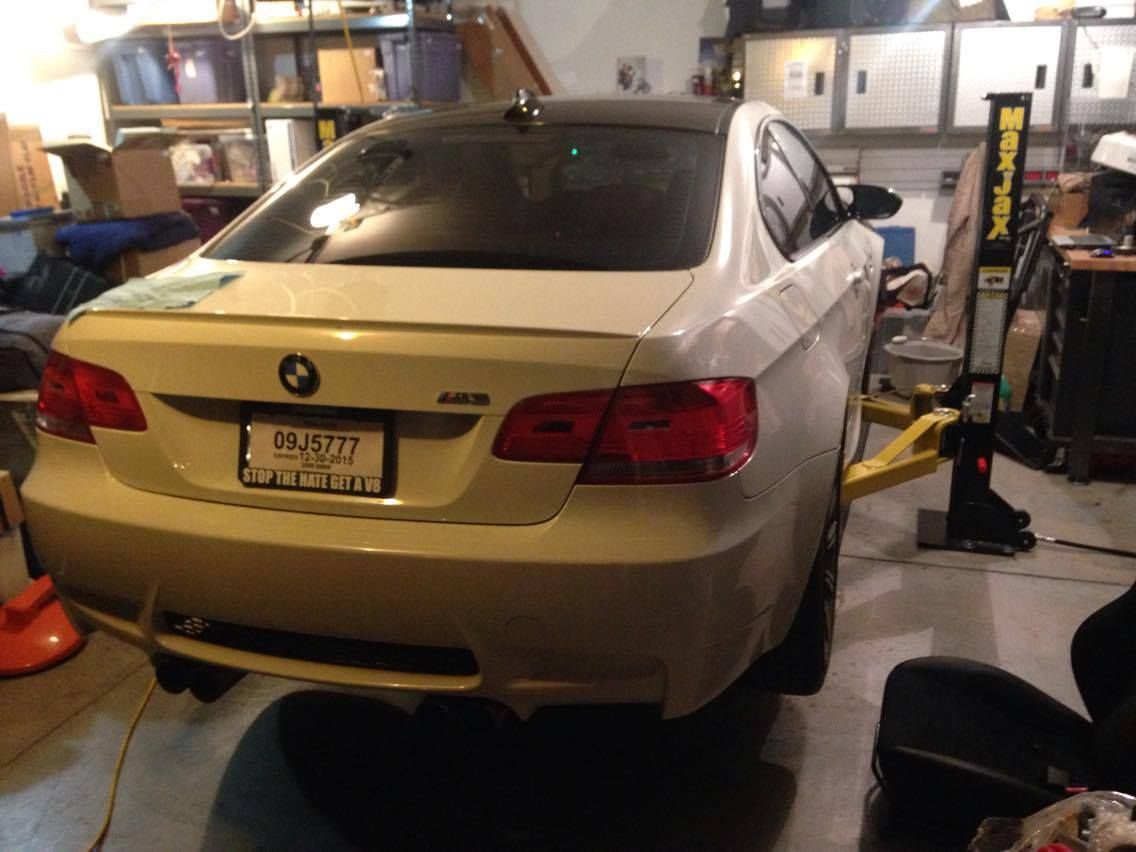
I routed the lines up and over since I won't be moving the posts much and I wanted a wall mount solution for the pump. I borrowed a similar design I found here that I liked and went with that. Works like a charm.
Great product and the quality of life improvement over having to throw down jackstands and use a jack is worth it, no question.


Thanks to all the posts/threads here on Garage Journal, they were incredibly helpful during the install process.
If anyone is interested in buying my spare hydraulic lines, hardware and wedge anchors that came with the kit, please let me know. I don't need them and they're just taking up space in the garage for the time being.
Ceiling is 96" and the door is in the way when it's open if the car is nose in, but the middle safety lock position on the posts is more than high enough for 99% of the stuff I do with my track car.
I ended up going with the epoxy anchors because I'm paranoid and I have EDIT: *three* daughters and a wife.
All of them hold 95 ft/lbs without issue, no pulling up or spinning. I love it. At one point I had a small piece of concrete spall under one of the bolts thanks to the plate not being 100% smooth/flush to the concrete, but that was a small piece that doesn't concern me much. The thickness of the slab was exactly 4" with a void, so I was forced to use hardware cloth. I regret using 1/4" because the epoxy was able to flow pretty easily through the openings (in the end, it worked just fine) so if I add any extra holes to allow for wider cars (I purchased extra anchors) I'll be using 1/8" hardware cloth.I decided on higher quality fittings as well as skid steer quick release fittings and custom lines from Discount Hydraulics. The lines turned out great, but I went with connectors that don't swivel which quickly made running the hydraulic lines a bit of a challenge, especially when trying to connect two lines to a 90* elbow.
After an order for some 90* swivel fittings, I was on my way.I routed the lines up and over since I won't be moving the posts much and I wanted a wall mount solution for the pump. I borrowed a similar design I found here that I liked and went with that. Works like a charm.
Great product and the quality of life improvement over having to throw down jackstands and use a jack is worth it, no question.
Thanks to all the posts/threads here on Garage Journal, they were incredibly helpful during the install process.
If anyone is interested in buying my spare hydraulic lines, hardware and wedge anchors that came with the kit, please let me know. I don't need them and they're just taking up space in the garage for the time being.
Last edited: