Mc1337sauce
Active member
Introduction
Hey everyone. Long time lurker and first time poster here, but since I have started renovating my garage, I figured I would create a thread to catalog the process and progress.
The Plan
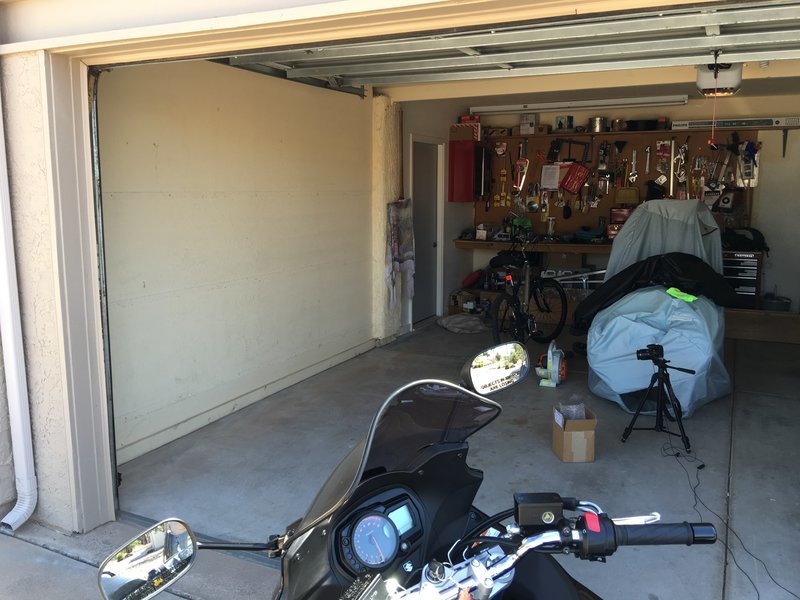
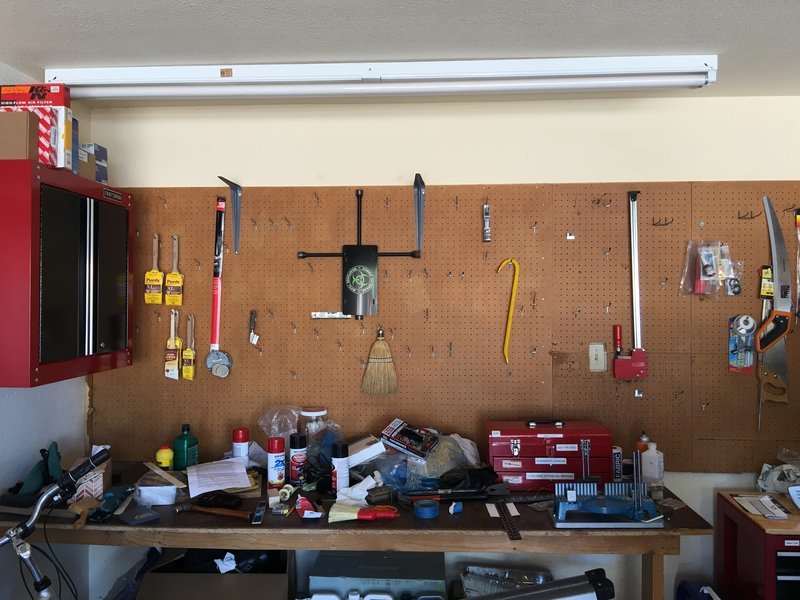
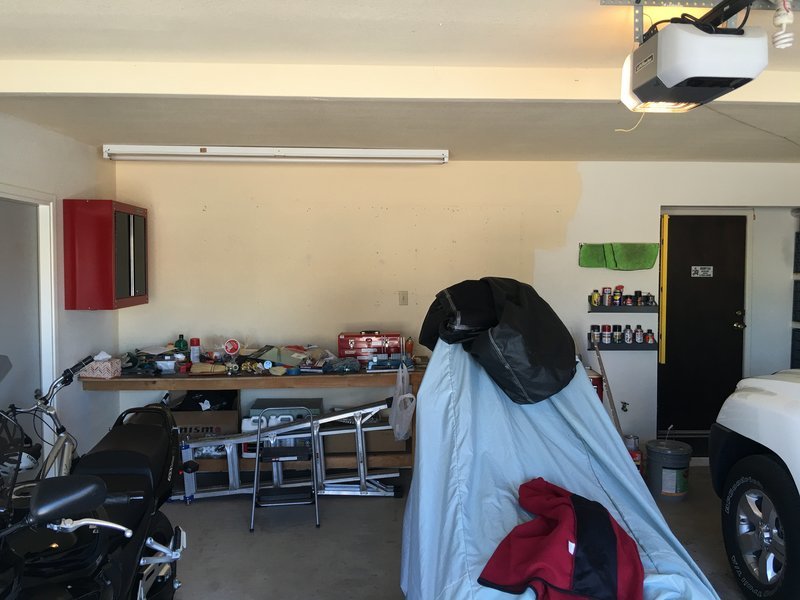
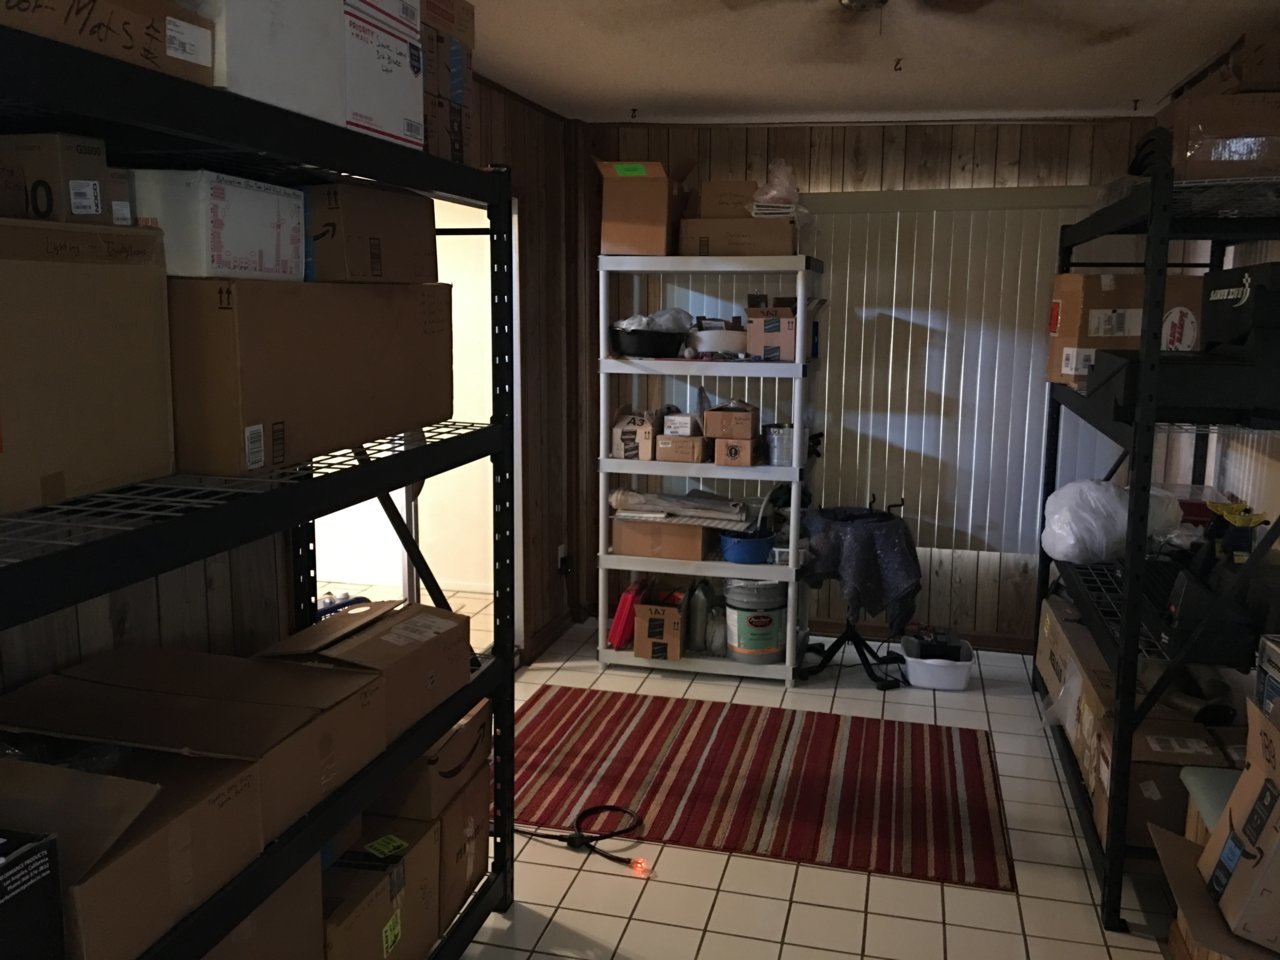
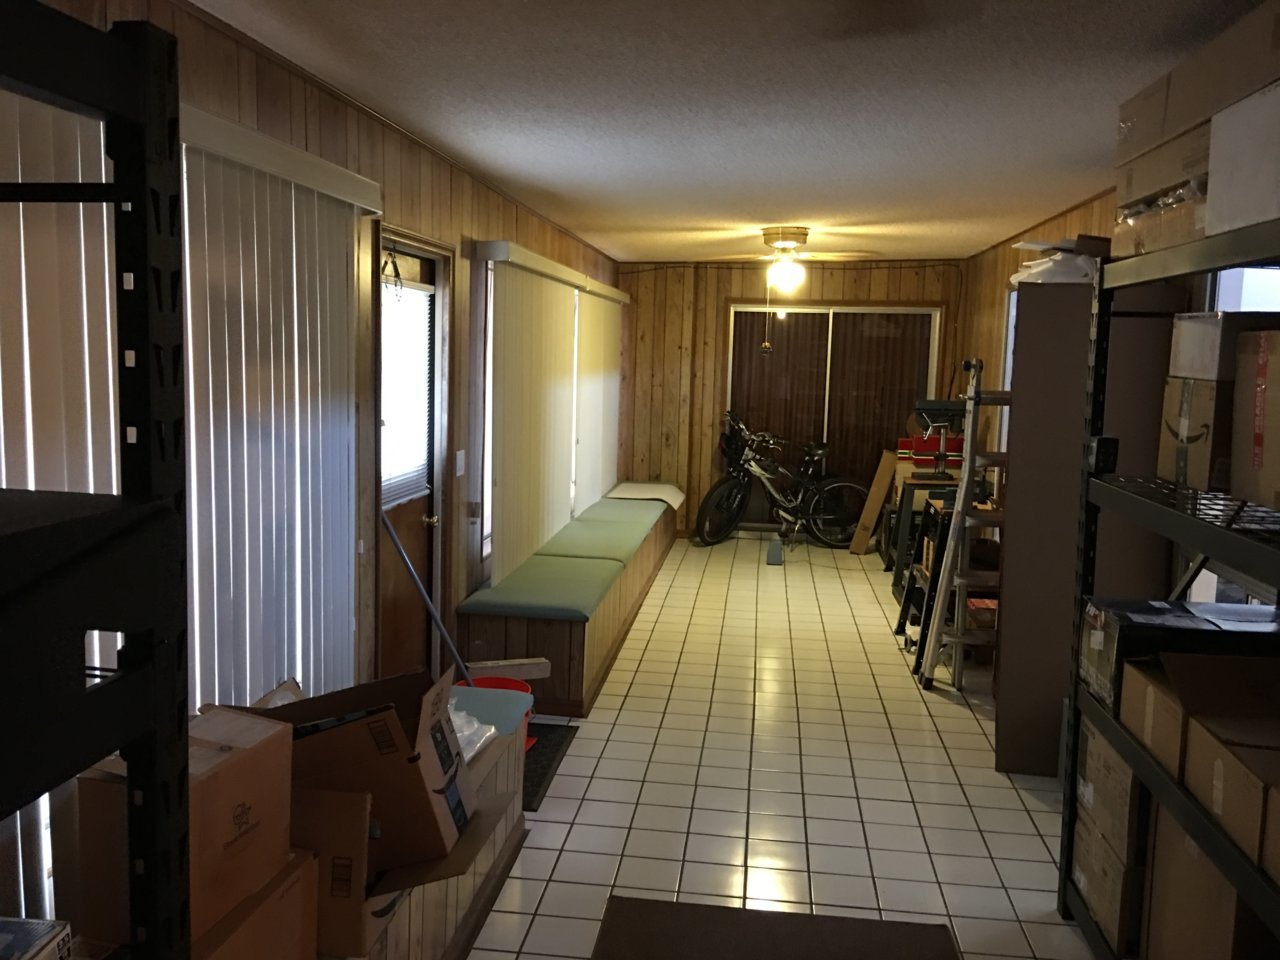
When I purchased this house, the garage was a mess. The shelves, workbench, pegboard, etc. are all poorly constructed and falling apart. My plan is to tear all of the **** out of here, refinish the walls, epoxy the floor, clean up the electrics (broken outlets, wiring run without conduit, lighting), and then move most of my automotive tools and equipment as well as a couple cars and bikes in once it's all done. I can't wait to have another nice, clean place to work on my cars and bikes...being German, my OCD and perfectionism get the best of me, and the garage in its current state absolutely does not jive.
That all being said, here's an outline of what's going on, what's done, and what the future holds - this section will be updated as progress is made and new tasks come up.
-Replace side door (FINISHED)
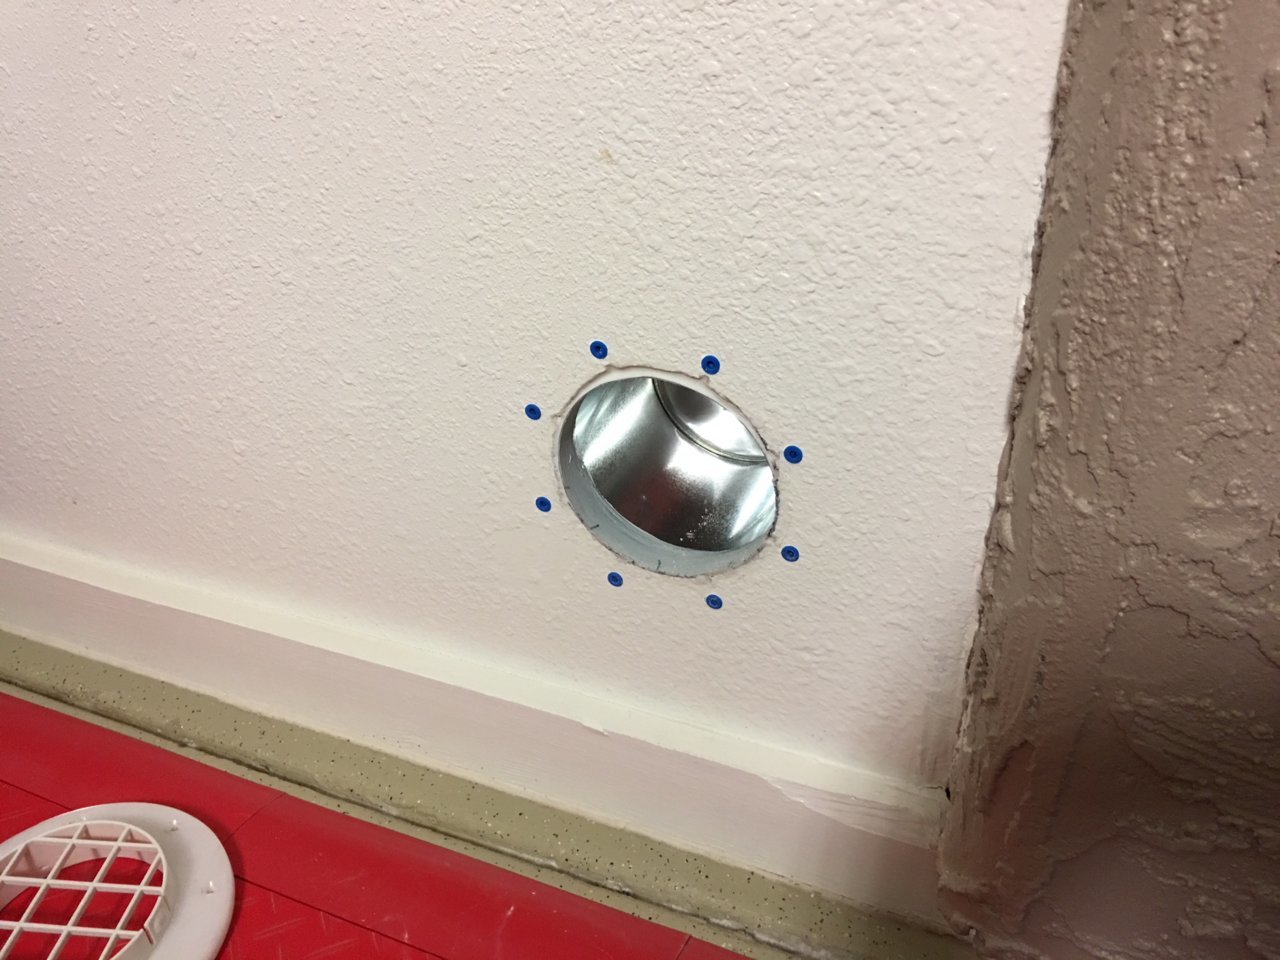
-Removal of dilapidated shelving, workbench, pegboard, etc. (IN PROGRESS)
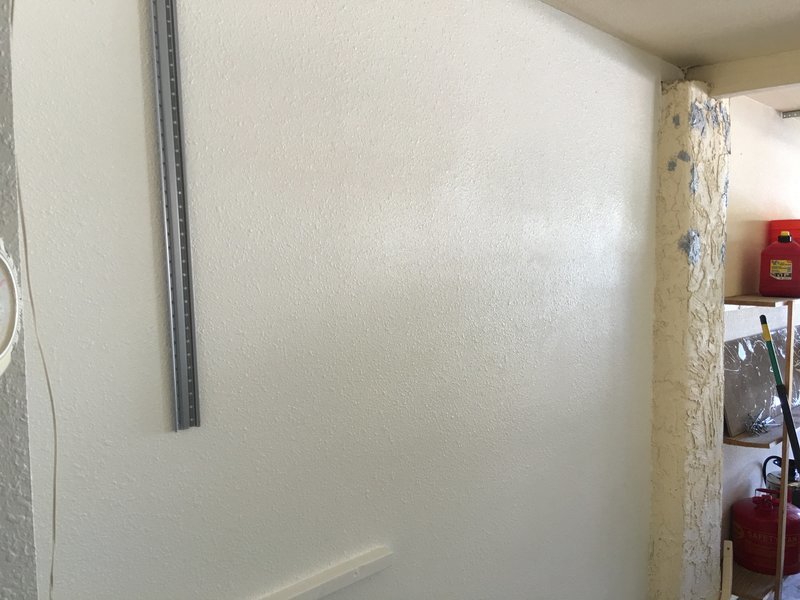
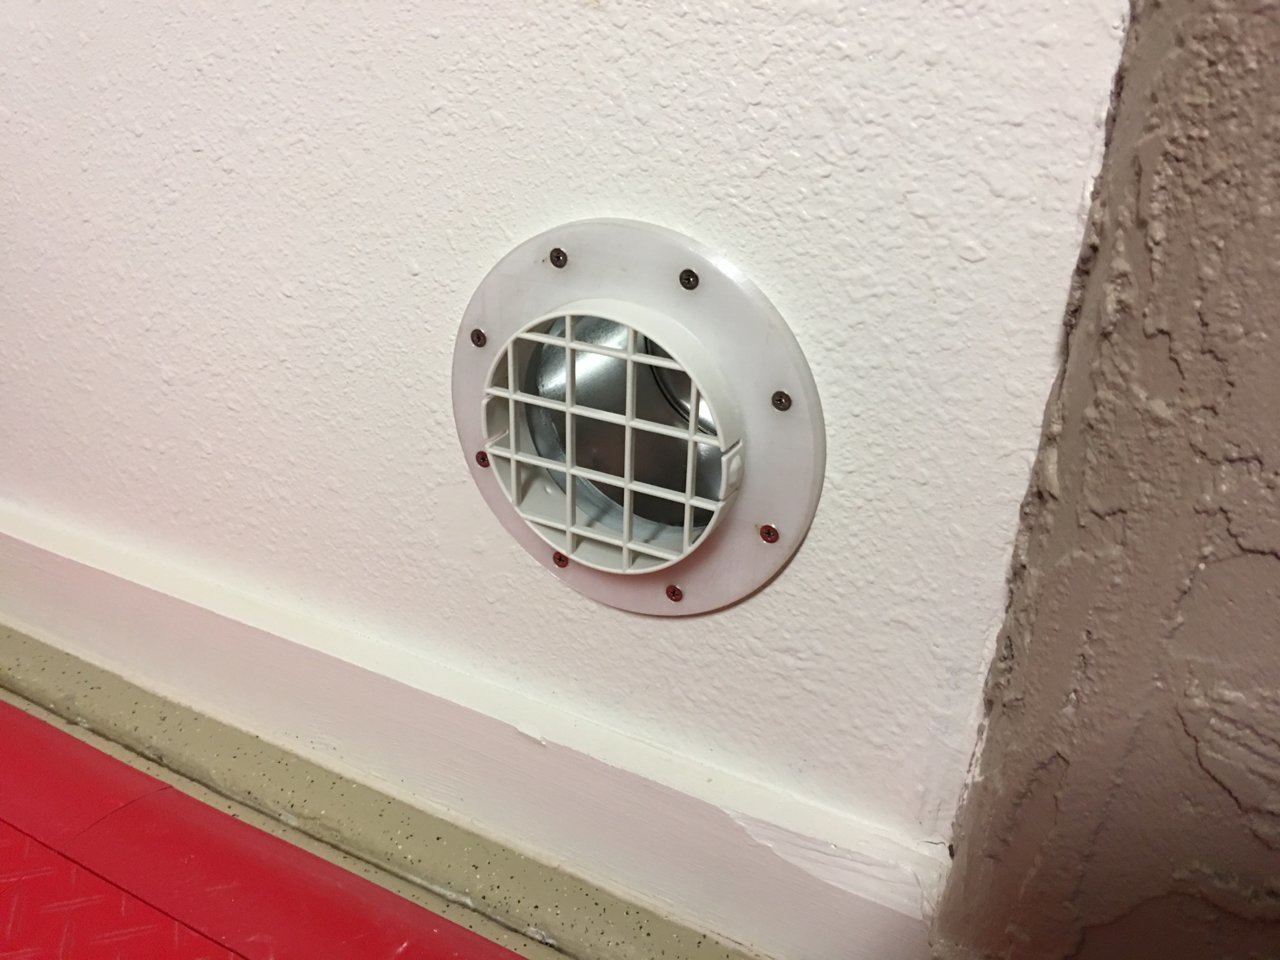
-Repaint walls (FINISHED)
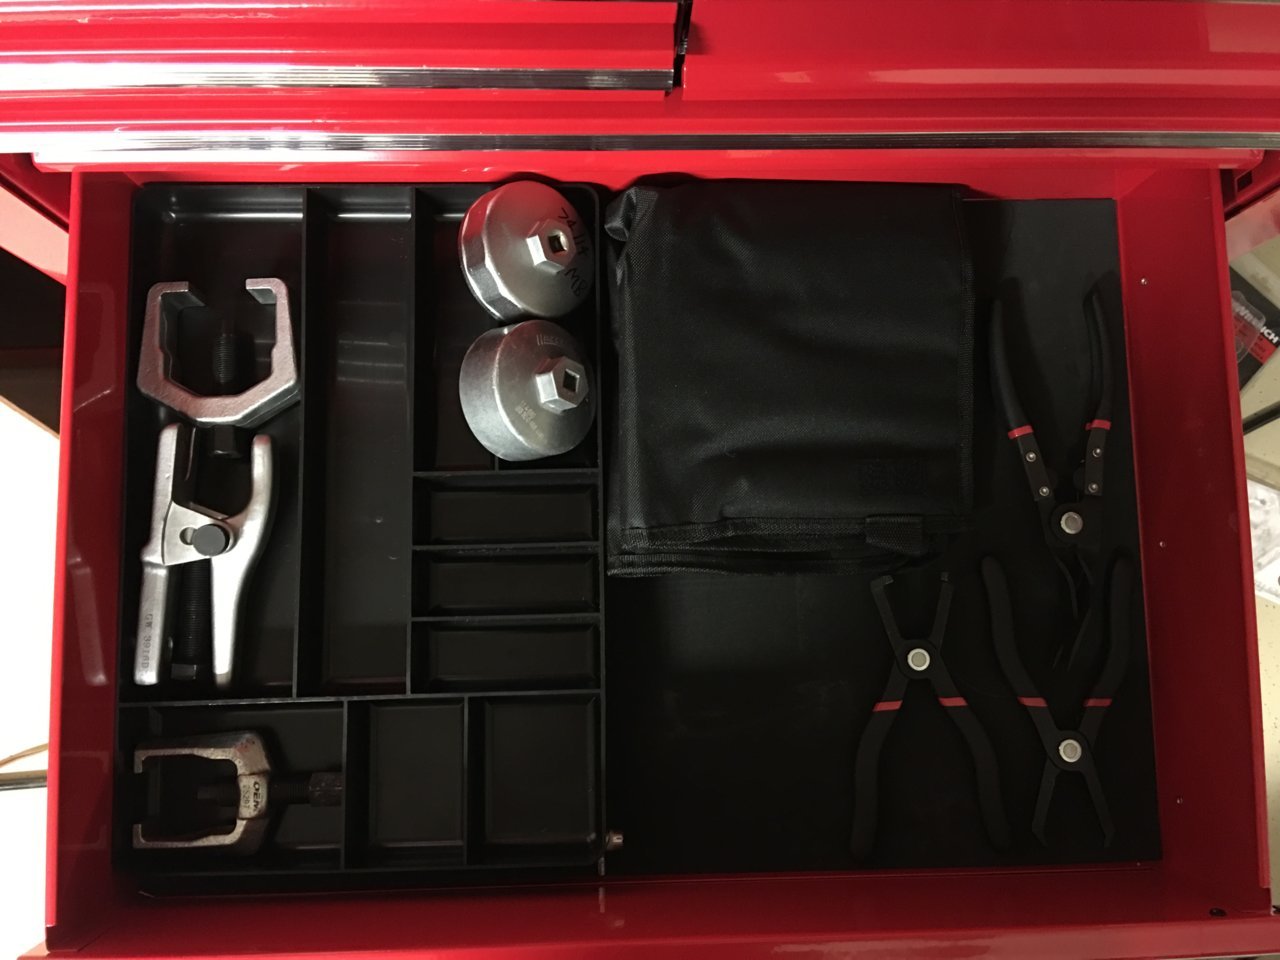
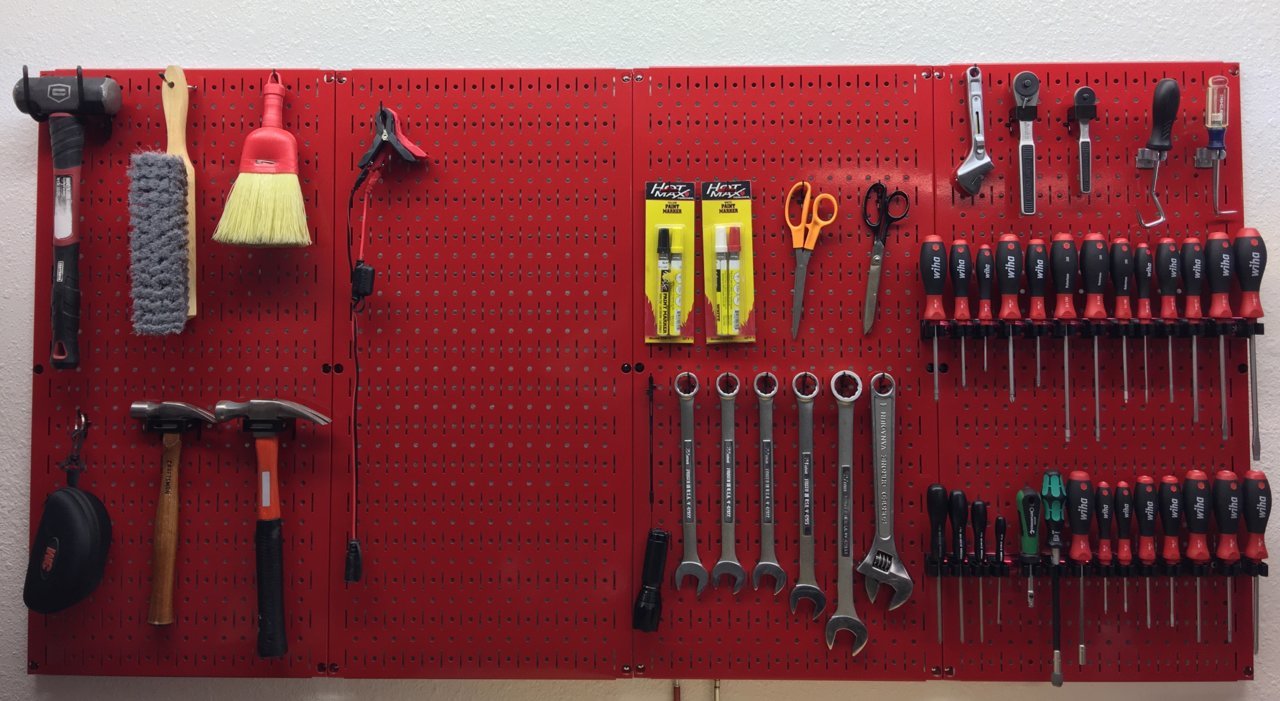
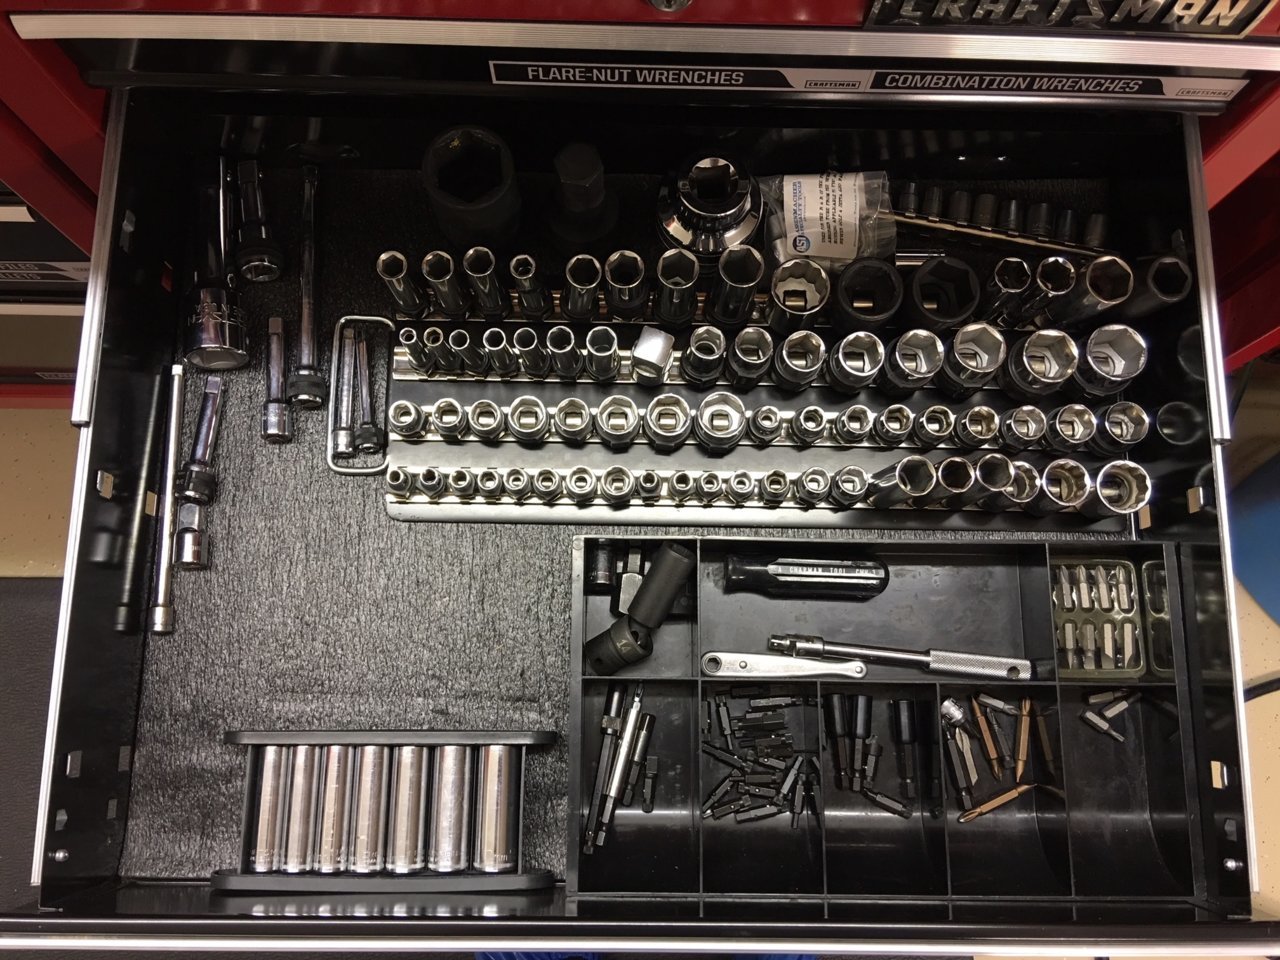
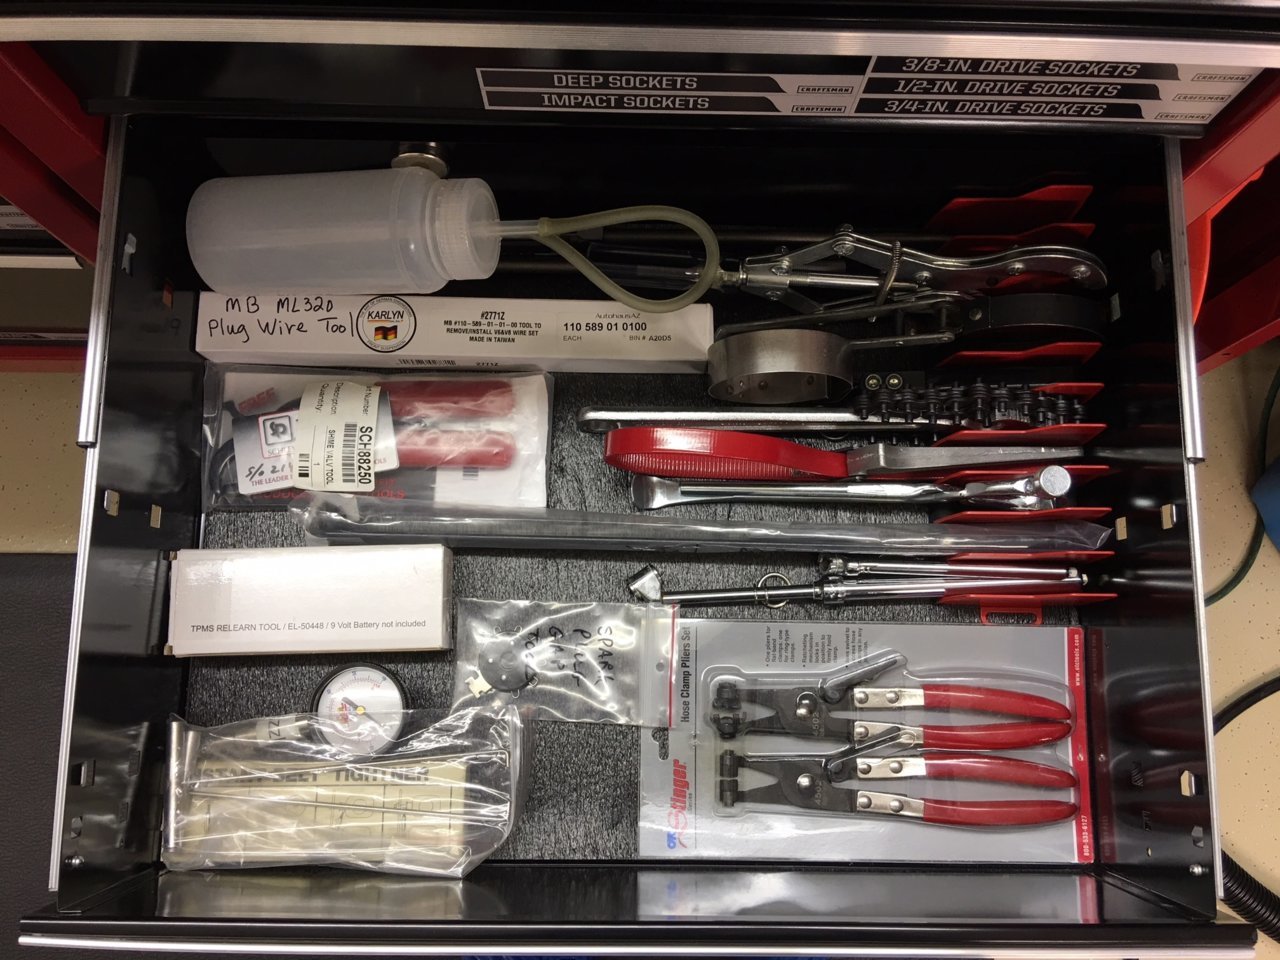
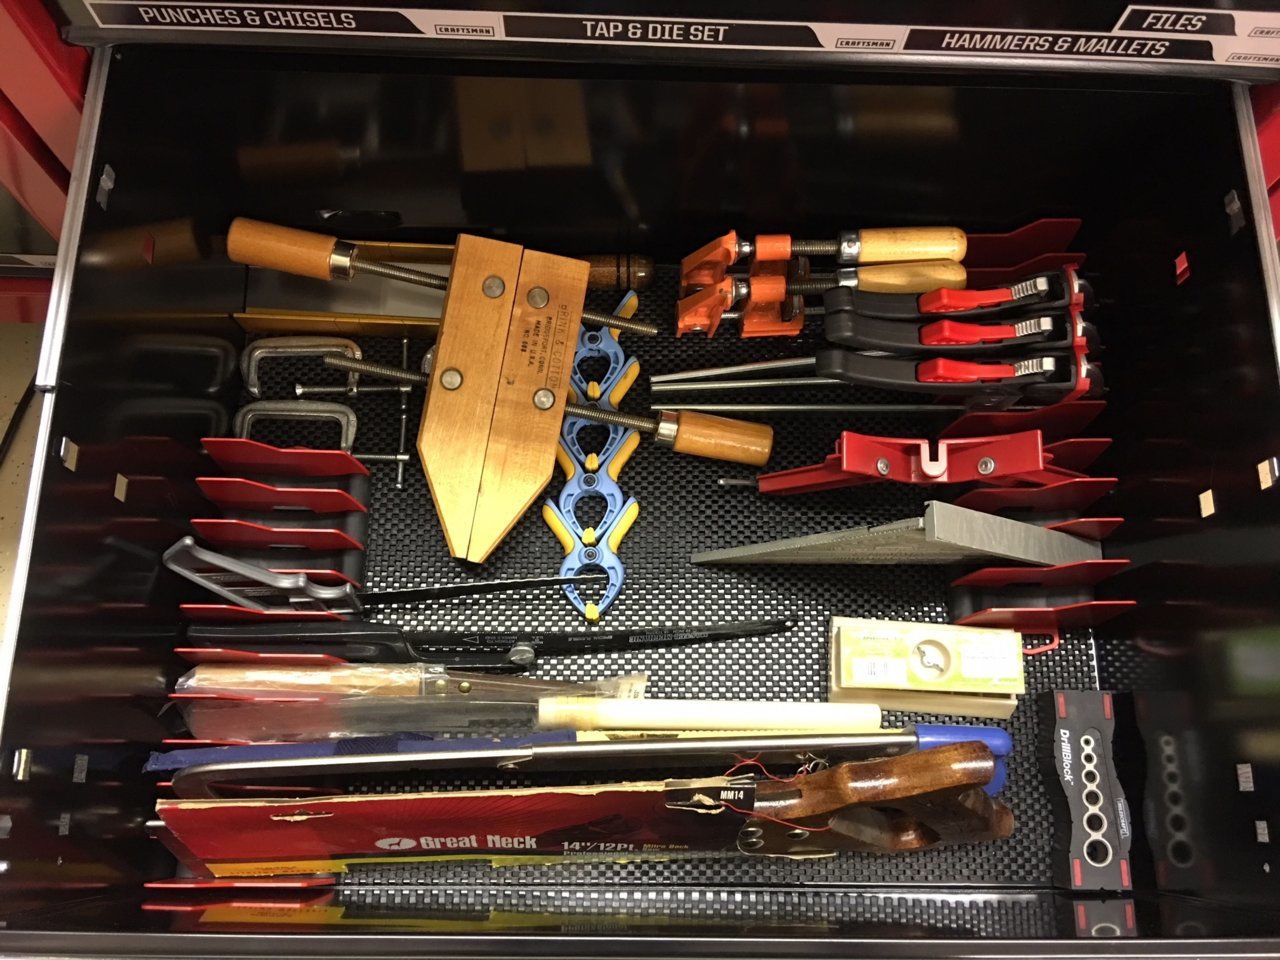
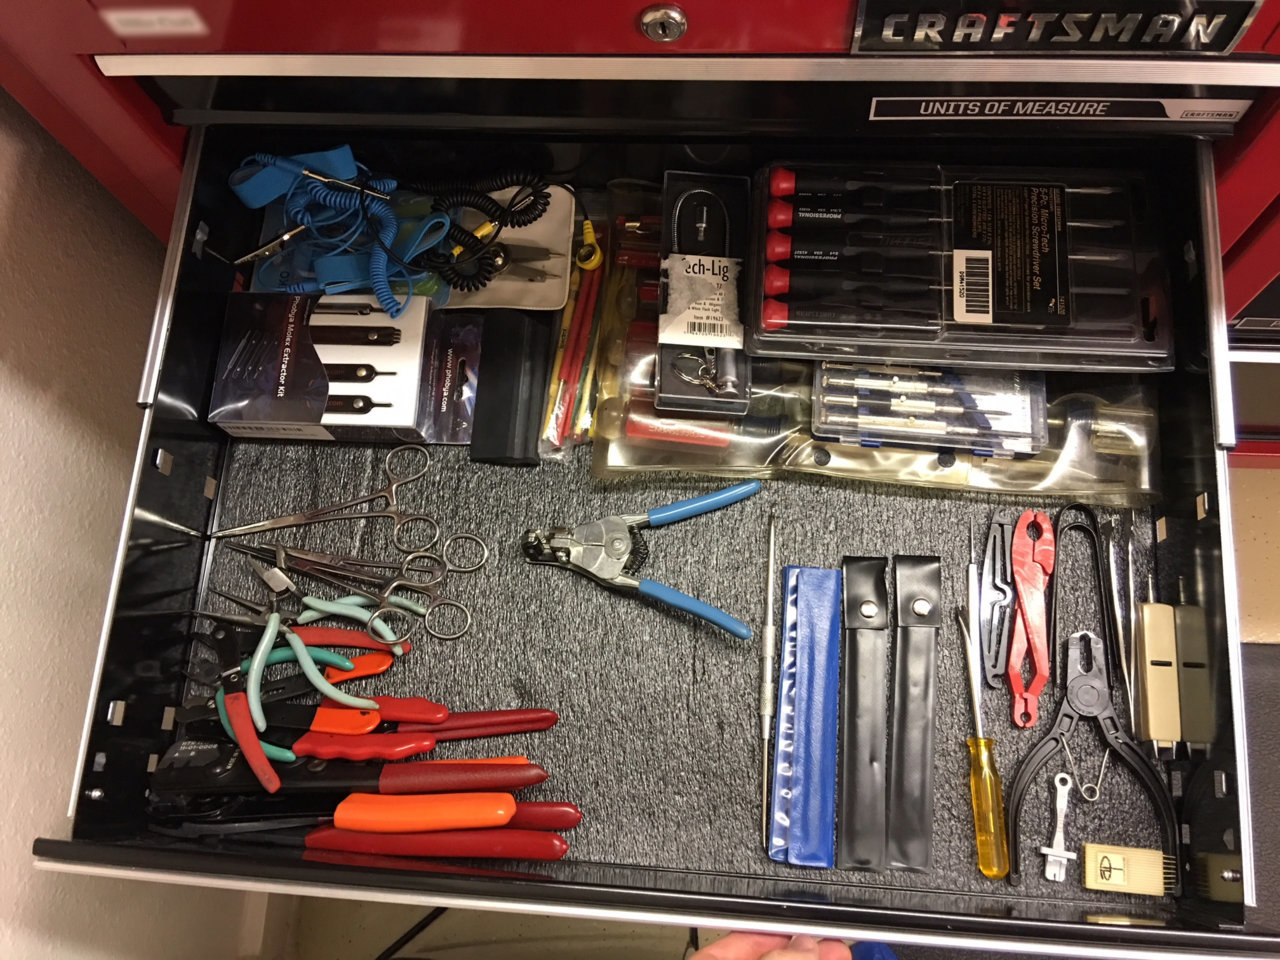
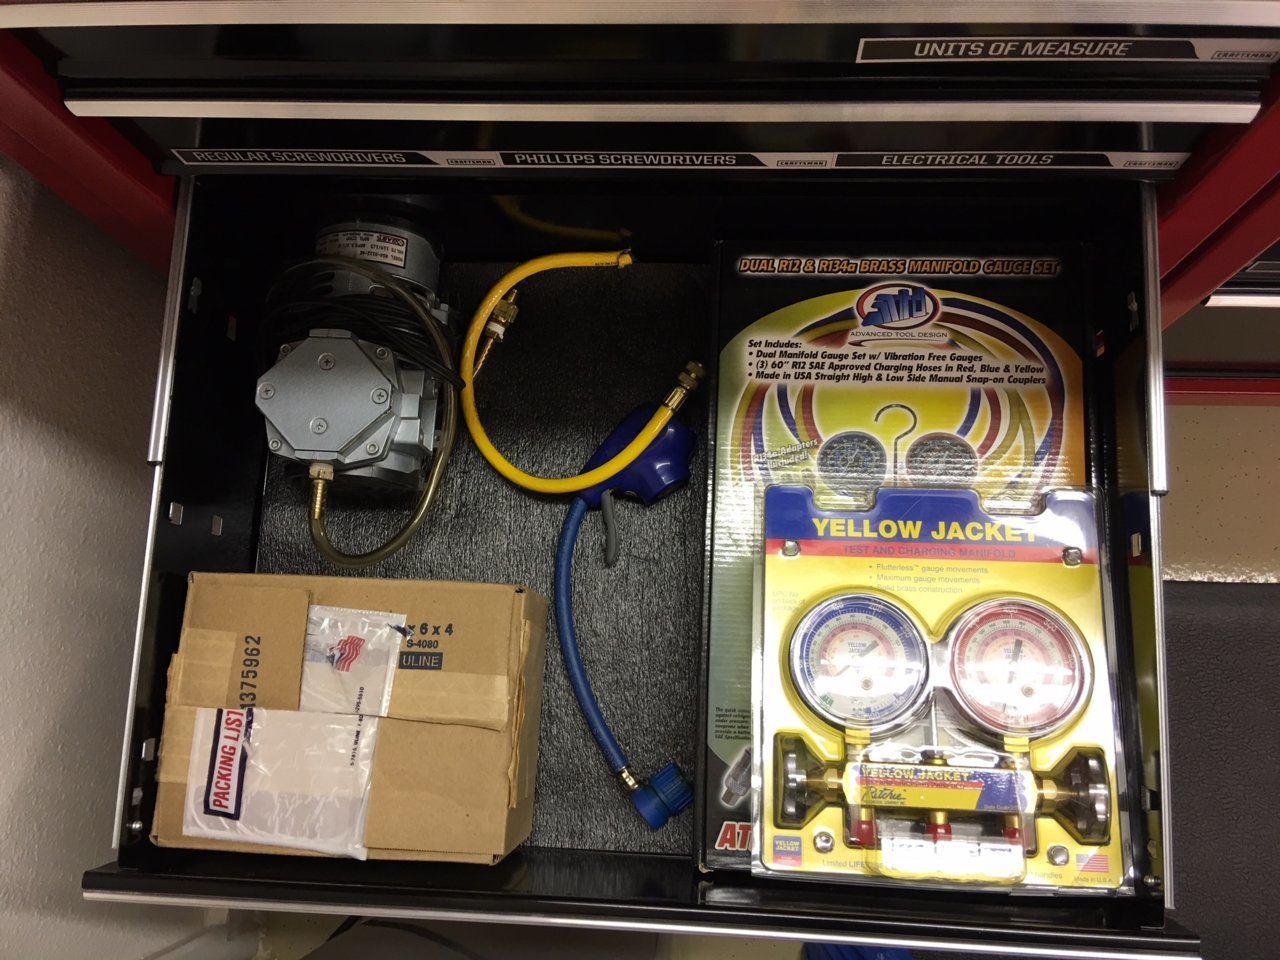
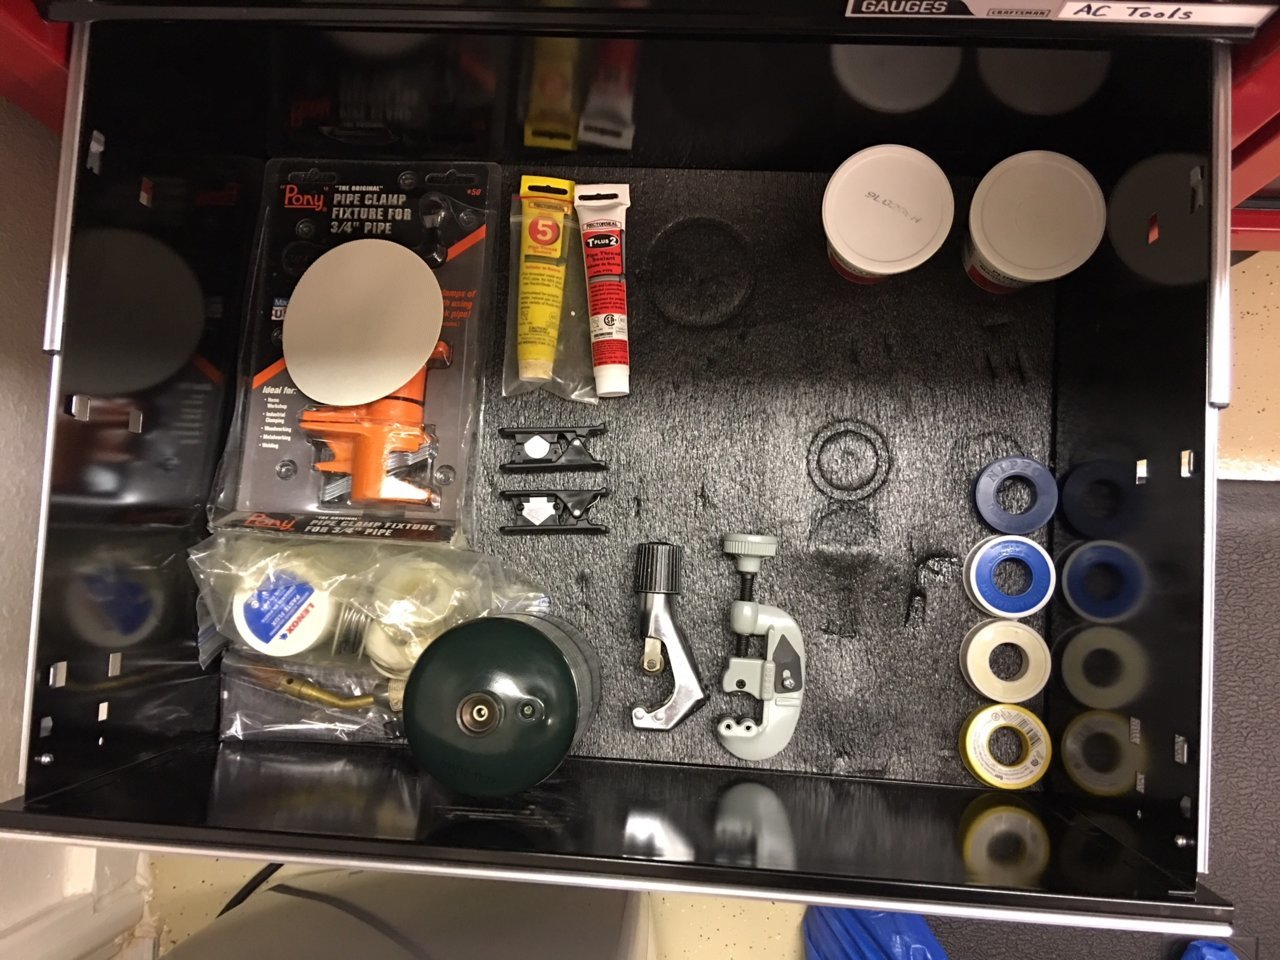
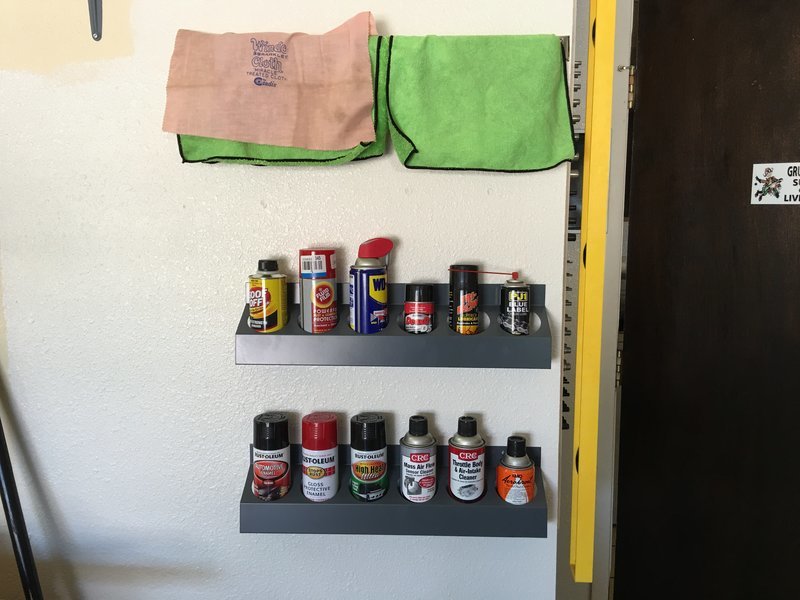
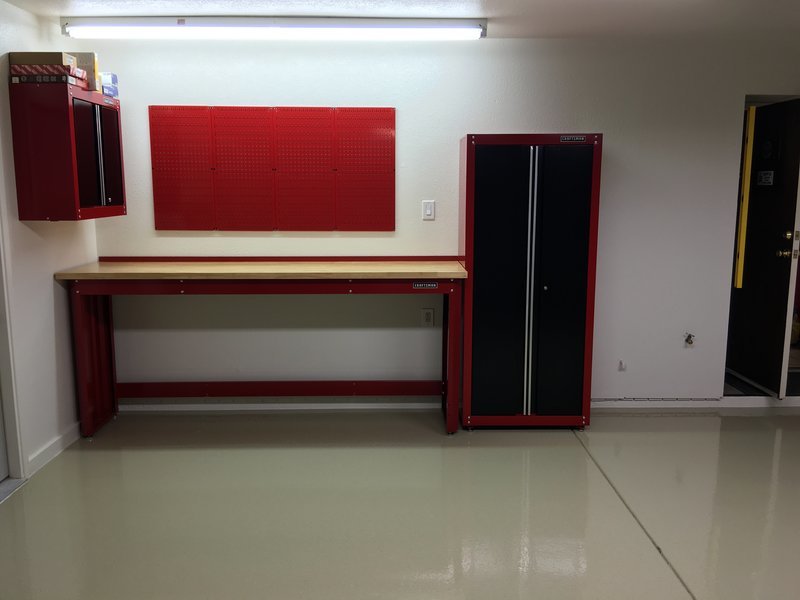
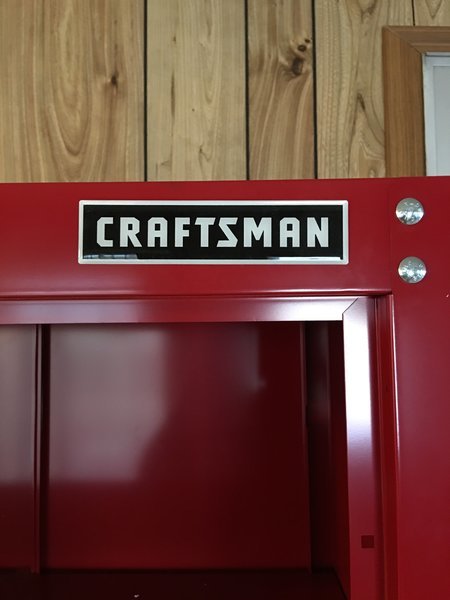
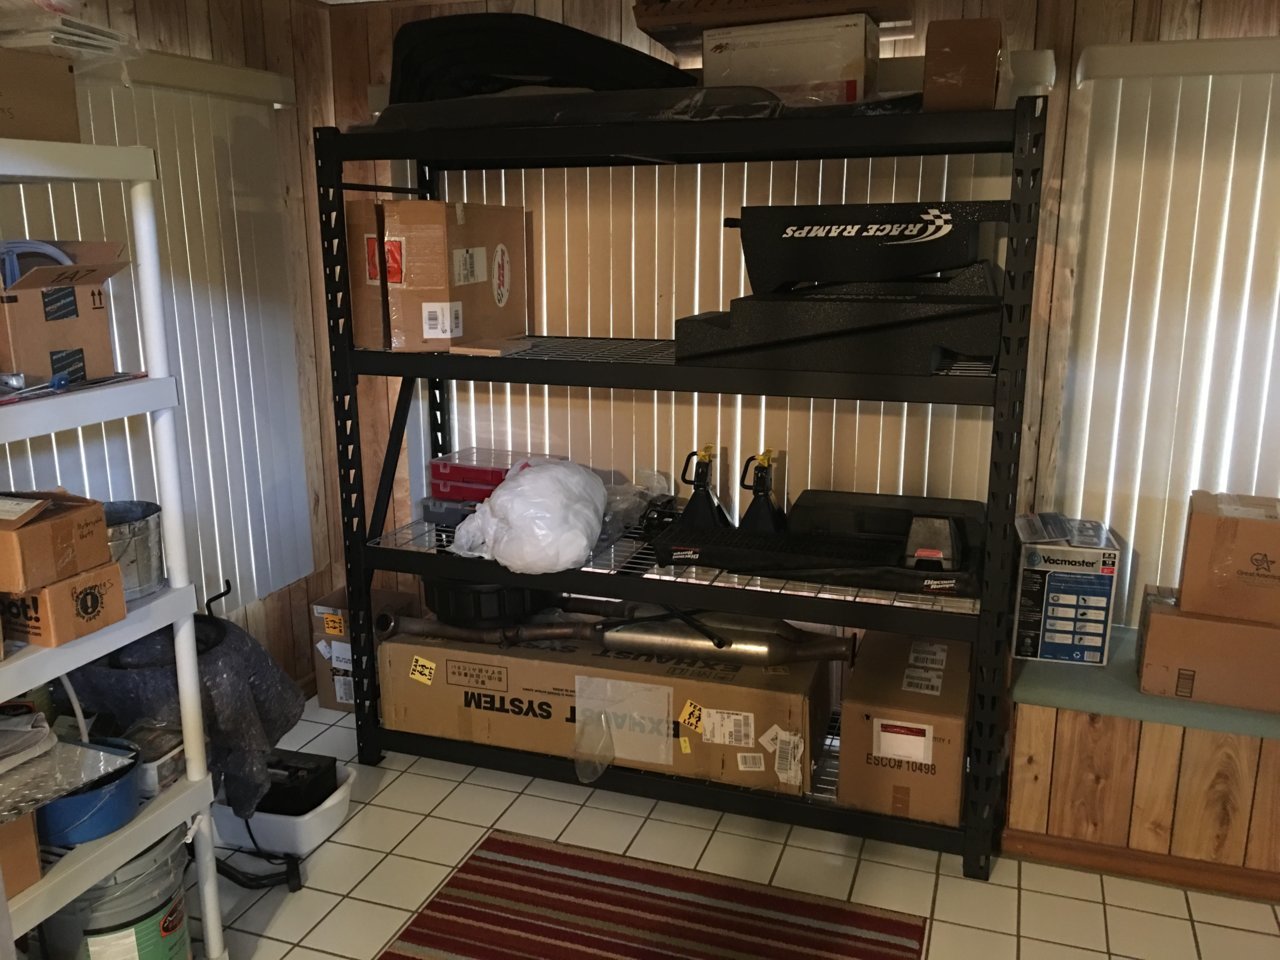
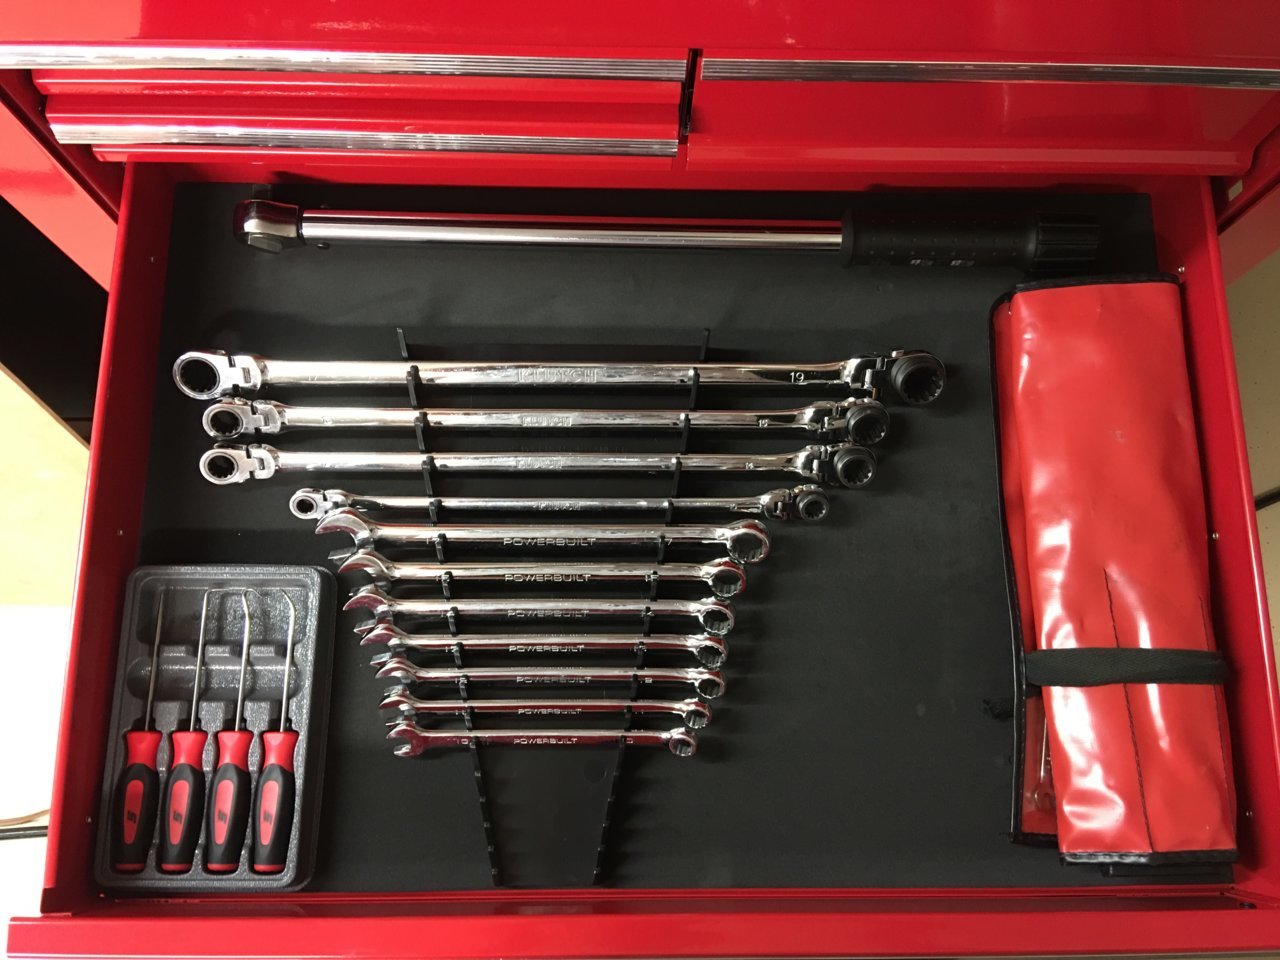
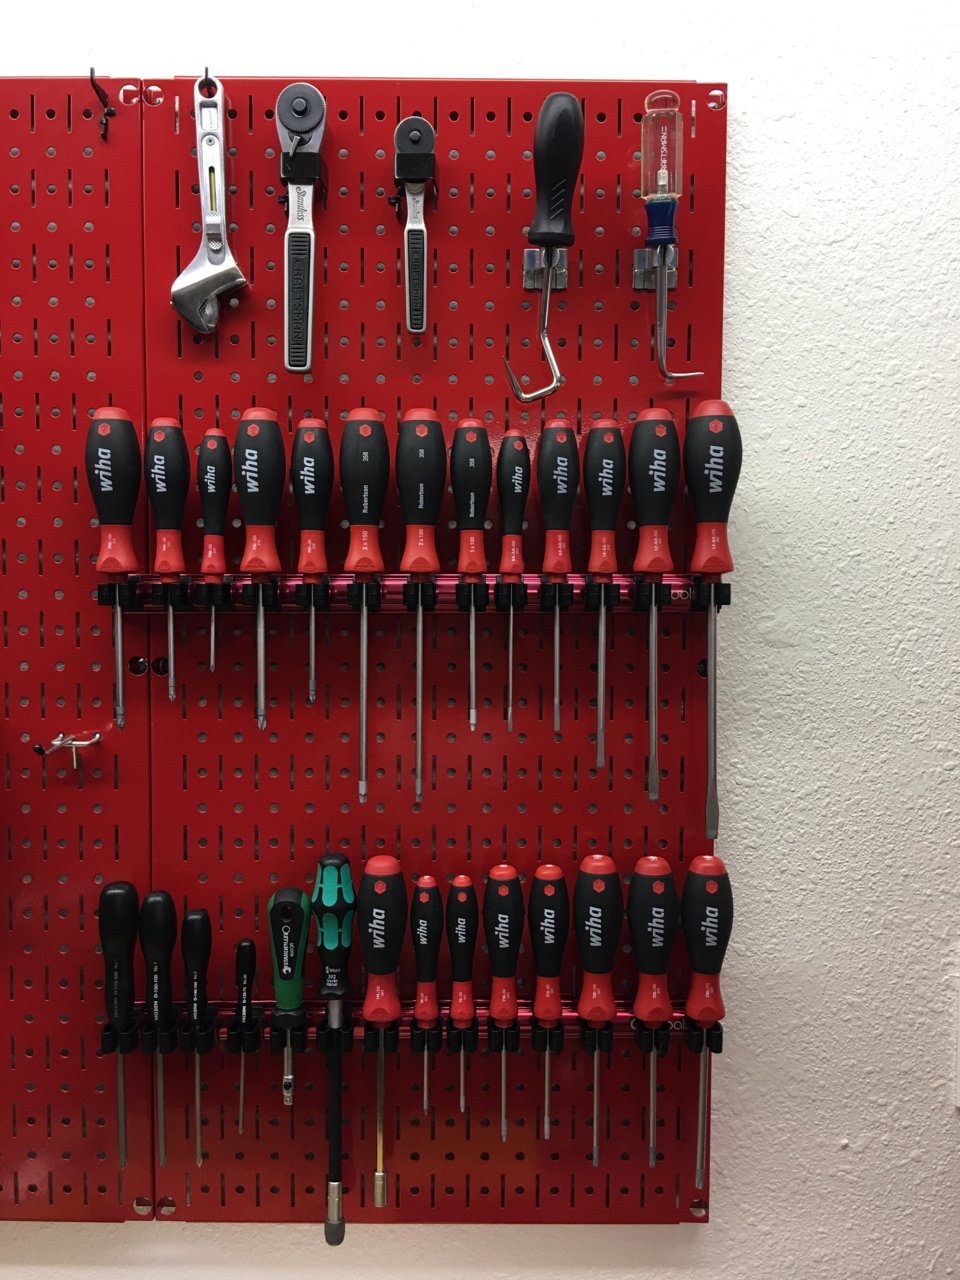
-Build new shelving, install proper tool storage accoutrements (FINISHED)
-Miscellaneous Electrical (FINISHED)
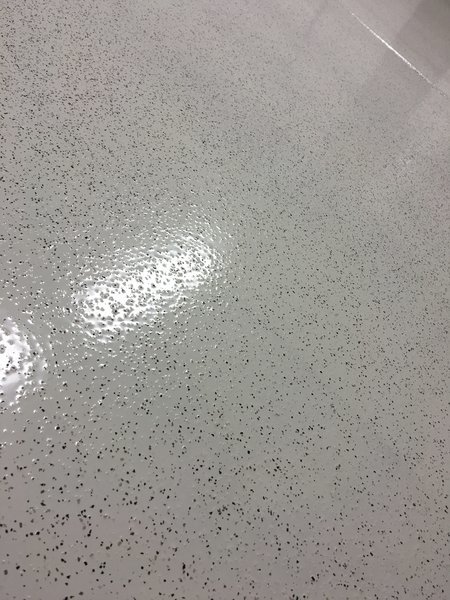
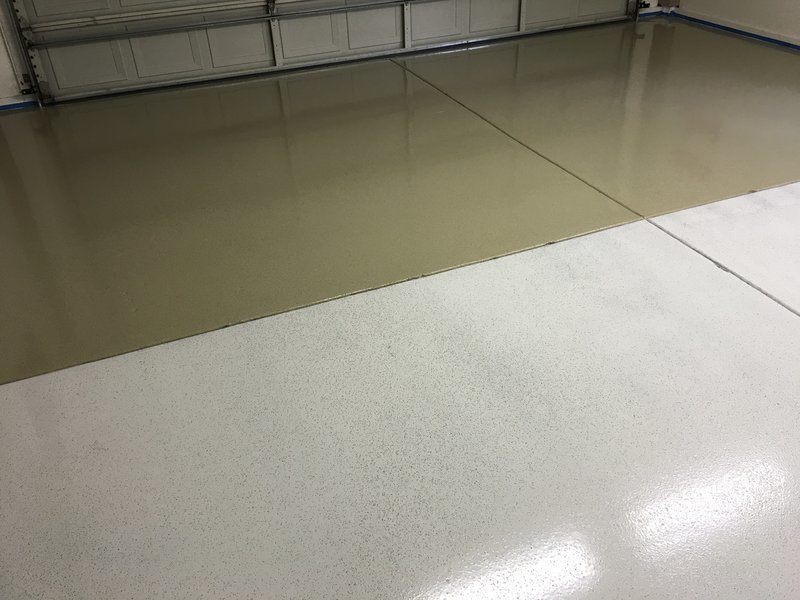
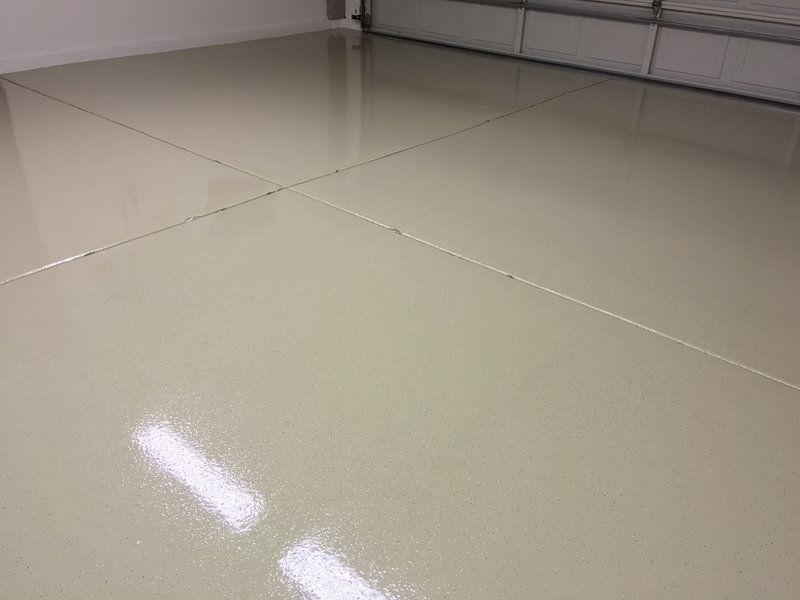
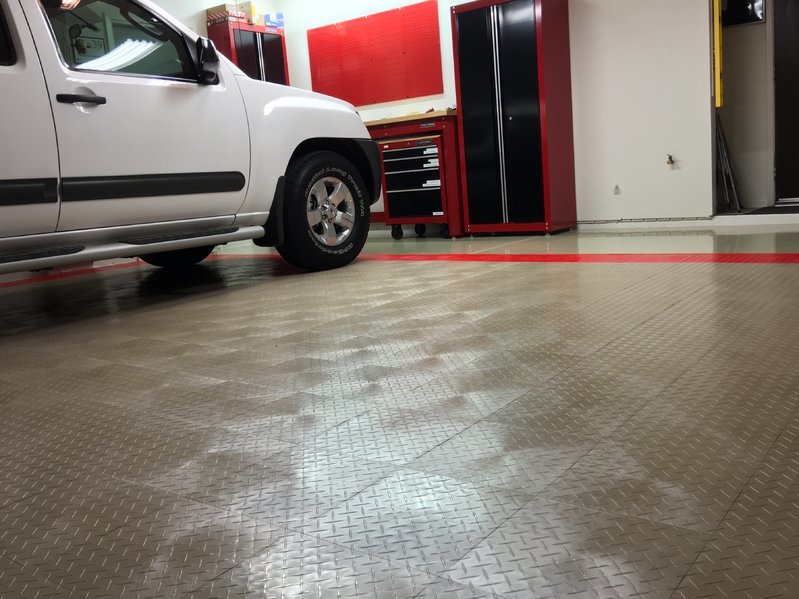
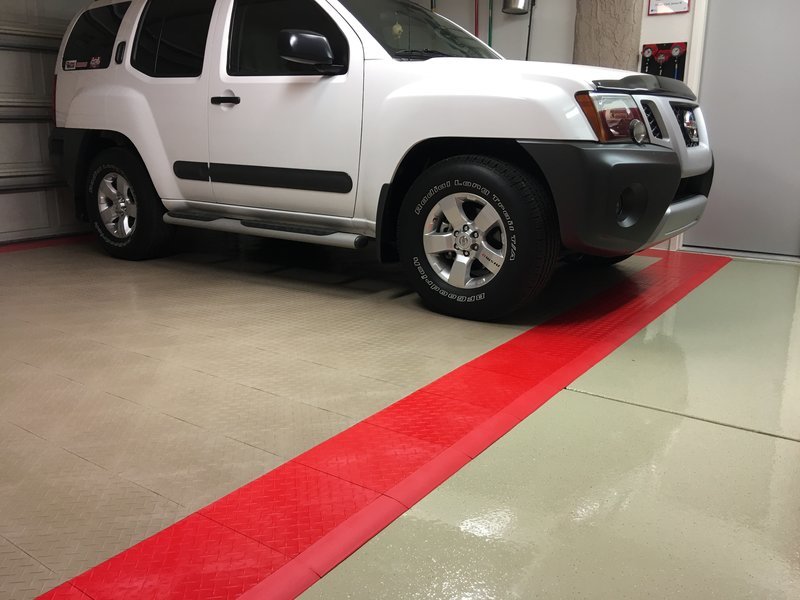
-Epoxy floor (FINISHED)
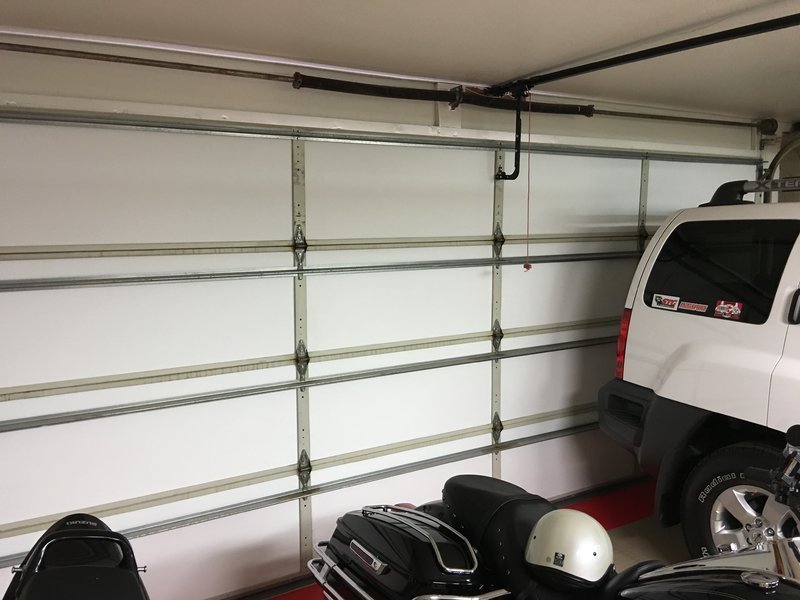
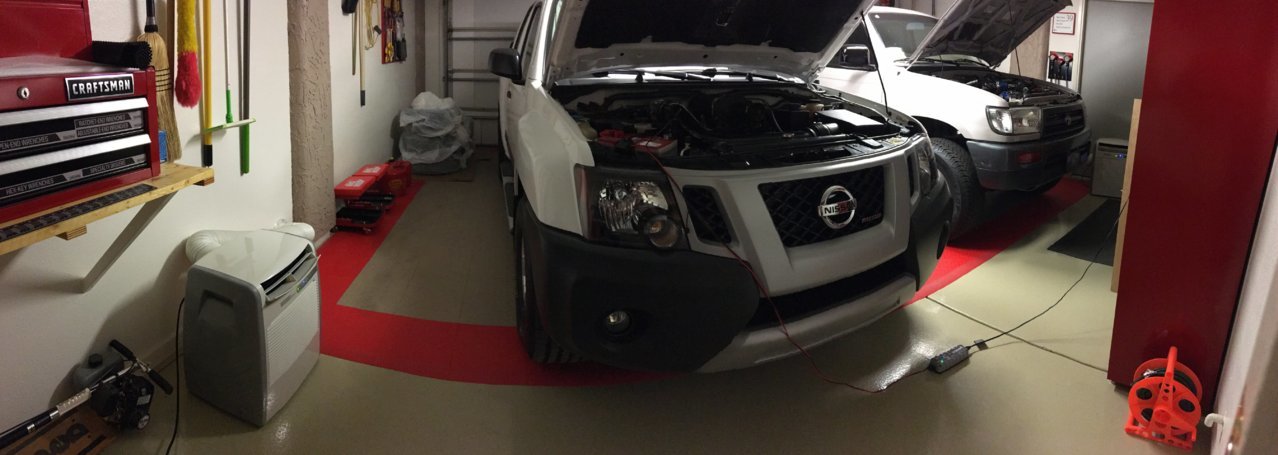
-Move in auto tools and equipment (FINISHED)
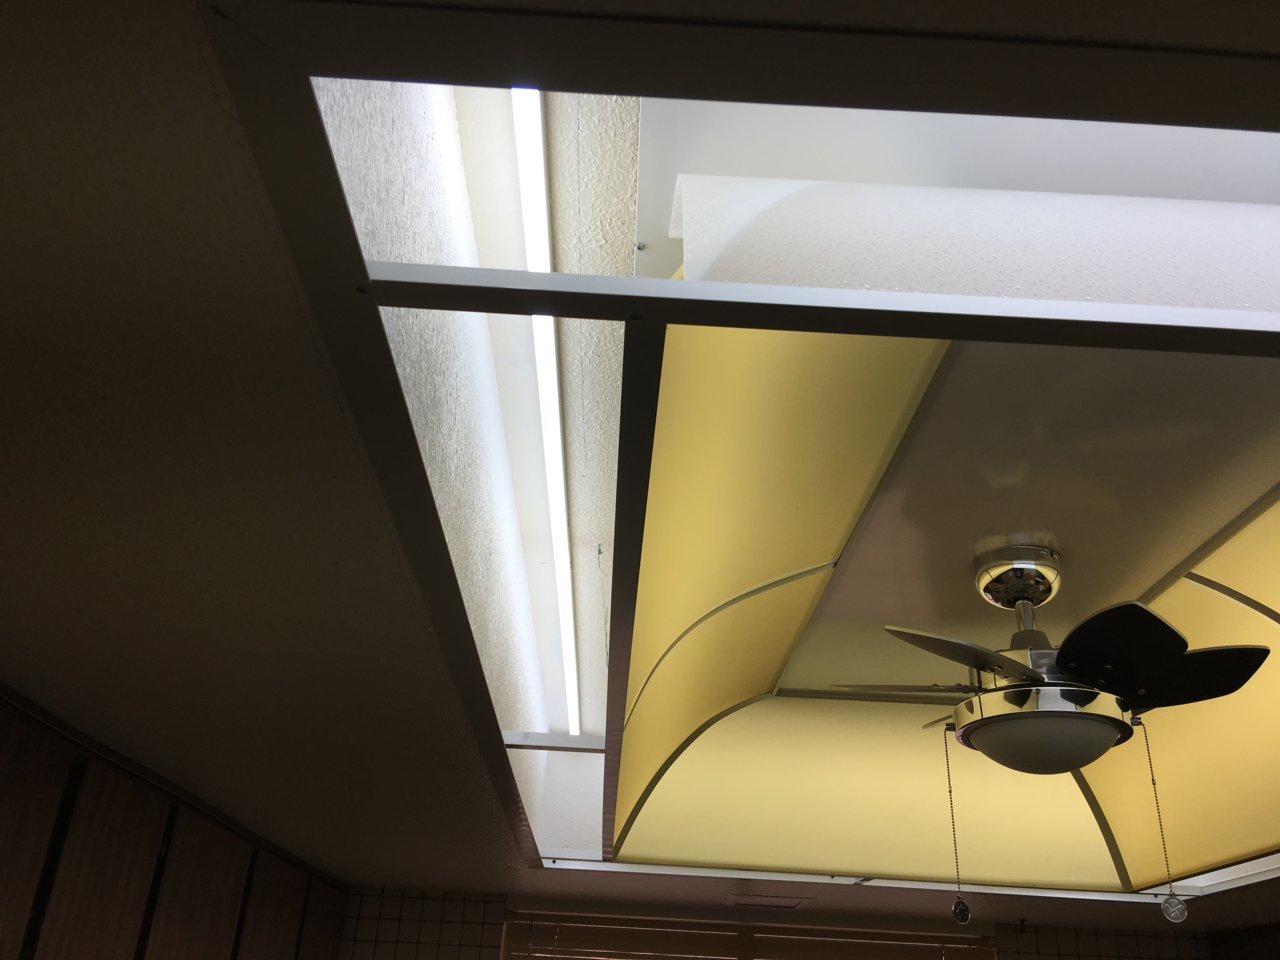
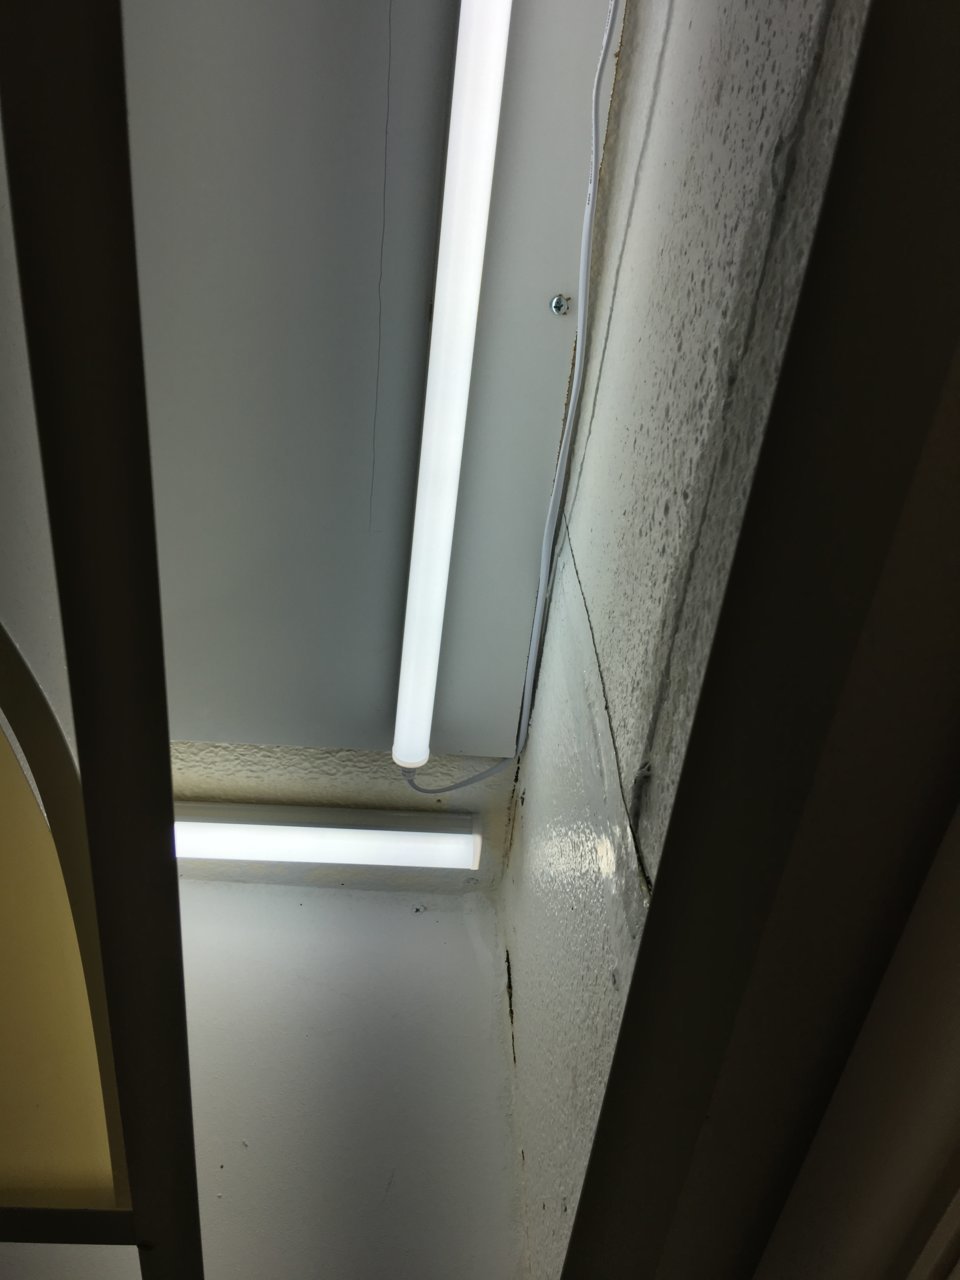
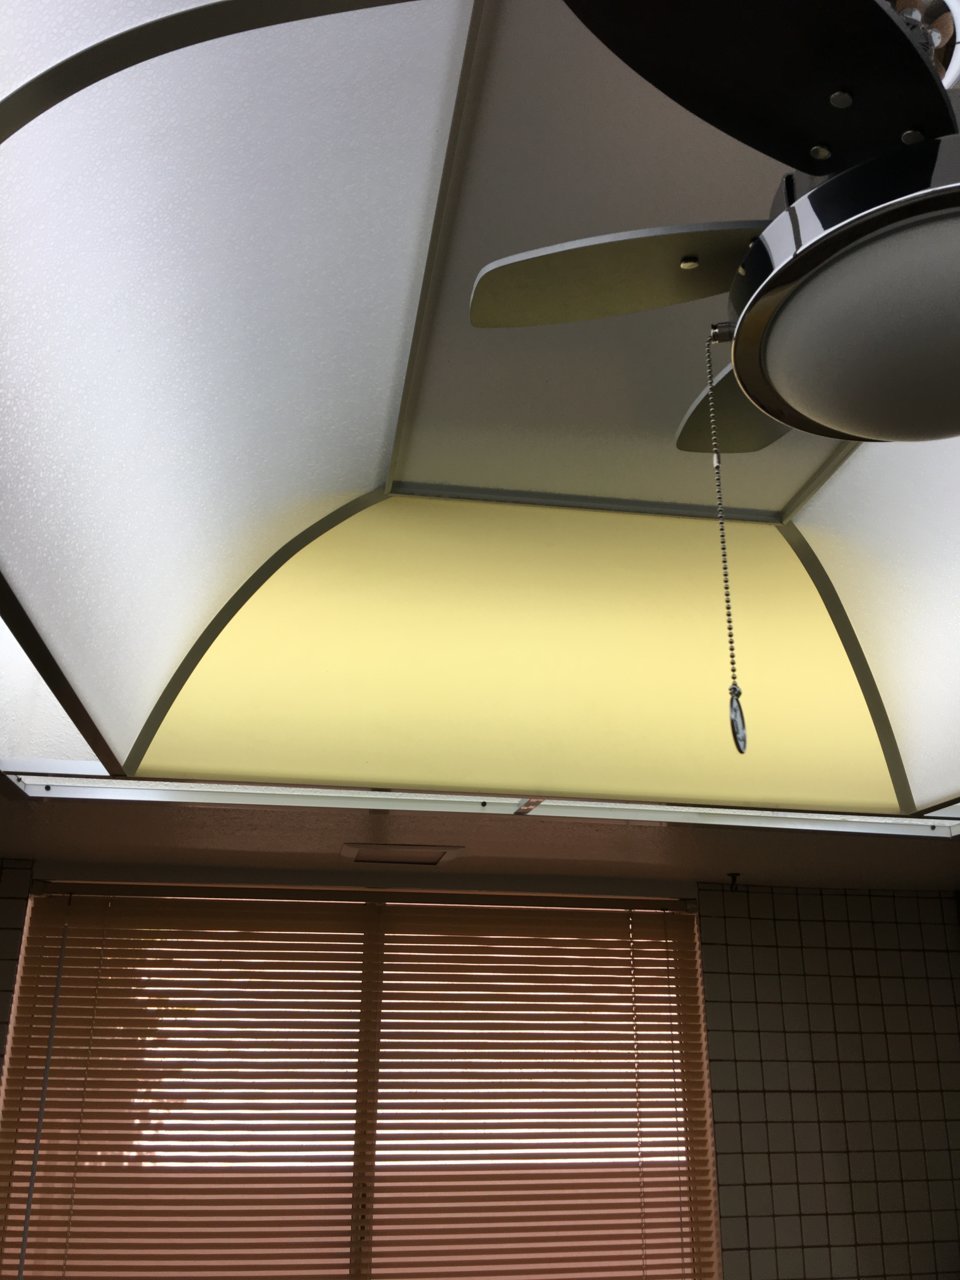
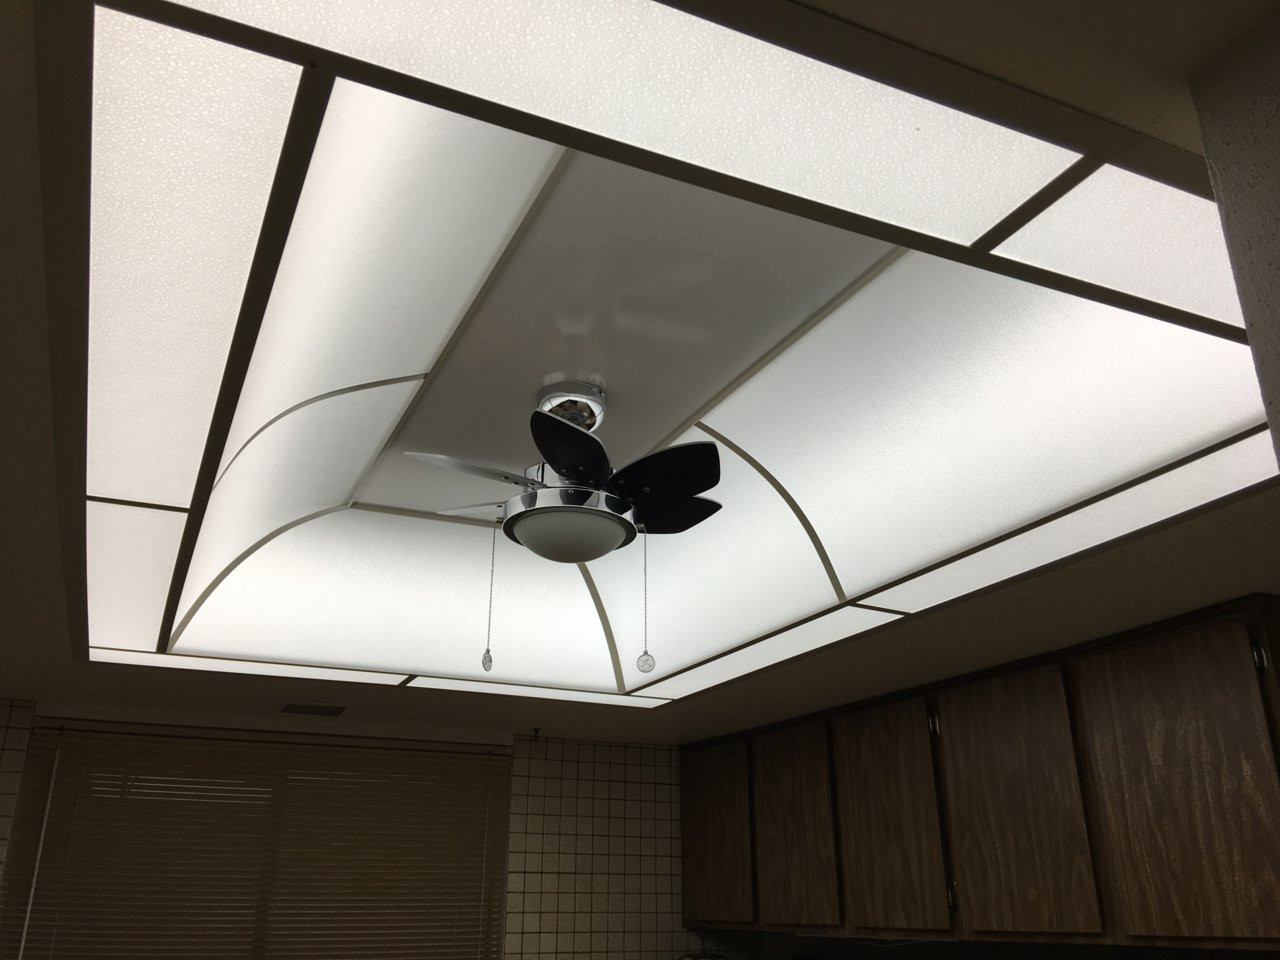
-Lighting (FINISHED)
Videos
While working on projects (cars, house, etc) in my spare time, I most often film how-to, overview, or review videos and post them on my YouTube channel. While my channel isn't huge, I do have a few popular videos and enjoy helping people out through making them. I have started a new series on this garage renovation, and will link each part below. Feel free to check out the other videos or subscribe for more while you're on the channel, and hopefully you enjoy the content I produce!
Part 1 -
Part 2 -
Pics (or it didn't happen)
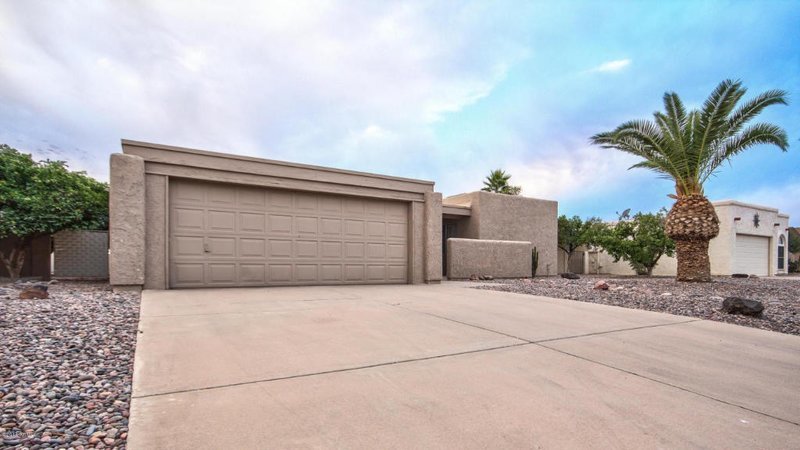
Wide-angle of the house right before I purchased it - has since been repainted and restored on the outside and inside - last thing to finish is the garage.
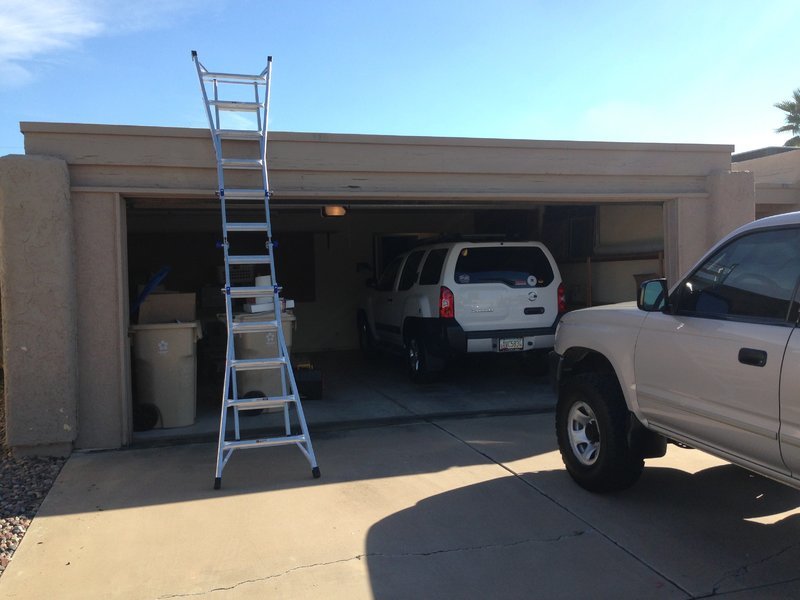
Putting in some work on the roof right after purchasing the house.
Shot of the driveway from the roof.
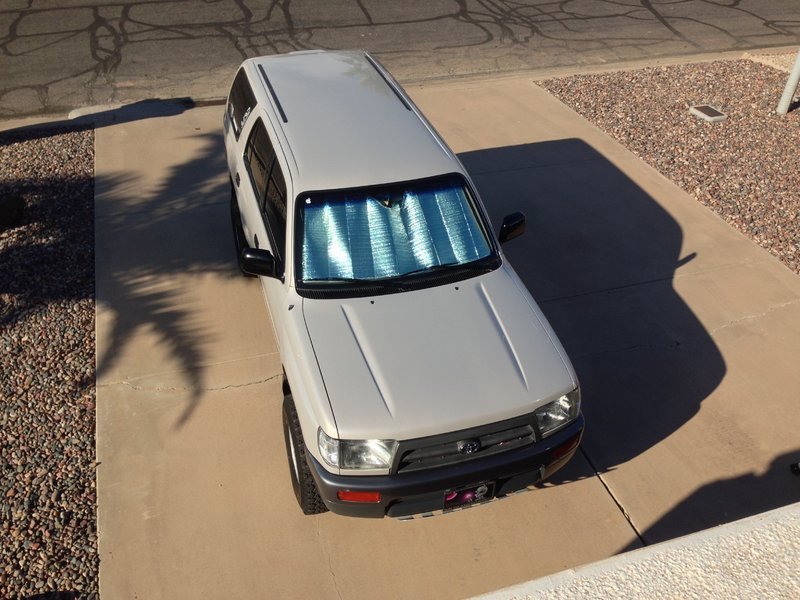
Love the view.

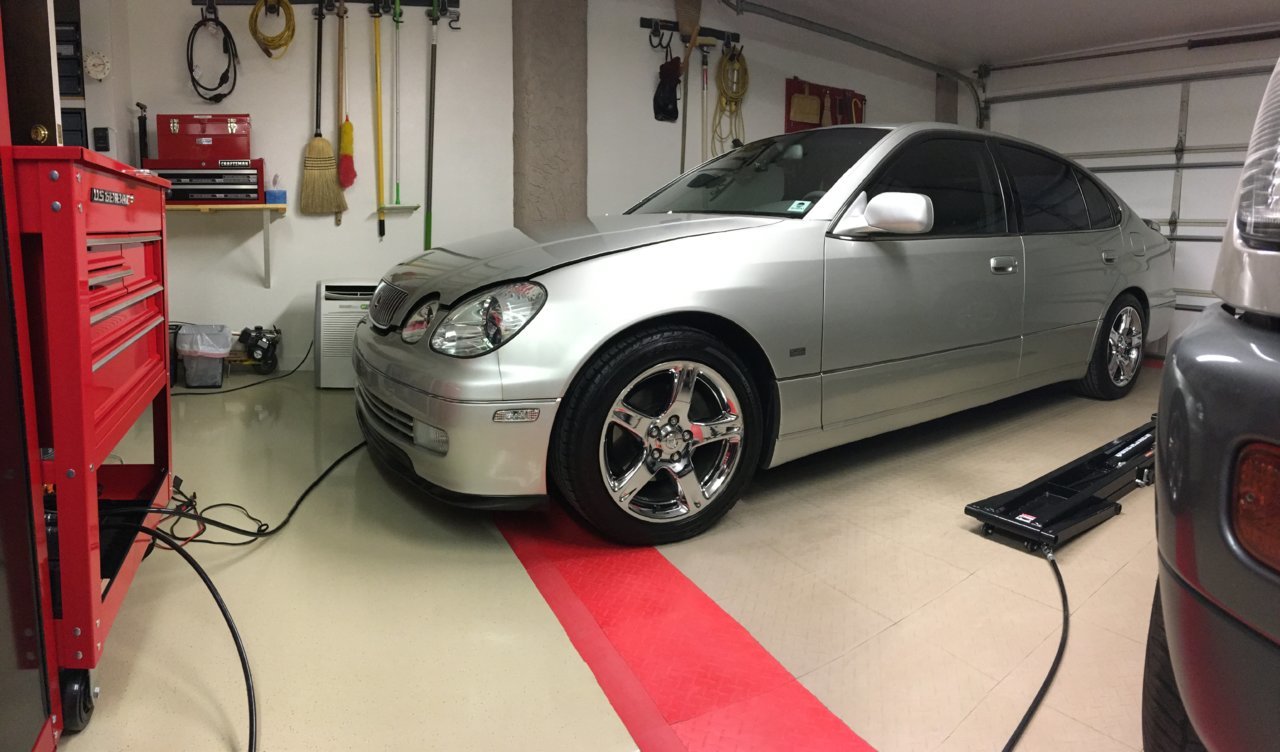
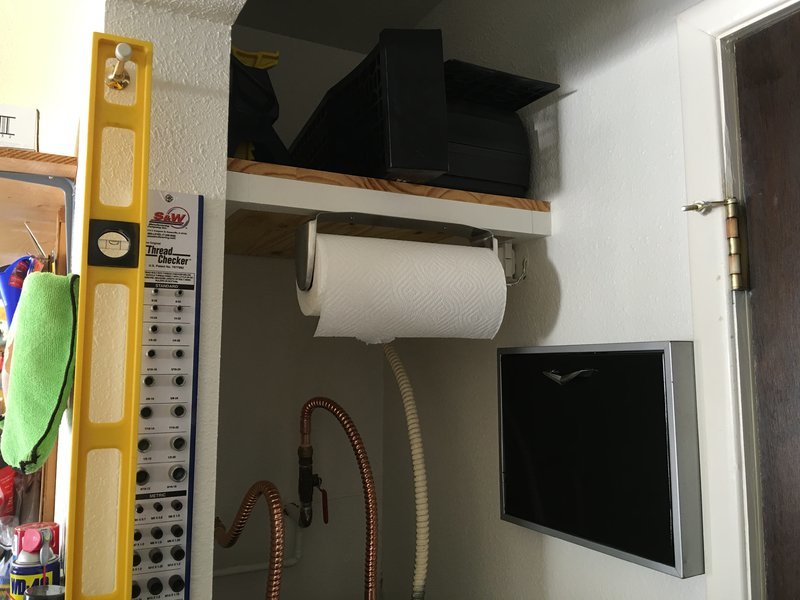
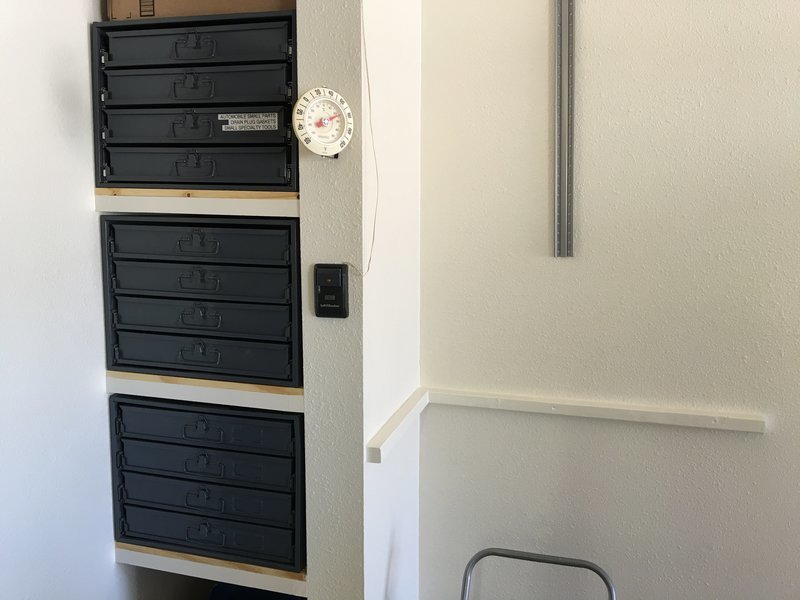
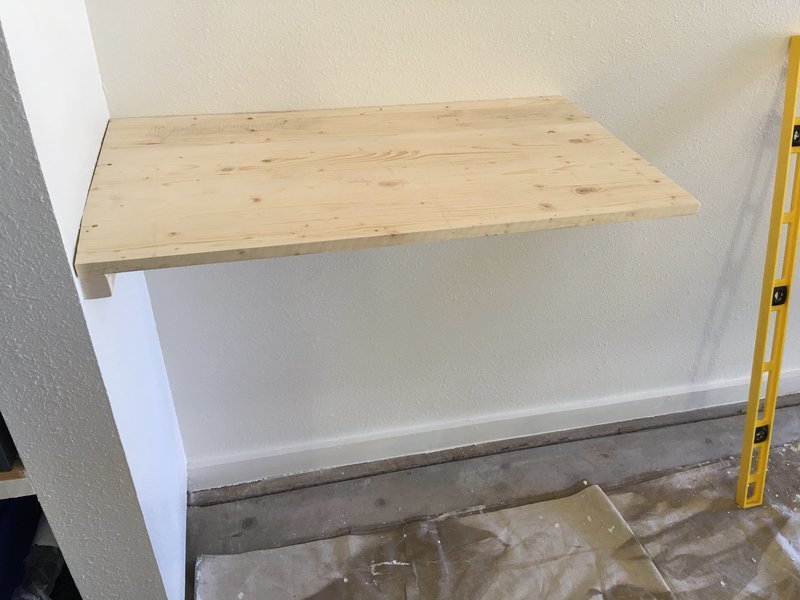
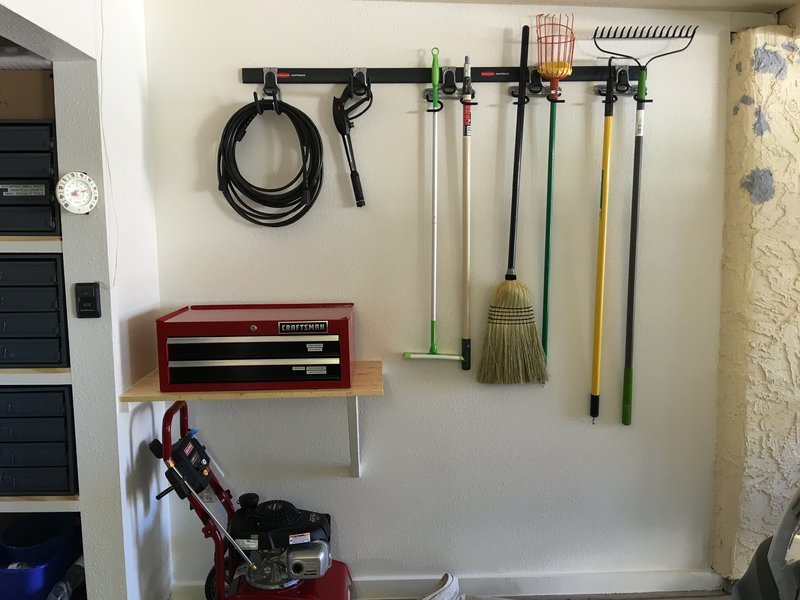
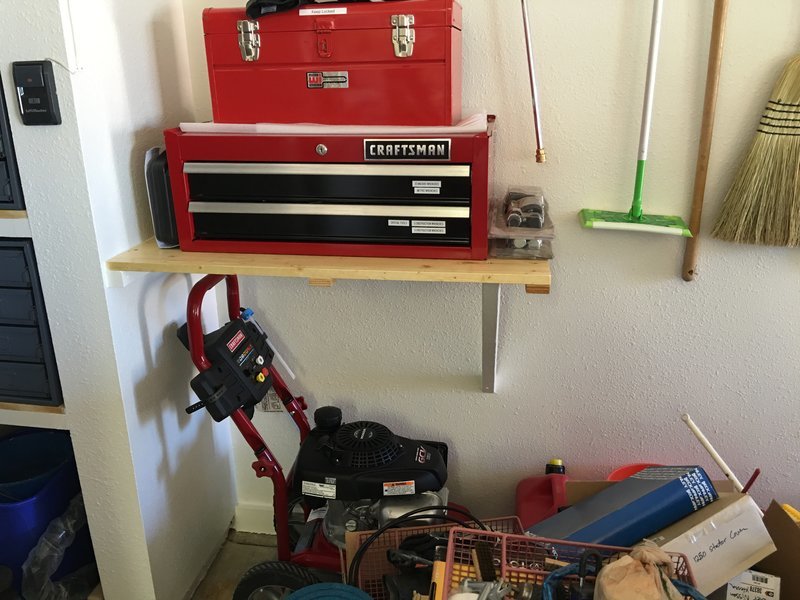
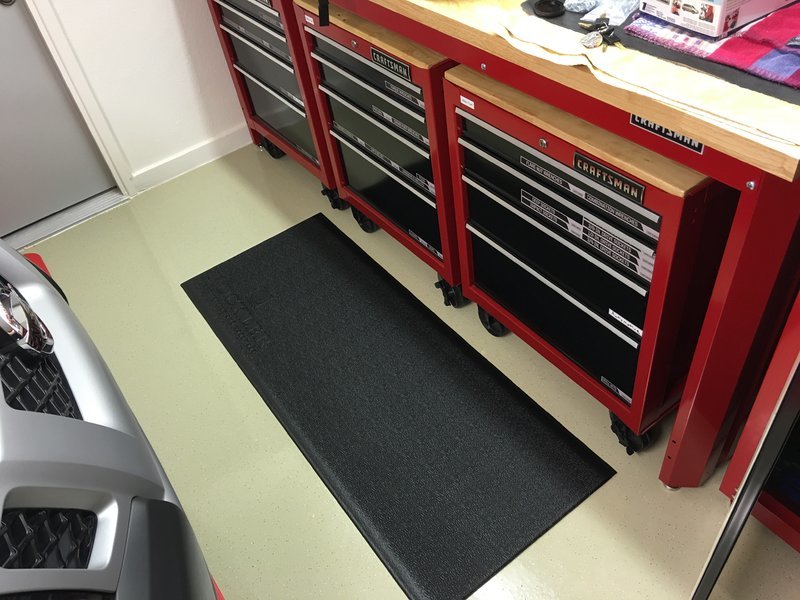
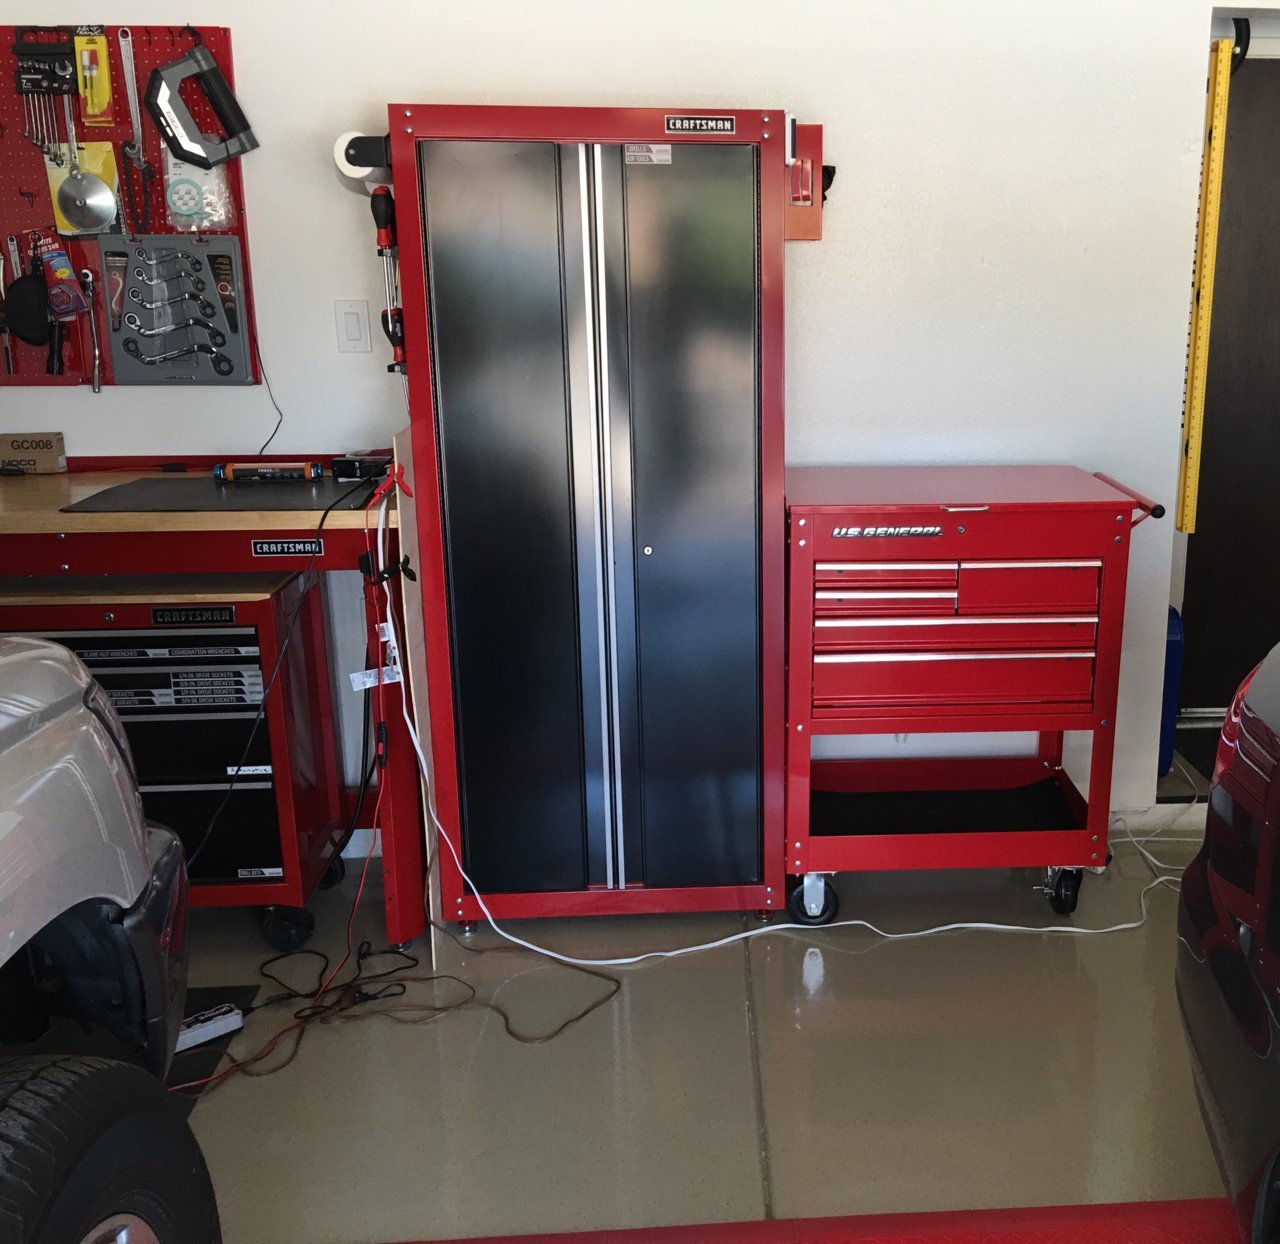
Style of shelves I'm building. They very closely match the style of the toolbox and workbench butcherblock tops I have already. This set of shelves is not quite finished in the picture, but now contain the hardware/supply chests.

The Vehicles
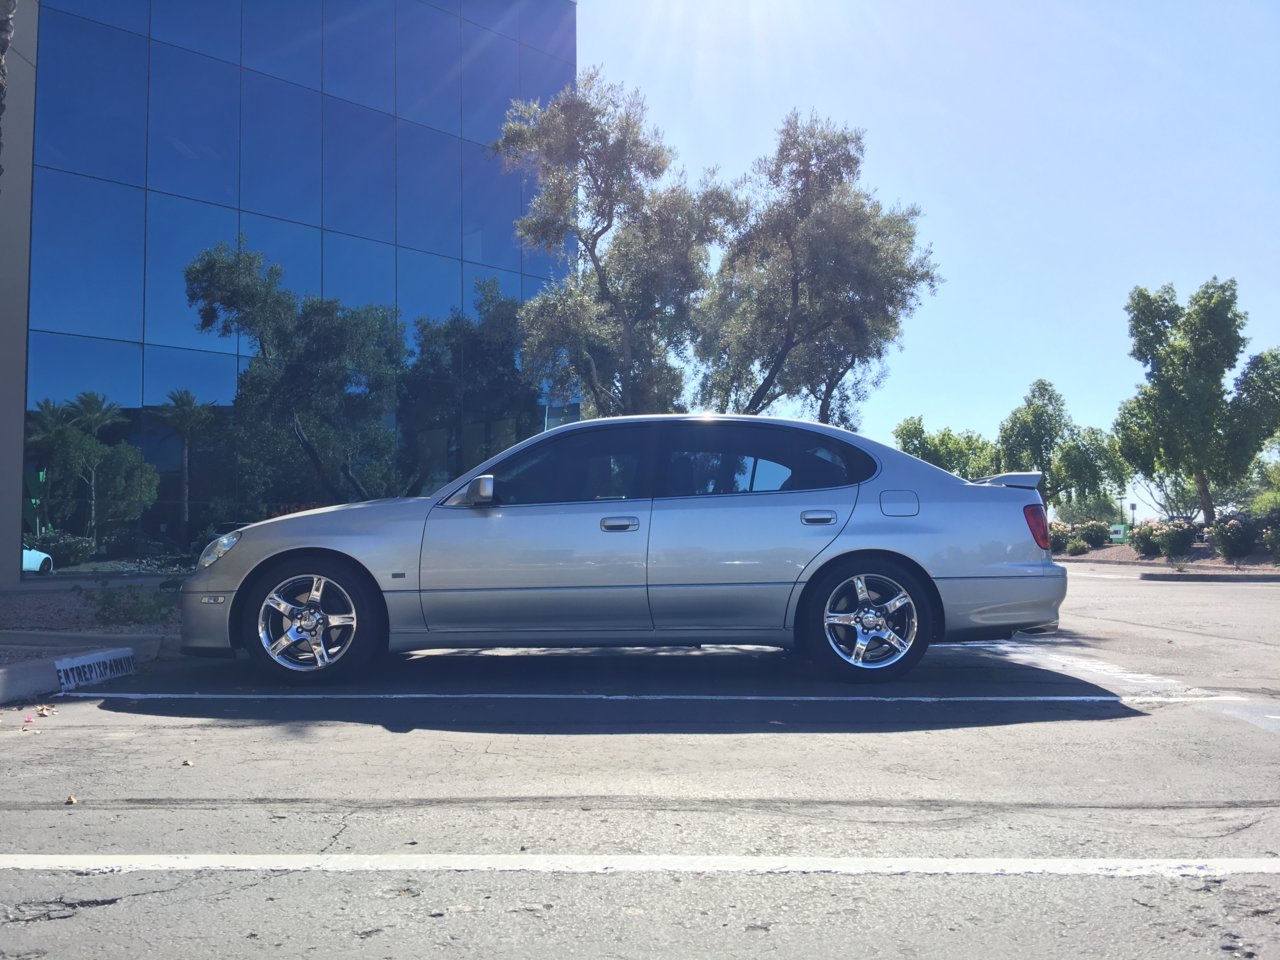
Just a short section in case you happen to be interested in any of my cars/trucks. I don't have build threads on all of them since not everything can be a project vehicle, but here are the ones that have some mods:
1997 Toyota 4Runner (Converted to Japan-spec Hilux Surf, aspiration conversion to turbocharged, and lots of other little bits)
Click Here for Build Thread
2011 Nissan Xterra (Stillen Supercharged, and though I had to do a lot of mods to make their kit not ****, very satisfying and fun to drive)
Click Here for Build Thread
Thank you all for taking the time to look at this thread. Hopefully you enjoy, and stay tuned for updates!
Hey everyone. Long time lurker and first time poster here, but since I have started renovating my garage, I figured I would create a thread to catalog the process and progress.
The Plan
When I purchased this house, the garage was a mess. The shelves, workbench, pegboard, etc. are all poorly constructed and falling apart. My plan is to tear all of the **** out of here, refinish the walls, epoxy the floor, clean up the electrics (broken outlets, wiring run without conduit, lighting), and then move most of my automotive tools and equipment as well as a couple cars and bikes in once it's all done. I can't wait to have another nice, clean place to work on my cars and bikes...being German, my OCD and perfectionism get the best of me, and the garage in its current state absolutely does not jive.
That all being said, here's an outline of what's going on, what's done, and what the future holds - this section will be updated as progress is made and new tasks come up.
-Replace side door (FINISHED)
-Removal of dilapidated shelving, workbench, pegboard, etc. (IN PROGRESS)
-Repaint walls (FINISHED)
-Build new shelving, install proper tool storage accoutrements (FINISHED)
-Miscellaneous Electrical (FINISHED)
-Epoxy floor (FINISHED)
-Move in auto tools and equipment (FINISHED)
-Lighting (FINISHED)
Videos
While working on projects (cars, house, etc) in my spare time, I most often film how-to, overview, or review videos and post them on my YouTube channel. While my channel isn't huge, I do have a few popular videos and enjoy helping people out through making them. I have started a new series on this garage renovation, and will link each part below. Feel free to check out the other videos or subscribe for more while you're on the channel, and hopefully you enjoy the content I produce!
Part 1 -
Part 2 -
Pics (or it didn't happen)
Wide-angle of the house right before I purchased it - has since been repainted and restored on the outside and inside - last thing to finish is the garage.
Putting in some work on the roof right after purchasing the house.
Shot of the driveway from the roof.
Love the view.
Style of shelves I'm building. They very closely match the style of the toolbox and workbench butcherblock tops I have already. This set of shelves is not quite finished in the picture, but now contain the hardware/supply chests.
The Vehicles
Just a short section in case you happen to be interested in any of my cars/trucks. I don't have build threads on all of them since not everything can be a project vehicle, but here are the ones that have some mods:
1997 Toyota 4Runner (Converted to Japan-spec Hilux Surf, aspiration conversion to turbocharged, and lots of other little bits)
Click Here for Build Thread
2011 Nissan Xterra (Stillen Supercharged, and though I had to do a lot of mods to make their kit not ****, very satisfying and fun to drive)
Click Here for Build Thread
Thank you all for taking the time to look at this thread. Hopefully you enjoy, and stay tuned for updates!
Last edited:


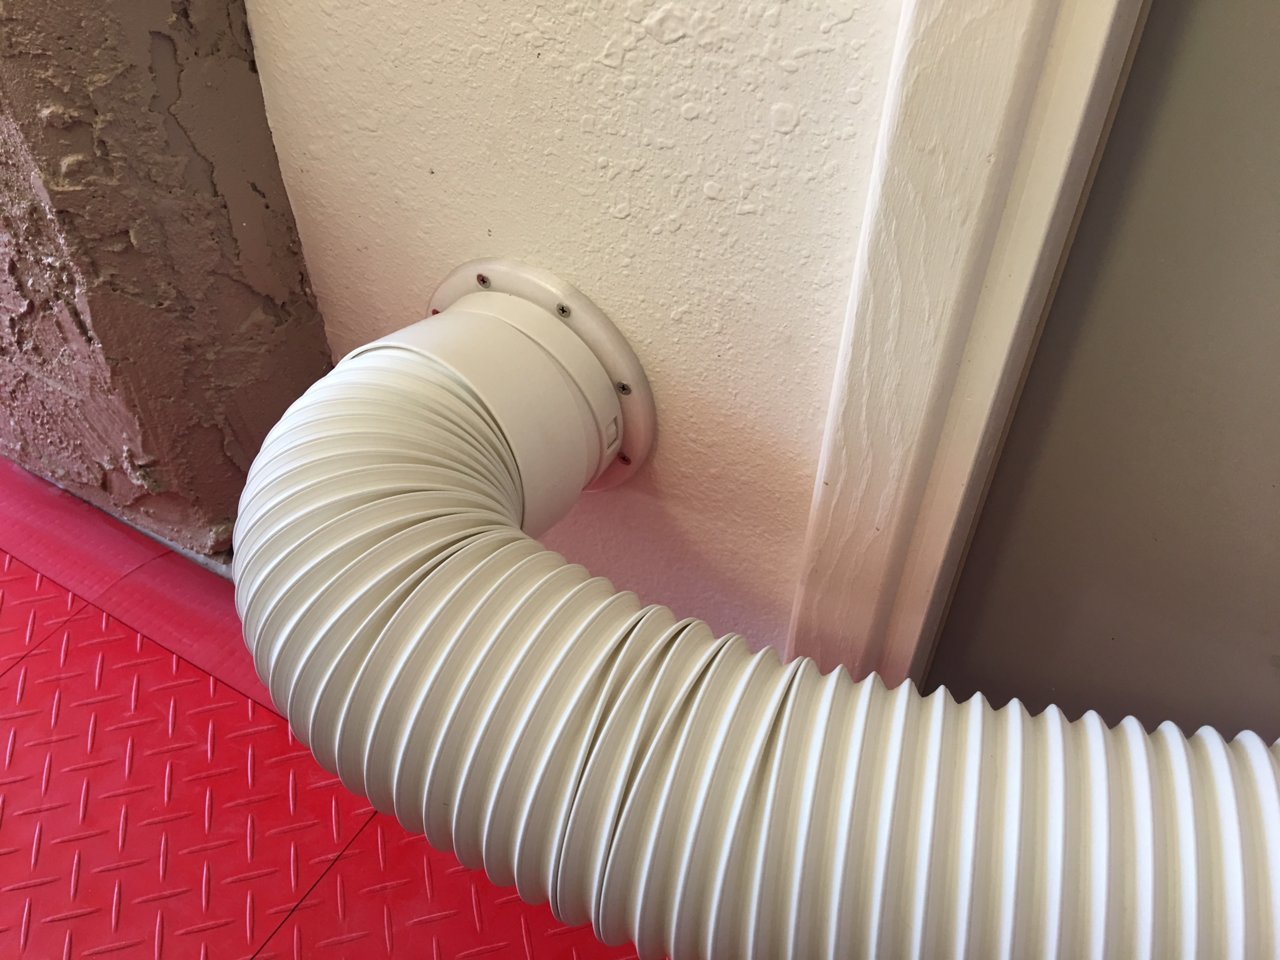
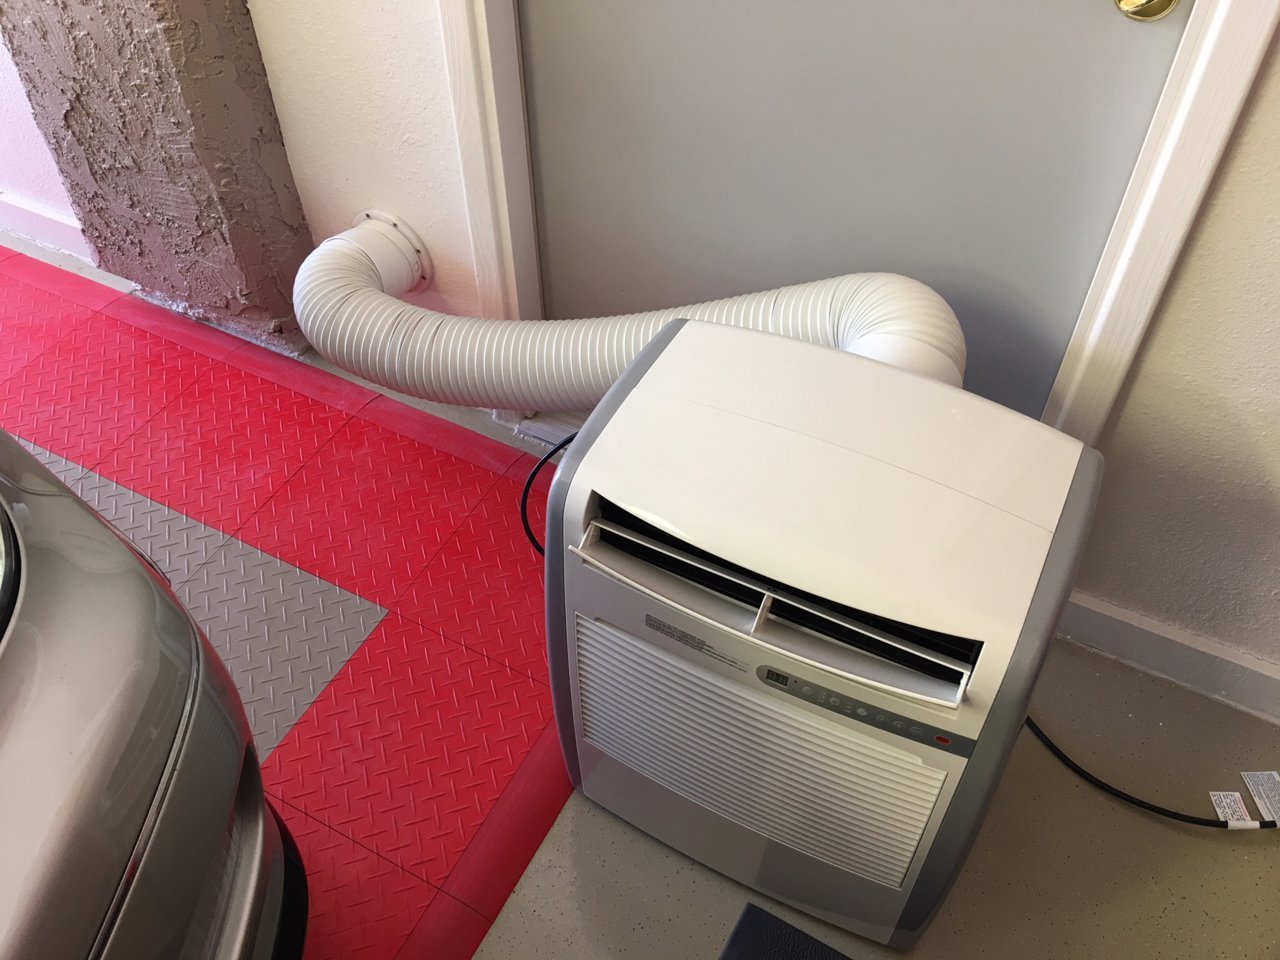
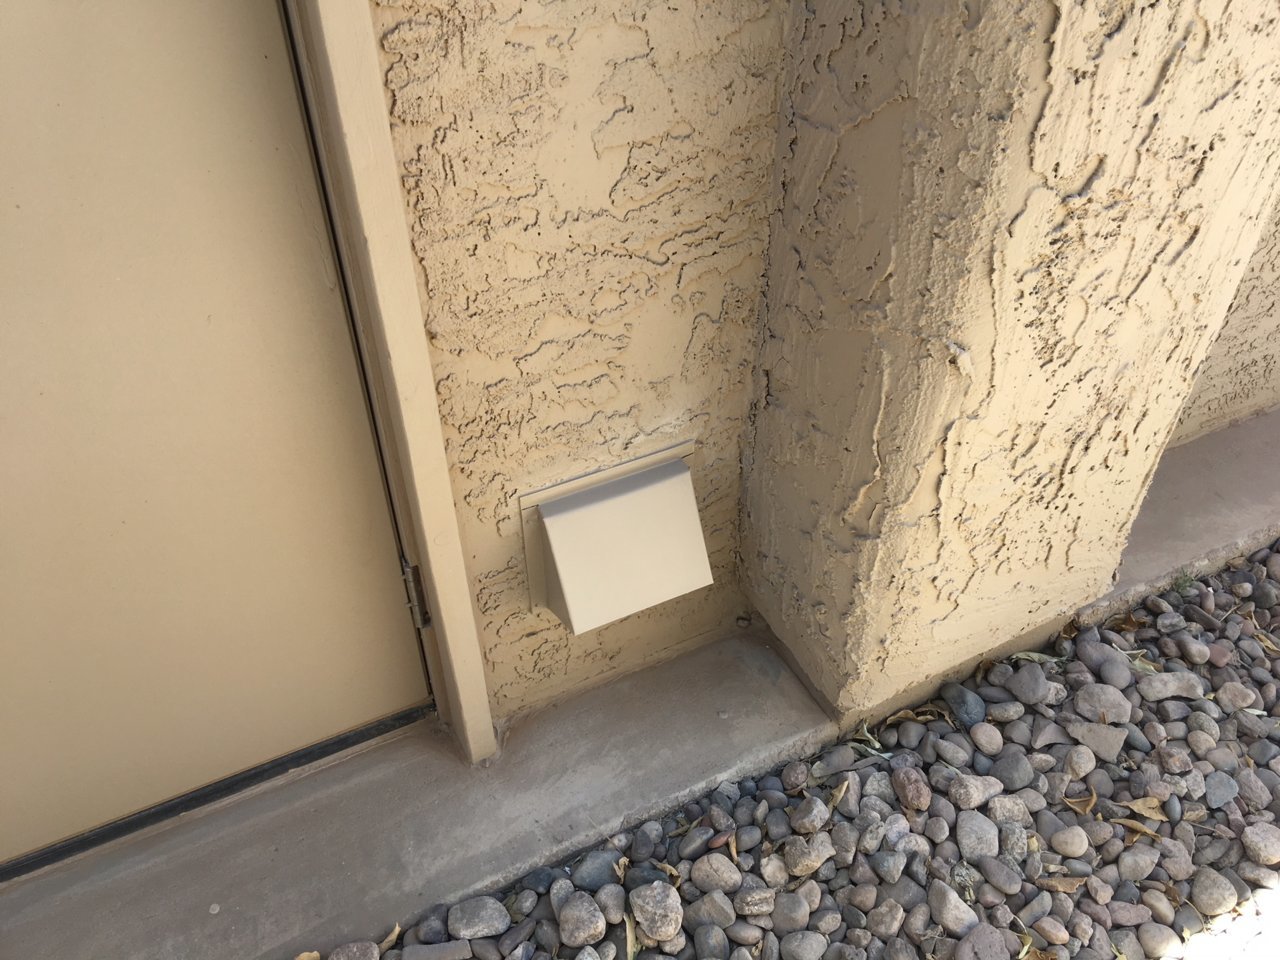


") What lead you to install 2 units? Was it the manufactures specs, trail and error, or did you just figure 2 units would do the job quicker?
What lead you to install 2 units? Was it the manufactures specs, trail and error, or did you just figure 2 units would do the job quicker?