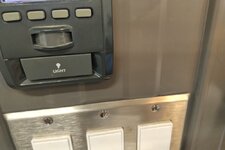
My plan is to do the same as flippin,I also like the clean look. But I also plan on grounding the metal and make sure all plugs and switches are also grounded. I may also put the rms with metal on a GFI breaker just be on safe side.
Flippin thanks for pics very nice job
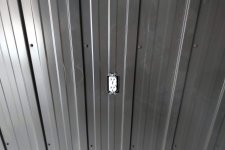
I have been so pleased with the steel panels which I have used for both the walls and ceilings. The first project has been up for more than a year and despite all of the grinding and welding, the panels have withstood the abuse perfectly. I use extra large microfiber floor duster (24") on the walls and ceilings to knock down the dust and the panels look like new.
A few tips about the installation:
(1) we strapped the wall with 1x3, 20" oc.
(2) use a cover sheet to create drill template and pre-dill your sheets. Makes the installation much easier.
(3) use j-track to finish around doors and windows.
(4) inside corner (2") covers up any irregularities at the vertical corners and where the steel panels meet the walls (horizontal).
(5) if your going to do the ceiling keep your panels short (12'). Use back2back j-track to make the joints. Lap joints on the ceiling are never perfect especially where 4 panels intersect. Unlike a roof, gravity is working against you on the ceiling and the panels want to separate. Long panels are a pain to work with overhead and they really amplify any imperfections if your walls aren't square. 1/4" may seem small but 20' away.....
Hope this helps,
-Paul


Sent from my BBF100-2 using Tapatalk