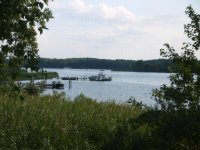
Good luck with defeating the phragmites! They can be persistent, I know that pulling and repeated cutting doesnt work to well, as they have such a massive root system. I'm looking forward to seeing how the spray works to control them.
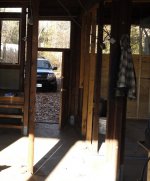
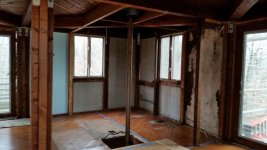
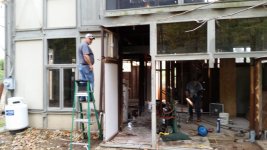
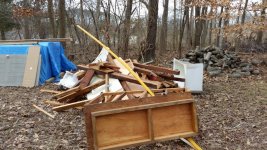
You have accomplished alott with the demo. Now the fun part, rebuilding. Thumbs up.
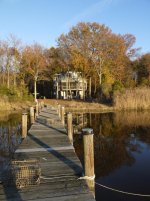
We originally looked at the property in Feb. and so I didn’t realize exactly how bad the phragmites was. We bought it in April but I didn’t get back to it until May and when I did I was stunned how pervasive and scene blocking the phragmites was. I started to research it and yeah, it’s not easy to get rid of. Fortunately, the state of MD runs a program (and a minimal cost) where they will spray it once a year for 5 years during the Fall that helps eradicate it. We are in the second year of the program and there is progress but it’s not as good as I’d like. It is nice that it is recognized as invasive as so MD is looking to provide homeowners help in getting rid of it.
Phragmites is also the background to a funny story. When I met one of my neighbors for the first time we explained backgrounds and stories for a few minutes and then she kind of shocked me by asking, “What’s you stance on the phragmites?”
It was an odd question and I’m thinking to myself what else could be an answer than, like, “It’s a very invasive grass that has negative effects on the Bay and I want to do everything I can do get rid of it.”
But again, her tone was weird. Come to find out the previous owner loved the stuff so she was really happy to hear we were not going to cultivate it like he did. The neighboring lots have little of it so we remain hopeful we can rid our 'crop'.
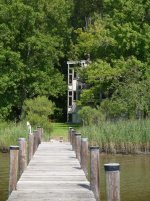
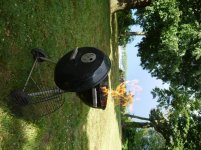
Here is what we are trying to rid of it.