The important question is, once you got the kitchen all ready to go...
Did you have any M'Fn Pancakes? (darn you Gregor!
")
)
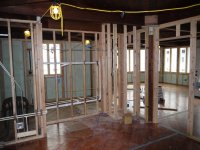
Congratulations, this place is truly one of a kind and its been amazing watching it come together.
Hell yeah we did but it was not as easy as it should have been. Always, always there are problems with this place.
First, they call to tell me that the microwave they received from shipping was wrong color. They ask if I want to re-order it and I say no. I want them to order the correct color. Fine, more about this later.
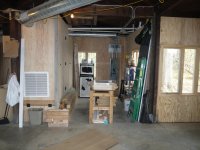
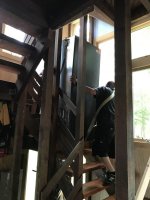
They show up with fridge, stove and DW. I was worried about getting them up the stairs and when I ordered the appliances asked about this. I was told that generally they do but the crew decides based on what they find. I could not sleep the night before and wondered how my son and I could get them to second story -
1. Built ramp to unscreened portion
2. Block and tackle like vanity
3. Use lift that we need to finish screen
All that worry for nothing. They muscled them in and the fridge was the only real hassle. They used a canvas strap under appliance and attached to each guy. Real difficult because they had to keep unit straight up and down.
My son and I installed the fridge to start keeping stuff (mostly beer) cold.
Then I checked the plug for oven and we raced over to pick up UHaul. I was given a list of items - mostly beds, furniture and kitchenware, but of course most of this was in back of unit and we had to move stuff to get access to it. Plus it was just around 100. But we fill up truck and then move it inside since it is now evening and threatening rain.
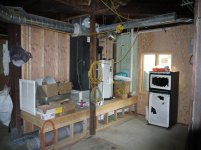
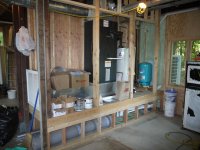
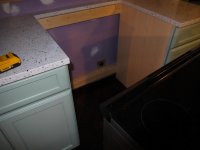
I go inside to install stove - f*ck. Not so brilliant cabinet installer used two 2x3 to get cabinets 3 inches from wall. This was critical in design which features 27 inches of countertops instead of more typical 24 and this design was partially based on the 4x4 posts that flank each end of L-shaped counters. Anyway, the 2x4s interfere with plug (see pictures) so I've got to use sawsall in tight space and then screw loose ends to make room for cord (since it can't bend around 2x4 to fit in plug).
A 15 minute job now lasts over an hour and then I go to flip it on and no power. Txt electrician and he says that range breaker was only one not on truck. Says he will stop by next day and does.
So, Growlertdi (with a nod to Gregor) M'Fn Pancakes!
Funny thing is my wife was like - what's with the picture of pancakes?


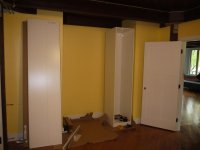
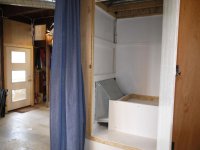
 ). As a matter of fact the first thing I did at our old cottage was ripped out two closets (one in the loft to make room for a queen bed and one in the kids room to make room for bunk beds). Then when we swapped the kitchen and the master bedroom so that the kitchen would be on the water-side we did not build a closet for the master bedroom but rather used a wardrobe from Ikea.