Toolfool
Well-known member
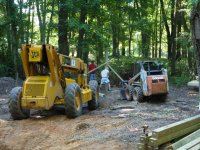
Yeah, soil quality will dictate how deep and wide your holes need to be. were soil samples submitted for permits ?

Yeah, soil quality will dictate how deep and wide your holes need to be. were soil samples submitted for permits ?
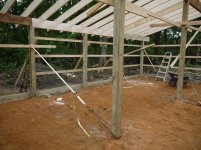
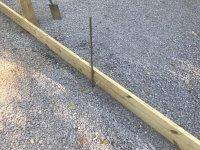
With how wet he ground there looks, aren’t you worried about putting wood post directly in the ground? I would think you would need either a footer to bolt the poles to, or permacoulms?
 Thanks for the detail.
Long time lurker first time poster here.
Wow, what a fine job you are doing.
Thanks for sharing,
Todd
Easton, MD
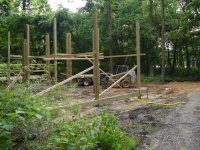
Brian, that's going to be a great garage space.
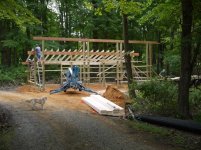
Great job on the house and the garage is coming along. We take our RV to Chincoteague 4 or more times a year except for this year. Love the area. Happy Holidays.
Thanks for following and the Vincent is a long story itself. I've always loved motorcycles but had never seen one until I went to an auction in 1990. I decided right then that I was going to start saving and it took me 15 years for the world to align properly (combination of enough money and finding a reasonably priced example).
It's a bitsa Toruing Rapide (1948 engine with the frame cobbled together using 1950 and 1951 pieces). It took some work, some money, and some help from Lone Star section of Vincent Owners club but it is now on the road and I'm having a blast with it.
BTW - I've checked out your shop and I'd love either the '67 Porsche or the Ducati.