
Moose-LandTran
Well-known member
Howdy, Folks!
Welcome to the first installment of "Moose Explains", well more of a pilot really. Just a little something to help any novices who might be interested, or for anyone to read for whatever reason that appeals to them, or even just for a laugh!")
We'll start off with something basic, because you gotta start somewhere, right? Today we'll cover Spark Plugs, an integral part to any vehicle service or tune-up.
The first step is to remove the HT leads, if you car has them, i'll cover on-plug coil packs in a follow-up stortly. These may be a little hard to remove, but be careful not to damage them! For this i used some Knipex grabber pliers to help pull them off without problems.

Next, we need to choose the right spark plug socket. In this case they need a 16mm (5/8") socket, but others may use a 14mm (9/16"), 18mm, 3/4" (19mm), 21mm (13/16"), or 7/8" (22mm). This Snap-on socket, like most other sockets for this application, mine has a rubber insert to hold the plug.
Next we'll remove the old spark plug, they're nice and accessible on this old Mercedes-Benz 4-cylinder, so i only needed a single extension on my ratchet. Depending on your application may need another combination. Remember that pulling on the ratchet is easier and reduces the risk of hurting yourself, like busted knuckles if you slip, or if the plug suddenly gives way!

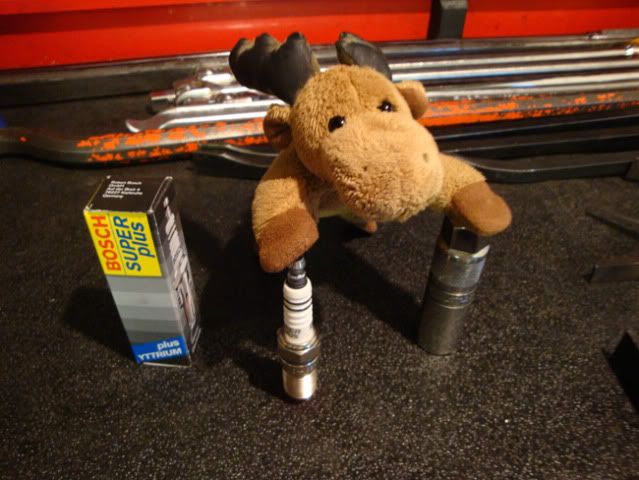
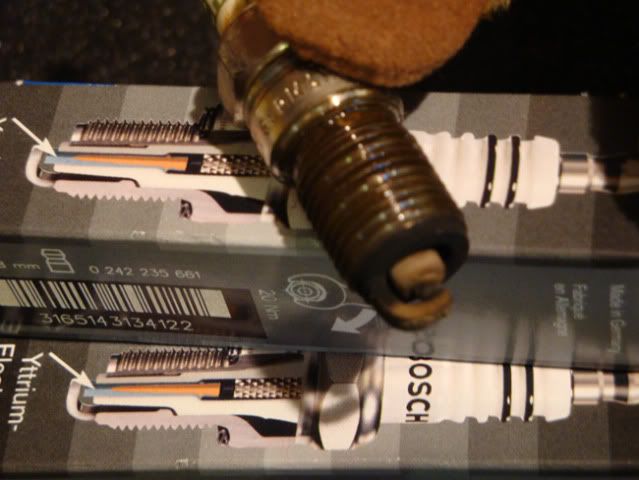
Inspect the old plug, this one has definitely "had it" and needed to be changed, checking the plug can often help you determine any problems your engine may have. The only place for this old plug is in the trash!
Nice new spark plugs! Your owner's manual will tell you which plugs are right for your engine, a good reliable parts store can also help you locating the correct plugs. If in doubt as to which to buy get a second opinion, it never hurts to be sure! Better safe than sorry, right?
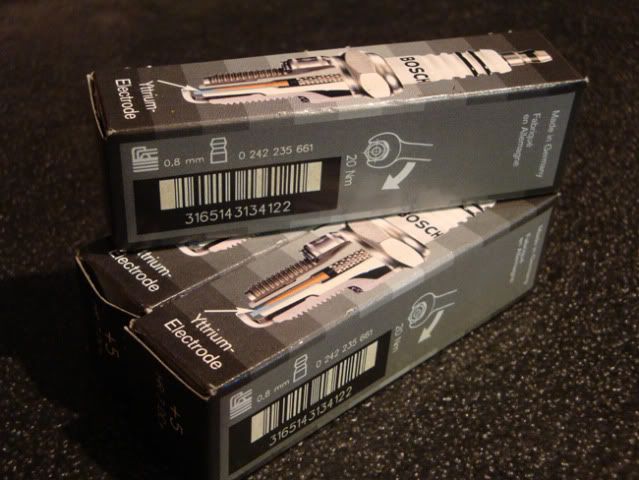
The packaging of the new plugs can be a source of valuable information, in this case it lists both tightening torque and electrode gap. Again, if in doubt get a second opinion. An owner's manual, or suitable Haynes/Bentley manual will also contain this info. It is important!

Now we're going to gap the plugs, just to be sure. Bosch have kindly told us that the gap for these plugs is 0.8mm, check with a feeler gauge. The fit should be tight, but not excessively. An incorrectly gapped plug can cause running problems, and we don't want that, do we?

Mount the shiny new plug in the socket, make sure the rubber holds it in nice and tight, we don't want to drop it!

Thread it in the hole by hand, i always make two turns backwards (anti-clockwise) so i feel the threads "click", this ensures no cross threading, which could be distasterous, and it's so simple to avoid.

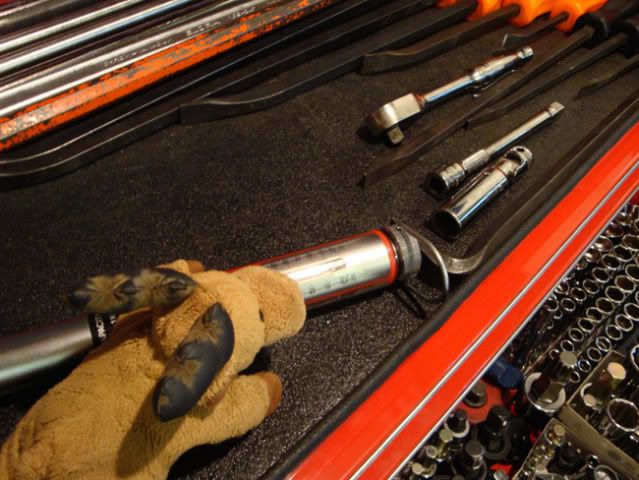
As well as the spark plug gap, Bosch have kidly informed us that this plug needs to be tightened to 20nm, we'll use a torque wrench to ensure the correct torque is reached and not exceeded. I'm going to use my trusty Norbar SL1 for this.
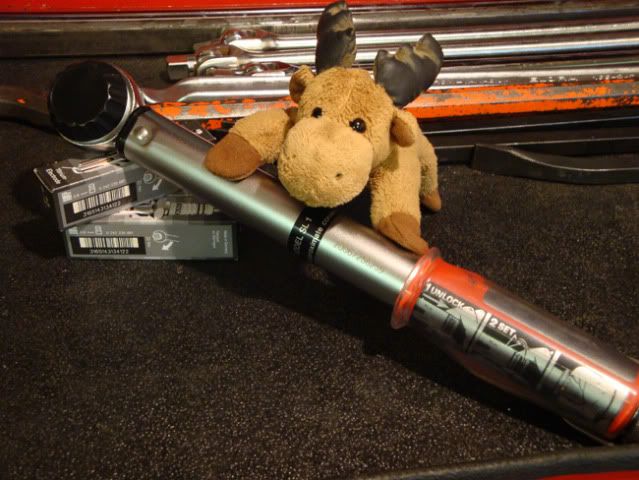
On this particluar torque wrench, the torque is set by pulling down the collar on the bottom, and turning until you reach the desired torque on the scale. (20nm for this case.) The push the collar back up to avoid accidental changing of the torque setting.
This torque wrench is 1/2" drive, whereas my spark plug socket is 3/8" drive, here i'm attaching the socket using a step-down adapter.

Put the socket on the new spark and pull on the torque wrench until it clicks, don't pull it any further after it clicks! The click tells you the correct torque has been reached.

Reattach the HT leads, push them until they "click" on to the end of the spark plug. Make sure they engage properly.

A job well done! And not a single problem either, how good is that? But there's still one more thing to do, clean all your tools and put them back in their place, so nothing gets lost and you can find them easily for next time.

Hope you all enjoyed!
-Moose.
Welcome to the first installment of "Moose Explains", well more of a pilot really. Just a little something to help any novices who might be interested, or for anyone to read for whatever reason that appeals to them, or even just for a laugh!
We'll start off with something basic, because you gotta start somewhere, right? Today we'll cover Spark Plugs, an integral part to any vehicle service or tune-up.
The first step is to remove the HT leads, if you car has them, i'll cover on-plug coil packs in a follow-up stortly. These may be a little hard to remove, but be careful not to damage them! For this i used some Knipex grabber pliers to help pull them off without problems.
Next, we need to choose the right spark plug socket. In this case they need a 16mm (5/8") socket, but others may use a 14mm (9/16"), 18mm, 3/4" (19mm), 21mm (13/16"), or 7/8" (22mm). This Snap-on socket, like most other sockets for this application, mine has a rubber insert to hold the plug.
Next we'll remove the old spark plug, they're nice and accessible on this old Mercedes-Benz 4-cylinder, so i only needed a single extension on my ratchet. Depending on your application may need another combination. Remember that pulling on the ratchet is easier and reduces the risk of hurting yourself, like busted knuckles if you slip, or if the plug suddenly gives way!
Inspect the old plug, this one has definitely "had it" and needed to be changed, checking the plug can often help you determine any problems your engine may have. The only place for this old plug is in the trash!
Nice new spark plugs! Your owner's manual will tell you which plugs are right for your engine, a good reliable parts store can also help you locating the correct plugs. If in doubt as to which to buy get a second opinion, it never hurts to be sure! Better safe than sorry, right?
The packaging of the new plugs can be a source of valuable information, in this case it lists both tightening torque and electrode gap. Again, if in doubt get a second opinion. An owner's manual, or suitable Haynes/Bentley manual will also contain this info. It is important!
Now we're going to gap the plugs, just to be sure. Bosch have kindly told us that the gap for these plugs is 0.8mm, check with a feeler gauge. The fit should be tight, but not excessively. An incorrectly gapped plug can cause running problems, and we don't want that, do we?
Mount the shiny new plug in the socket, make sure the rubber holds it in nice and tight, we don't want to drop it!
Thread it in the hole by hand, i always make two turns backwards (anti-clockwise) so i feel the threads "click", this ensures no cross threading, which could be distasterous, and it's so simple to avoid.
As well as the spark plug gap, Bosch have kidly informed us that this plug needs to be tightened to 20nm, we'll use a torque wrench to ensure the correct torque is reached and not exceeded. I'm going to use my trusty Norbar SL1 for this.
On this particluar torque wrench, the torque is set by pulling down the collar on the bottom, and turning until you reach the desired torque on the scale. (20nm for this case.) The push the collar back up to avoid accidental changing of the torque setting.
This torque wrench is 1/2" drive, whereas my spark plug socket is 3/8" drive, here i'm attaching the socket using a step-down adapter.
Put the socket on the new spark and pull on the torque wrench until it clicks, don't pull it any further after it clicks! The click tells you the correct torque has been reached.
Reattach the HT leads, push them until they "click" on to the end of the spark plug. Make sure they engage properly.
A job well done! And not a single problem either, how good is that? But there's still one more thing to do, clean all your tools and put them back in their place, so nothing gets lost and you can find them easily for next time.
Hope you all enjoyed!
-Moose.
Last edited:


