GreyOwl
Well-known member
I really like the subtle reverse cowl vent!

I really like the subtle reverse cowl vent!
A well deserved award.
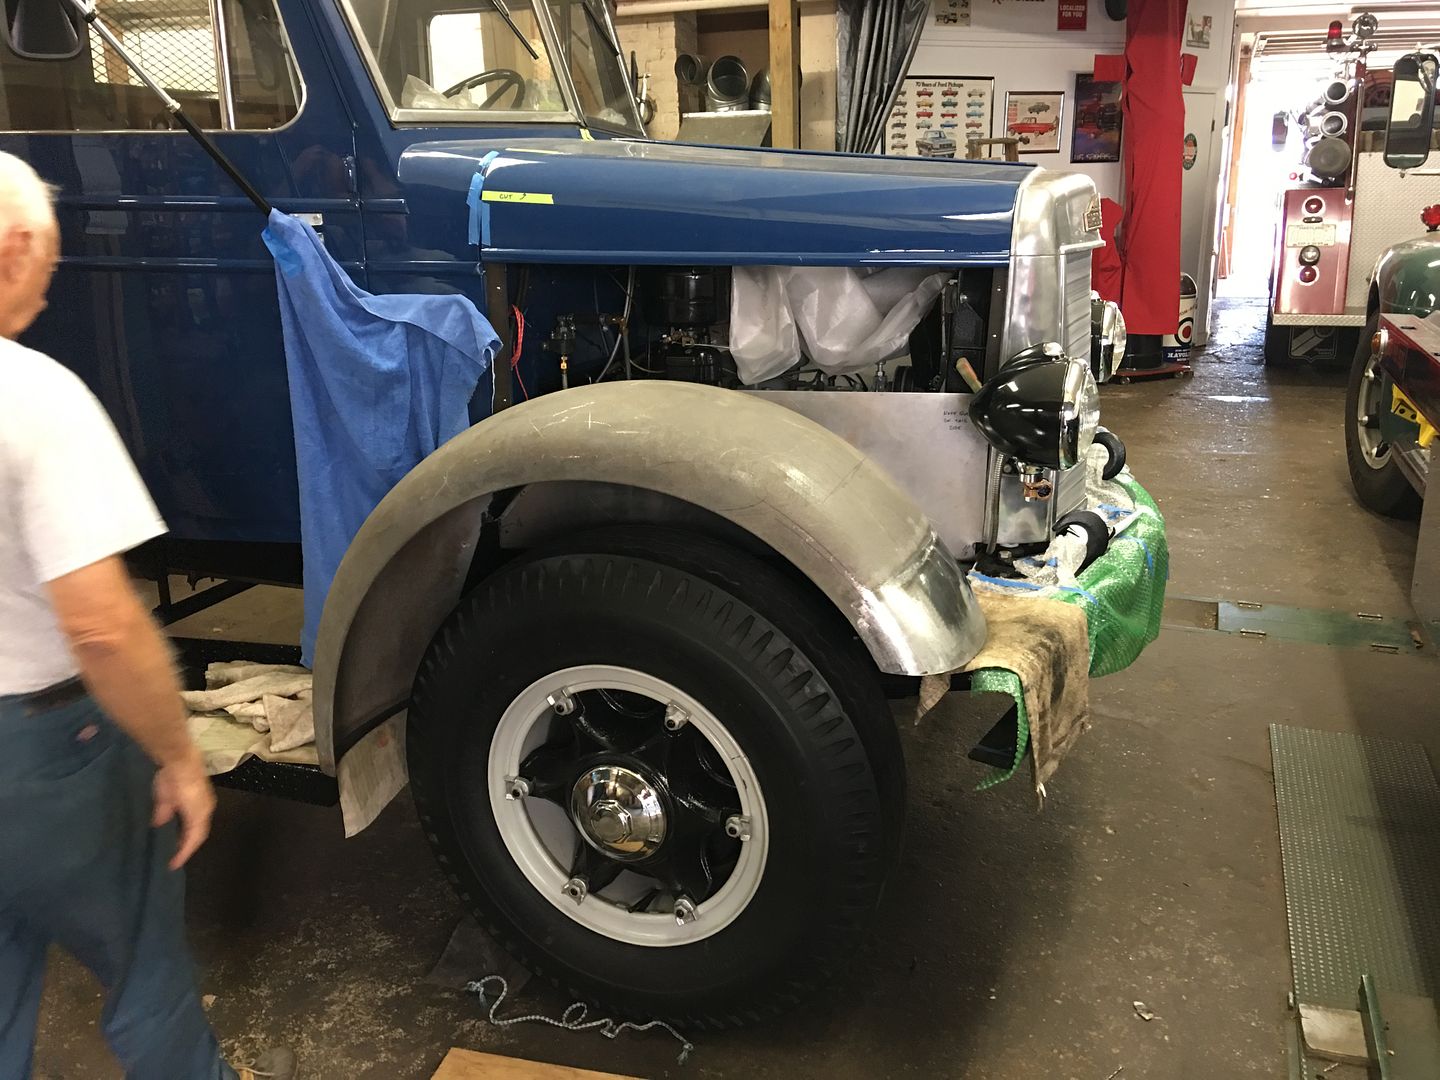
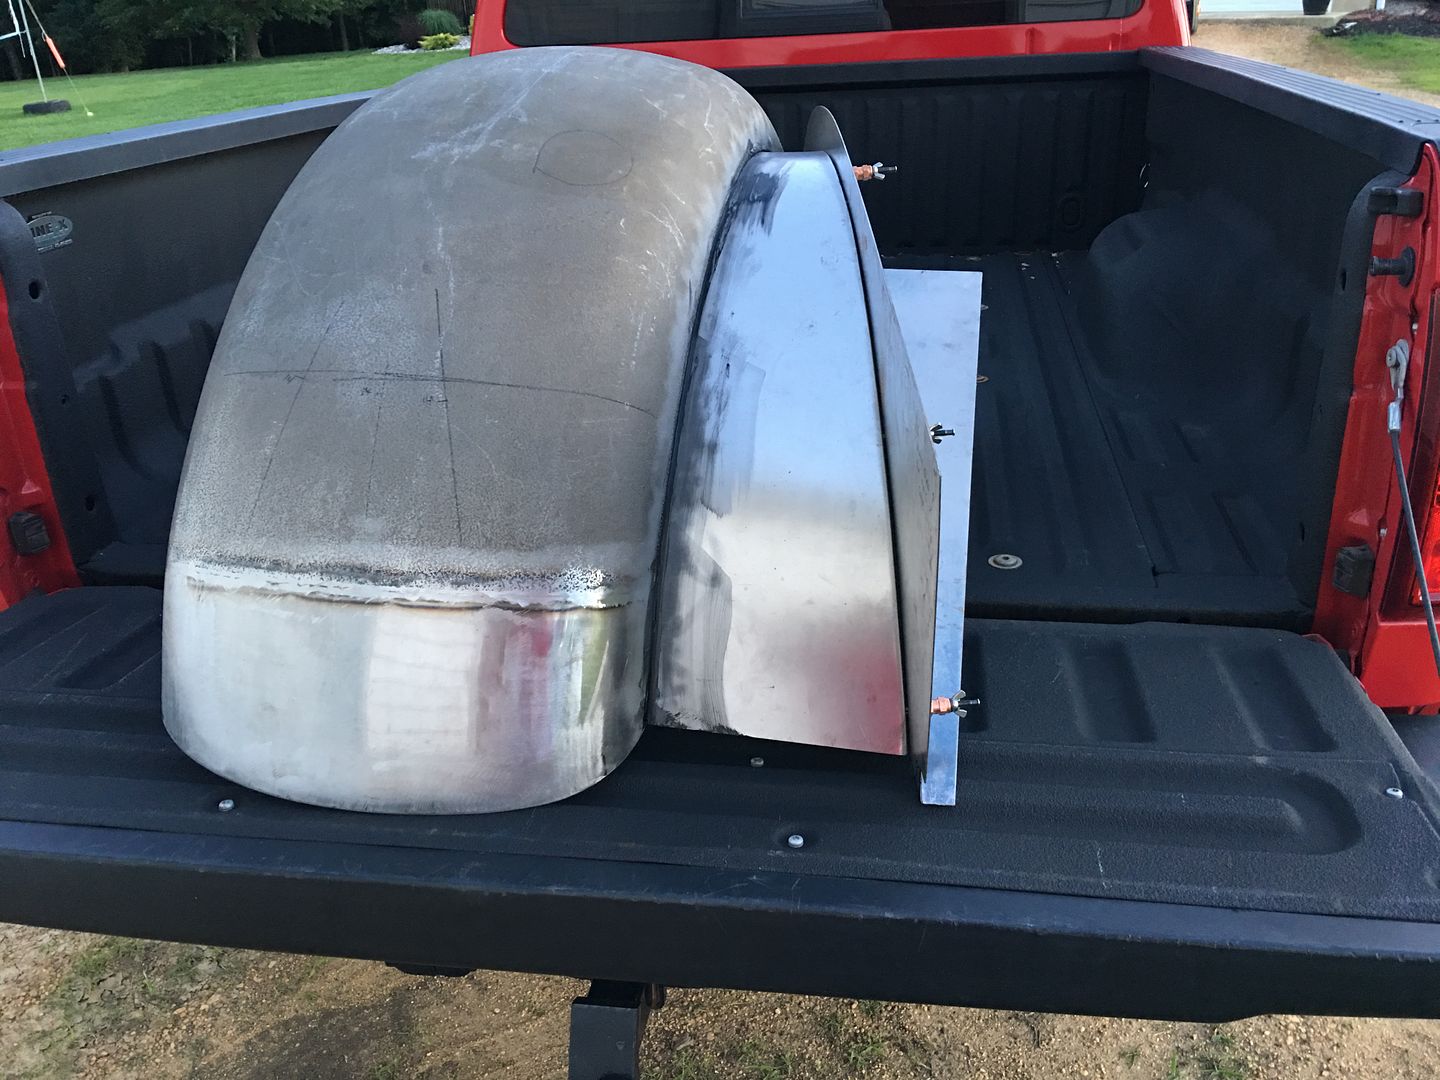
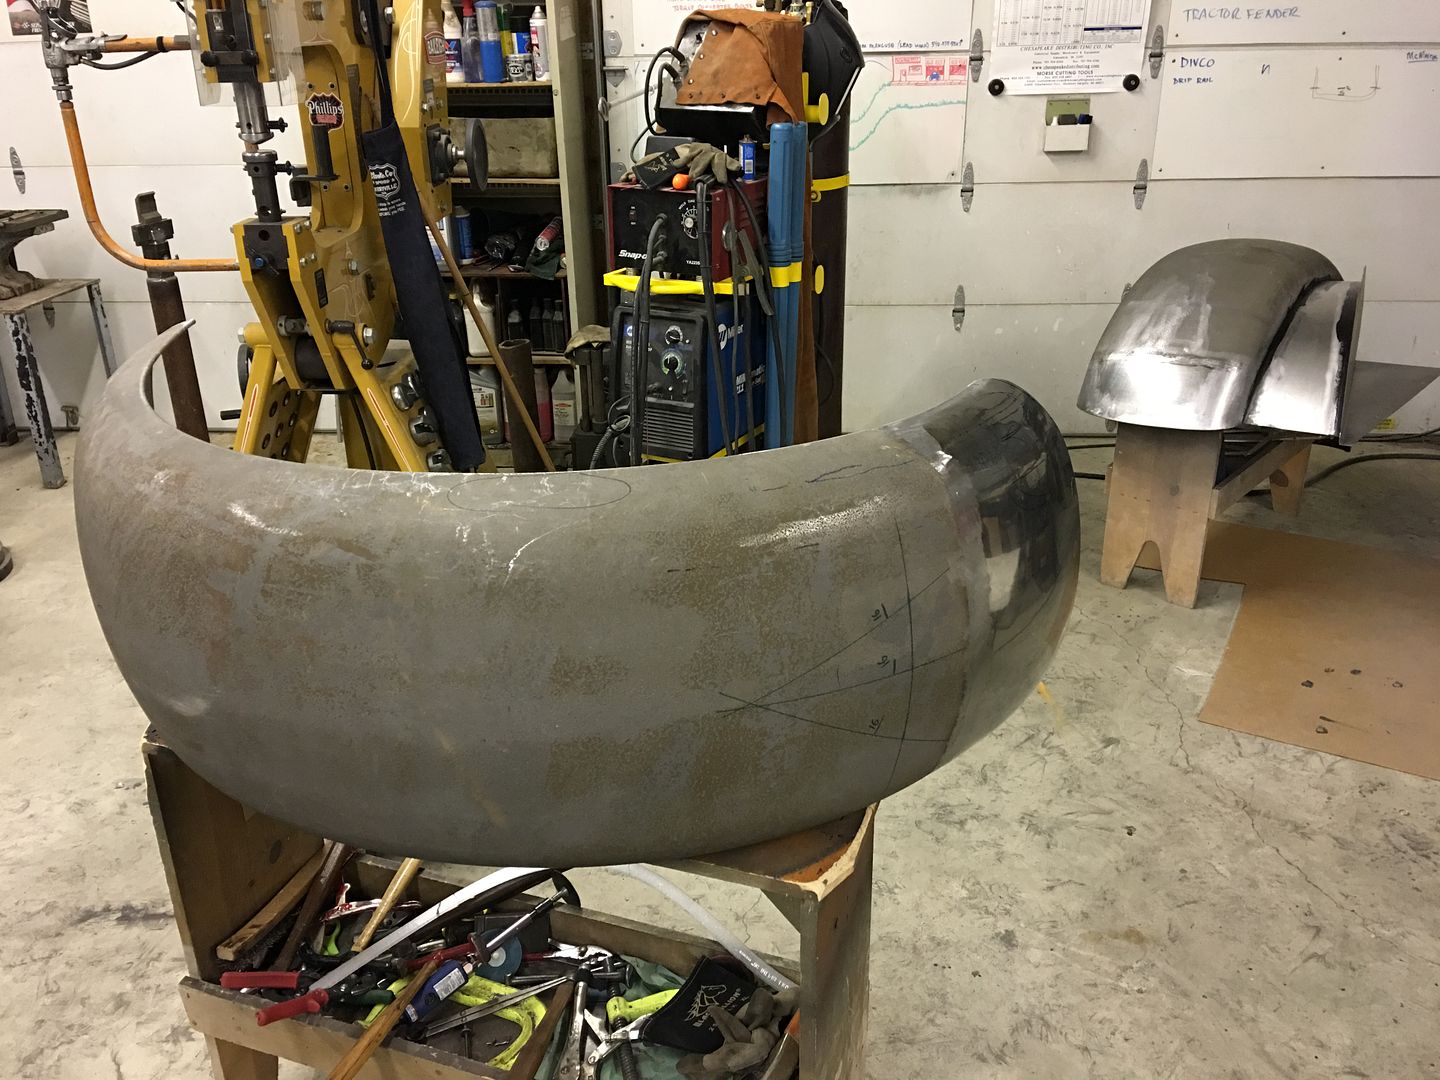
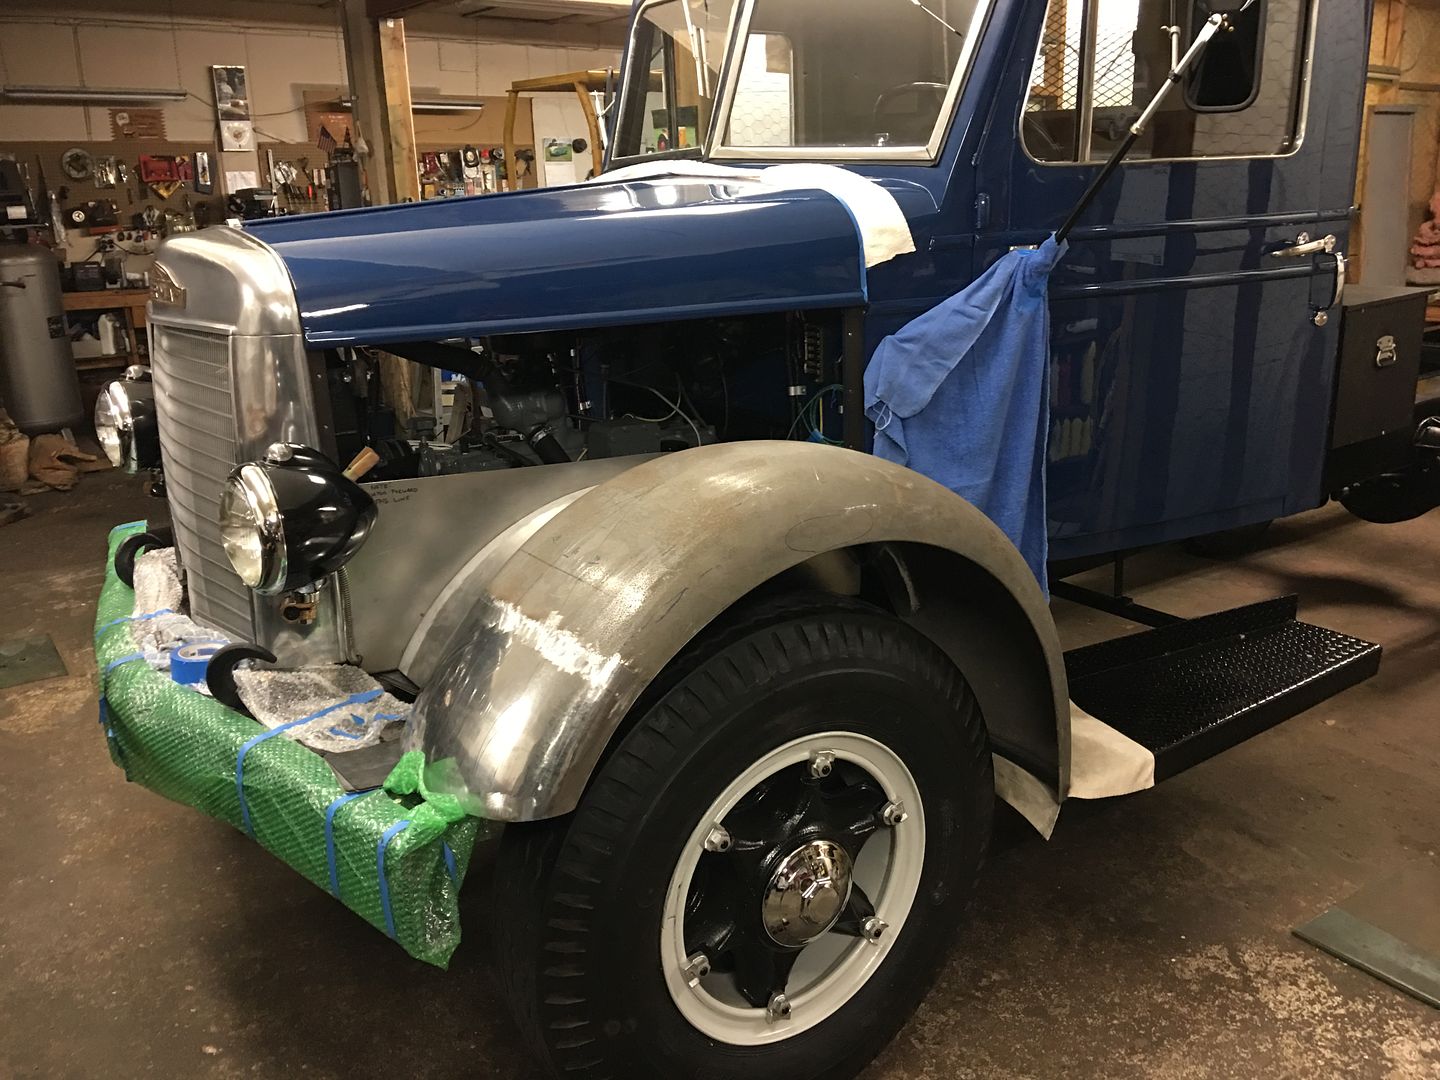
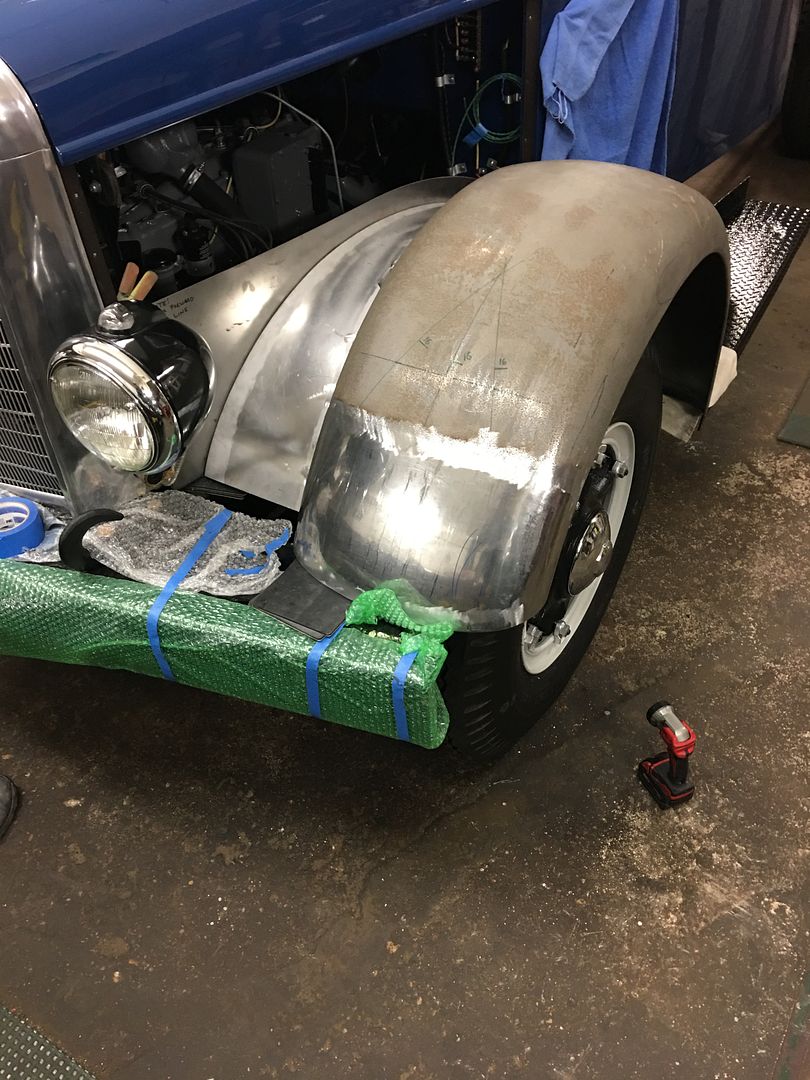
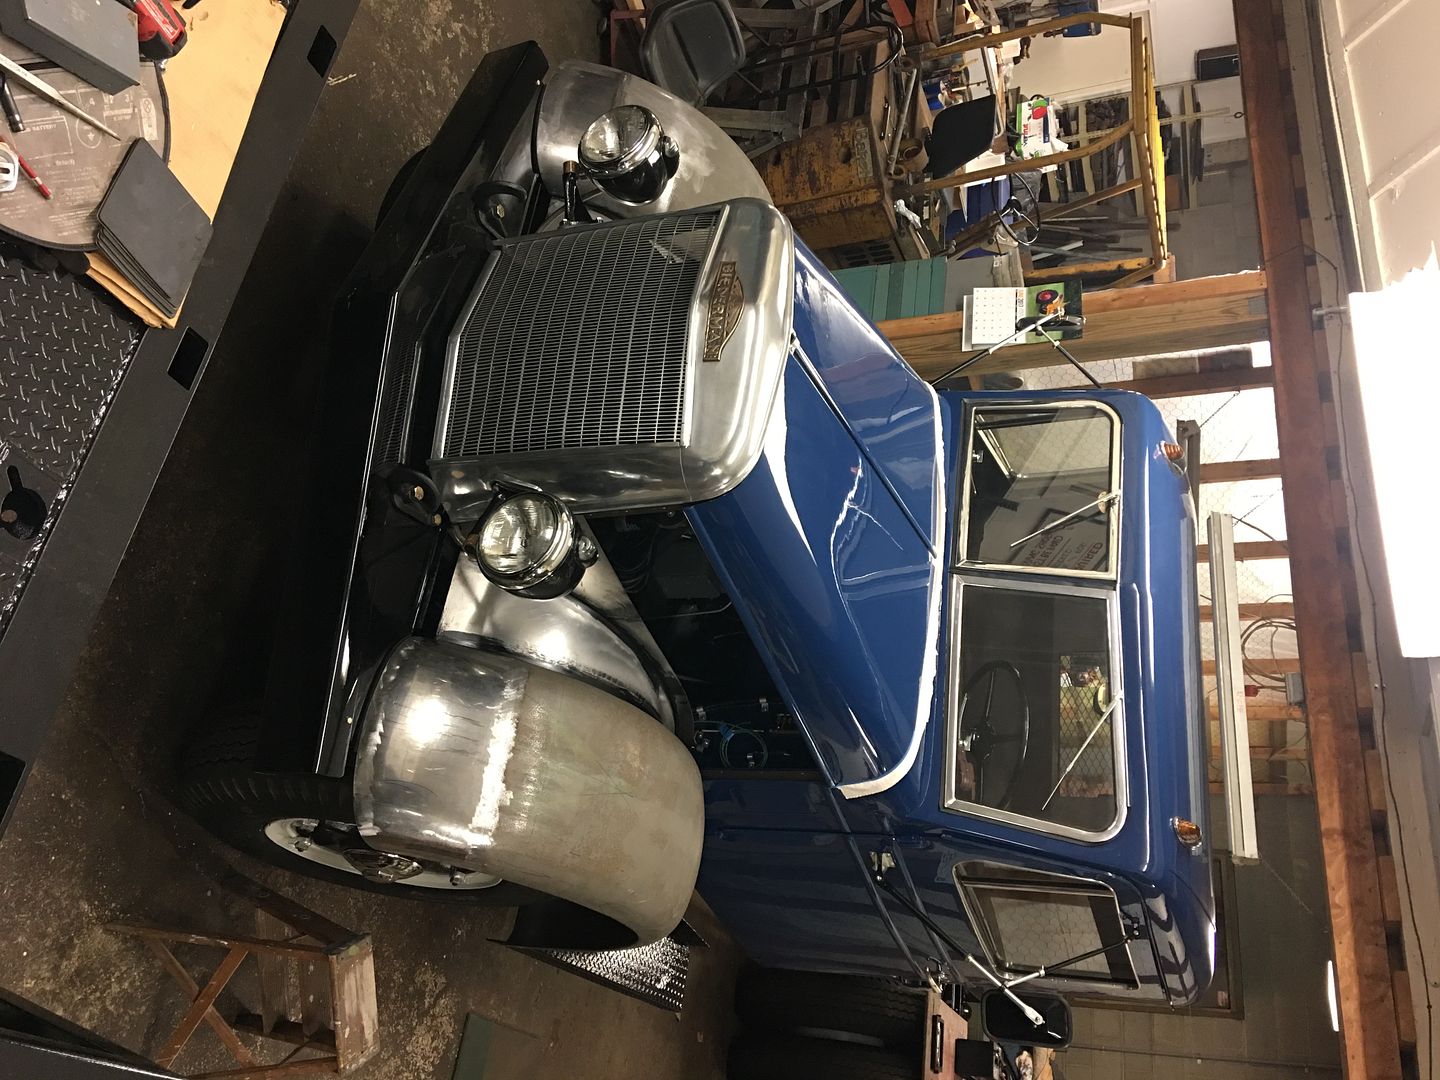
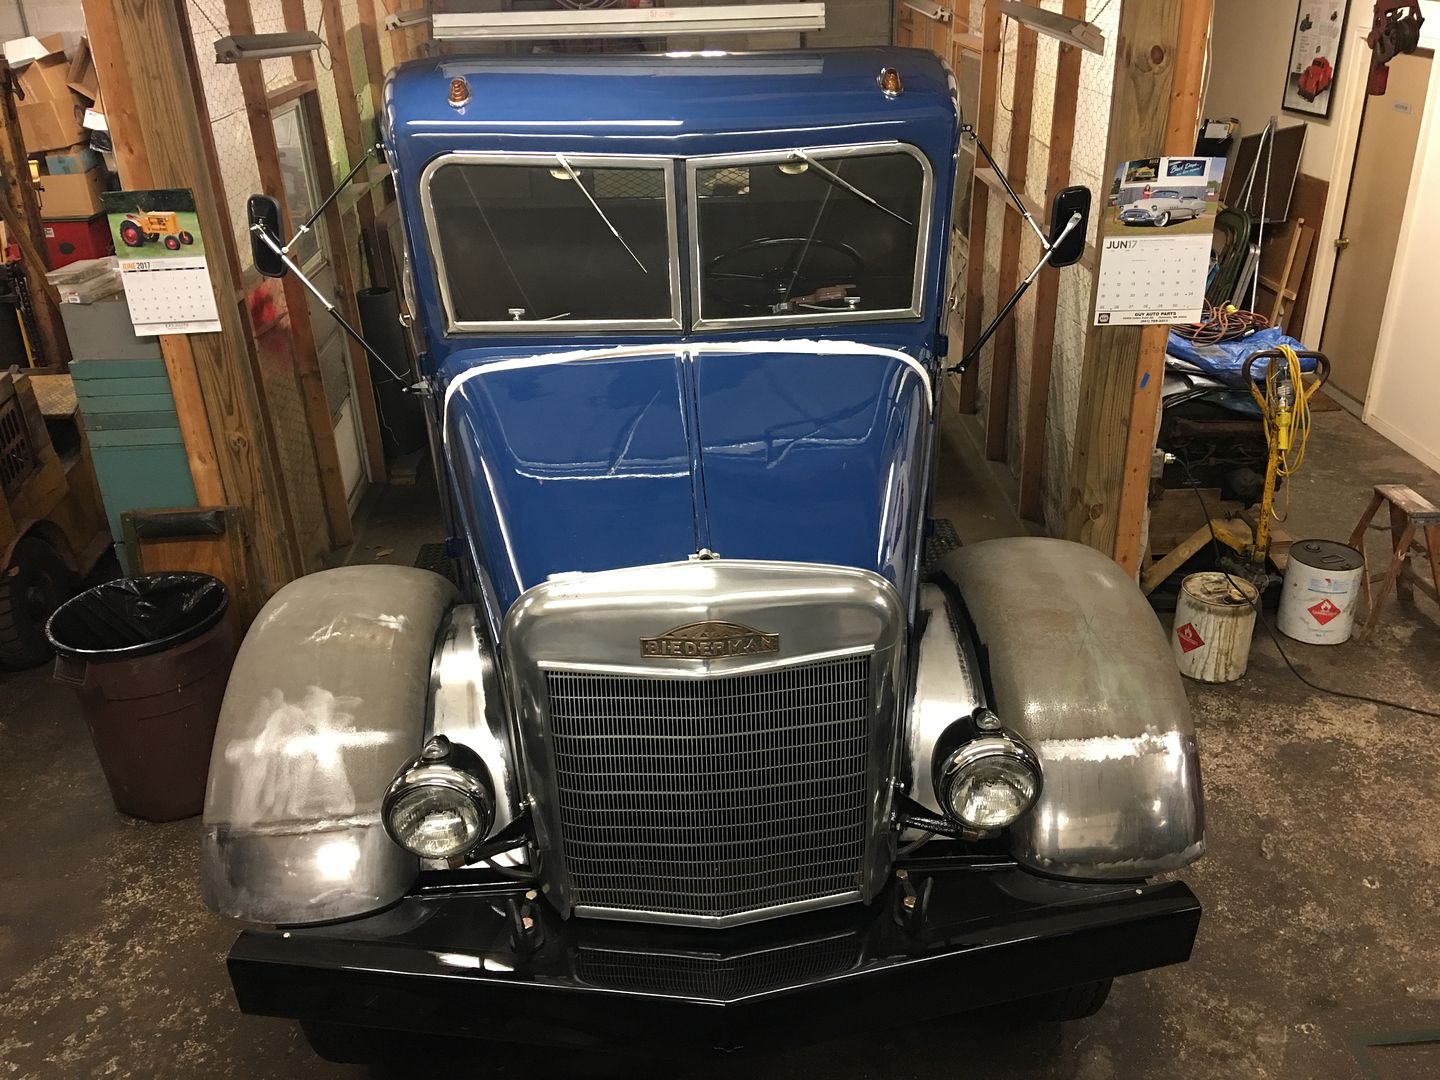
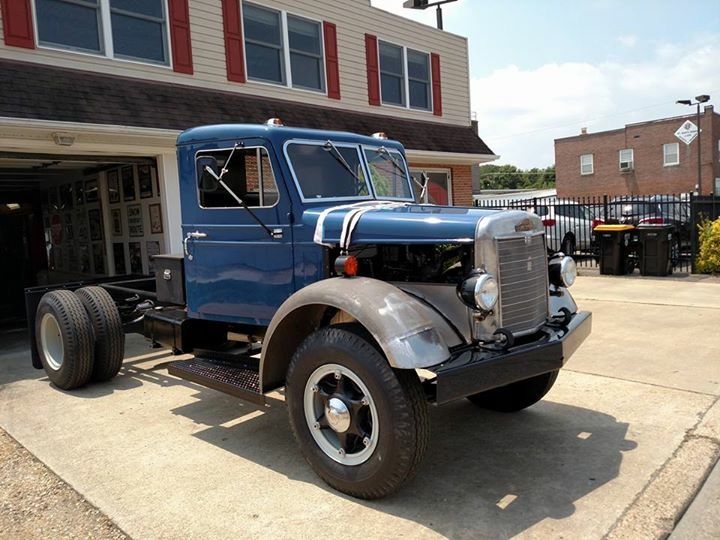
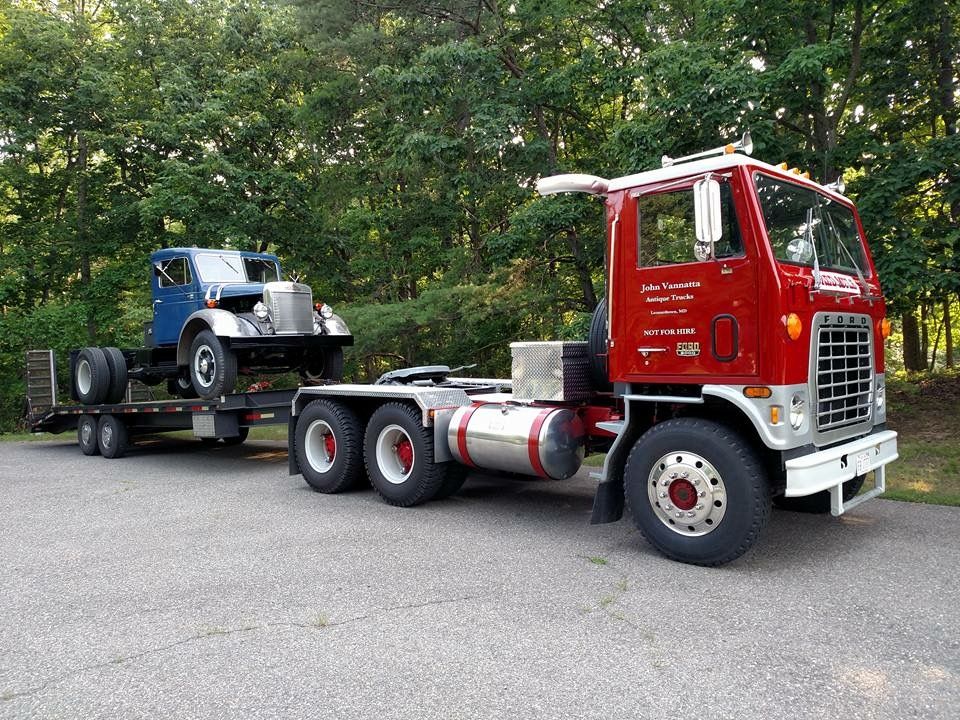
I always liked the full fender look.
The color is nice too.
And glad to see something other than a fiberglass Ford.

Beautiful. Such gorgeously subtle work.
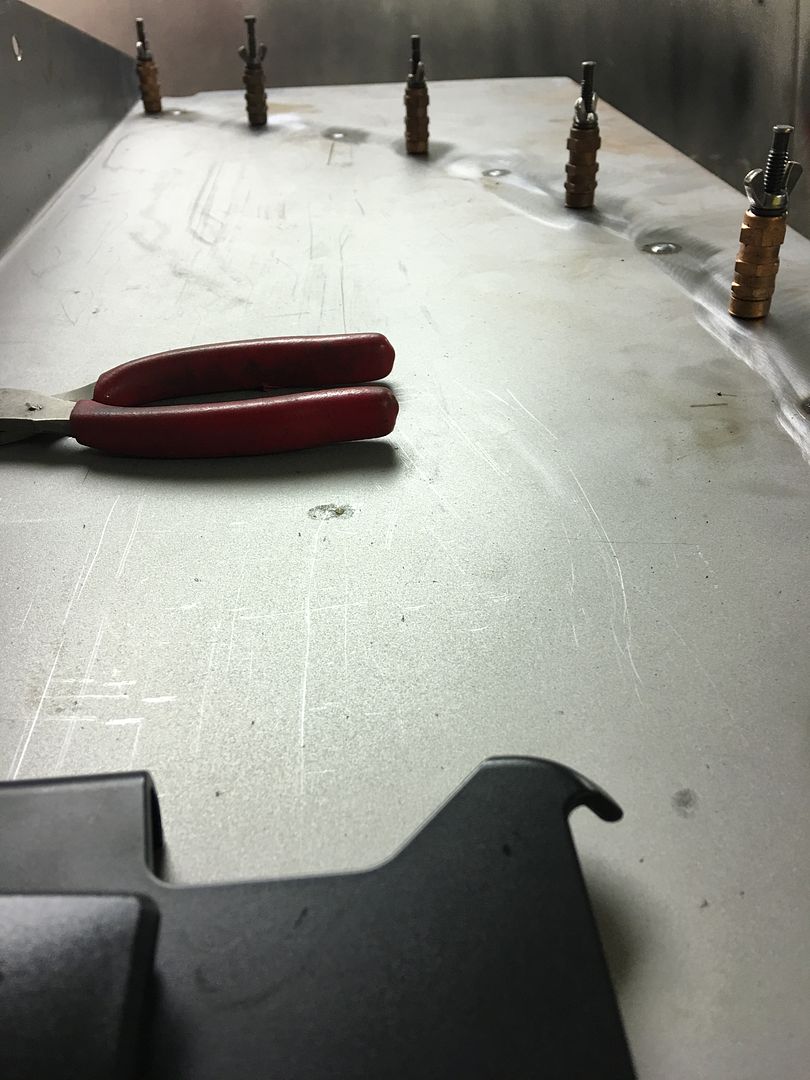
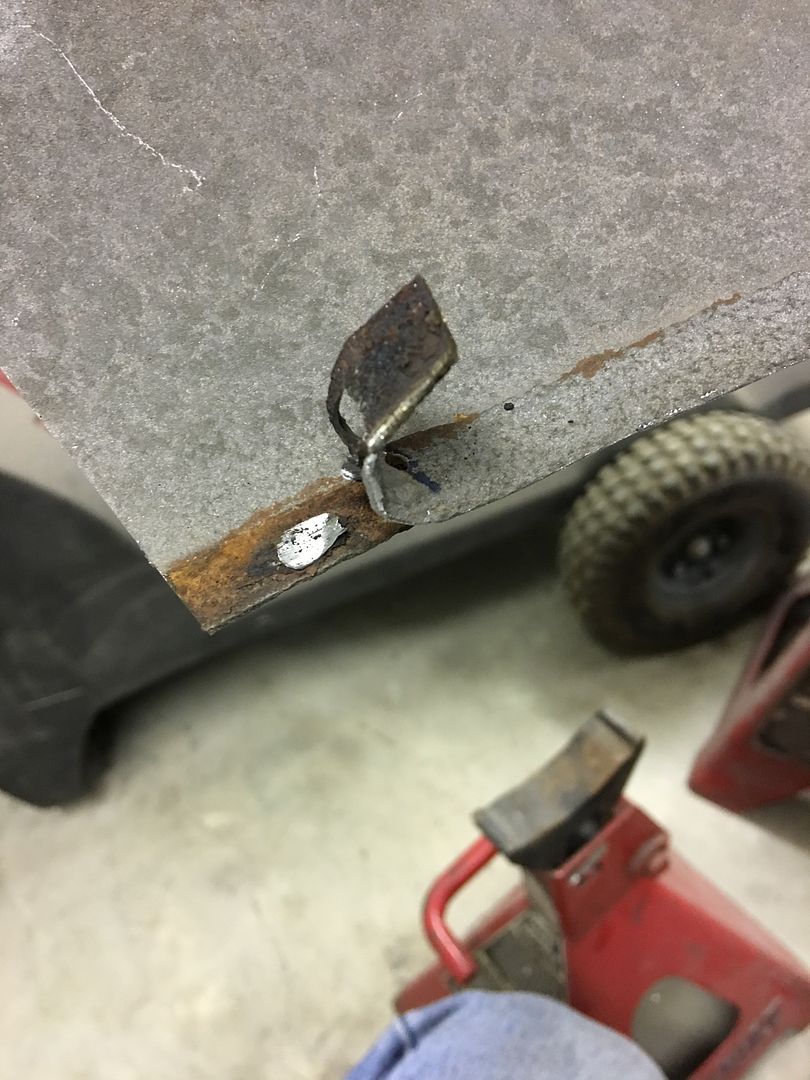
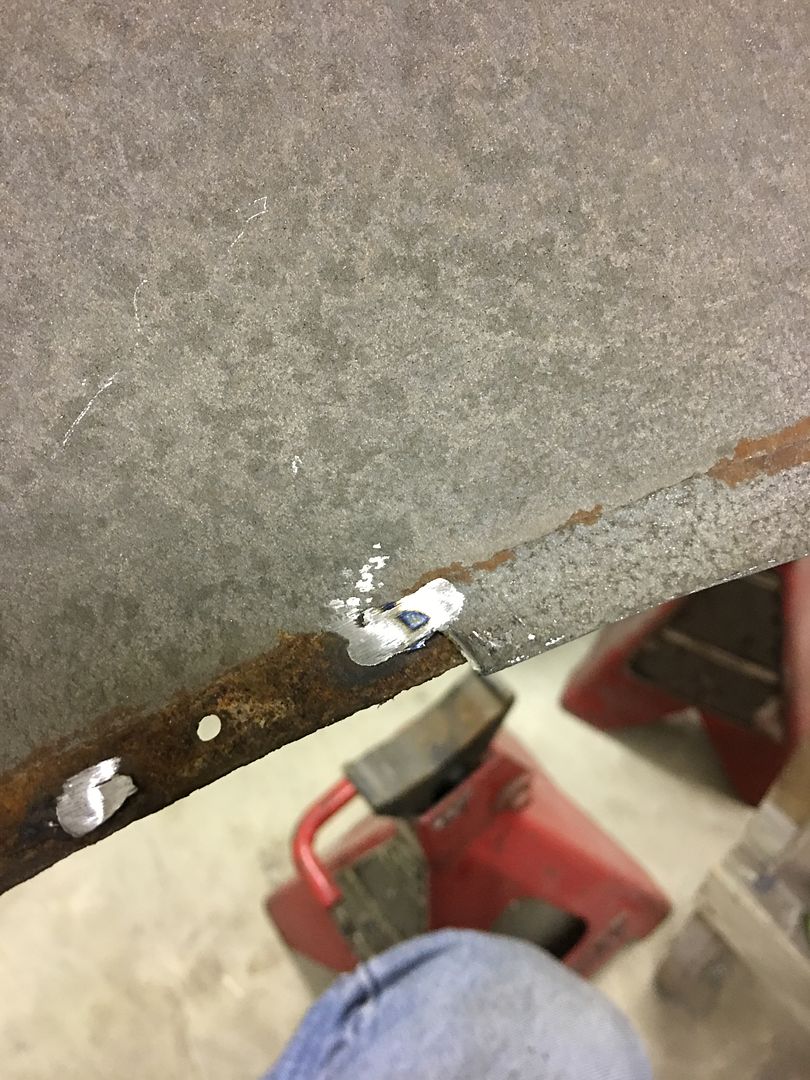
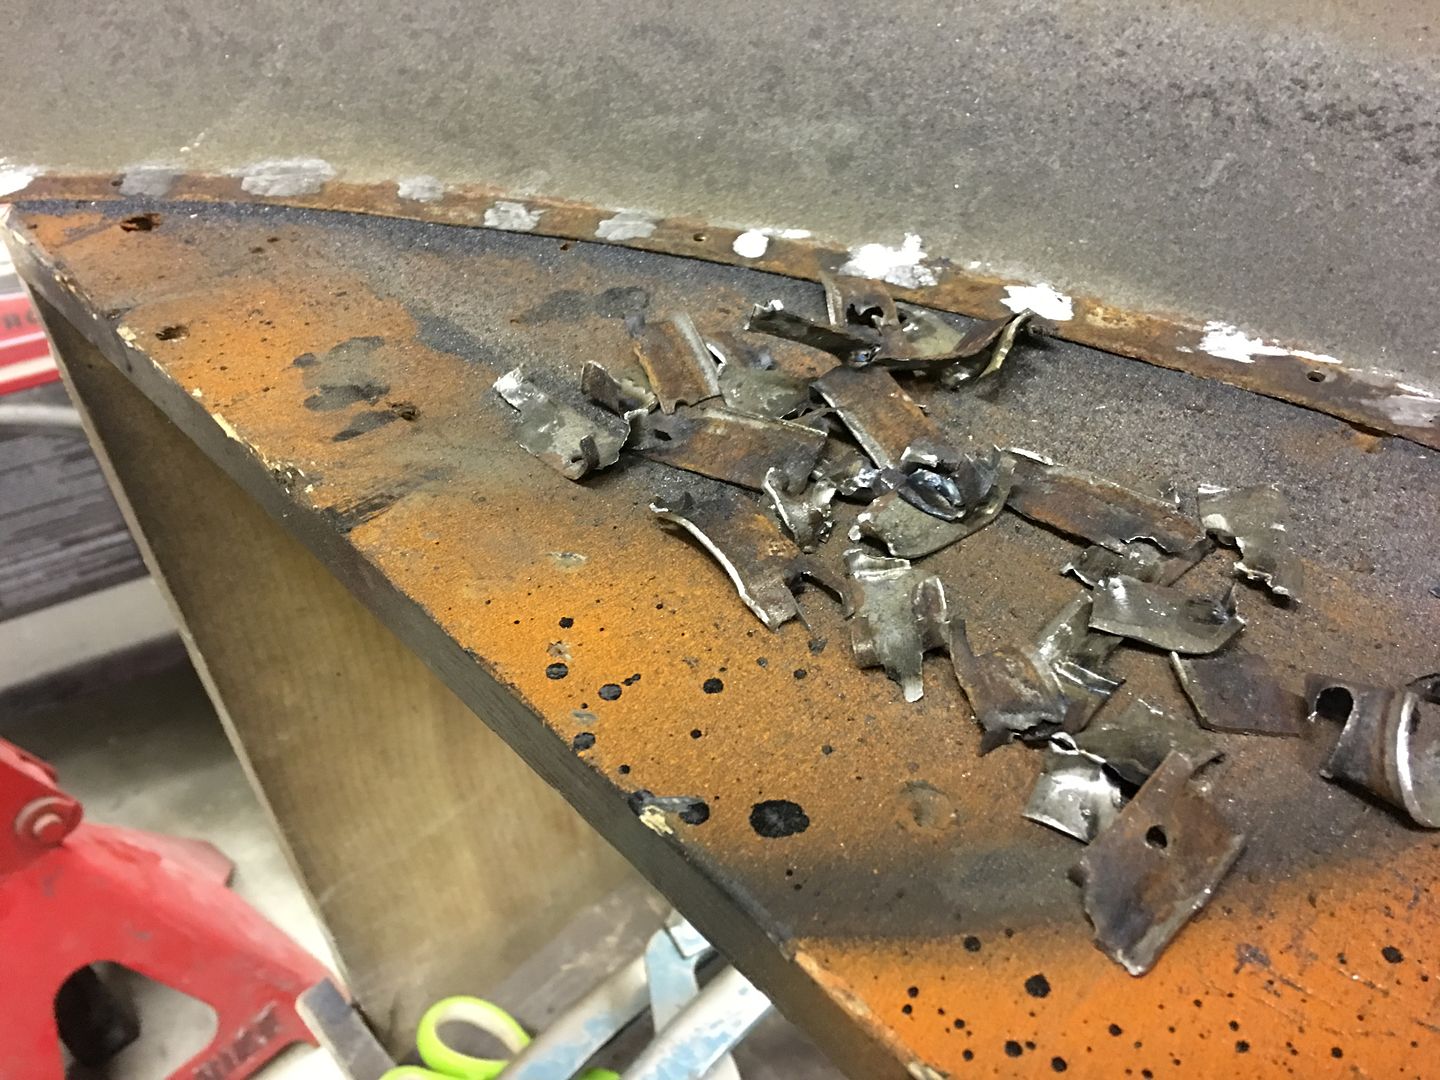
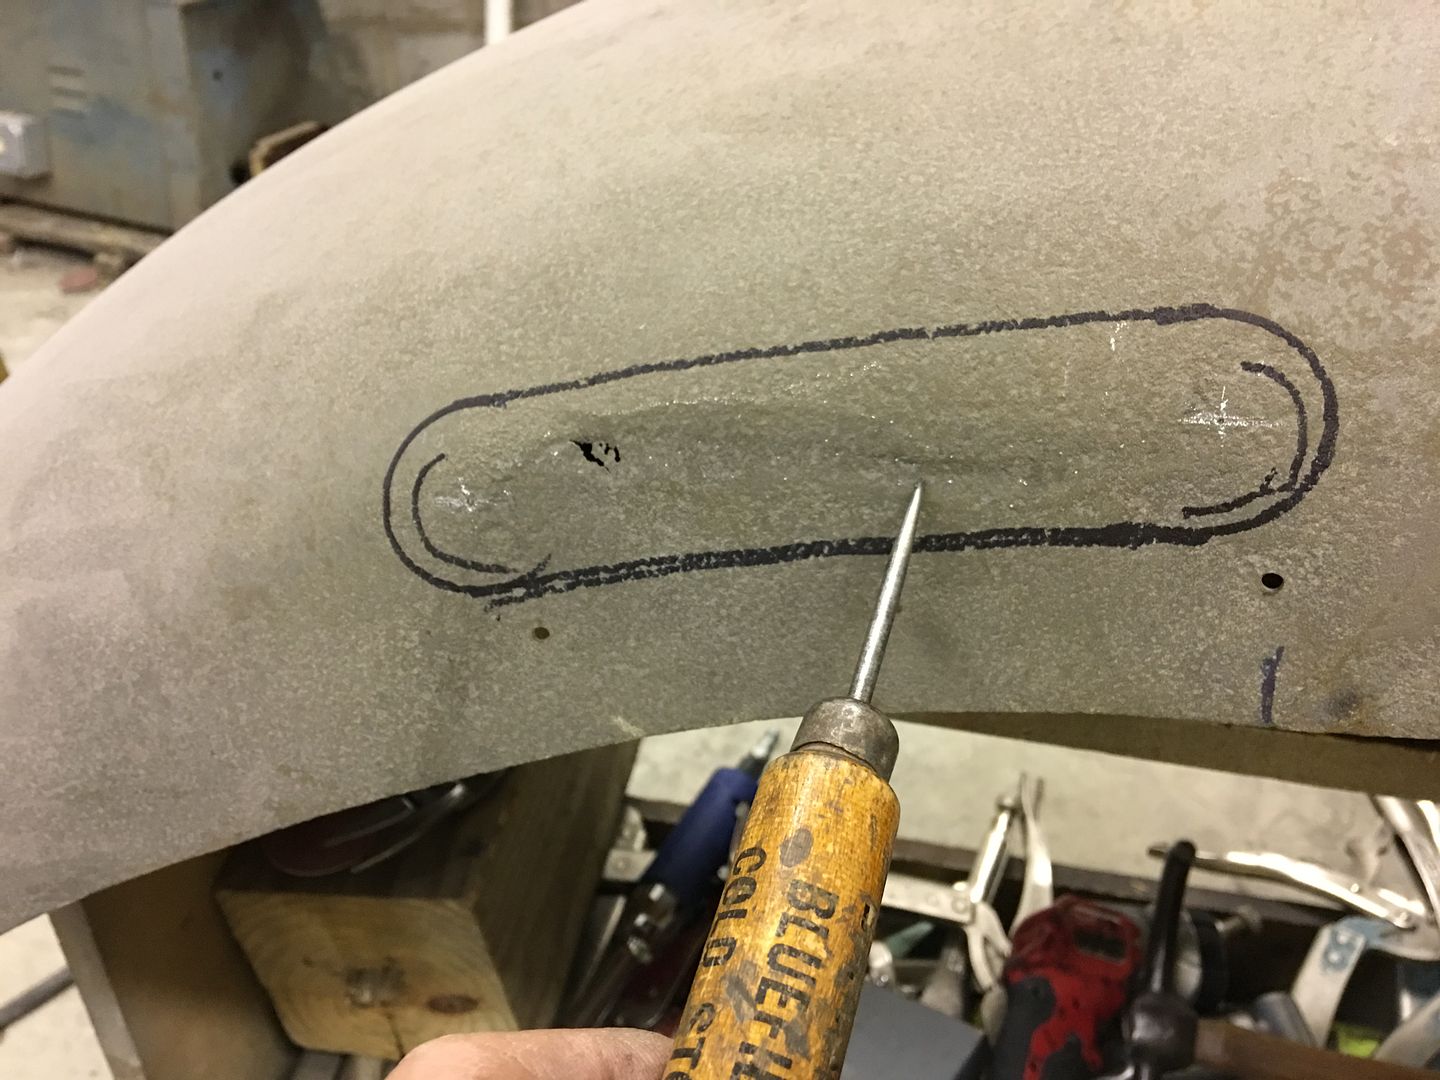
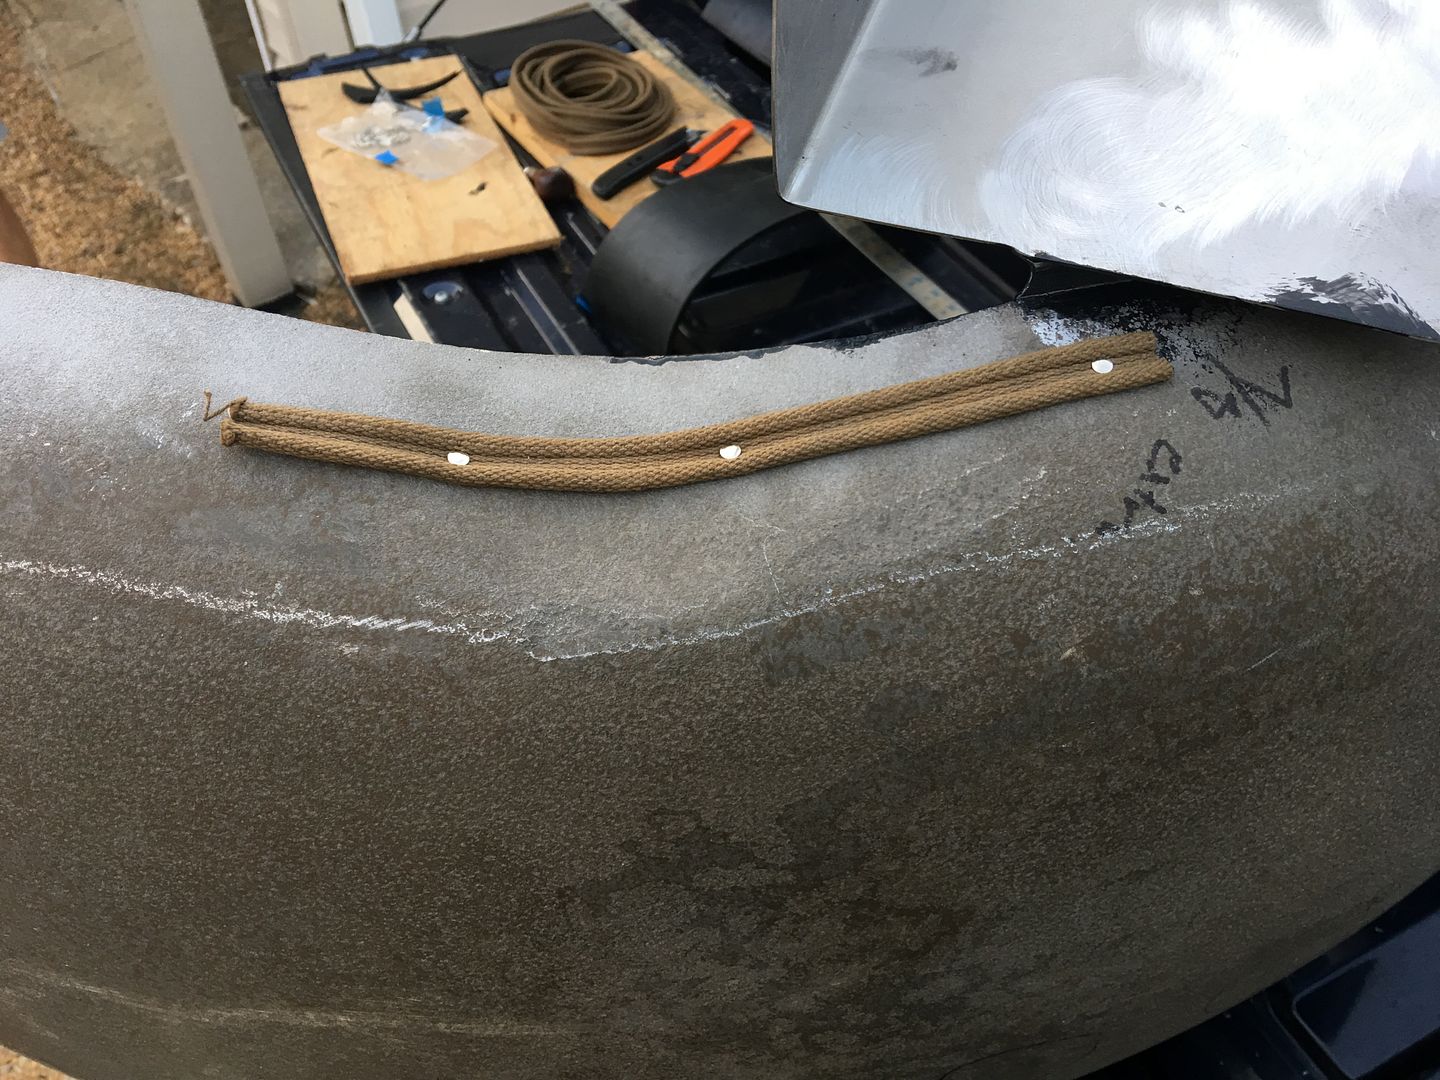
If I keep the SE trim and want to add the top spear trim, are you aware of a way to spot weld new posts onto an existing fender or door? is there another method of attaching that type of trim?
Got the shipment yesterday of your trim clips, now waiting for SnapOn to come this week with the studs & welder tip.....

 I just love the green on that '35!


Robert, I have read this thread several times and go to it everyday for any updates. Your work is second to none. I agree about Restoration Specialties, they have just about everything you can want for felt, etc. Their catalog is like a bible.
John
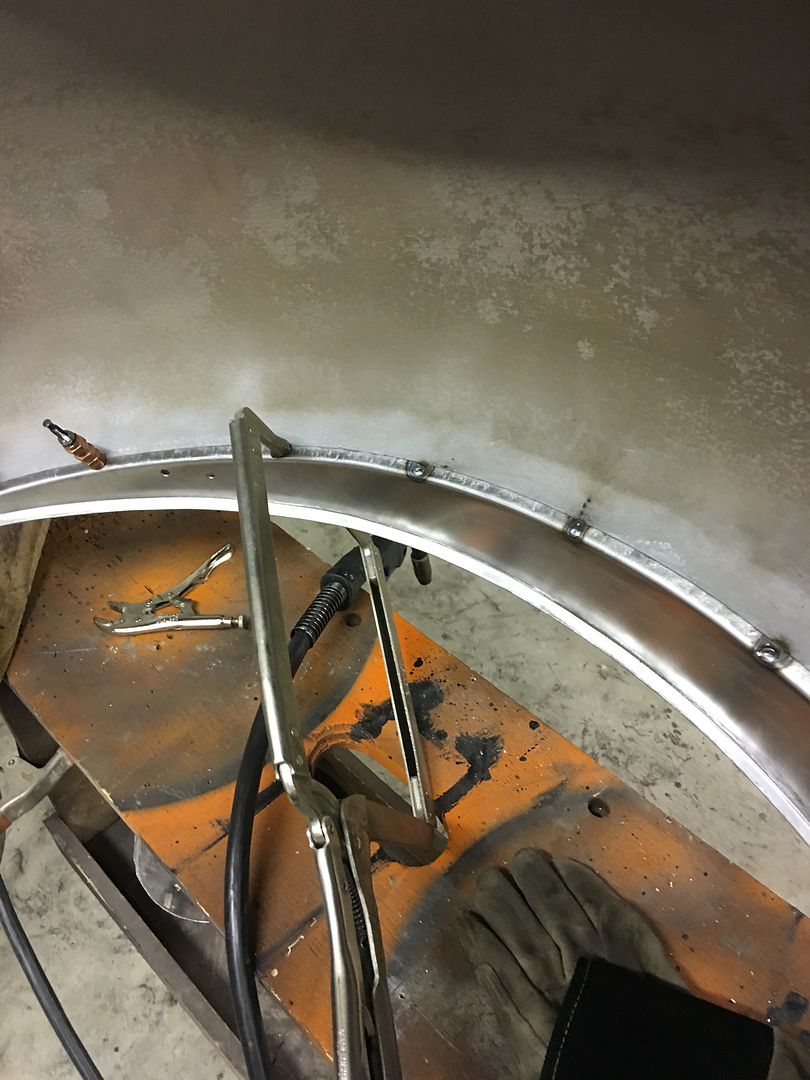
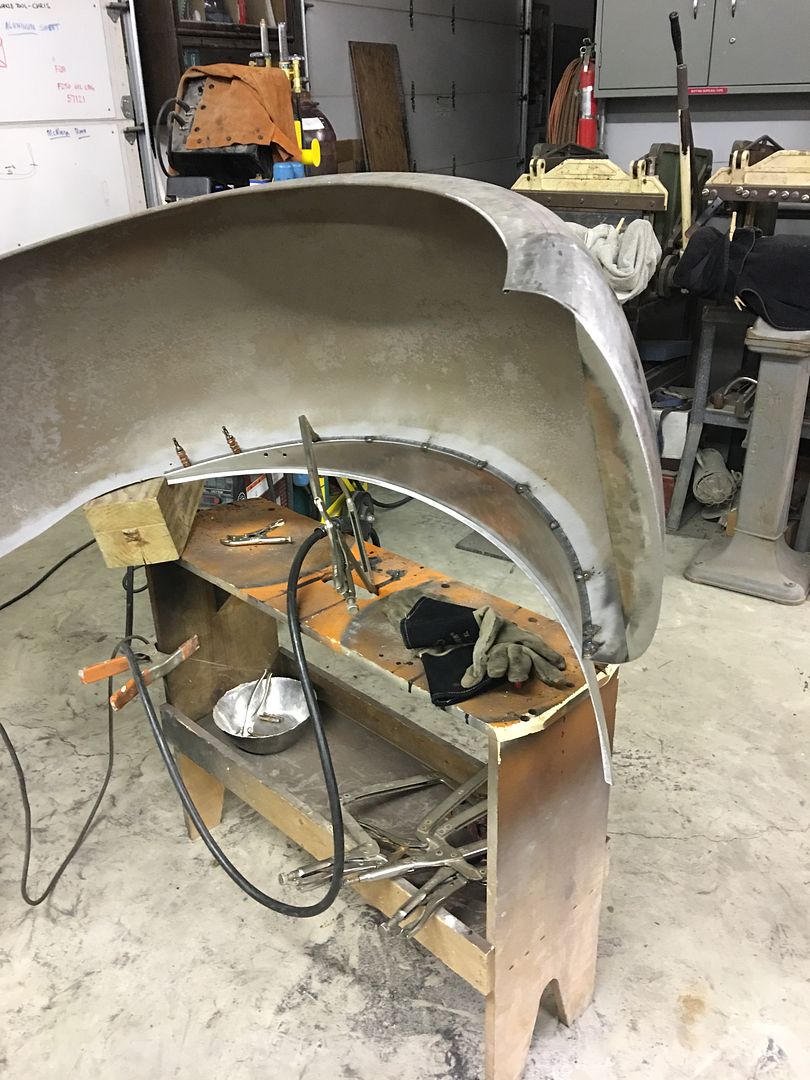
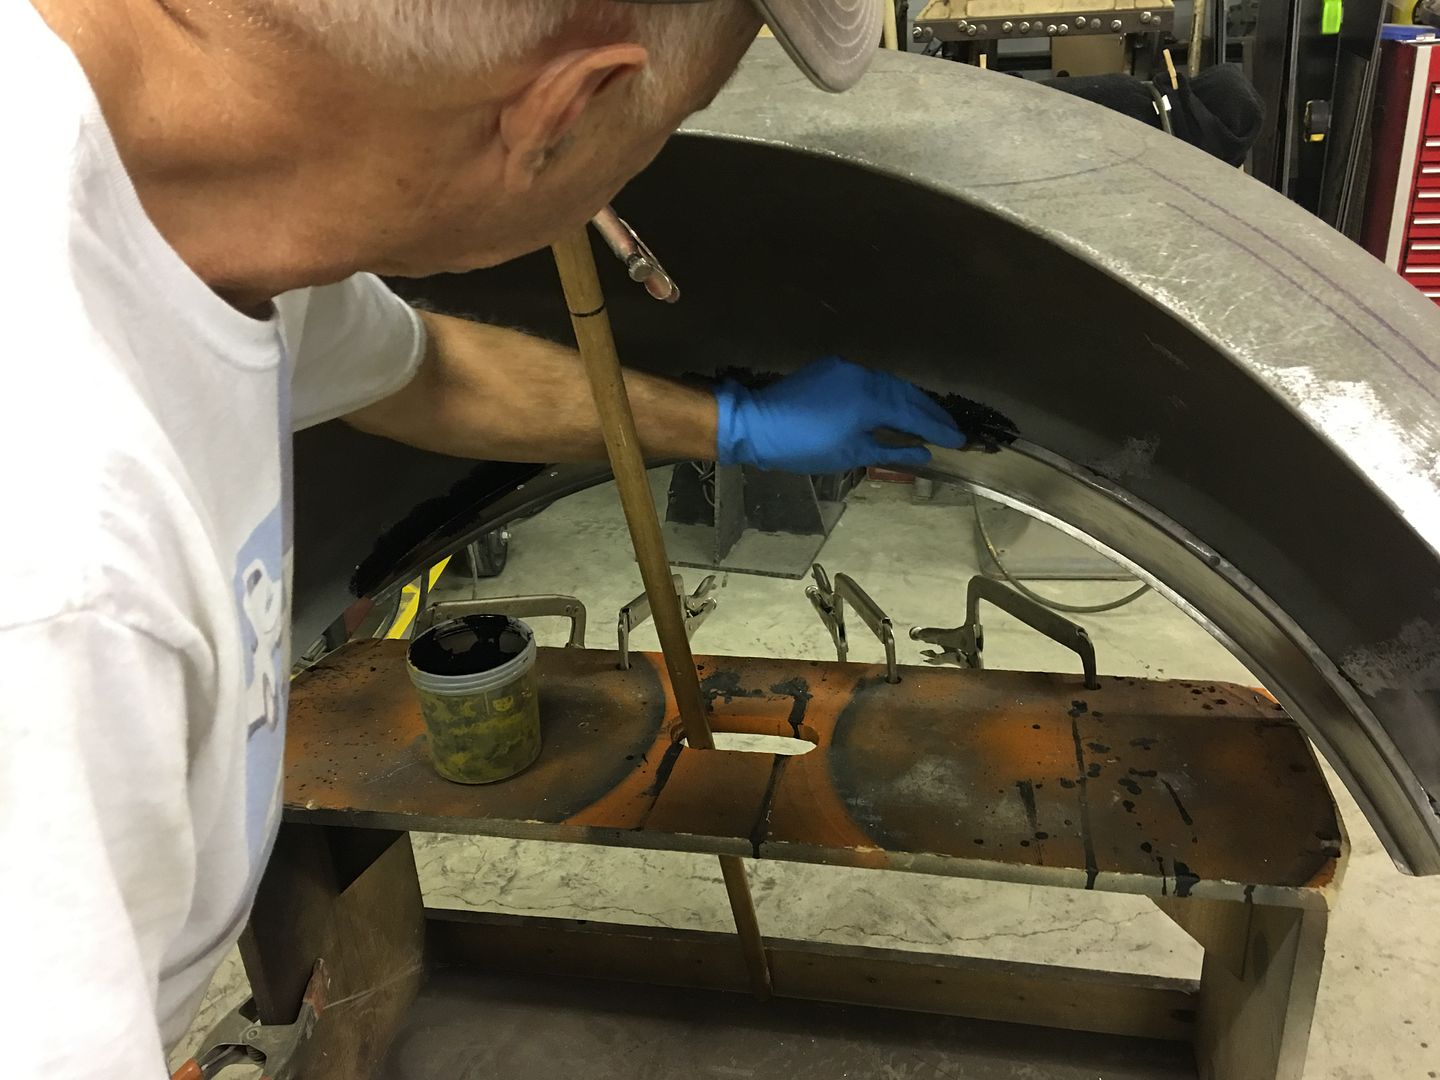
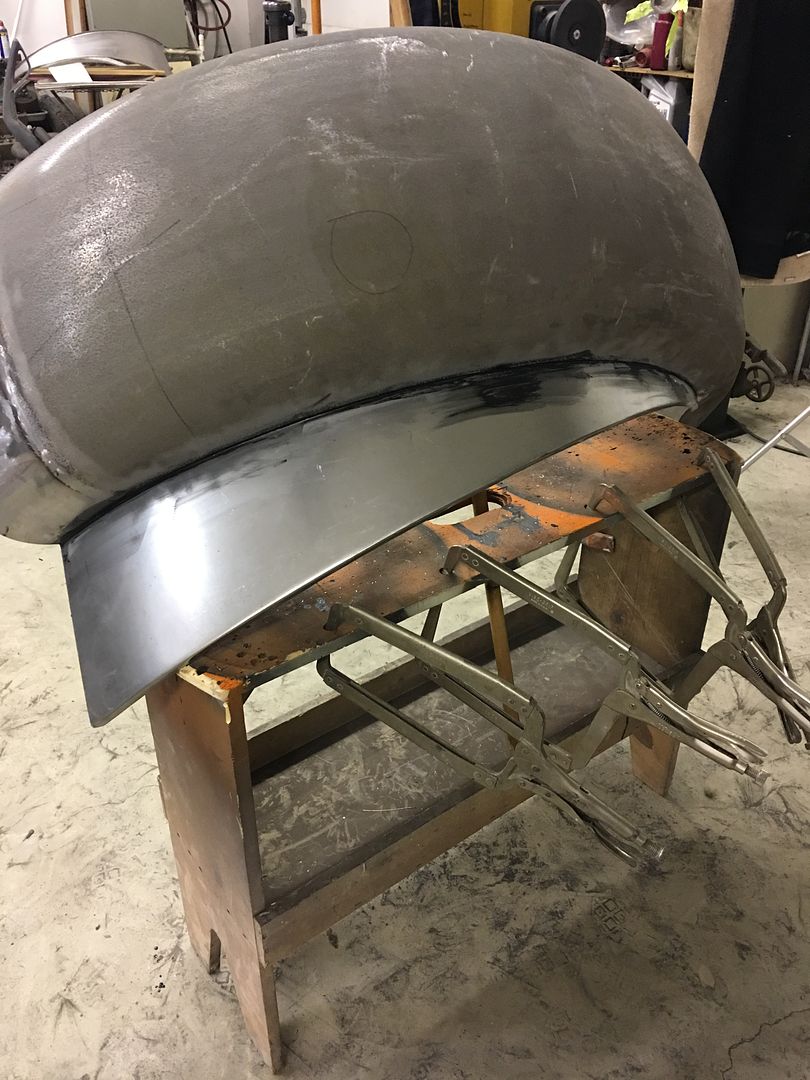
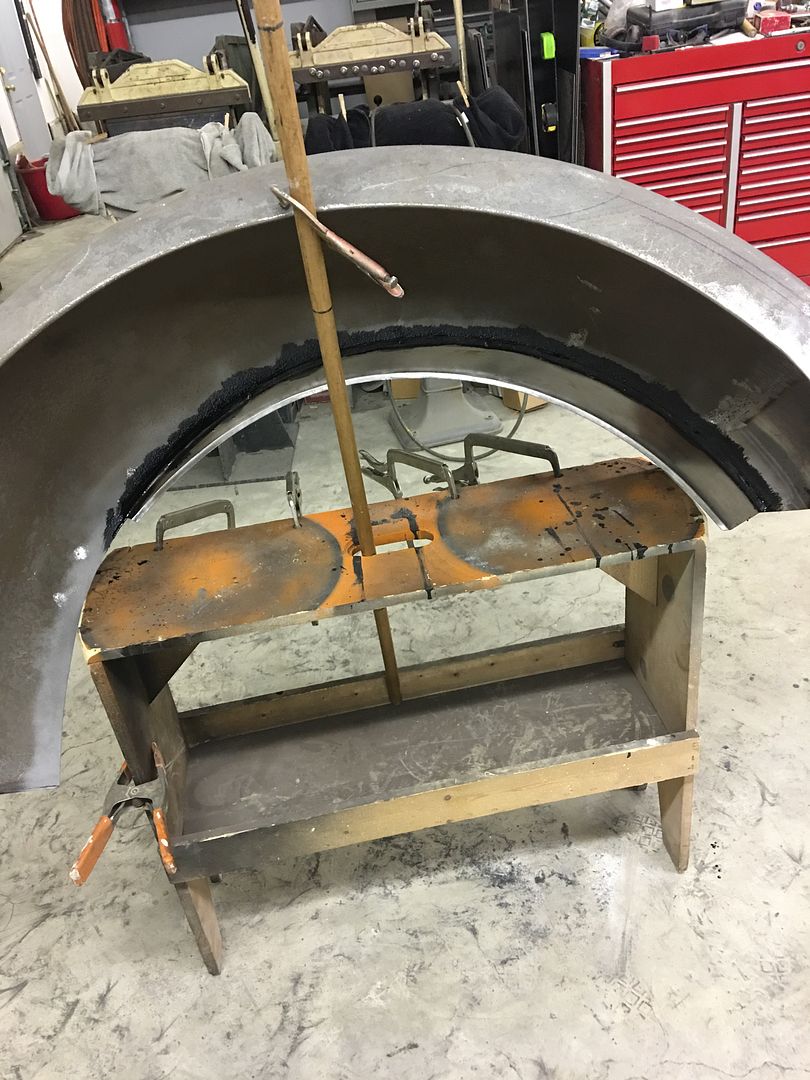
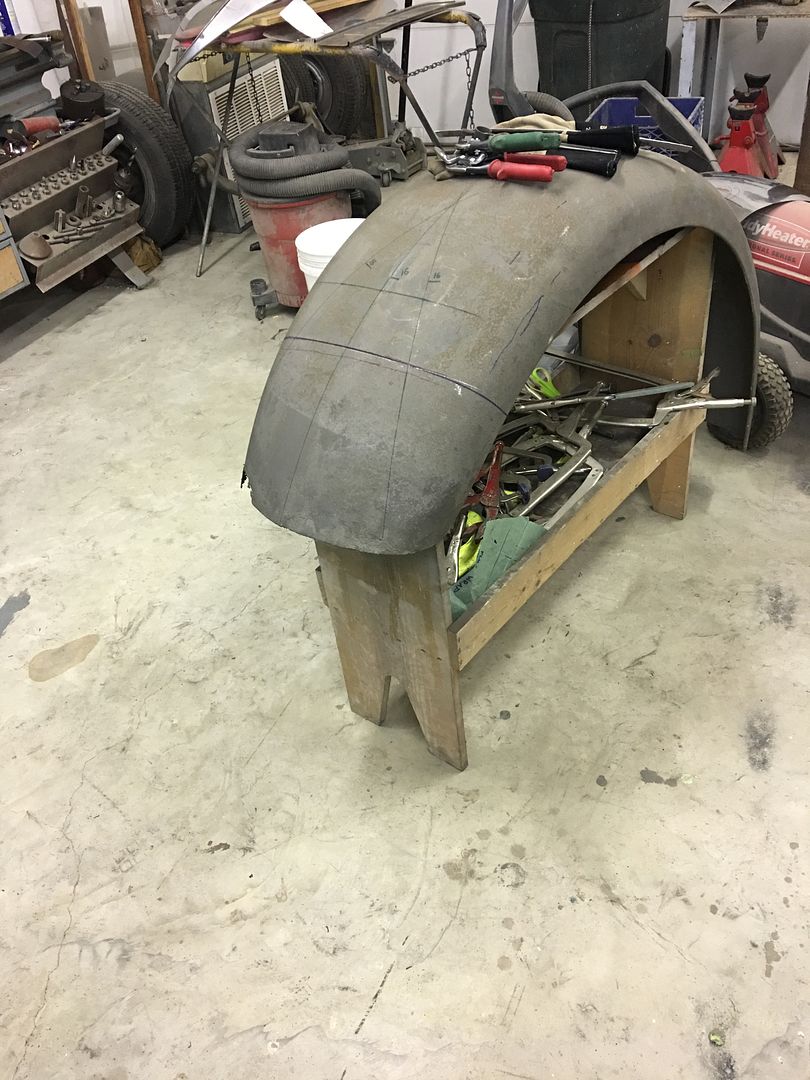
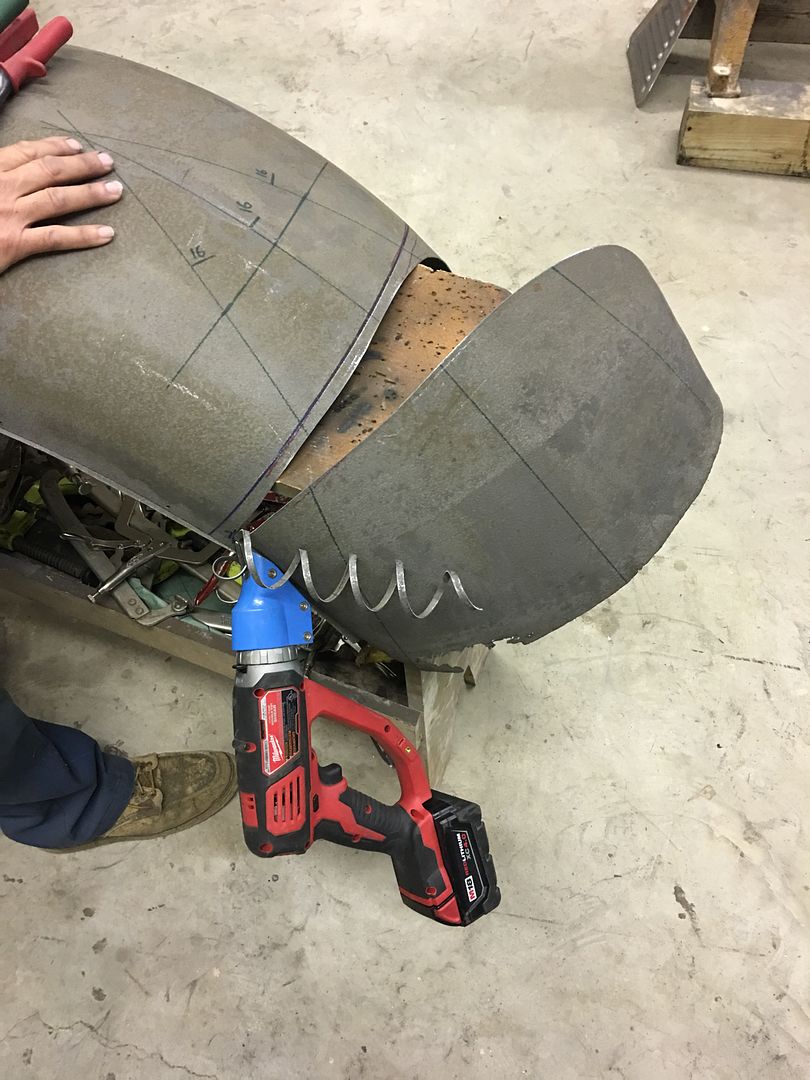
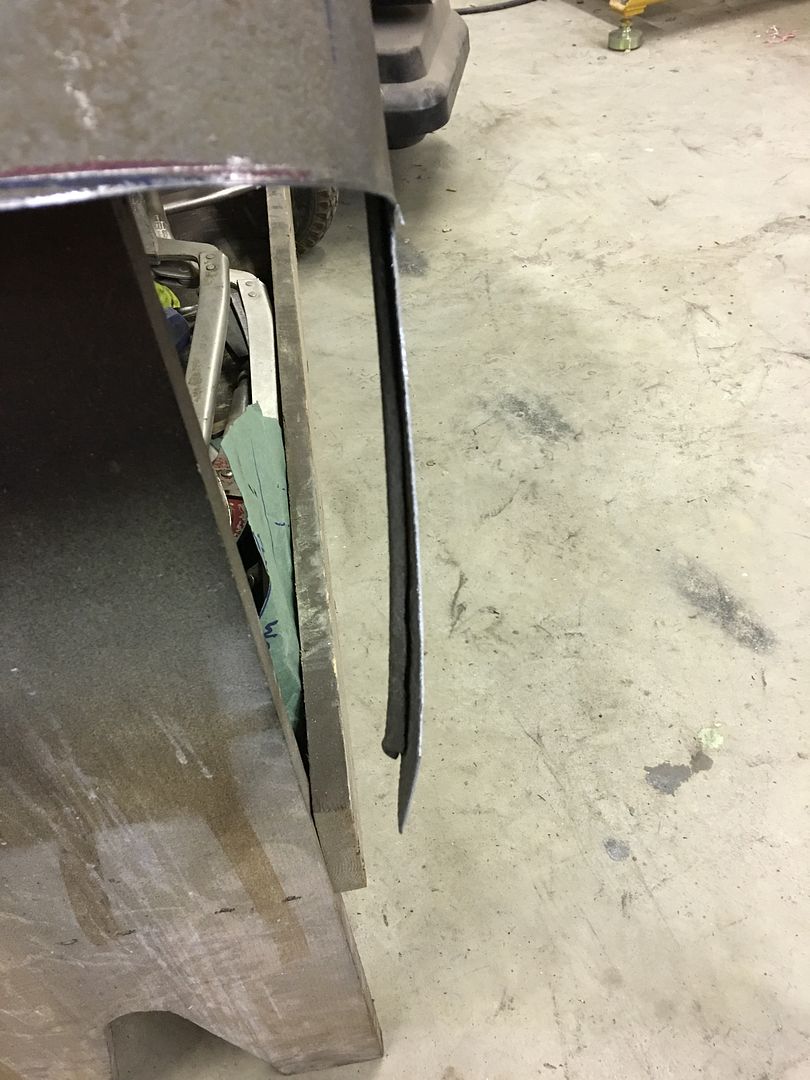
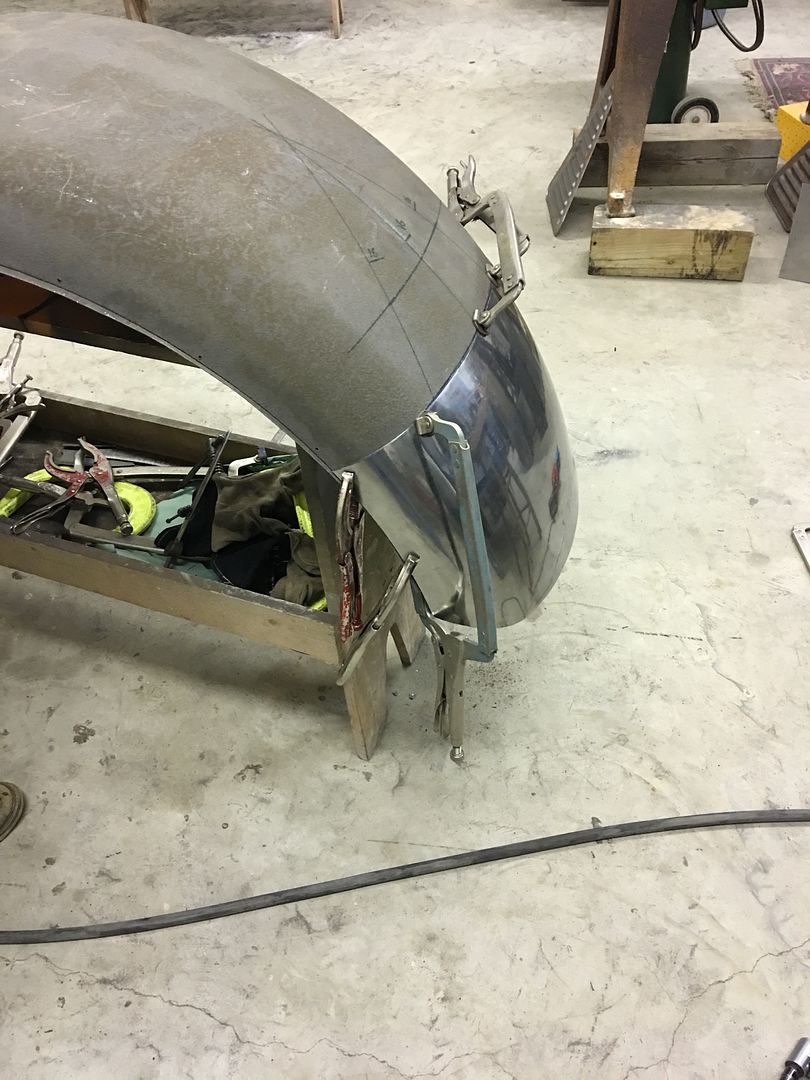
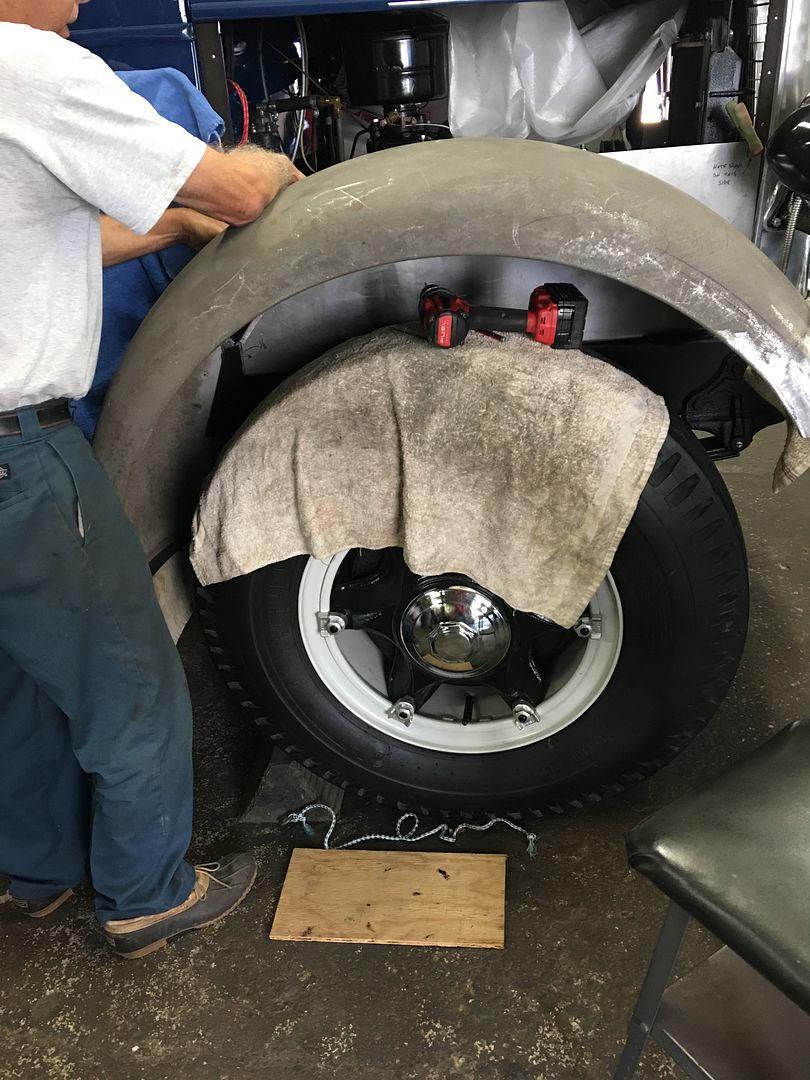
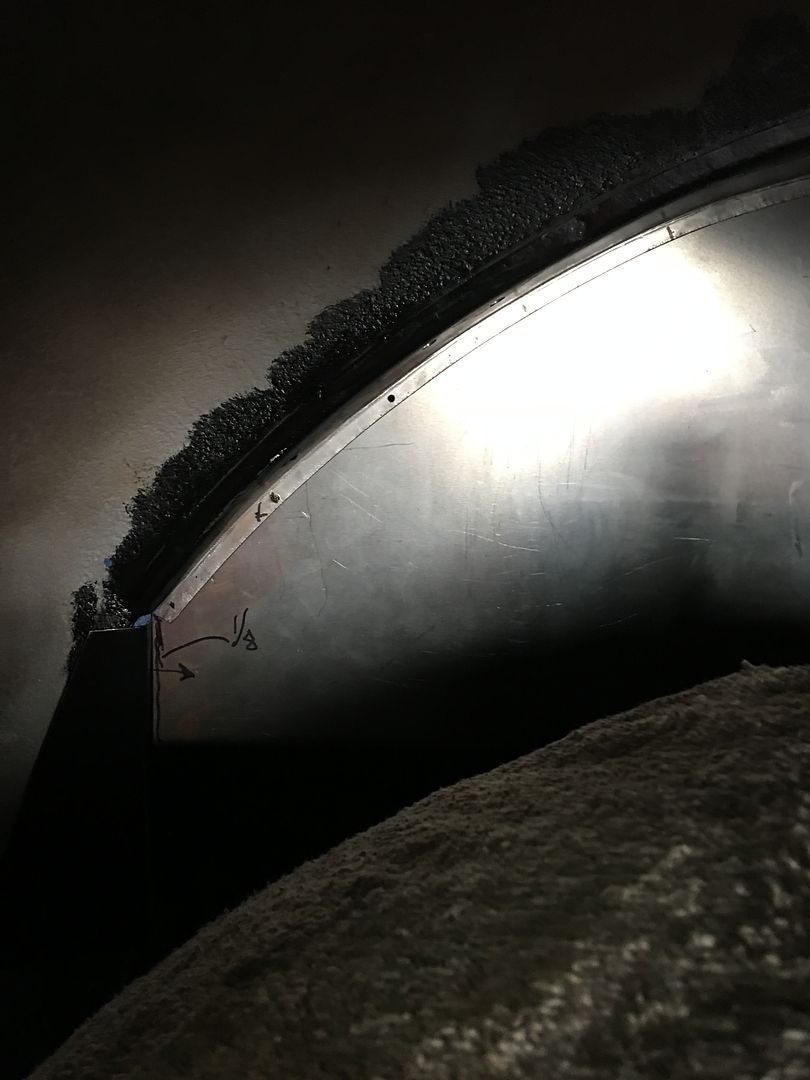
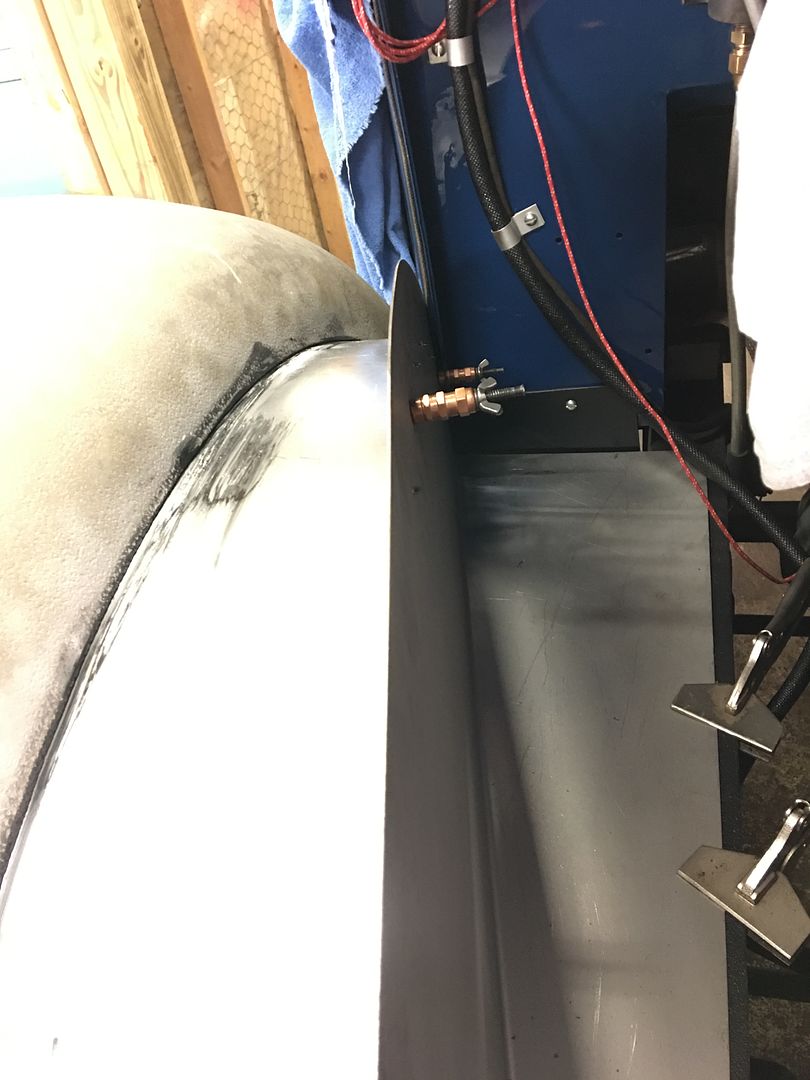
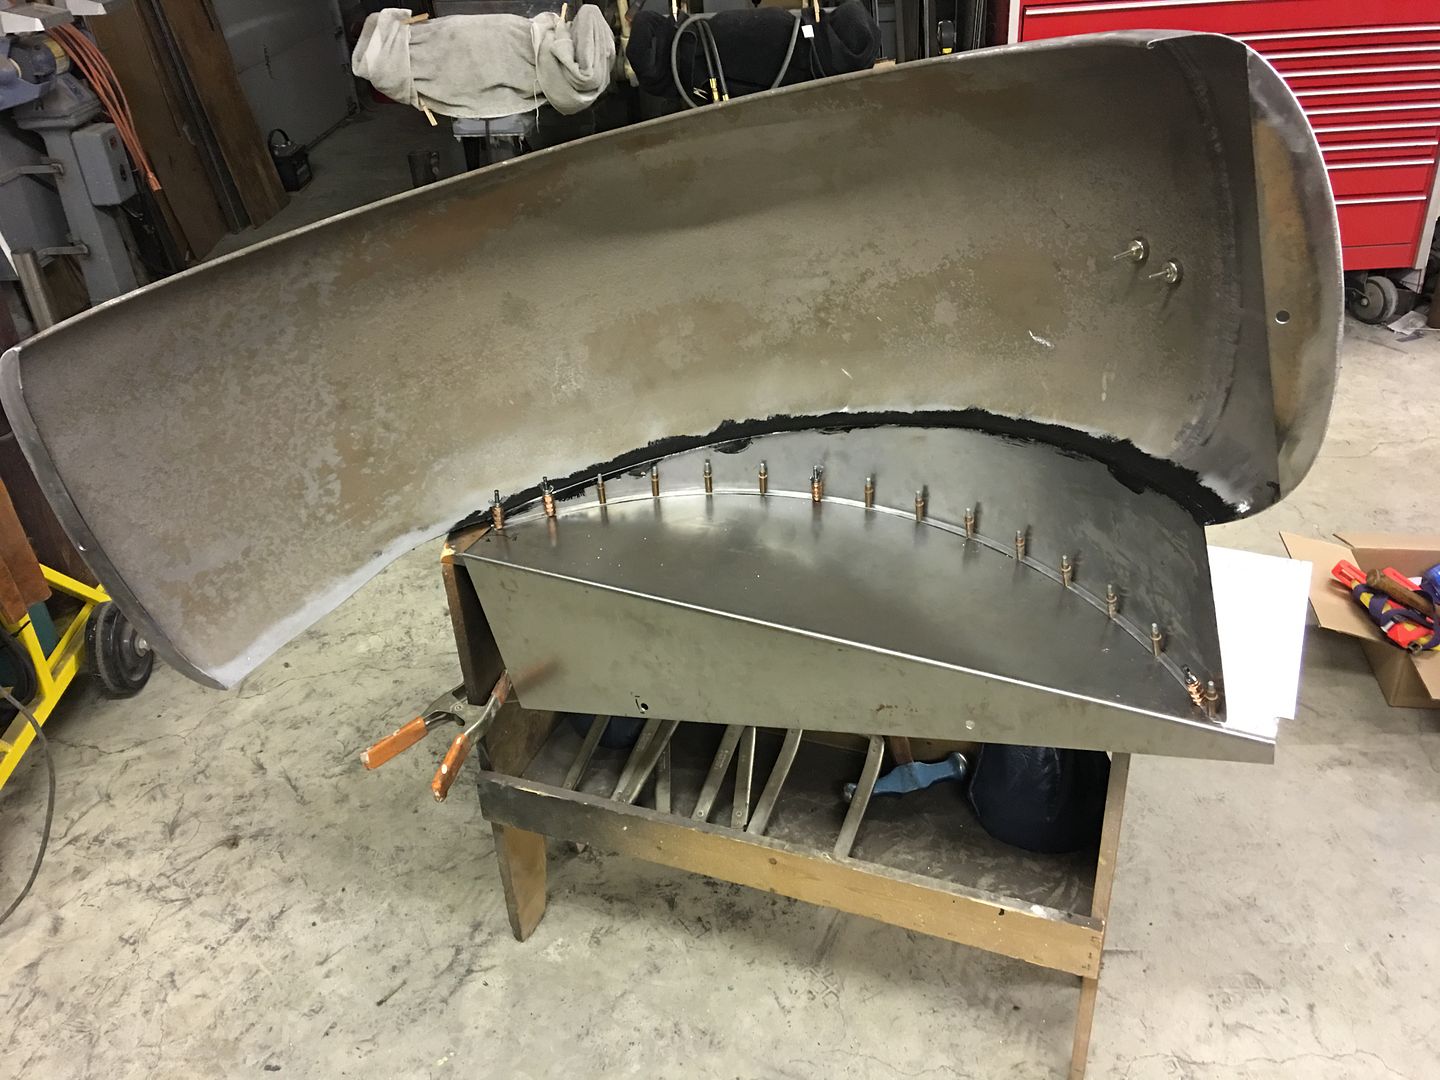
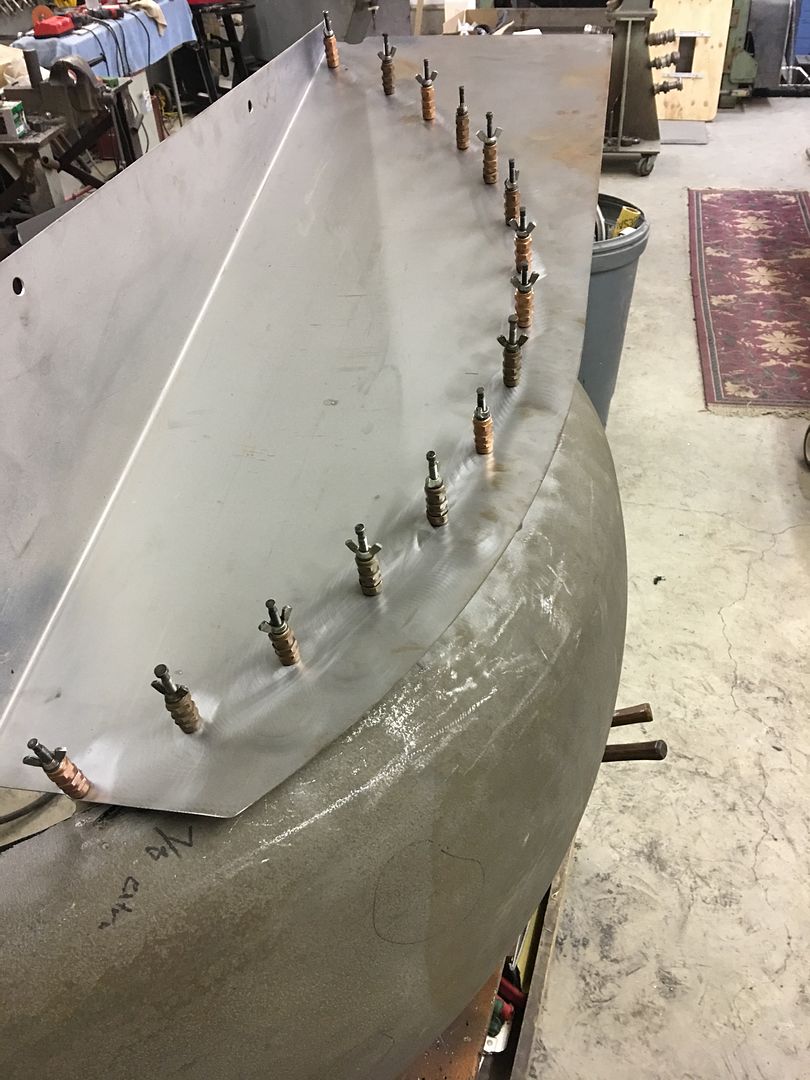
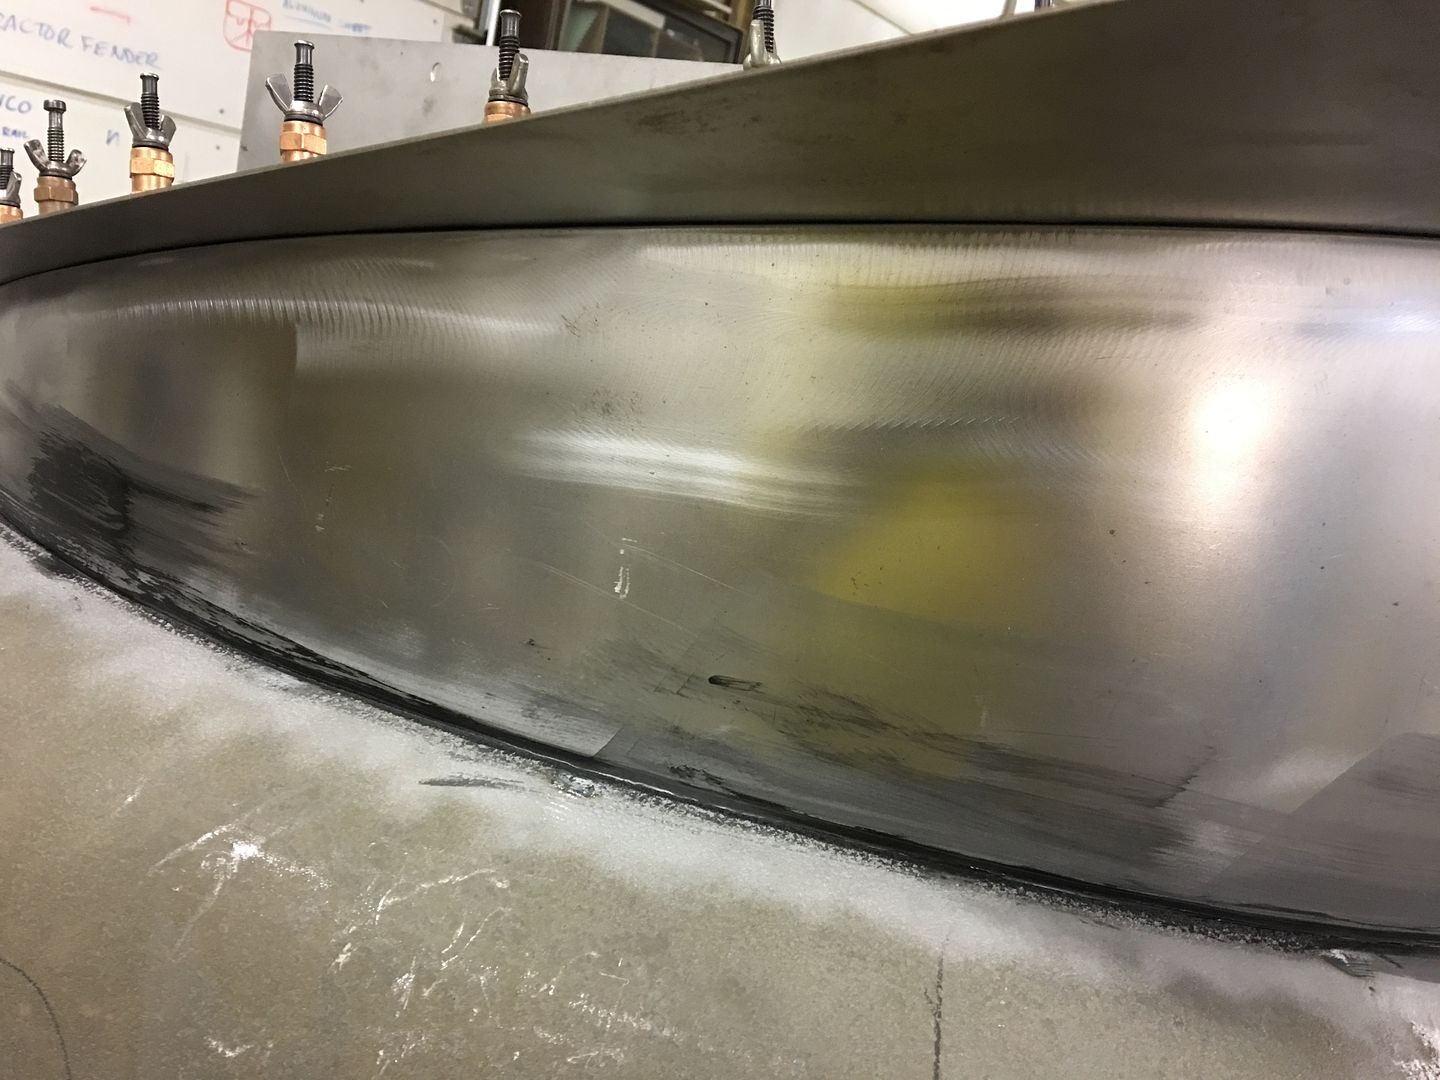
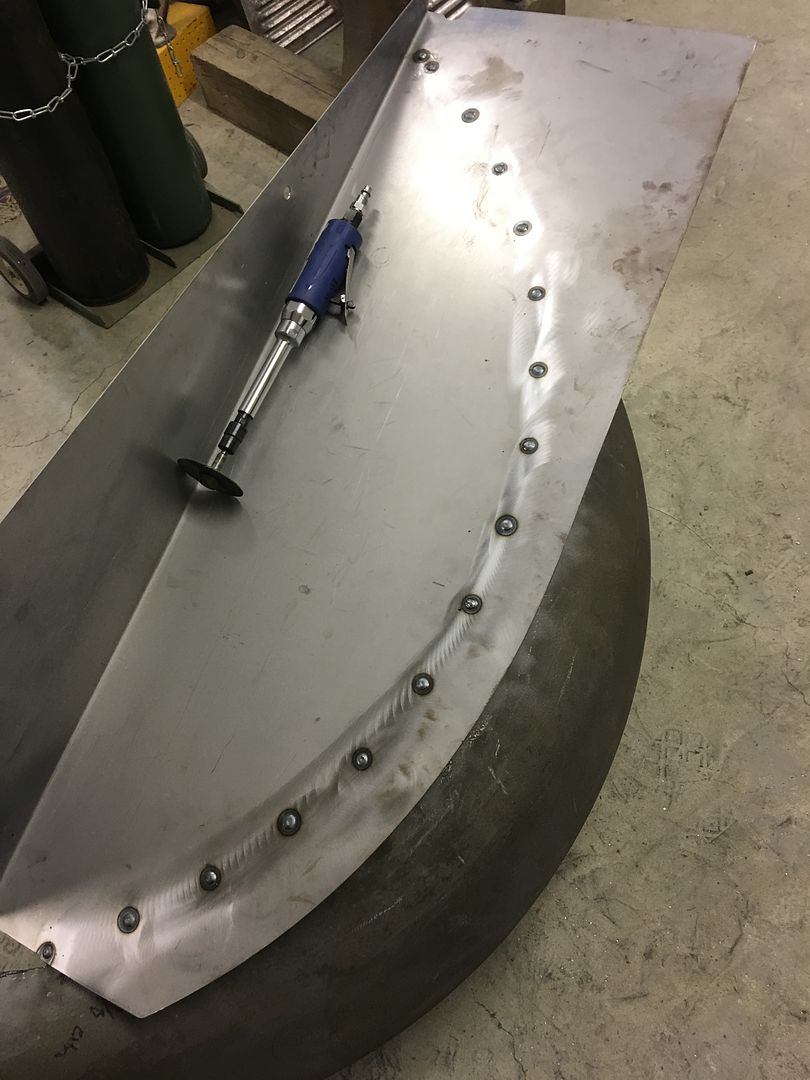
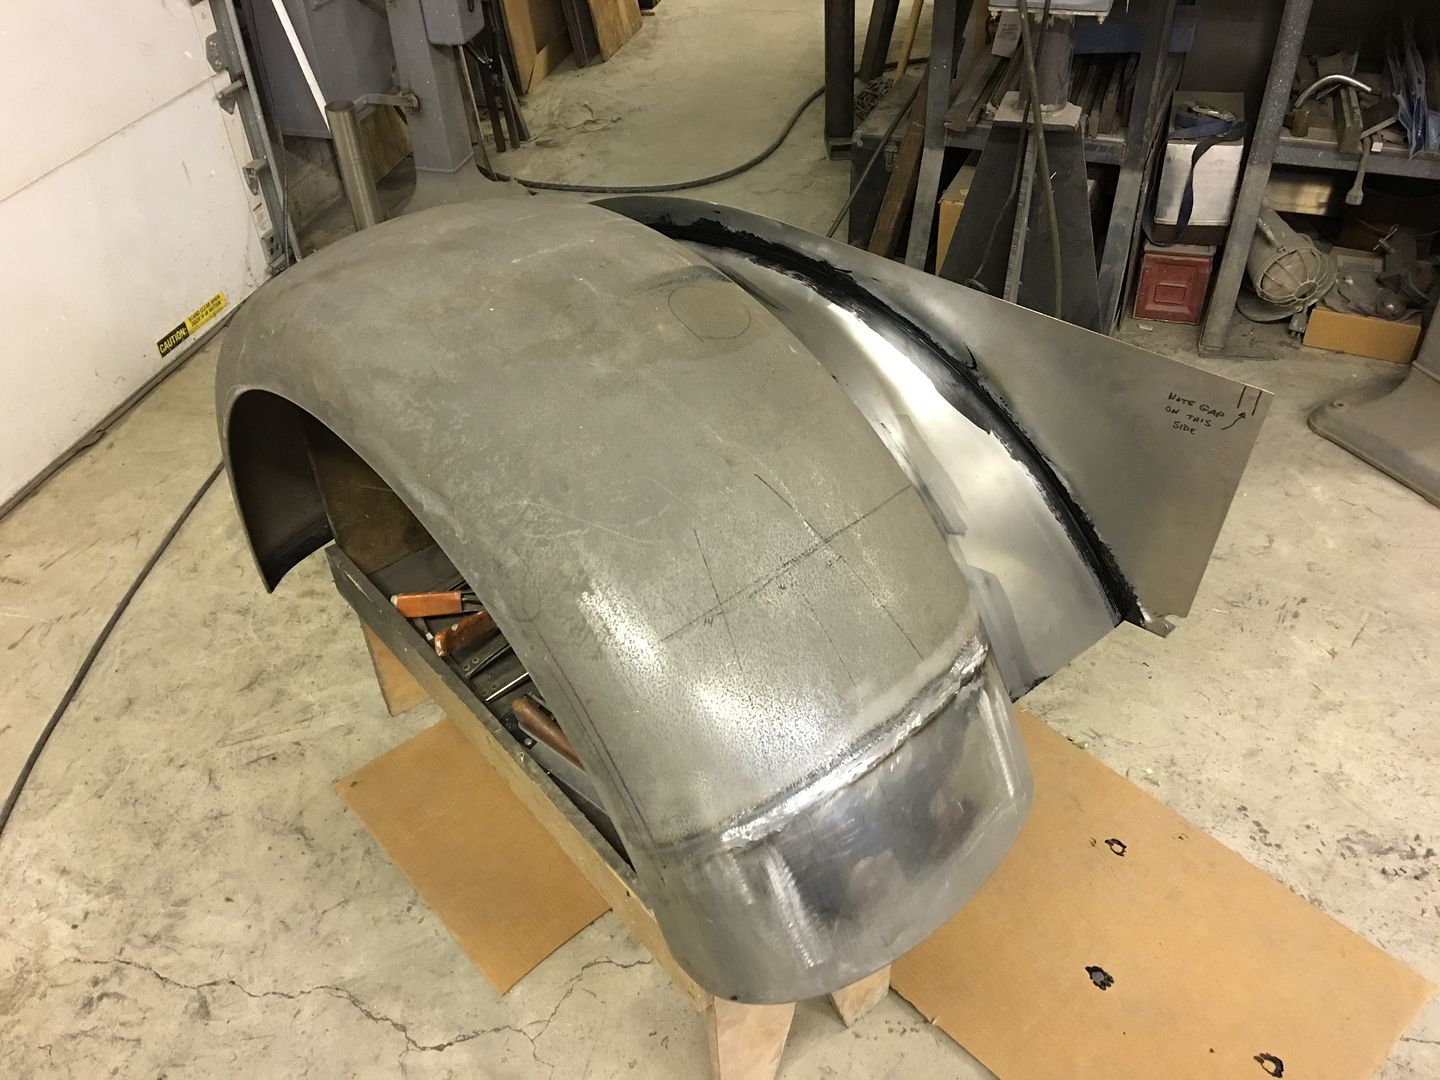
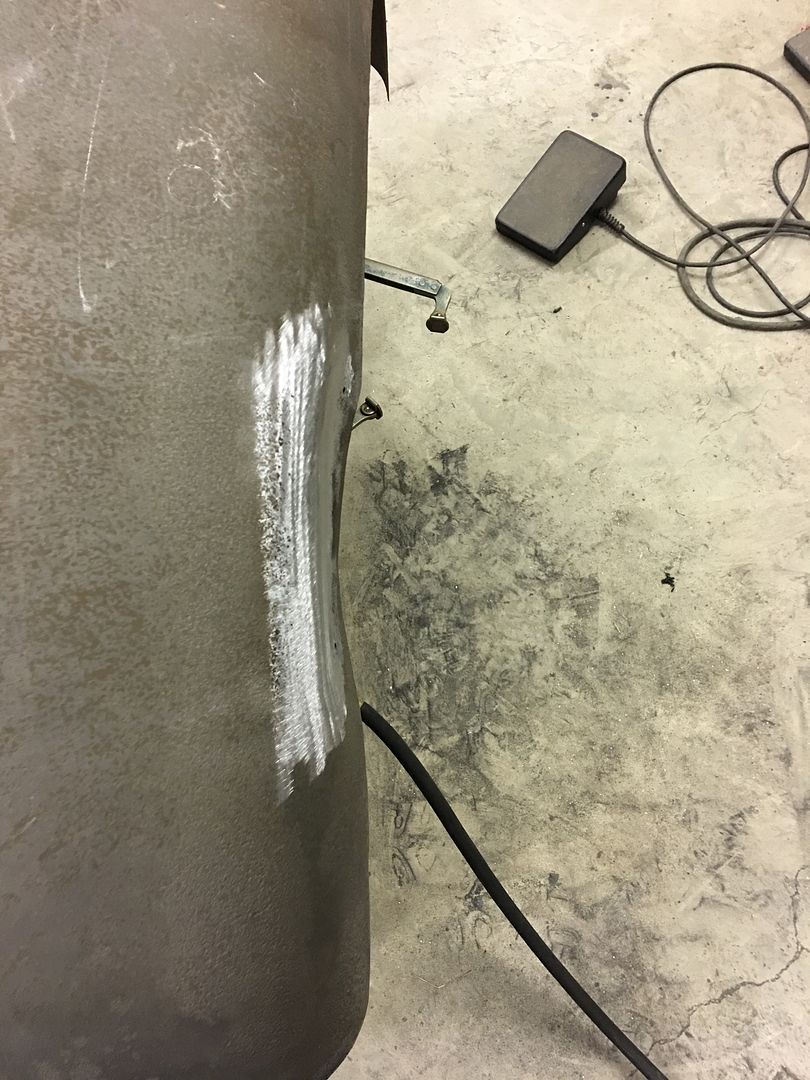
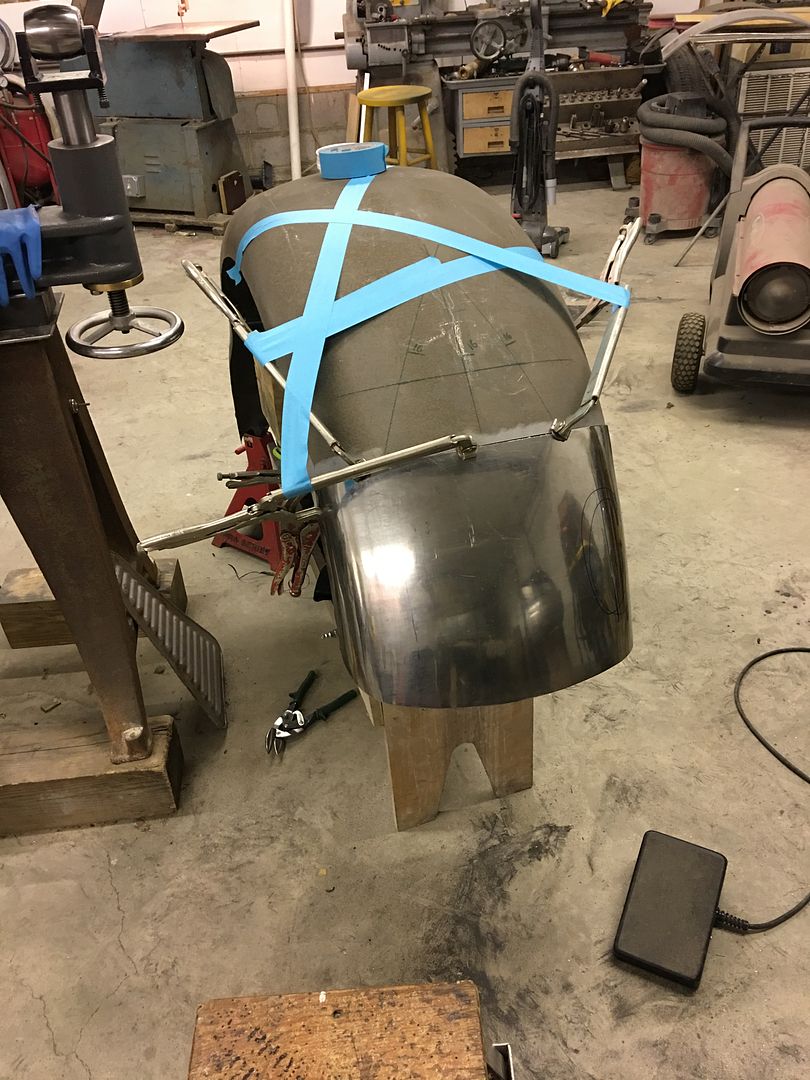
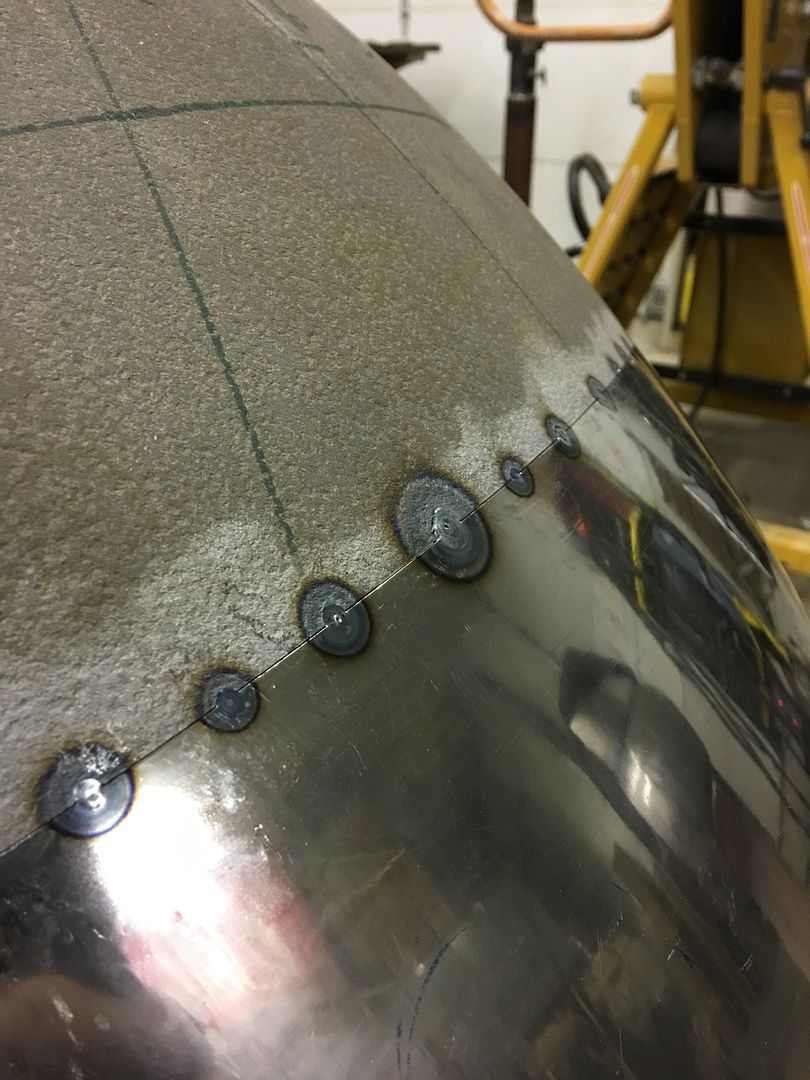
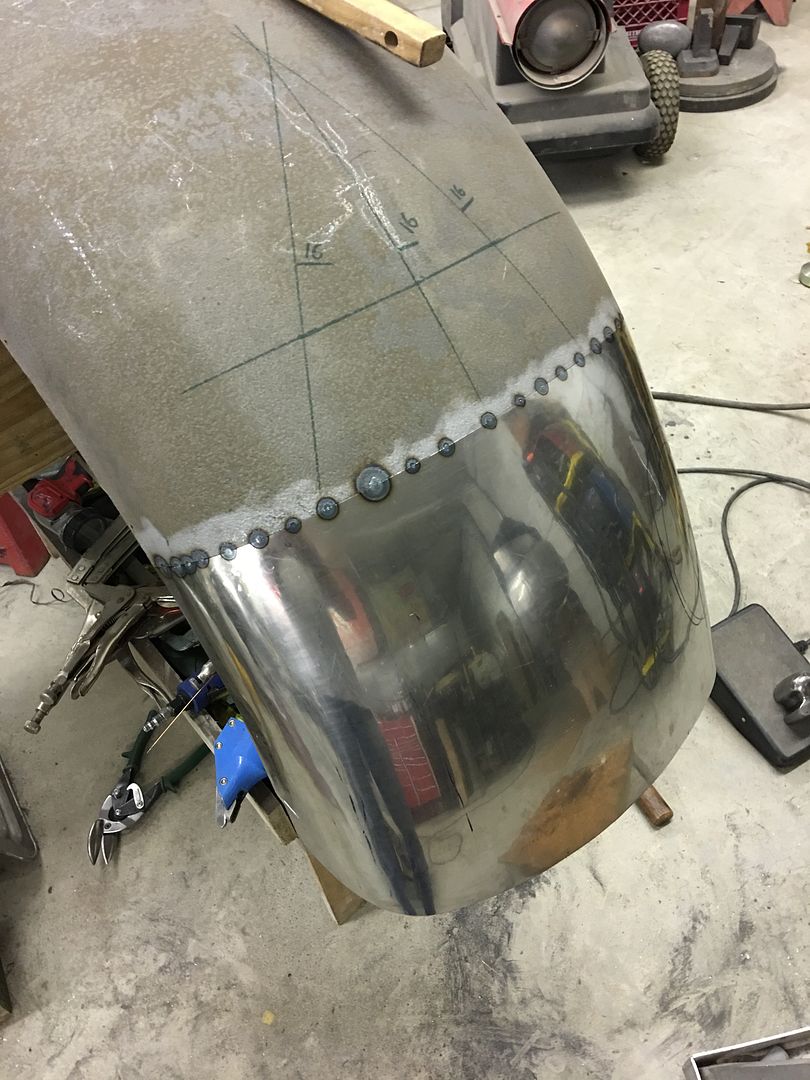
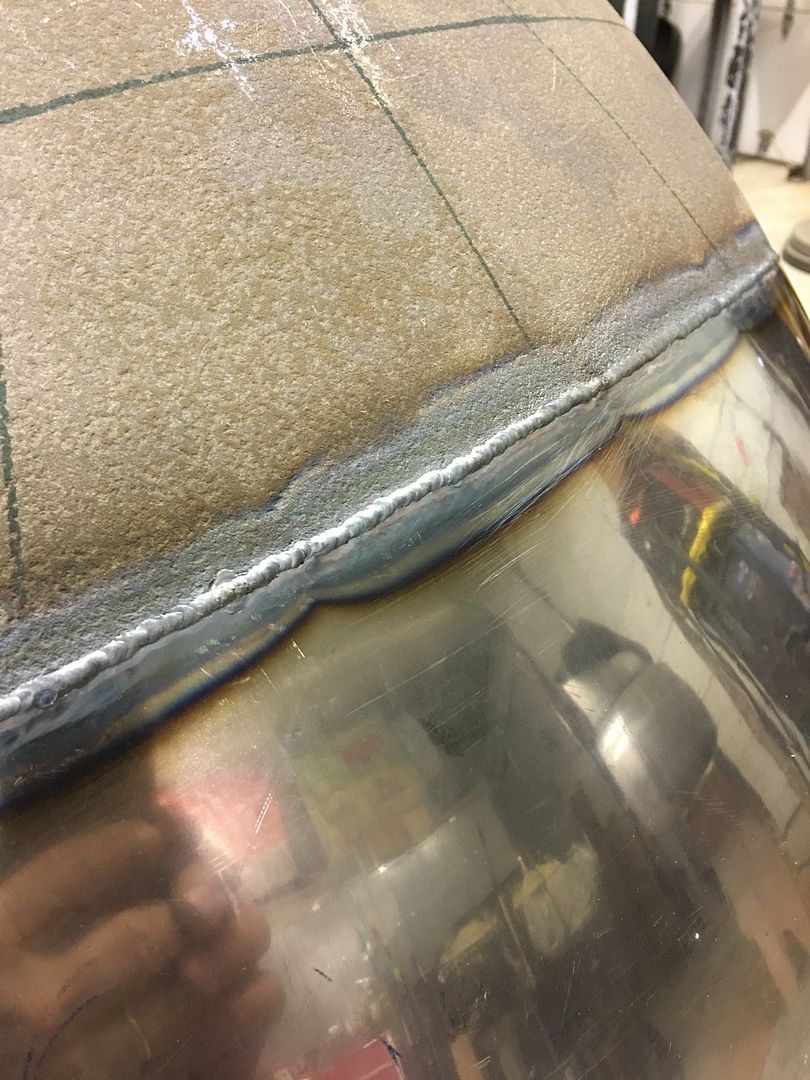
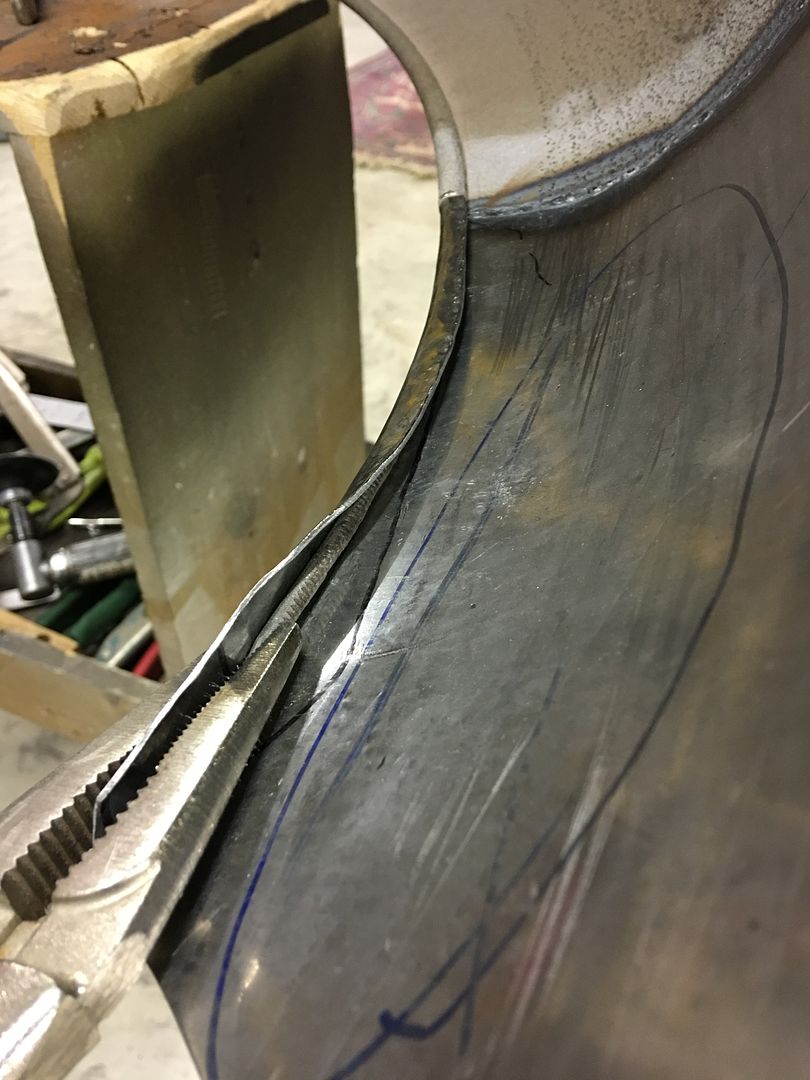
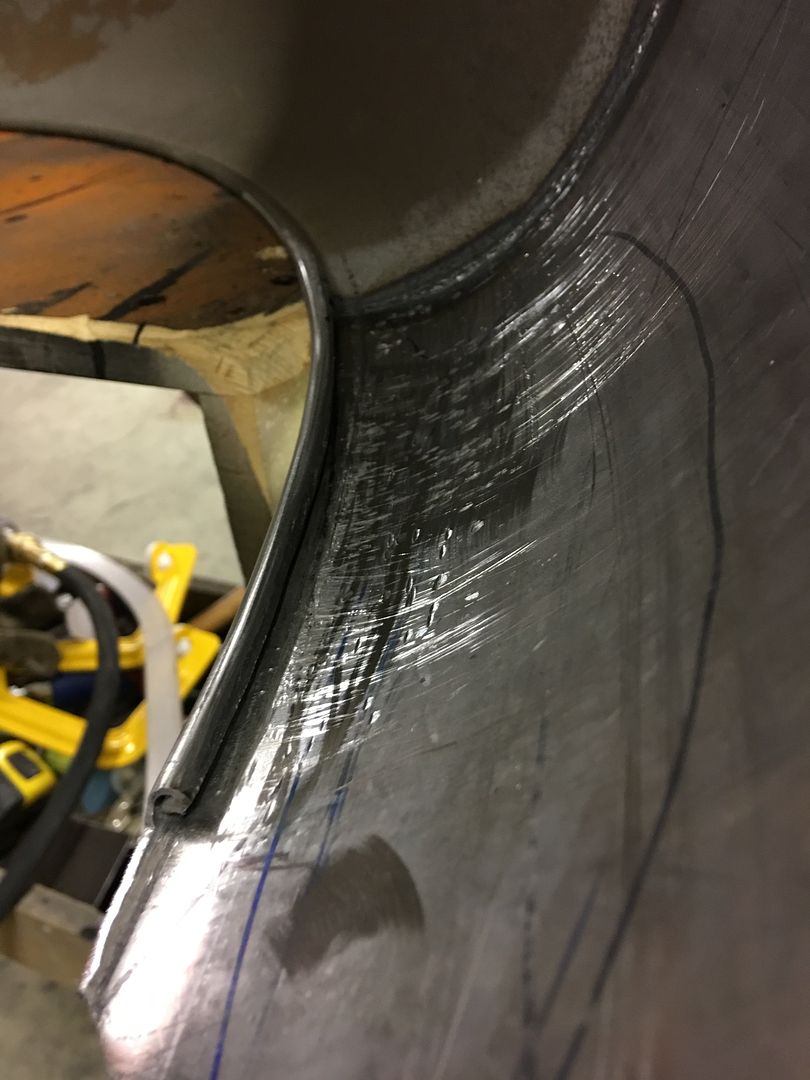
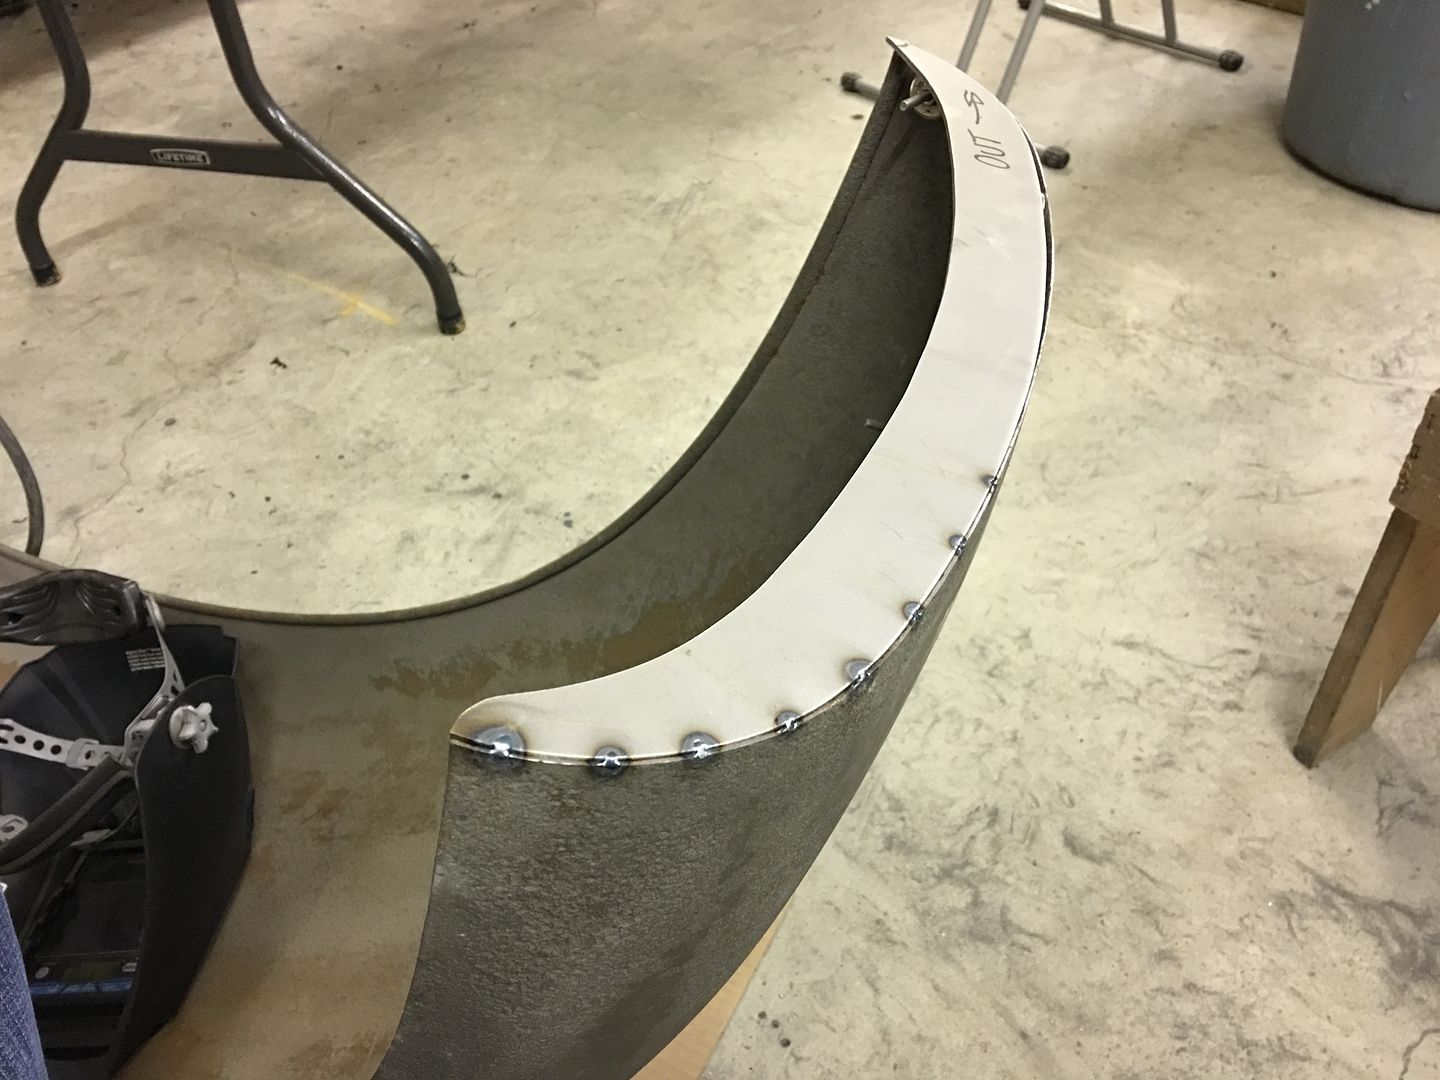
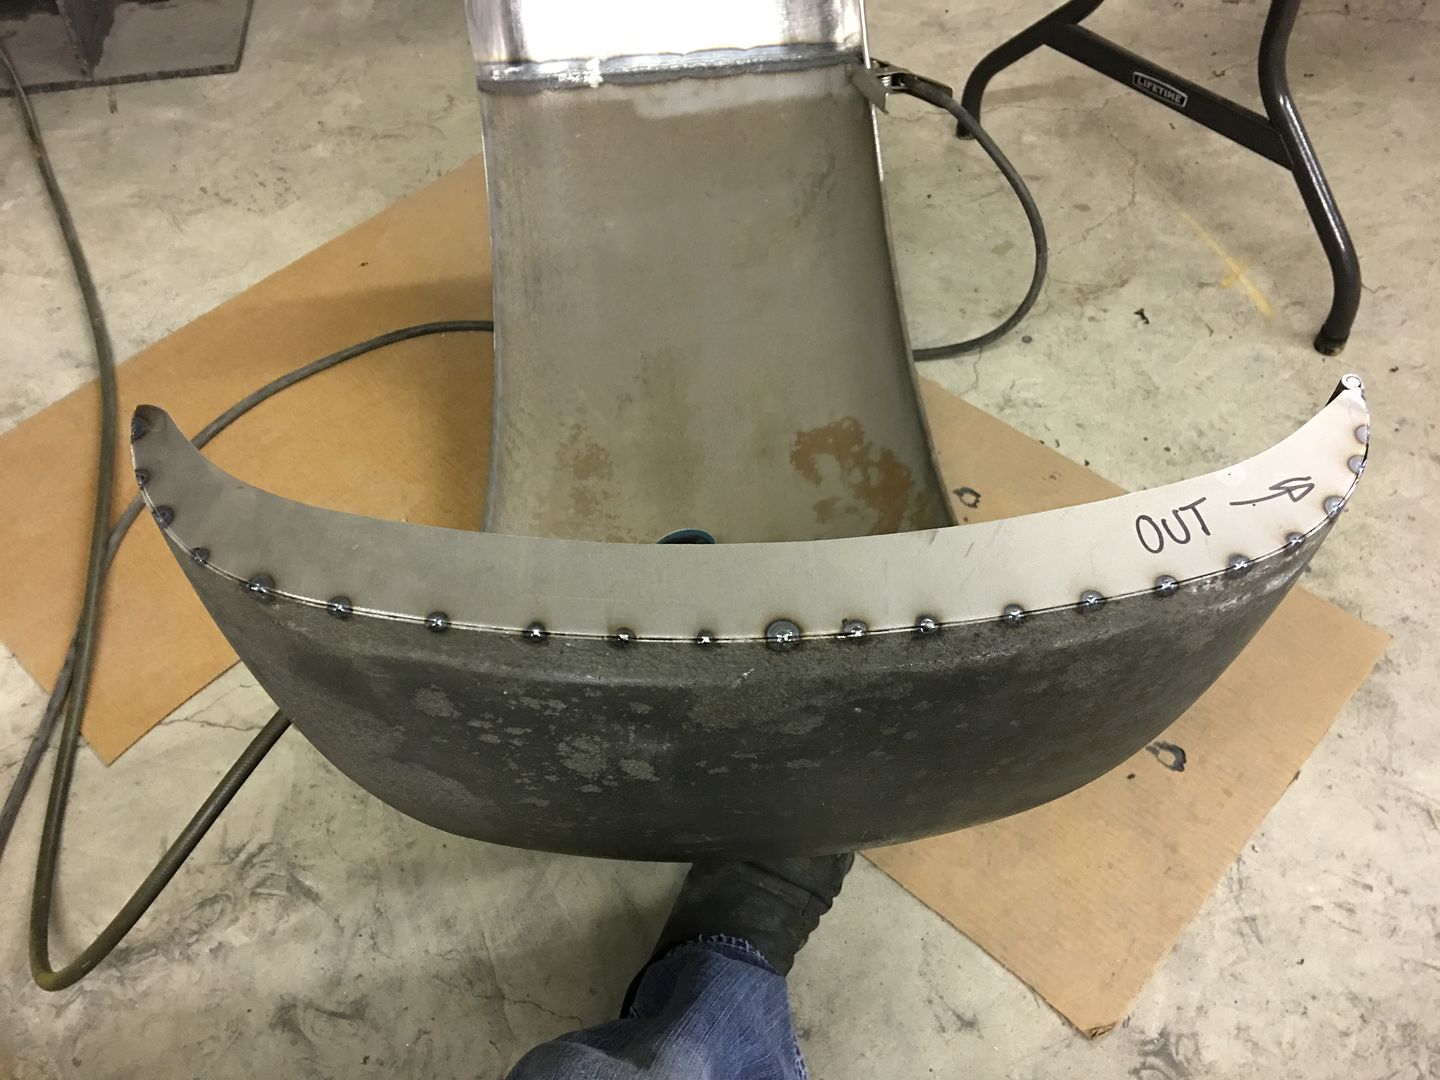
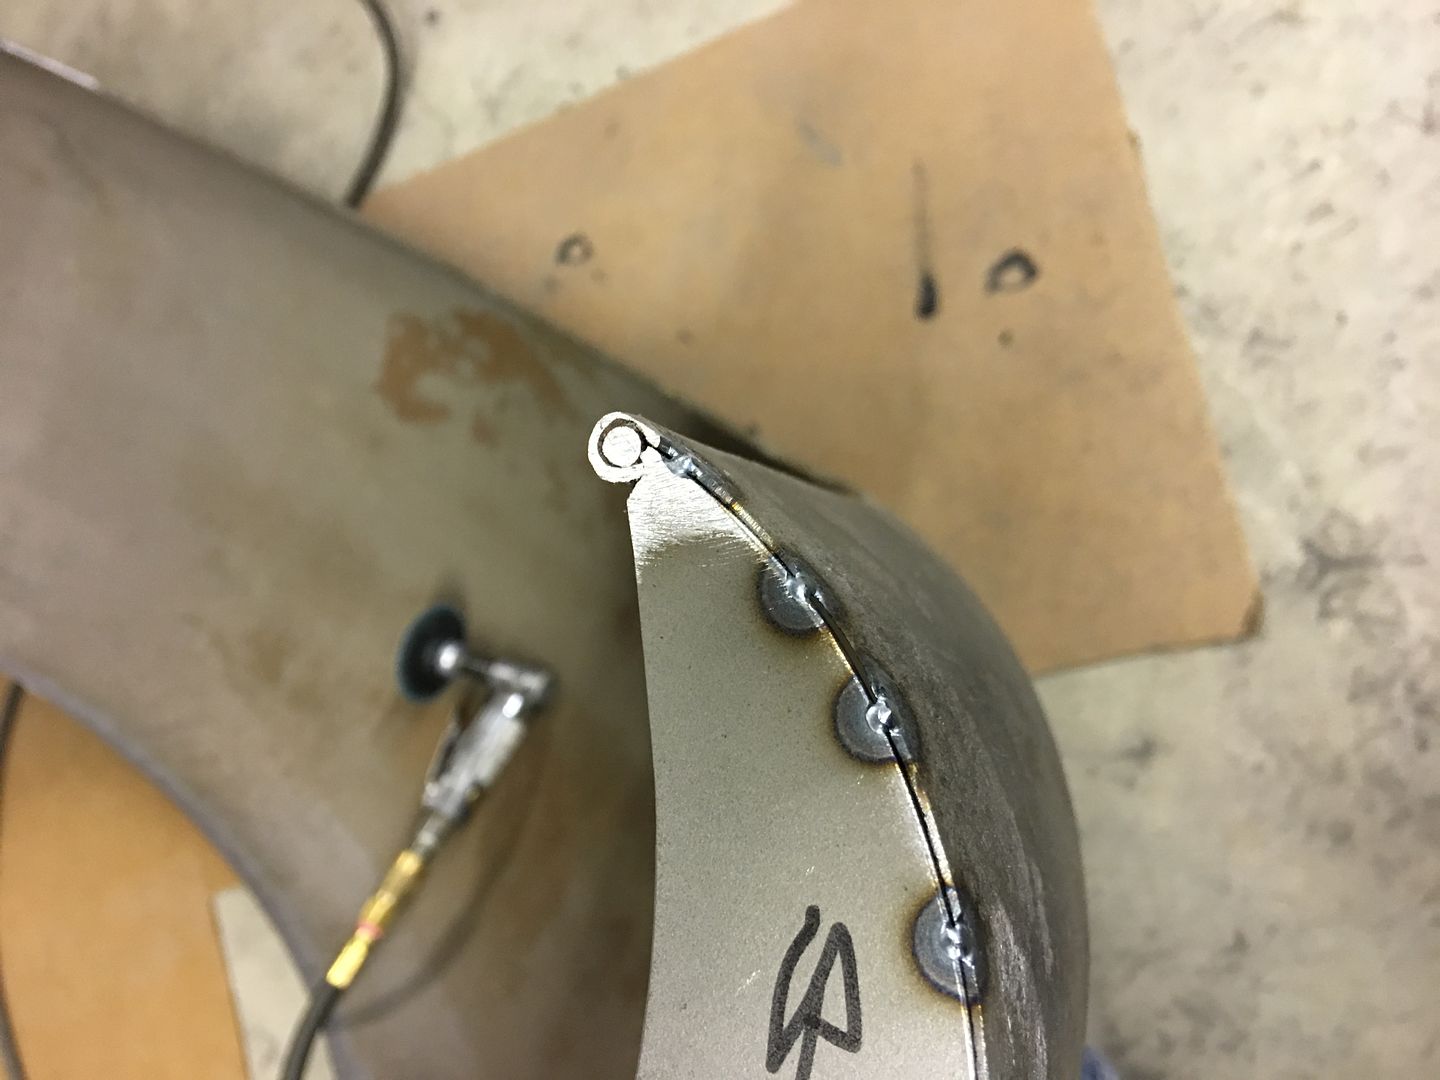
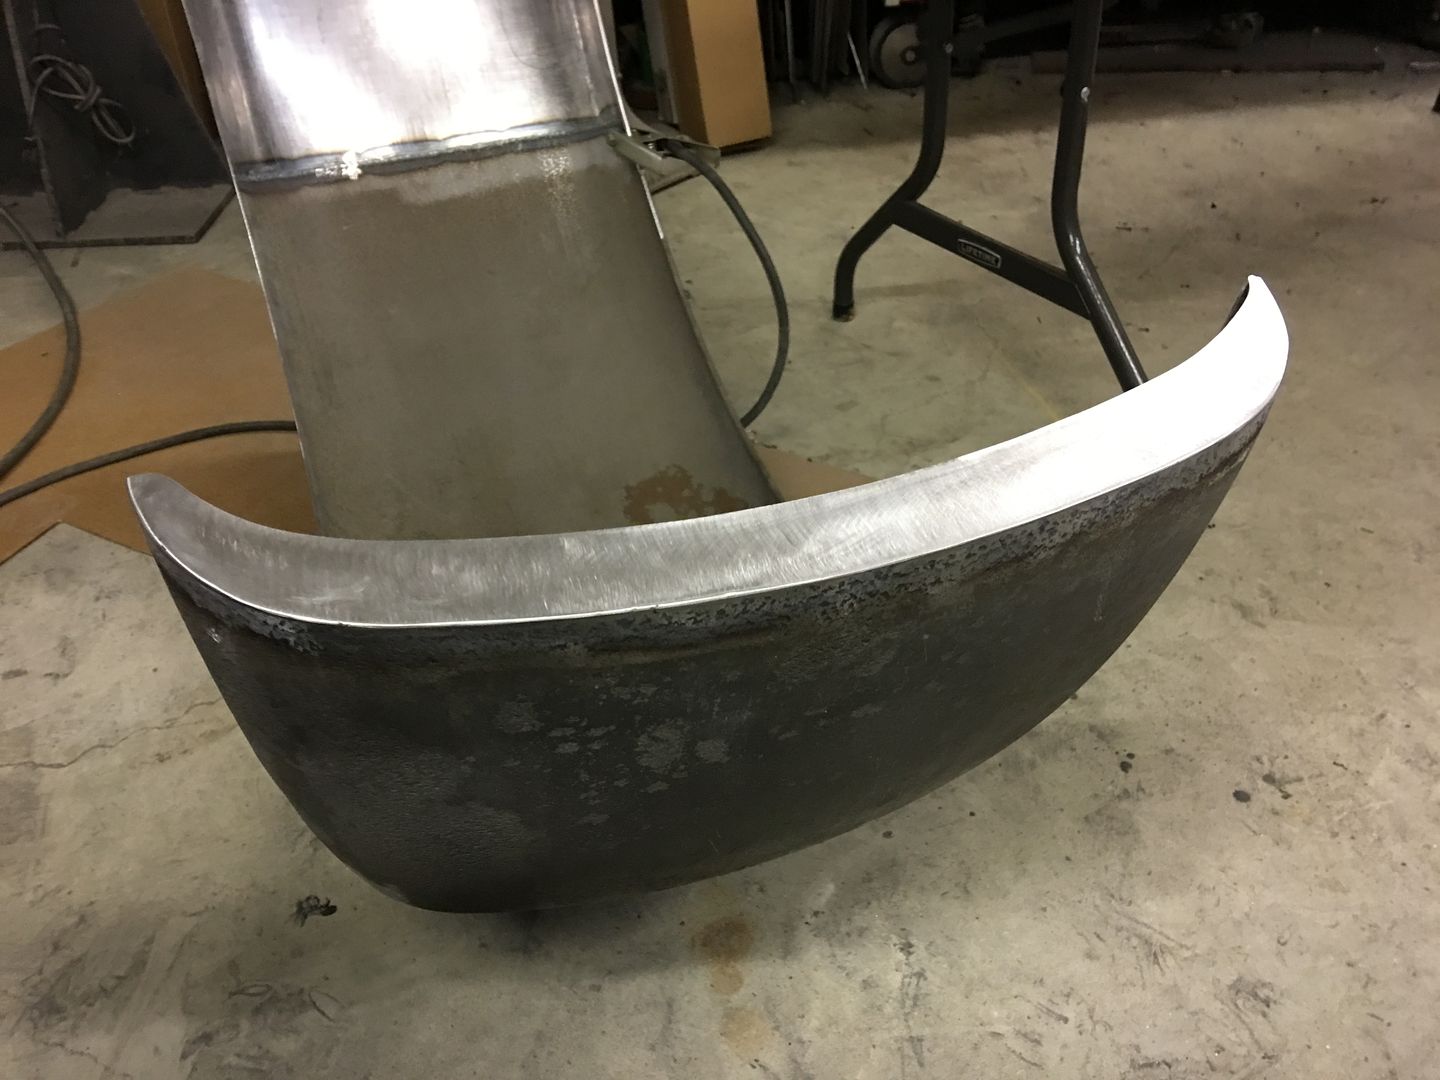
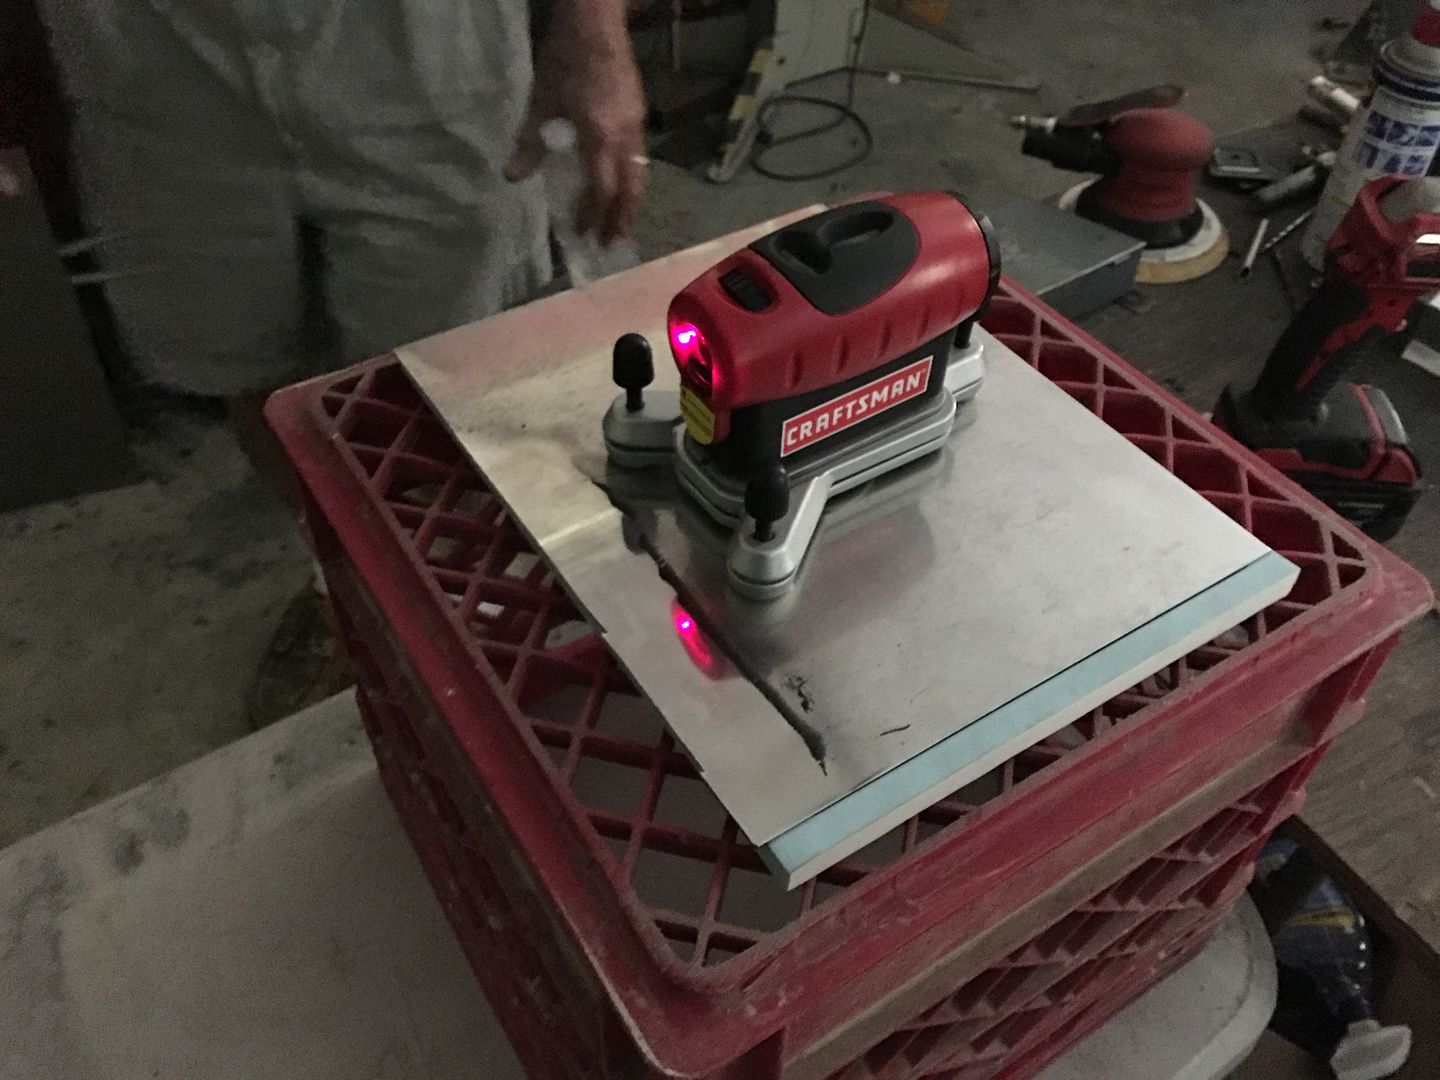
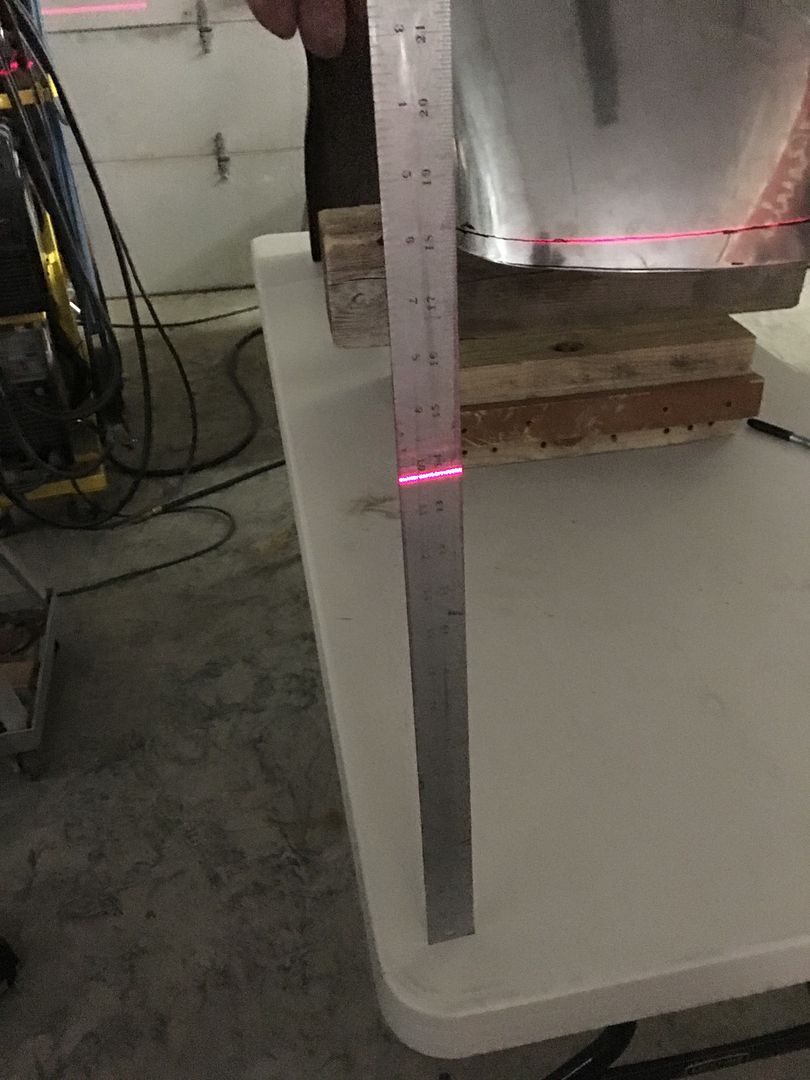
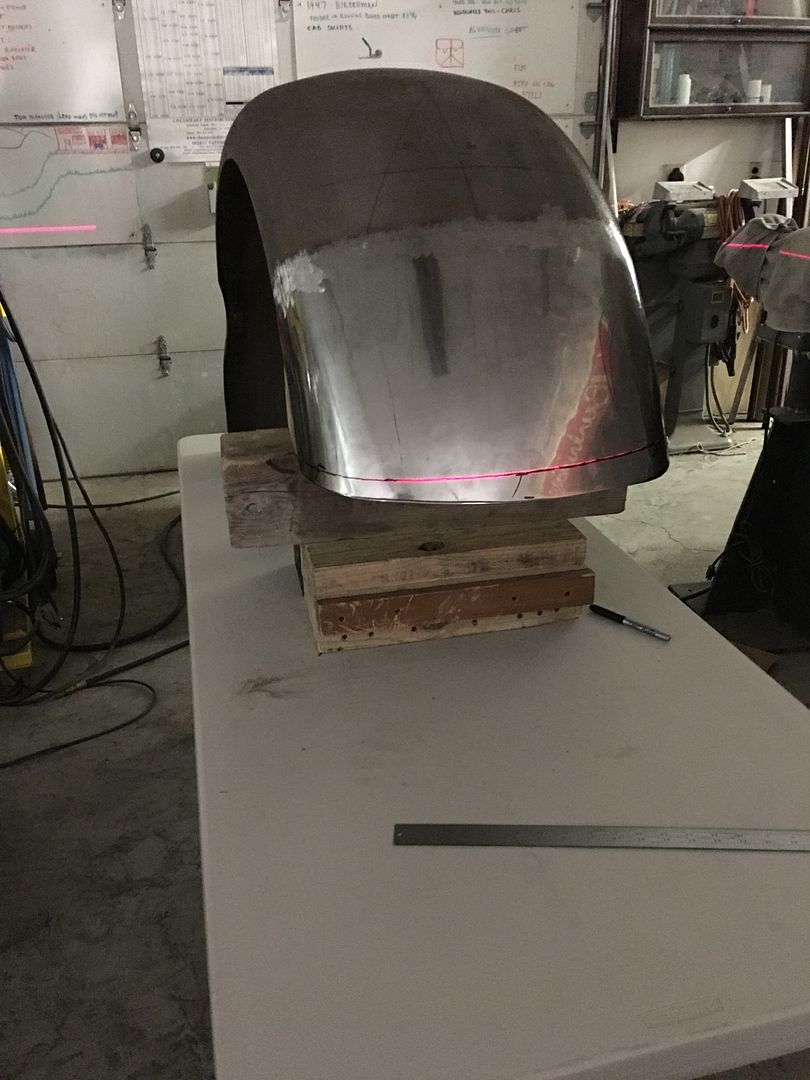
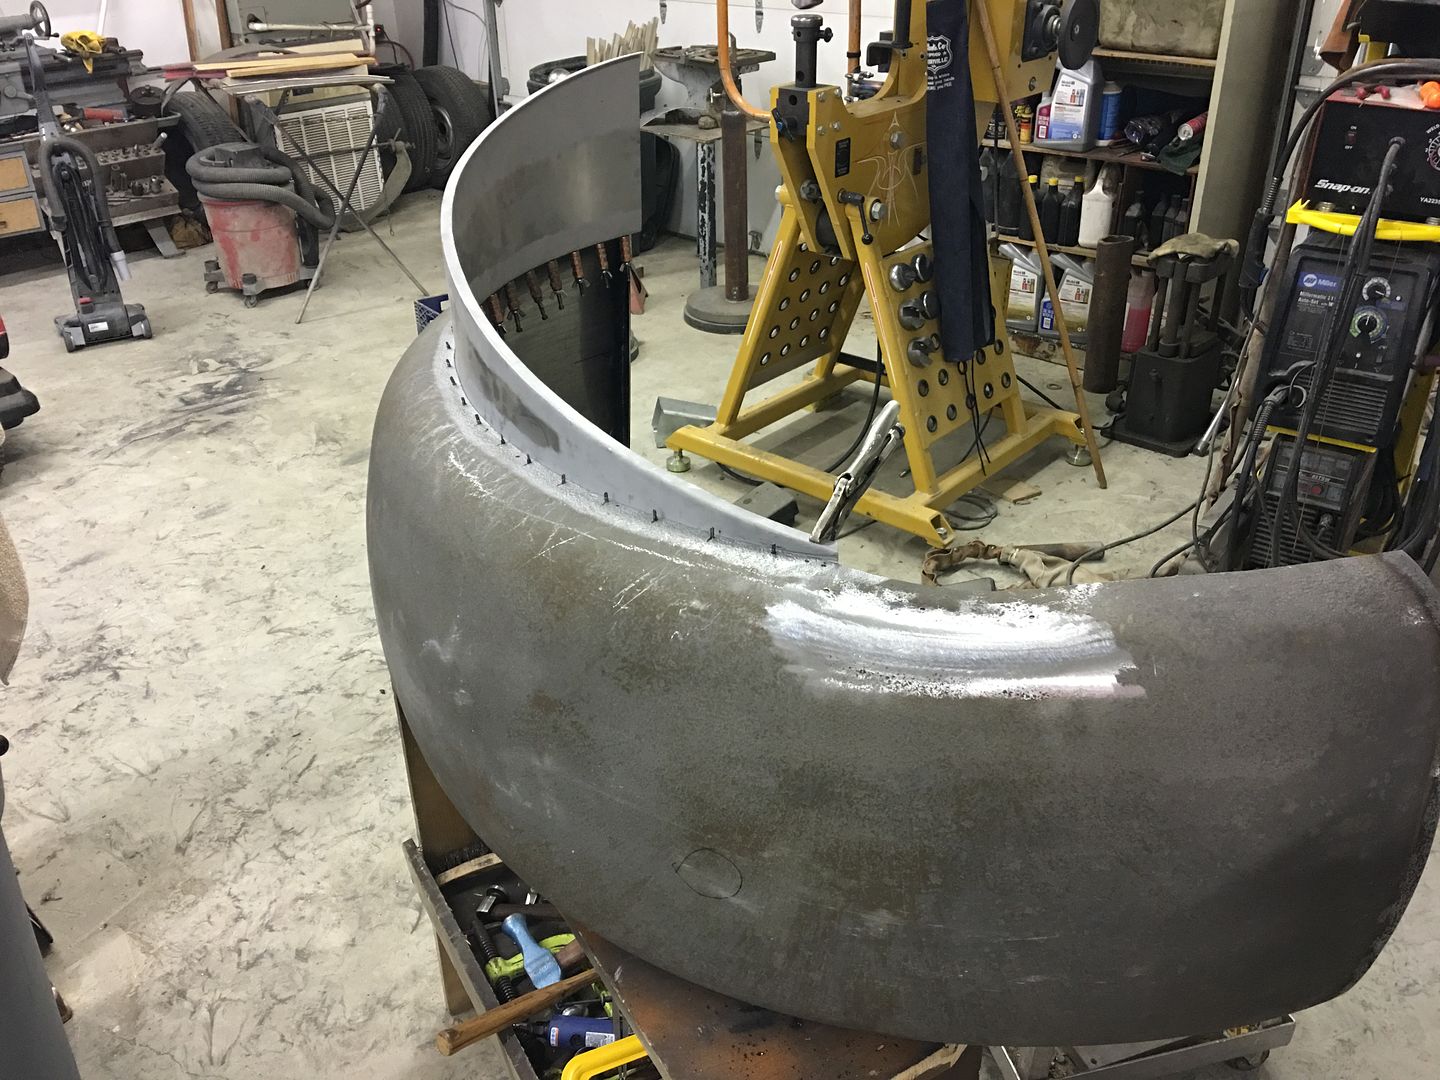
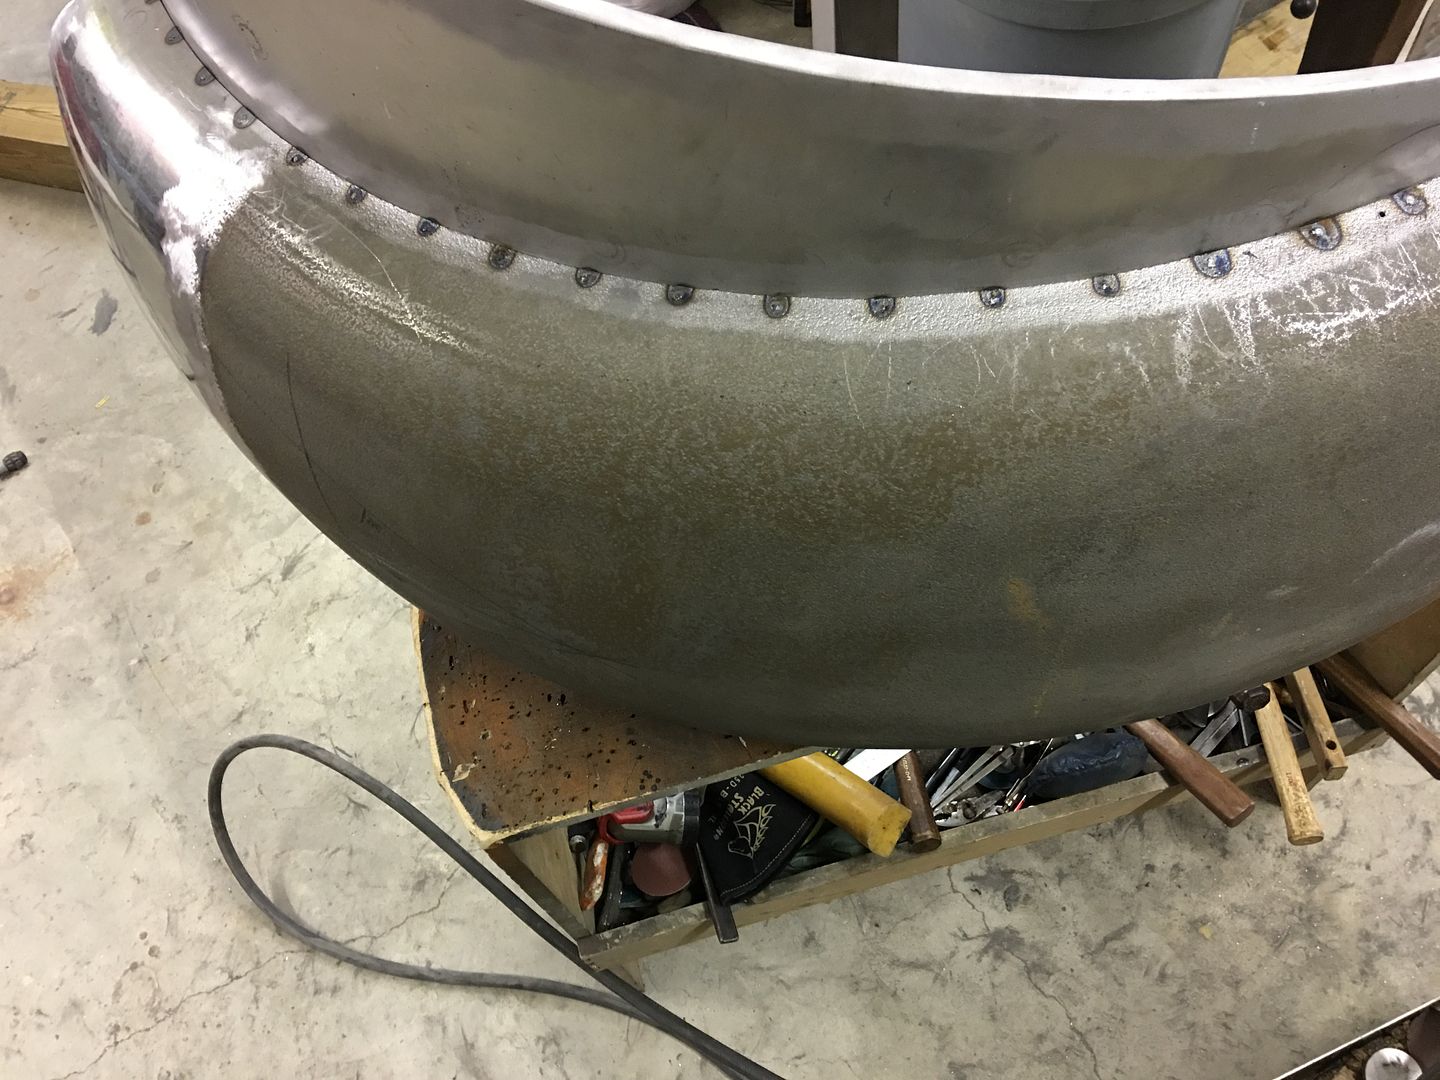
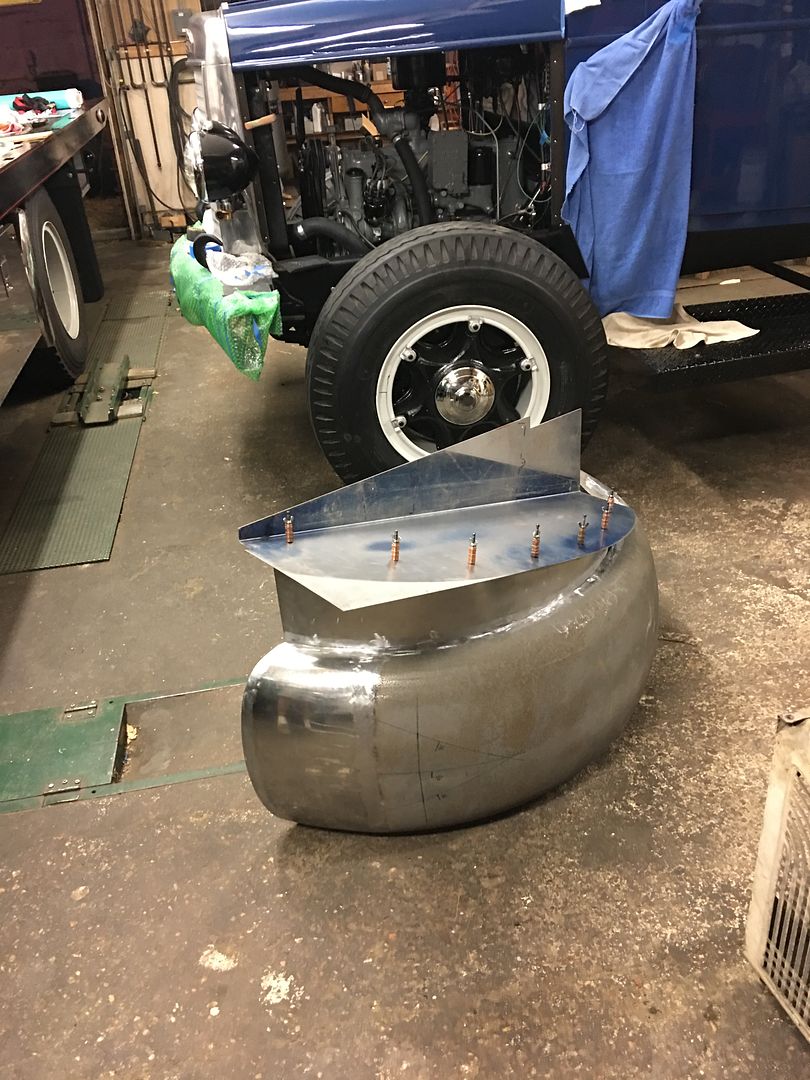
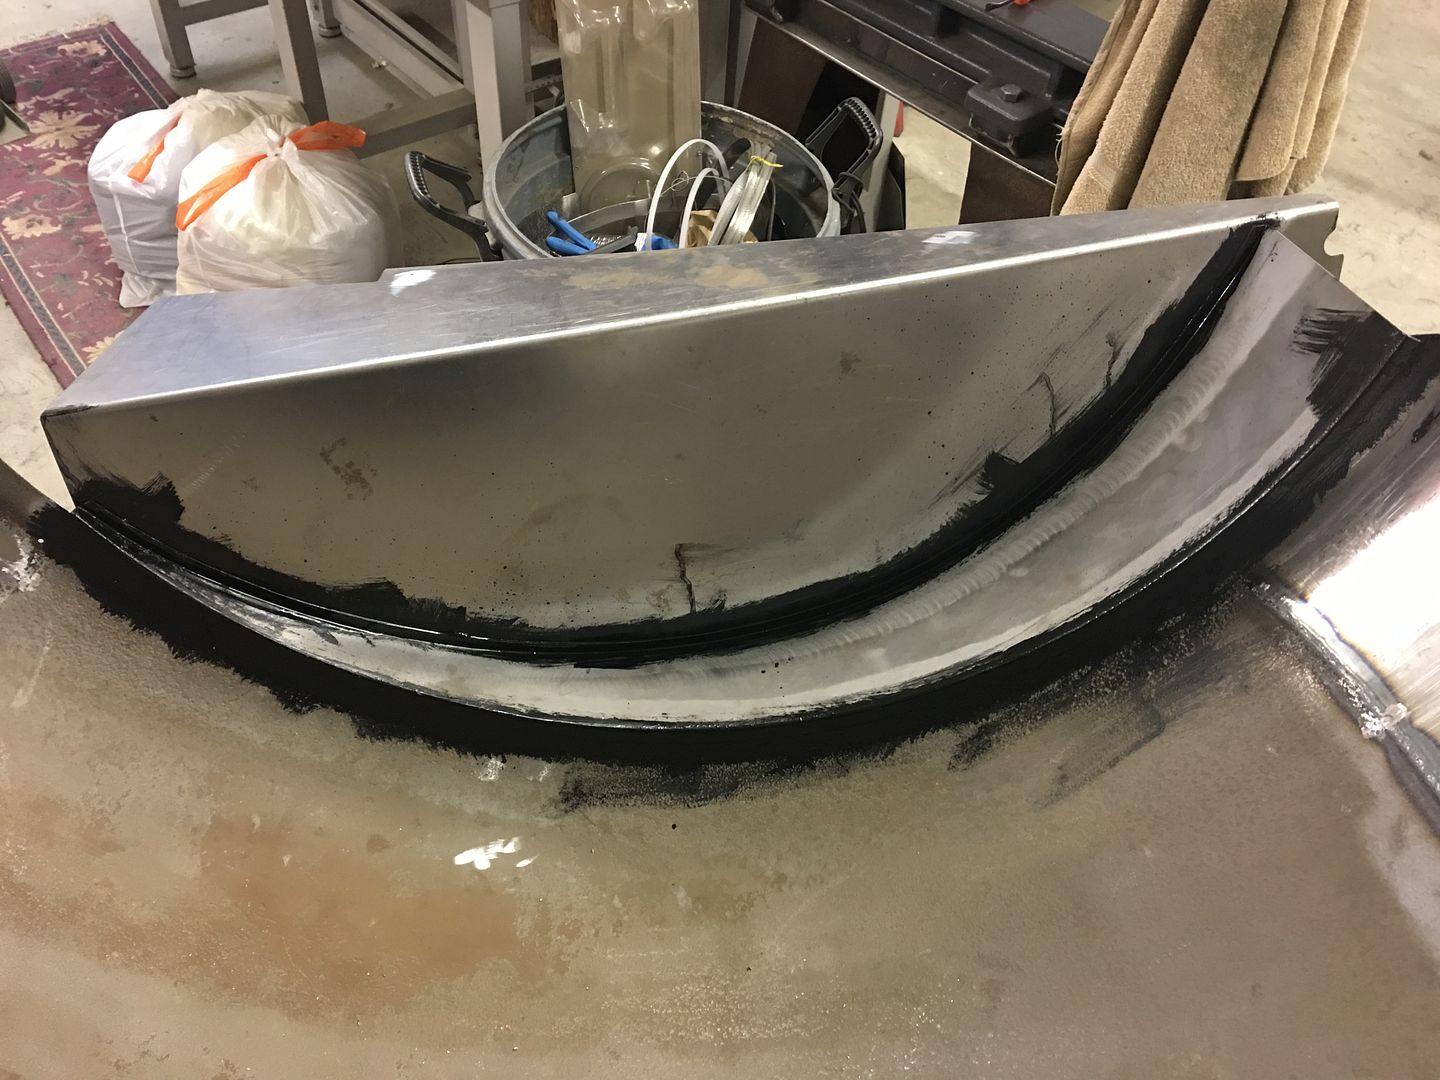
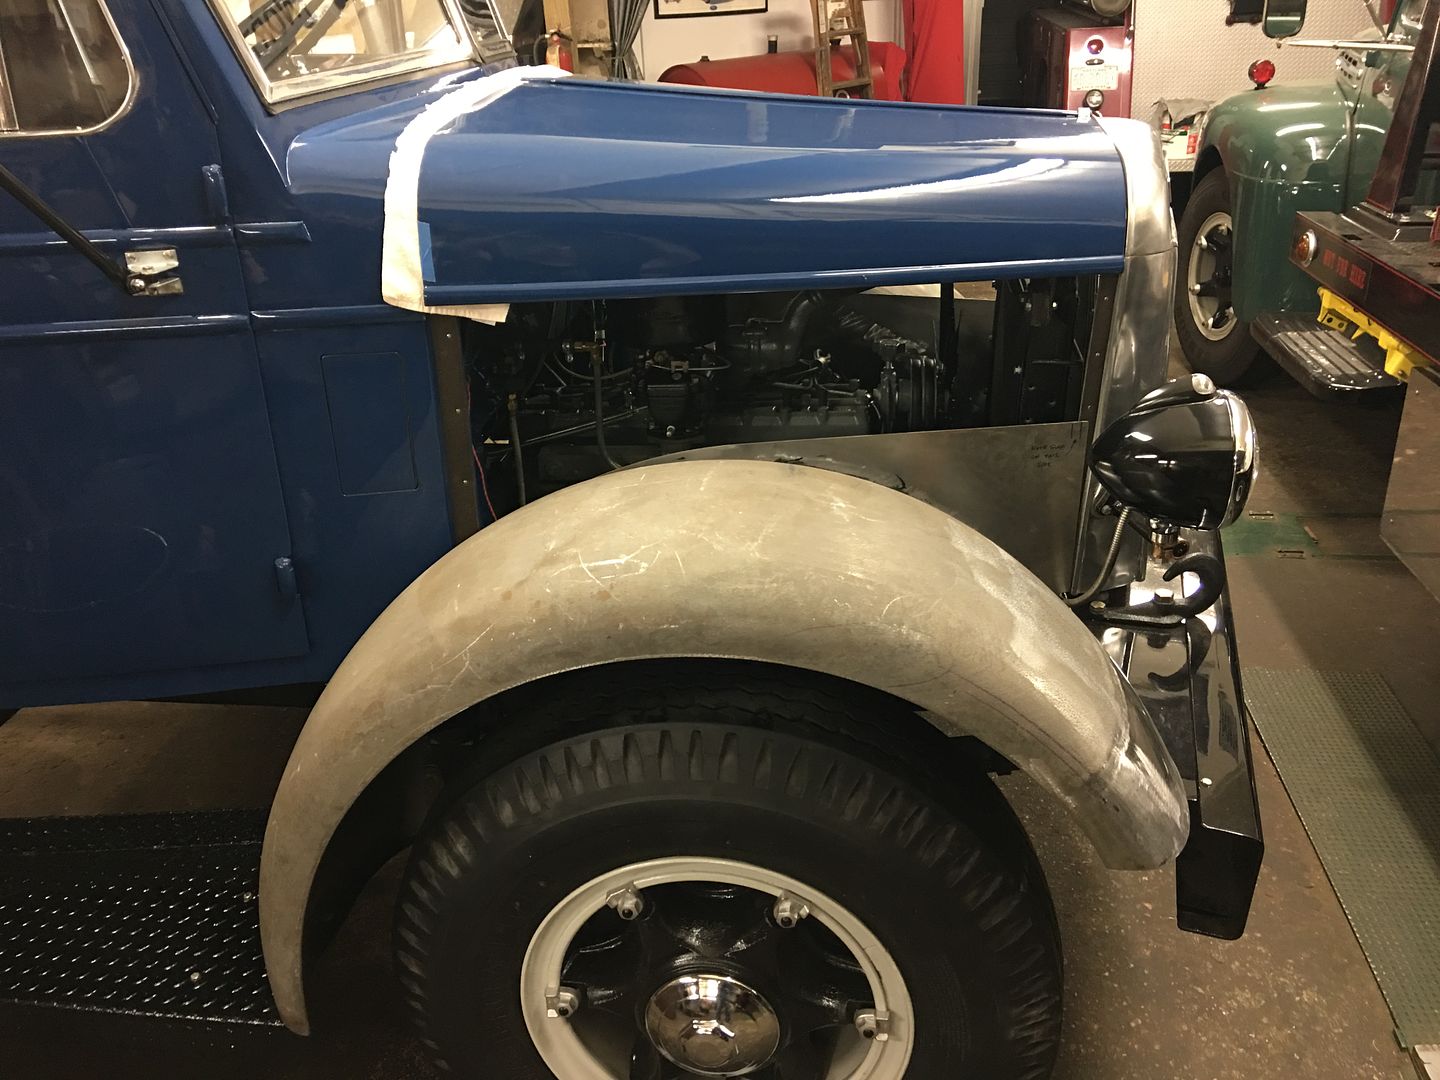
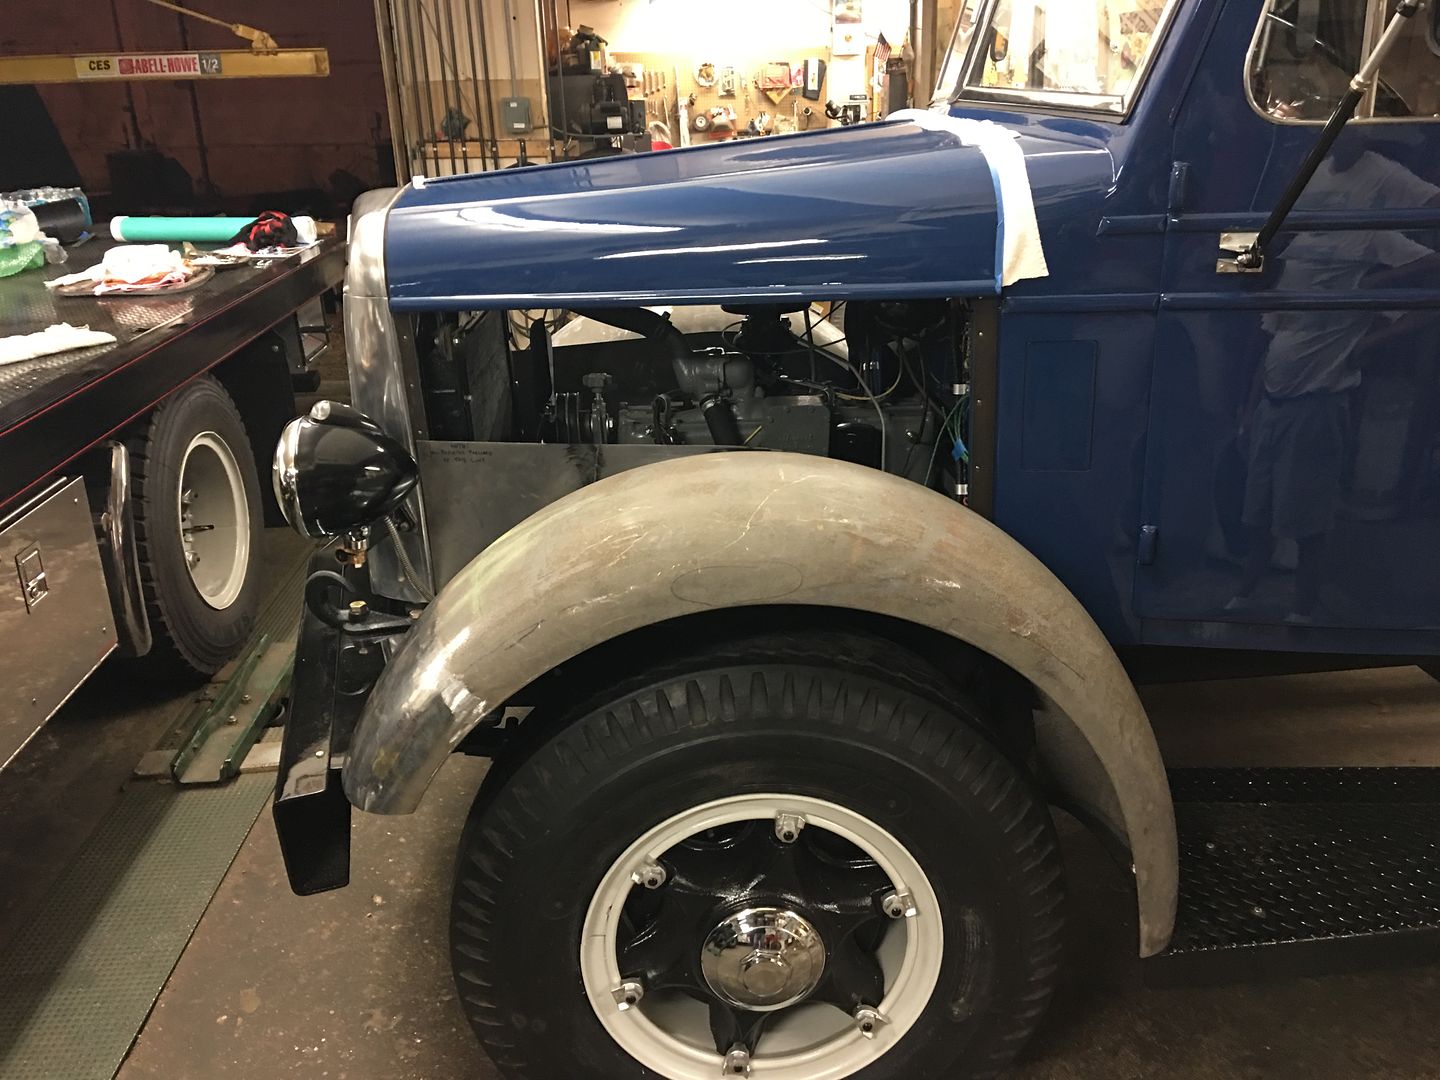
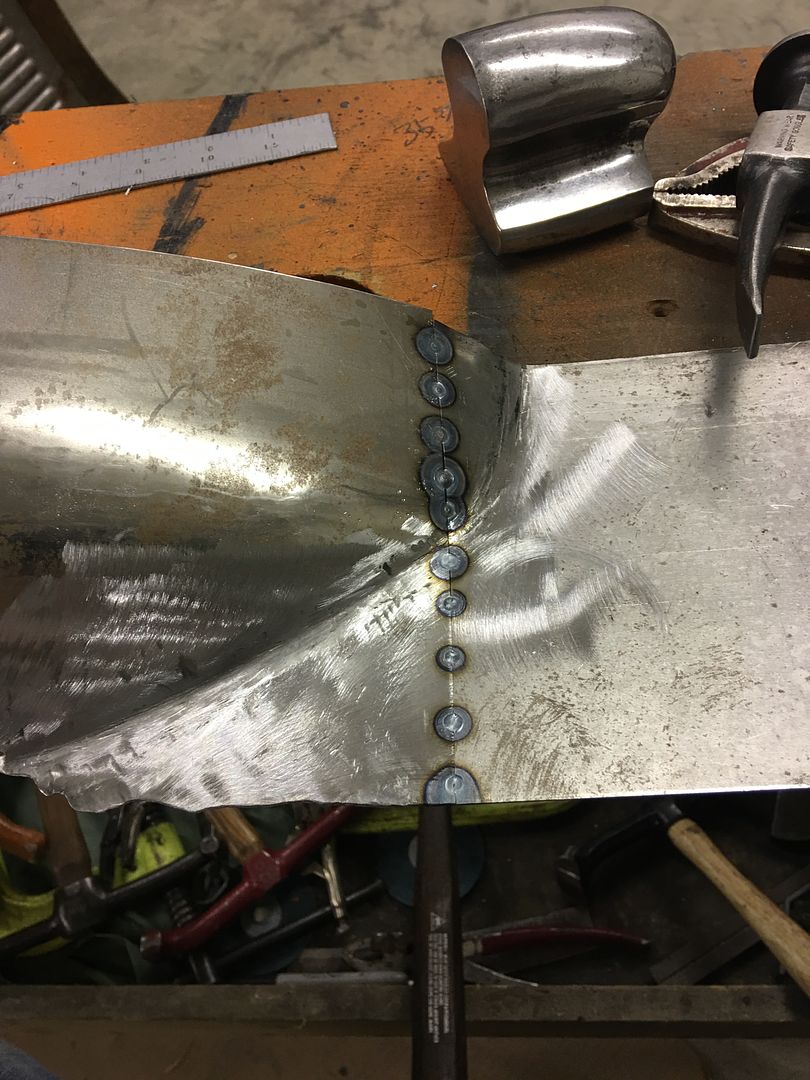
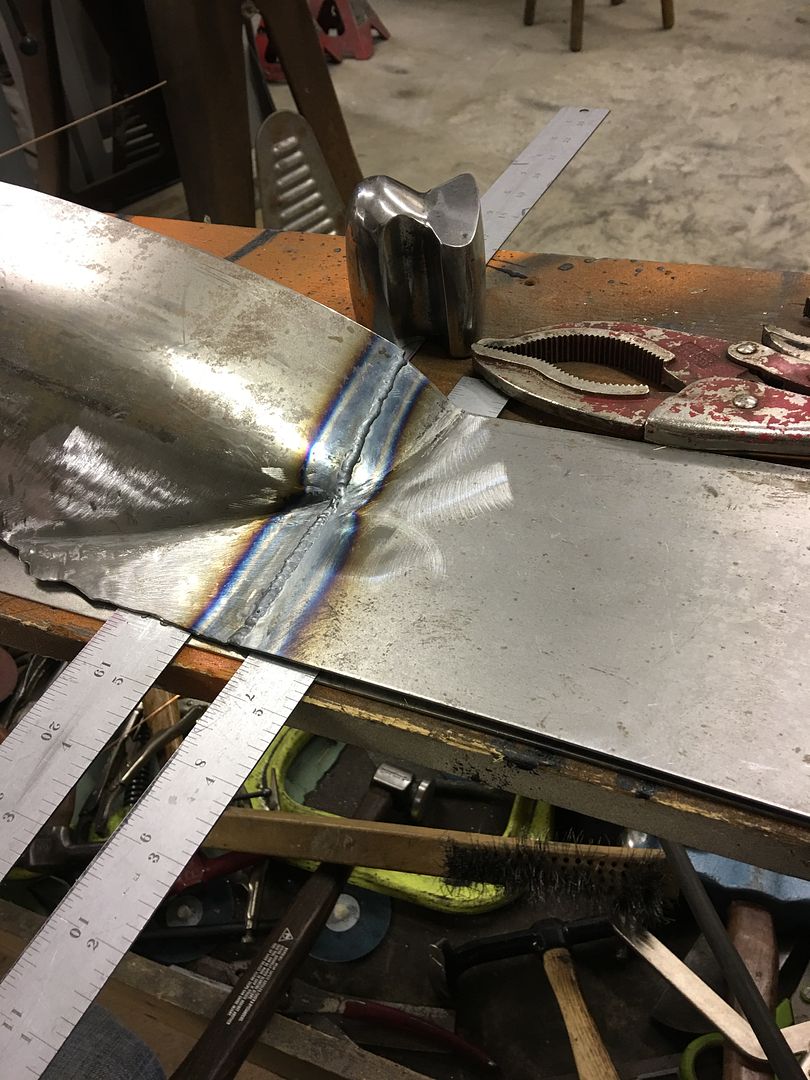
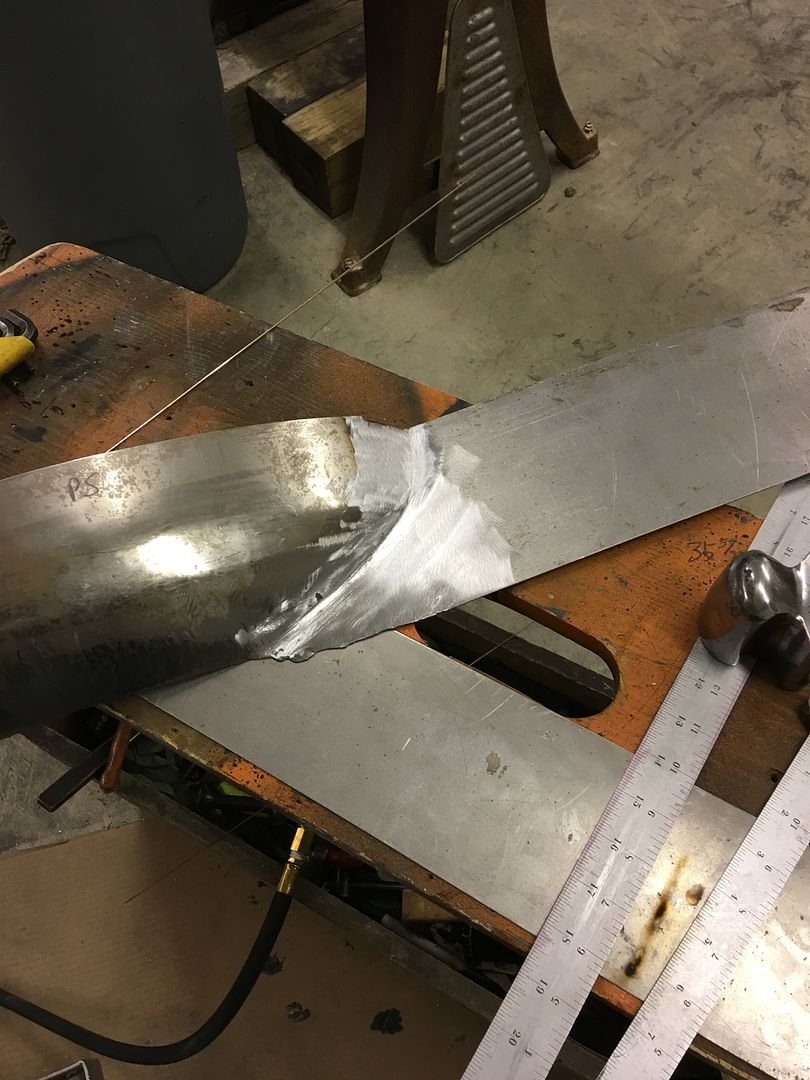
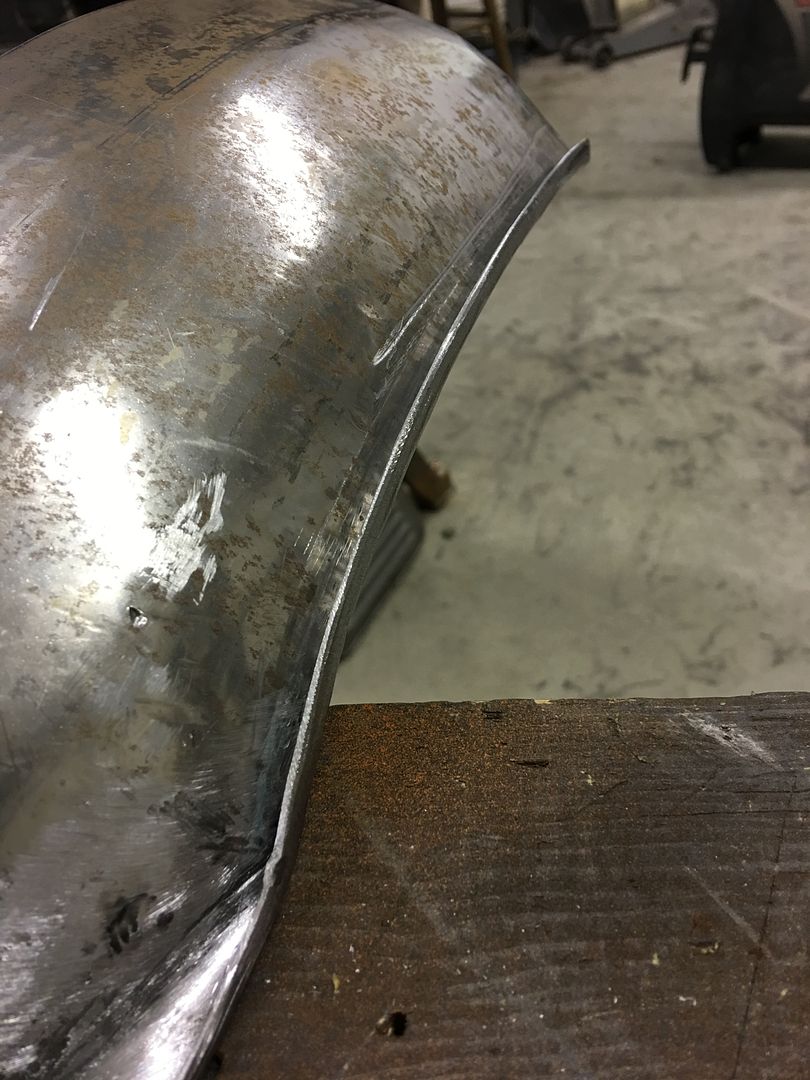
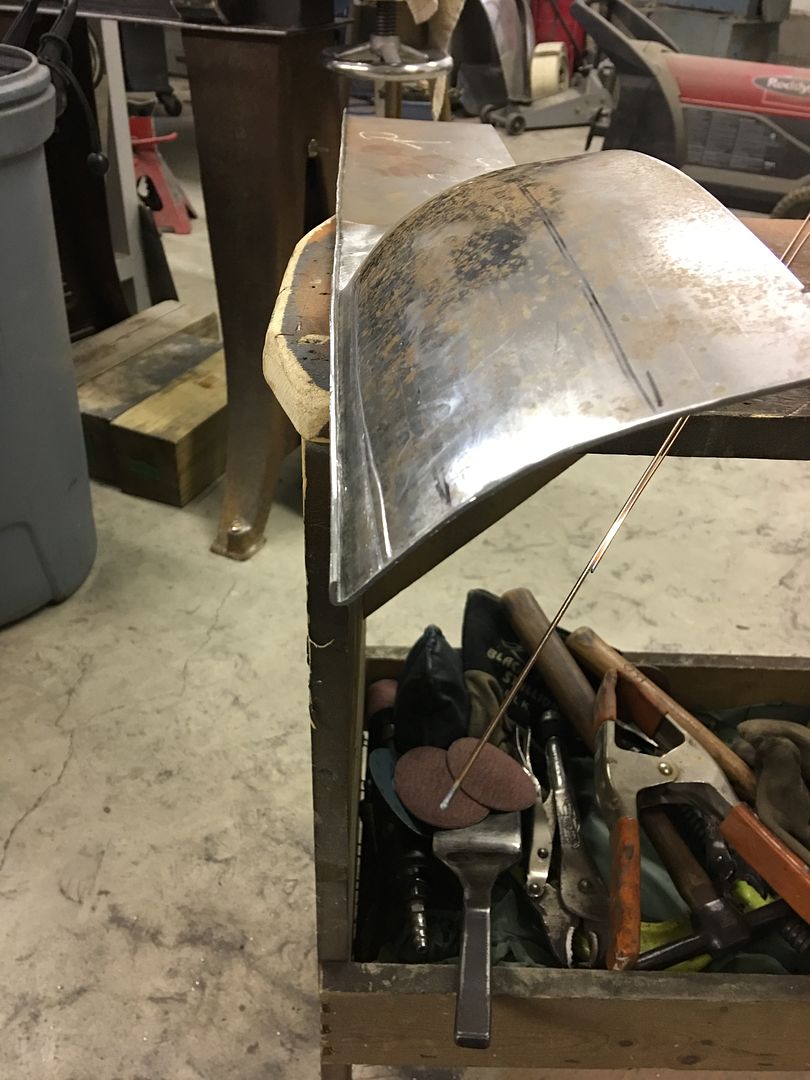
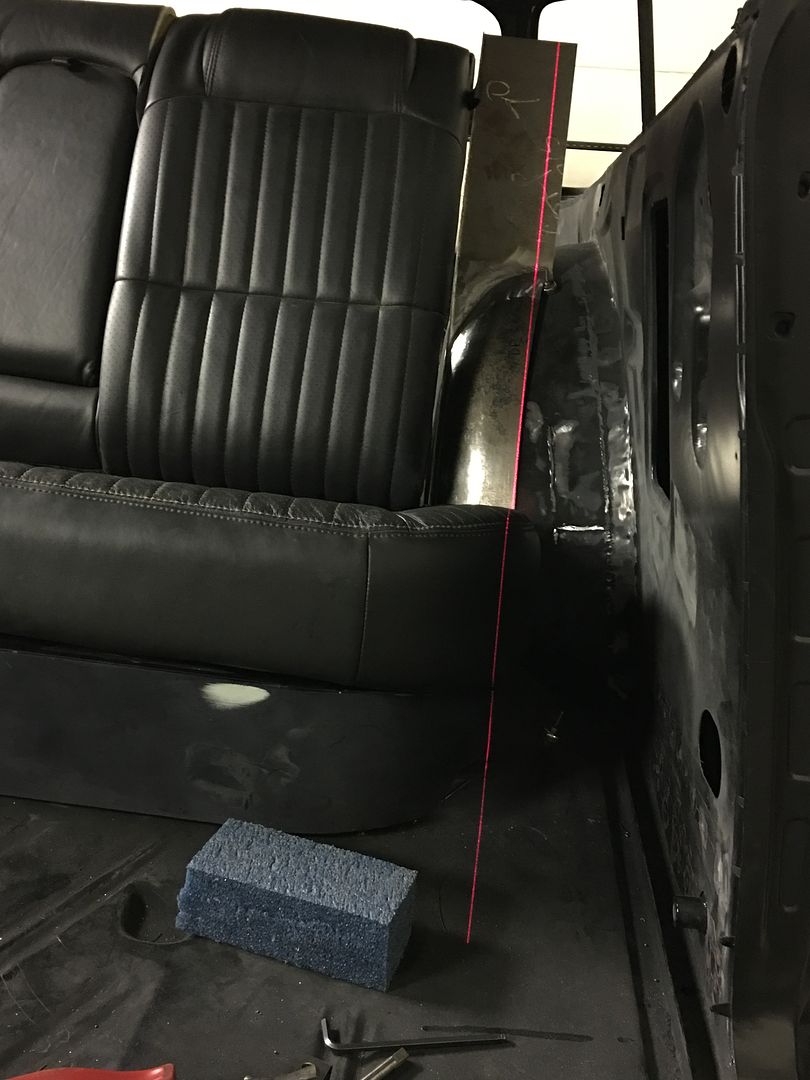
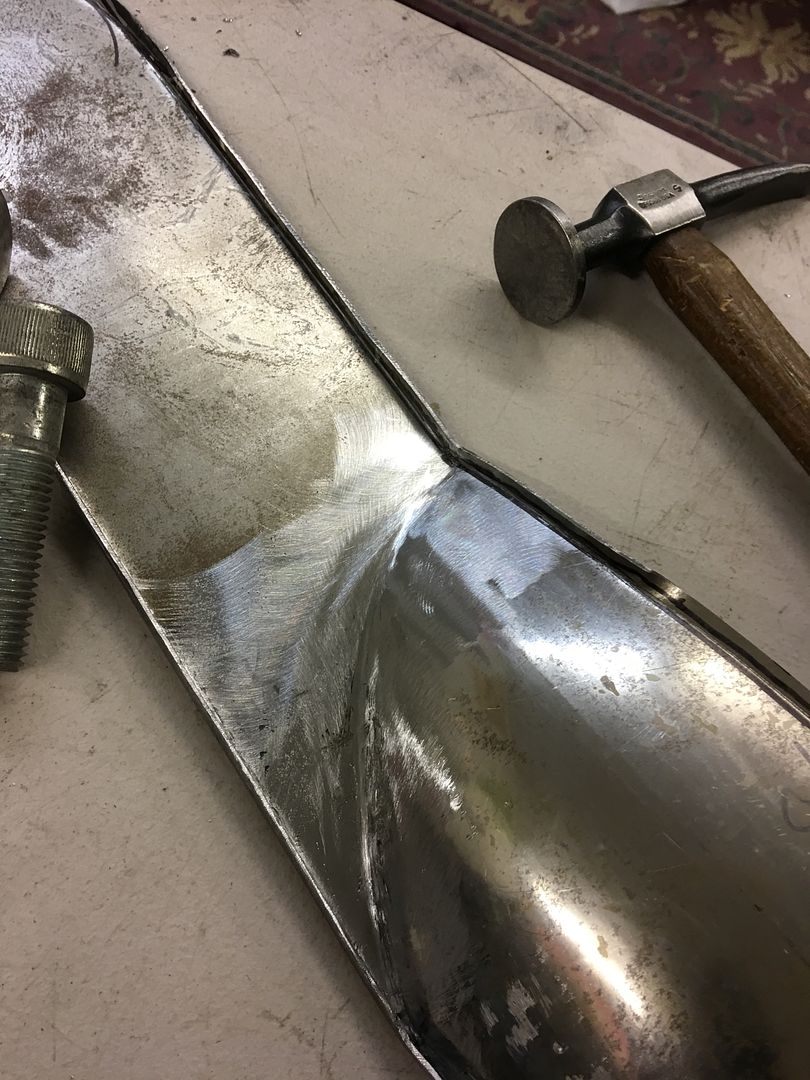
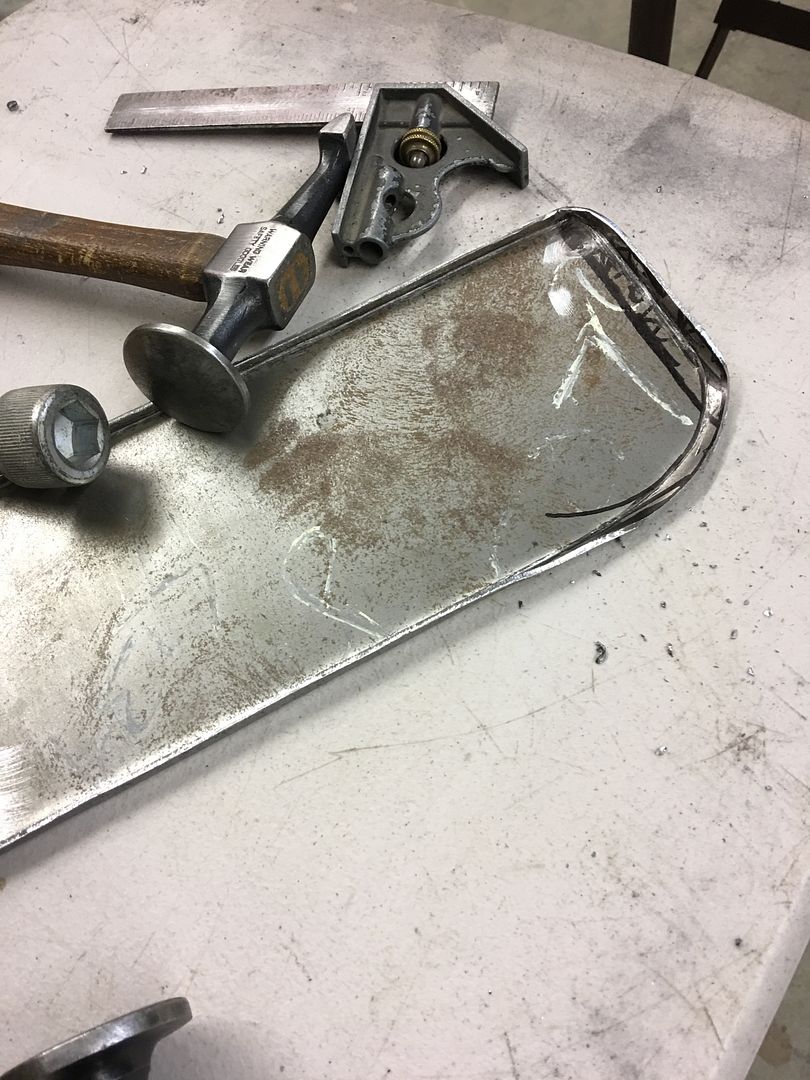
Fine workmanship on those fenders Robert. That project turned out quite well. Having made some old style fenders like that before. I can appreciate the difficulty level to restore them. I like your use of the laser on these.
Thanks for posting all your great projects!
Thanks Robert and John for the information

 Guess I should have sent him up with business cards.


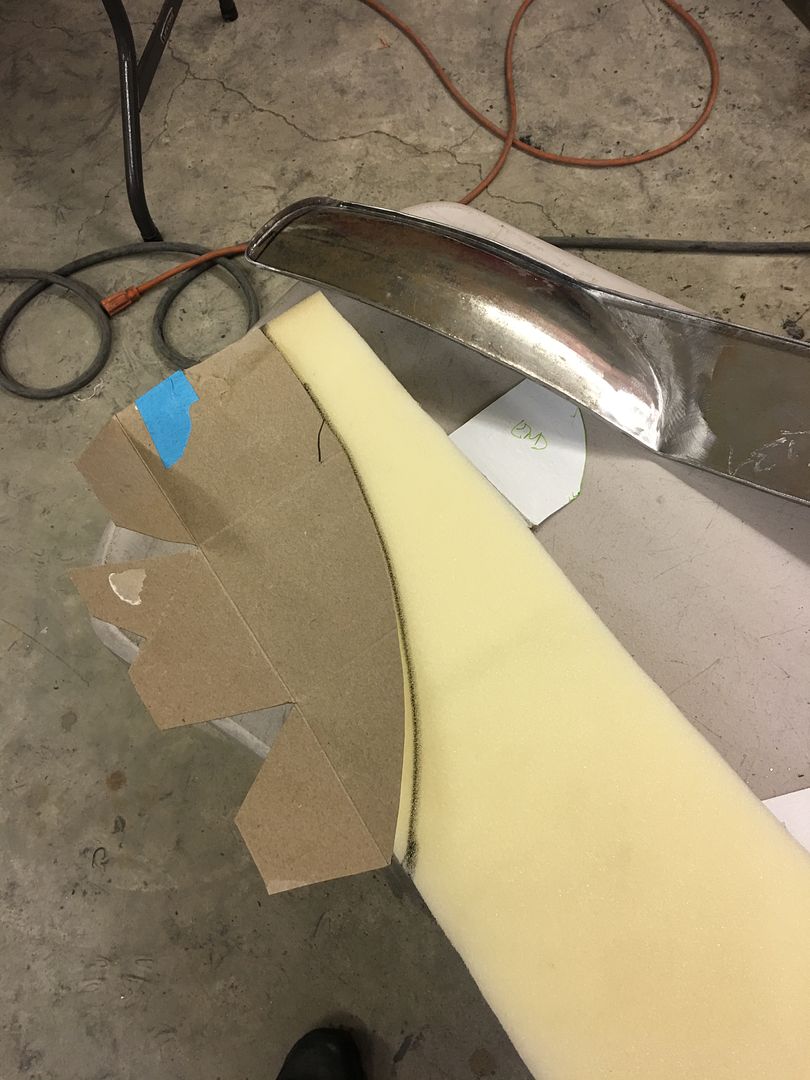
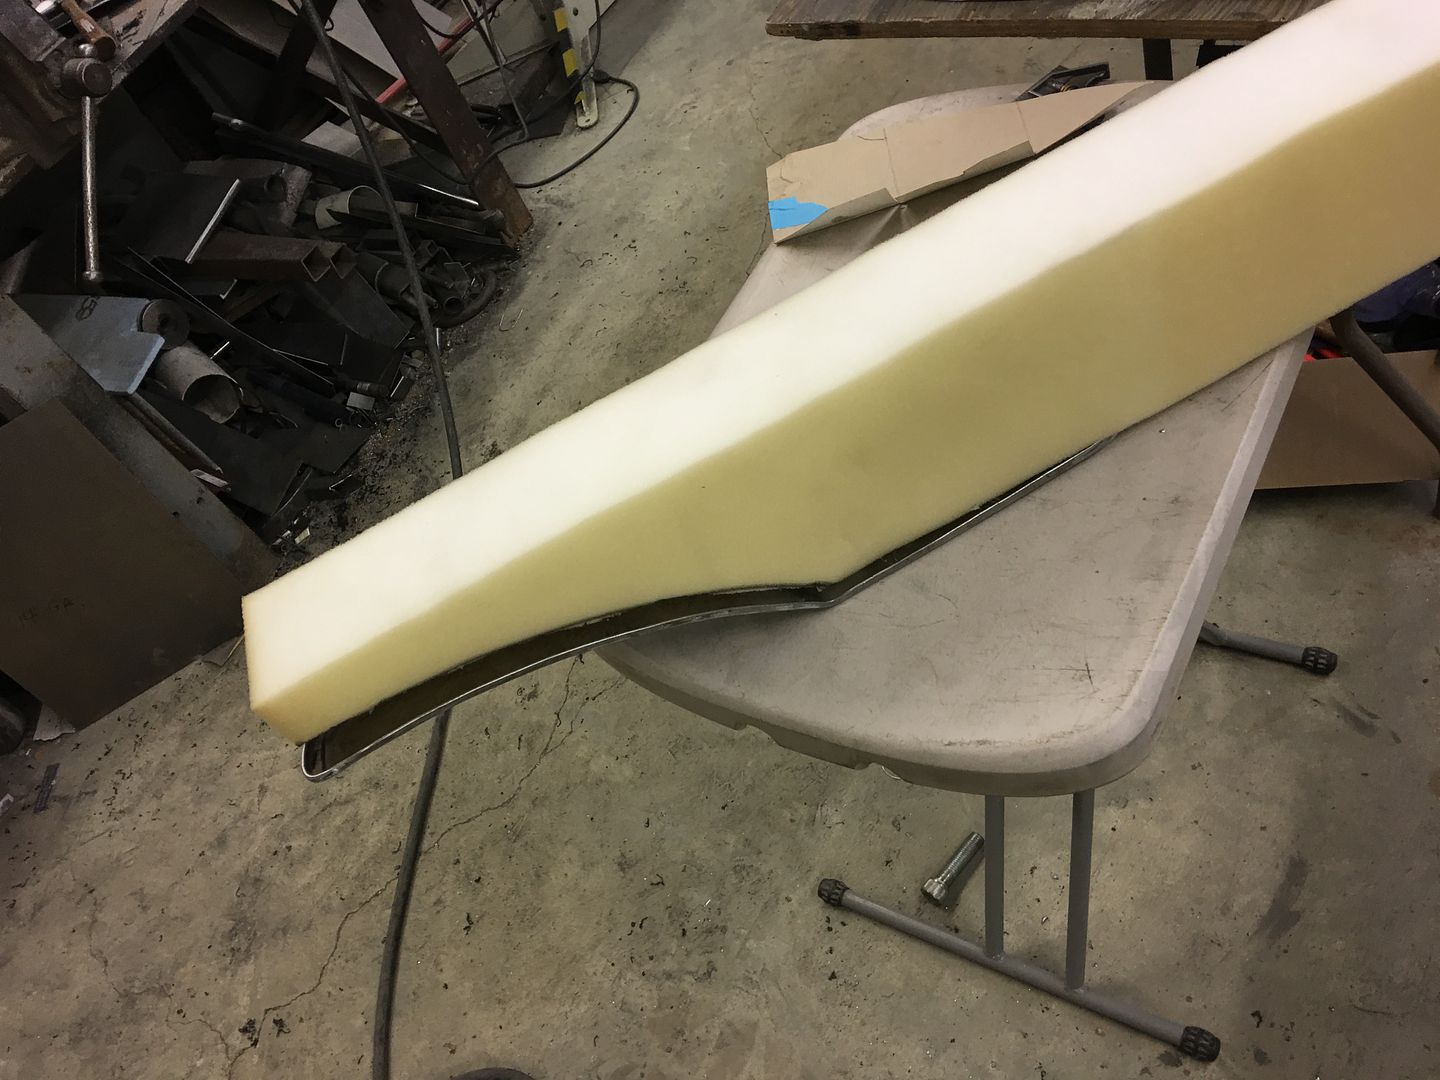
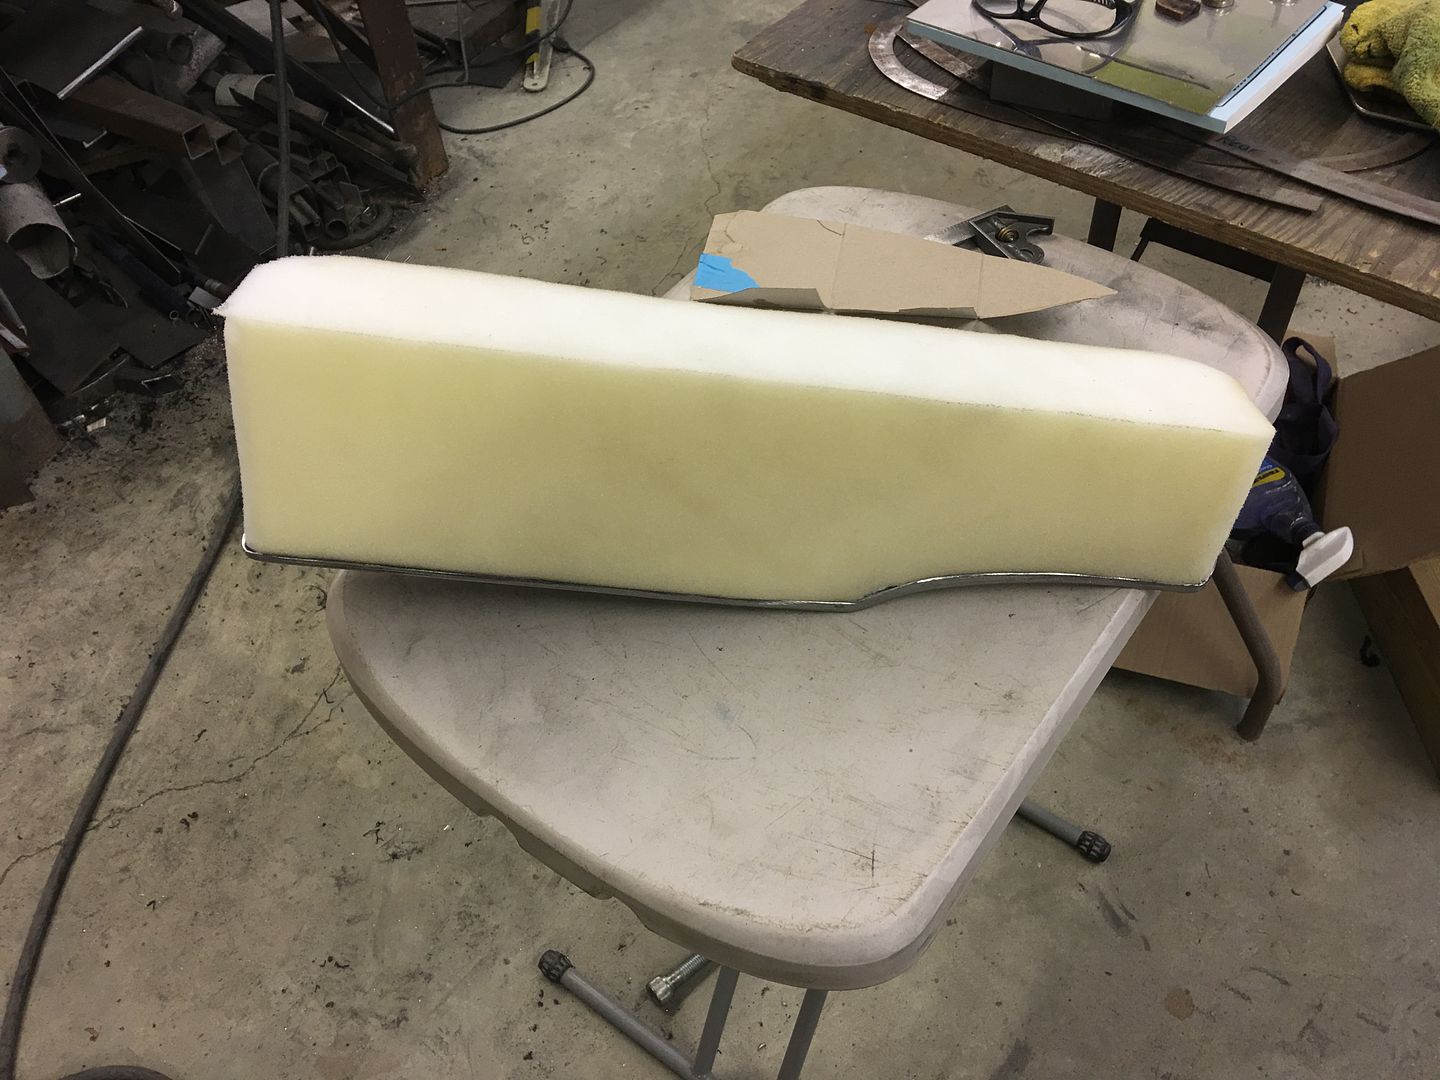
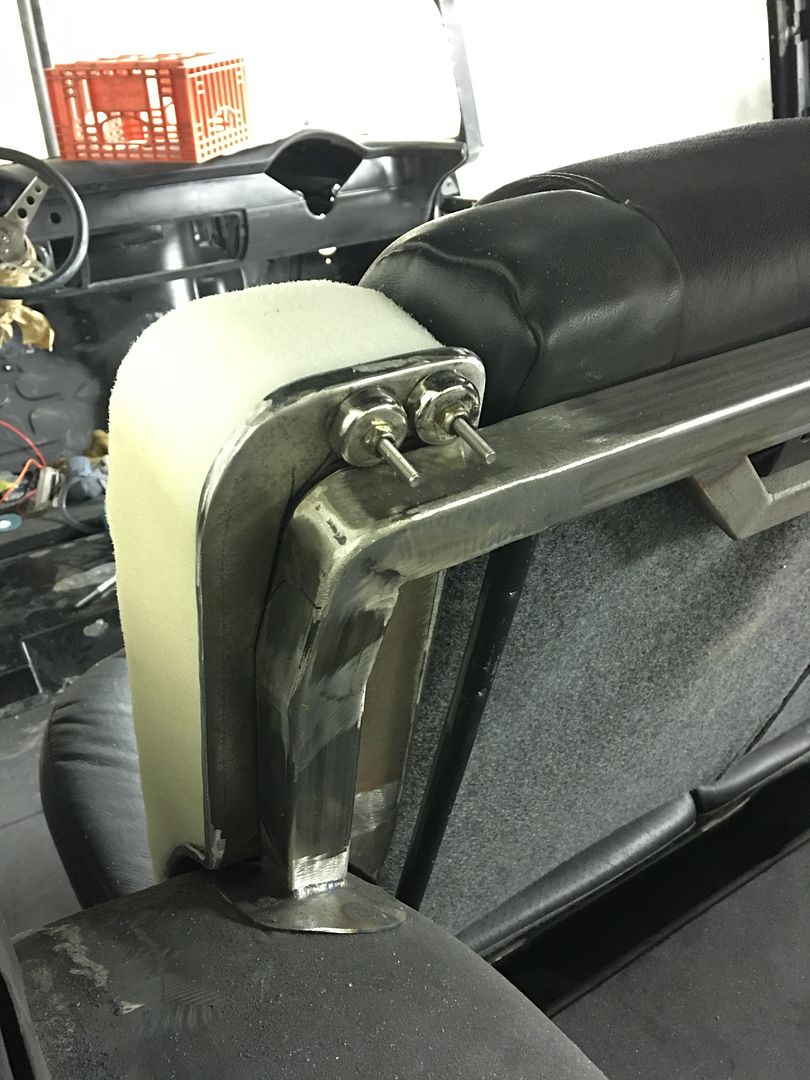

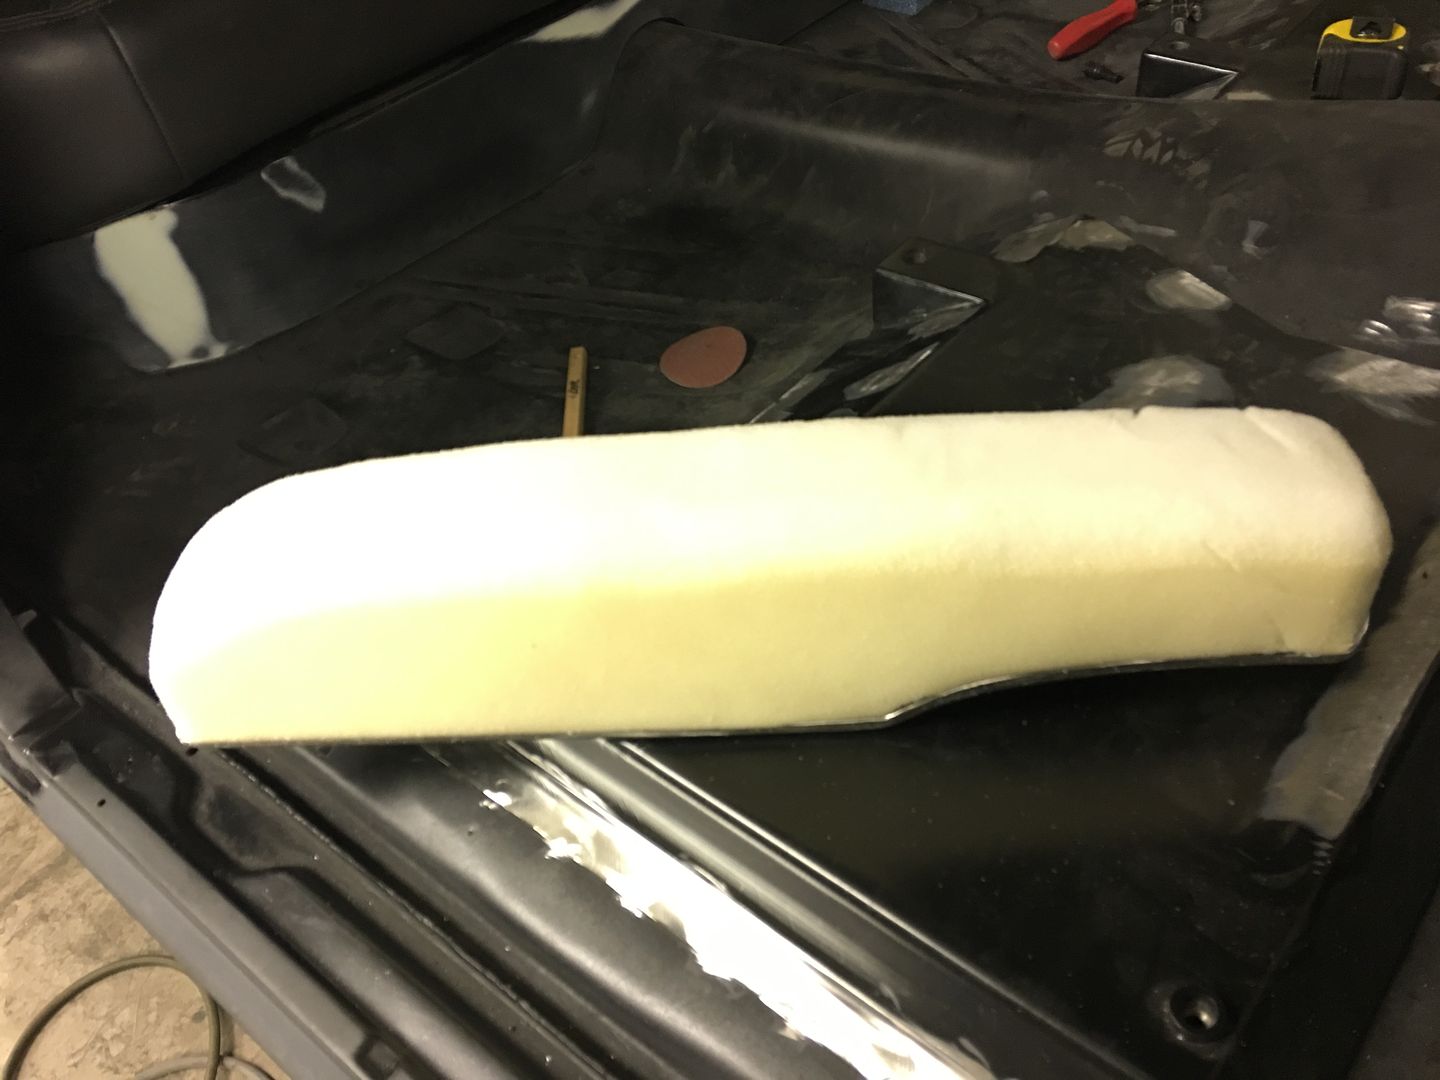
"Used the electric bread knife from the kitchen (if anyone asks you haven't seen it...) to trim out the foam, makes short work of it..."
I haven't seen yours, but I used to use mom's for cutting foam to make camera case inserts back in the 70's. It worked great and I don't think she ever knew. I hope she doesn't see this now.
Great work as always.
I love the way you figure out how to make things the way you need them.
I made a foam cutter out of a hot wire. The upright can be clamped at any angle if you need to rip bevels on a piece of foam. Crude, but it works well.
Robert, thank you for this thread. It's taken me several weeks to get through it all. I wanted to read it carefully, as this is masters-level training, and much of it is far more advanced than what I can readily grasp. Your work is amazing.
There is something else that I've started to learn while reading this thread. Patience. The first post on this thread was in January, 2013. The 55 was already apart, and you were working on the eyebrows. I've read sequentially, and all along I'd expected to see the car finished. I didn't want to read the end first - I wanted to be surprised. The surprise is how 'normal' you are - real life interferes with your projects just like everyone else's life does their's. I like how you don't get impatient, or frustrated, but you just keep on working the project. Your attitude is as inspiring as your work.


