To avoid these ads, REGISTER NOW!

MP&C Shop Projects

OP
M

MP&C

Well-known member
Joined
Oct 21, 2009
Messages
4,396
Location
Leonardtown, MD
Well, as my luck would have it, the owner called in sick today.. :lol_hitti


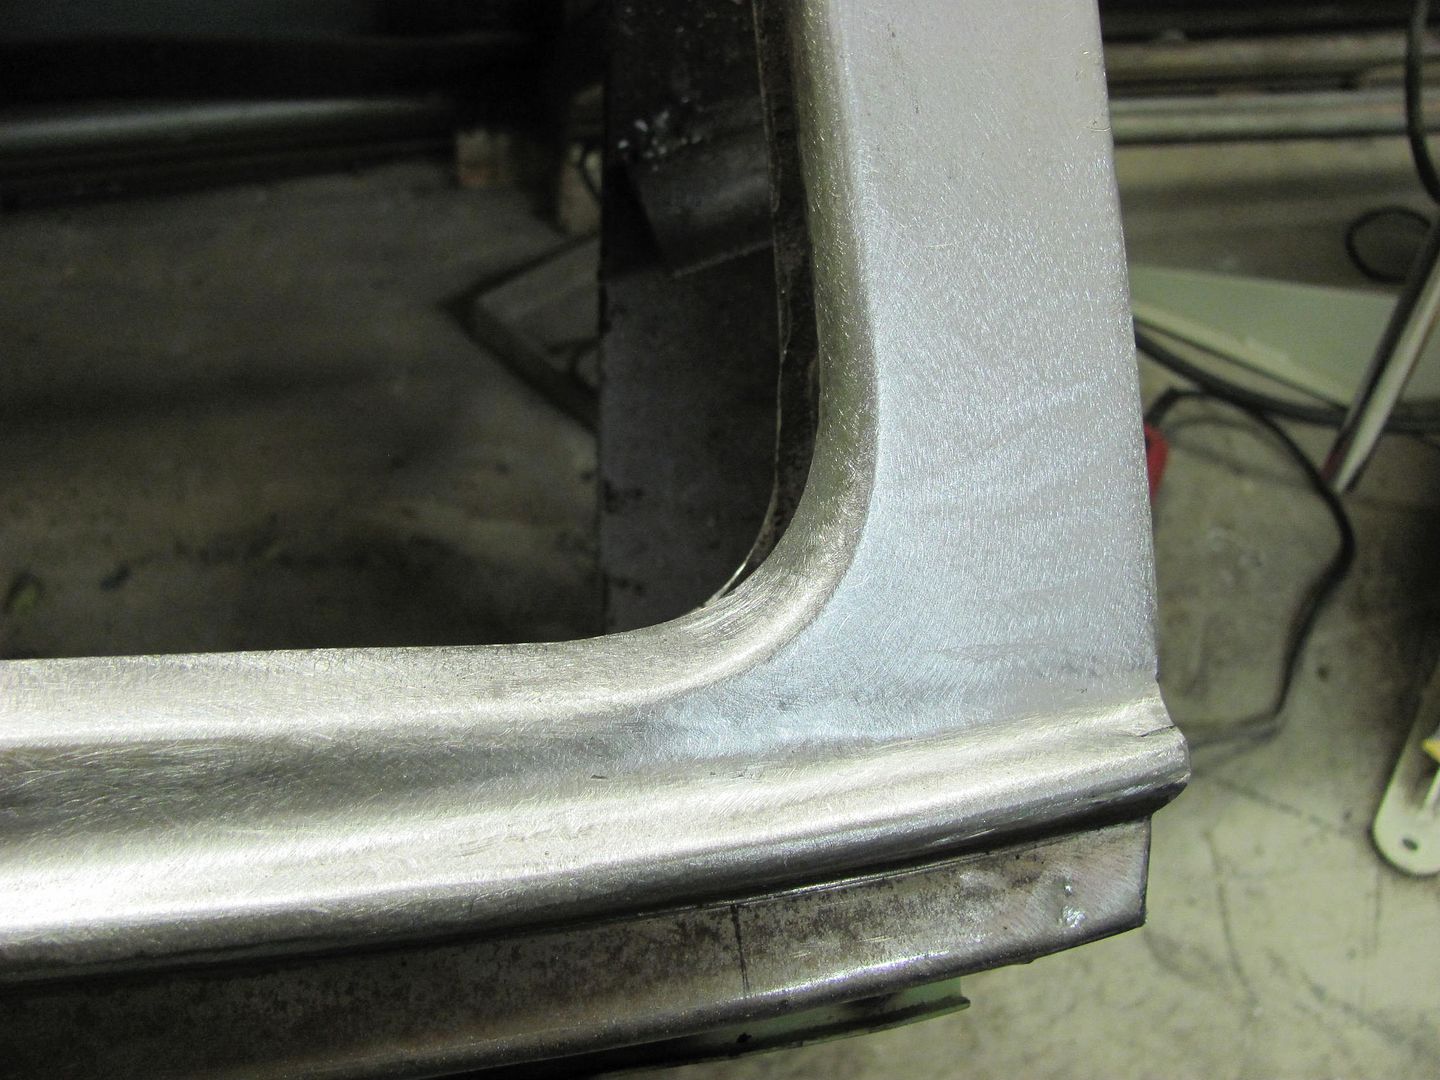
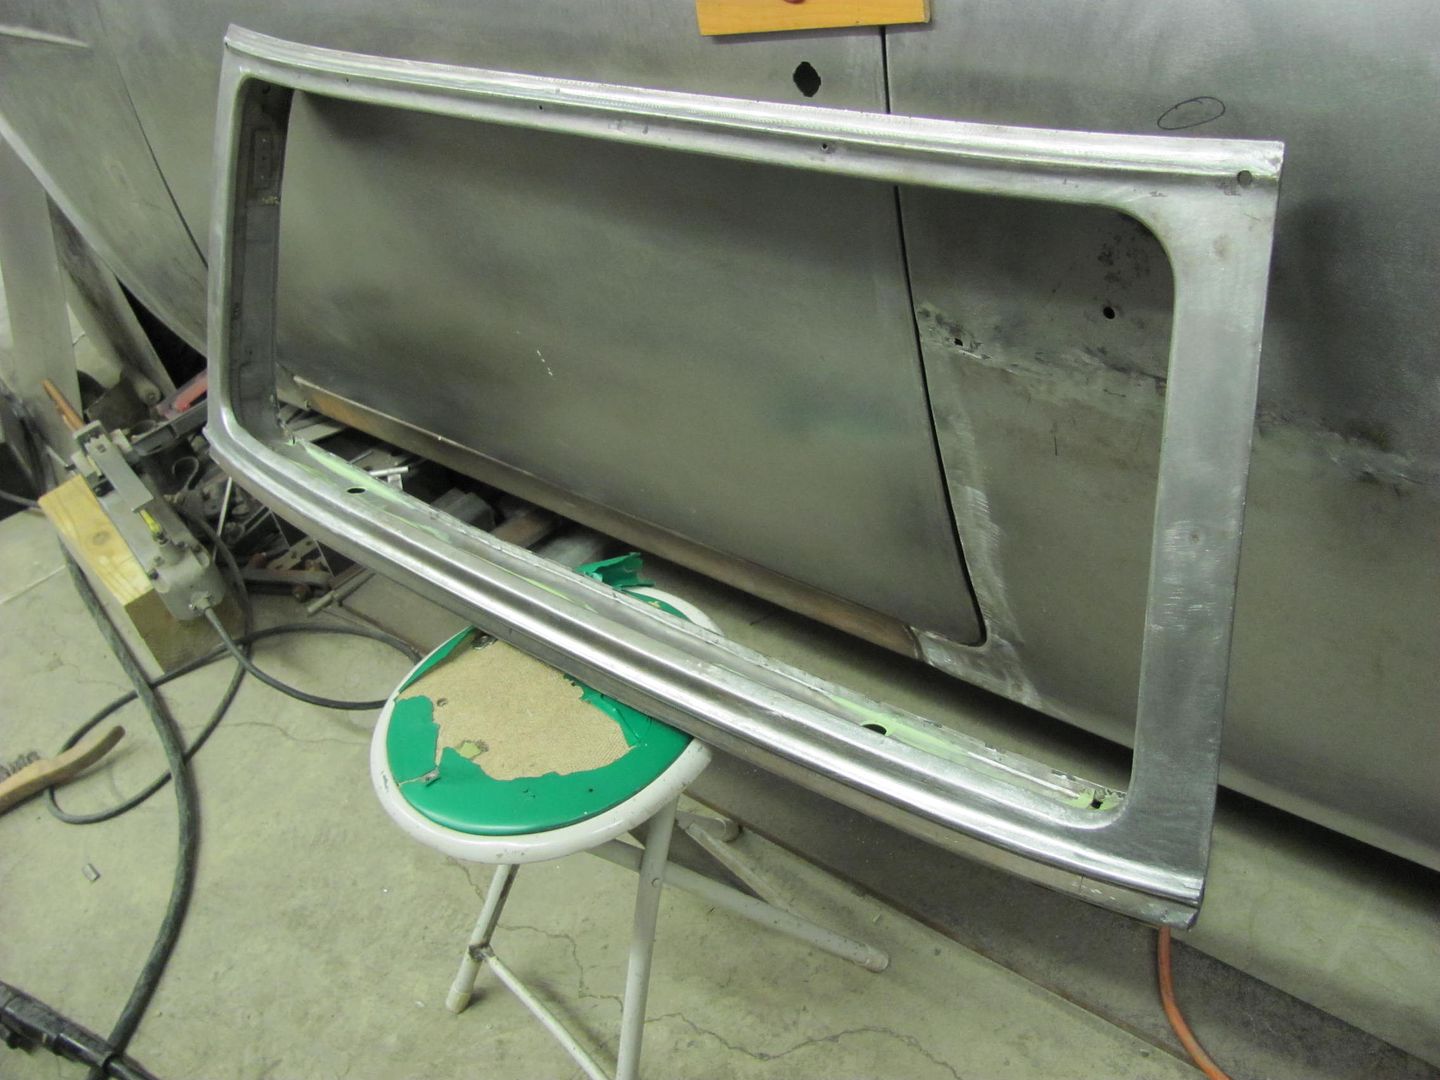
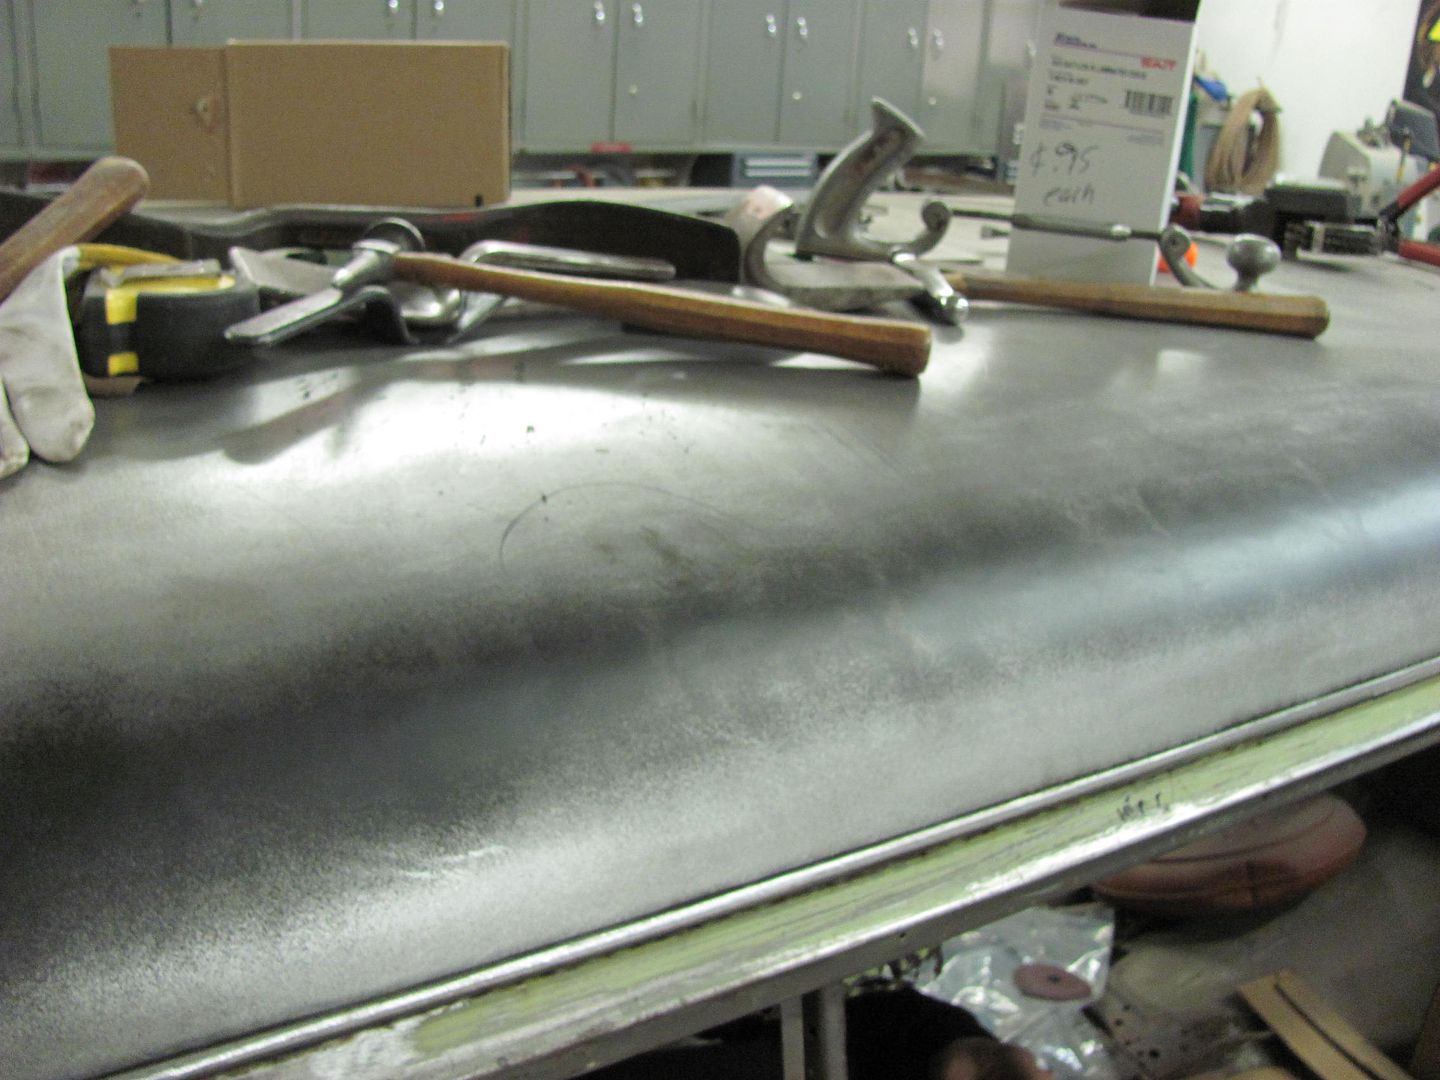
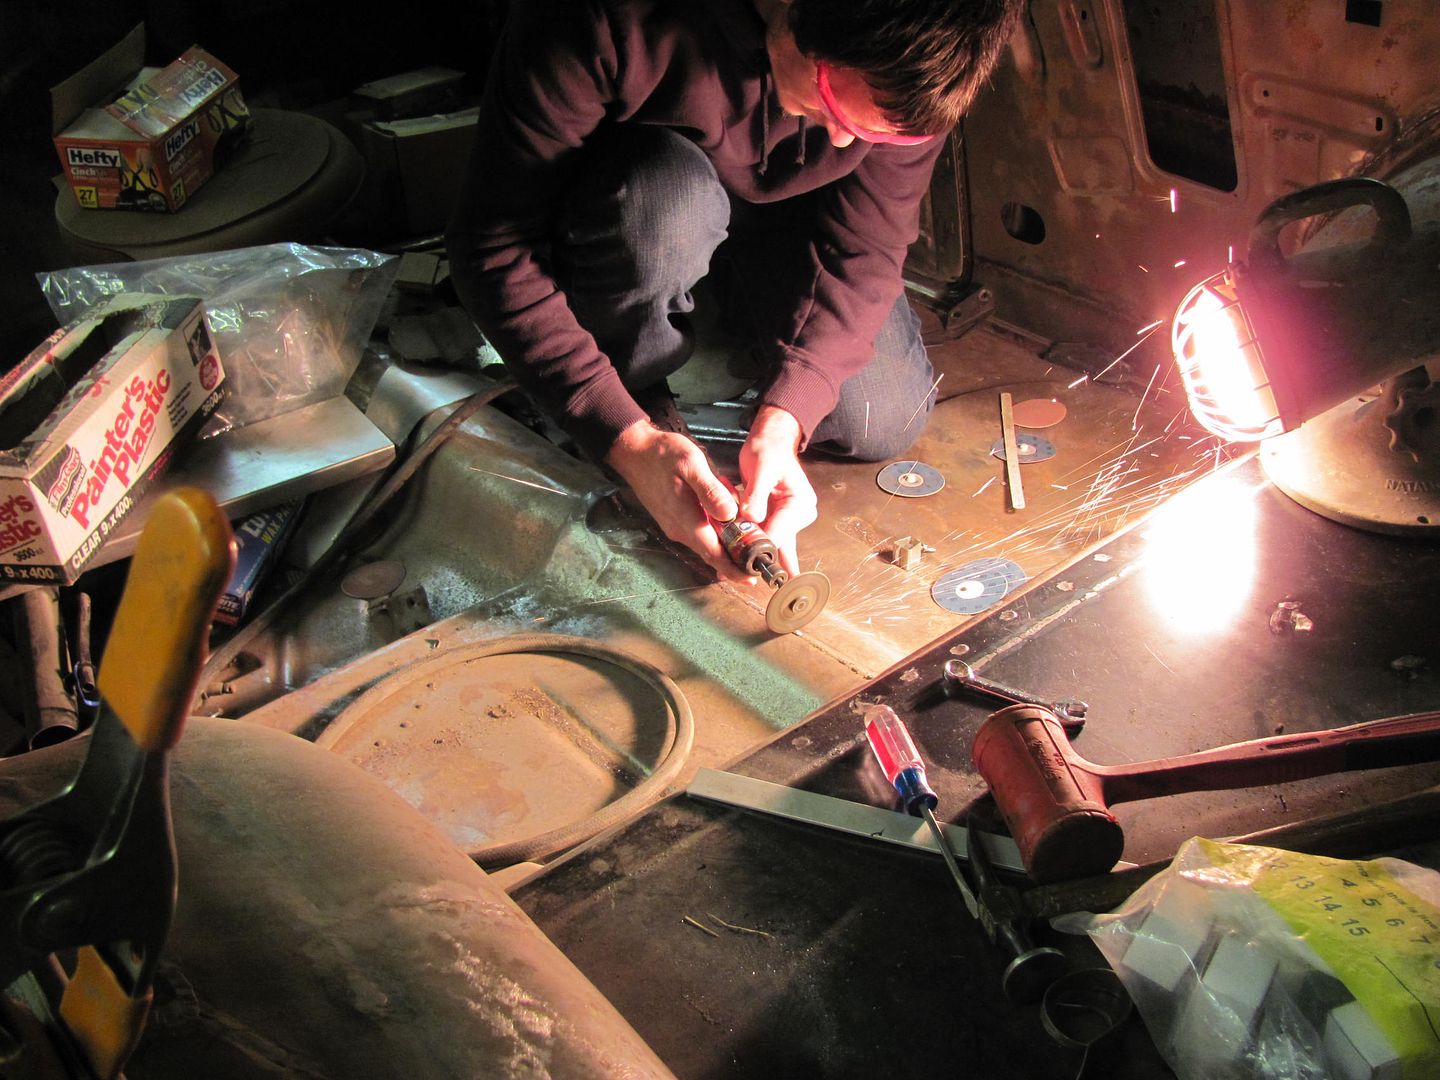
My nephew Chris worked inside the wagon to clean up some of the welds...


Picture678.jpg


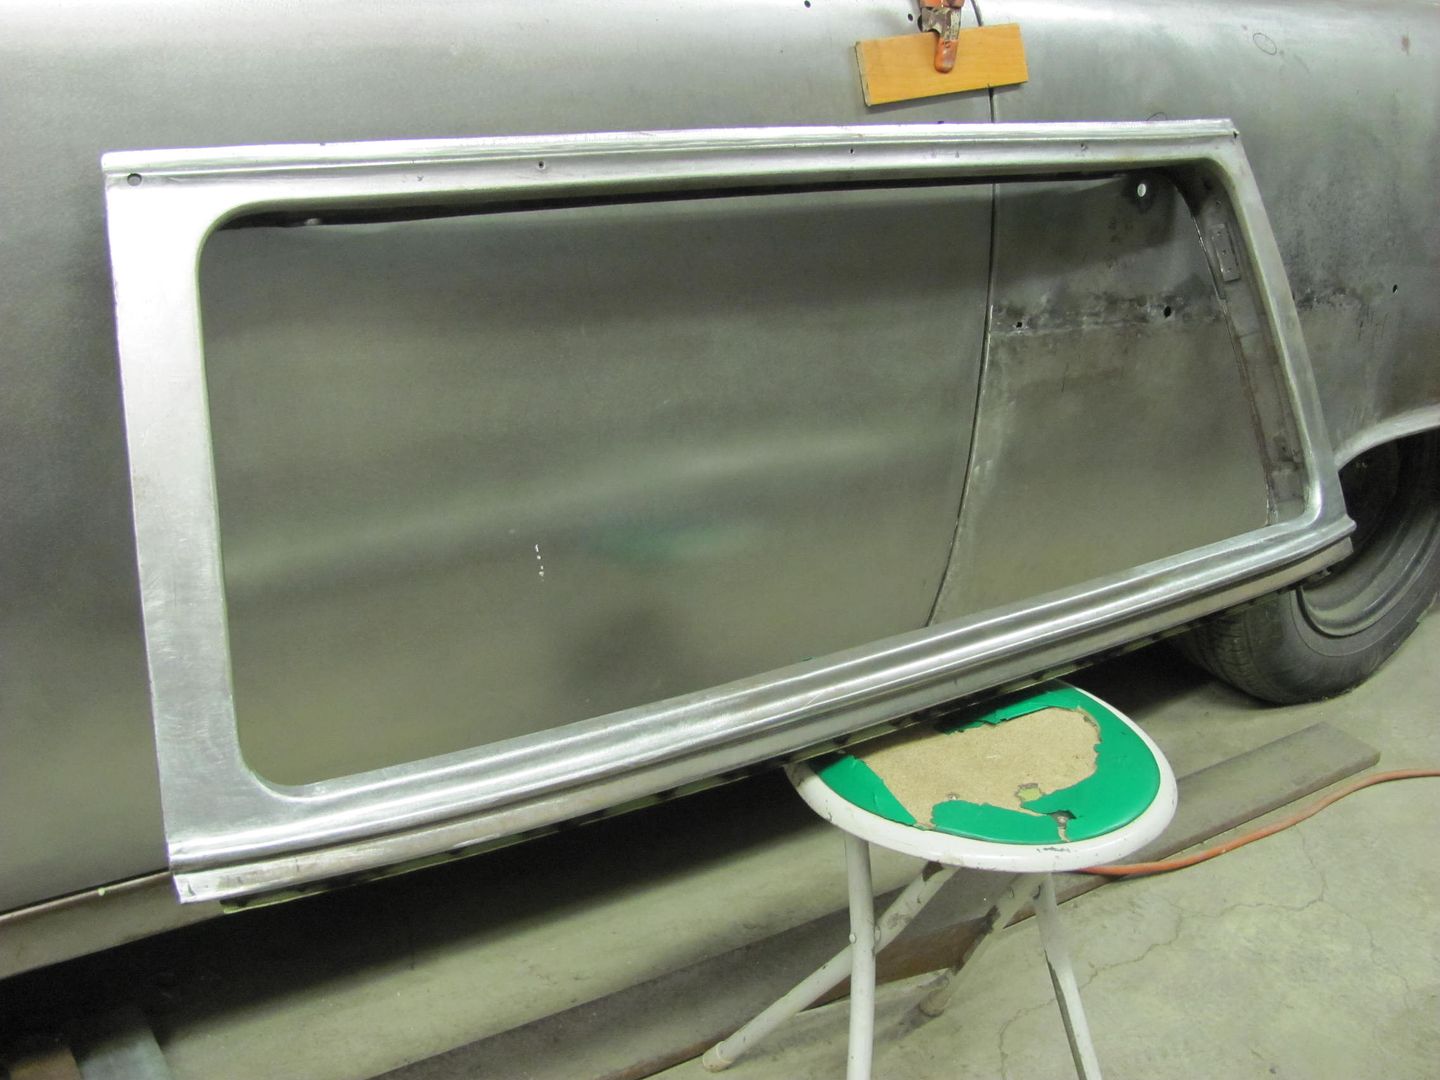
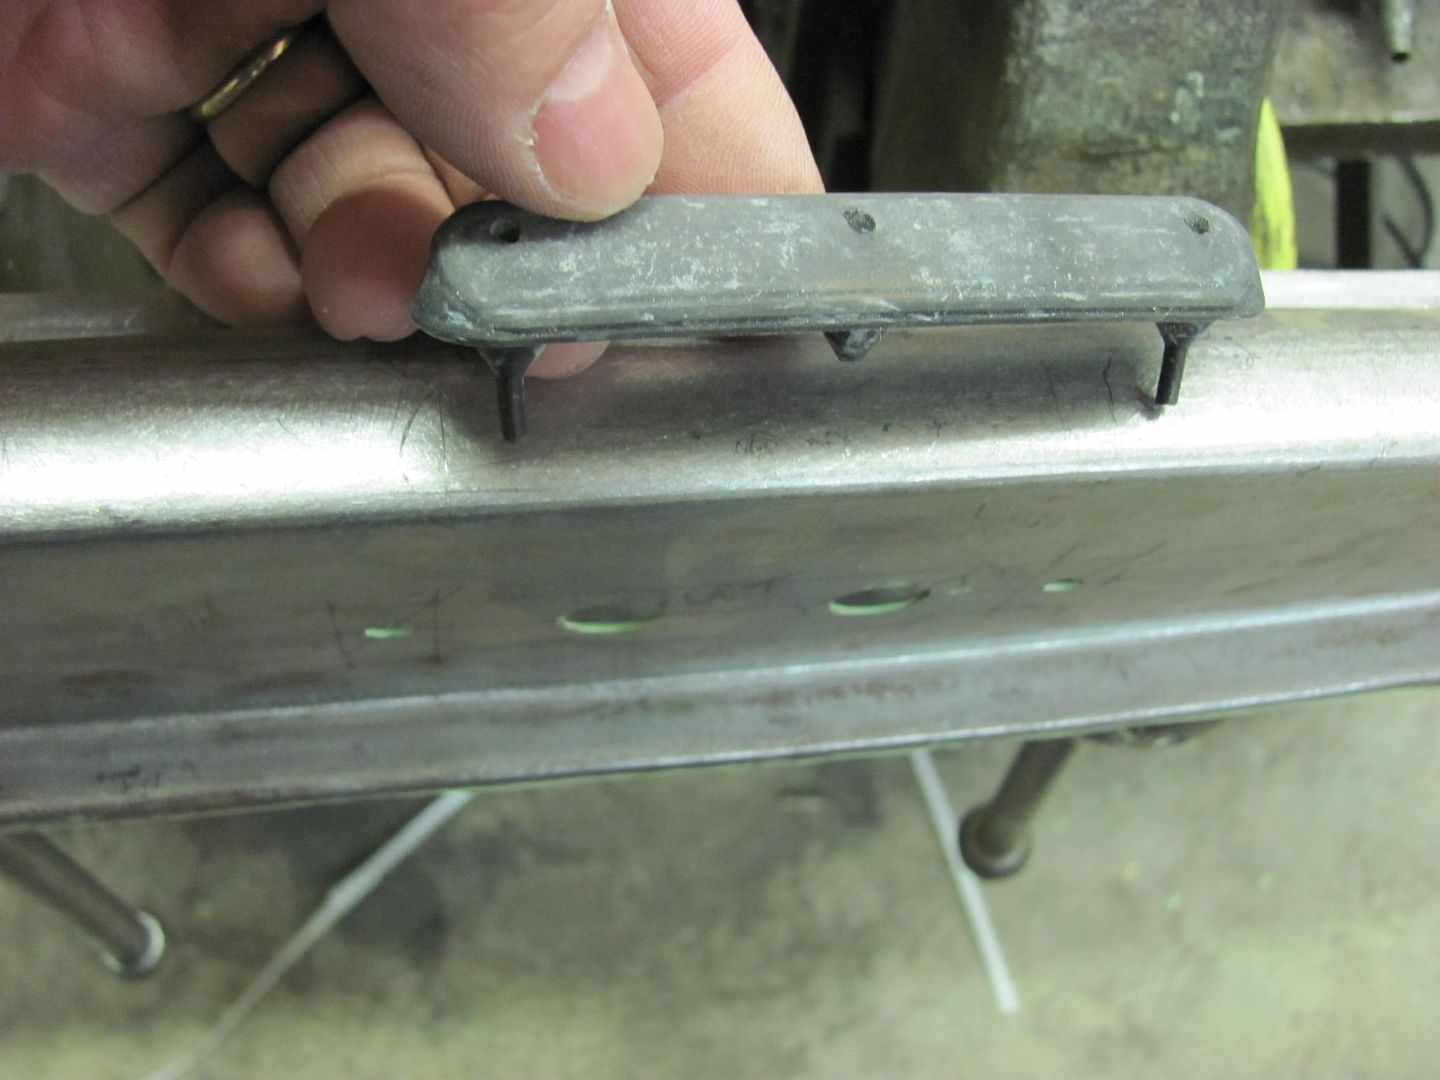
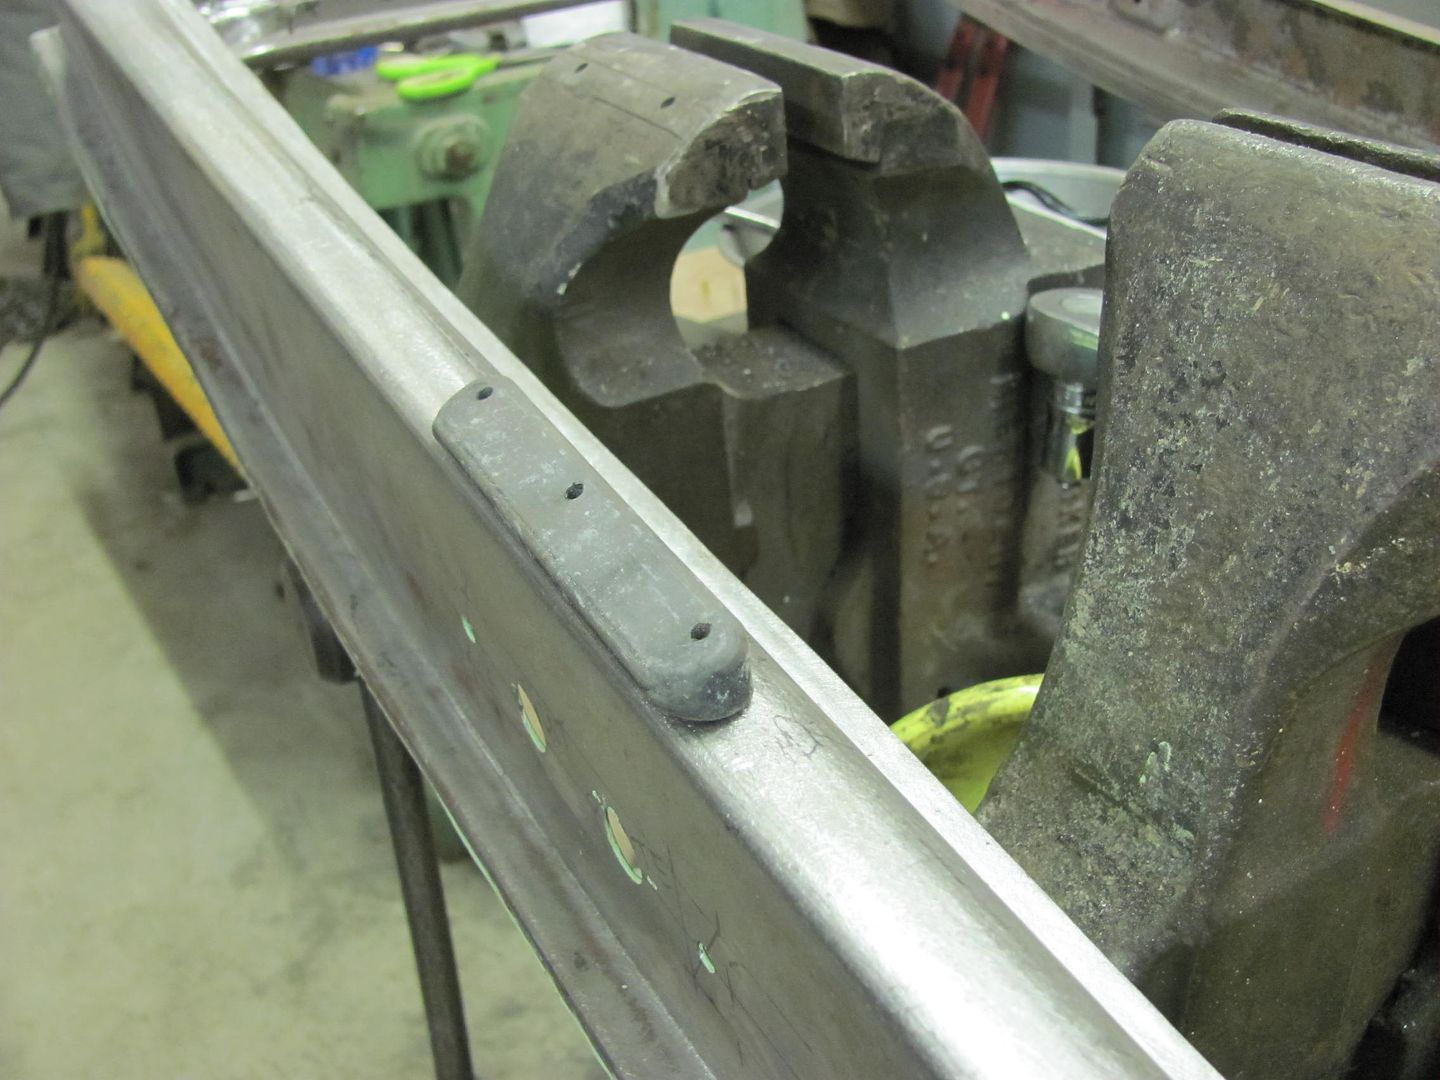
Before closing up the lift gate, we have a couple more items to cross off the list. A rubber bumper gets installed at the bottom in case the gates are closed in the wrong order, you won't scar up the paint on the top of the tailgate...

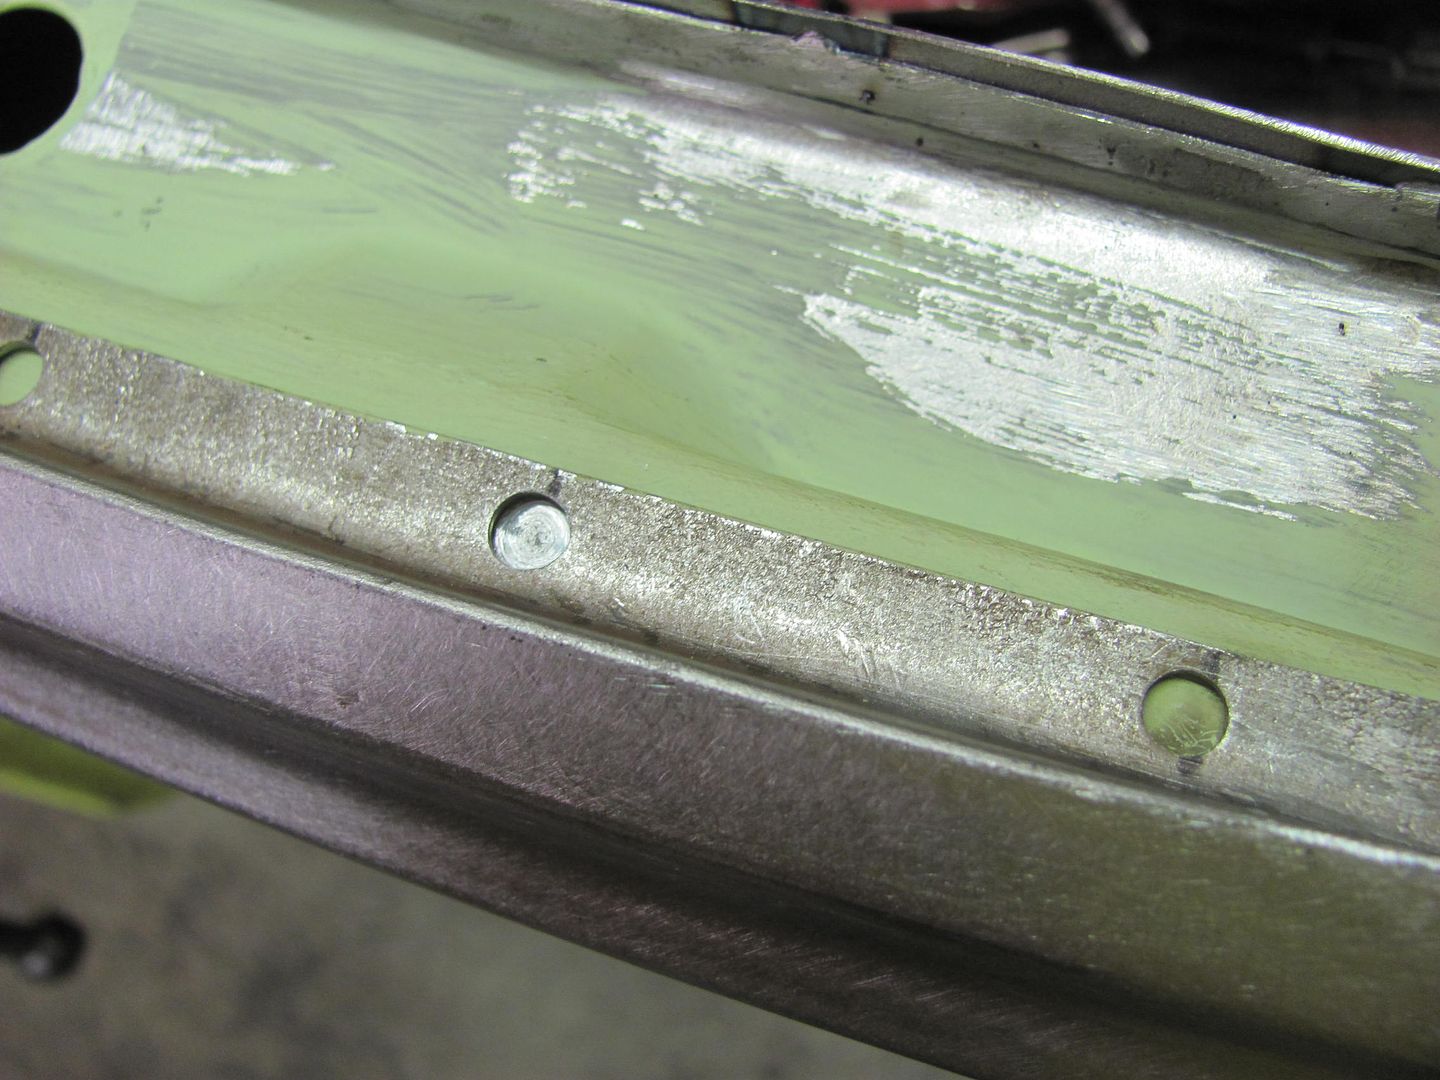
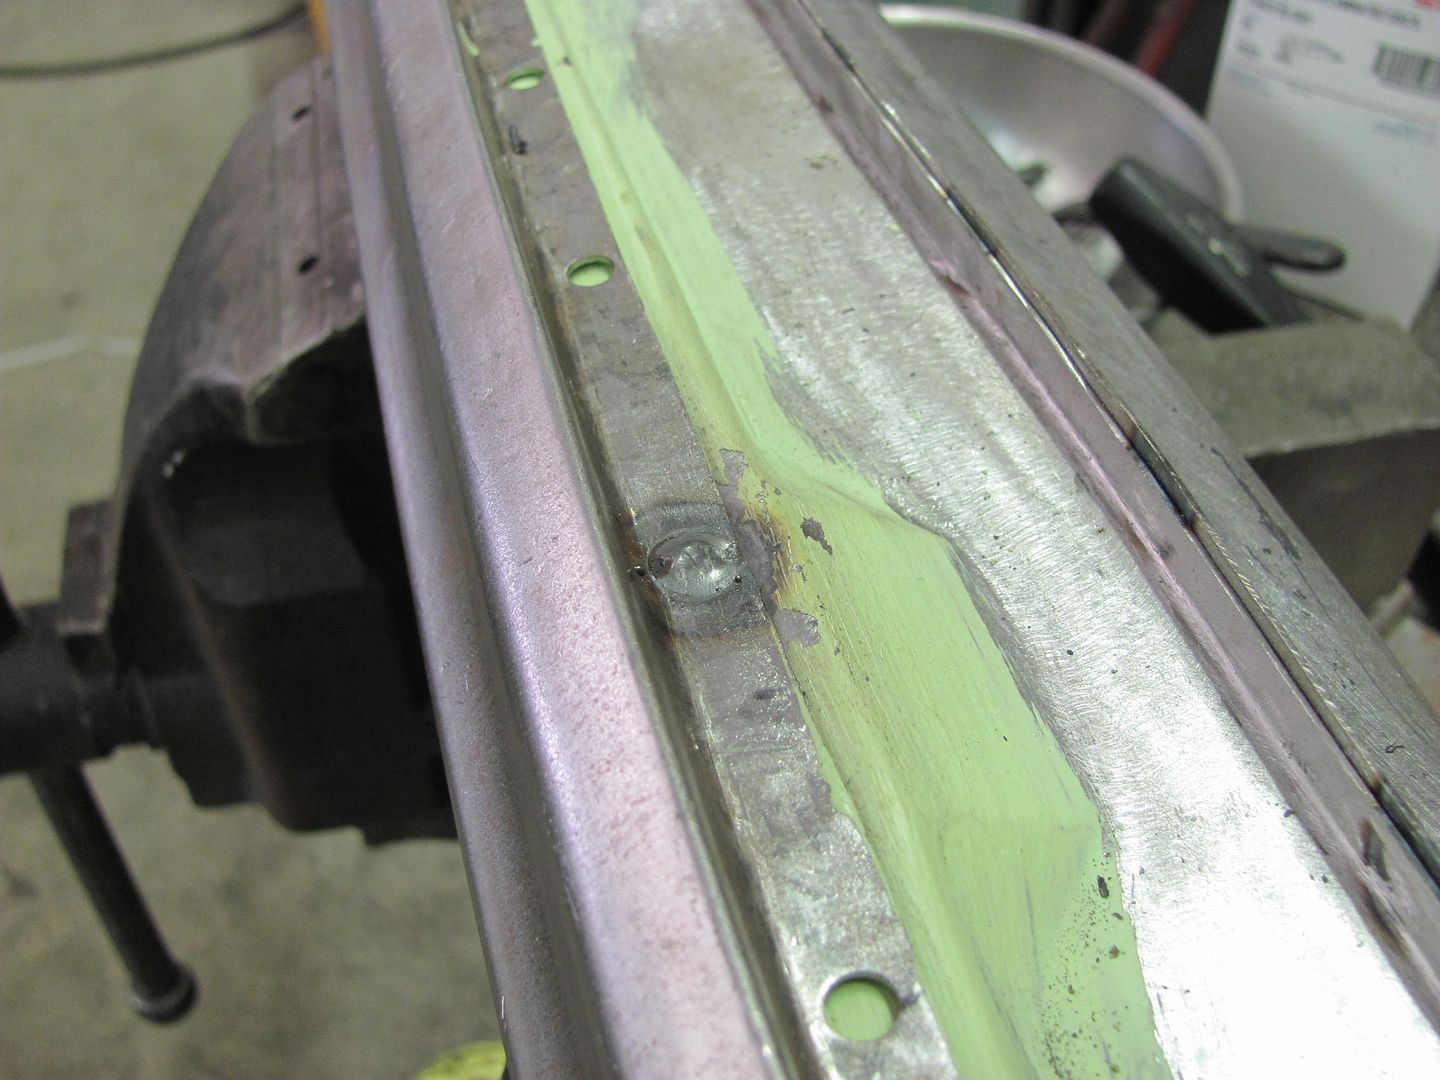
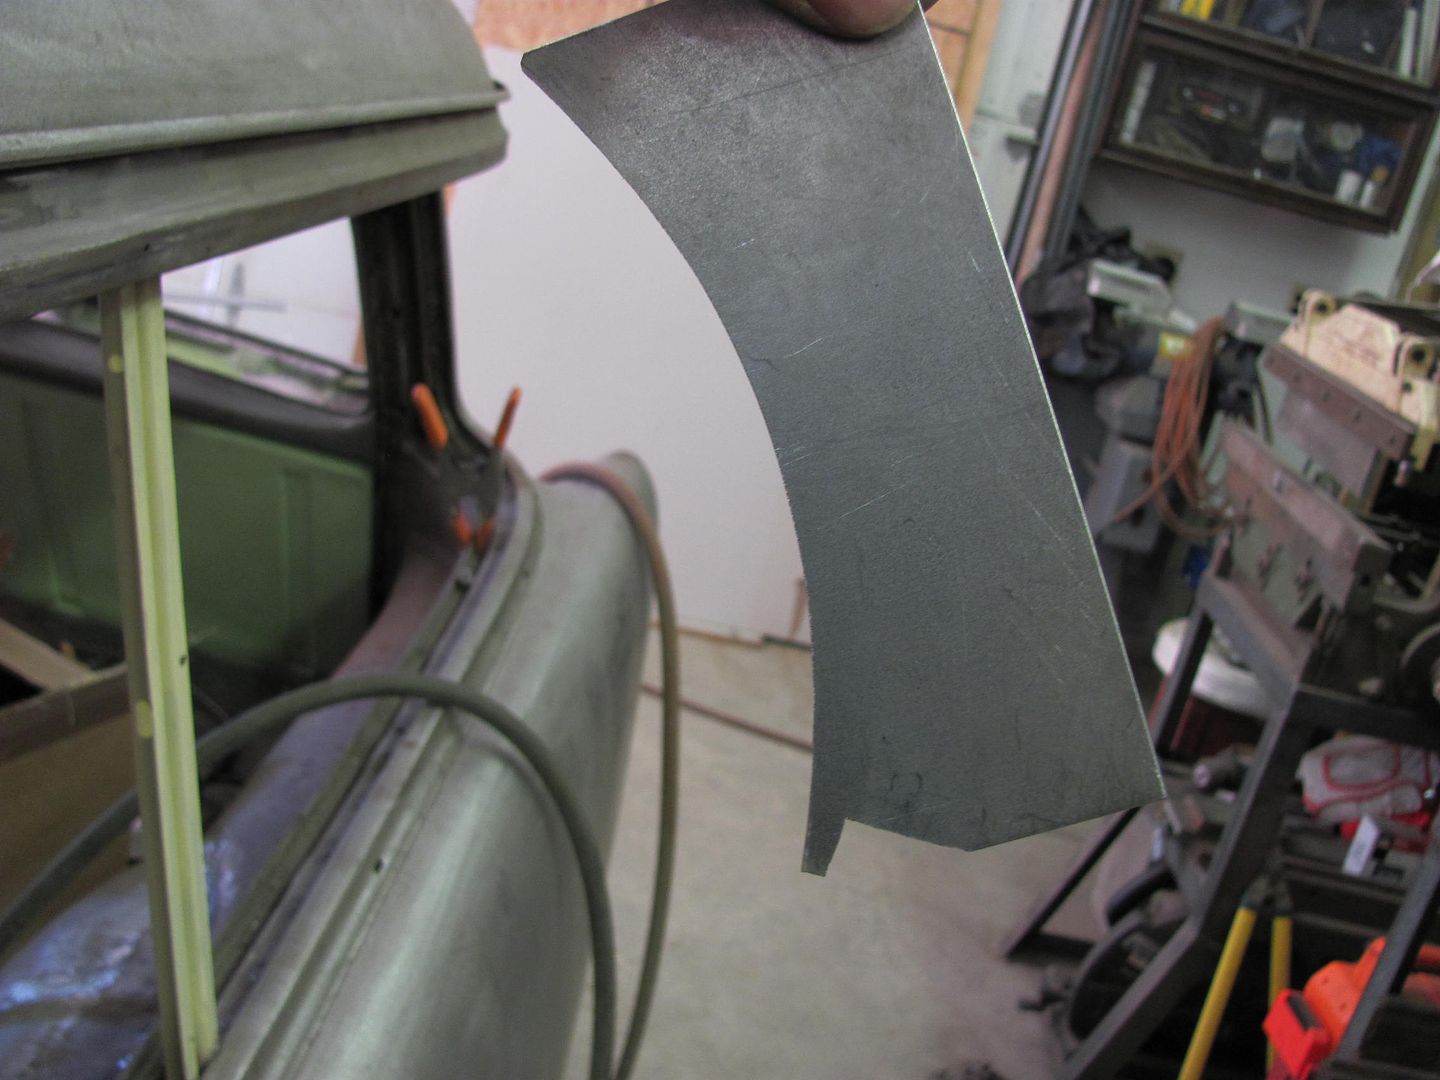
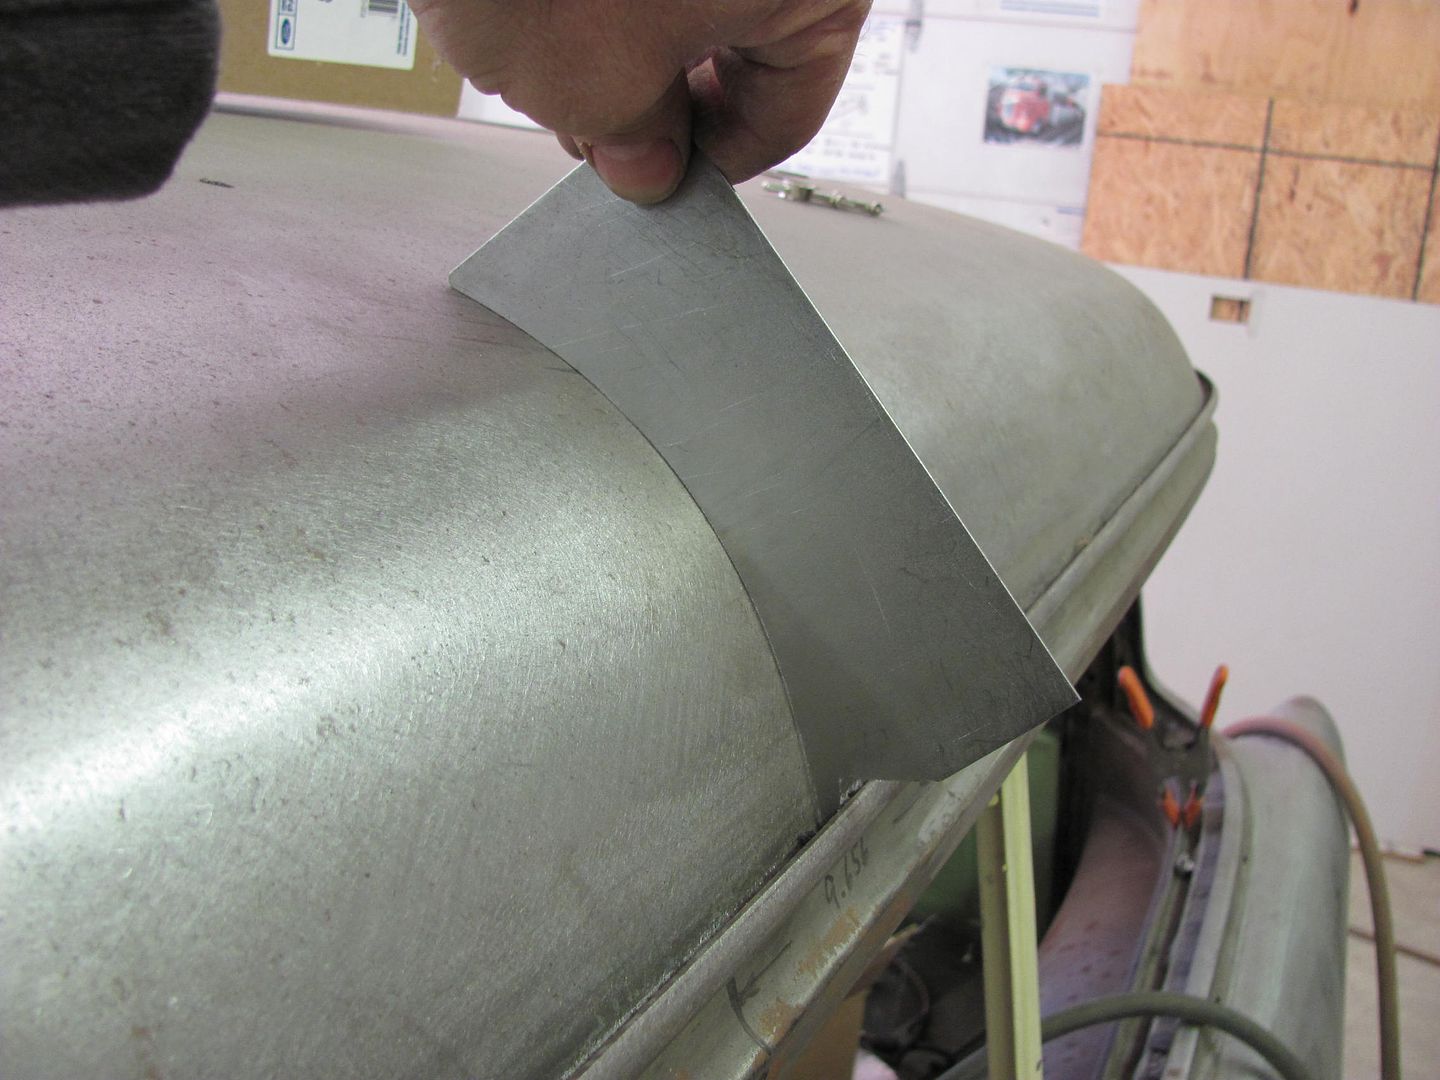
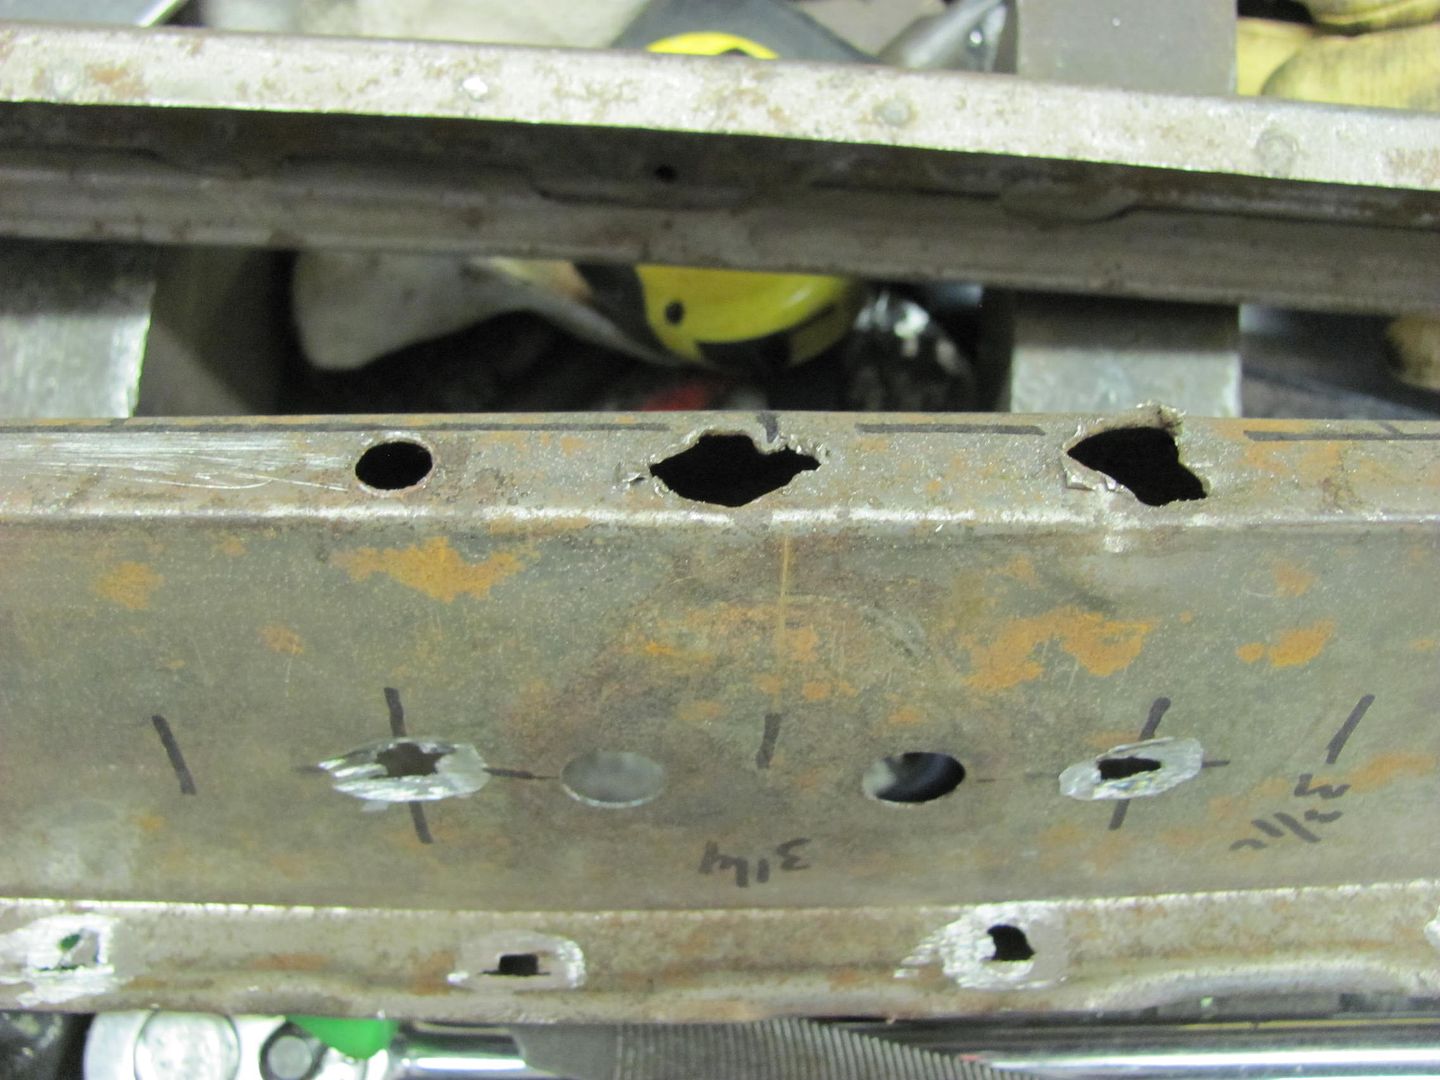
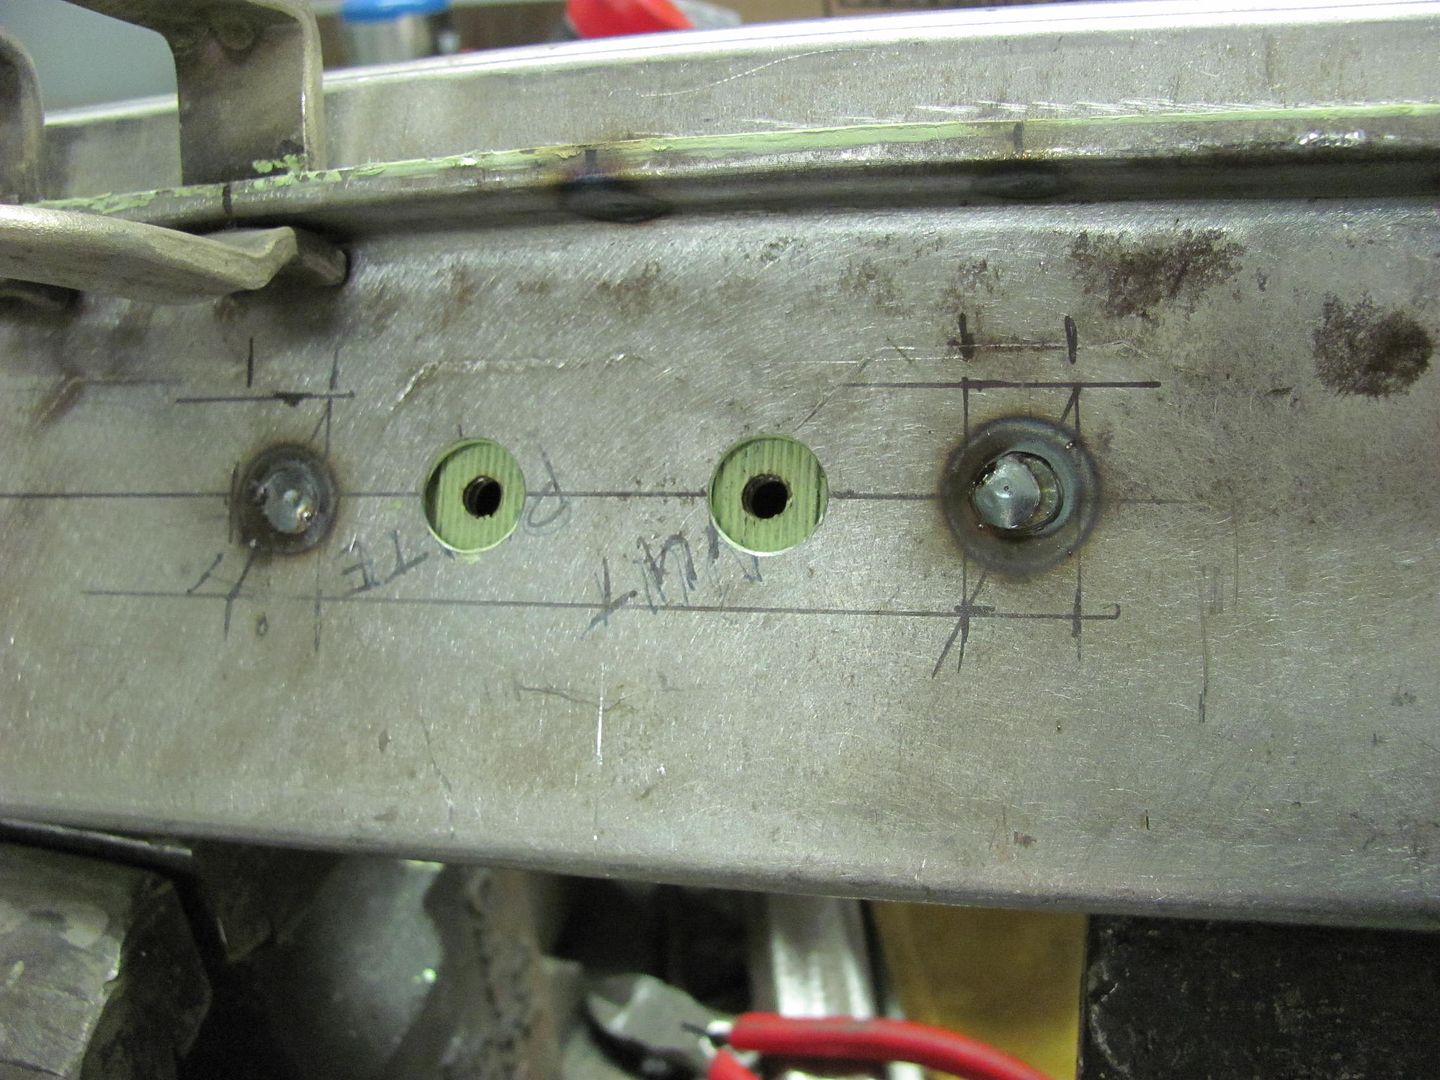
The old sample only had one good hole location for us to use...


Picture679.jpg


Picture681.jpg


Picture683.jpg


Picture684.jpg


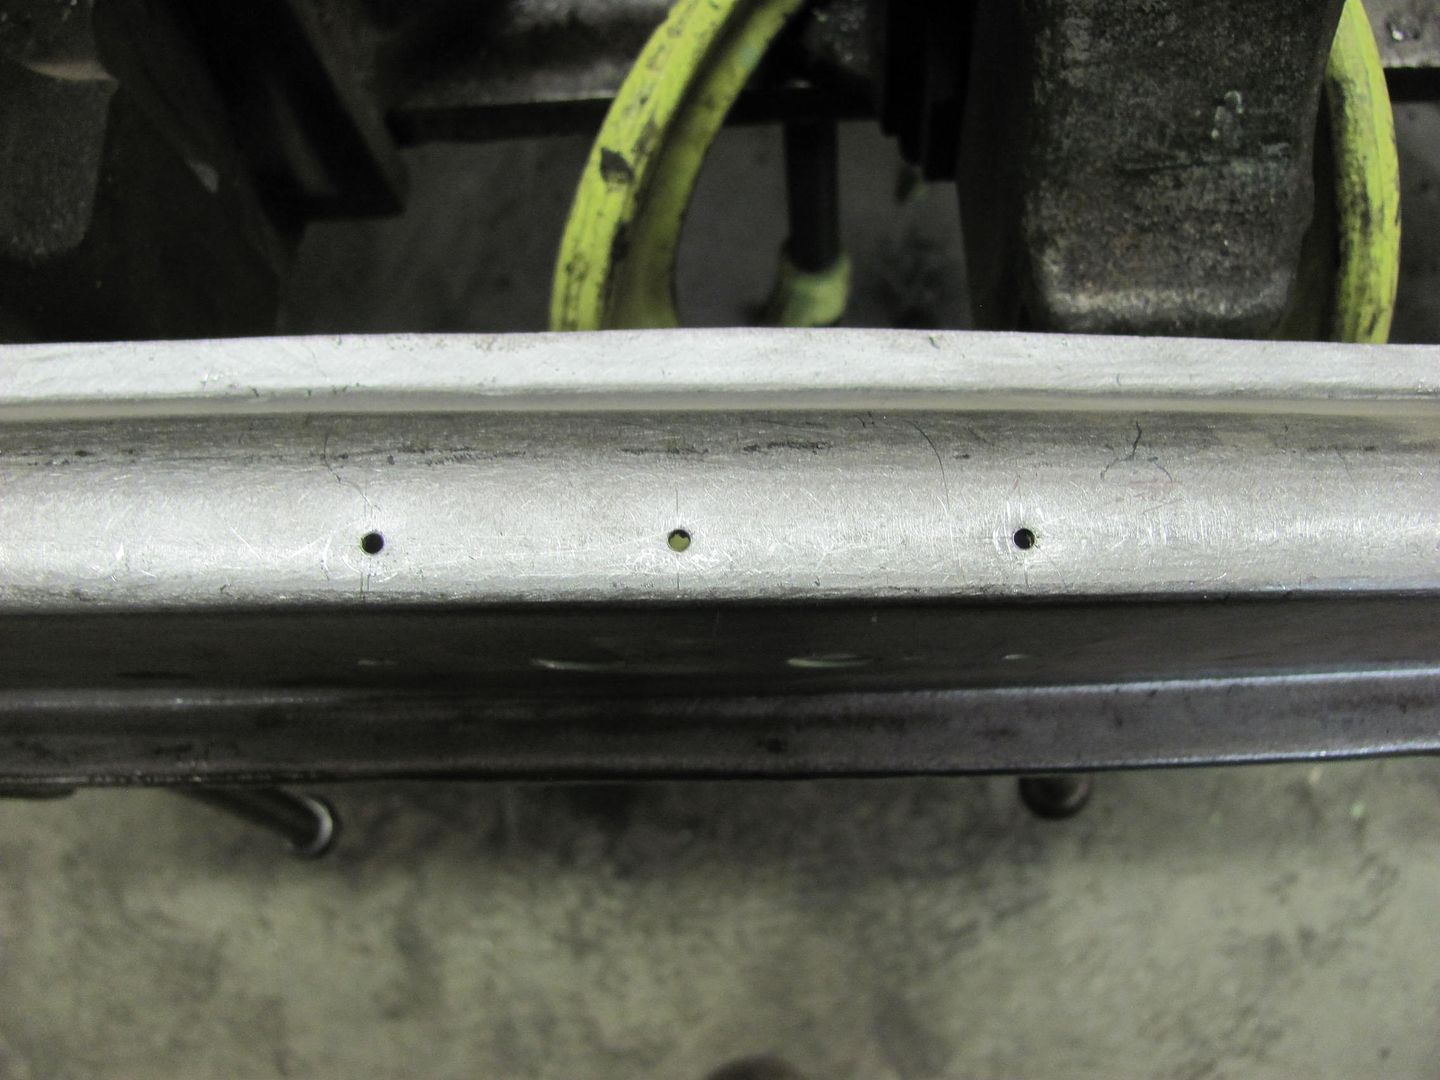
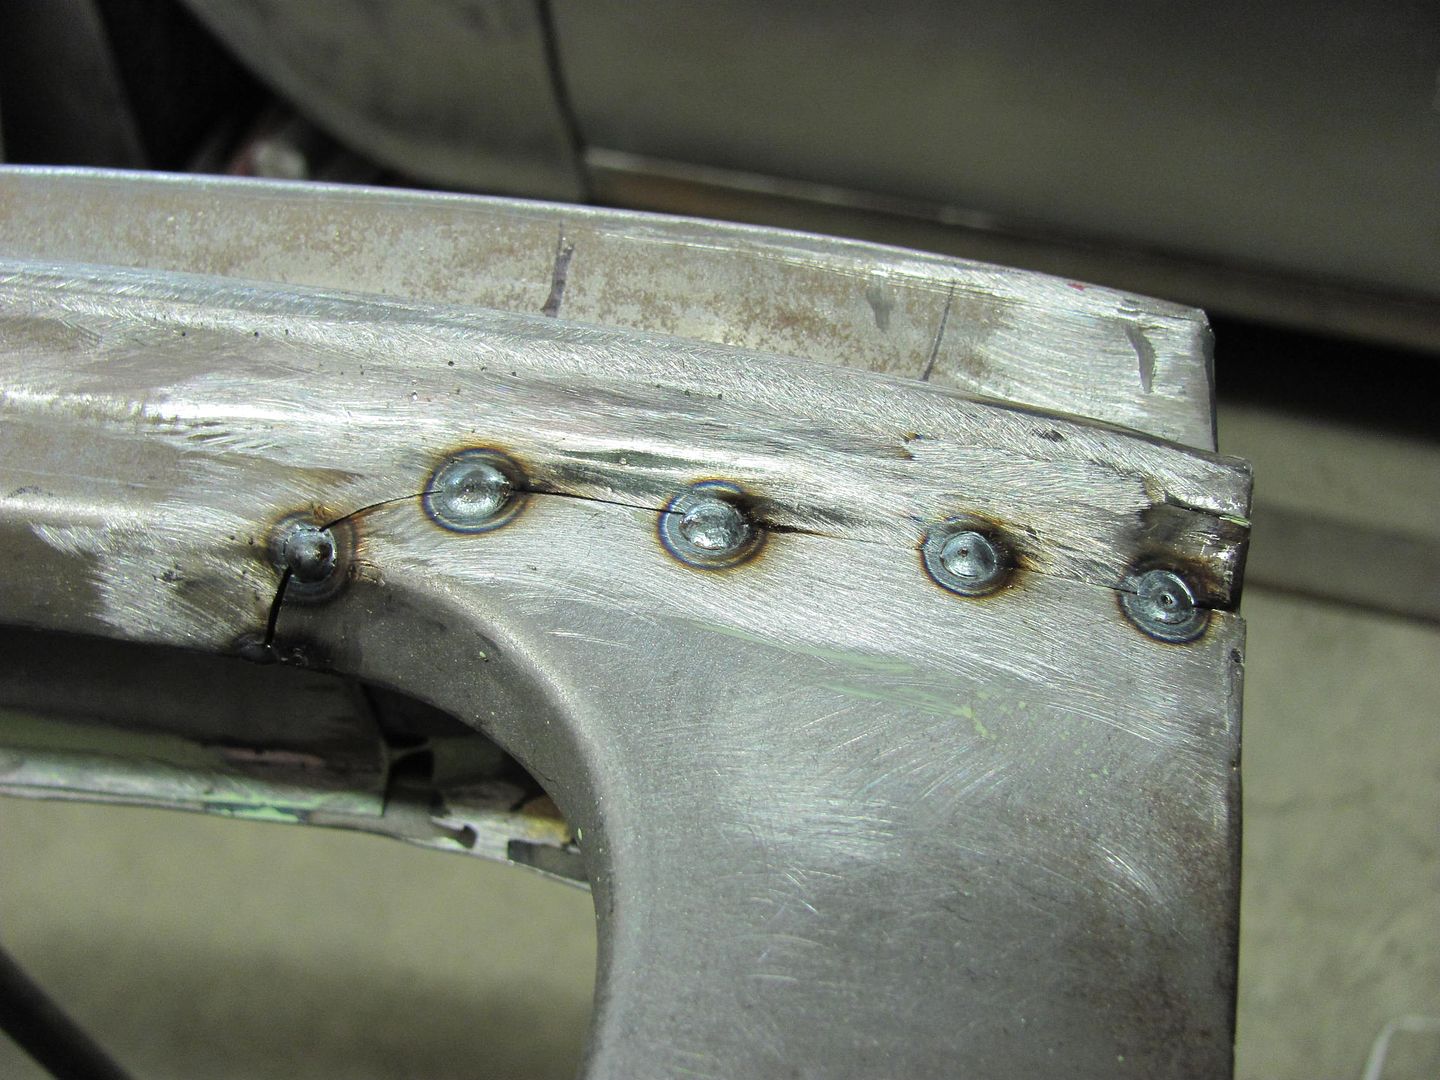
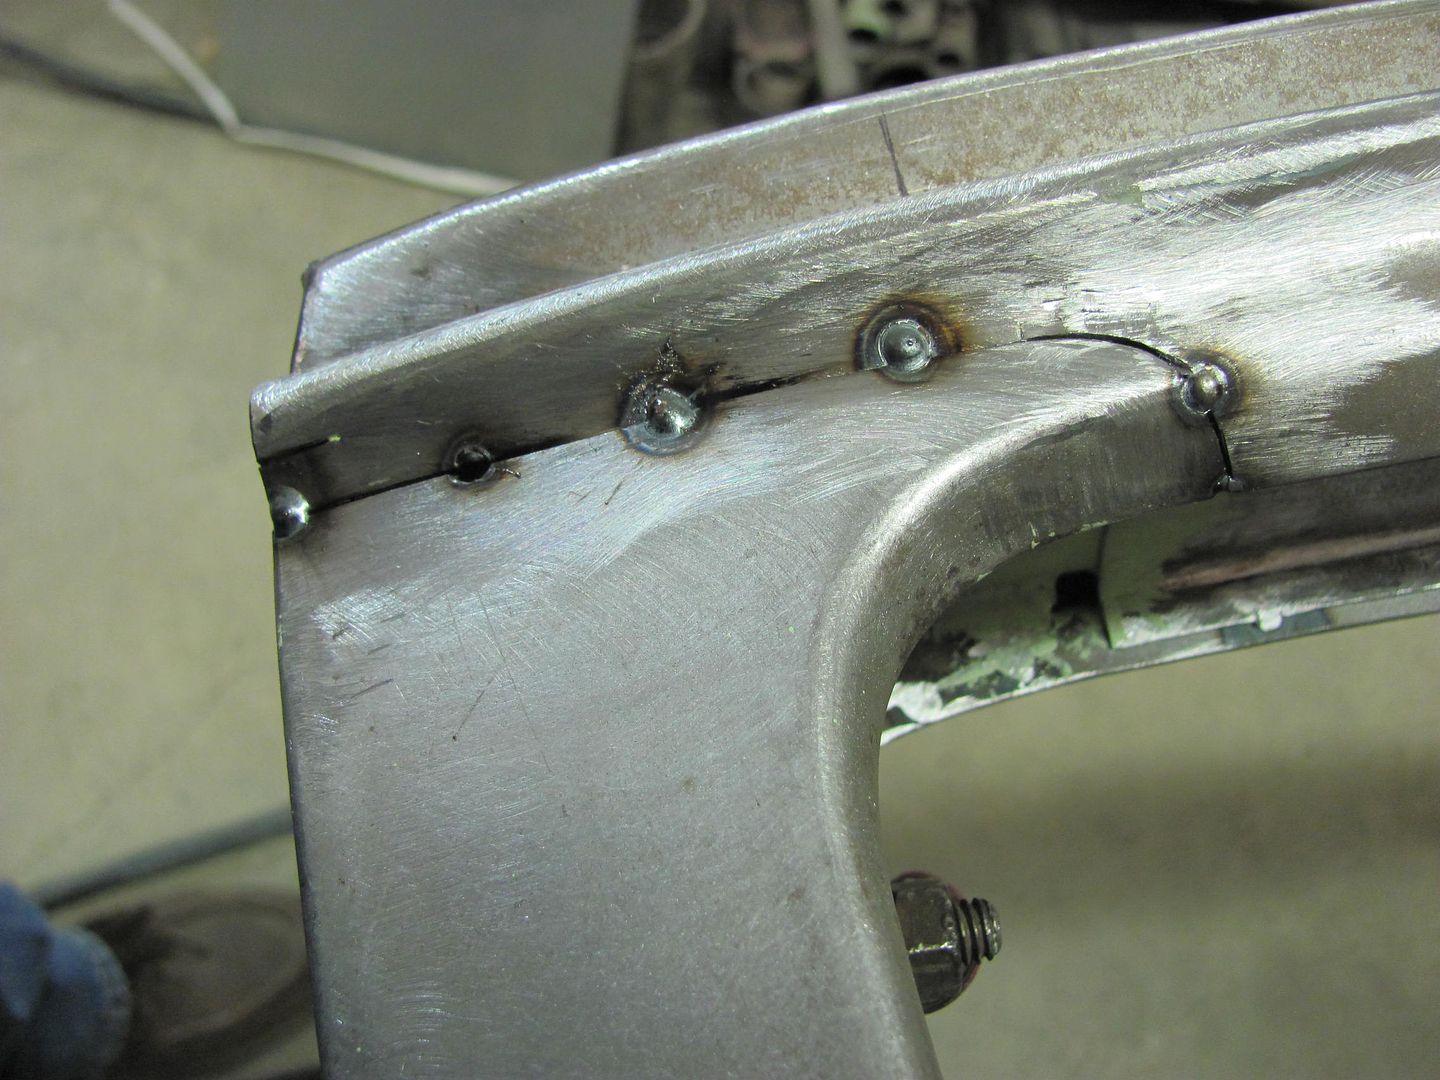
Next, the floating nut plate was plug welded to the bottom....


Picture701.jpg


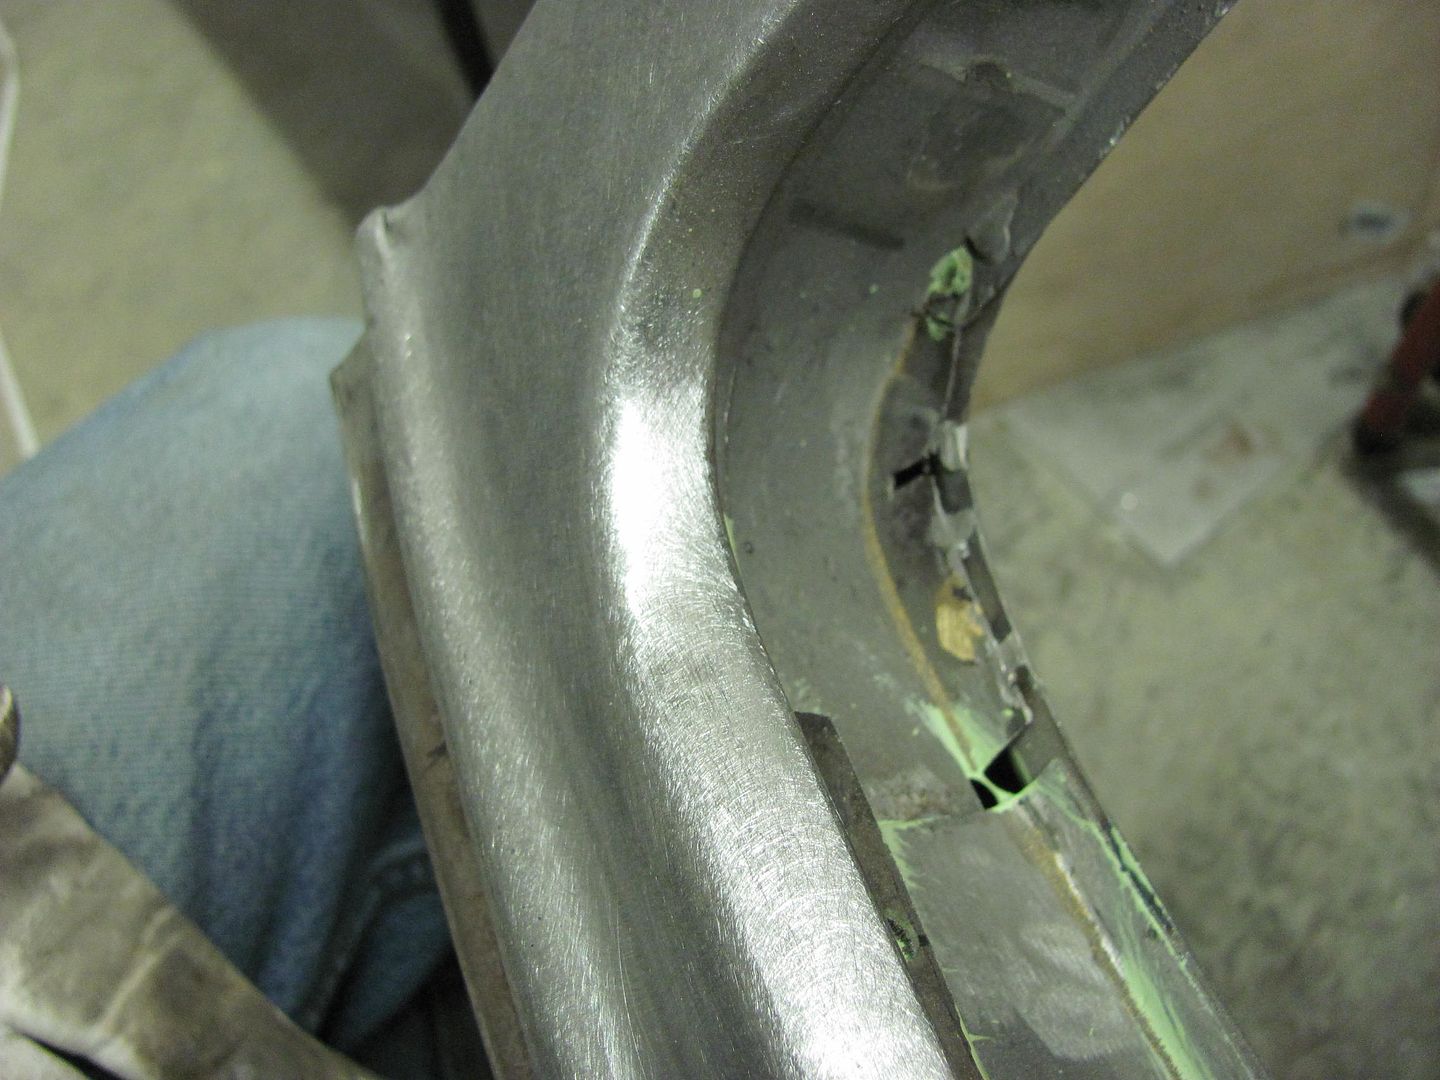
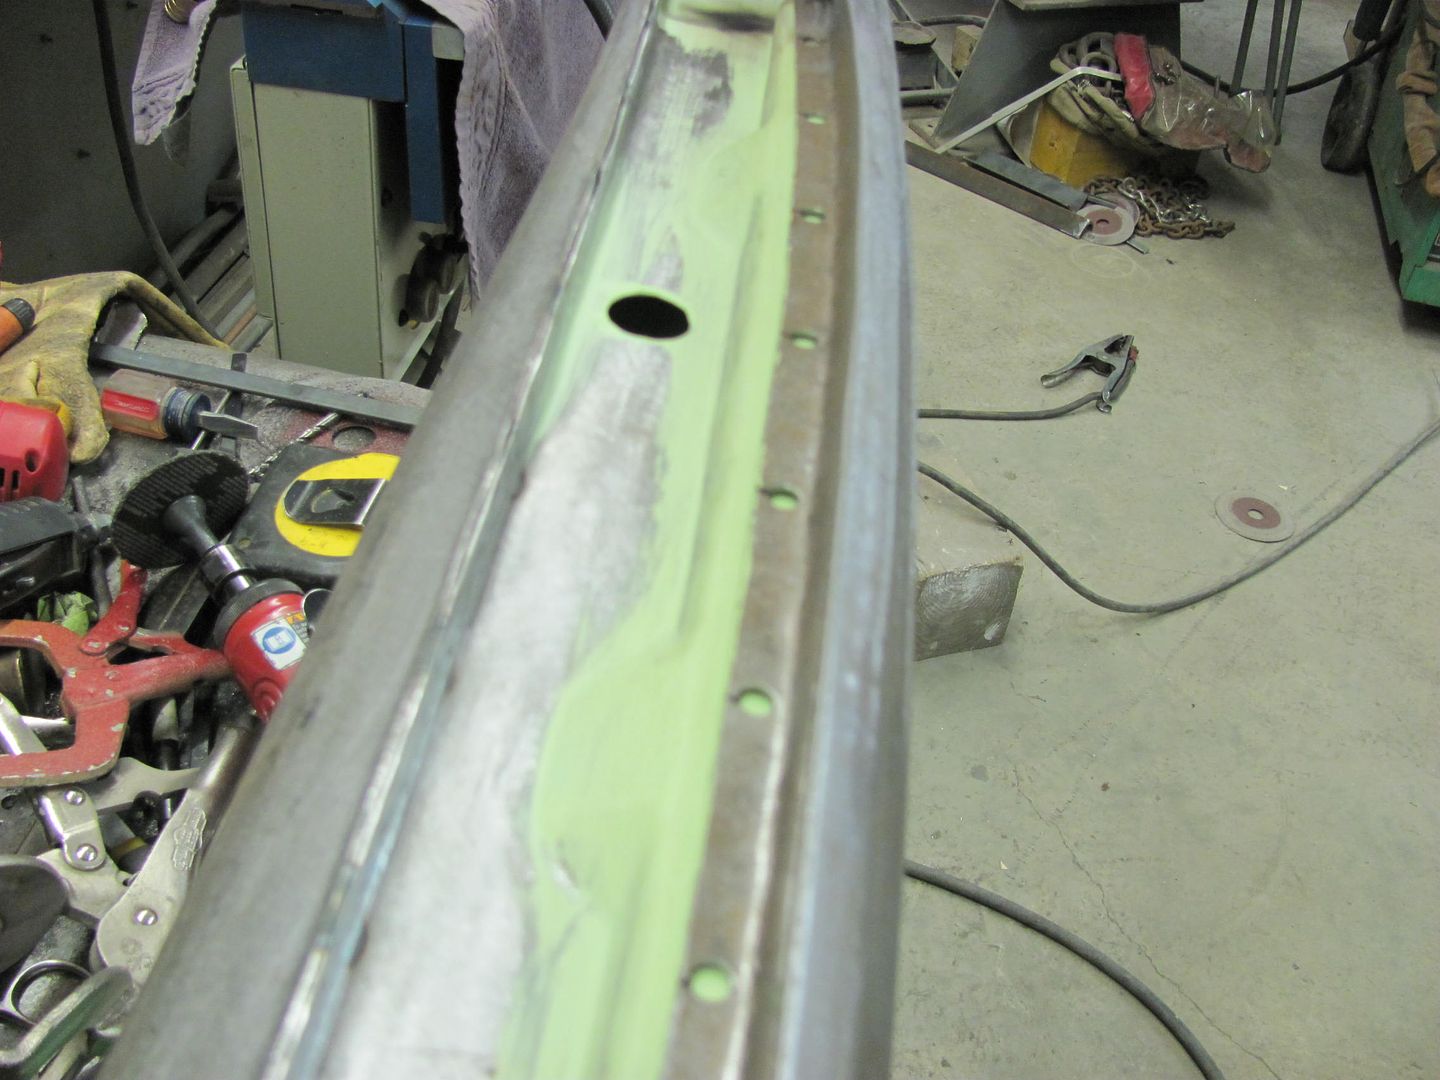
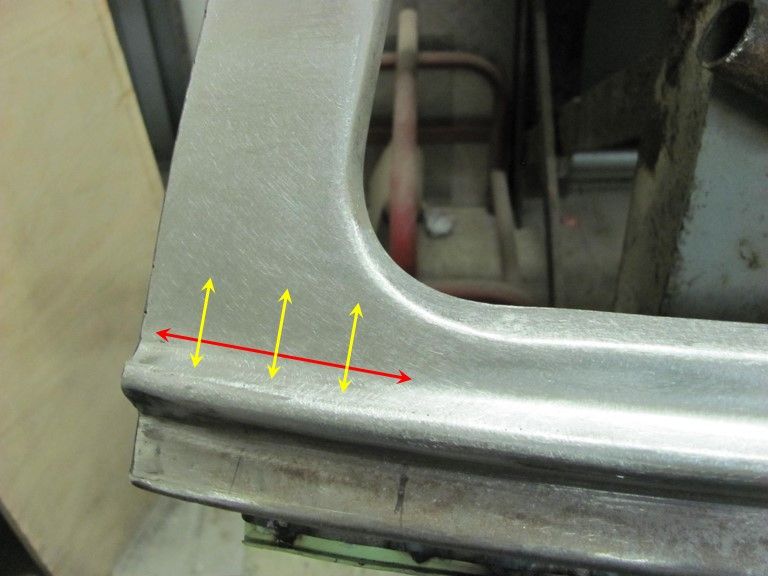
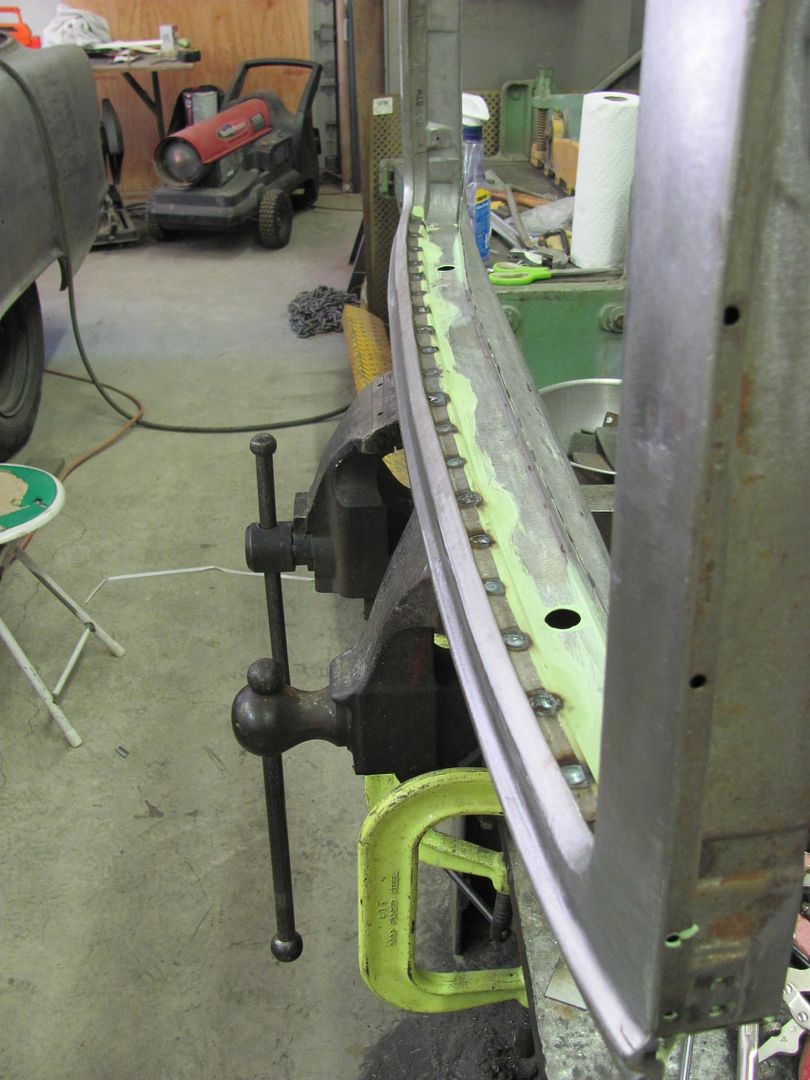
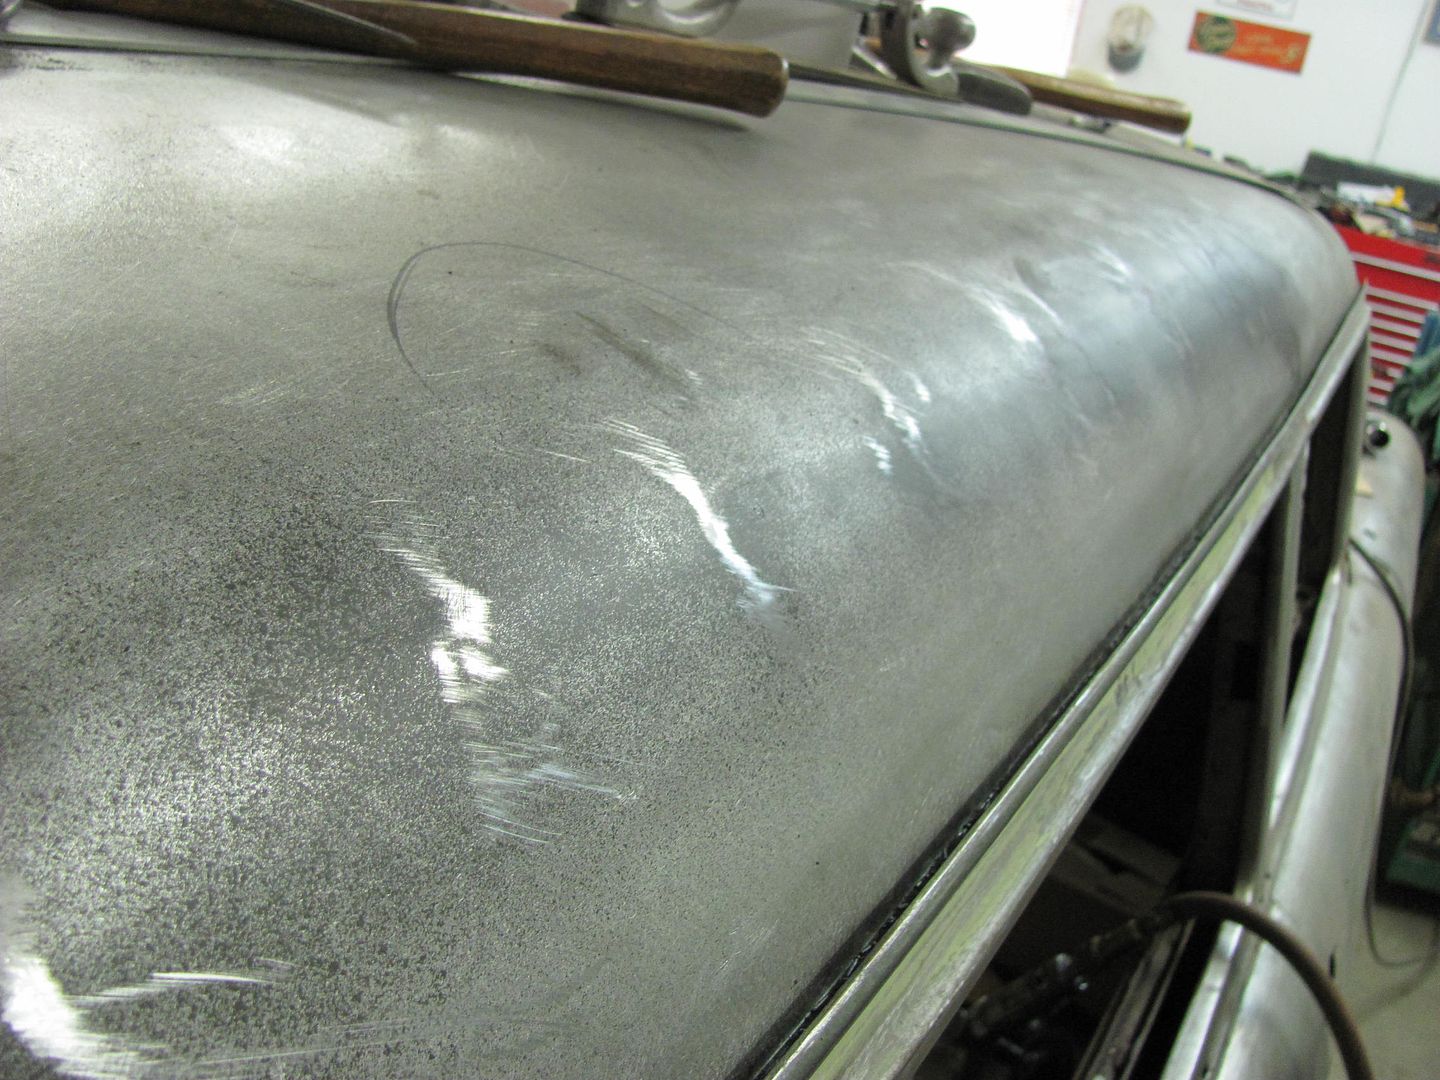
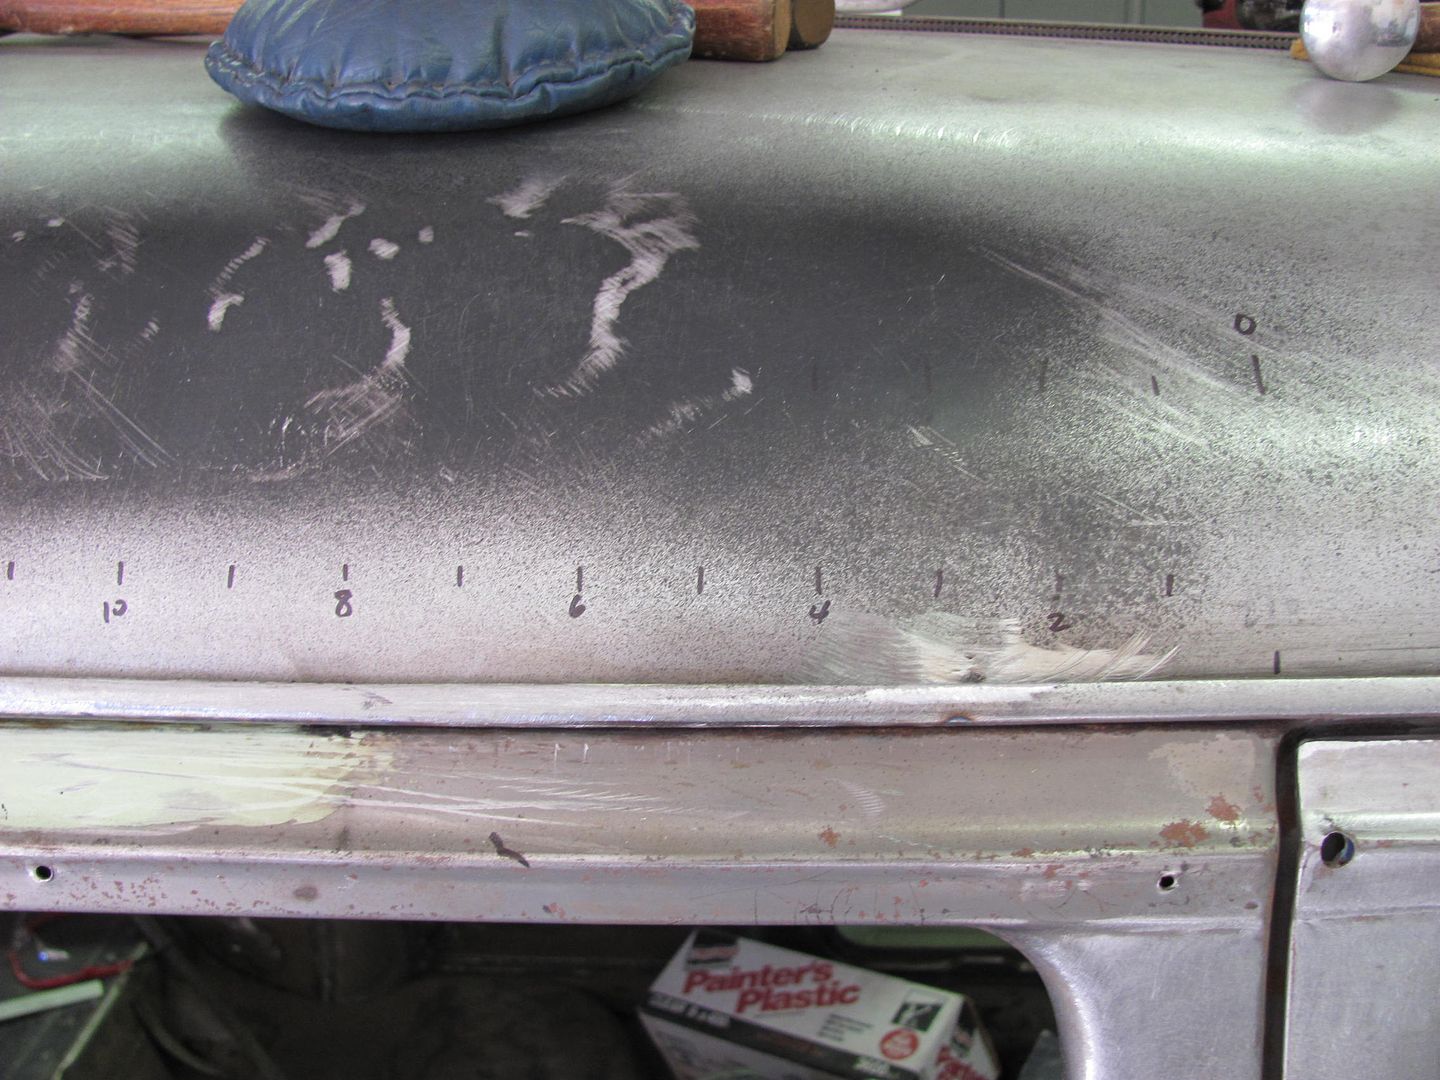
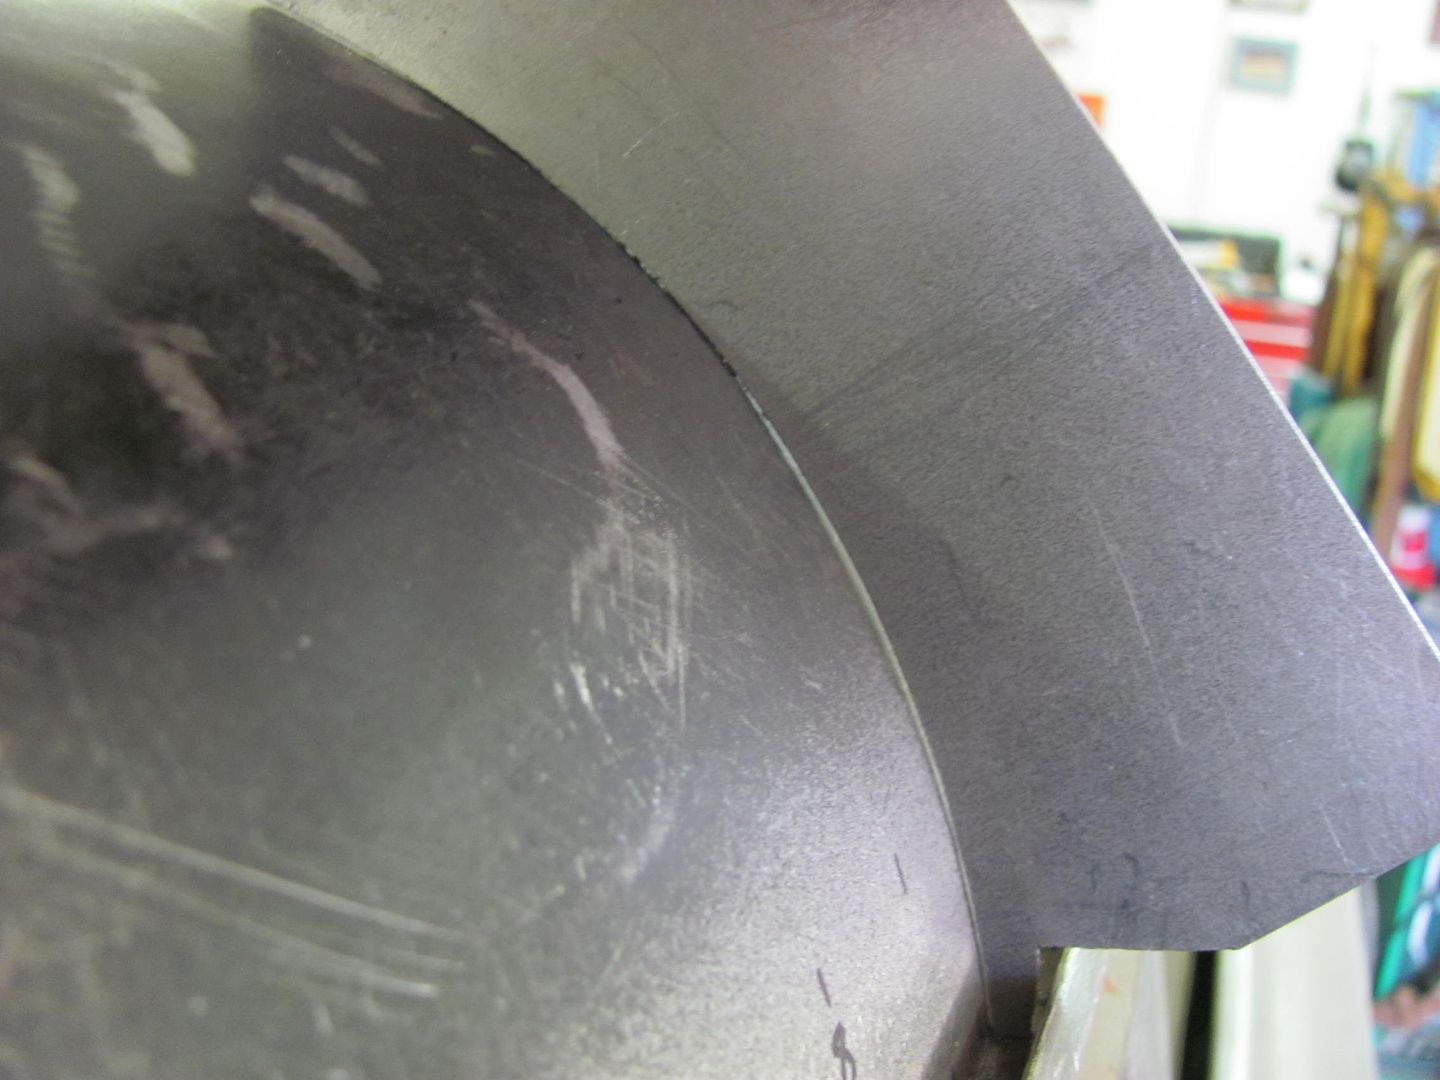
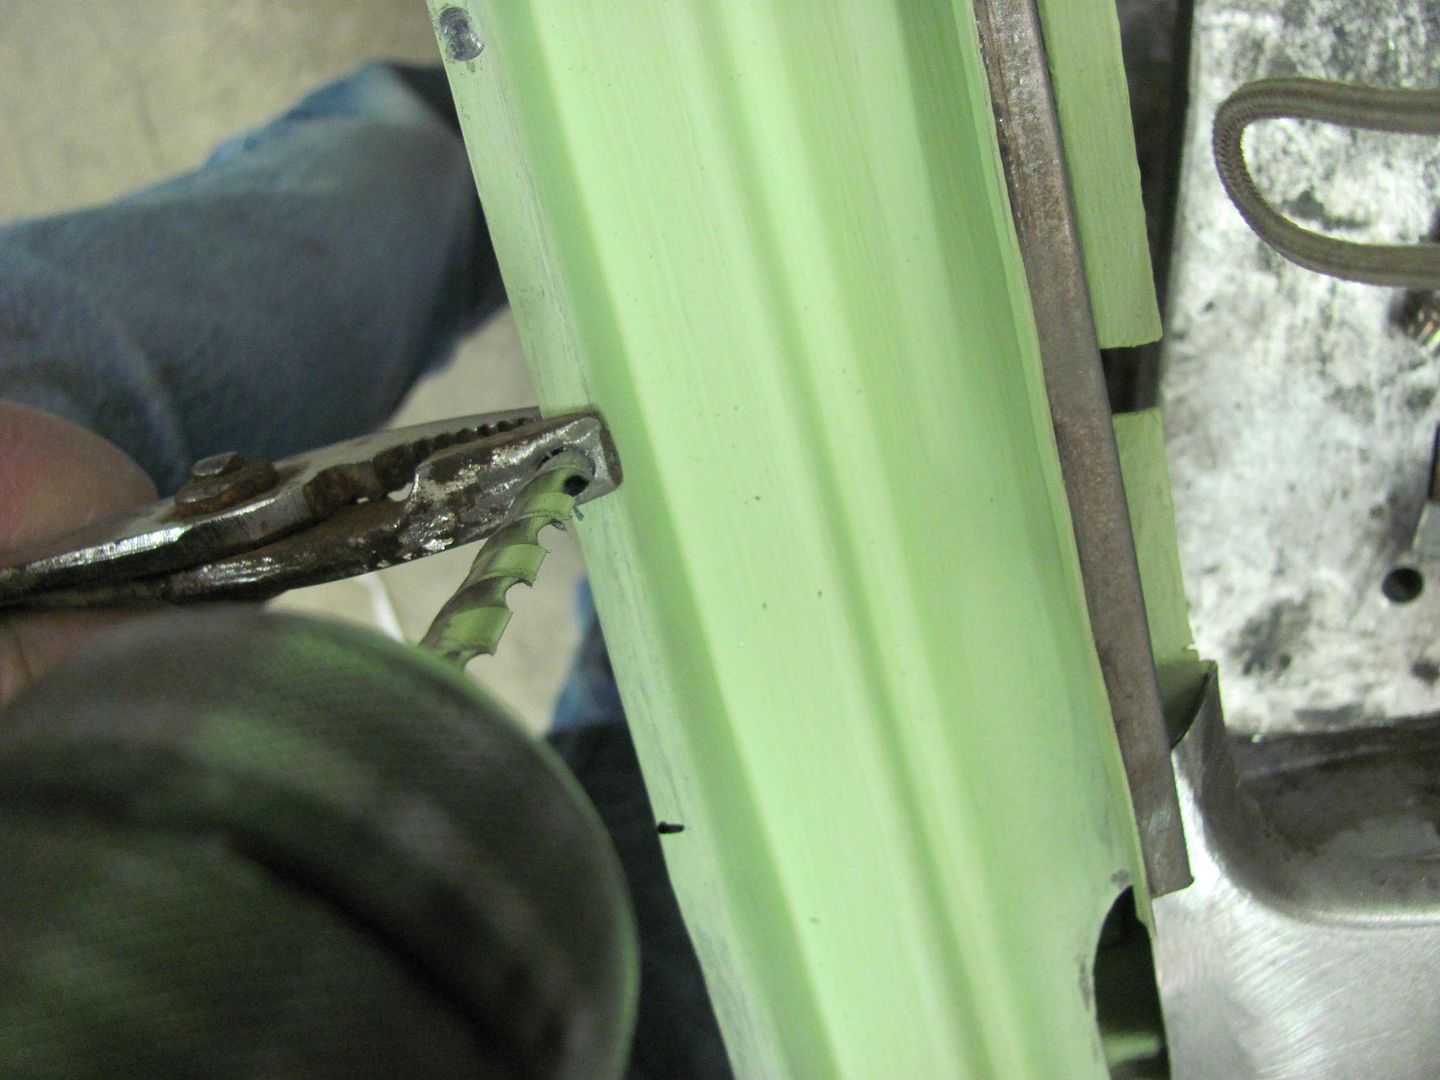
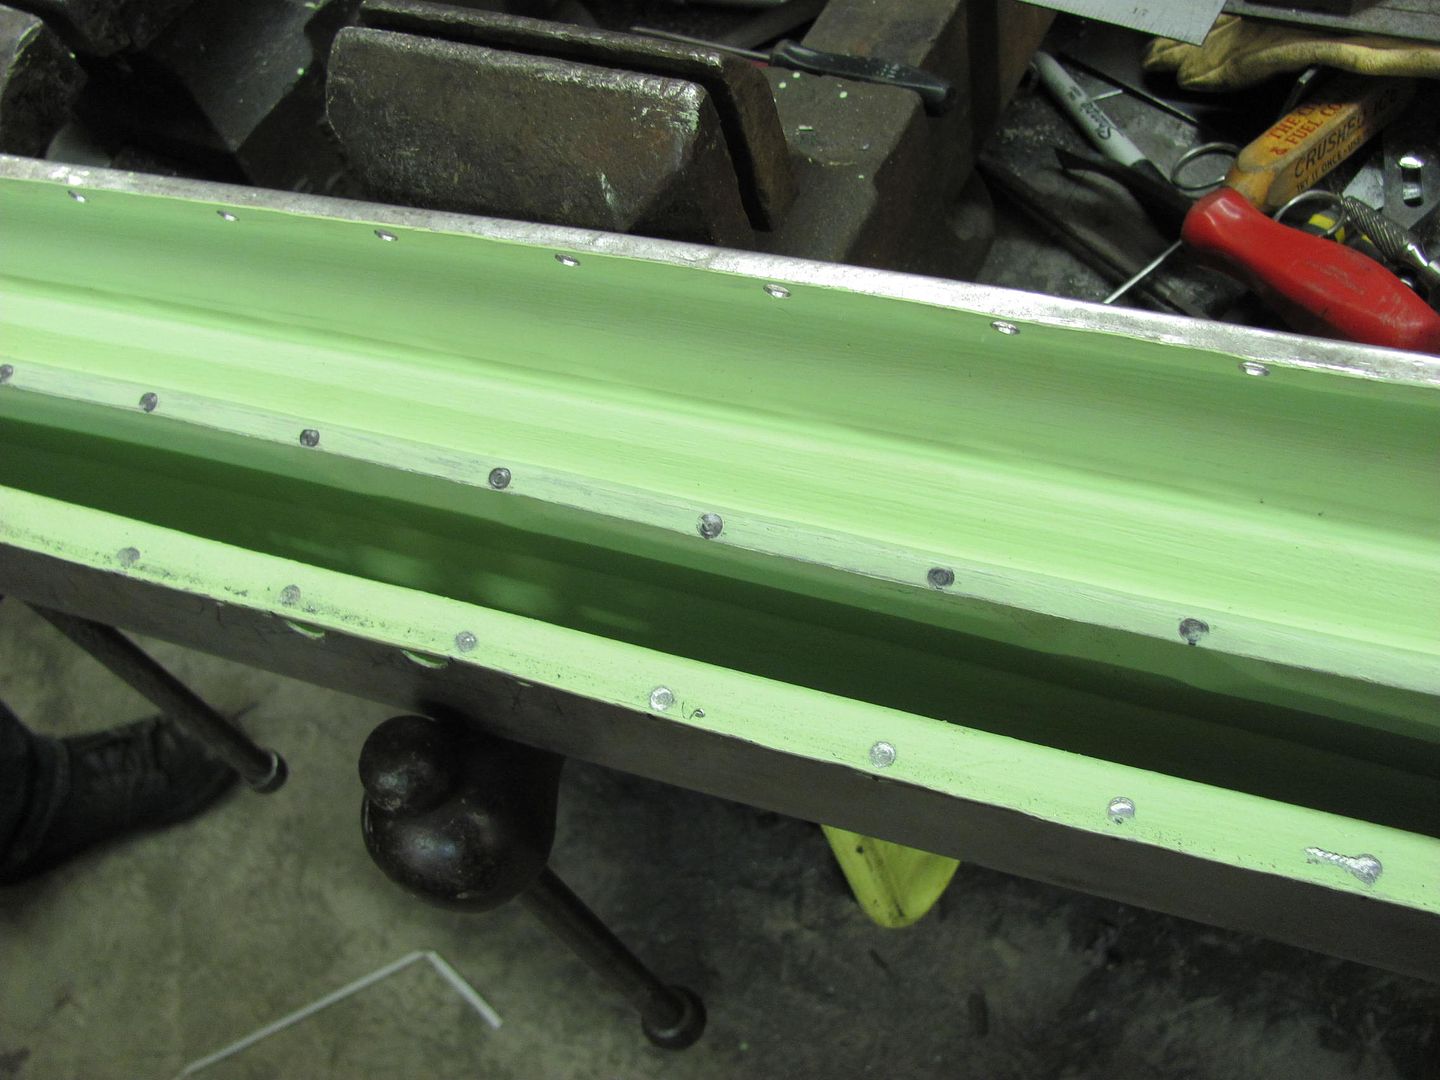
With that done, we could prep for closing up the bottom. In order to use the spot welder along the bottom seam, we needed to clean off some epoxy primer where the spot welds would be located. Used and even spacing of 2" and marked both flanges...


Picture685.jpg


Picture686.jpg


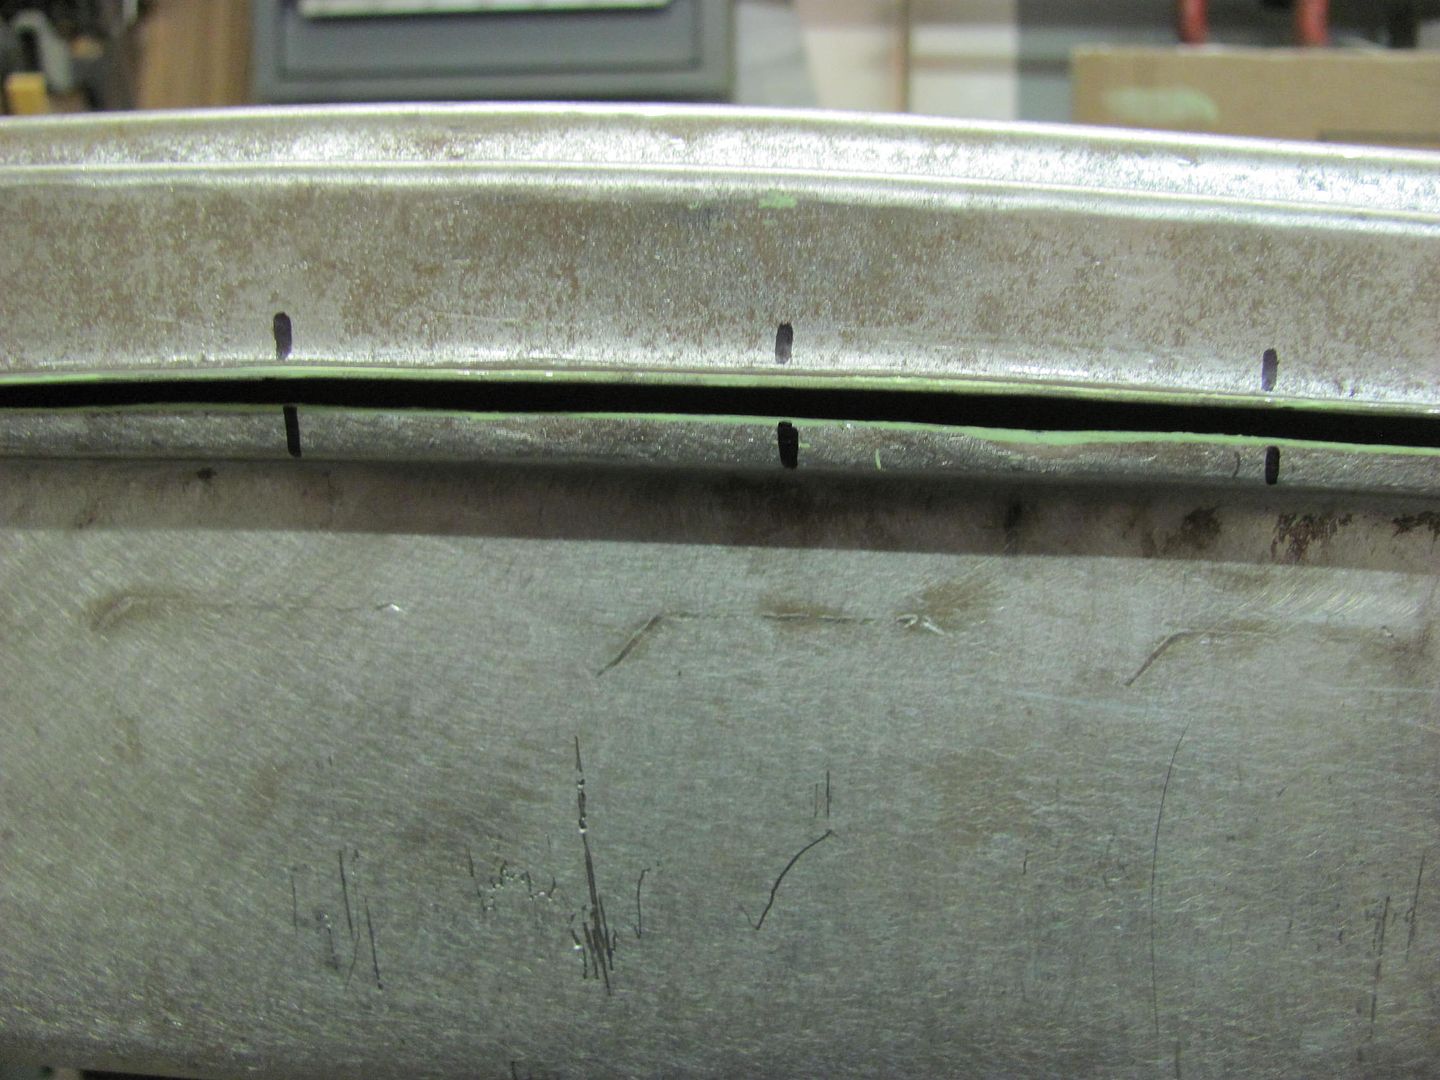
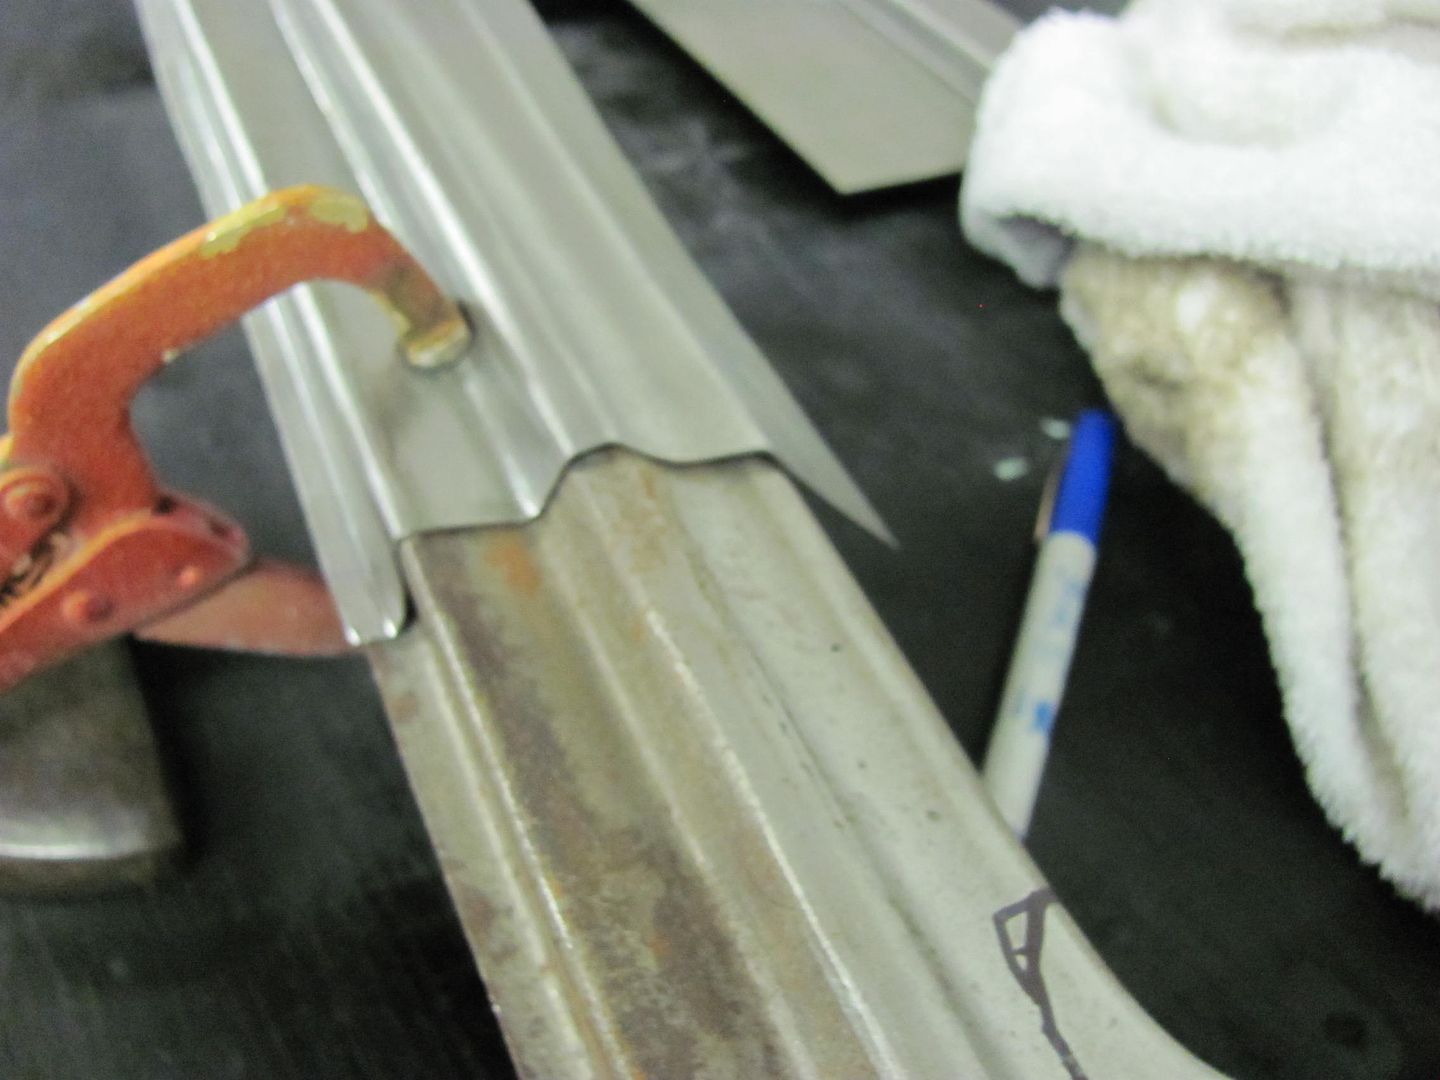
In order to remove as little epoxy primer as possible, we decided to use the modified plug weld drill bit (the flattened one) over all the errant marks a roloc sander would make. In order that the flat drill bit didn't walk all over the place, another specialized tool was made....


Picture687.jpg


Picture688.jpg


Picture689.jpg


Picture690.jpg


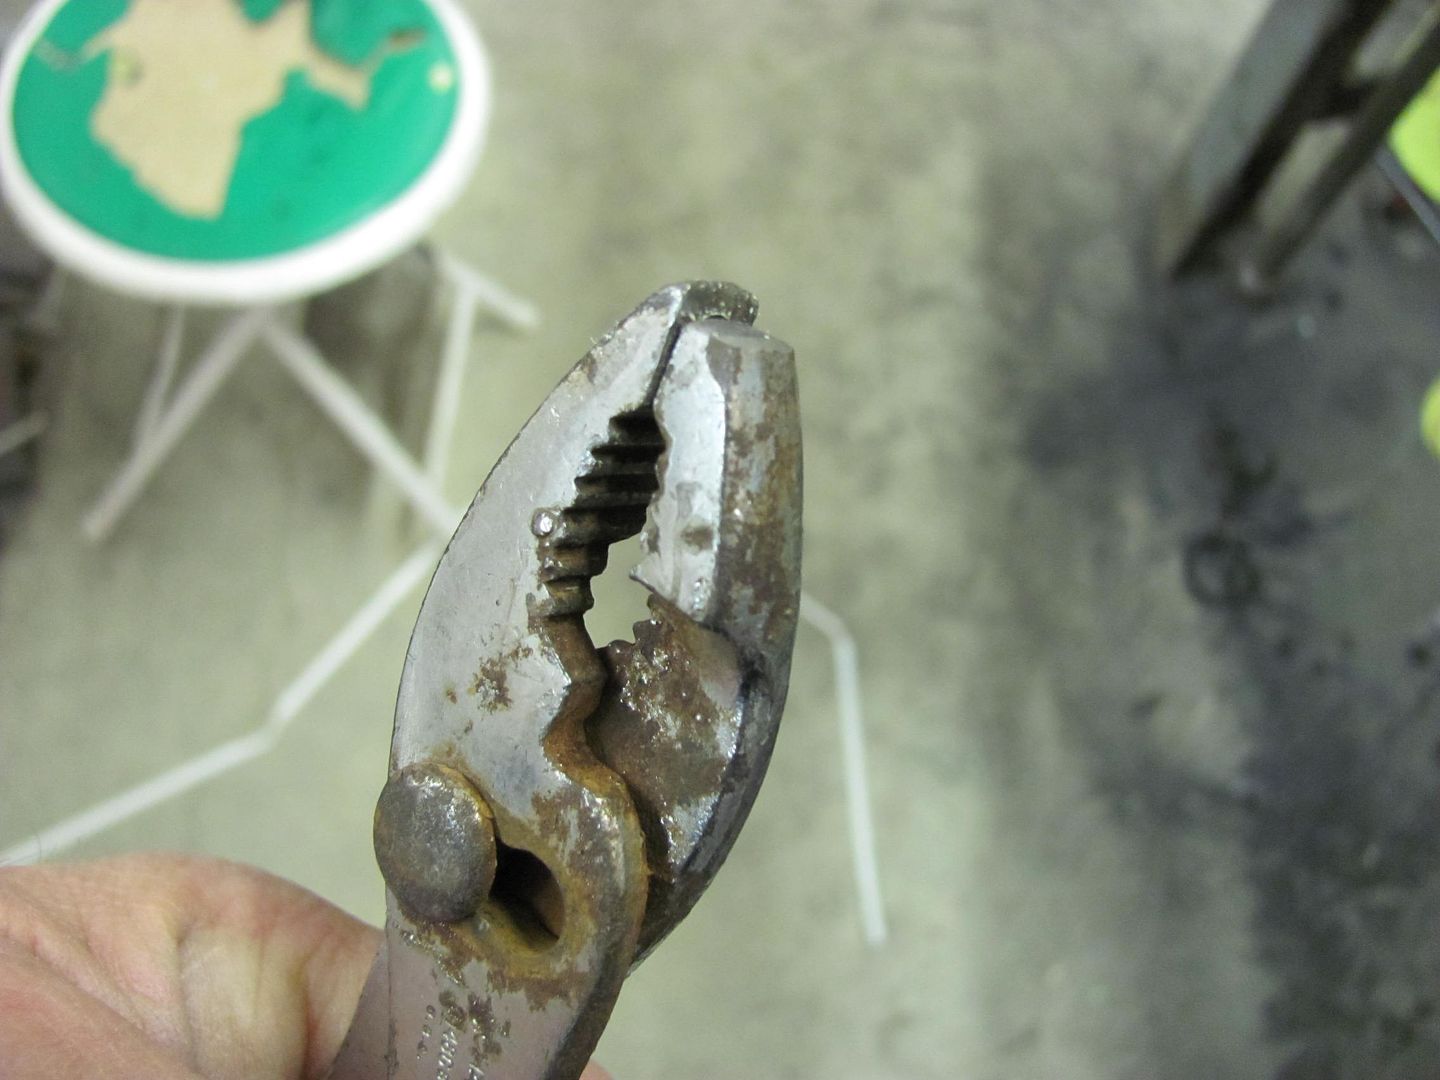
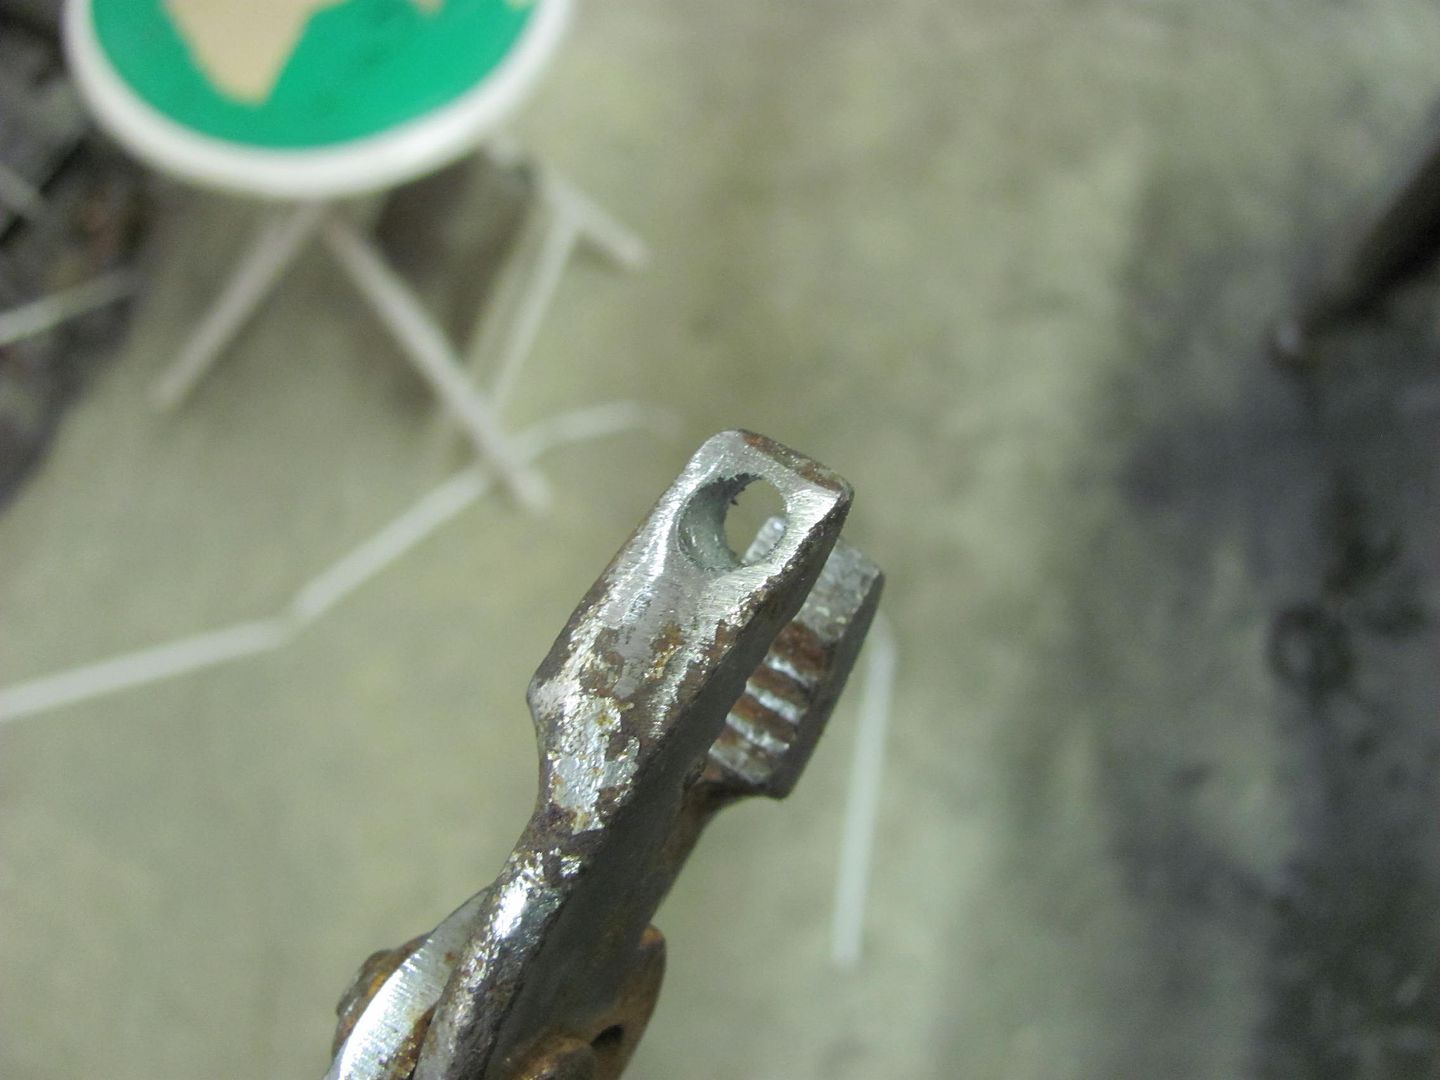
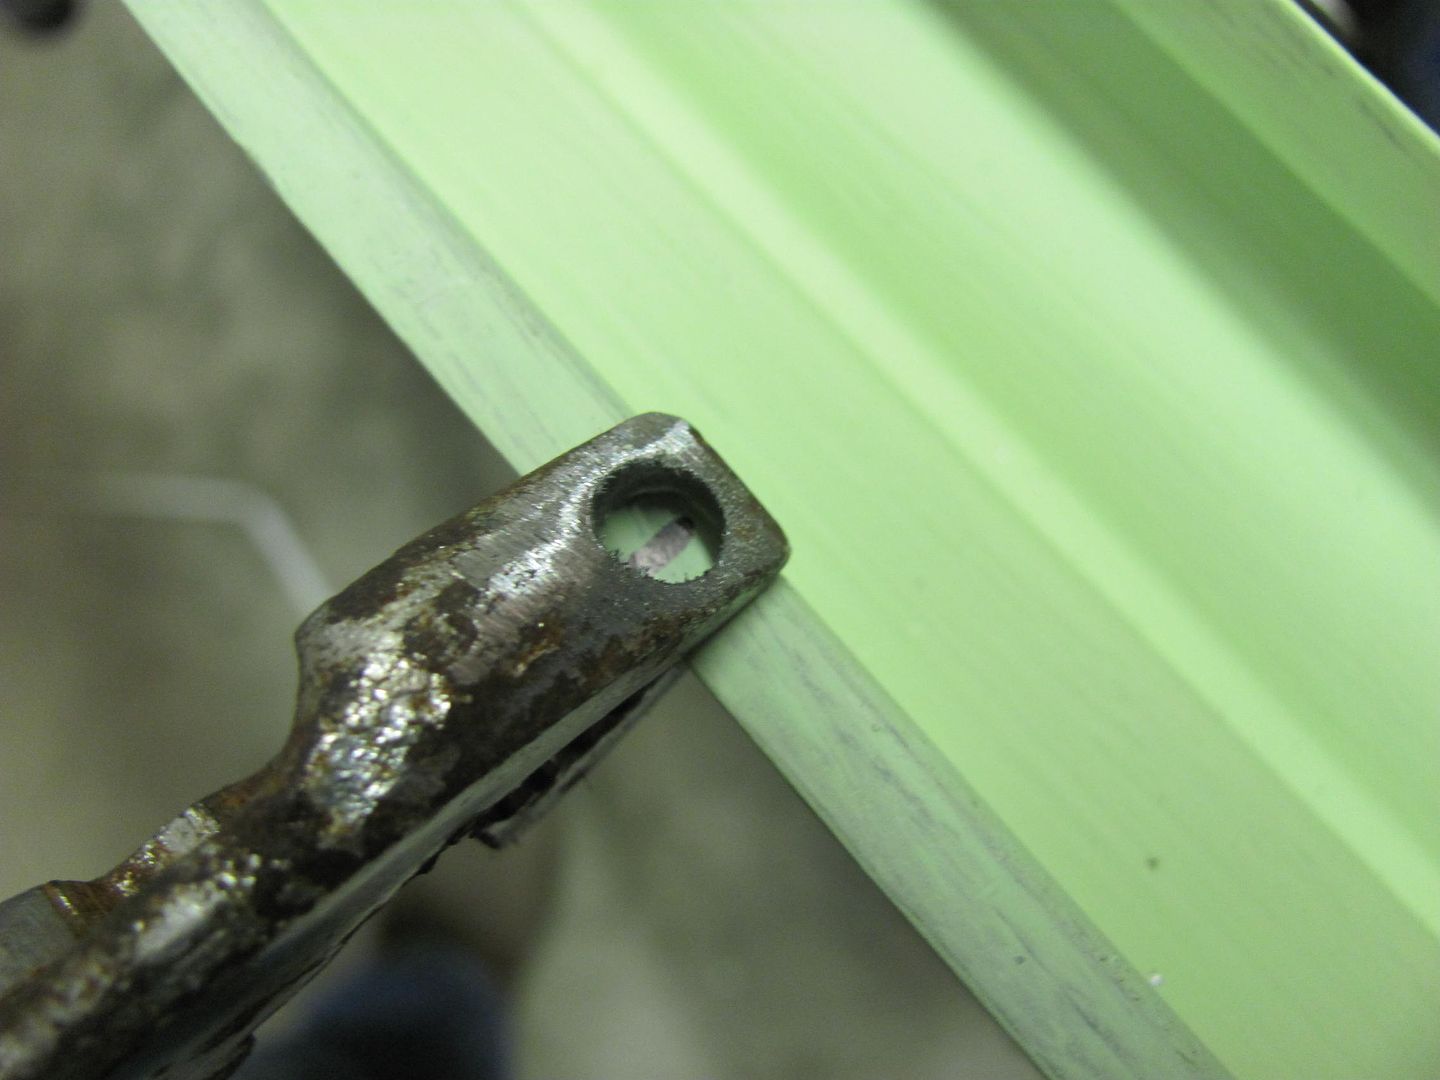
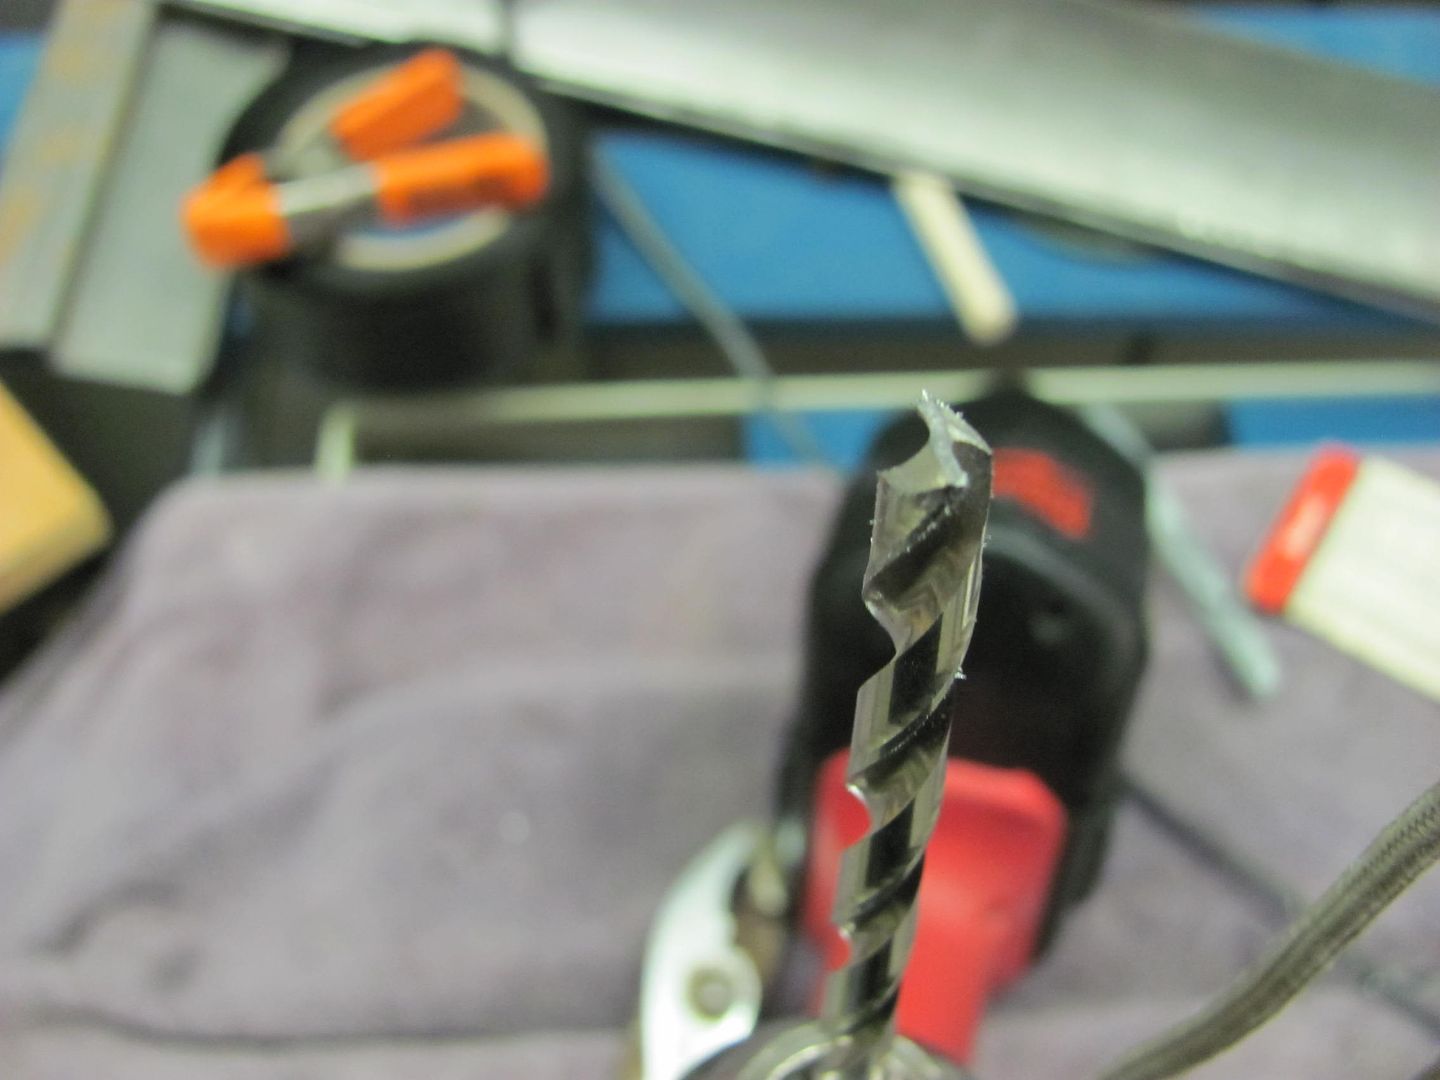
Here's another close up of the modified bit...


Picture692.jpg


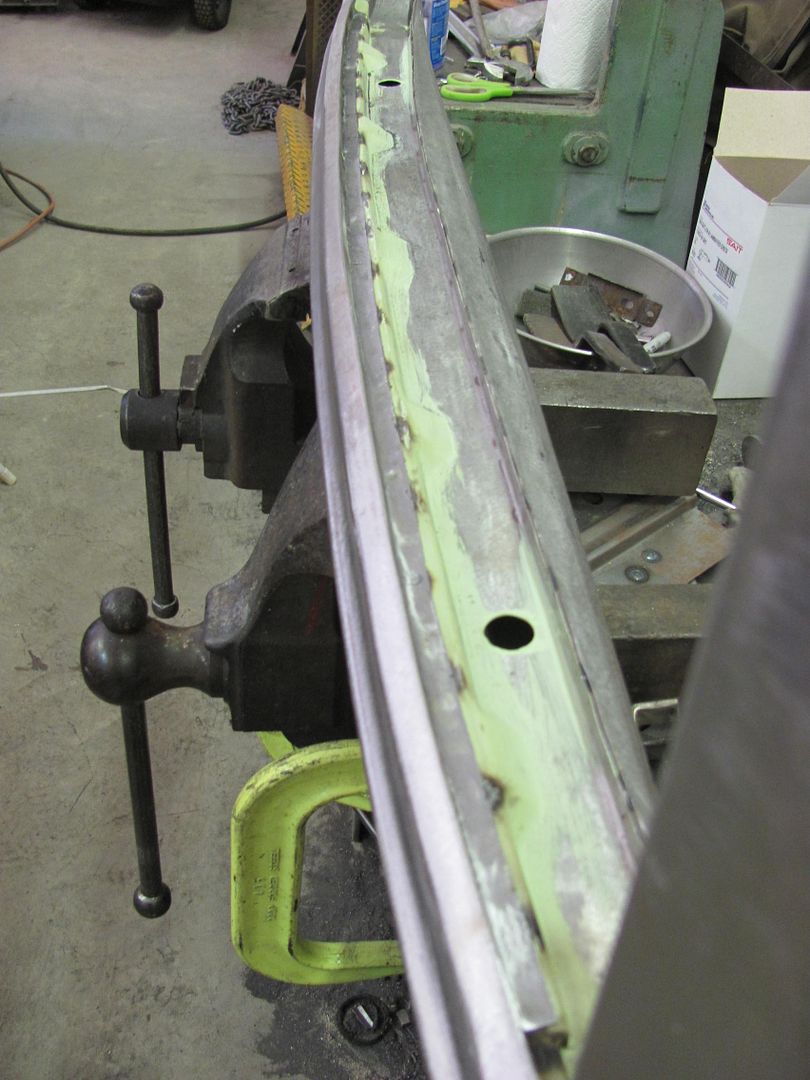
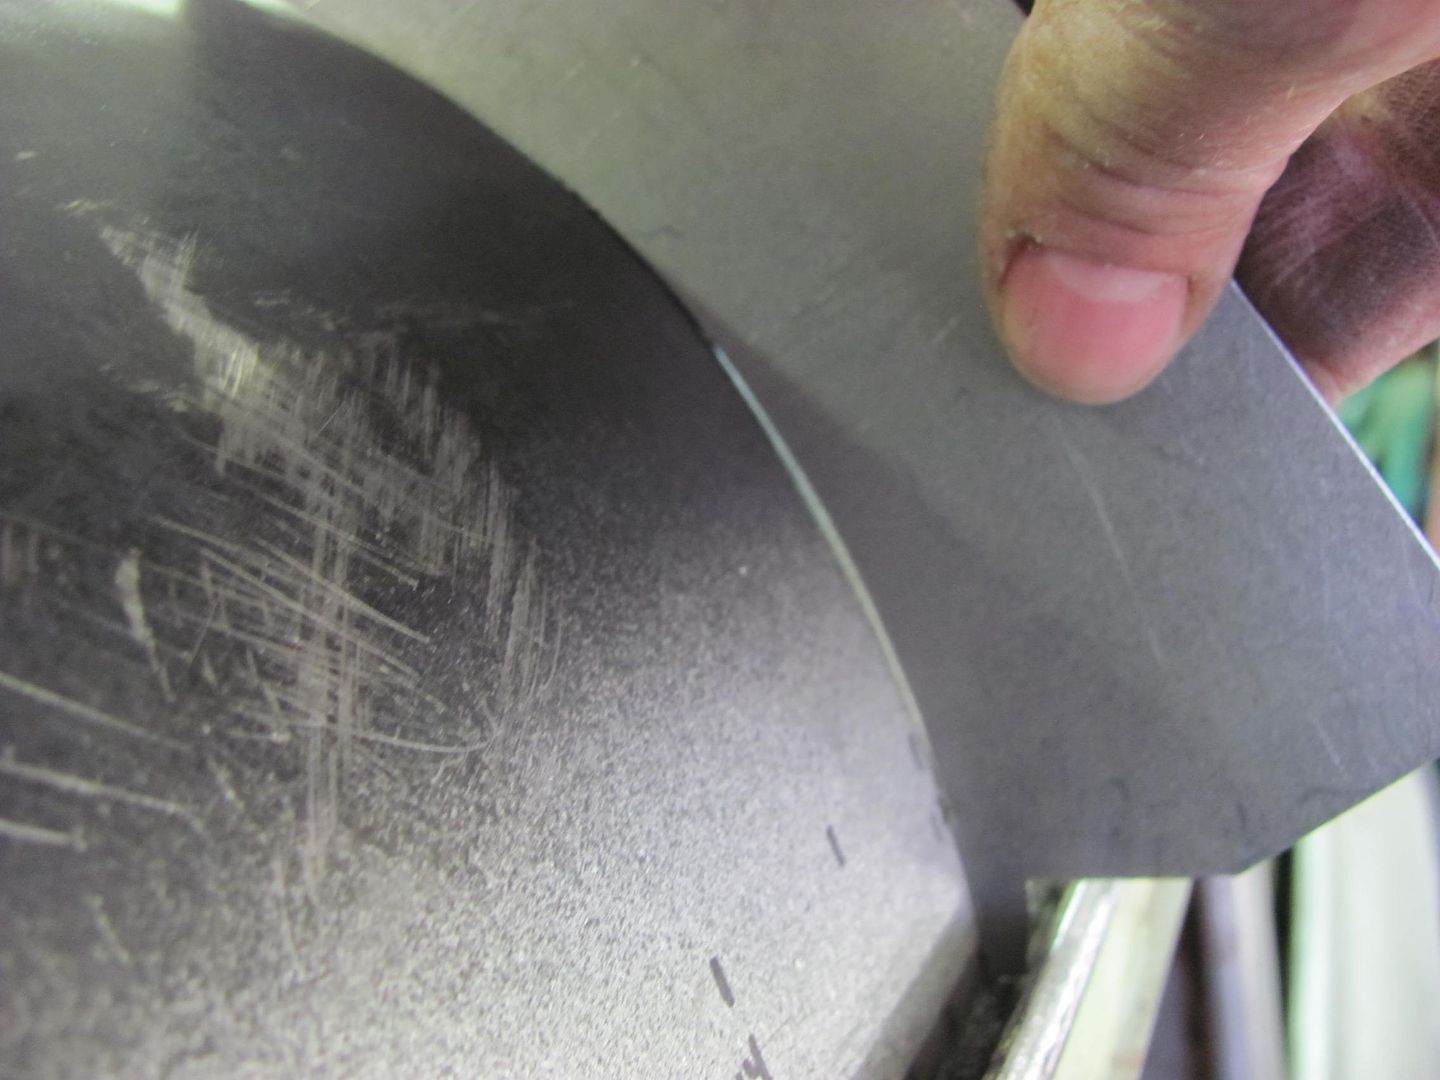
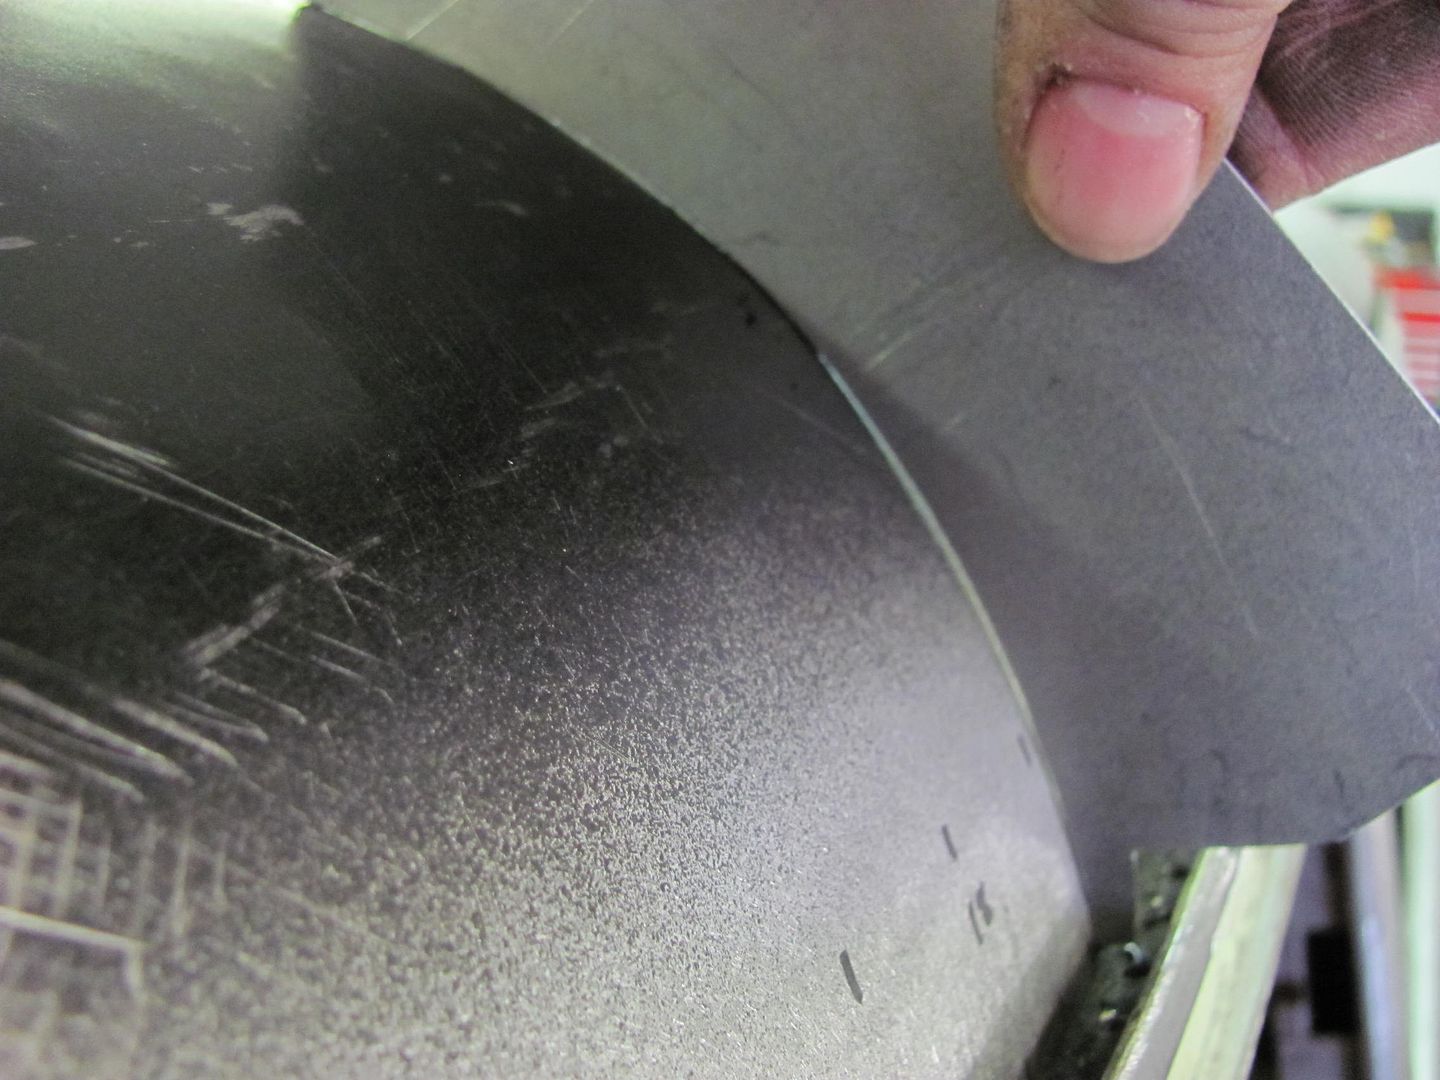
.....and the "prepped" flanges...


Picture694.jpg


Picture695.jpg


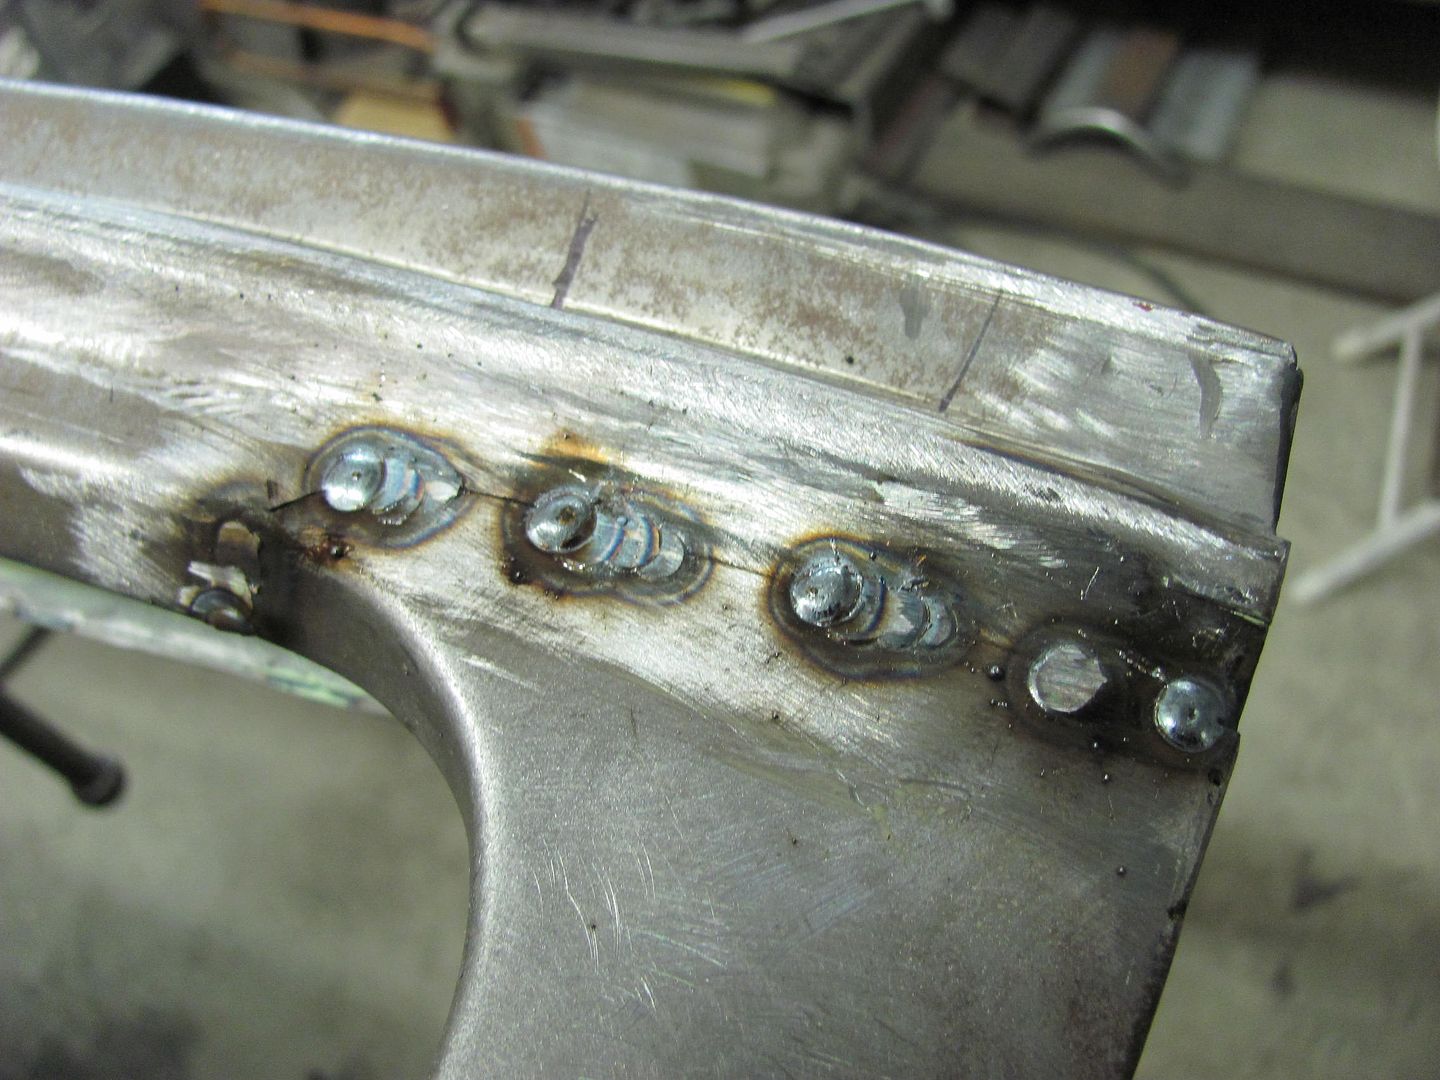
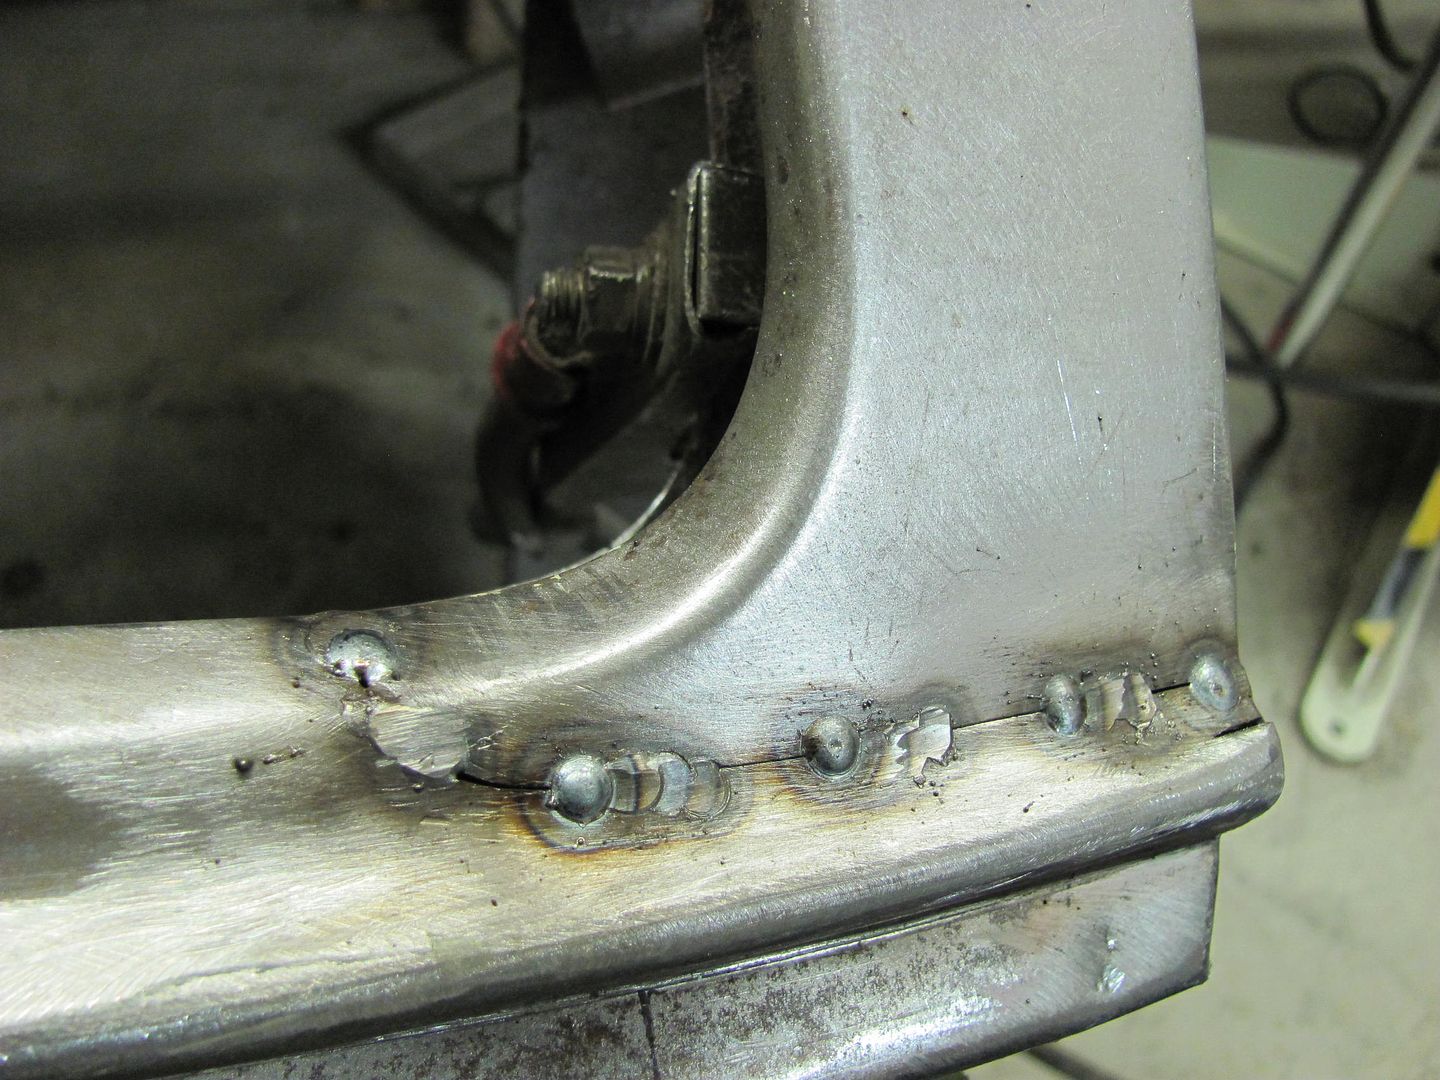
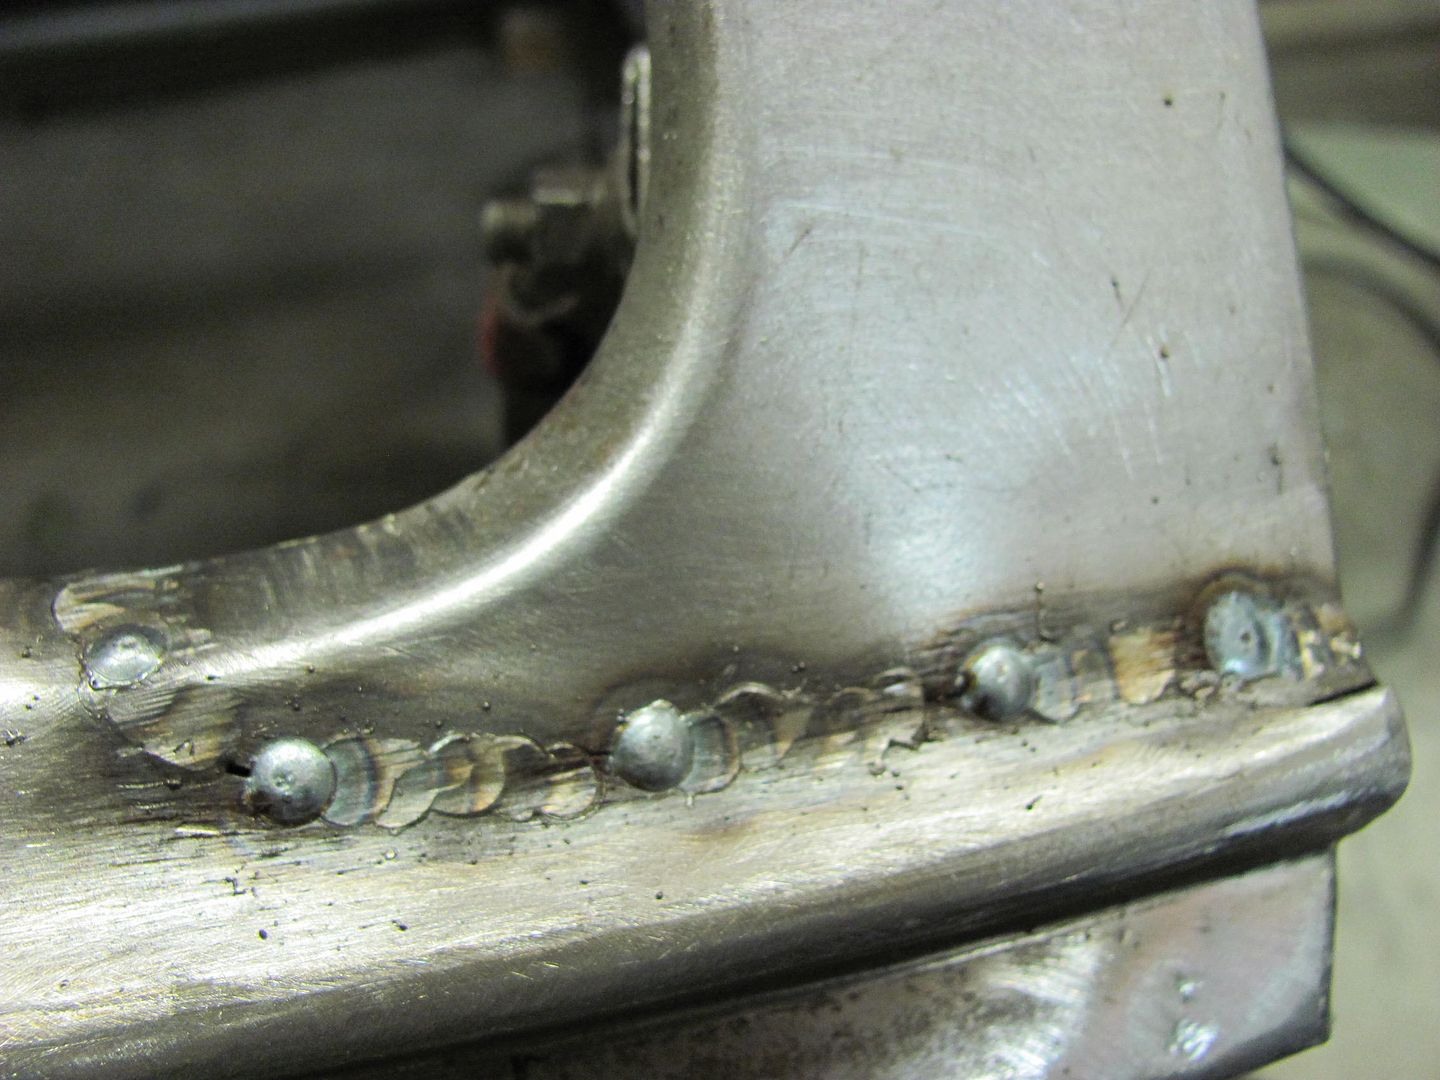
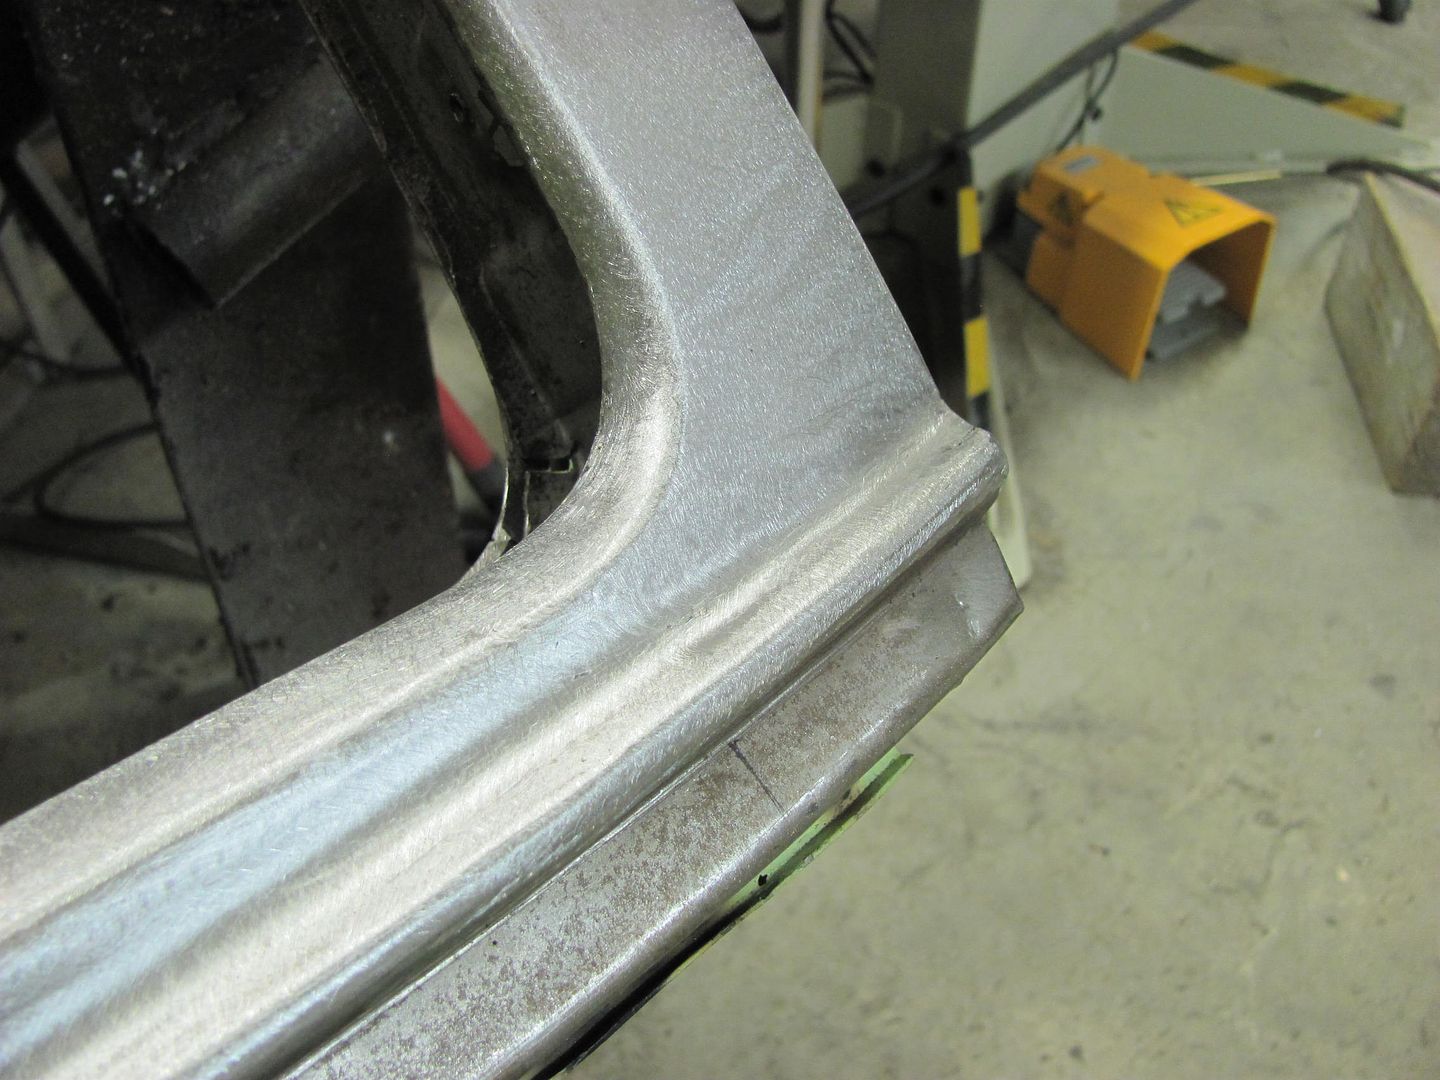
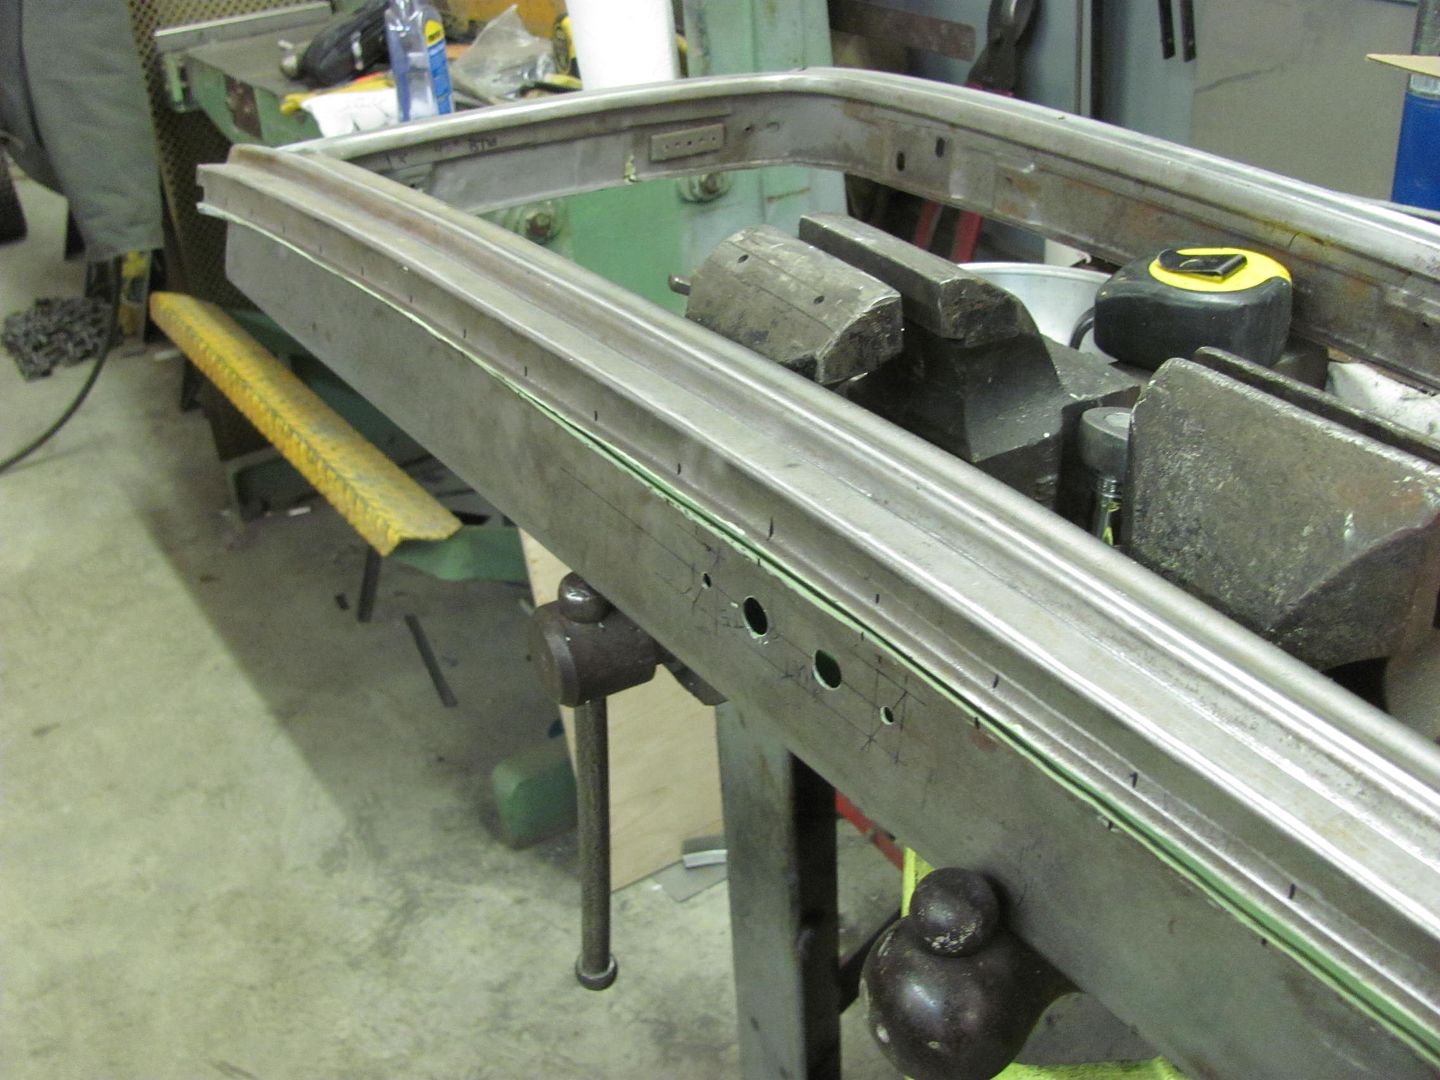
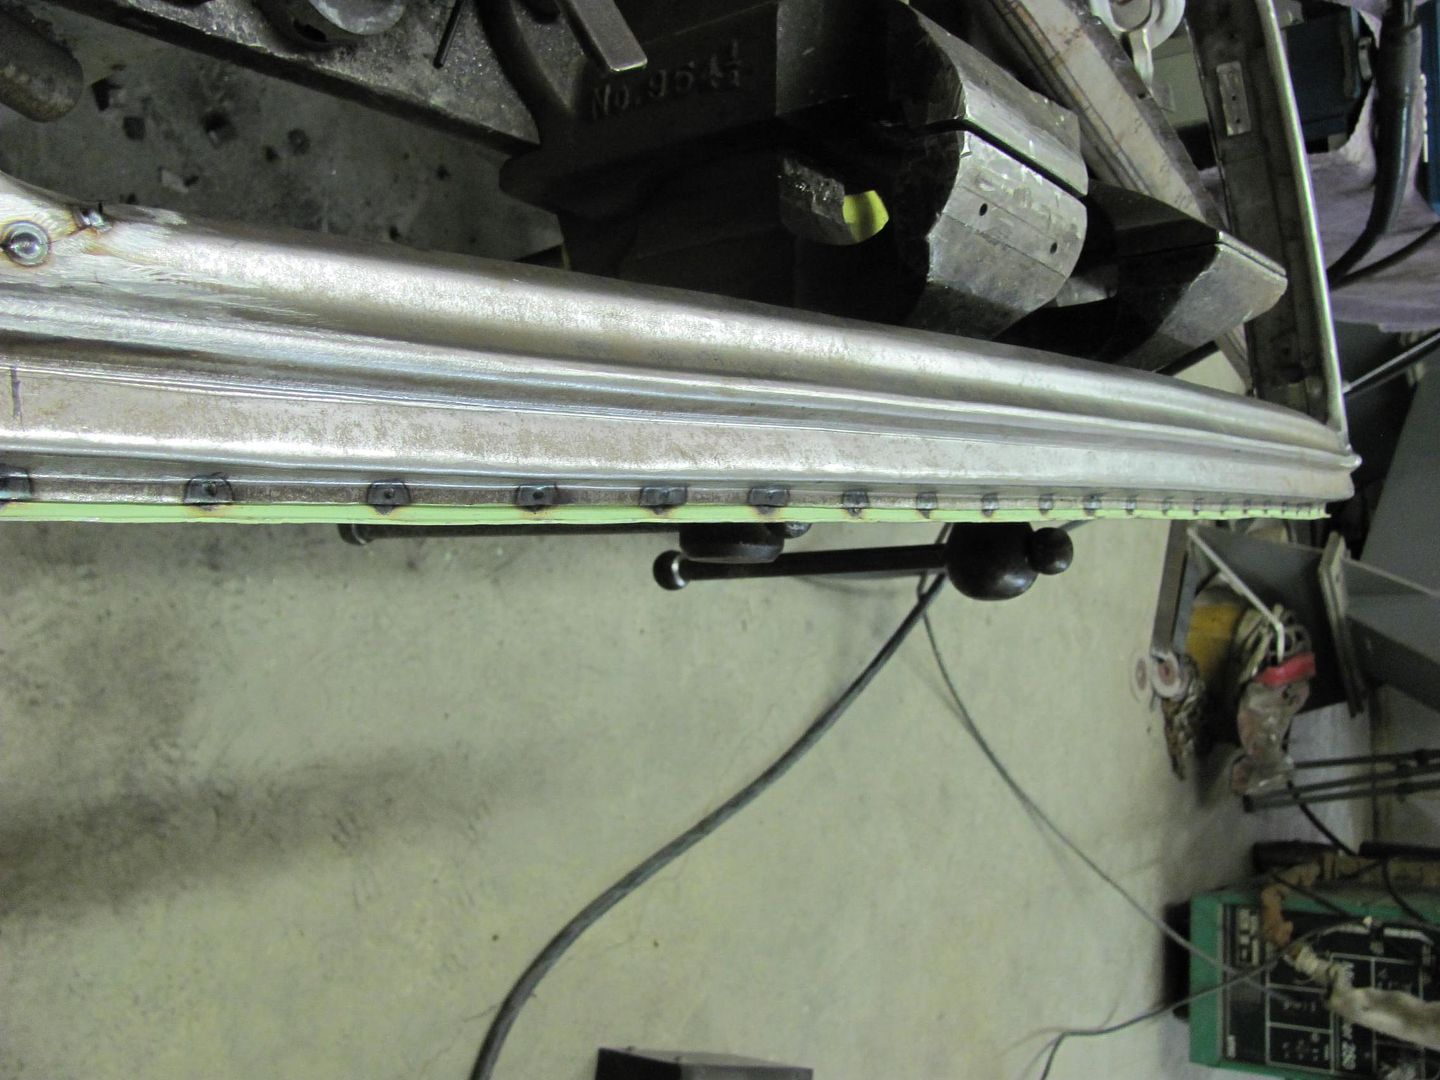
Ends tacked in place, and spot welded the bottom flanges together...


Picture698.jpg


Picture699.jpg


Picture702.jpg
 
Last edited:
To avoid these ads, REGISTER NOW!
OP
M

MP&C

Well-known member
Joined
Oct 21, 2009
Messages
4,396
Location
Leonardtown, MD
A bit more welding.......


Picture705.jpg


Picture706.jpg


Cleaned up....


Picture707.jpg


Picture709.jpg


Other side.....


Picture710.jpg


Picture711.jpg


Picture712.jpg


Picture713.jpg


Only thing left on this piece is the plug welds in the window opening. Need to put the rubber on the window glass and fit it to the opening to see if this part needs shifting prior to welding...


Picture715.jpg


This might even work....


Picture716.jpg


Picture717.jpg
 

Kevin54

MEMBER EMERITUS
Joined
Jan 12, 2005
Messages
29,341
Location
Urbana, Ohio
Robert......all I have to say is that "You do some FANTASTIC work". Welding things up without using any filler is great. And the attention to detail is over the top. I'm looking forward to seeing this in primer and then paint, but I'm also looking forward to the Divco resurrection also.

I'll be glad when I can get things cleaned out of my garage, so I can get started on my trucks patch panels. I'll probably have a ton of questions for you then. It's been a few years since I've done anything like that, and I usually fit things up and had a buddy weld things for me, as I'm not a welder. But this time, I'm going to do it come hell or high water.

So be prepared for me to bombard you with questions about welding!!!!
 

HTGTS350

Banned
Joined
Mar 2, 2010
Messages
603
I can't believe you destroyed that pair of precision pliers by drilling a ****** great hole in them!
 

N0tt0N

Well-known member
Joined
Sep 26, 2013
Messages
229
Location
DC
Really amazing. Your agility of thinking continues to amaze. So often I simply make due with the tool at hand. Then I see you constantly challenging that thinking and creating the specific tool you need. Inspiring!
 
OP
M

MP&C

Well-known member
Joined
Oct 21, 2009
Messages
4,396
Location
Leonardtown, MD
Robert......all I have to say is that "You do some FANTASTIC work". Welding things up without using any filler is great. And the attention to detail is over the top. I'm looking forward to seeing this in primer and then paint, but I'm also looking forward to the Divco resurrection also.

I'll be glad when I can get things cleaned out of my garage, so I can get started on my trucks patch panels. I'll probably have a ton of questions for you then. It's been a few years since I've done anything like that, and I usually fit things up and had a buddy weld things for me, as I'm not a welder. But this time, I'm going to do it come hell or high water.

So be prepared for me to bombard you with questions about welding!!!!


Kevin, no problem on the welding questions, be glad to help.

Regarding the results of the lift gate, I was pleased with how it turned out. It's largely why I post my methods so that others may use this as a learning tool to hopefully have success in duplicating panels on their own projects. Regardless of how something turns out I typically show what worked for me and also what didn't work, in hopes that it may help others to think through the fabrications they may have on their project. In order for a panel like that to come even close after all the welding process is done, you have to be close before it goes in. The contour has to be consistent with what was there prior, to match the inner panel. You always hear me preach to guys about panel fitment and tight joints, no gaps. You always hear me indicating to place weld joints where you have access to the rear of the weld for planishing. If this is not practical, you need to use other means to mitigate weldment issues.

So looking at the panel contour, we can see that it matches the factory stamping about as close as you can get.


Picture134-2.jpg


Picture135-2.jpg


As far as panel fitment, the joints also were about as tight as you can get. This is important as it minimizes any panel movement, another thing that will help is consistency in your welds and spacing, as it is INCONSISTENCY that causes much of the panel deformation.


Picture698.jpg


While I couldn't get to the back side for planishing in this panel, I did consider weld location to minimize the effects of shrinking.


Picture707crown.jpg


Looking at the weld area, one would expect shrinking issues along the horizontal crown where the length of the weld (red arrow) would pull down into a valley, or toward the inside of the lift gate. Now looking at the reverse crown (vertical) as indicated by the yellow arrows, shrinking issues there will have a tendency to pull the weld outward. So in essence, the weld placement has been located such that these shrinking effects will help to counteract each other.


While I'll be the first to admit these panels aren't perfect, they aren't that far off either... Looking at this next picture, there are two minor low areas as shown in the red areas.


Picture707lows.jpg


I'm not sure yet if I'll do some more hammer work to address the lows or not, worst case scenario I'd say about a thimble full of Evercoat 416 glazing putty each would fix those low spots......if that. Or perhaps an extra coat of the House of Kolor epoxy will fix it. It does have pretty good build for an epoxy.


I can't believe you destroyed that pair of precision pliers by drilling a ****** great hole in them!

Really amazing. Your agility of thinking continues to amaze. So often I simply make due with the tool at hand. Then I see you constantly challenging that thinking and creating the specific tool you need. Inspiring!

You guys see I used the best pair of pliers I had! :lol:
 
Last edited:

L&L CUSTOM

Member
Joined
Feb 26, 2014
Messages
5
Robert. great idea with the pliers! It was one of those " arggggg I can't believe I didn't think of that moments!!" I have used the drill bit trick ever since you showed it on tri five. com years ago. but this plier trick will make it fool proof. [I mean me proof! lol ] later Larry
 
OP
M

MP&C

Well-known member
Joined
Oct 21, 2009
Messages
4,396
Location
Leonardtown, MD
Larry, if you're getting ready to sacrifice a pair of pliers, drill from the flat of the jaw side, and I'd say the cheaper the pliers, the easier it should drill, as they should have less tempering to dull out the drill bits..
 
OP
M

MP&C

Well-known member
Joined
Oct 21, 2009
Messages
4,396
Location
Leonardtown, MD
I use a letter A for my plug welds, so I used that same size. A little smaller than many use, but then I run my welder on the hot side, limit the heat exposure to the panel and weld size by less time...

As many panels may not be perfectly flat, once the hole was drilled through it was "taper reamed" on the outside portion by rotating the drill in a slightly angular fashion. You know the routine... :lol: Then during use with the flattened drill bit you have some play to insure you get all the paint off the panel..
 
Last edited:
OP
M

MP&C

Well-known member
Joined
Oct 21, 2009
Messages
4,396
Location
Leonardtown, MD
FedEx dropped off a care package today. Should have two more boxes coming in tomorrow...


IMG_20140306_144044_494.jpg


Also met with the adjuster today on the Divco, and went over it with a fine tooth comb. So we'll see how it pans out... :willy_nil
 
Last edited:
OP
M

MP&C

Well-known member
Joined
Oct 21, 2009
Messages
4,396
Location
Leonardtown, MD
It's a Michigan Pneumatic motor to make into a planishing hammer. They are one of the better motors to get. The other parts tomorrow are the cut plates to weld into the arms. This will be a free standing unit with about a 30-32" throat, so should be plenty of reach to make practically any panel I would need. Now to find a drill press base with about a 4" diameter column.....
 
OP
M

MP&C

Well-known member
Joined
Oct 21, 2009
Messages
4,396
Location
Leonardtown, MD
Should look similar to this one when completed.....


attachment.php


Larry, sorry missed your question...

When is the next meet at OJ's place?

I haven't seen any posts on it or heard from him....this may be a bi-annual event...:dunno:


.
 

Attachments

  • dutcheshammer.jpg
    dutcheshammer.jpg
    30.2 KB · Views: 1,776
Last edited:
OP
M

MP&C

Well-known member
Joined
Oct 21, 2009
Messages
4,396
Location
Leonardtown, MD
Well FedEx sure is making a career out of this. All three boxes shipped the same day. I get one yesterday, one today, and the last scheduled for Monday. :lol:

These are the boxing plates for the arms, 3/16 steel..


IMG_20140307_123742_124.jpg
 

socapots

Well-known member
Joined
Jan 3, 2011
Messages
544
Location
Canada
Just re visited the last few months of this topic.
Great work as expected. And thank you very much for the video and written tutorials you have provided.
Now all I have to do it find the balls to start cutting some patch panels. Lol.
 
OP
M

MP&C

Well-known member
Joined
Oct 21, 2009
Messages
4,396
Location
Leonardtown, MD
Just re visited the last few months of this topic.
Great work as expected. And thank you very much for the video and written tutorials you have provided.
Now all I have to do it find the balls to start cutting some patch panels. Lol.


With all this instructional material to fall back on, how can you go wrong? :lol_hitti


When is the next meet at OJ's place?


Larry, just got off the phone with OJ, he's not having a meet this year. He said to check back next year anything's possible.
 
To avoid these ads, REGISTER NOW!

yaidunno

Well-known member
Joined
Feb 10, 2011
Messages
1,336
Location
WI
Looking forward to seeing the planishing hammer build. Where did you score the motor from?
 

racer8432955

Well-known member
Joined
Jul 7, 2007
Messages
172
your work is absolutely amazing! been following your thread for a while and continue to be blown away...
 

Alan_c

New member
Joined
Aug 30, 2013
Messages
2
Fantastic thread, thanks for all the info and advise. I am interested to know how you manage to keep the panels of the car so rust free after all this time without paint on it? Here in Cape Town it would have a film of rust within days if not hours!
 
OP
M

MP&C

Well-known member
Joined
Oct 21, 2009
Messages
4,396
Location
Leonardtown, MD
Thanks for the comments guys. Alan, we do have a couple months in the year with high humidity, but that's when the AC is on in the shop. During summer I normally keep the thermostat about 5 degrees or so cooler than daytime temps, just enough to get rid of humidity, winter time the heat is set at about 45-50.


Not much progress to show, but I did test fit the rear window, and finished the plug welds.

Cleaning the epoxy out of the holes...


Picture720.jpg


Picture719.jpg


Picture722.jpg


Welds cleaned up.....


Picture723.jpg
 
Last edited:
OP
M

MP&C

Well-known member
Joined
Oct 21, 2009
Messages
4,396
Location
Leonardtown, MD
And today we get the remaining pieces, the arm sides. Now to hunt down an extra-large drill press base and column....


IMG_20140310_120446_337.jpg
 
OP
M

MP&C

Well-known member
Joined
Oct 21, 2009
Messages
4,396
Location
Leonardtown, MD
Tom, go to all metal shaping web site and do a search for Jay Haynes, he is the guy who makes the kits. You should be able to find his email or phone number. I got this one second hand from someone that never put it together.
 

larry4406

Well-known member
Joined
Jan 27, 2006
Messages
18,943
Location
Northern Virginia
Rather than a drill press column and base, how about a 3" SCH40 or 3" 11 gauge steel column as used in building construction? I have one with your name on it if your anywhere close to Darnestown MD in your travels.
 
OP
M

MP&C

Well-known member
Joined
Oct 21, 2009
Messages
4,396
Location
Leonardtown, MD
Larry, thanks for the offer, I'm trying to source some 4" Sch40 for the column and 5" Sch40 for the collars. I'm told the reason for more mass and overall weight is it makes it quieter with less high pitched resonance. Given the nature of a planishing hammer, the less noise the better... So if I can't find anything locally in the 4" I may take you up on it..
 

Kevin54

MEMBER EMERITUS
Joined
Jan 12, 2005
Messages
29,341
Location
Urbana, Ohio
How about filling the column with sand to dampen resonance?

That may help as well, that's what I can do with the used media out of the blast cabinet!

You could also fill it with expanding foam urethane? Should keep the moisture out of it.

I was going to say fill it also, but was beat out X's 3. :lol: You could also fill it with Plaster of Paris. At work, the drill presses we had, the large cast iron tables had coolant troughs all around them. The troughs held the drill bits and shavings that no one ever wanted to clean out because dragging the shop vac 10' would have been a major effort. Eventually a lot of other departments did the same thing. Anything in the tube to fill the void would stop a lot of the excess noise.
 

DieselDent

Well-known member
Joined
Sep 22, 2009
Messages
309
Location
Bushwood, MD
Man thats too bad about that Divco, just saw one the other day come up on craigslist up in PG county and thought that would be a cool project.
 
OP
M

MP&C

Well-known member
Joined
Oct 21, 2009
Messages
4,396
Location
Leonardtown, MD
Larry, looks like I won't need the pipe after all. My local source just recently took delivery on a few used drill presses, He said to take my choice. Should be checking them out on Friday.. Thanks much for the offer!
 
OP
M

MP&C

Well-known member
Joined
Oct 21, 2009
Messages
4,396
Location
Leonardtown, MD
Well todays parts run showed that the local drill press source didn't exactly know what size the column was, and as it turned out it was a bit smaller than I had intended on using. On to Plan B. A local machine shop has some drop cuts that are stored outside, and have some surface rust to go with it. Typically get a real good price on the stuff. So here's the "kit" for Planishing hammer, with parts for the column, collars, and clamps. Instead of a base we'll use two legs coming out the front for support..

IMG_20140314_180530_842.jpg
 
OP
M

MP&C

Well-known member
Joined
Oct 21, 2009
Messages
4,396
Location
Leonardtown, MD
My nephew Chris stopped by to help this morning so we decided to work on the roof a bit. Added a guide coat and skimmed across it with the vixen file to show the high spots...


Picture724.jpg


Picture726.jpg


To help keep inside and outside guys on the same page, some reference marks were added from the door opening back, on inside and outside of the roof.


Picture730.jpg


Worked the highs and lows, and thought we'd compare it to the other side. Making a profile template to match the good side...


Picture728.jpg


Picture727.jpg


Shown at about 6, 12, and 18". We're getting close..


Picture731.jpg


Picture732.jpg


Picture733.jpg
 
Last edited:
OP
M

MP&C

Well-known member
Joined
Oct 21, 2009
Messages
4,396
Location
Leonardtown, MD
I had a request to show how I made the profile template I used for the roof.


Picture727.jpg


Start with a profile "blank" and span the profile you need to copy.


Picture734.jpg


Using a compass, open up the span to insure it is wide enough to make the mark on the blank on both ends ...


Picture735.jpg


Don't rotate the compass as you move it, this will make the radius larger than the original. Keep it "locked" pointed in the same direction as you glide across the roof surface, leaving the profile to cut....


Picture736.jpg


Cut with a band saw, jig saw, tin snips, whatever is easiest for you and most accurate. Test fit and adjust as needed.
 
To avoid these ads, REGISTER NOW!
Top Bottom