aggierailroad
Well-known member
Brilliant! Who needs a contour gauge? ")
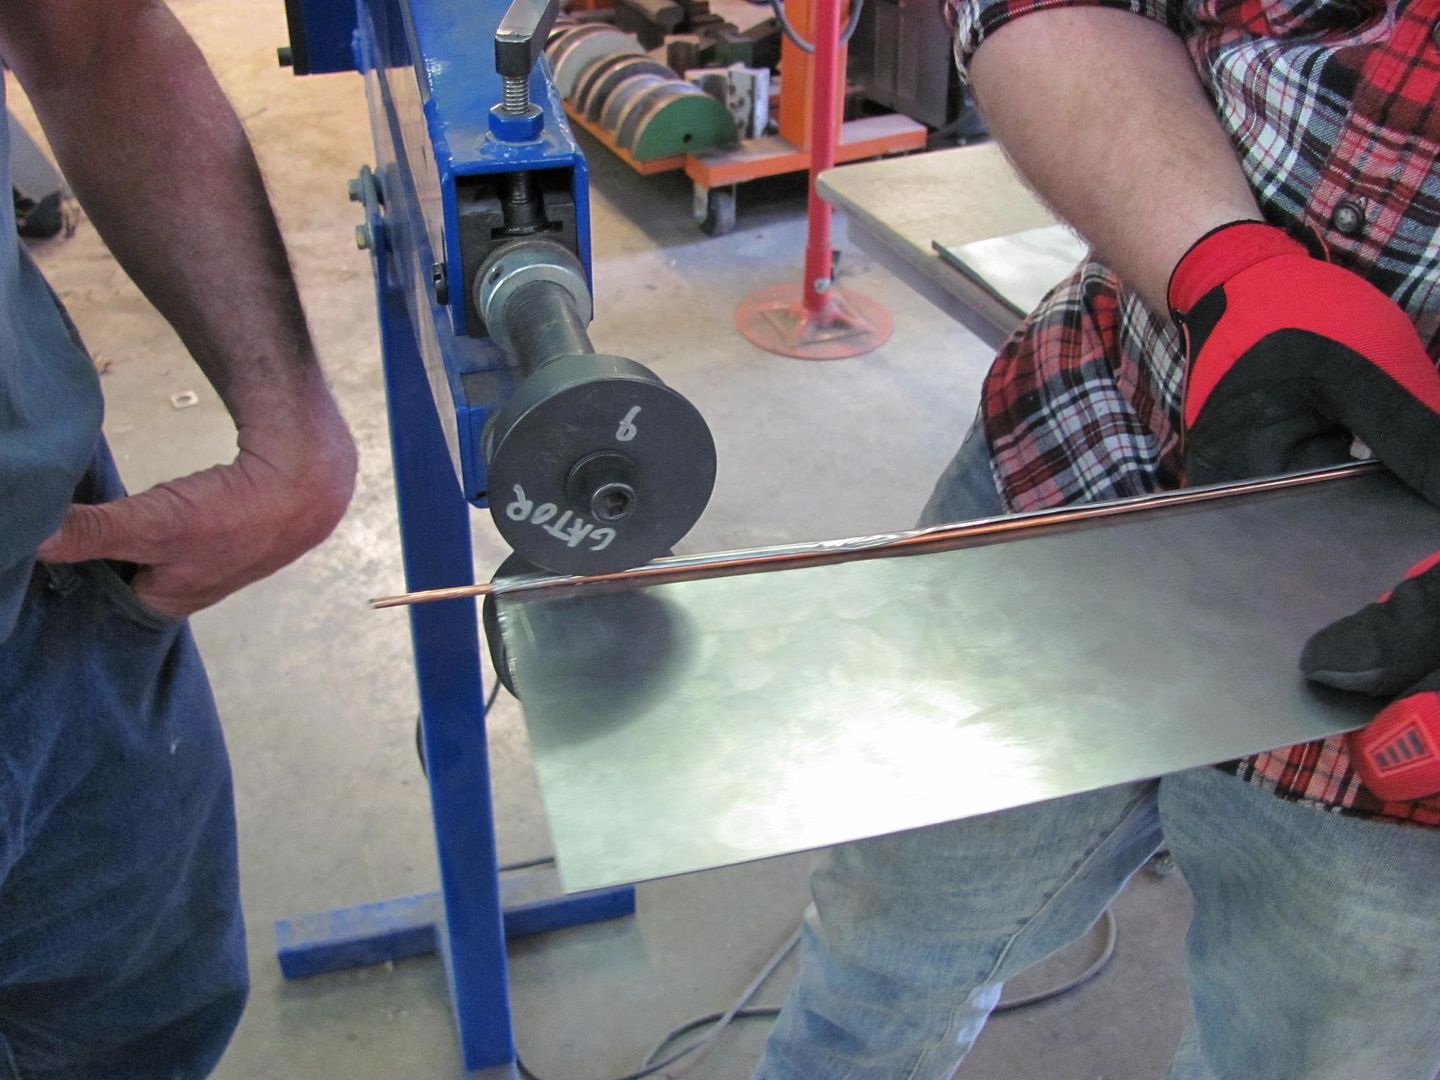
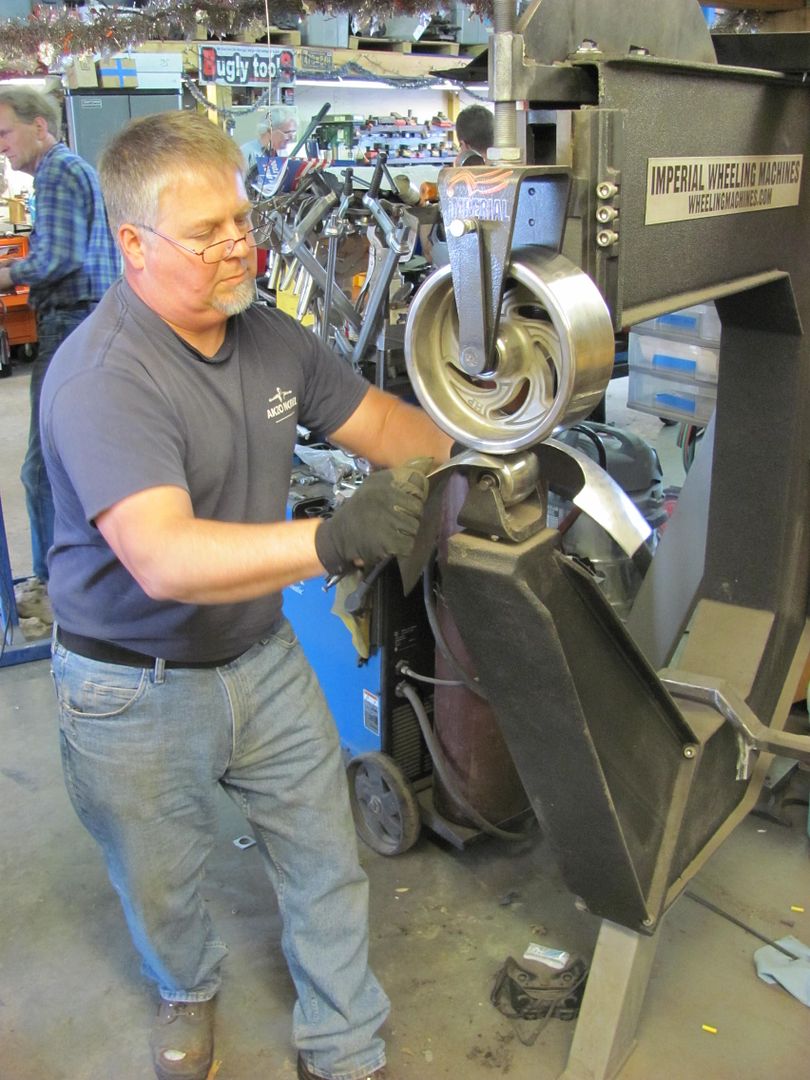
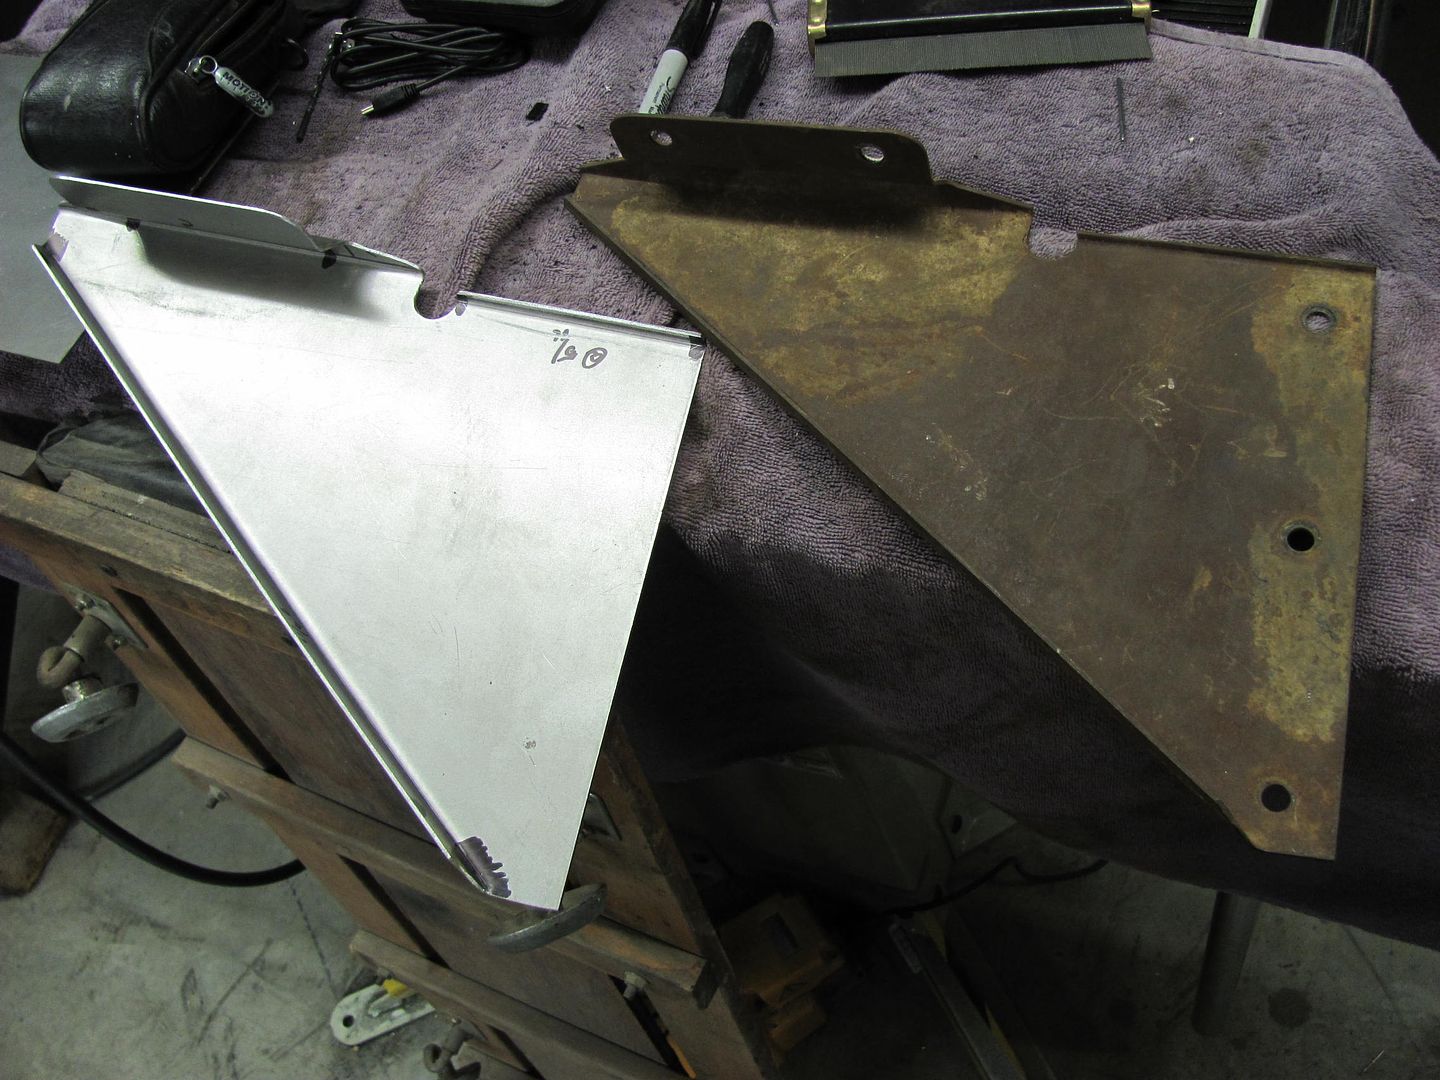
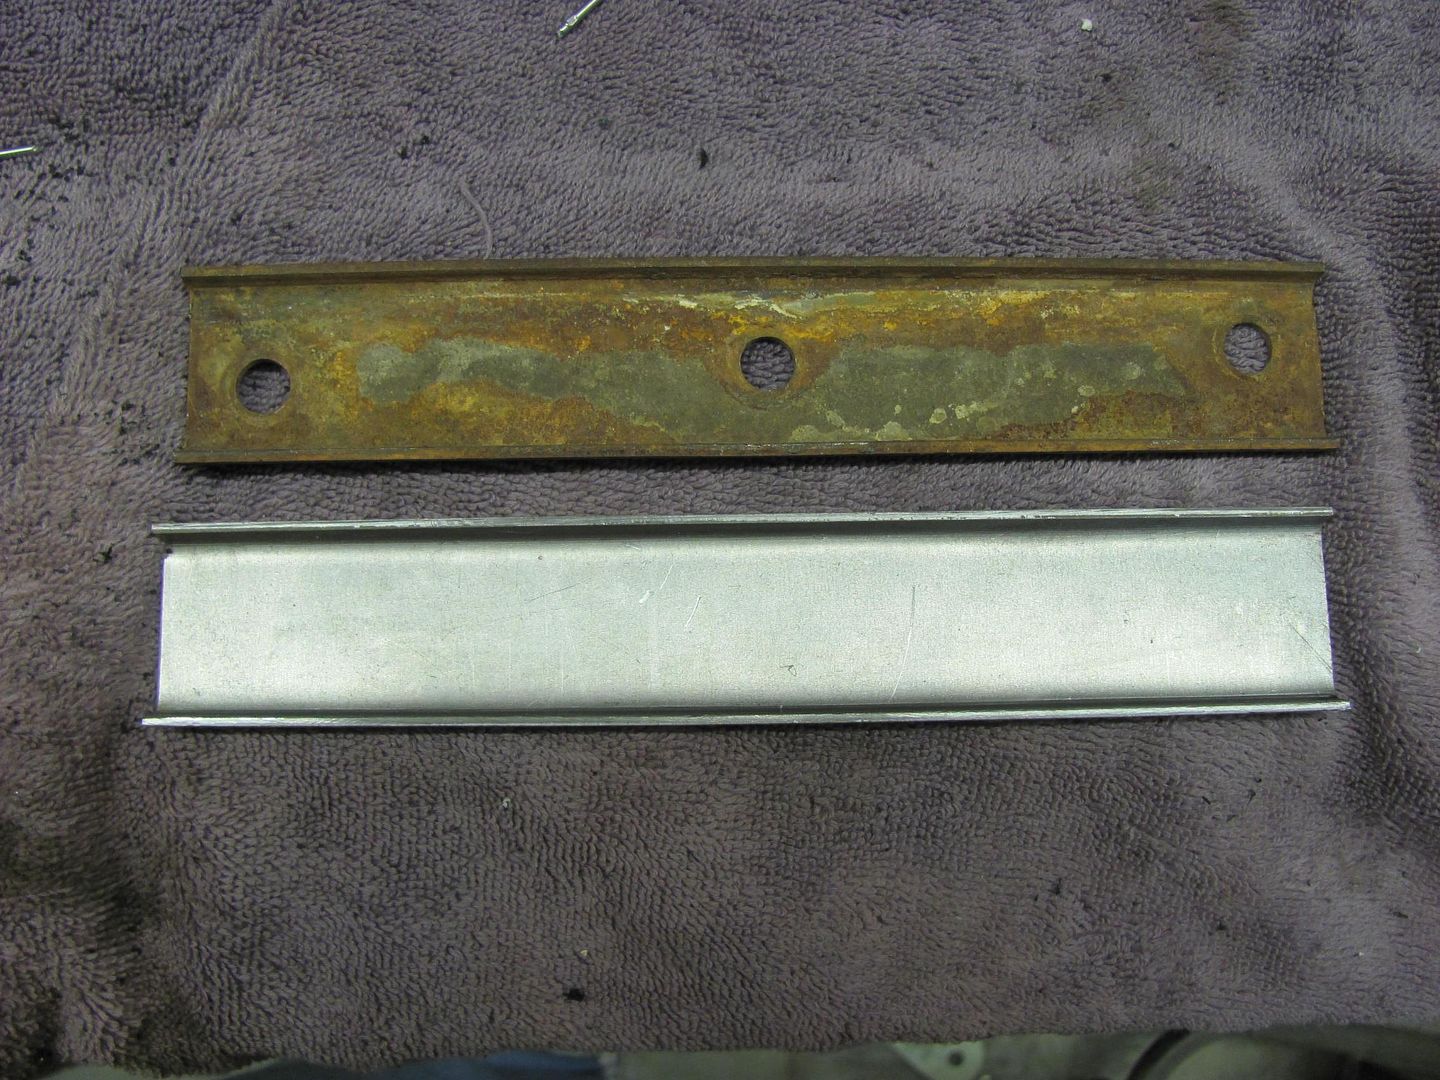
 If you are looking for full sheet stuff, the 19 ga I got from Ryerson in Delaware, but you need a Business account. Most of the rest was from local machine shops.


 Welcome to the site!
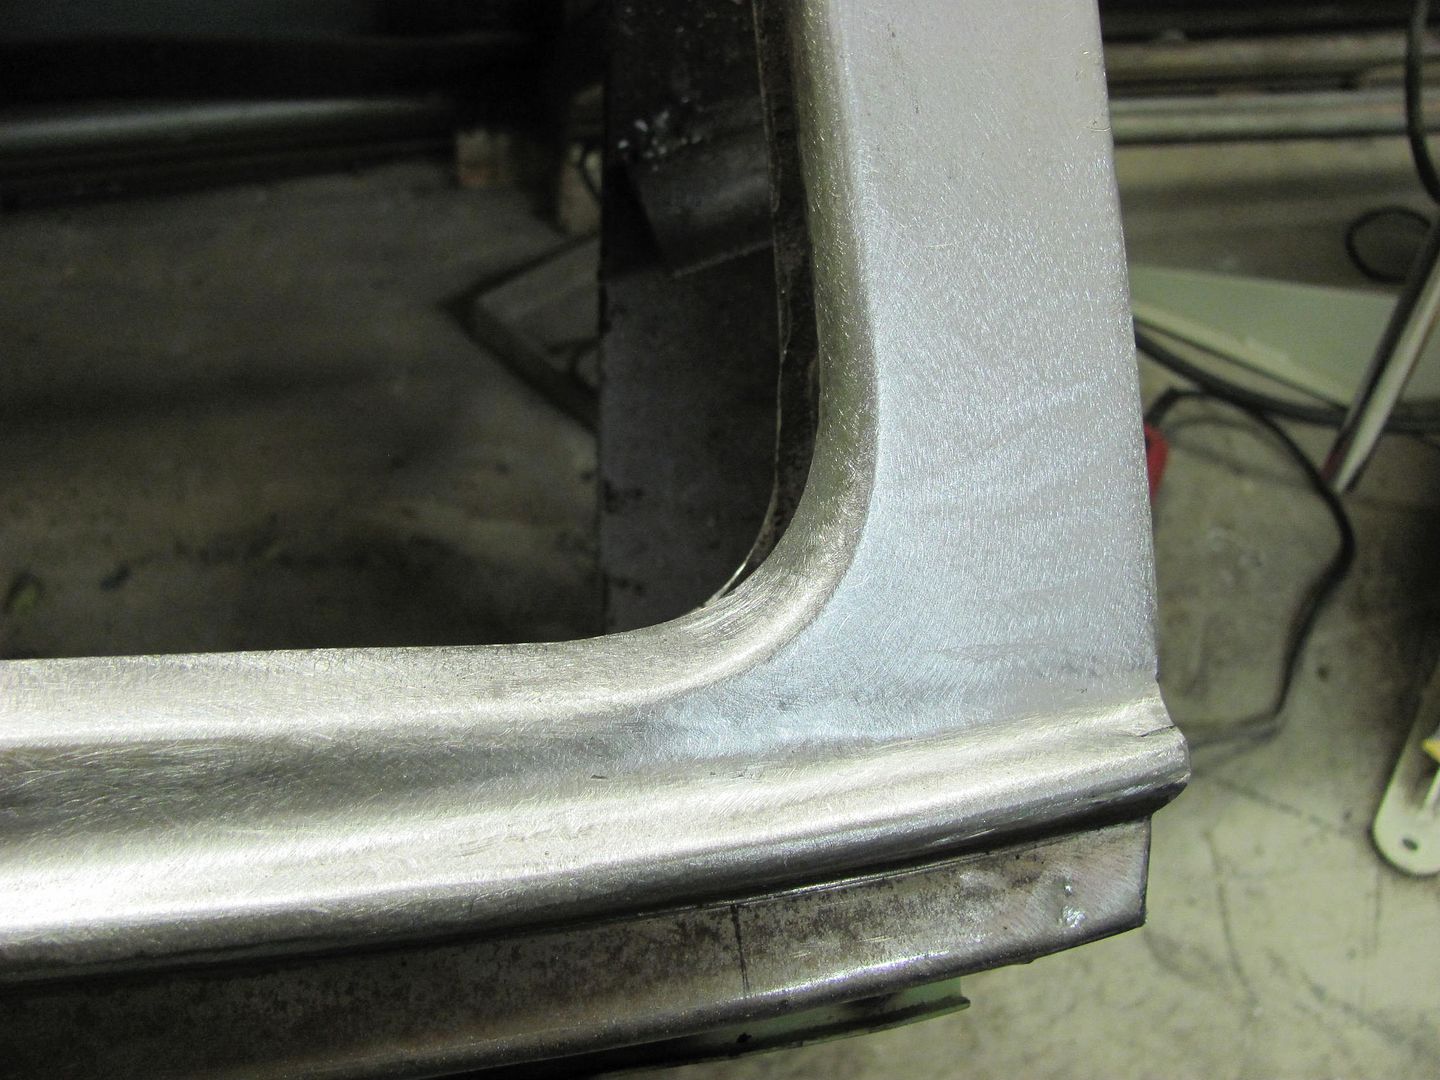
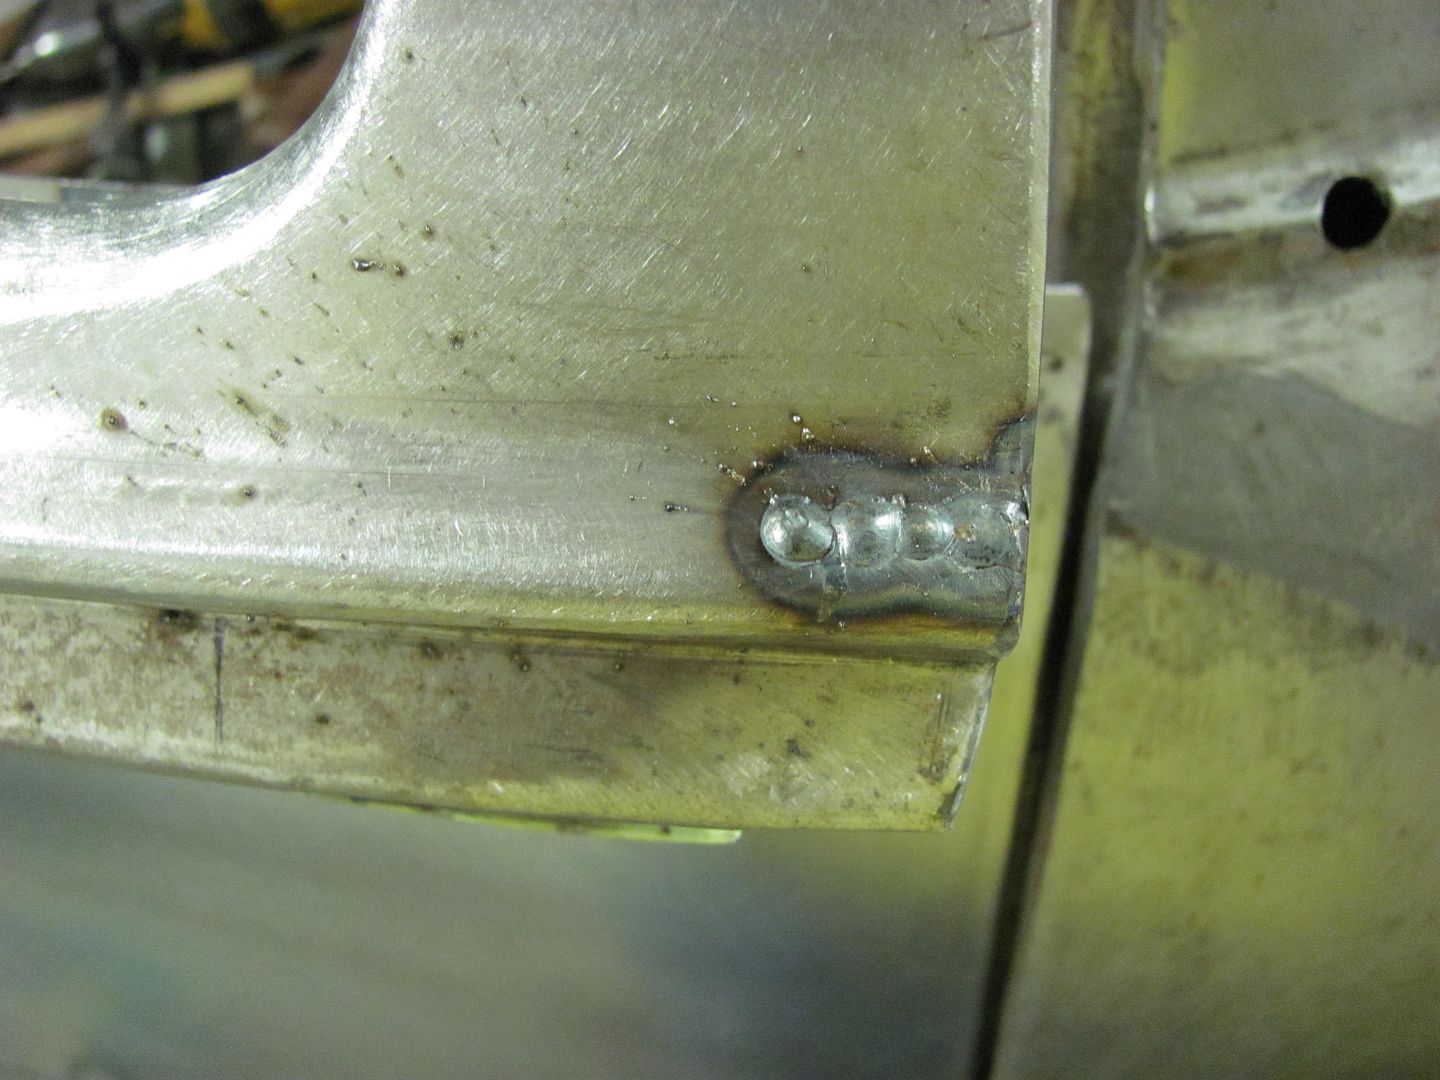
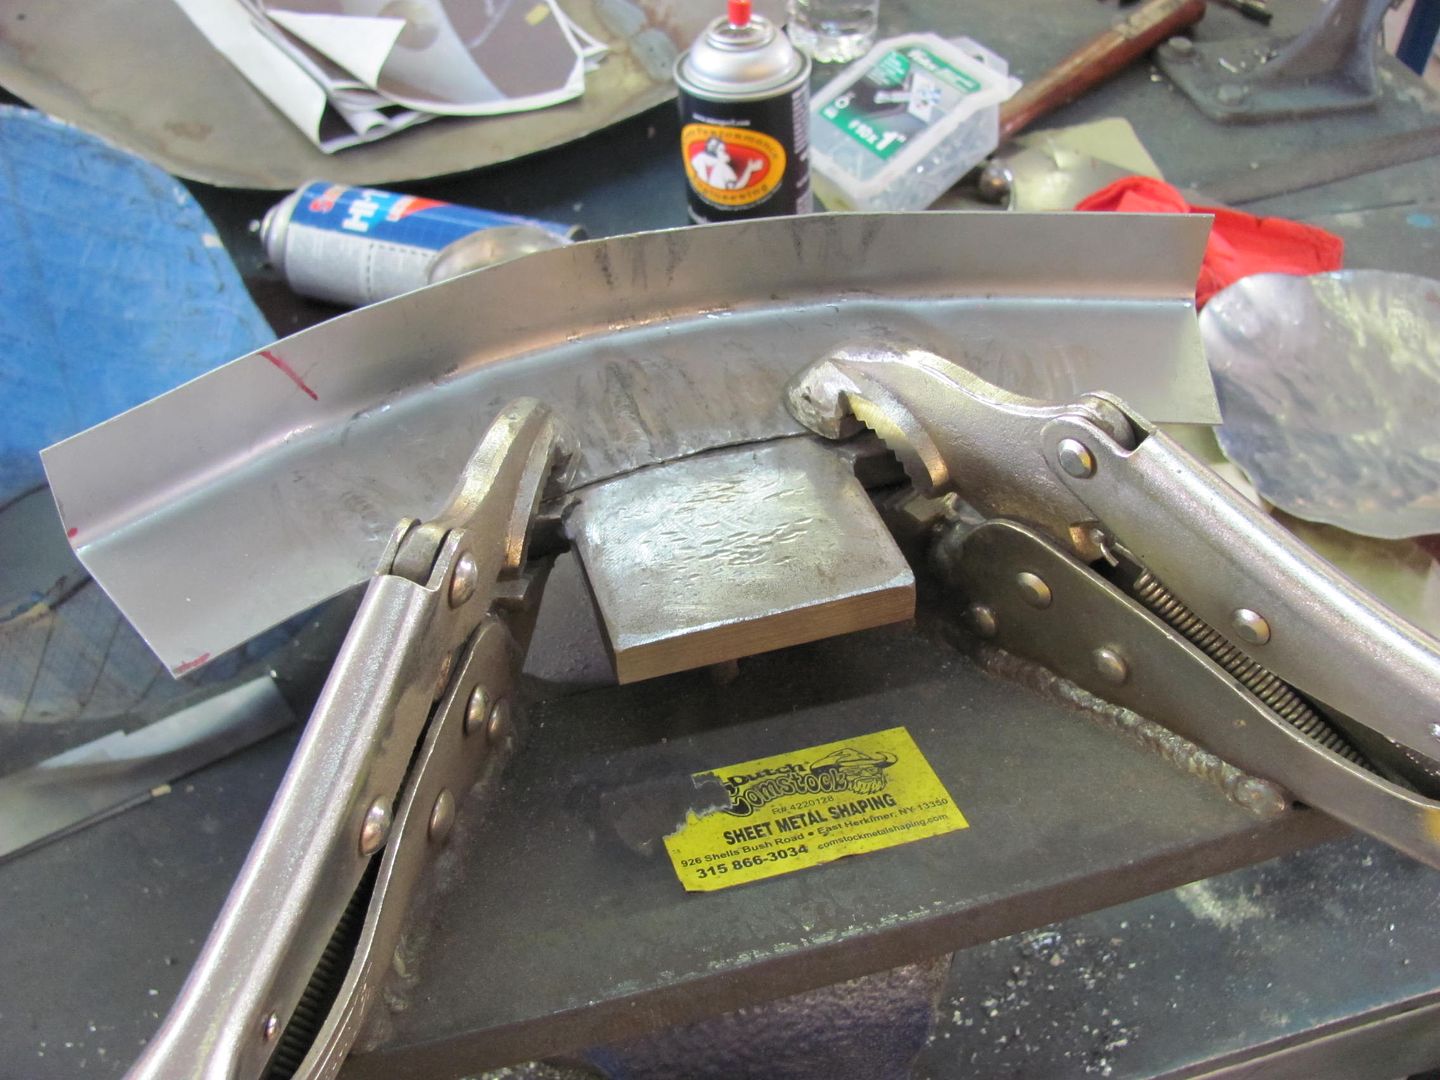
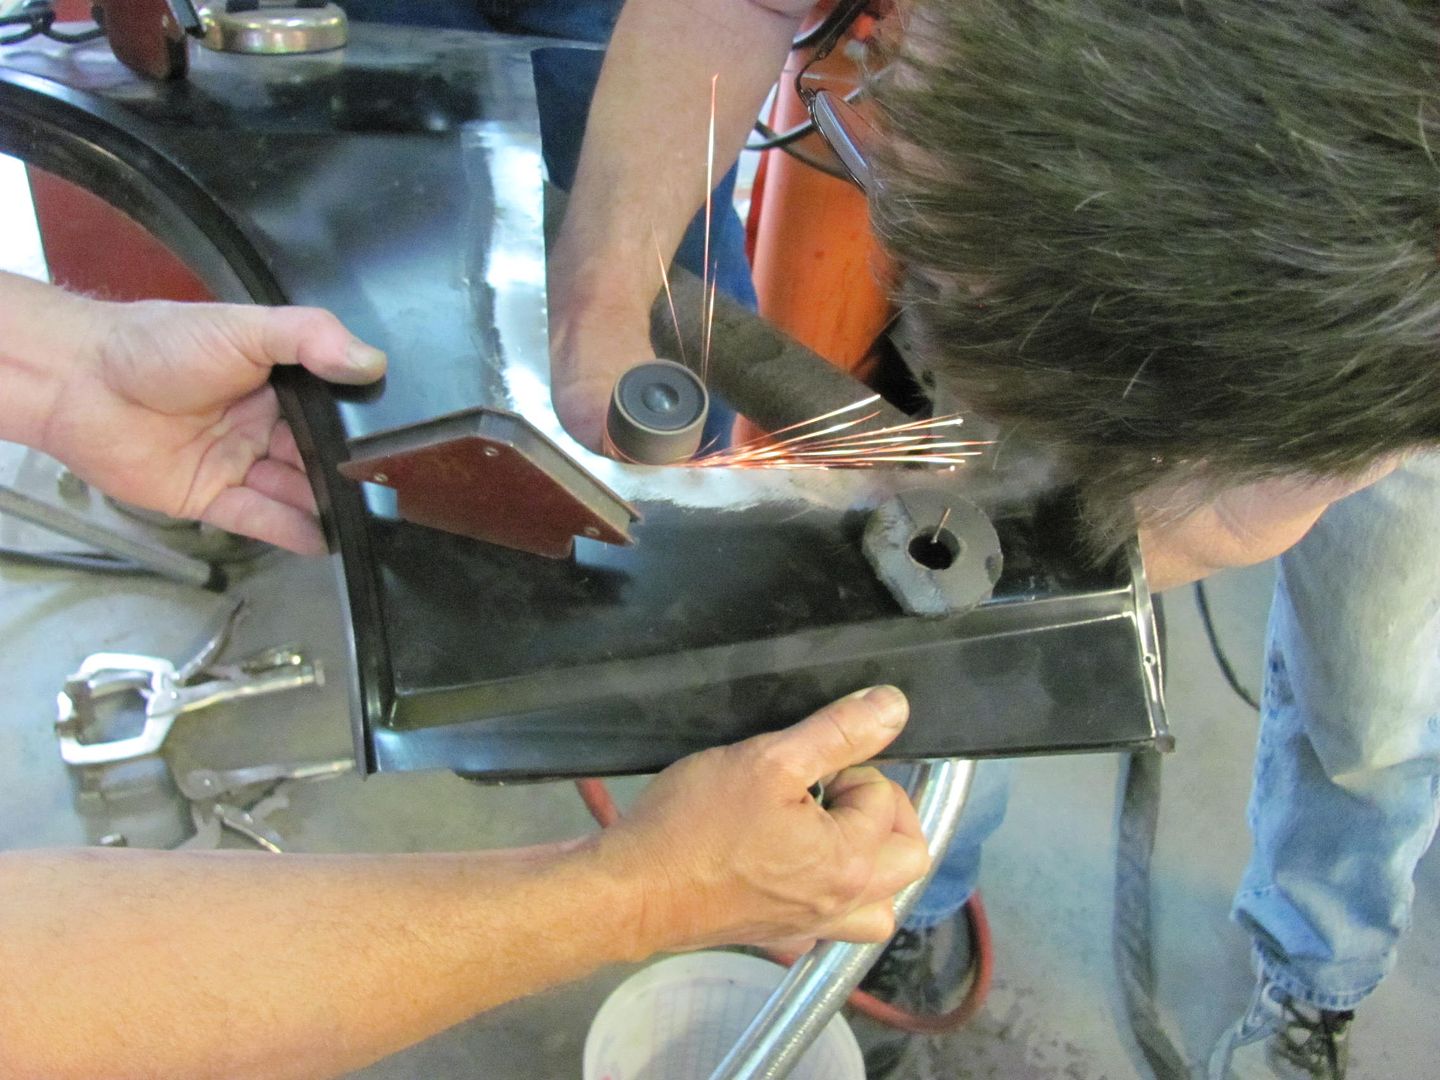
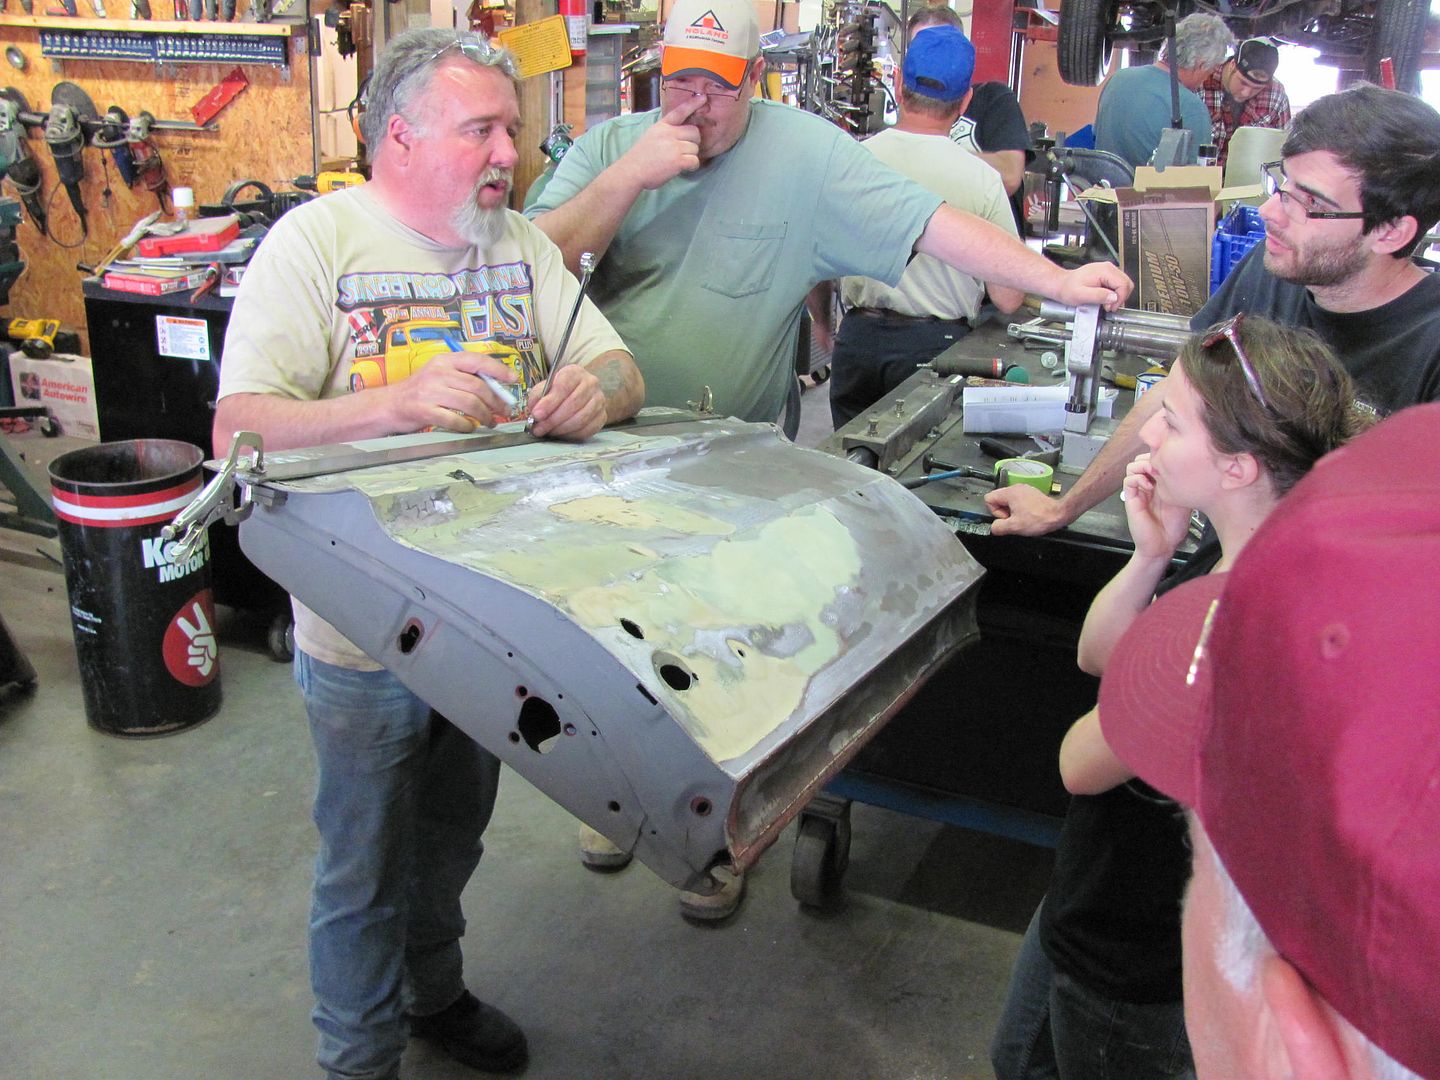
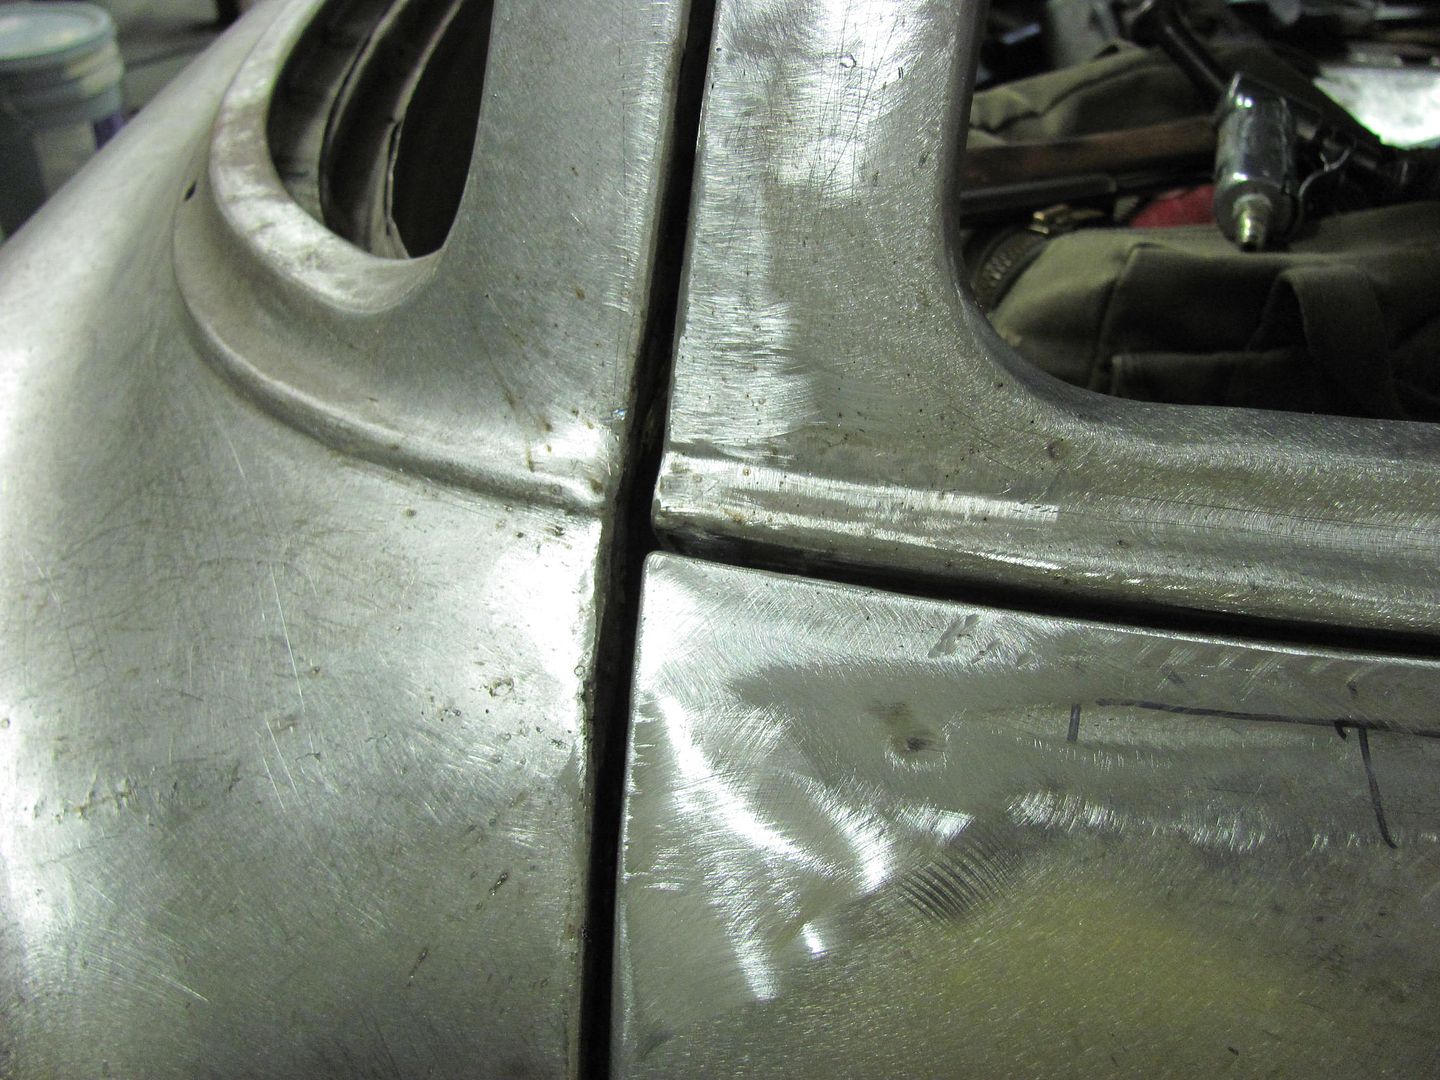
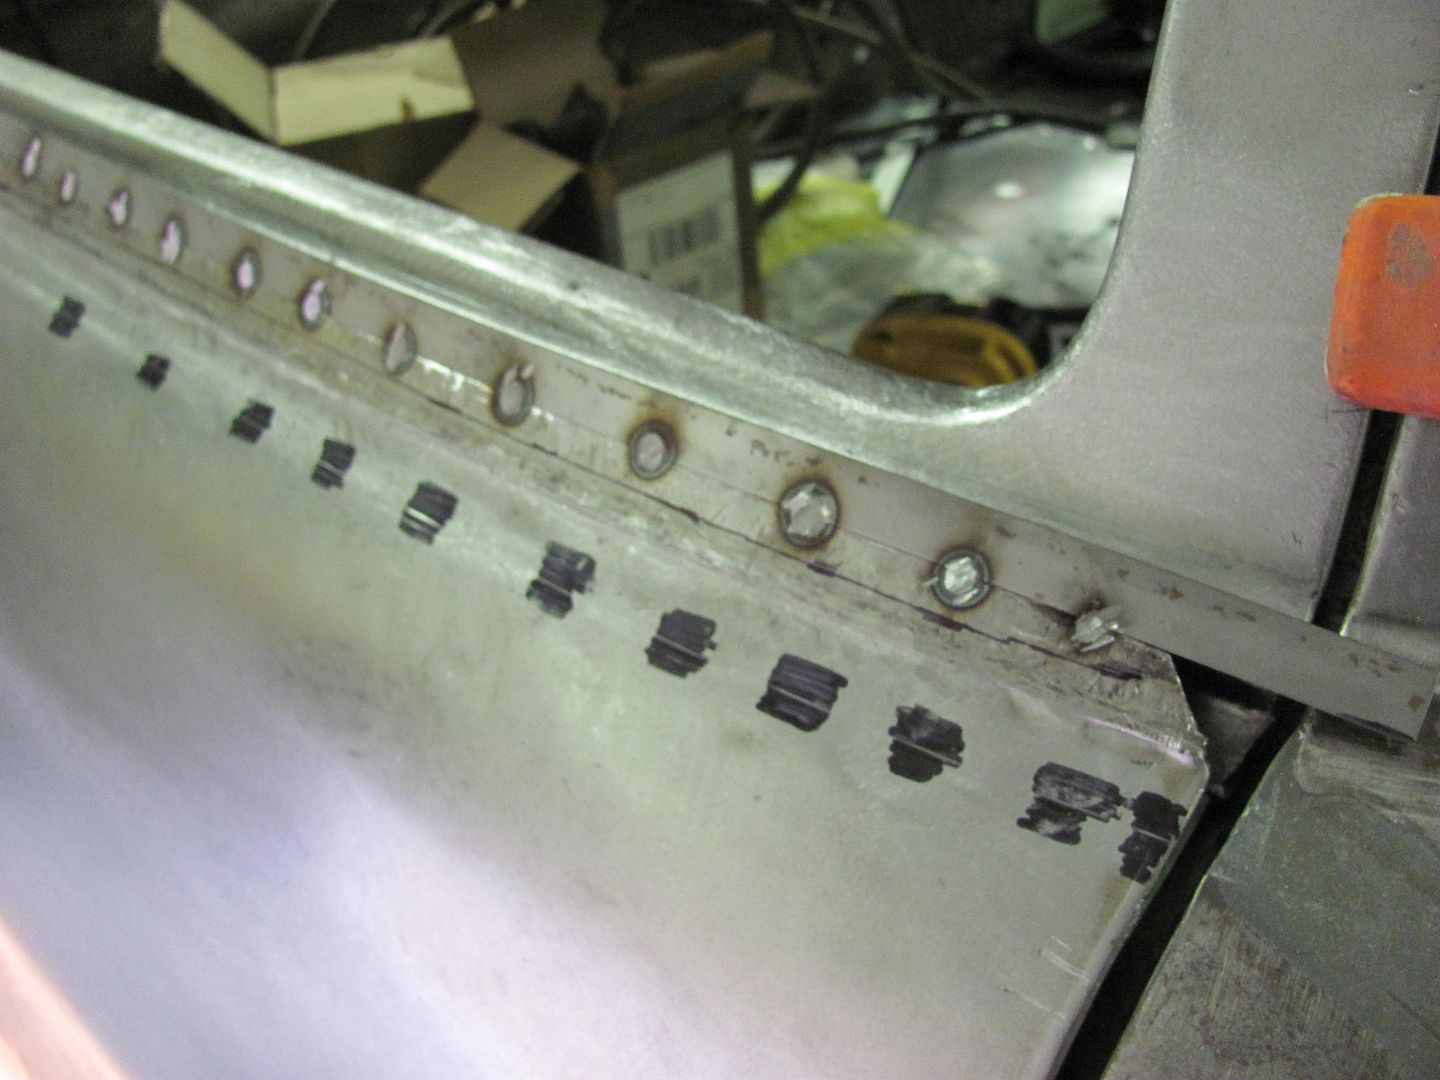
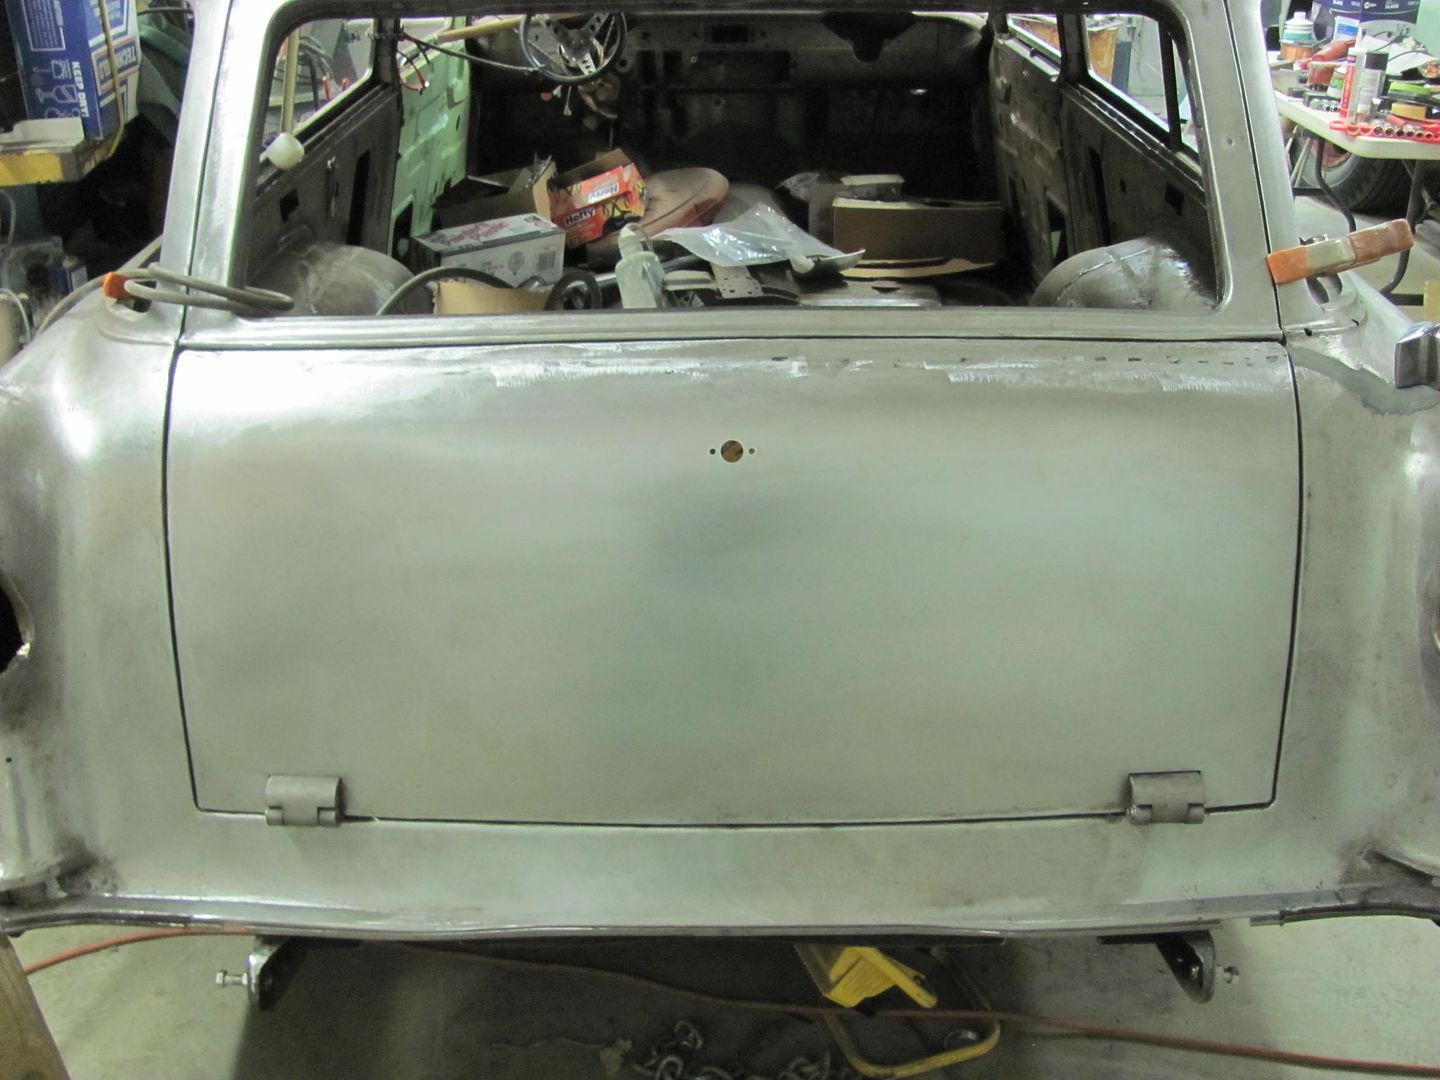
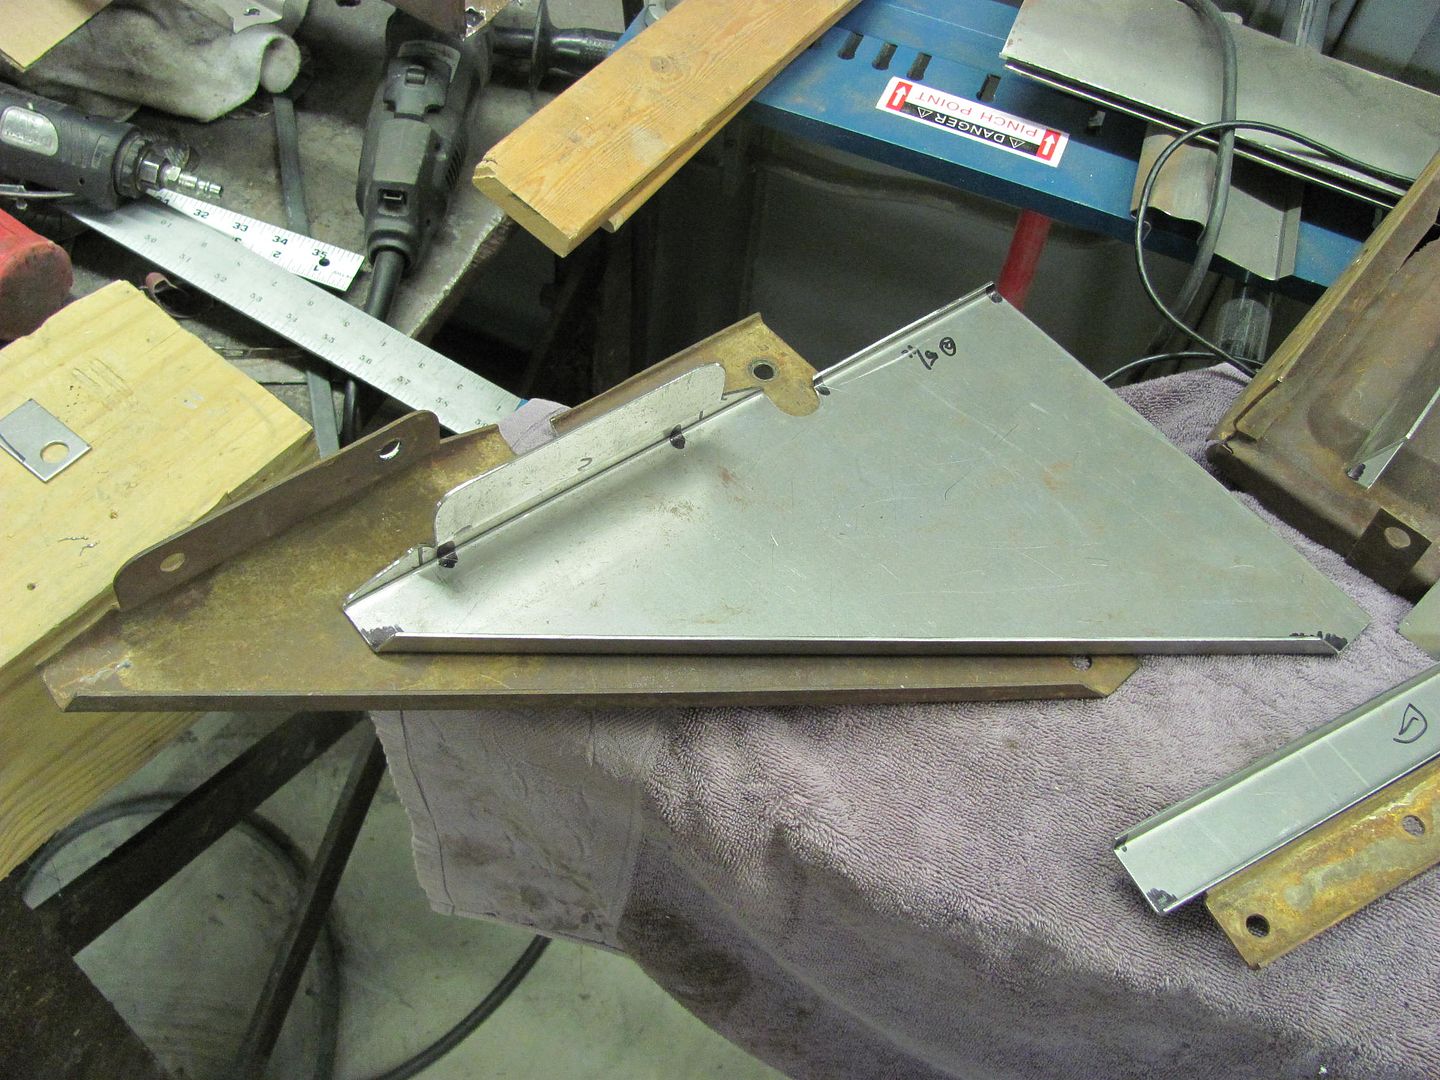
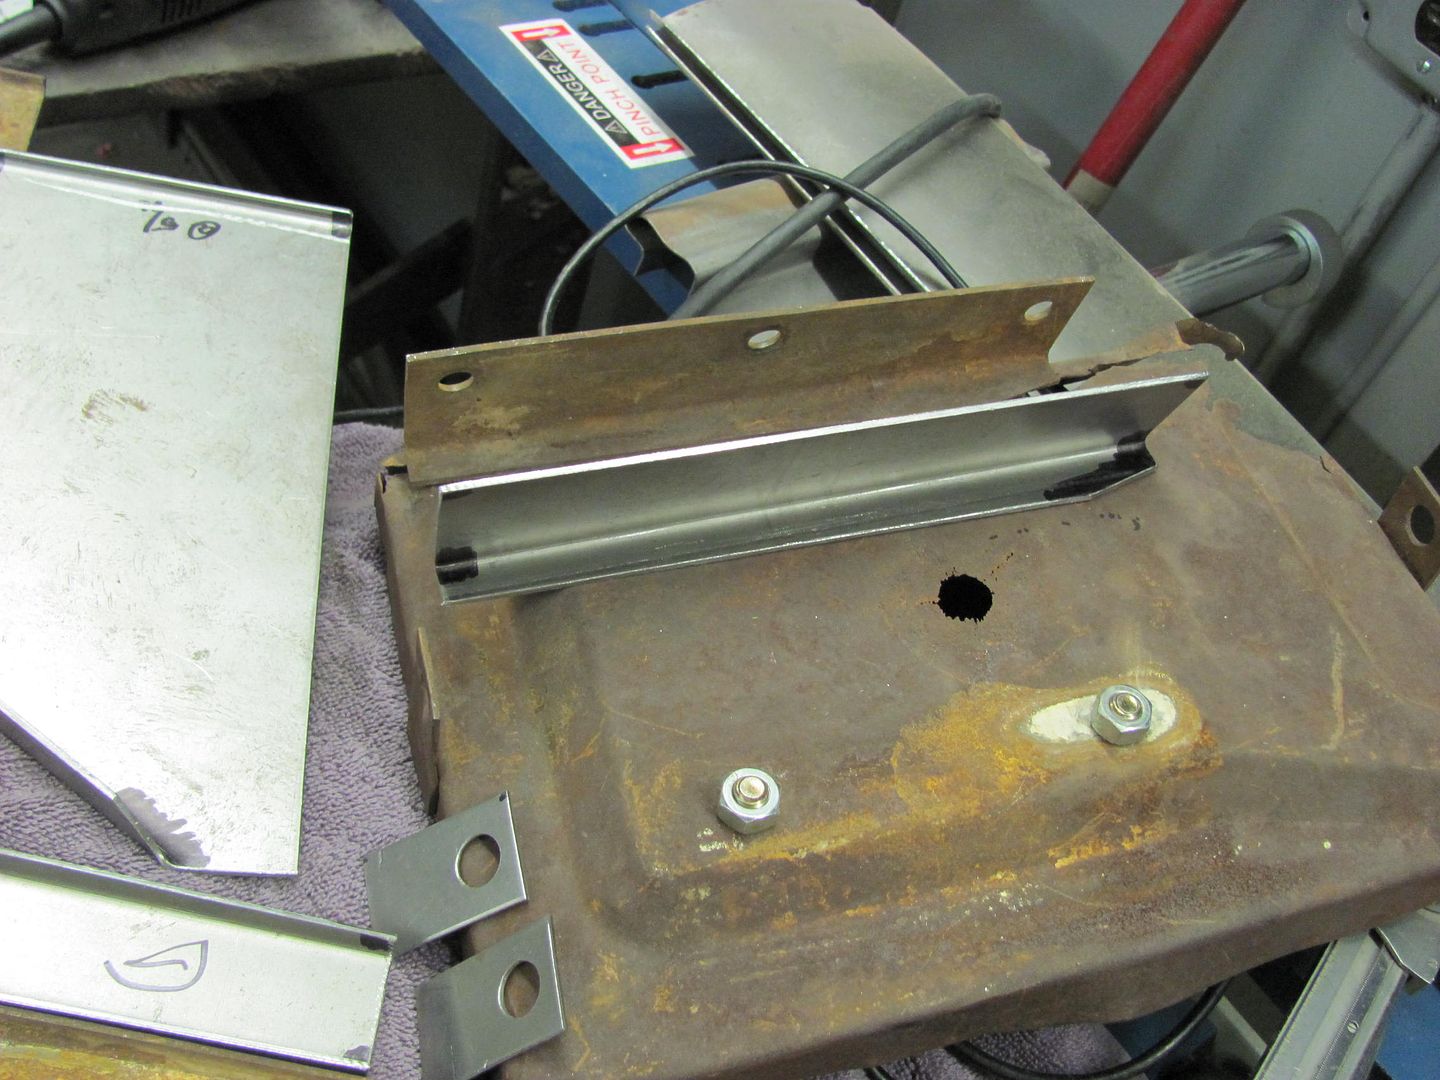
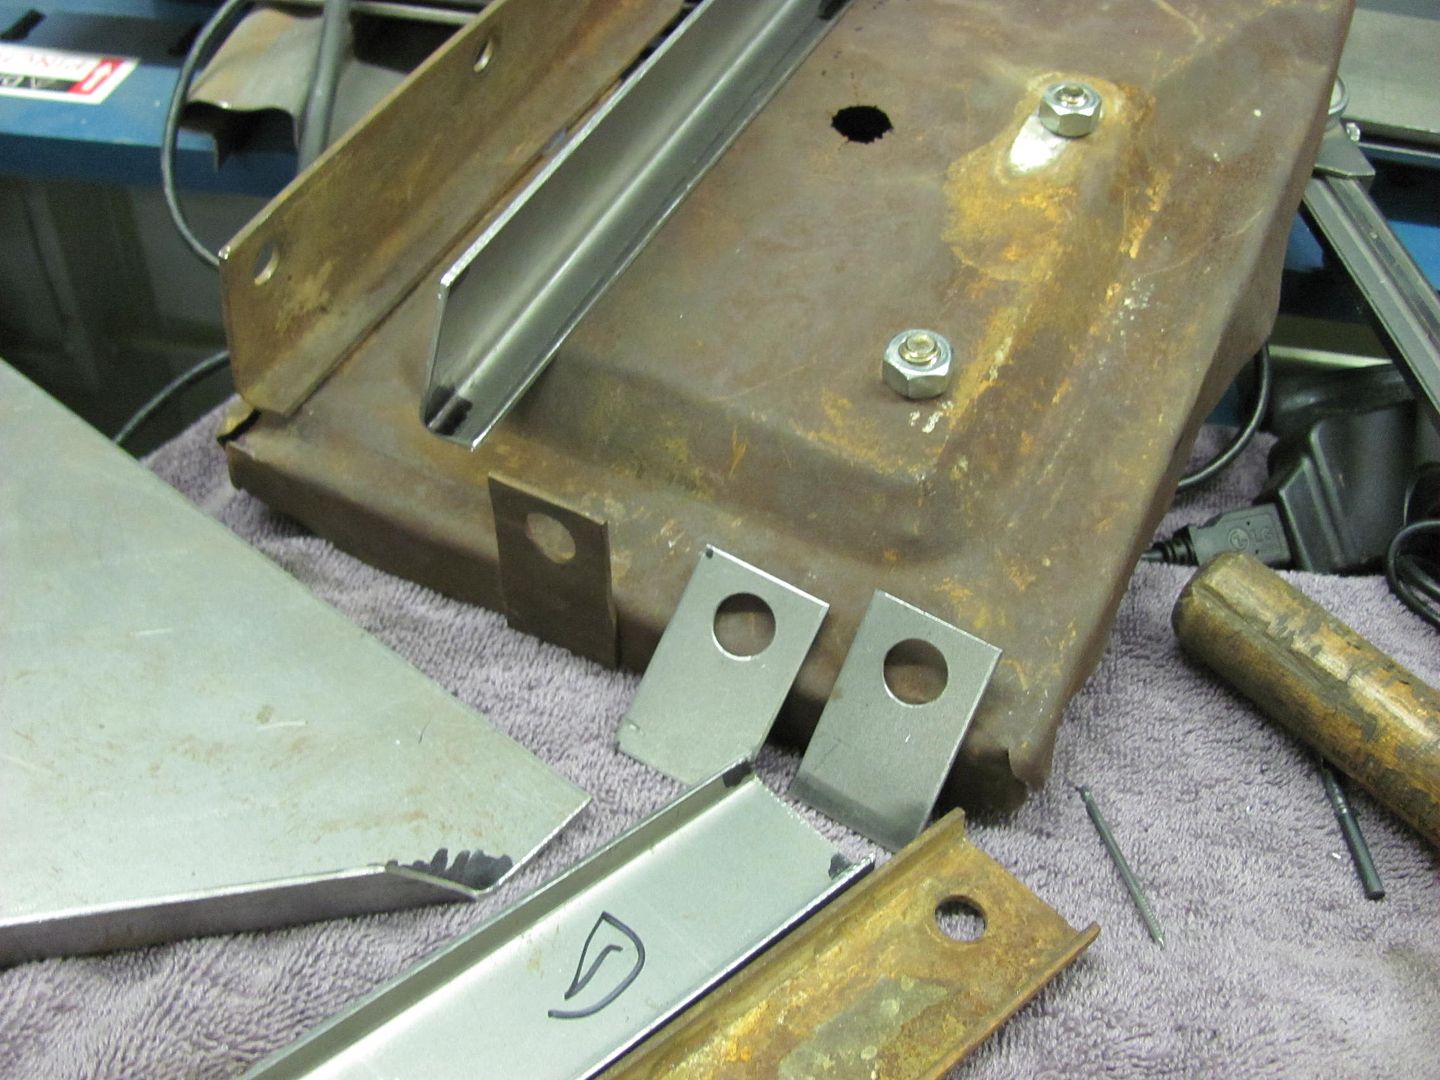
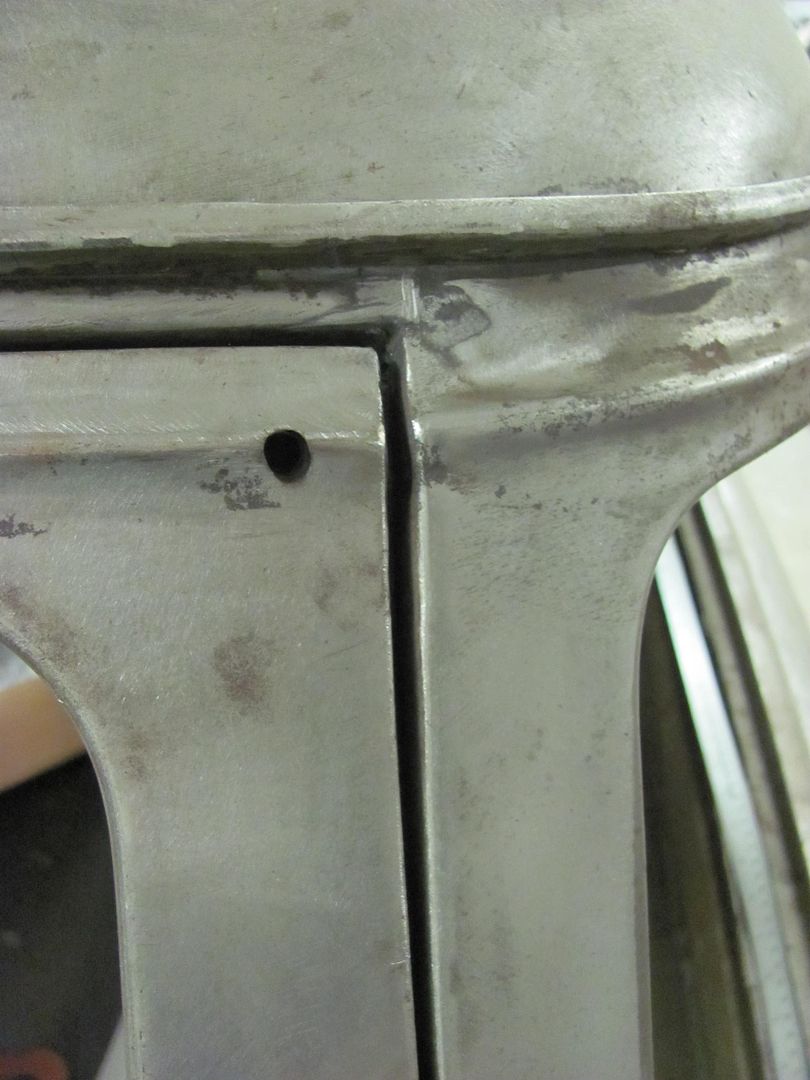
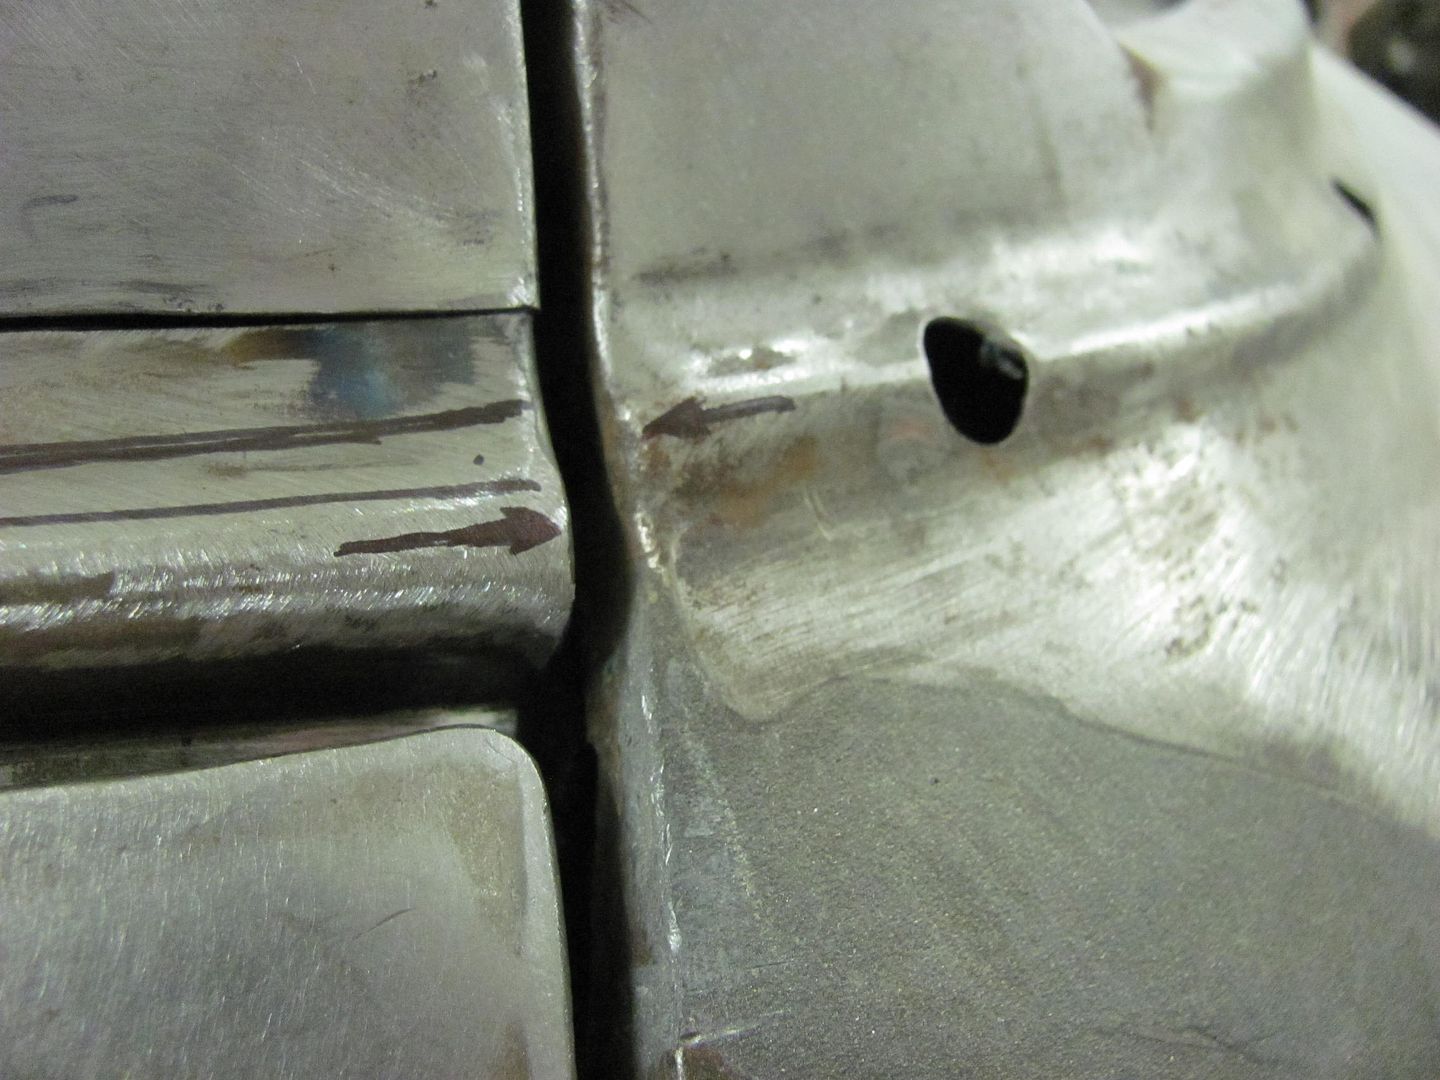
 The hinges had already been adjusted to where they were going, so this was all hammer and welding work.
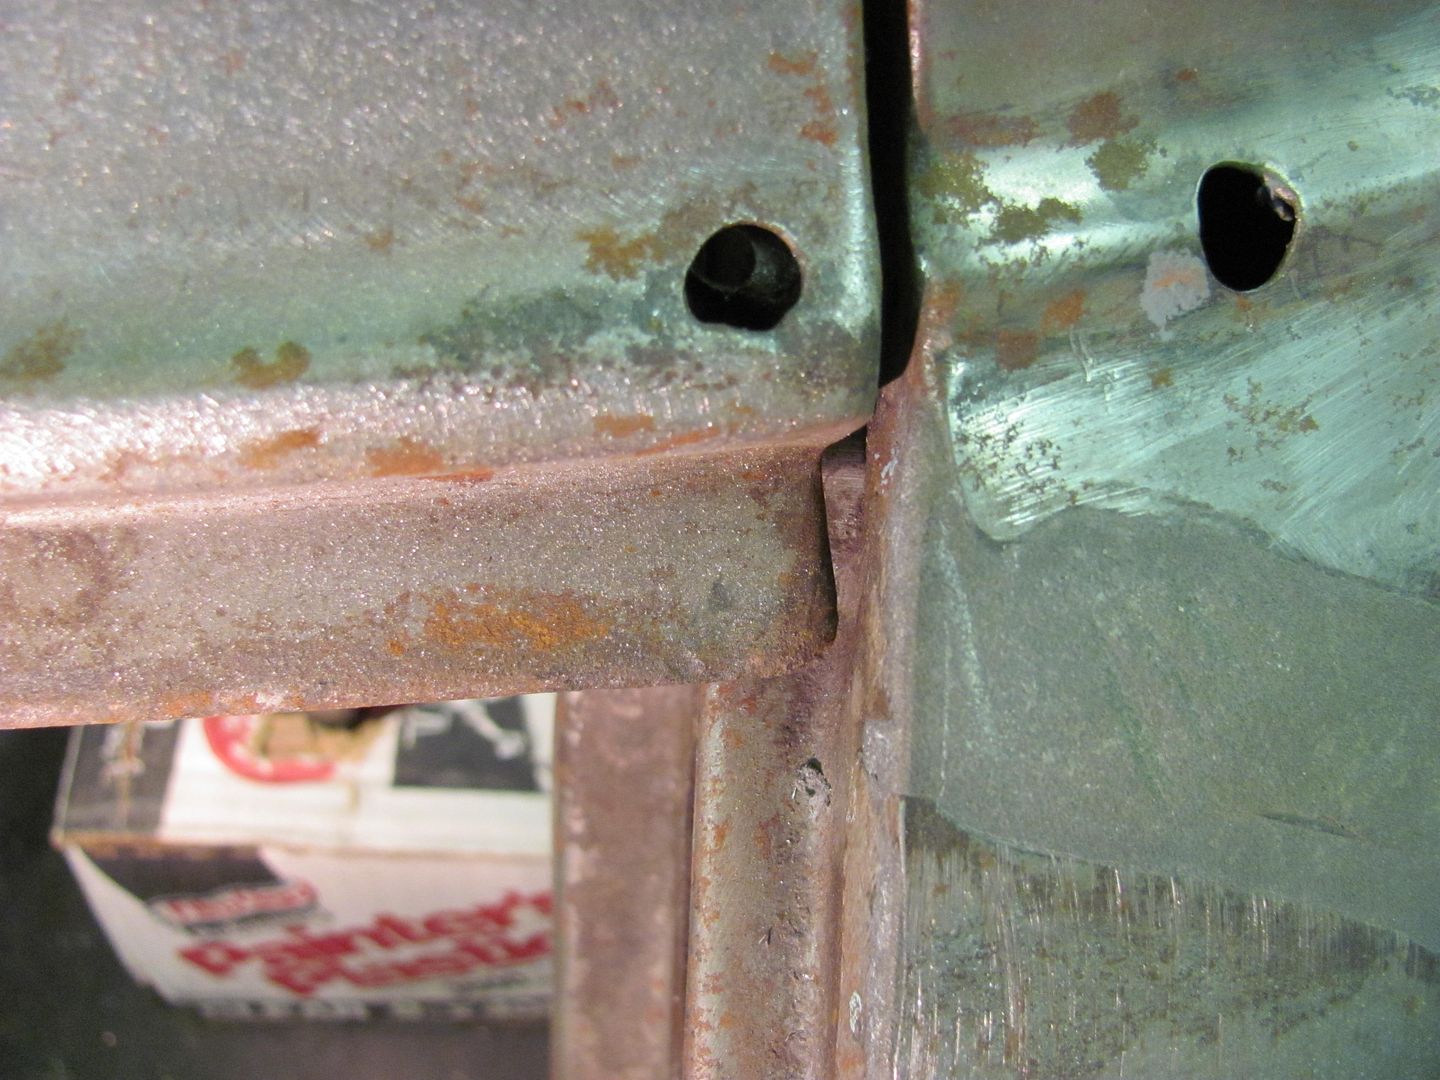
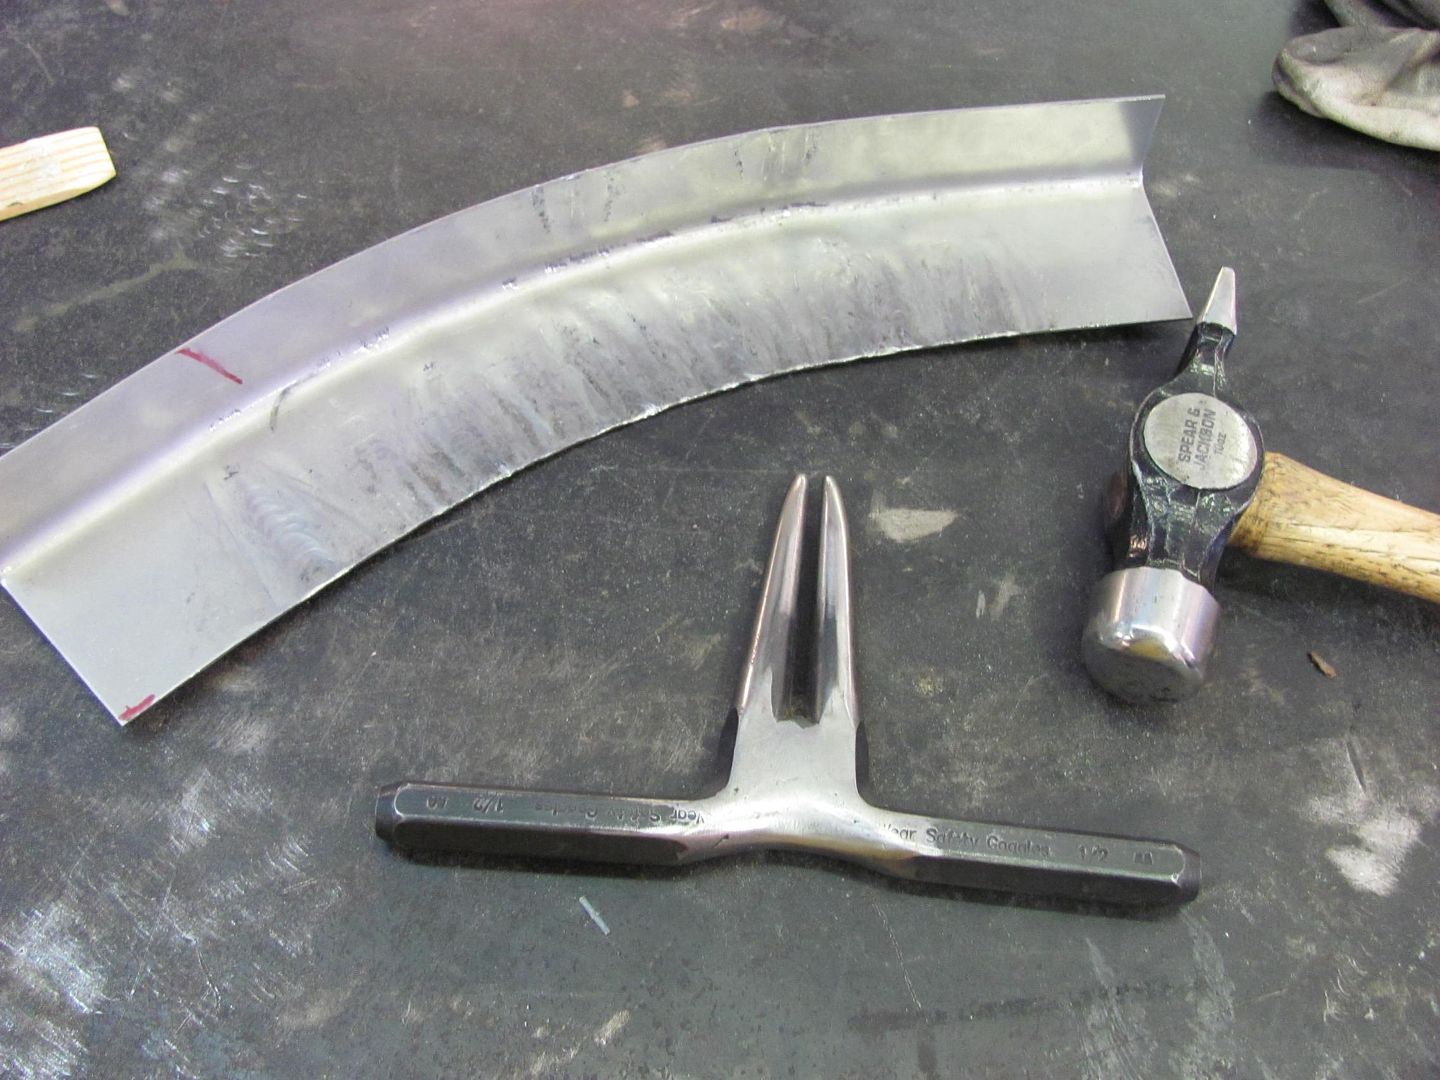
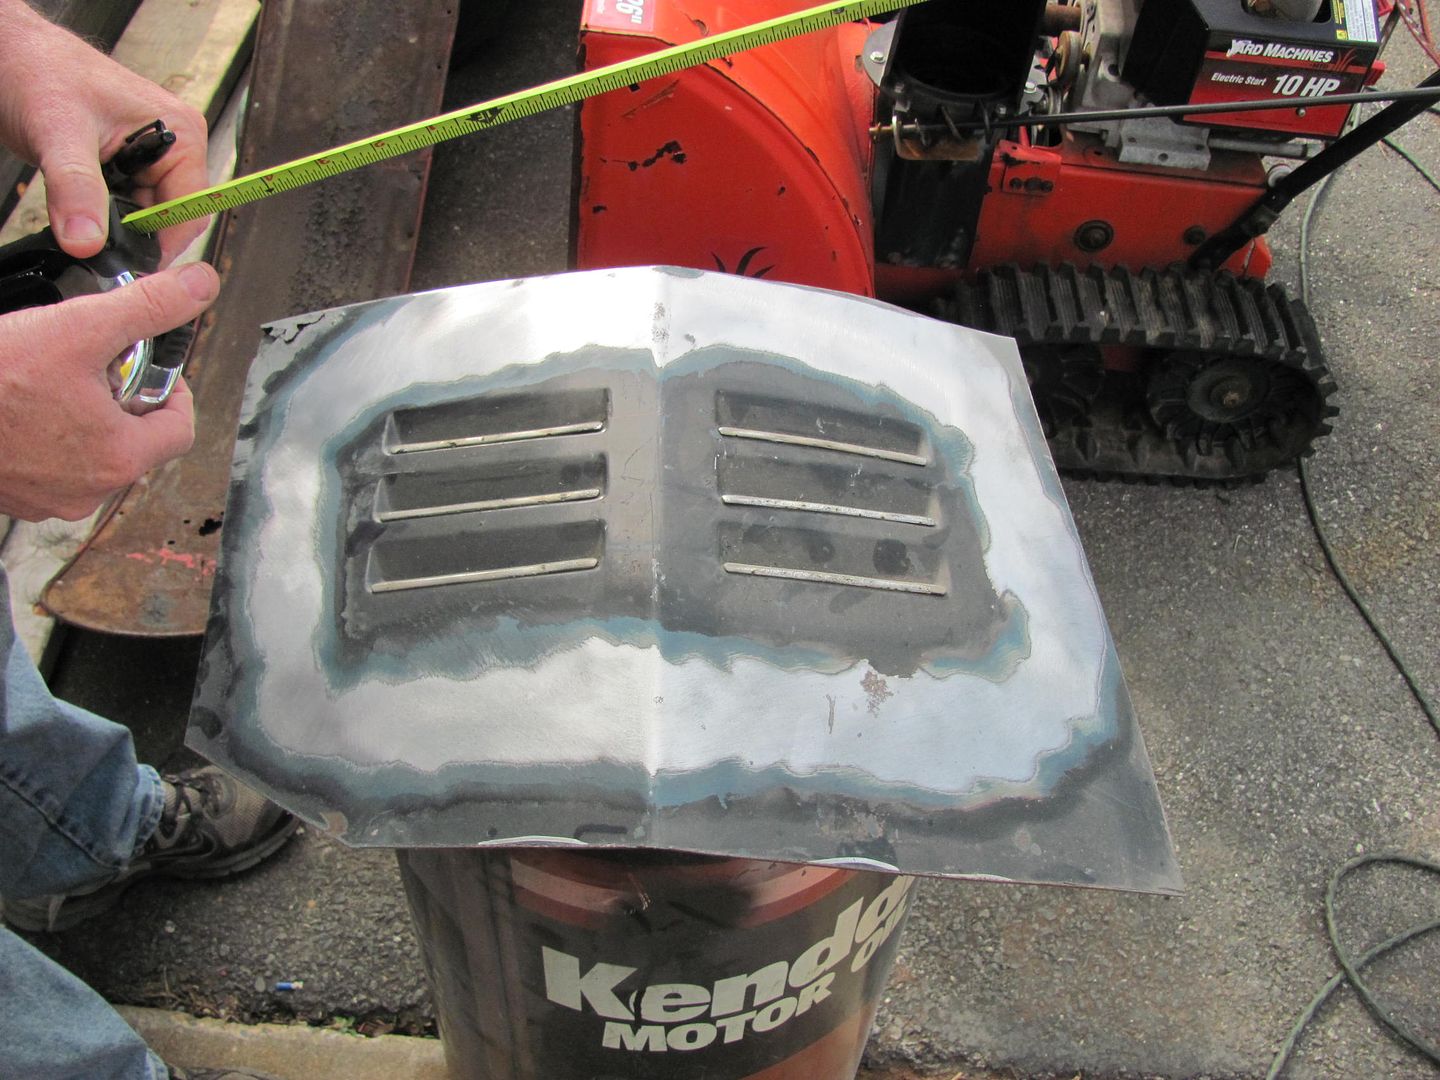
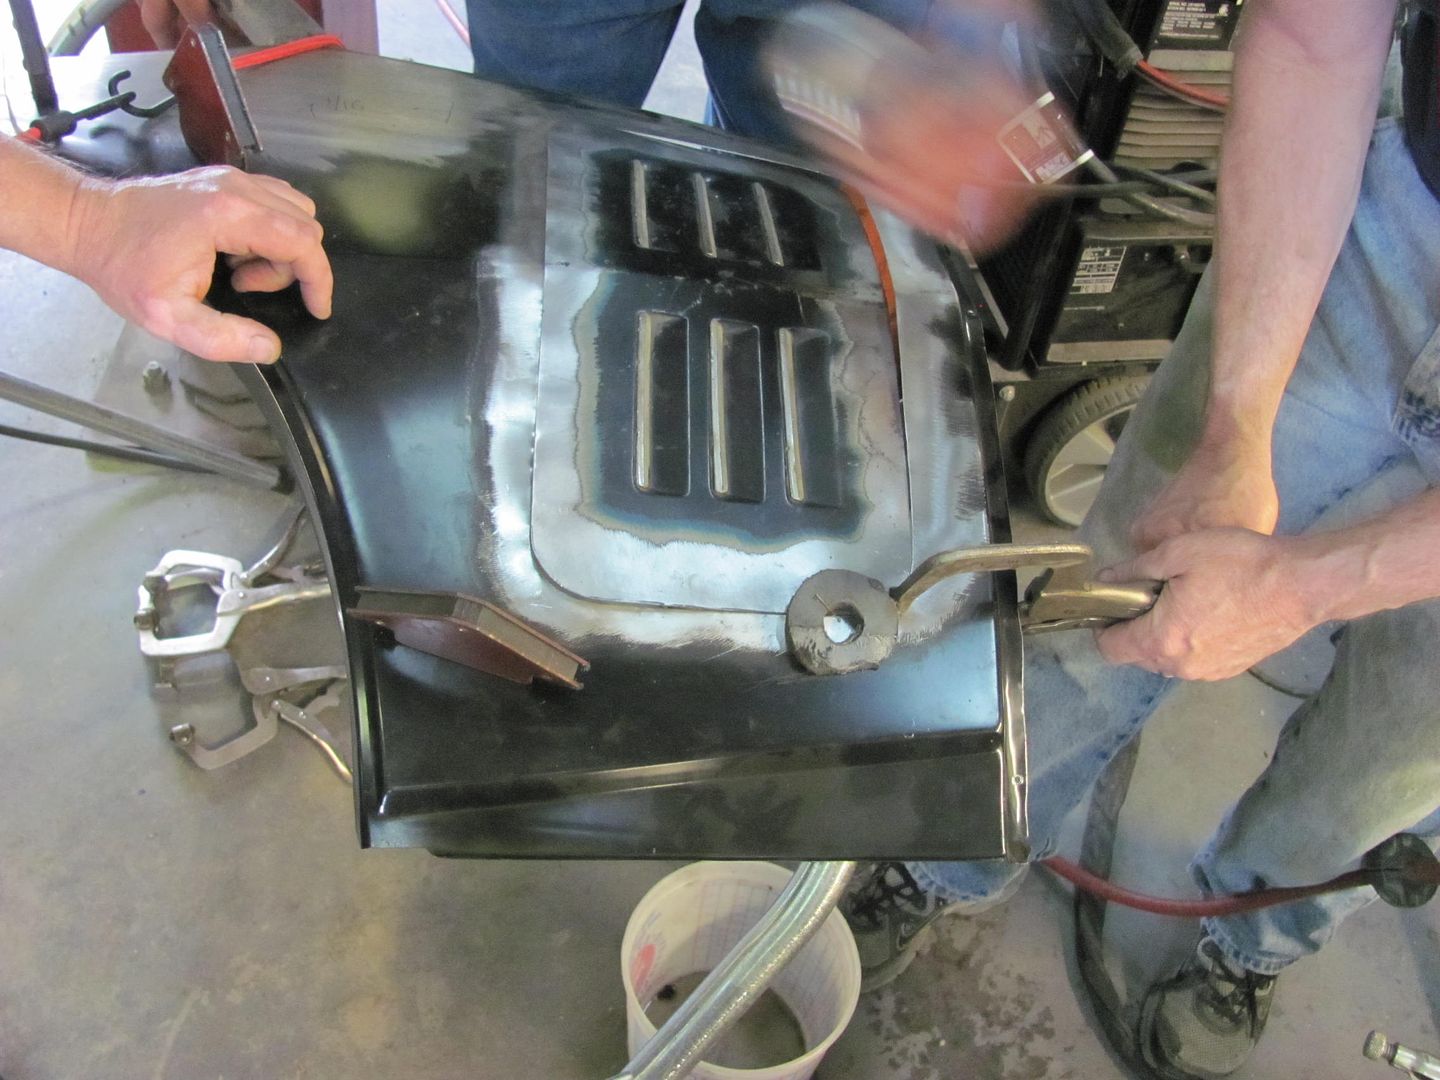
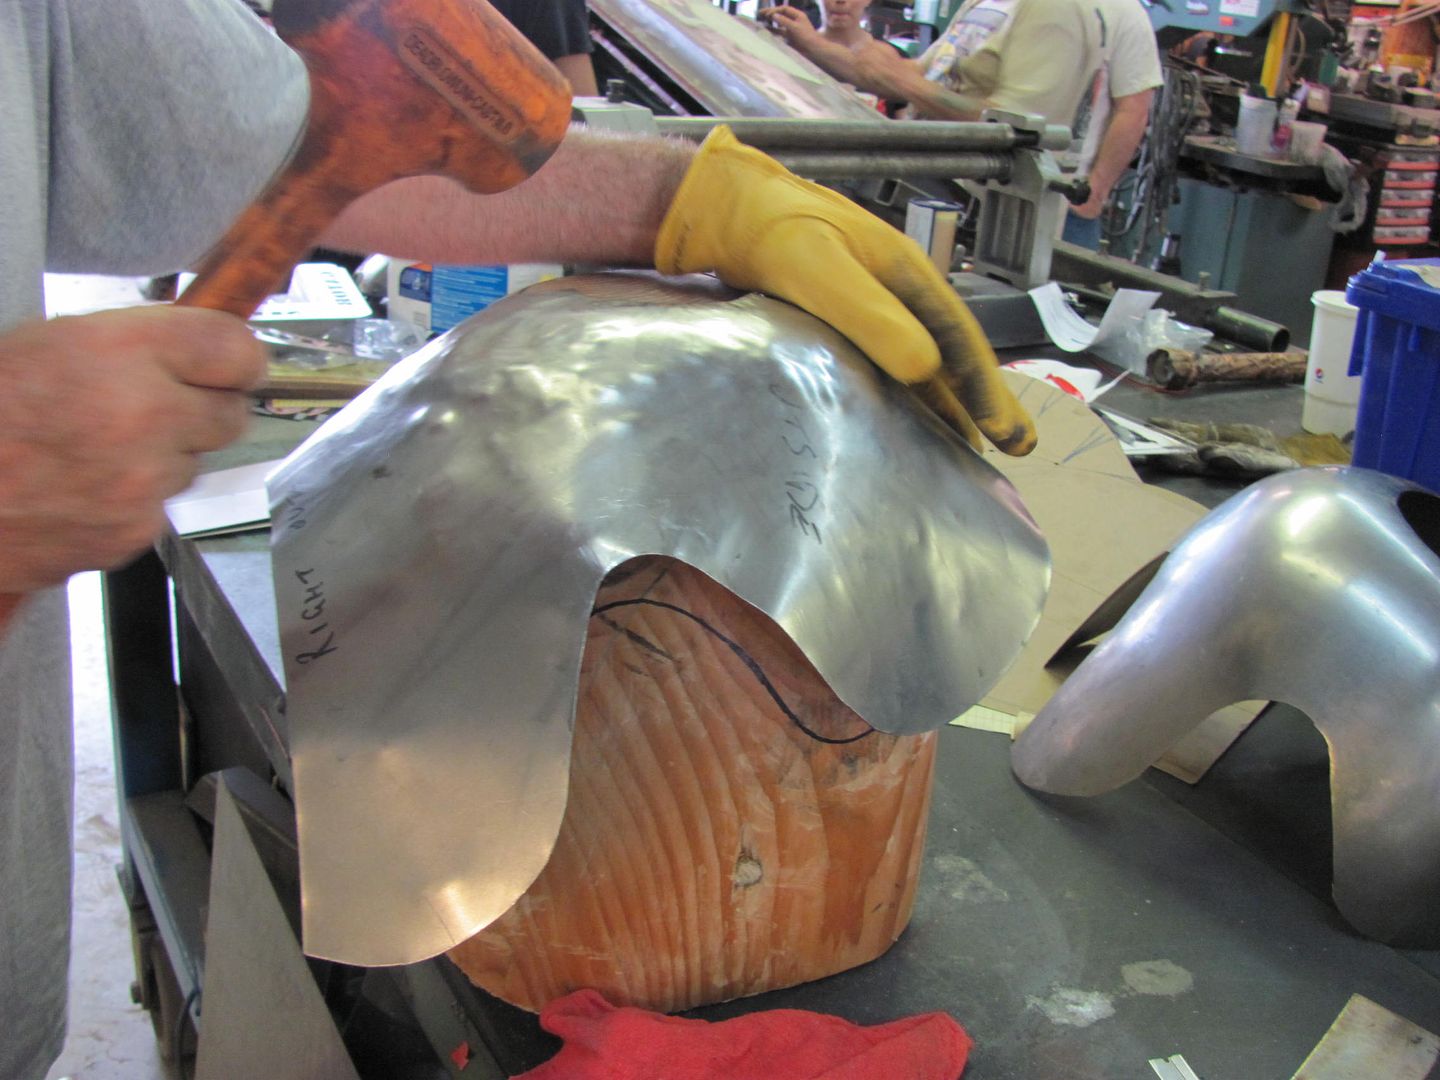
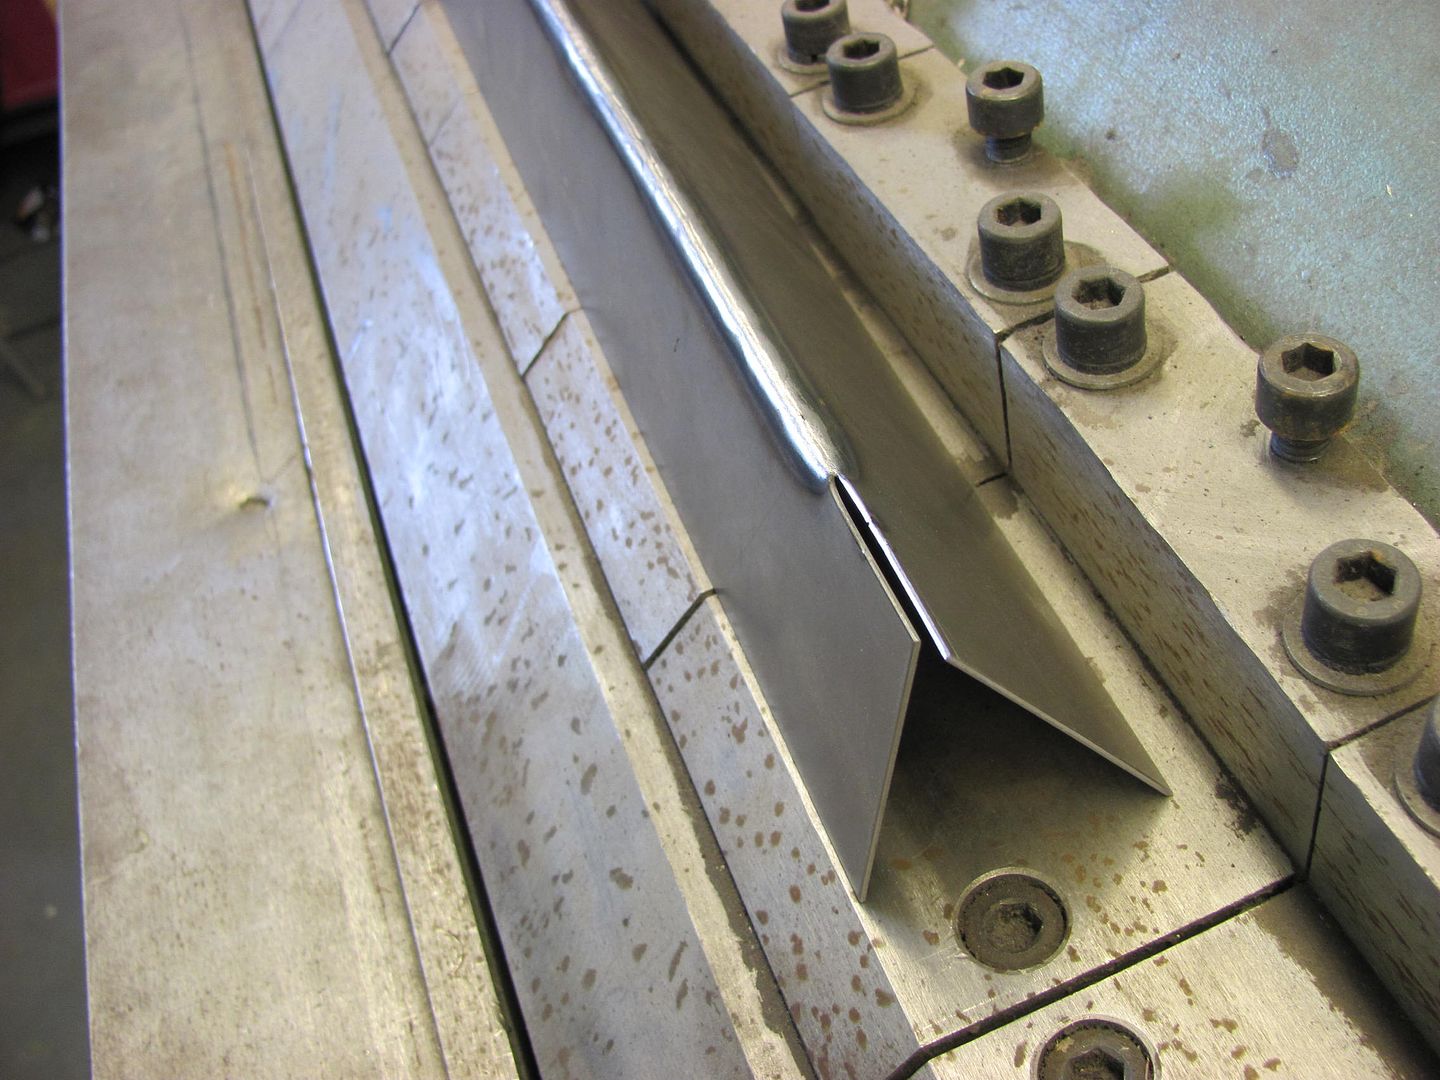
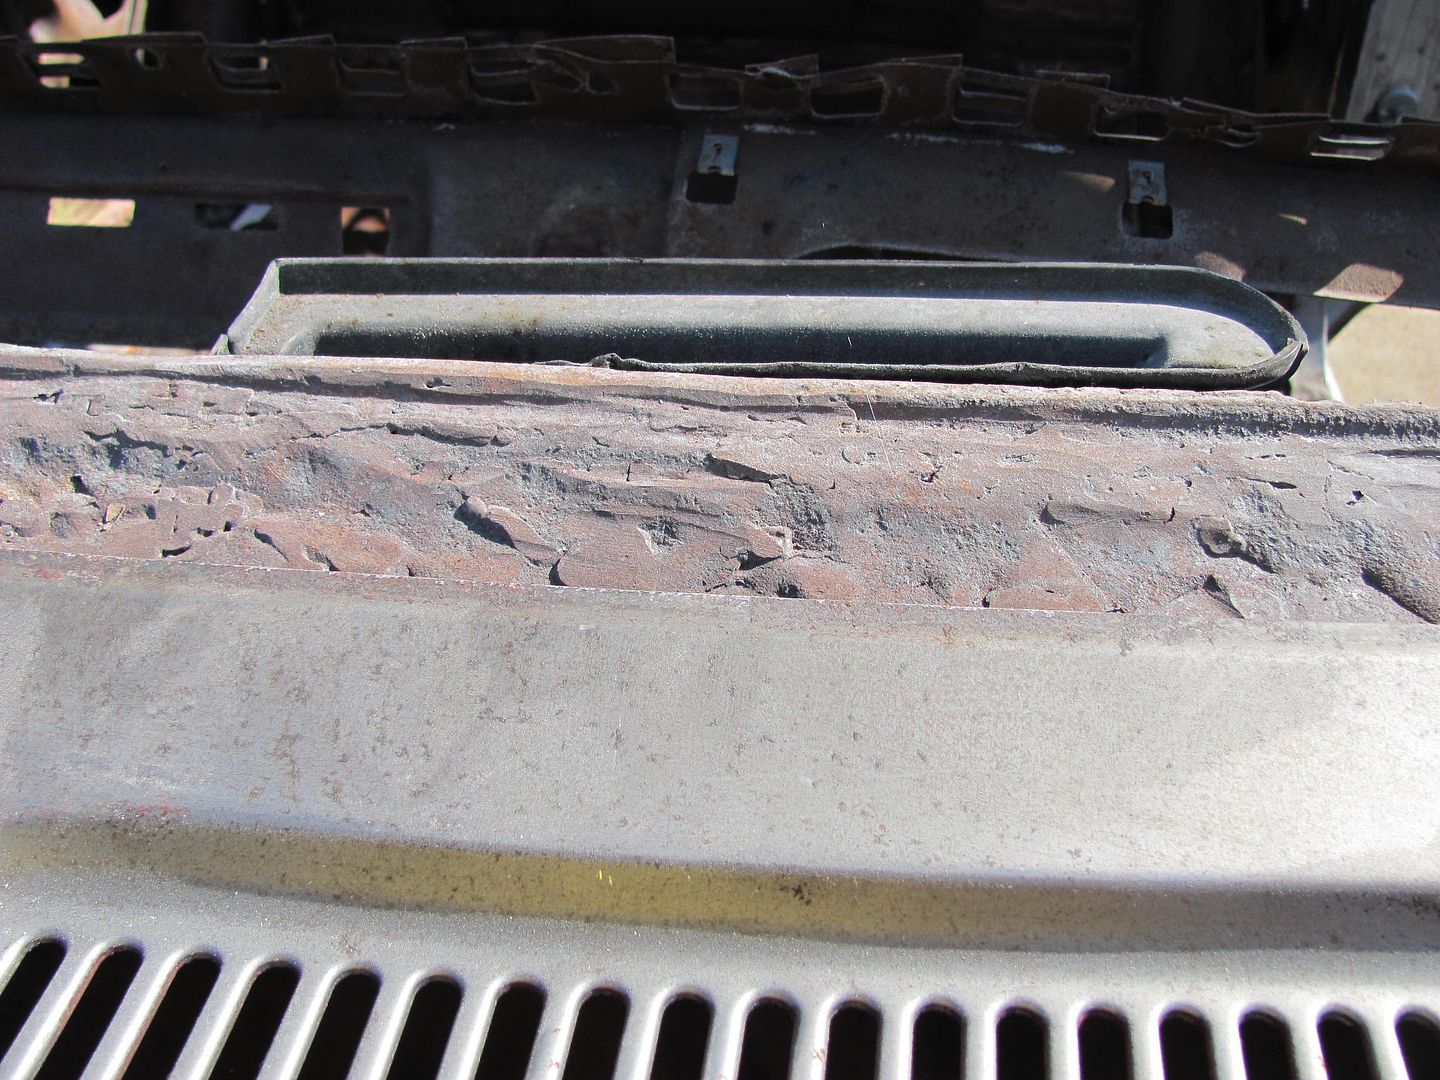
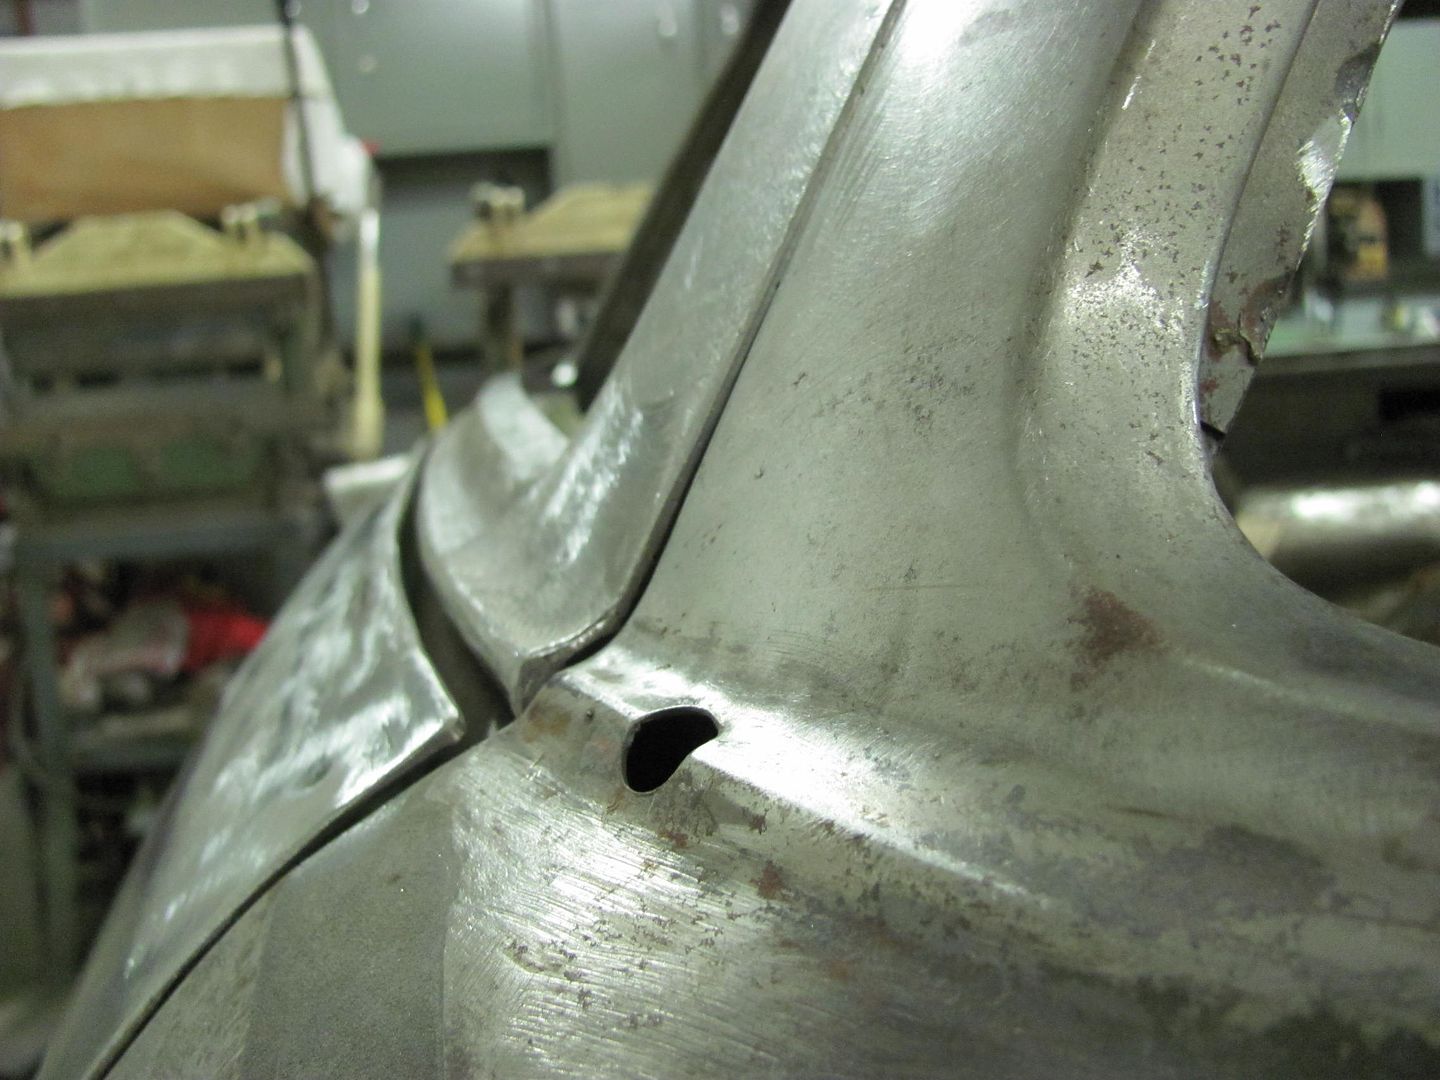
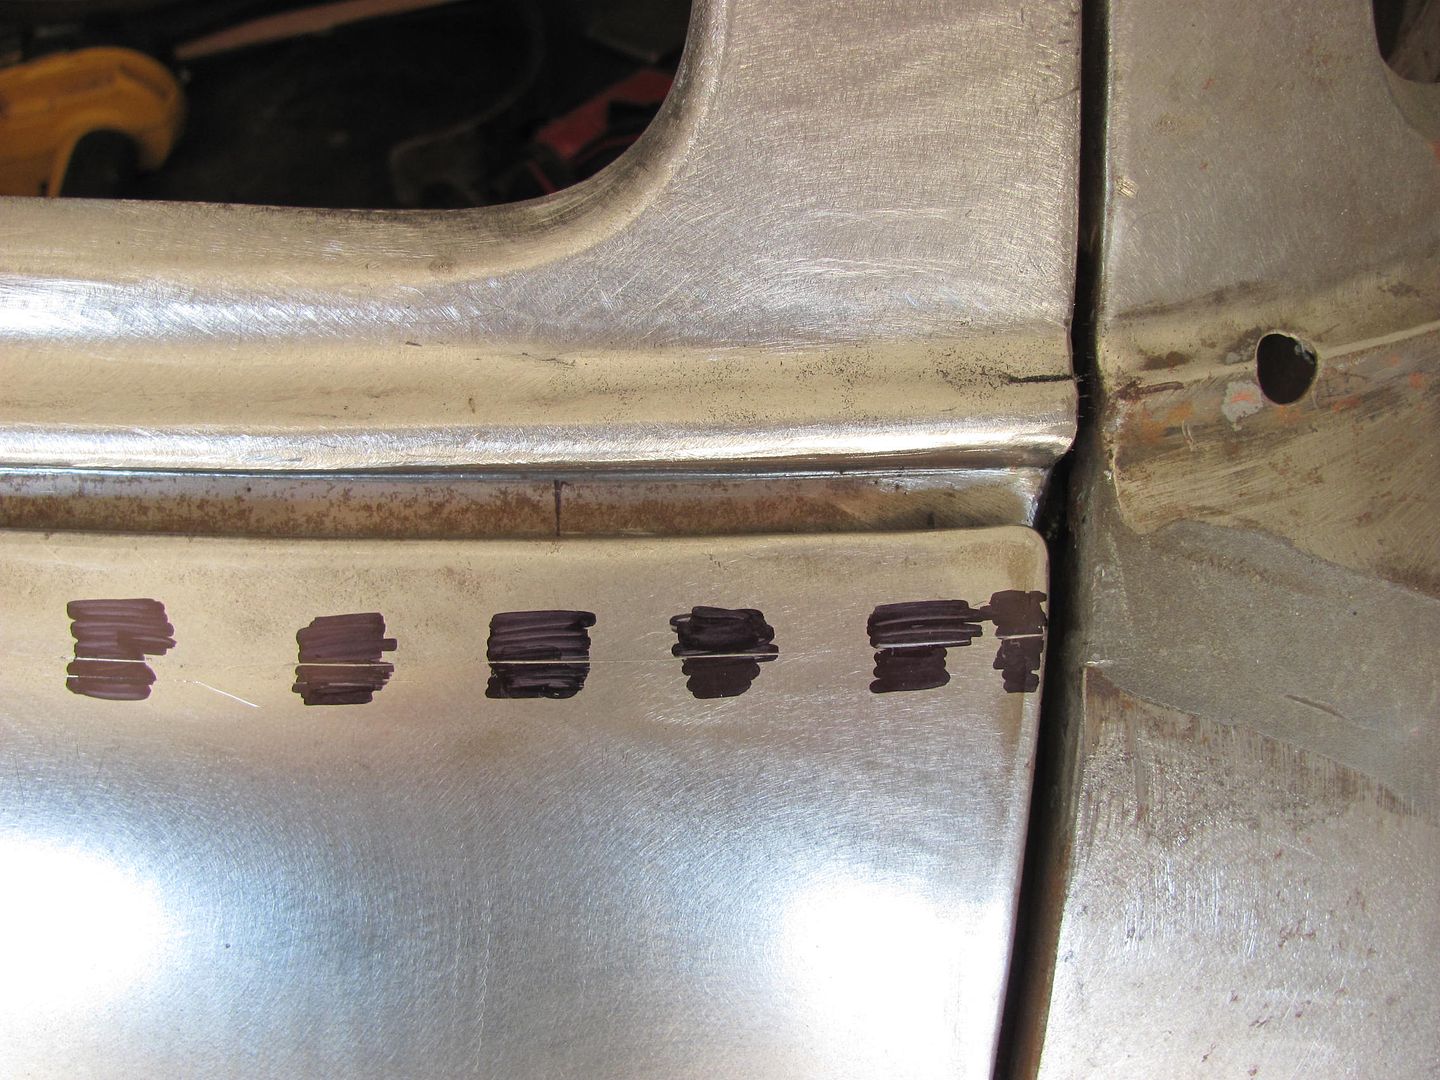
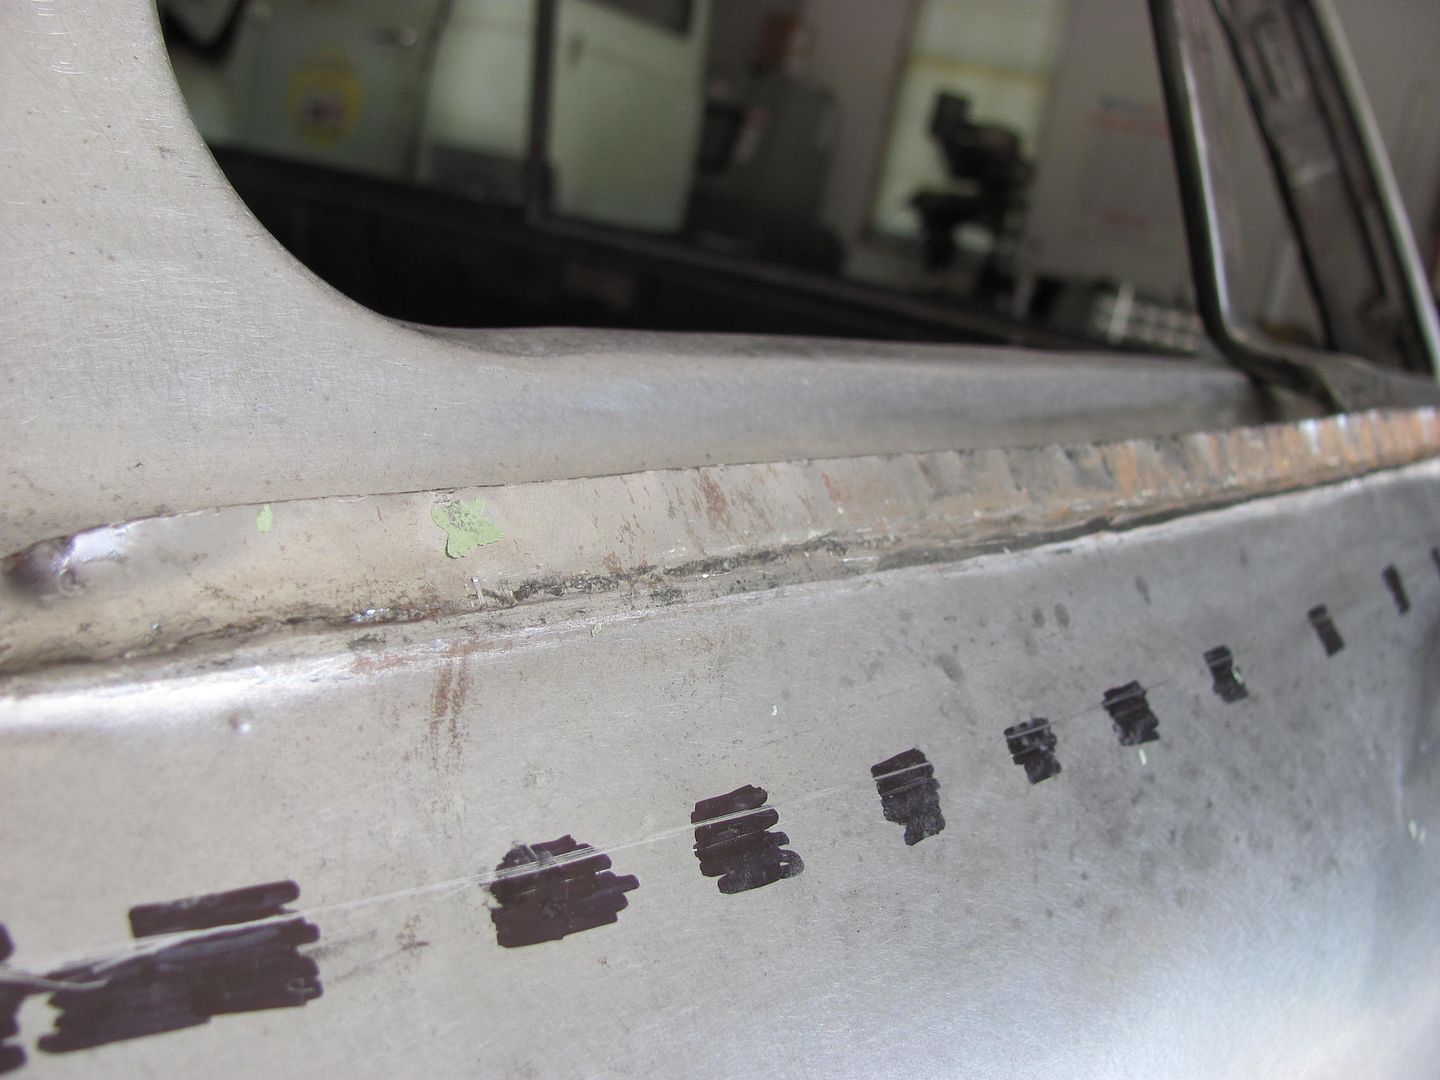
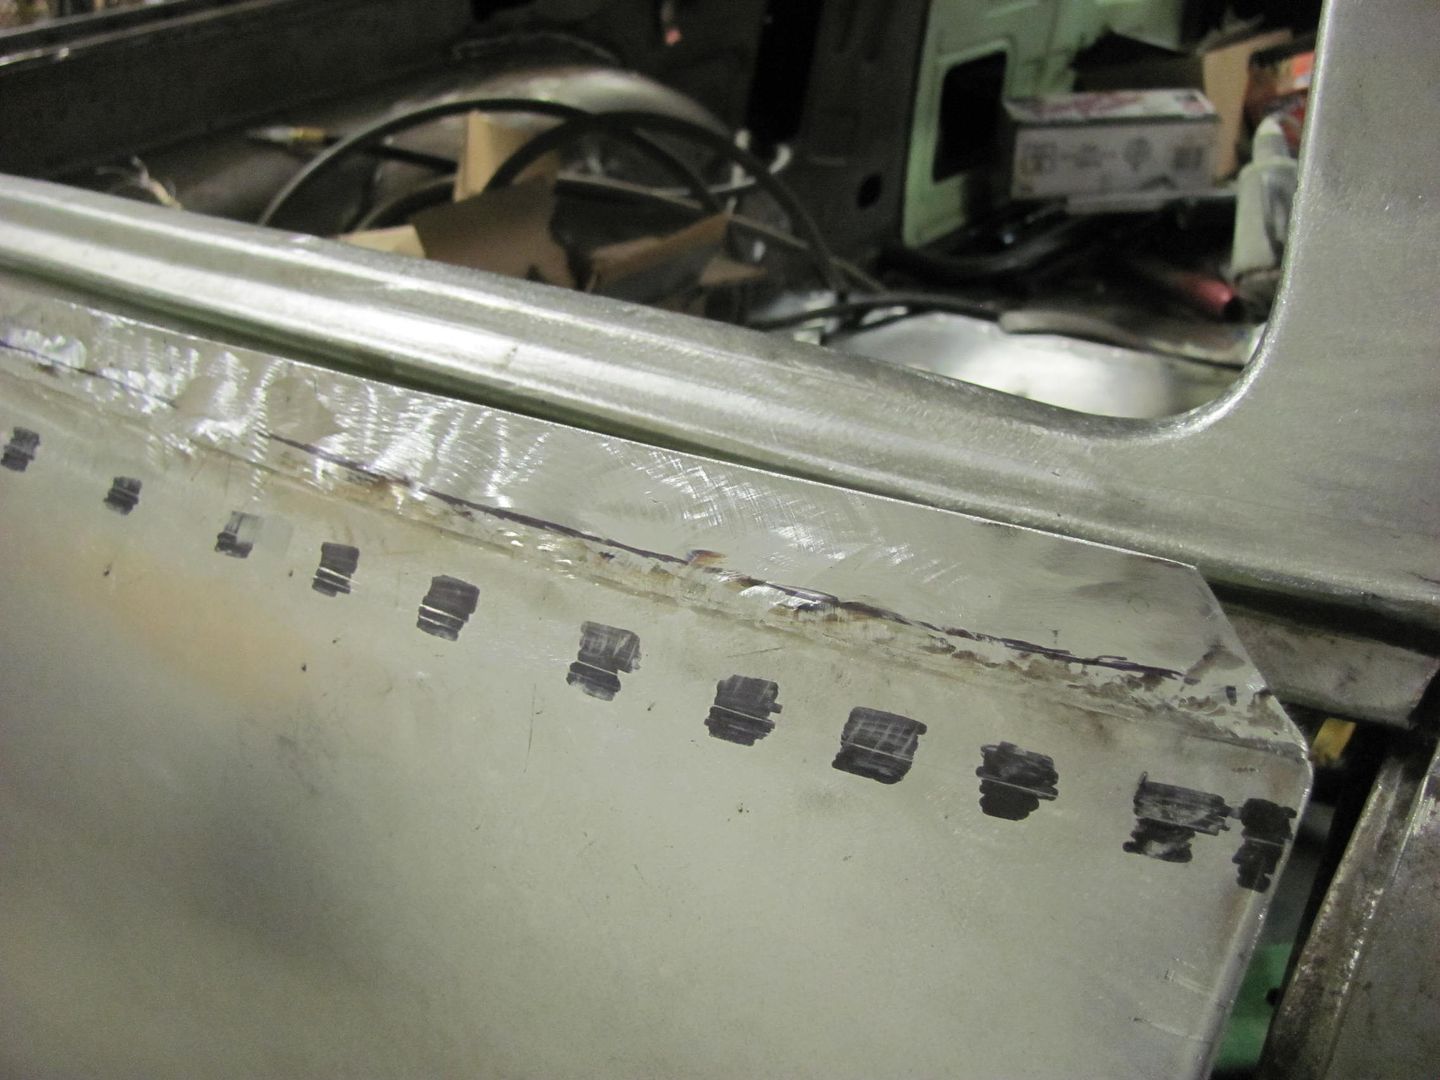
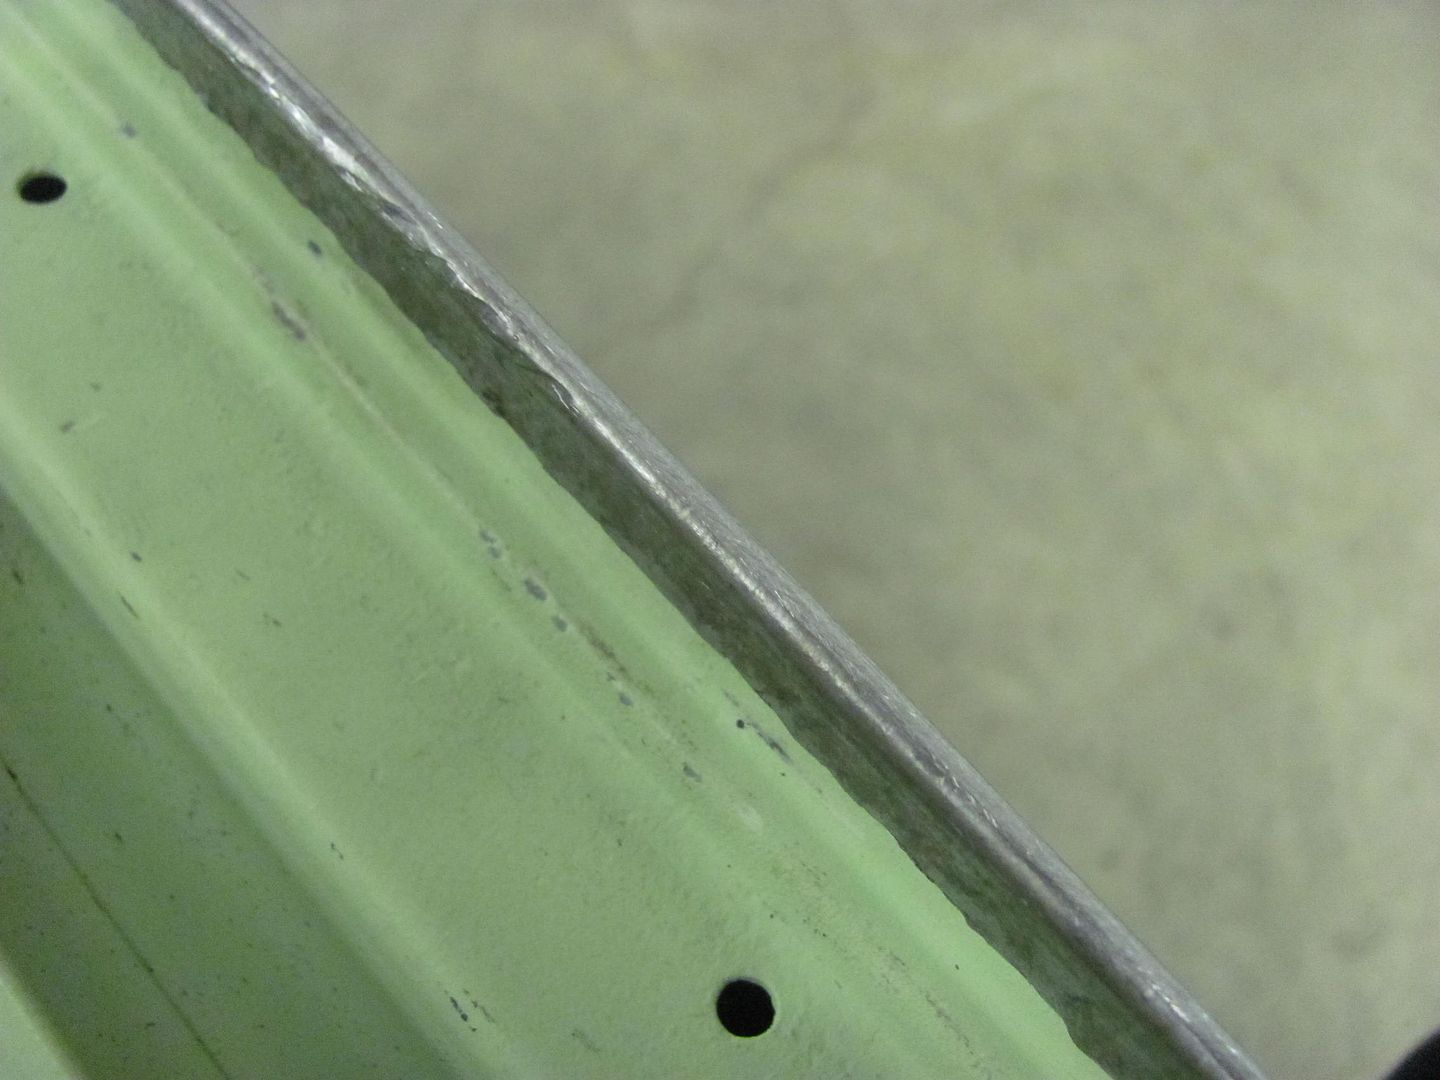
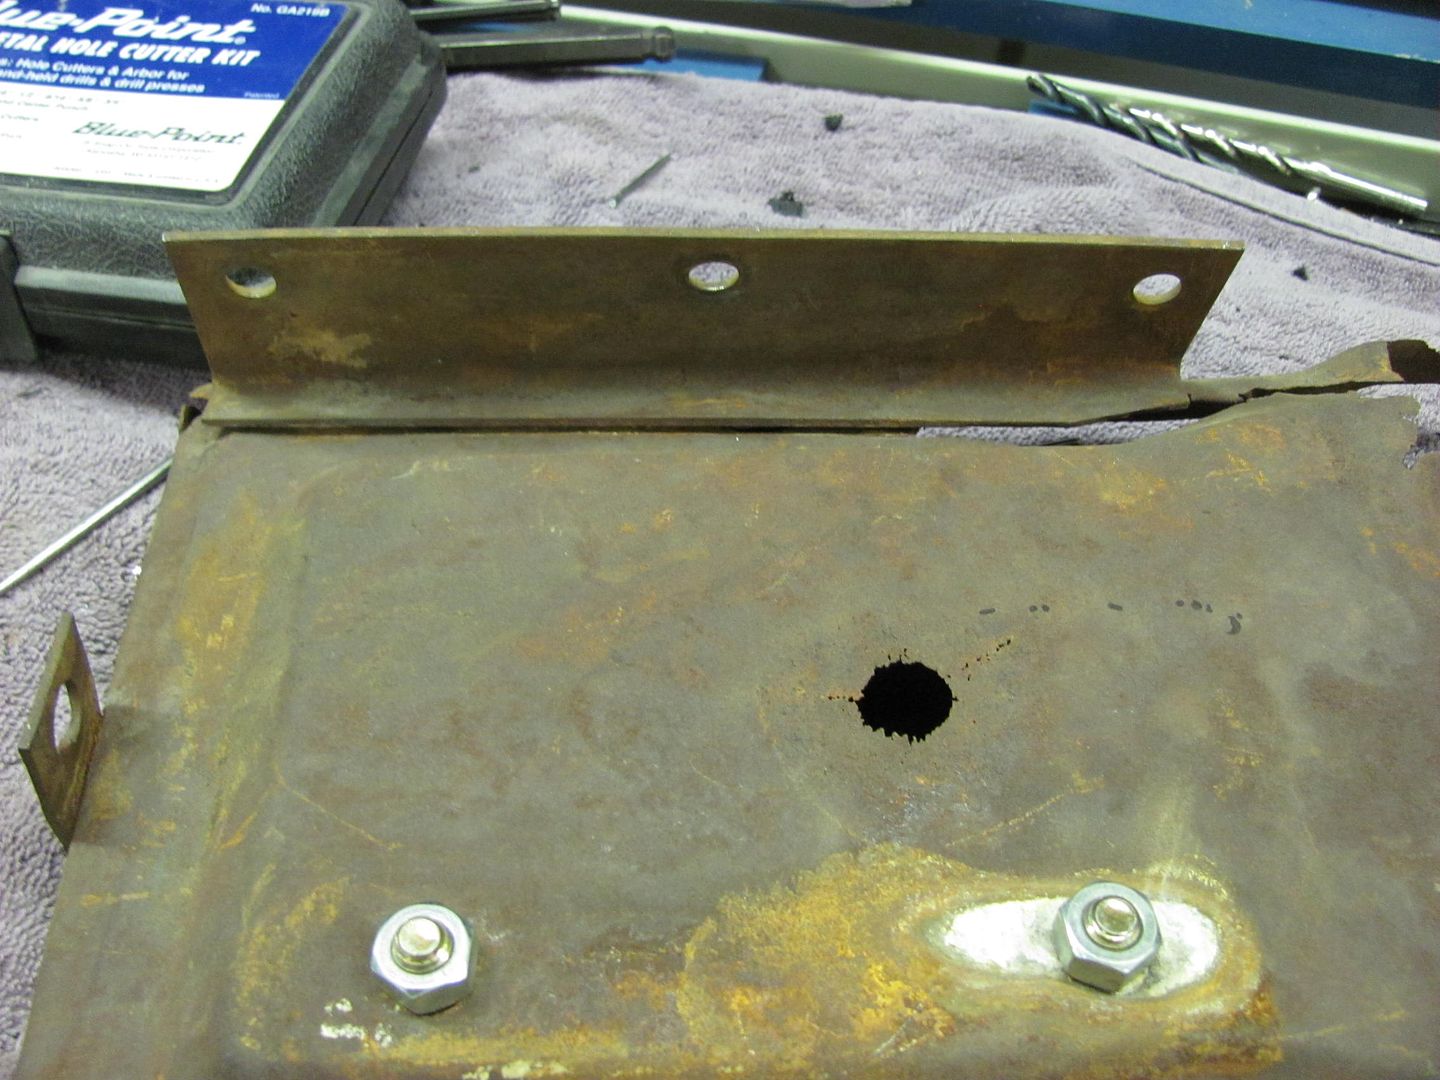
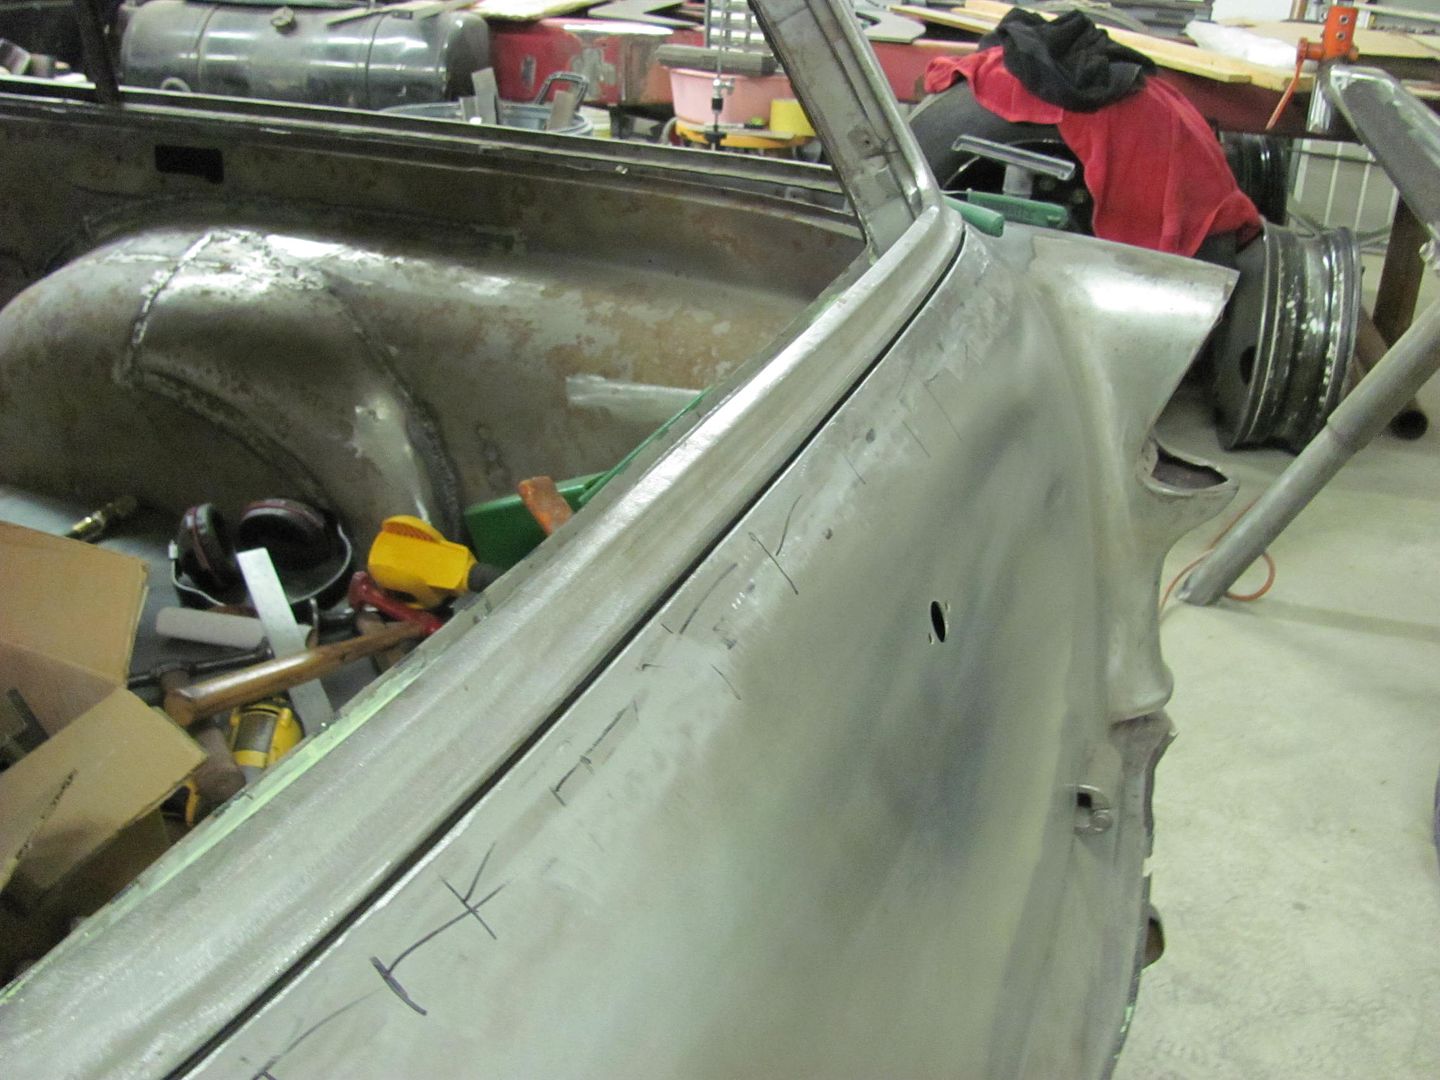
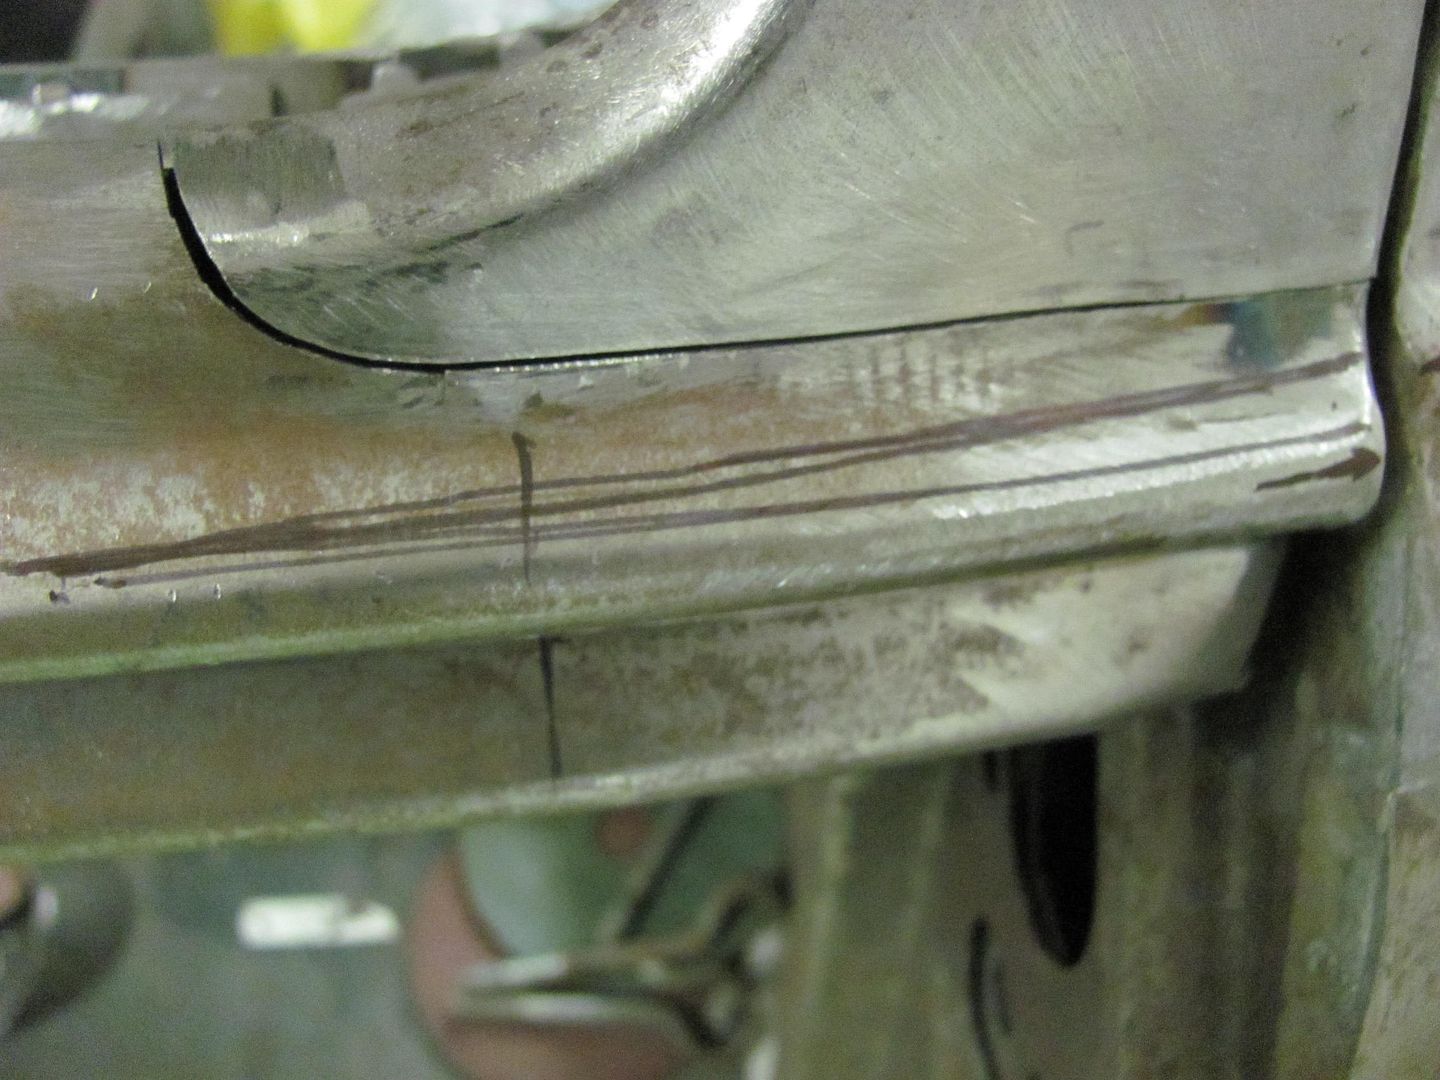
The patch piece was marked off on both ends to bring the lower bead detail up into the car for better alignment...
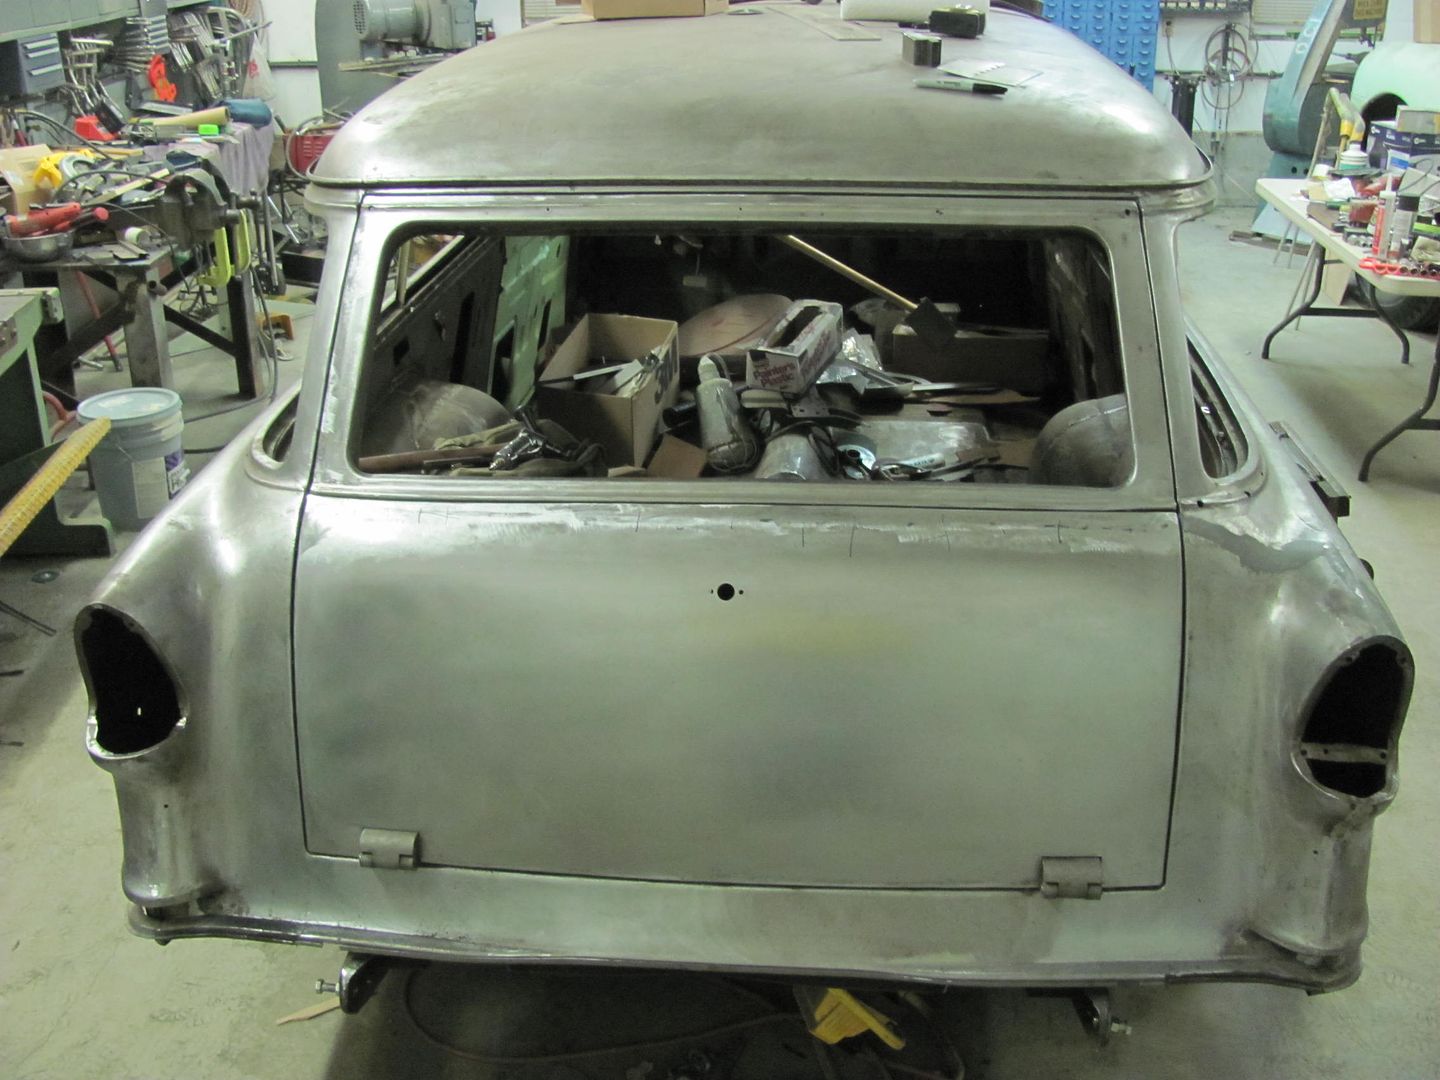
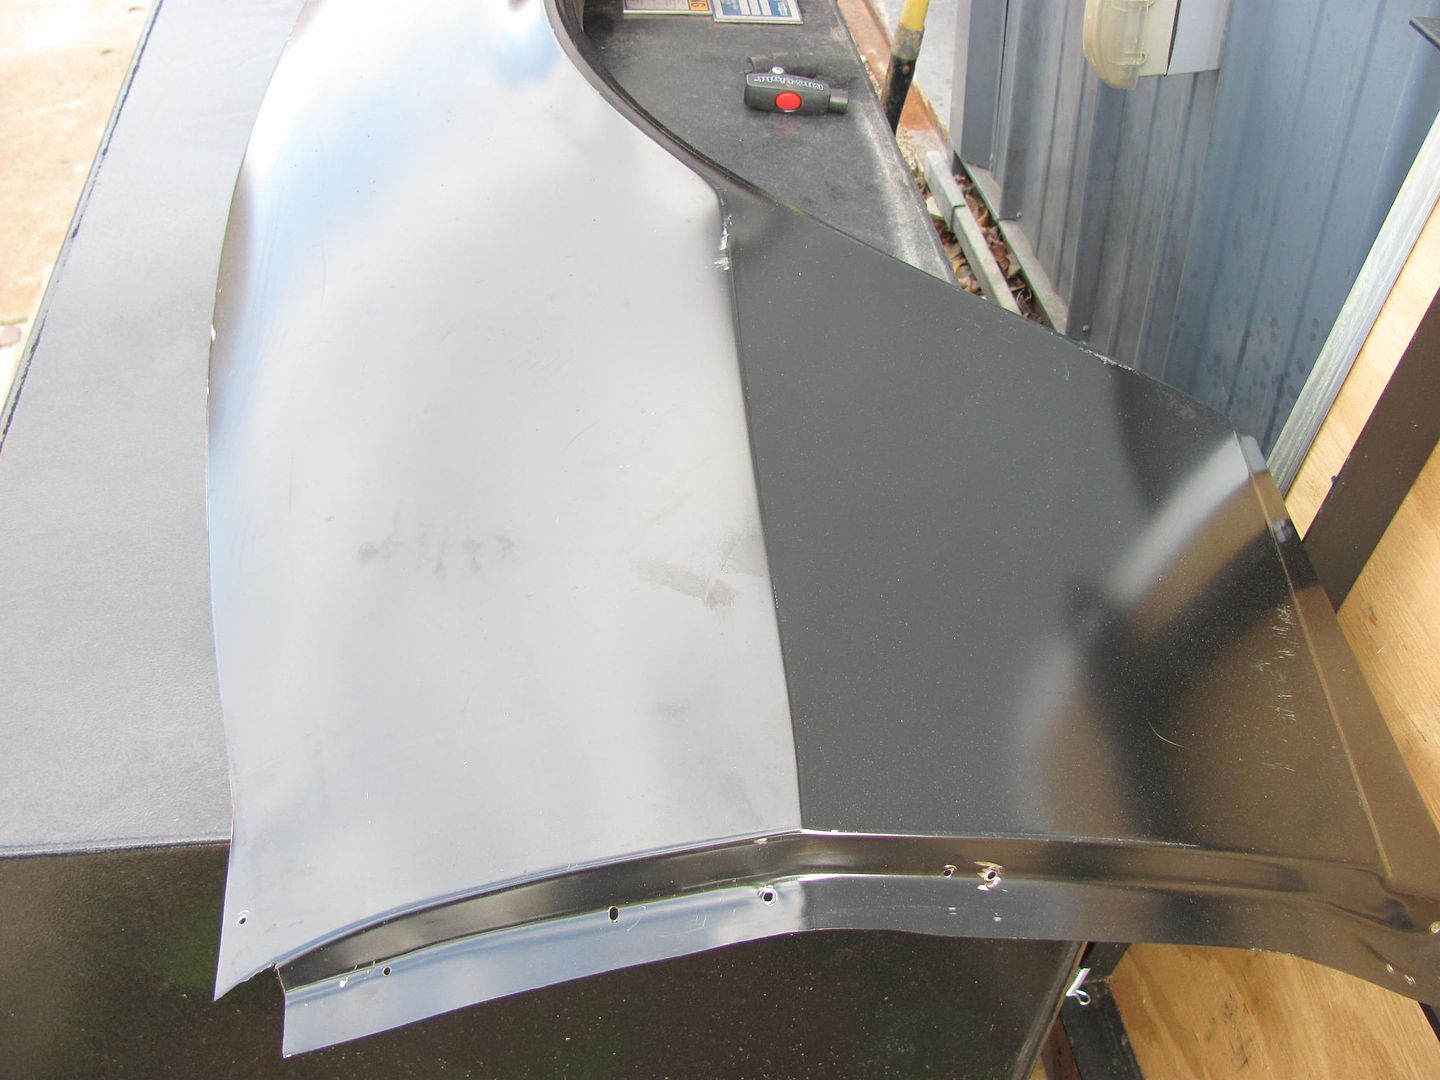
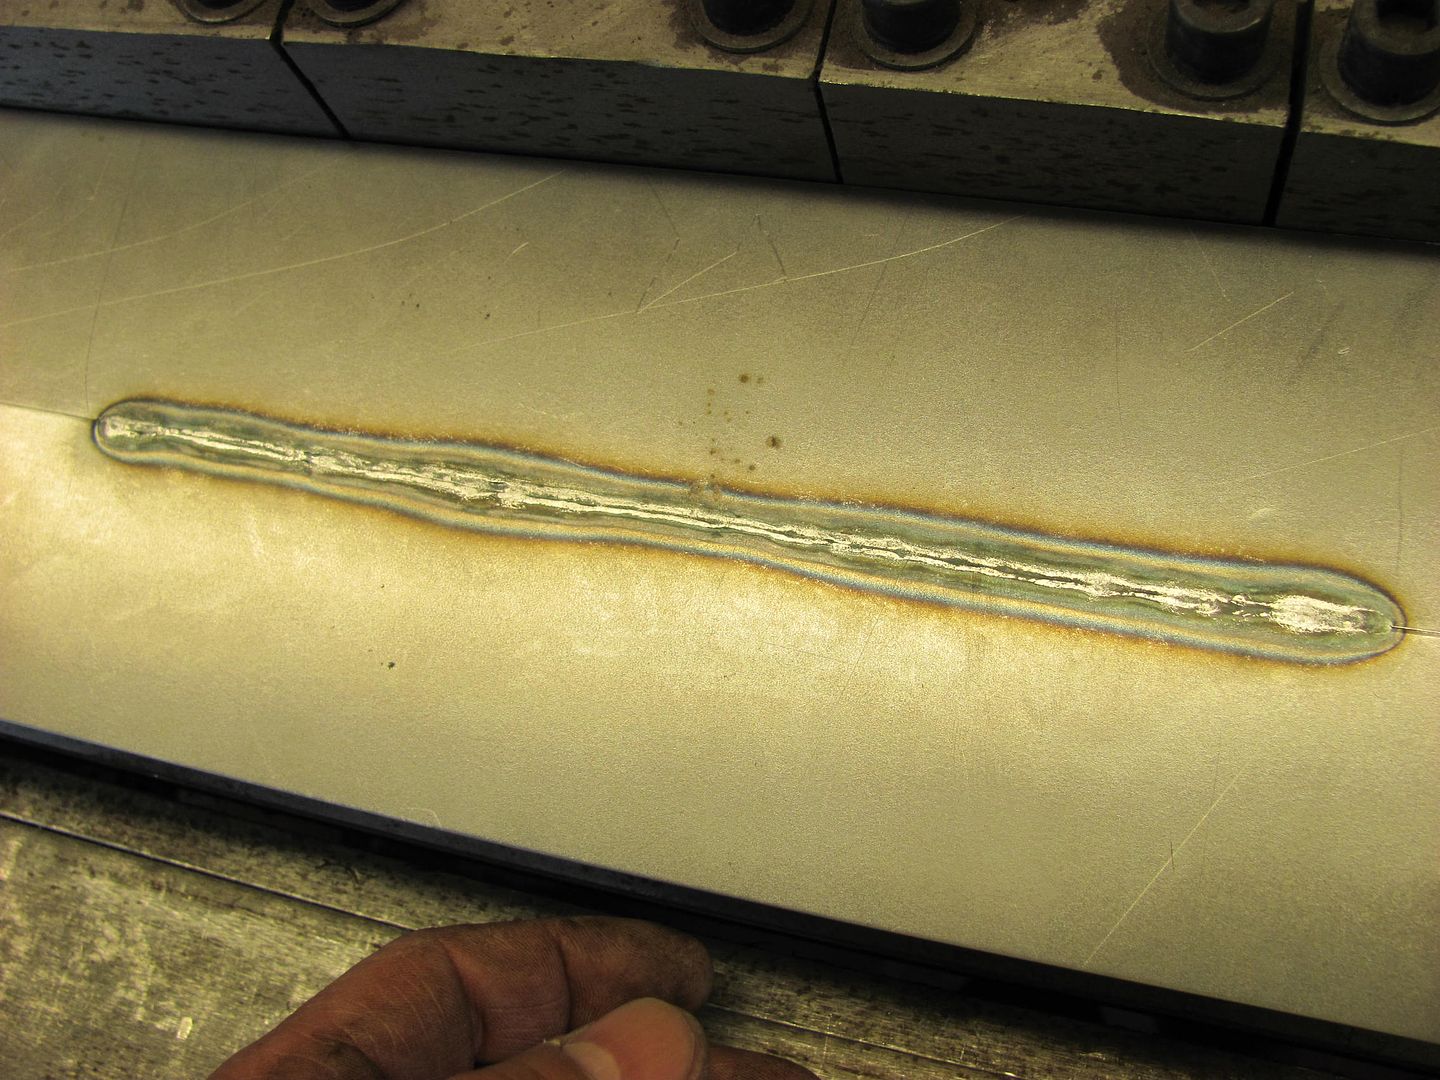
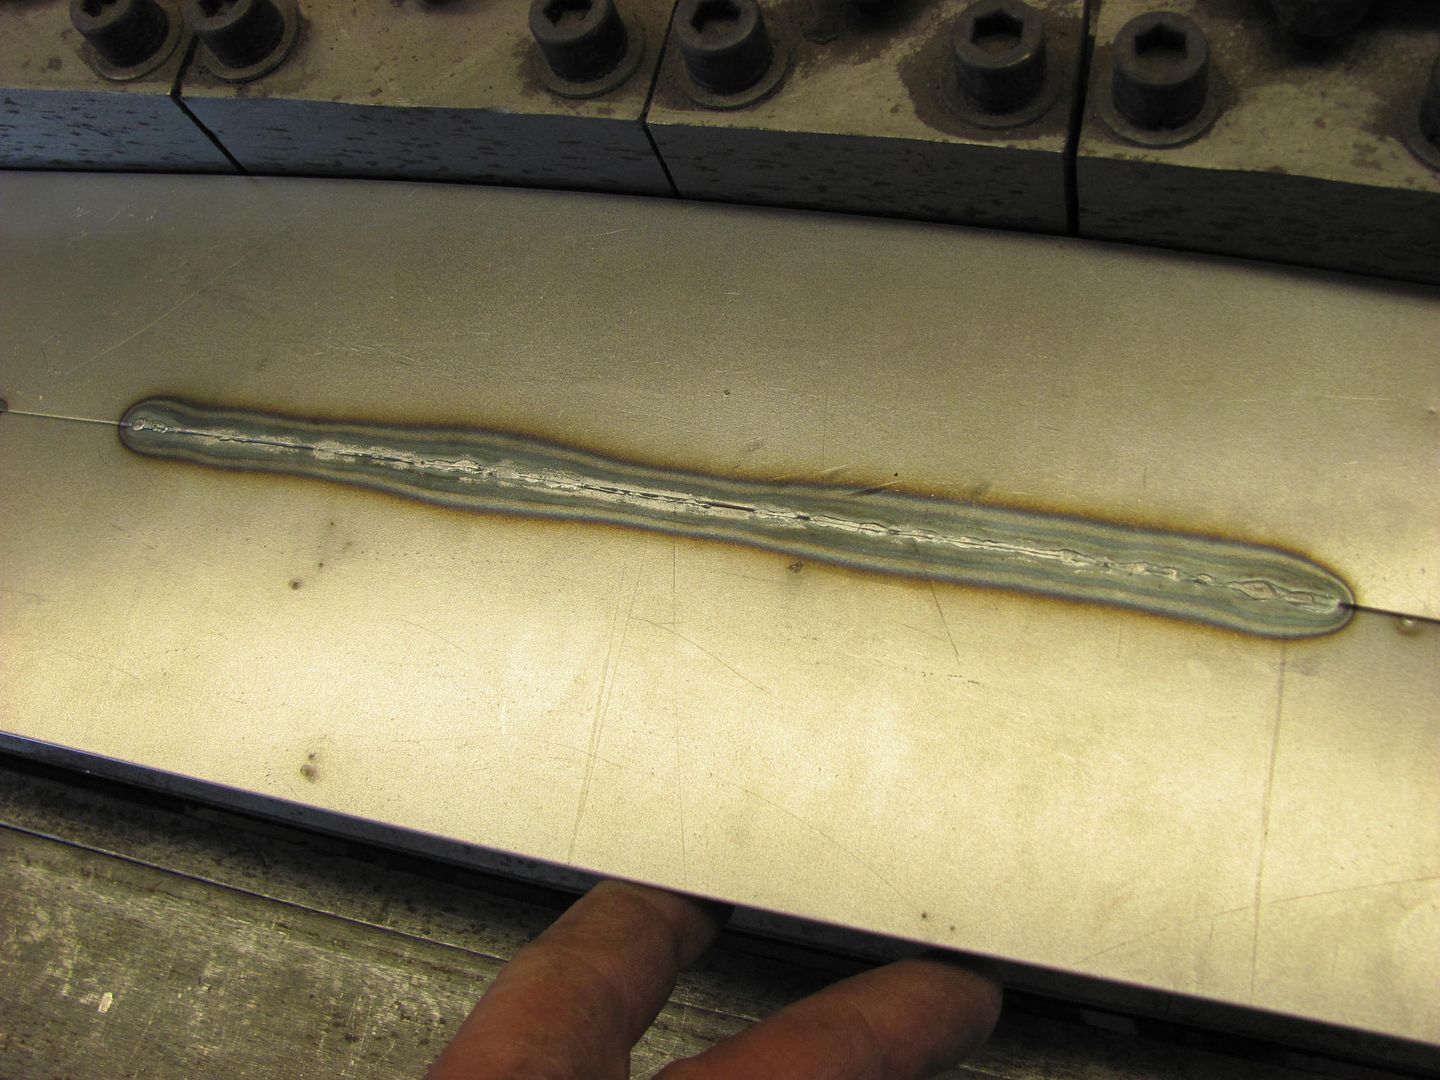
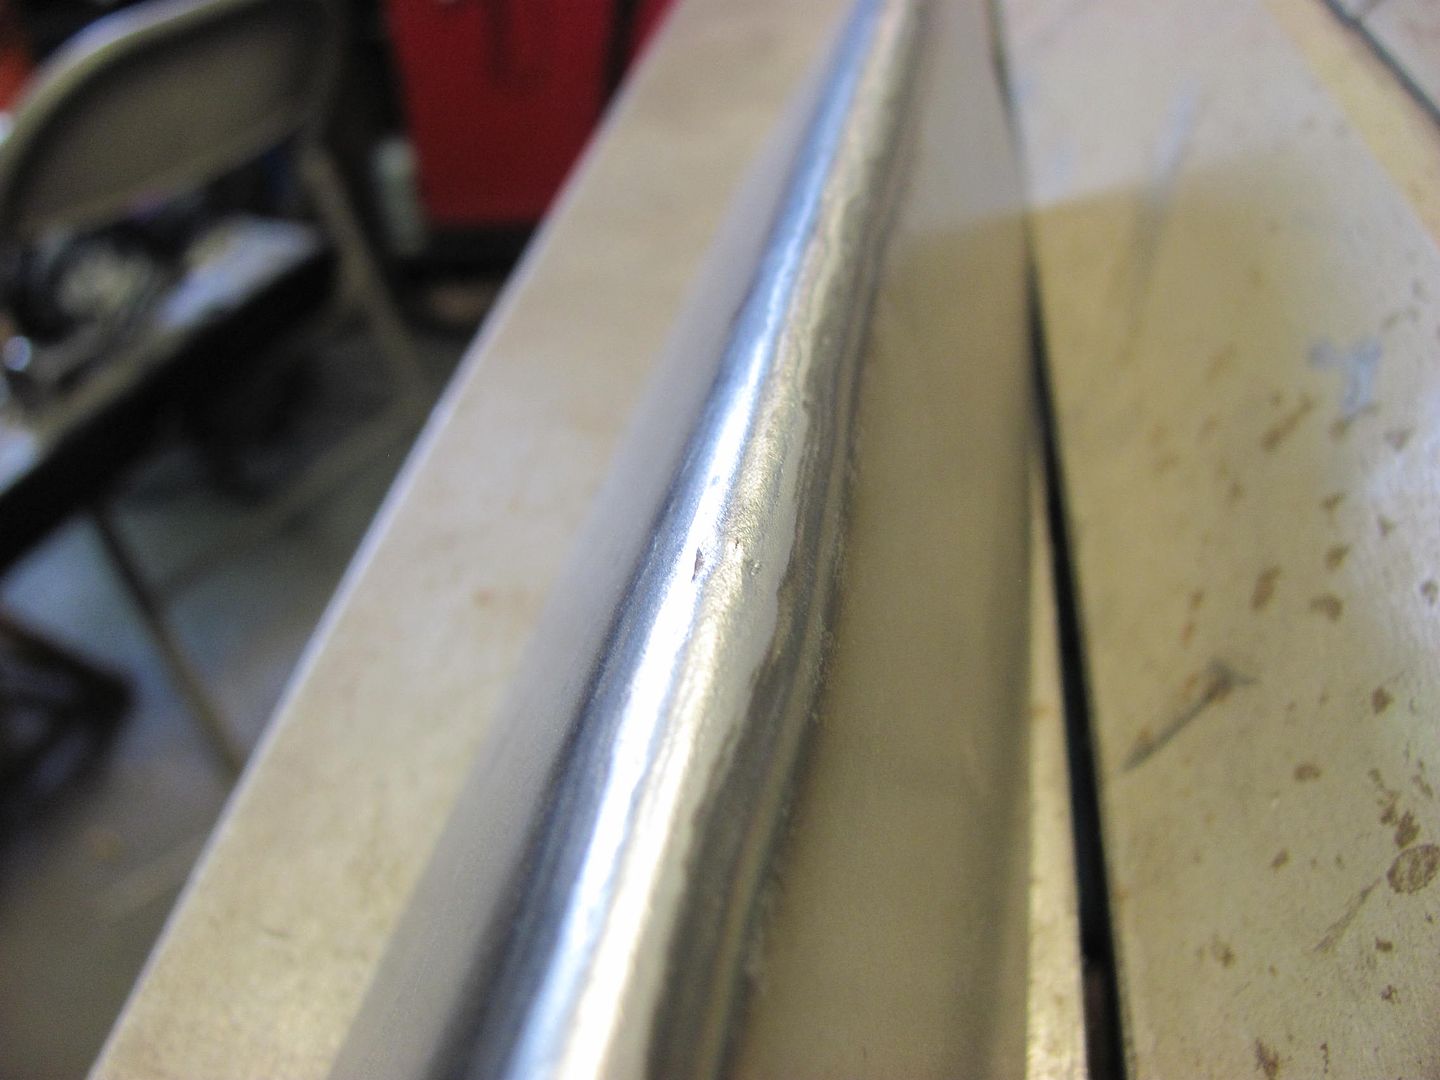
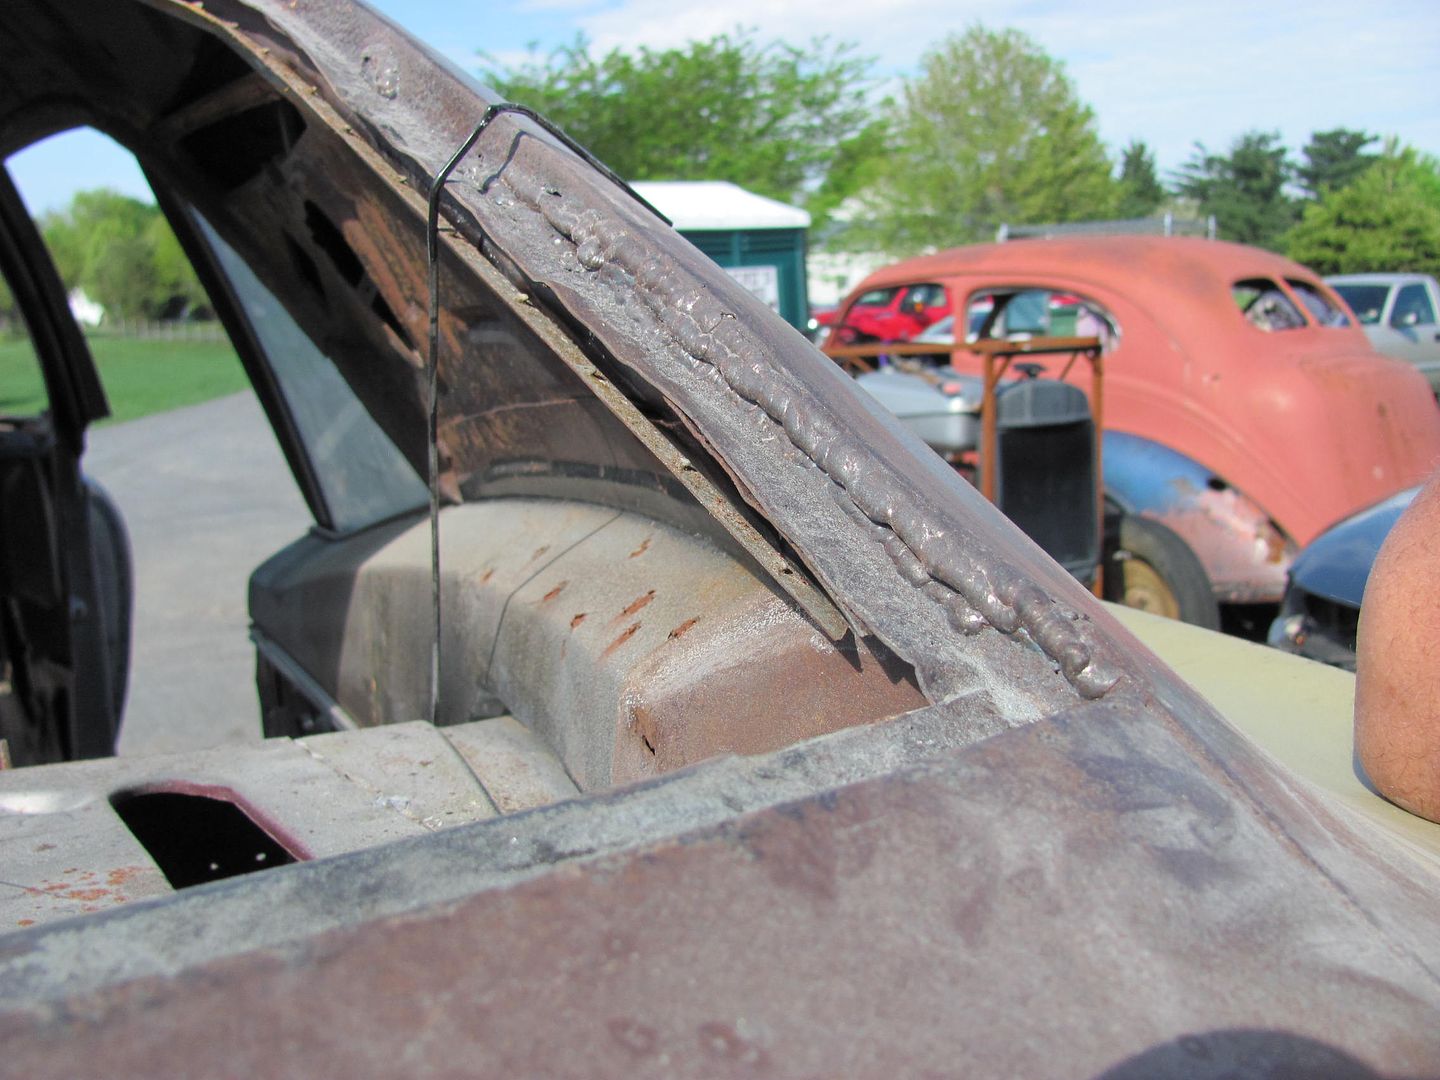
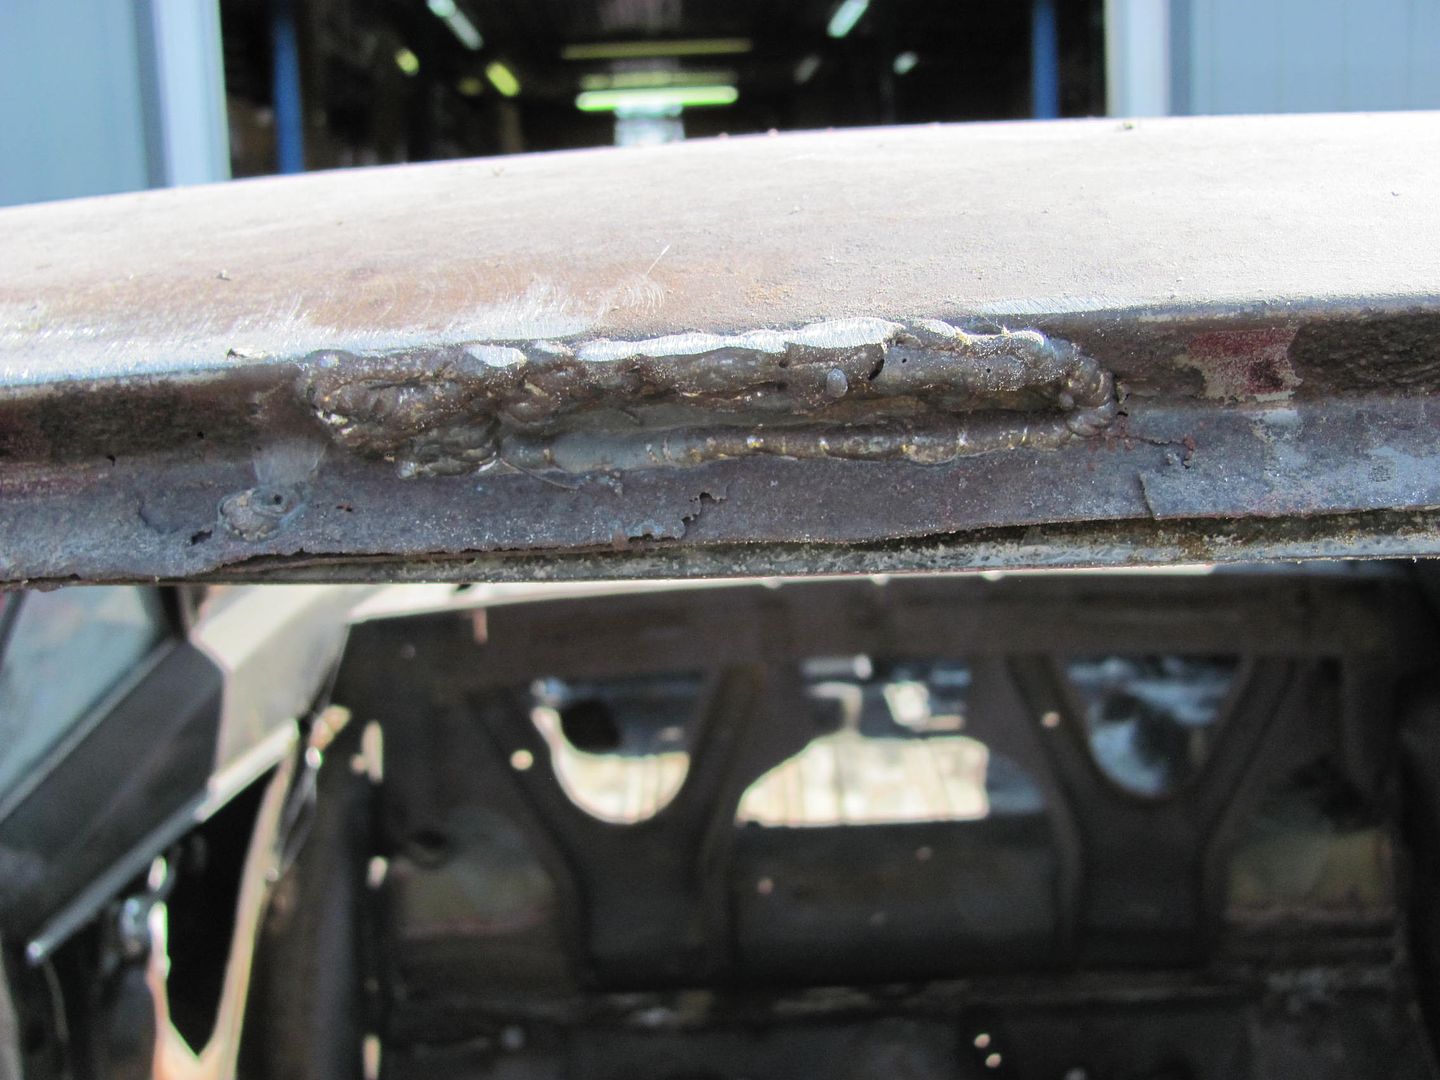
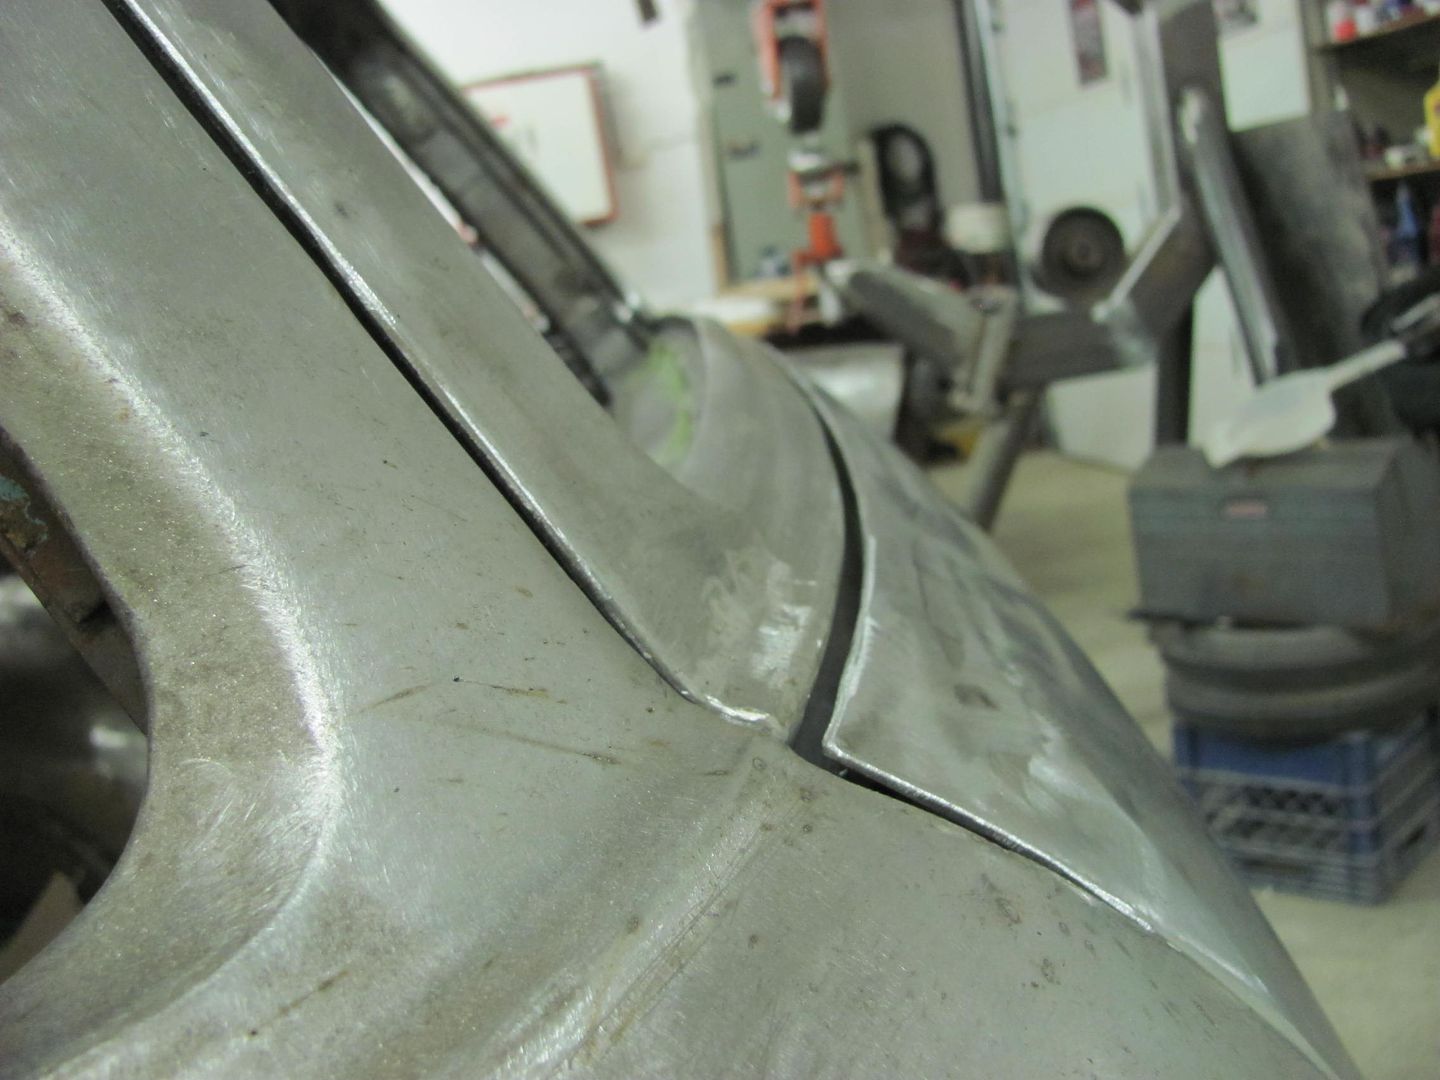
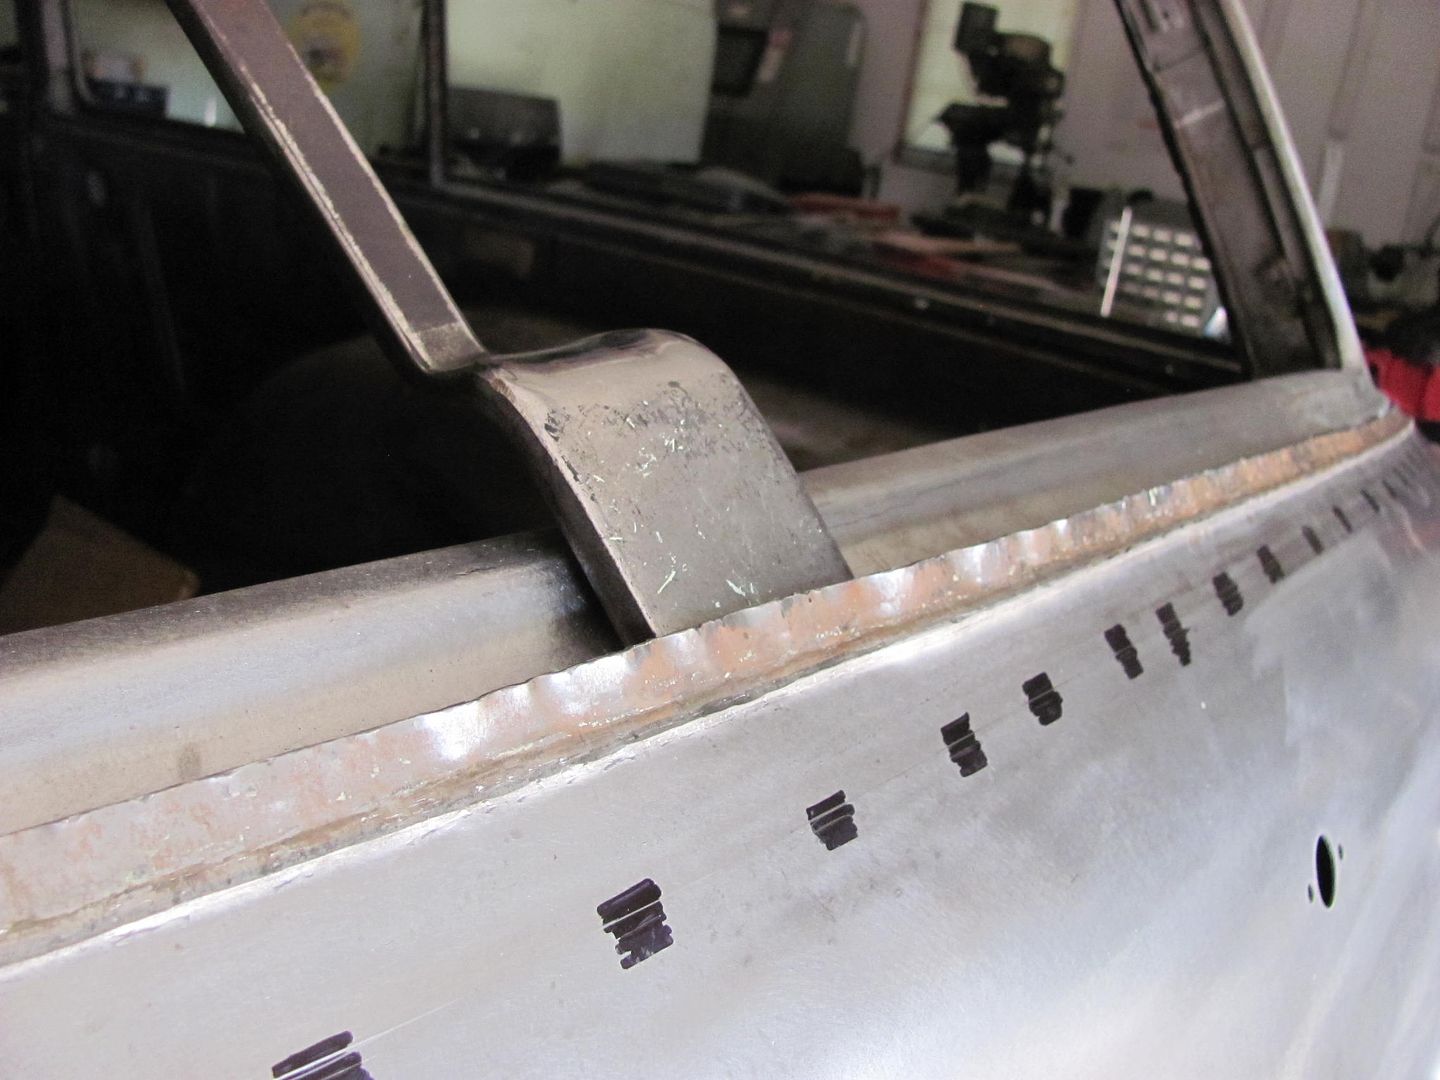
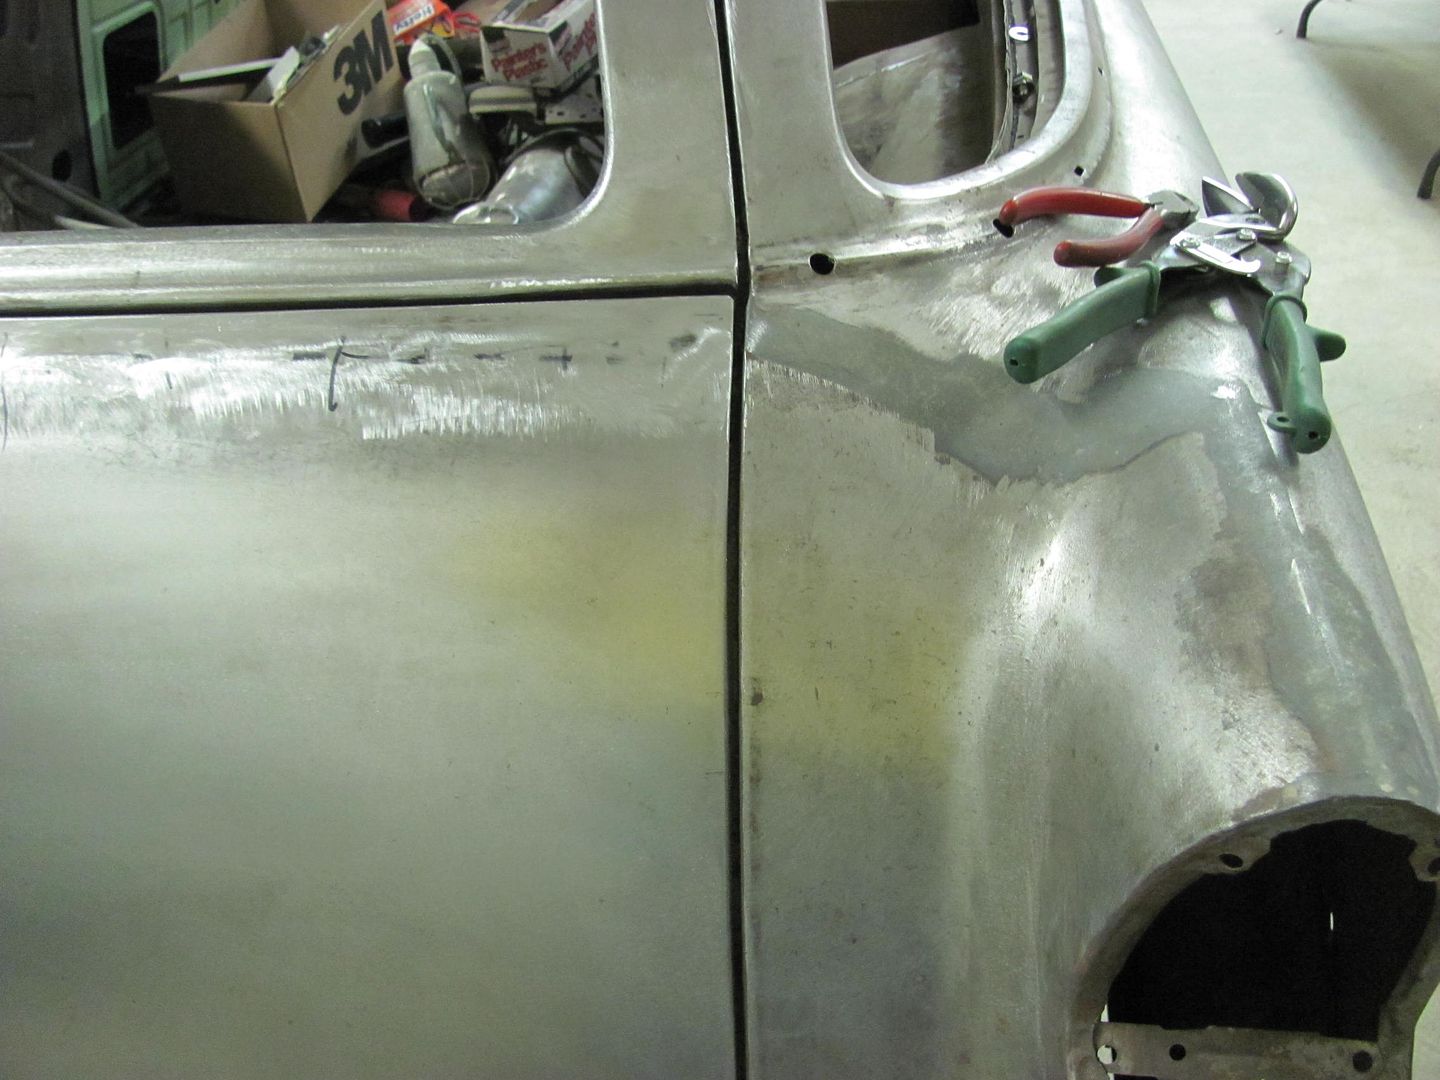
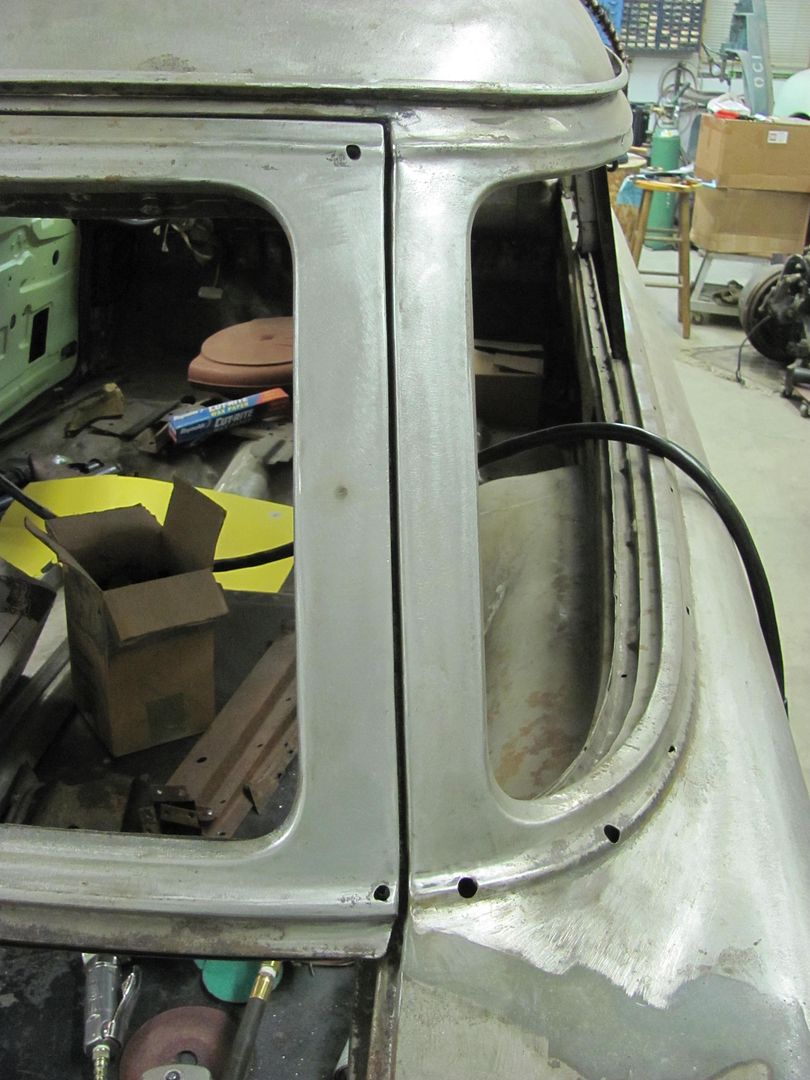
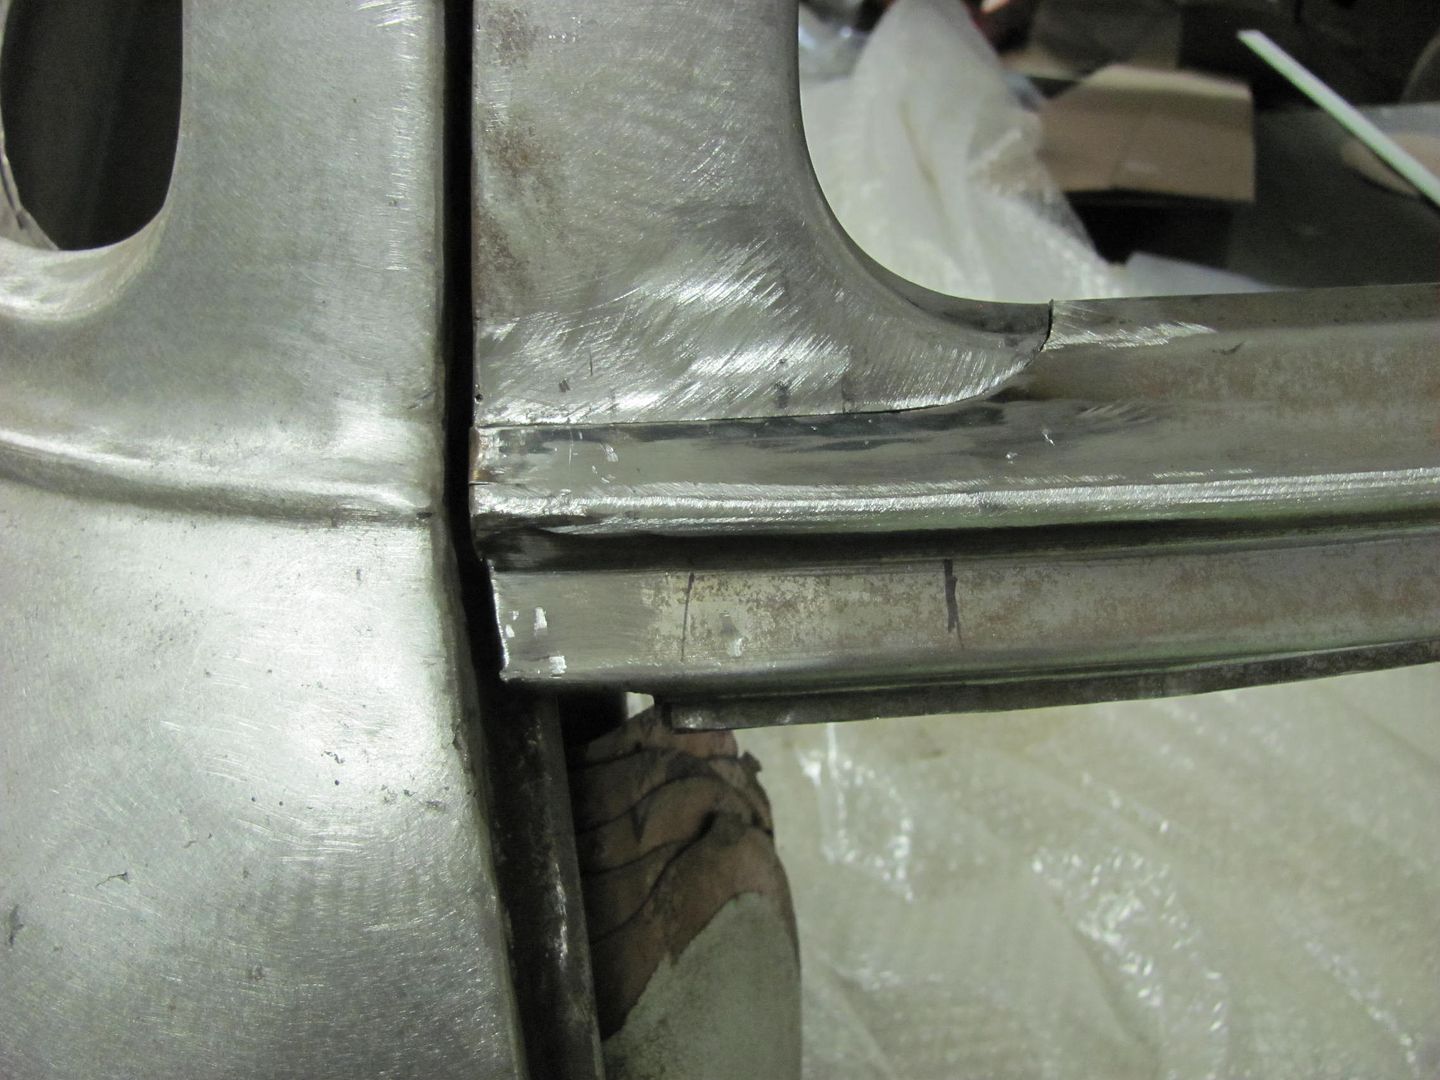
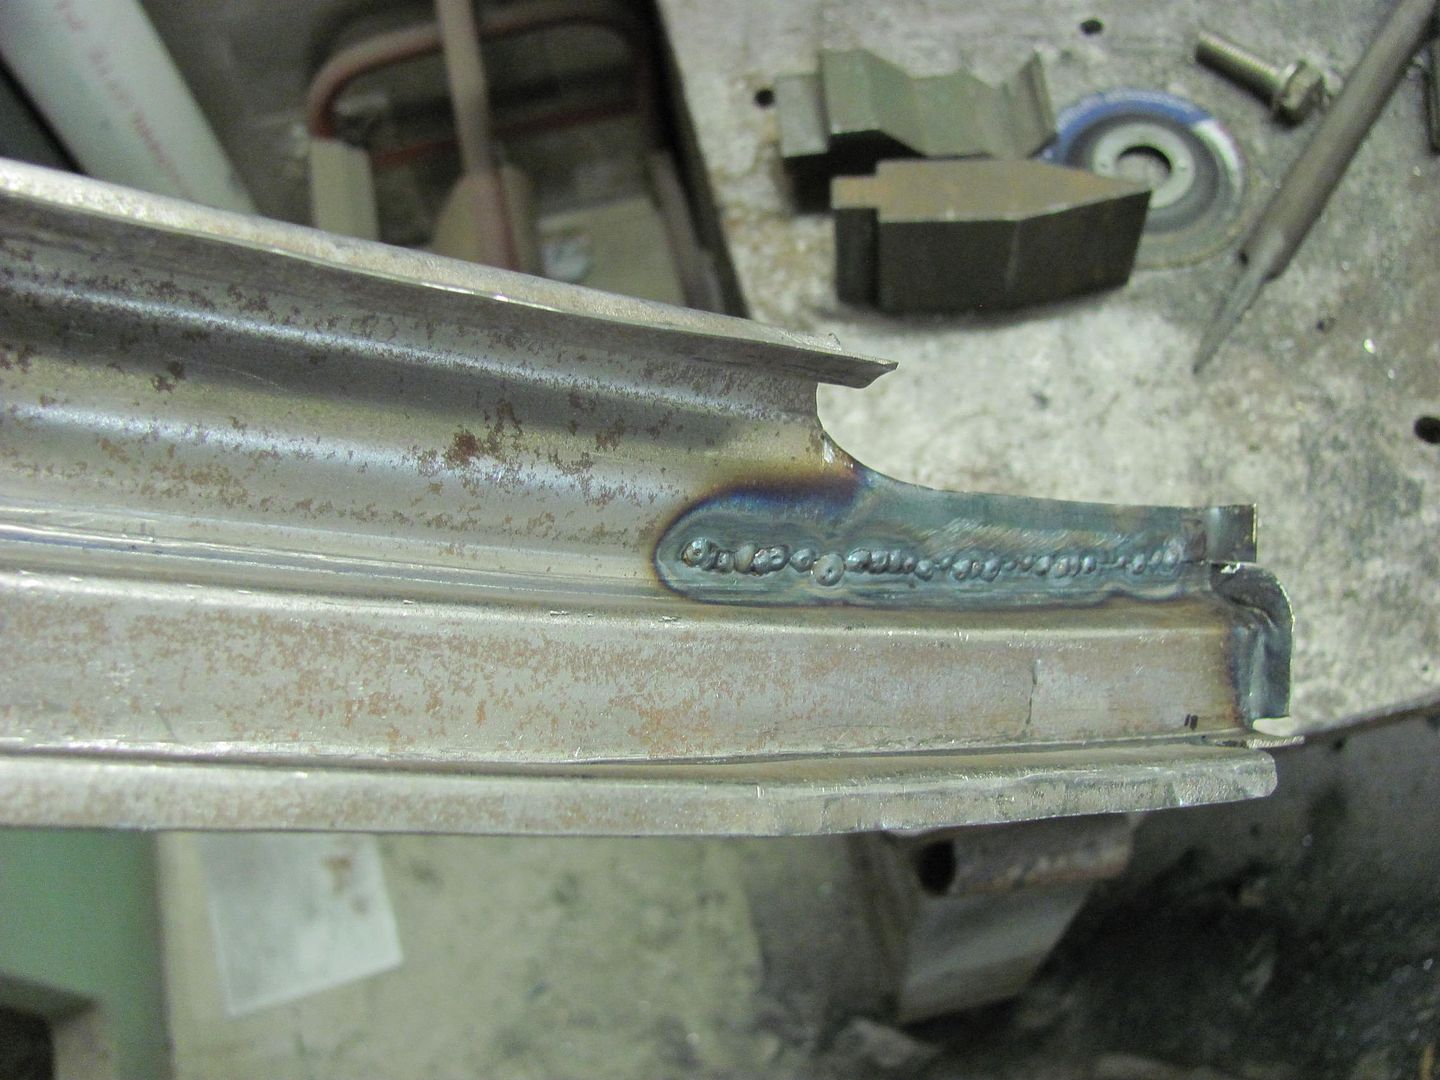
Here's the driver's side after cutting and welding, shows a much better alignment. Good weld penetration on the inside, the seam at the end will be finished after folding onto the lift gate..

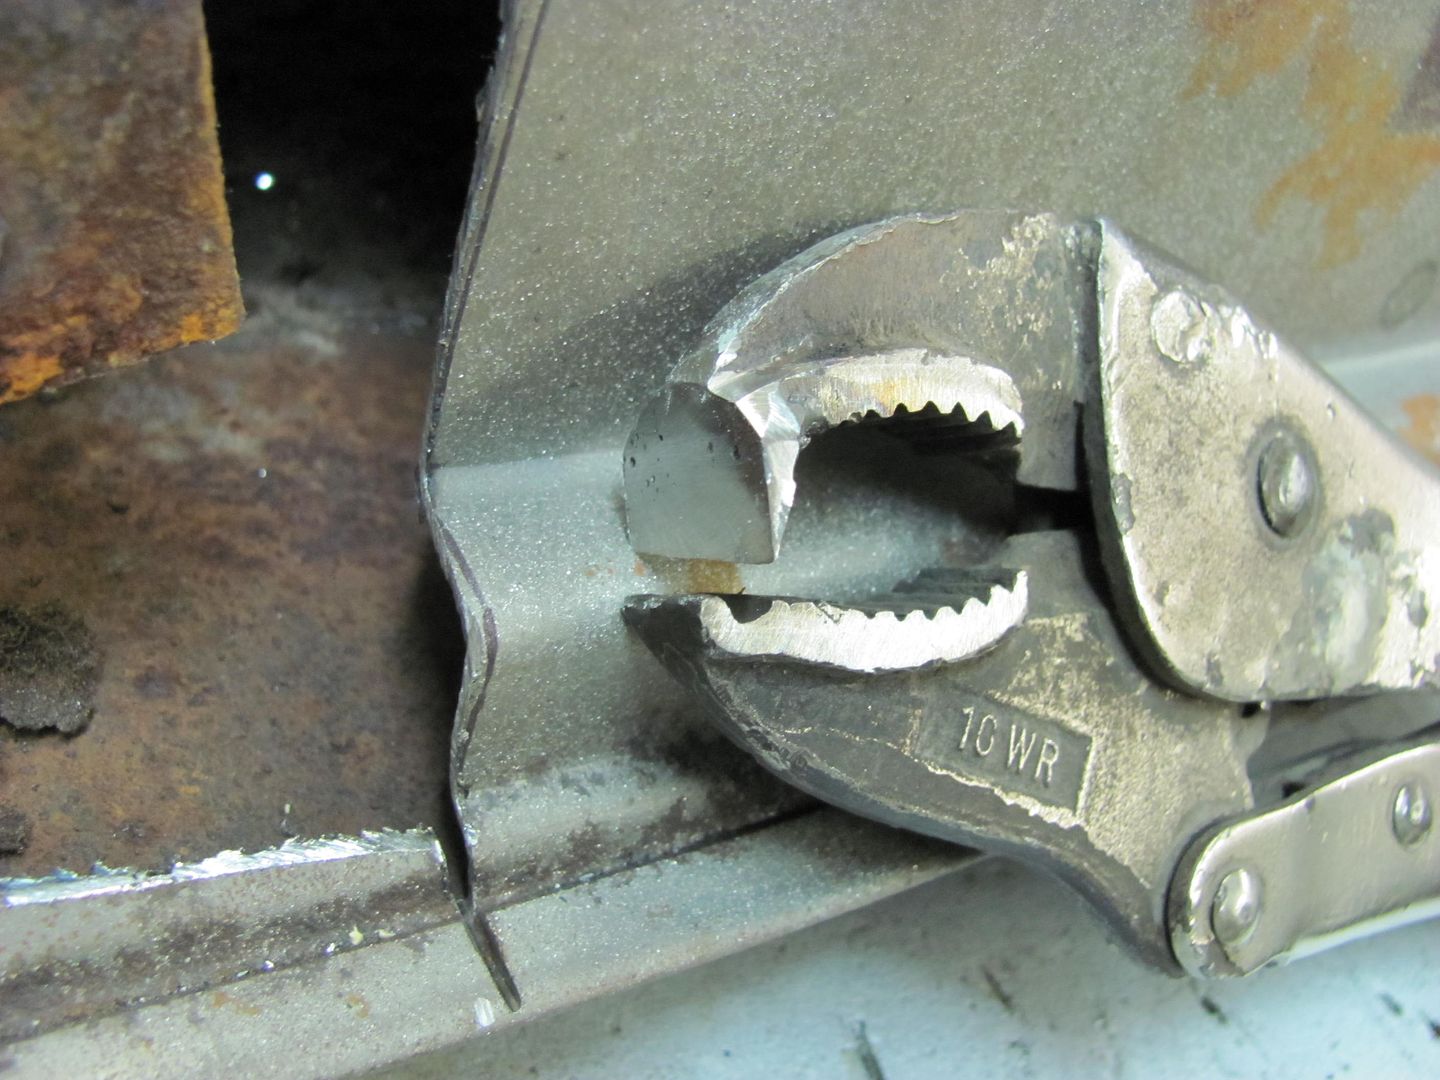
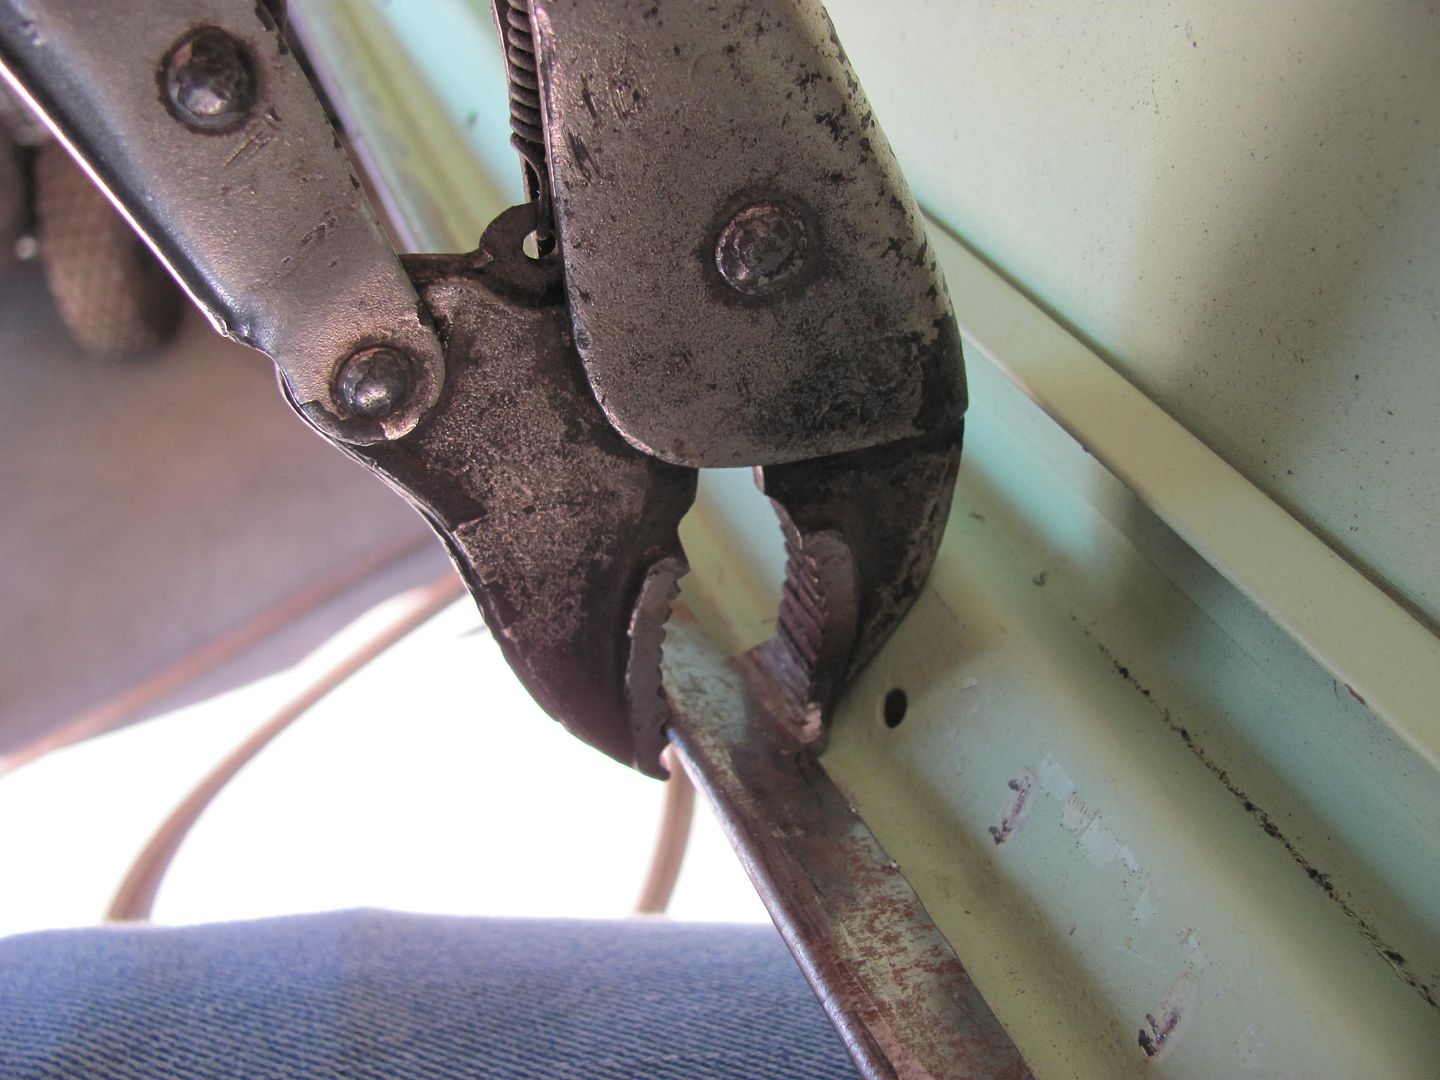
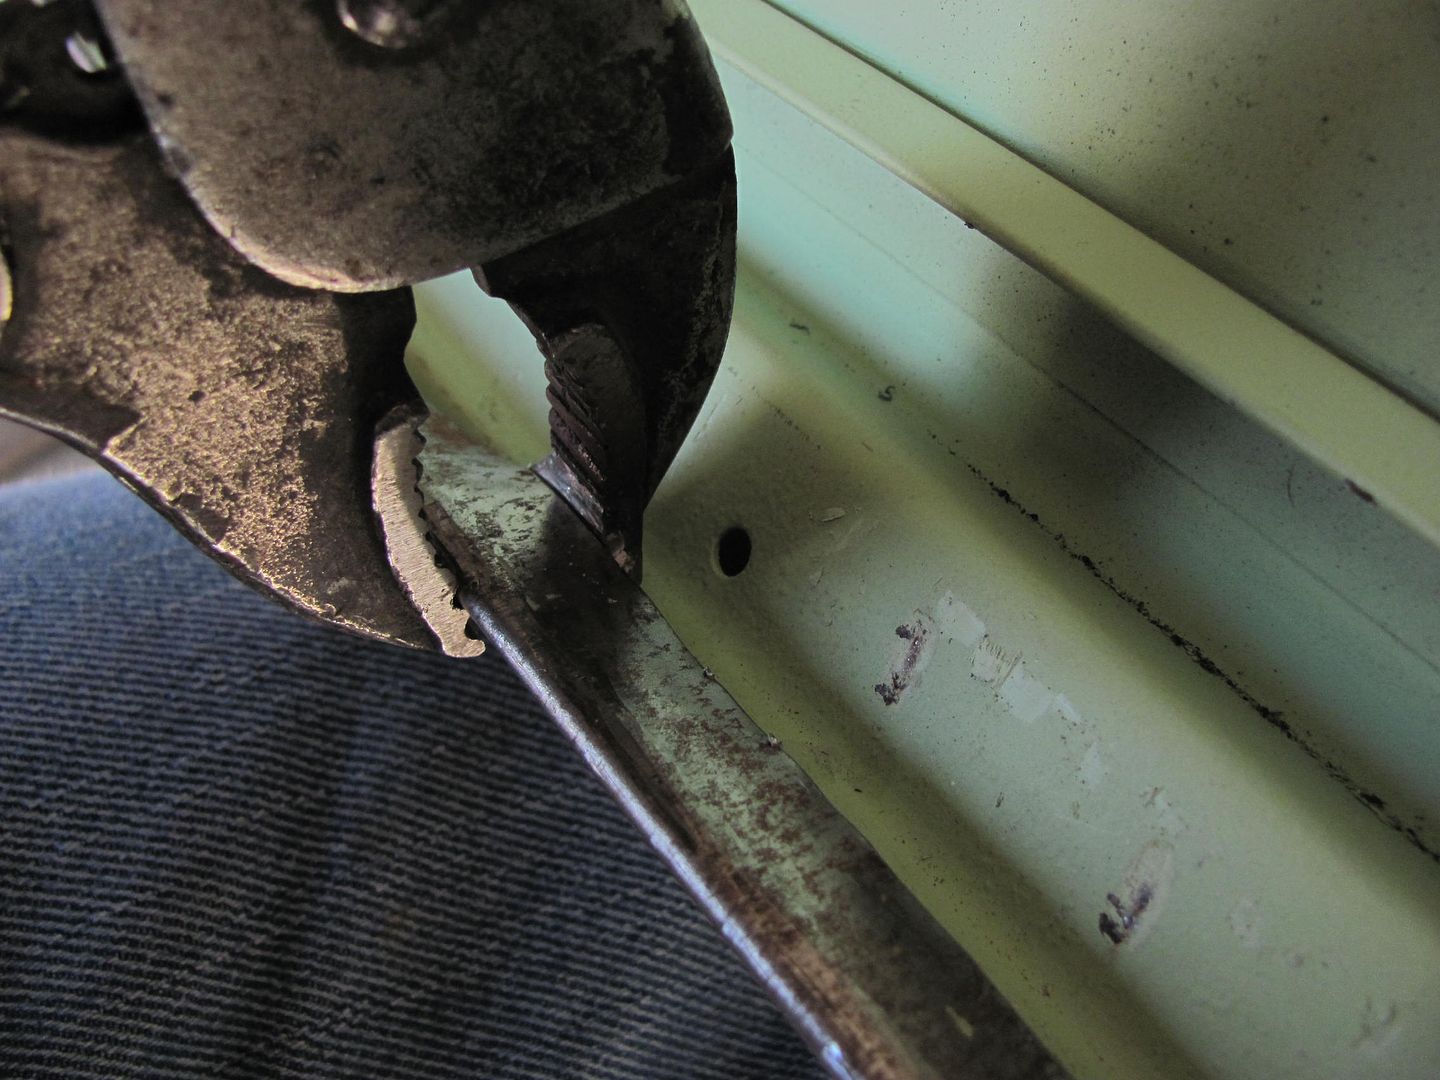
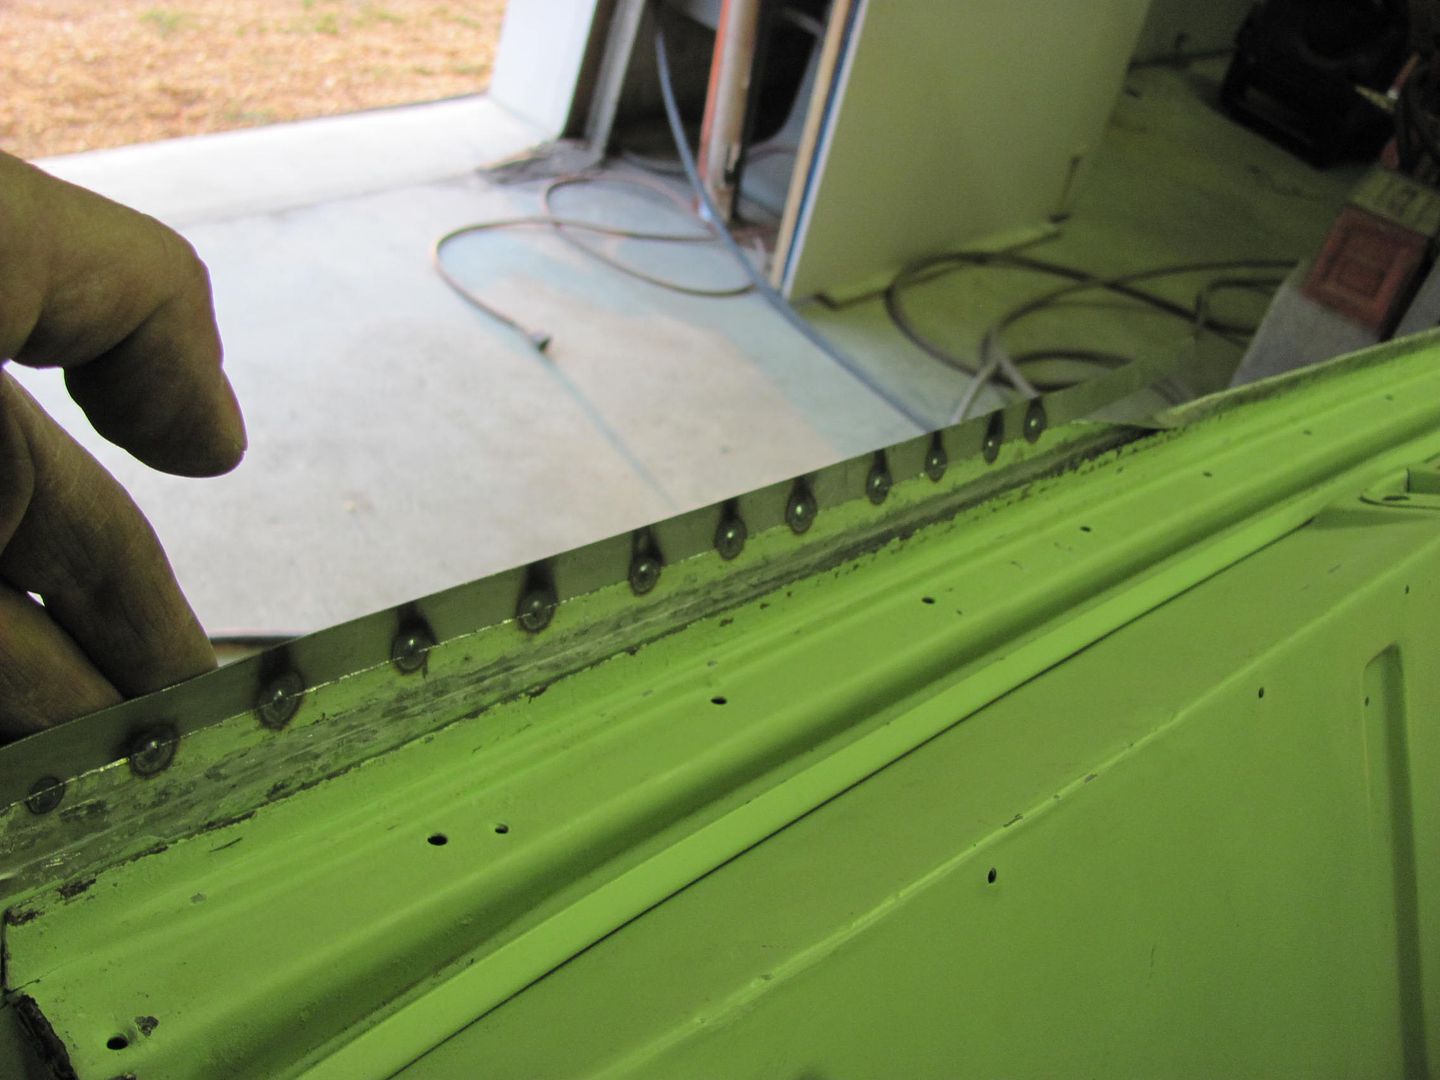
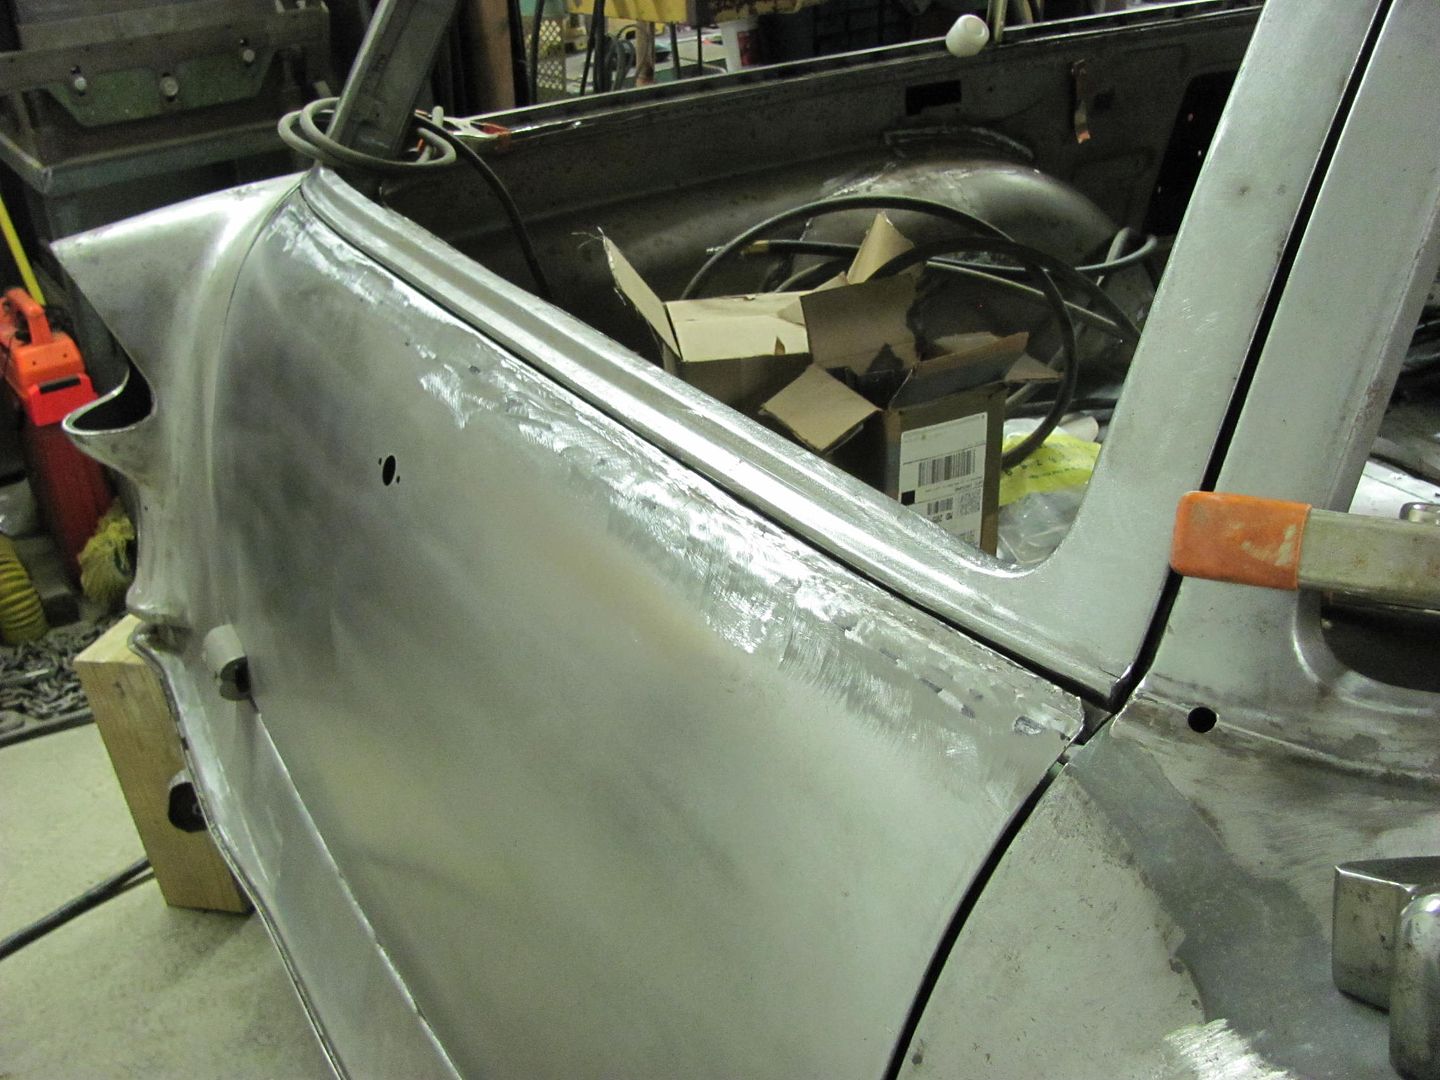
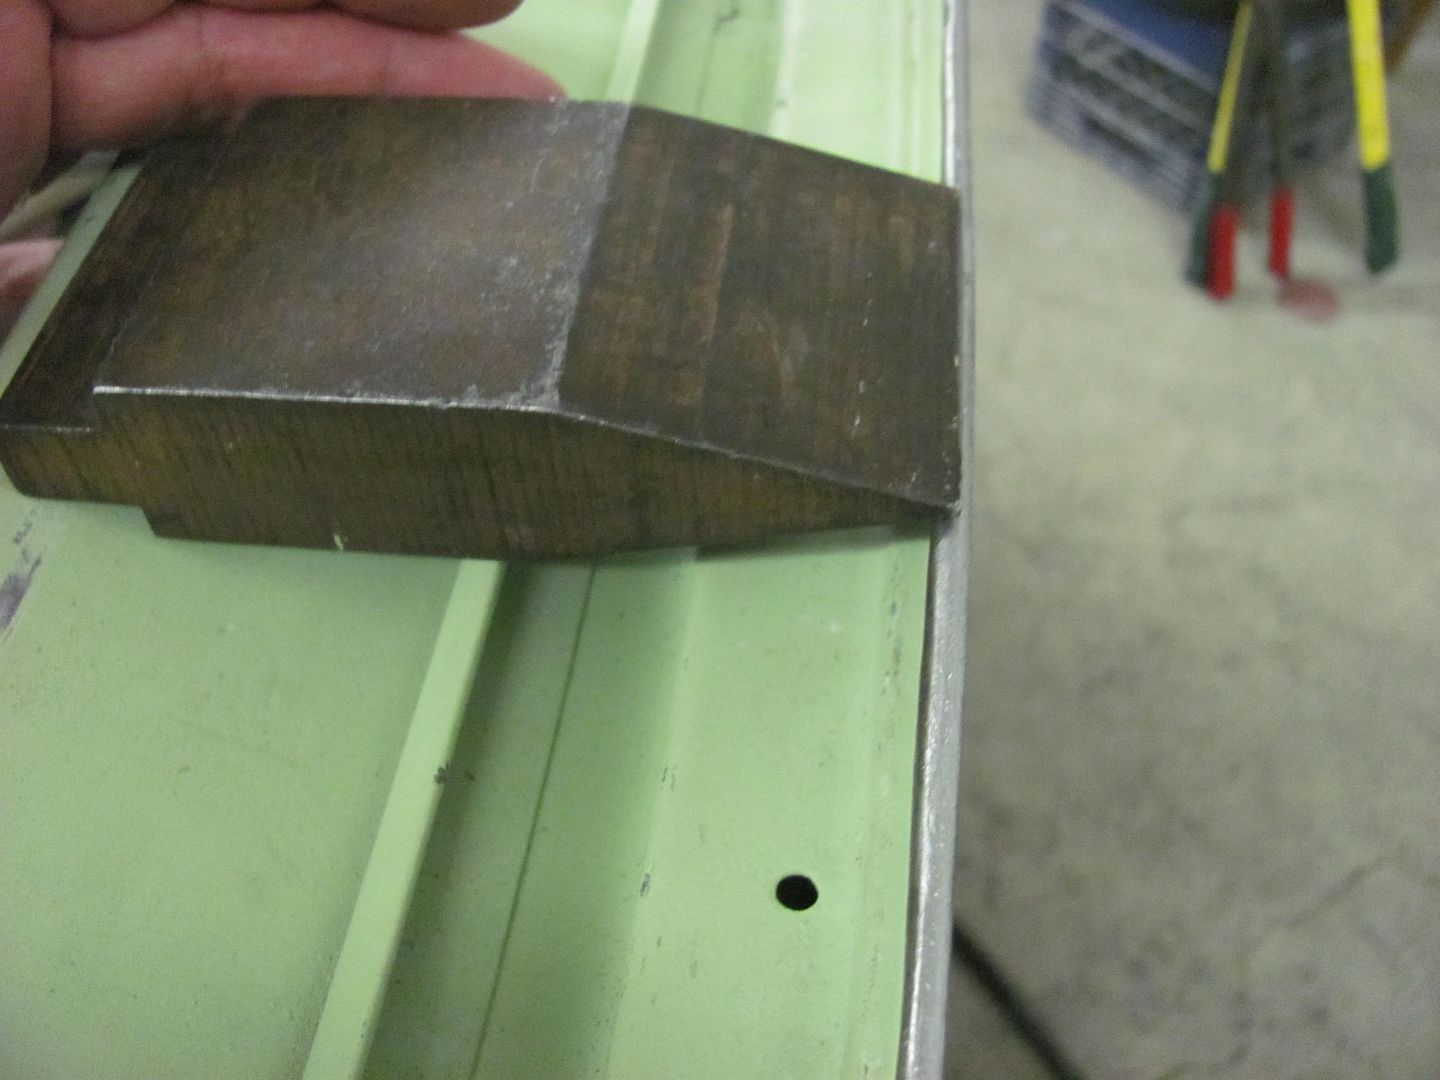
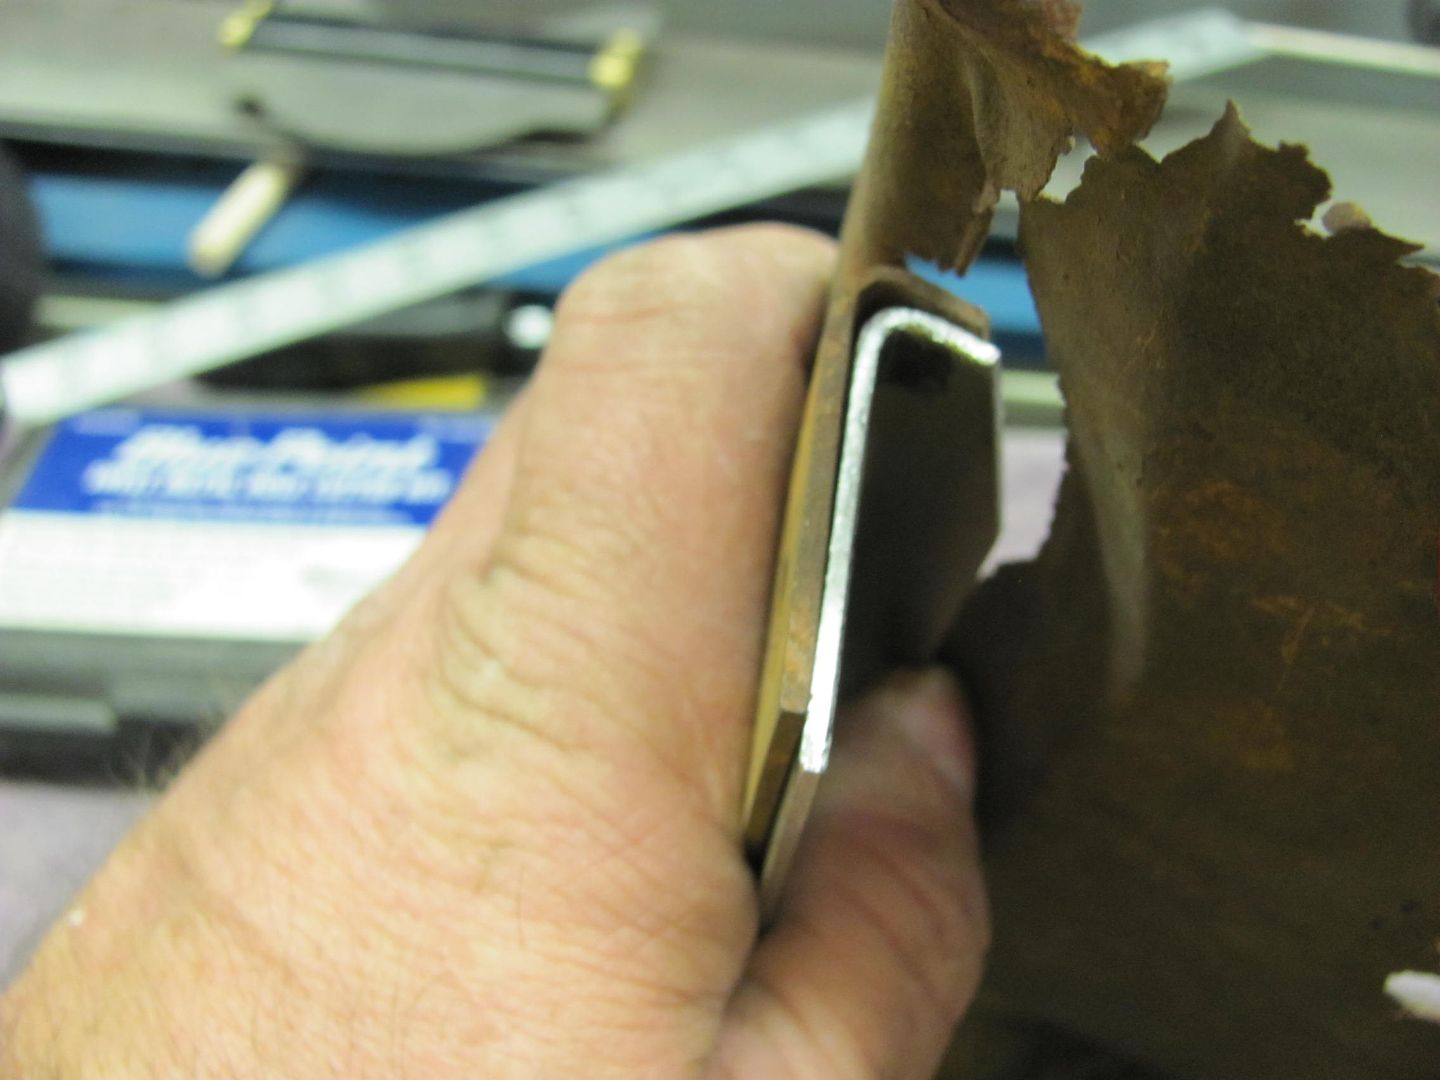
Time to break out the door skin removal tool....
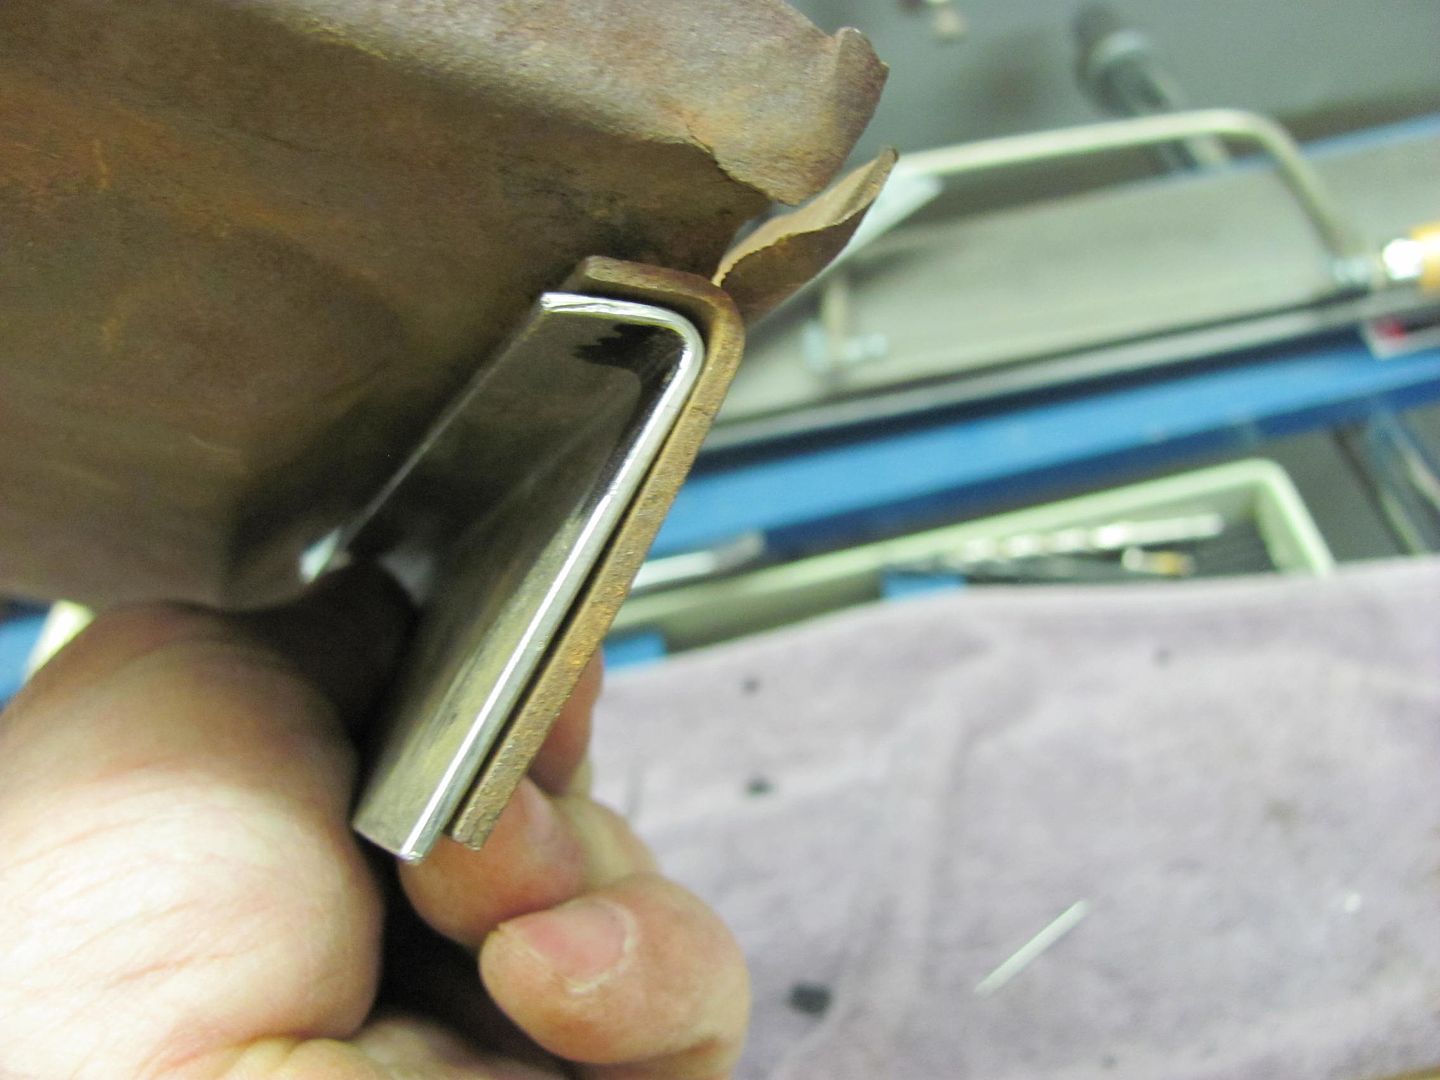
Flange unfolded....
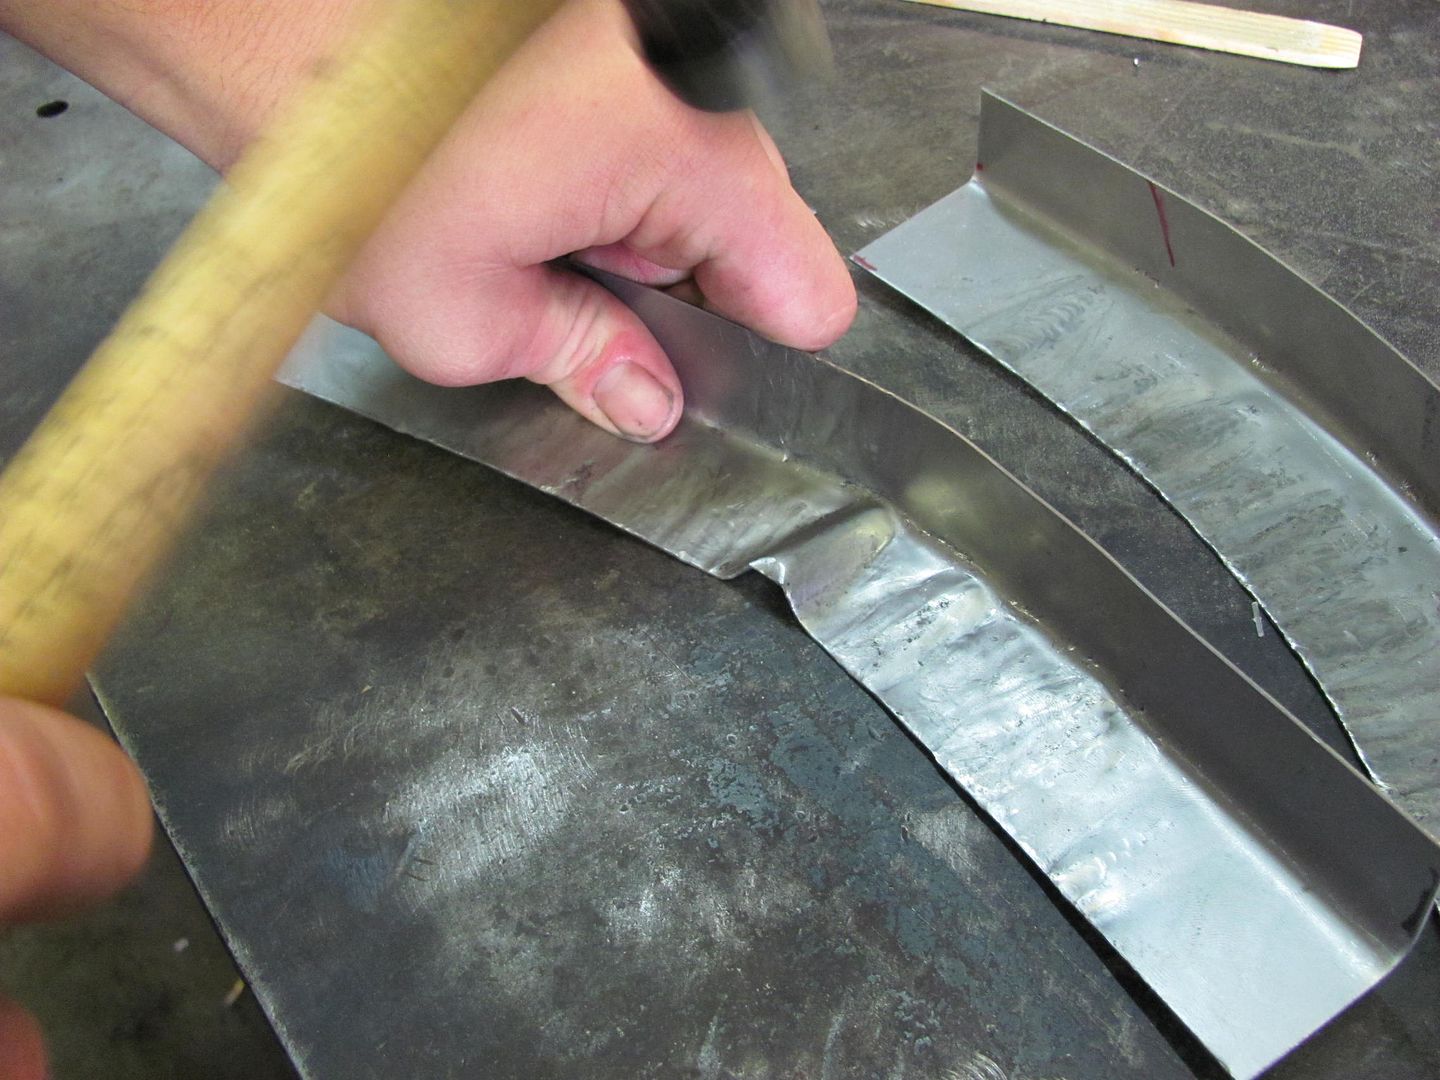
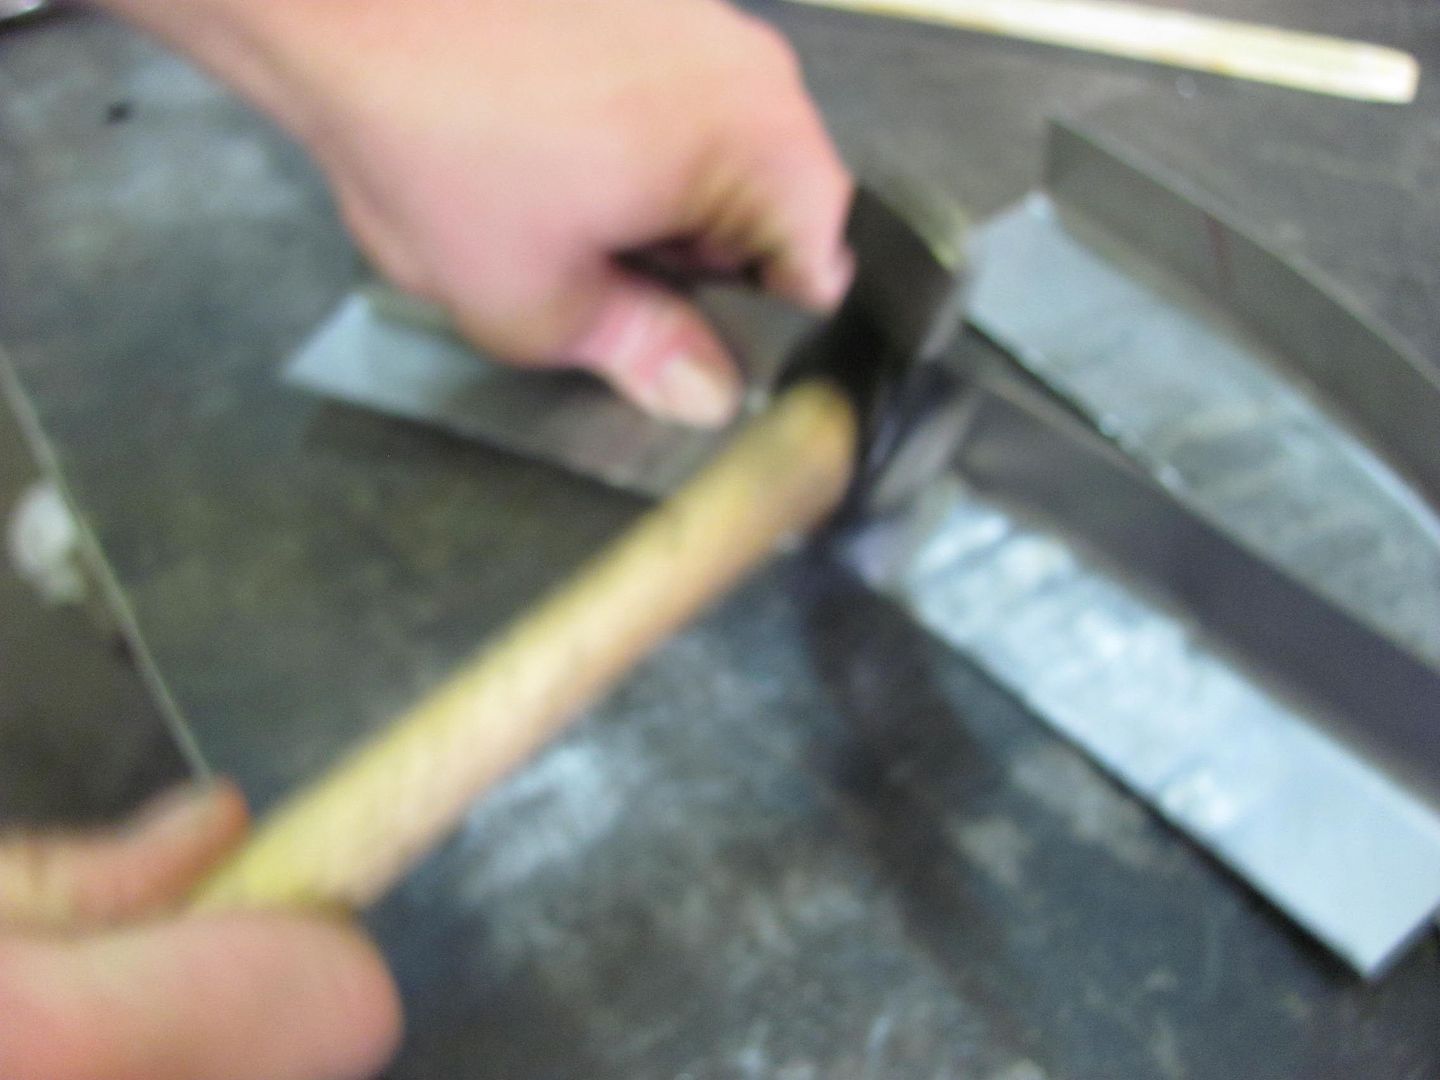
Spoon was slid between the skin and inner panel and body hammer used to flatten out the crease...
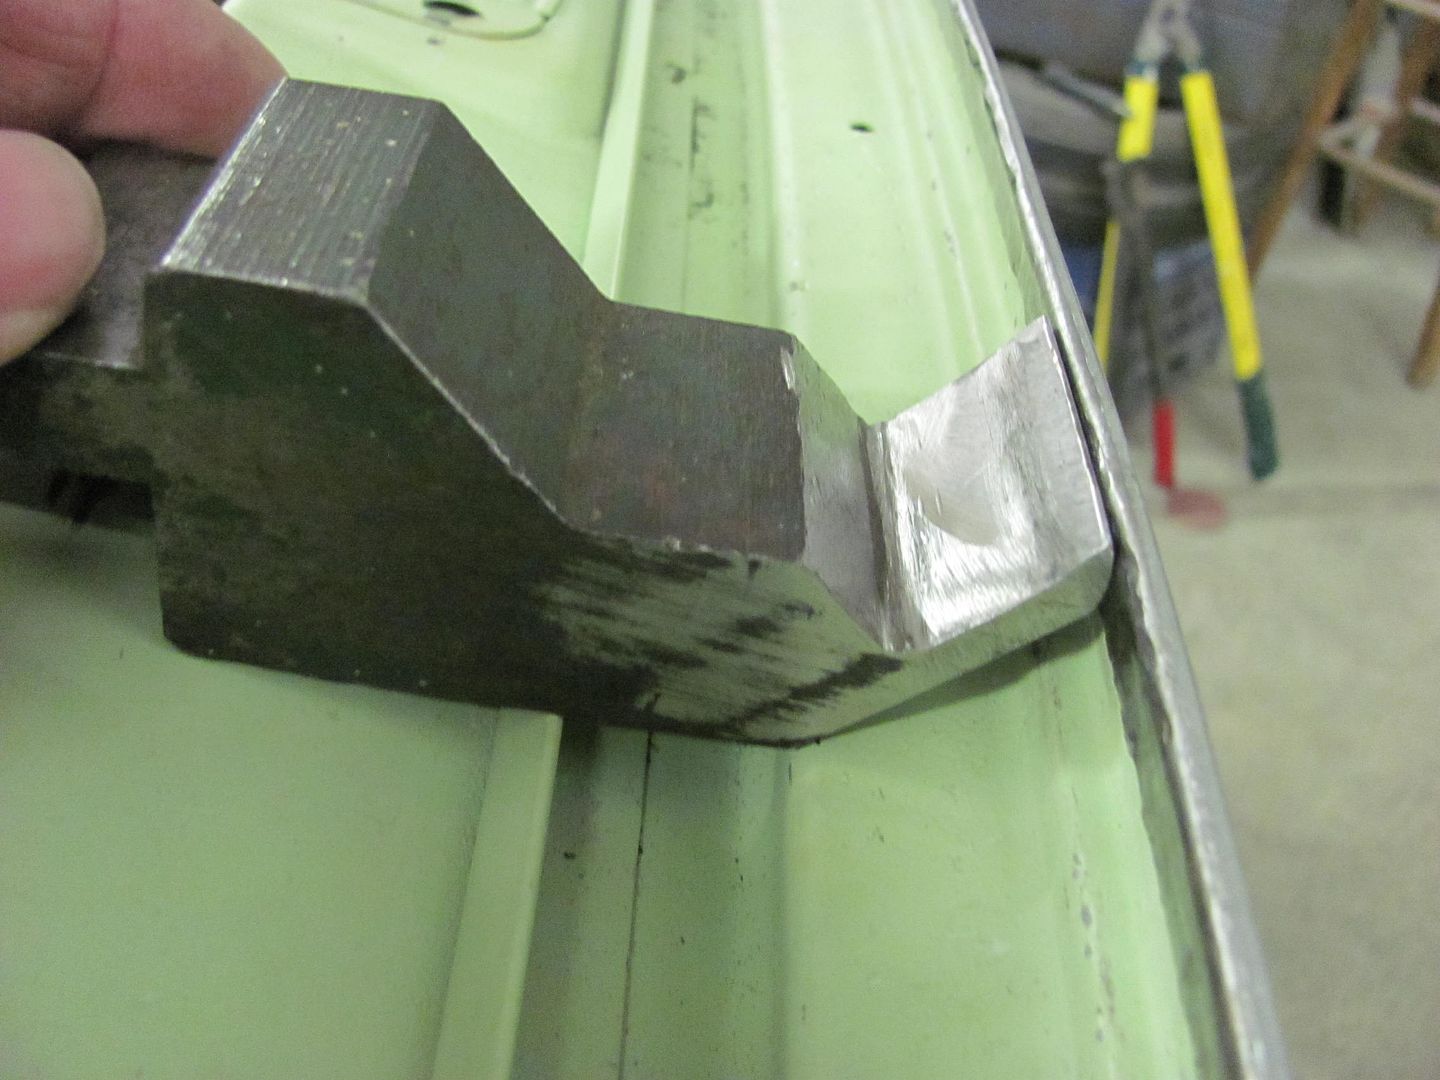
Right side flange is now a bit short, so added a strip of metal..
Flange re-folded, just needs some fine tuning and finishing the corners..