
You are using an out of date browser. It may not display this or other websites correctly.
You should upgrade or use an alternative browser.
You should upgrade or use an alternative browser.
MP&C Shop Projects
- Thread starter MP&C
- Start date
outsider347
Well-known member
Robert
How do you keep the bare steel from rusting, while you work on other sections?
How long is the steel bare before you prime?
I guess that I am just a bit paranoid about rust....Old shop teacher once told me that steel starts to oxidize as soon as the paint is removed
Tks for your response
ed
How do you keep the bare steel from rusting, while you work on other sections?
How long is the steel bare before you prime?
I guess that I am just a bit paranoid about rust....Old shop teacher once told me that steel starts to oxidize as soon as the paint is removed
Tks for your response
ed
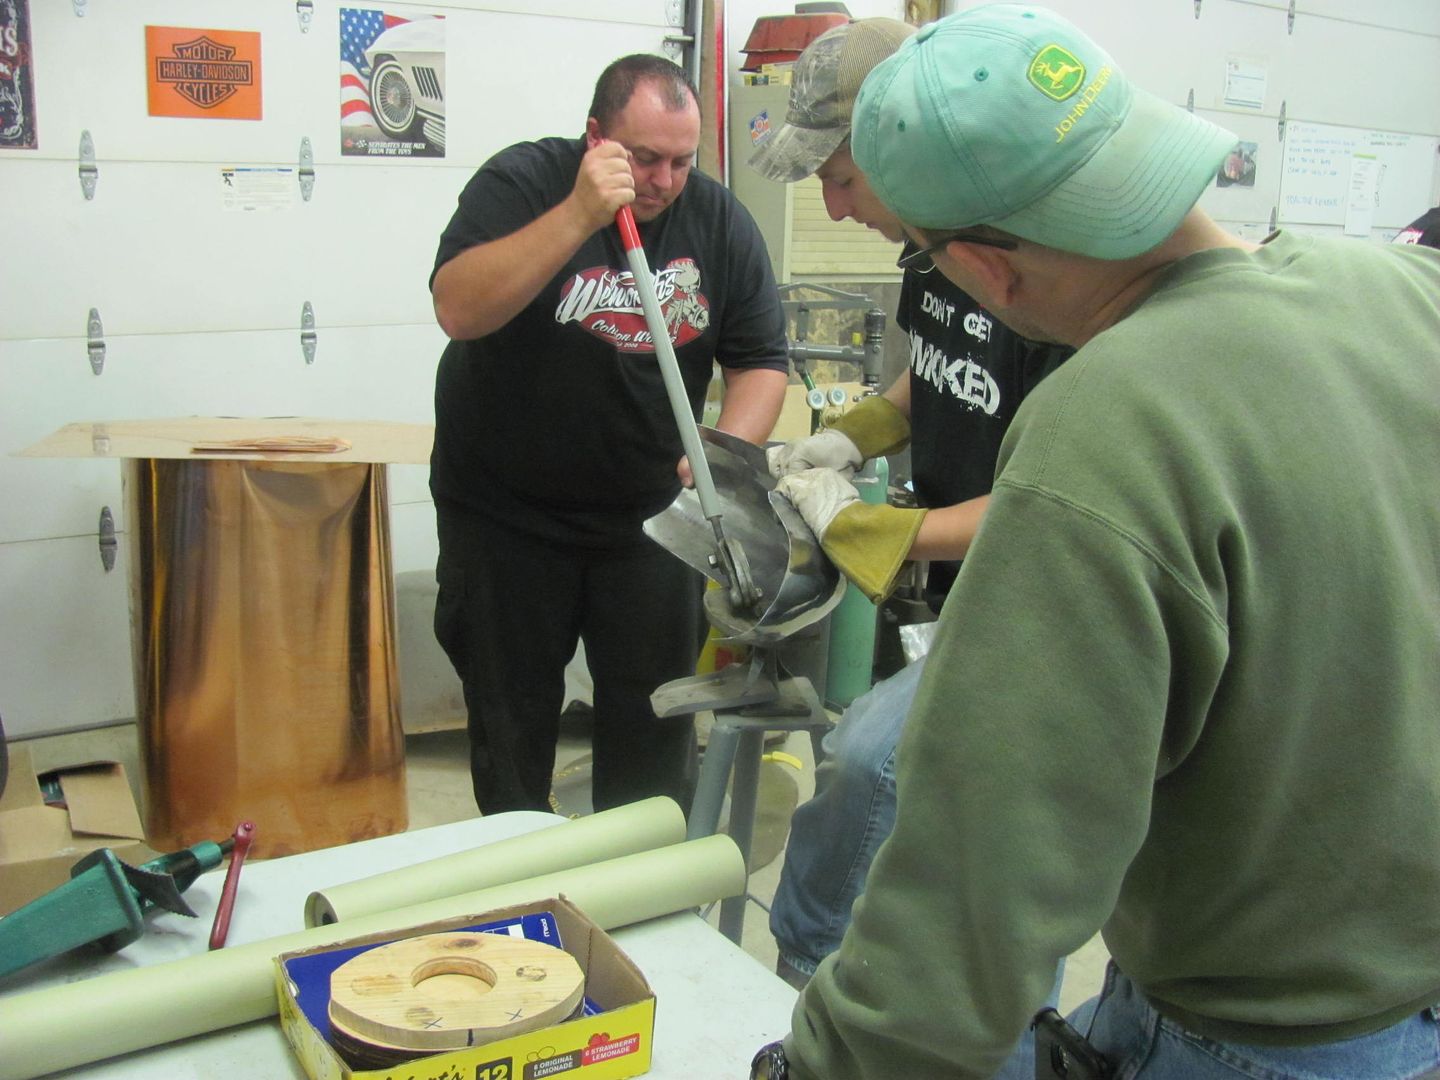
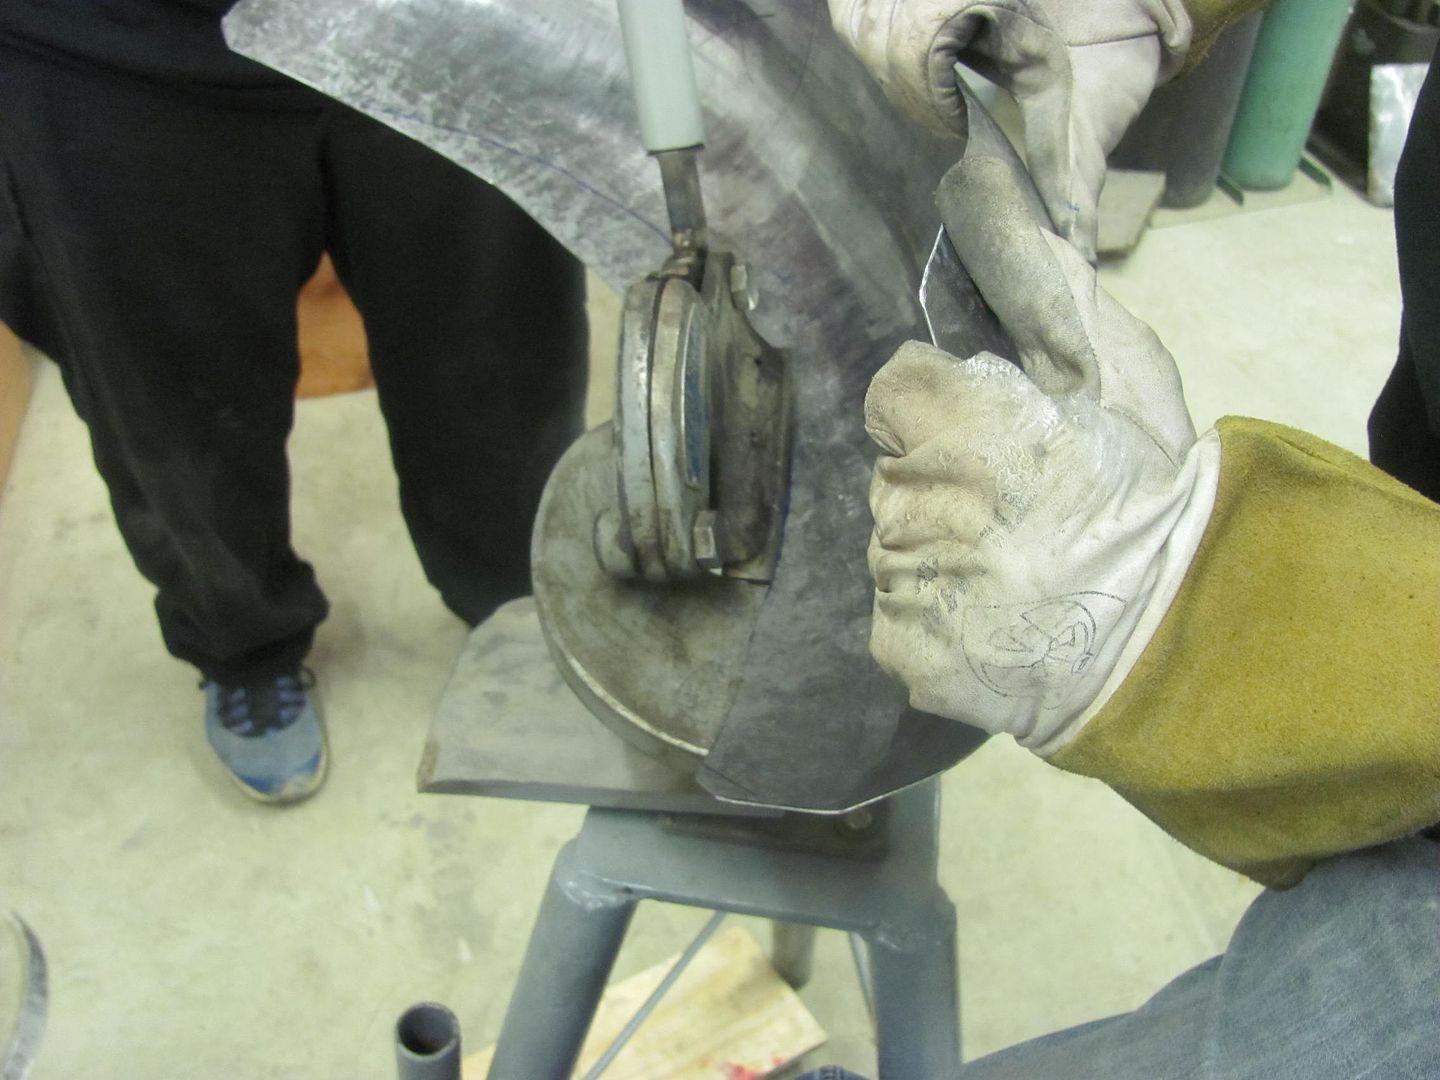
Project updates for todays class:
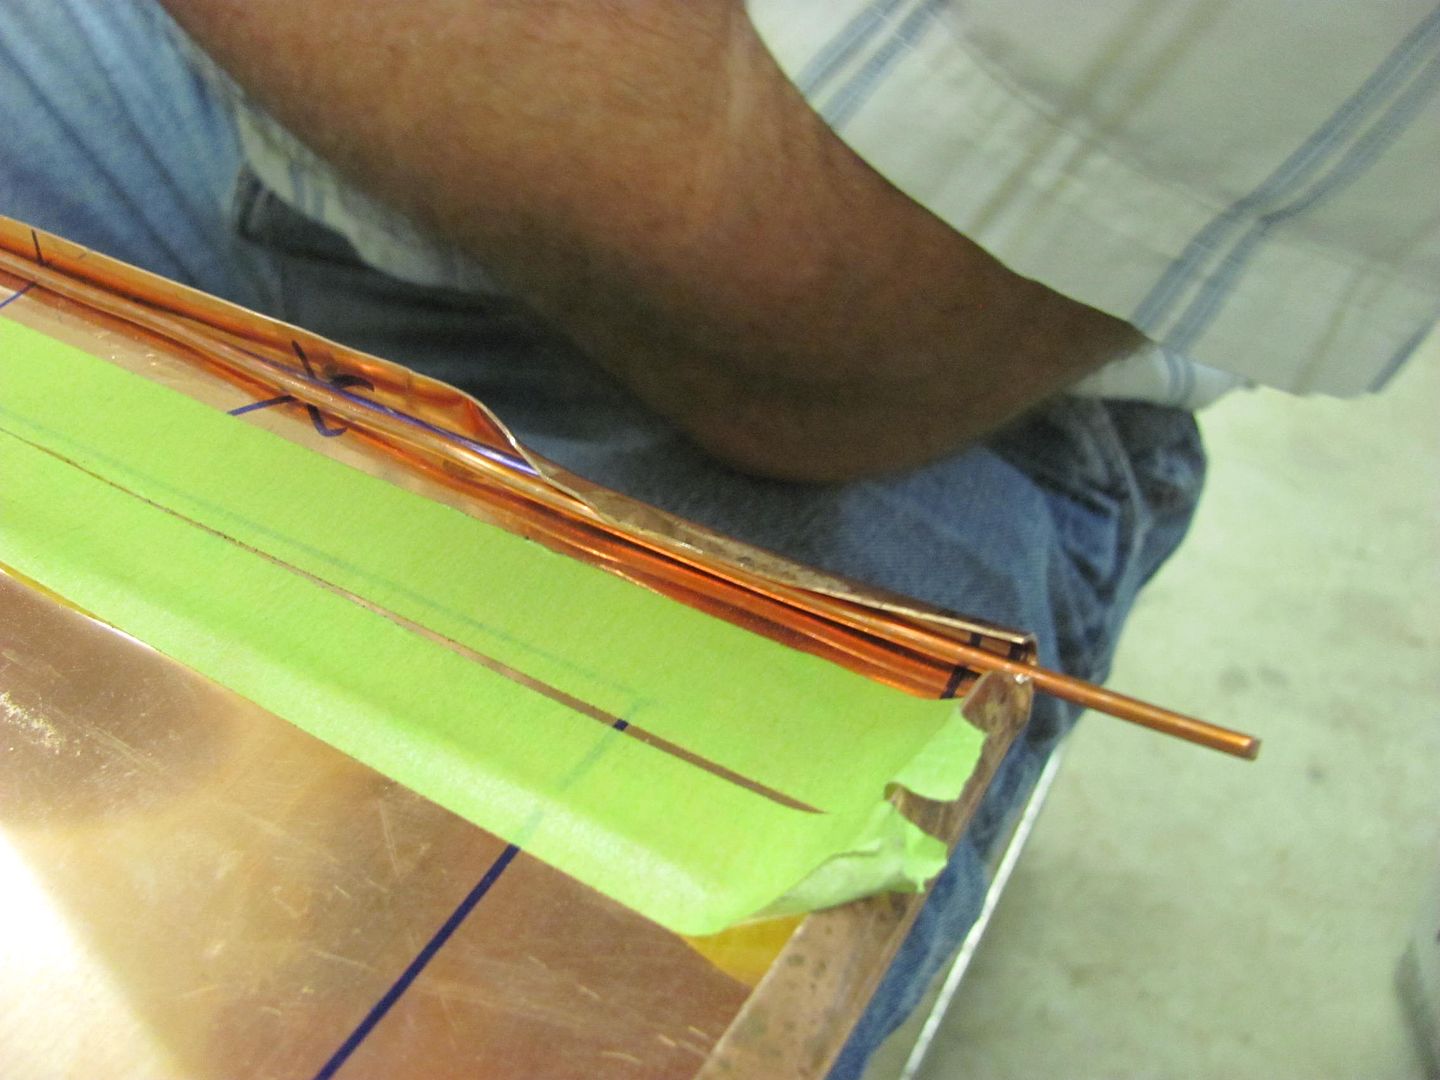
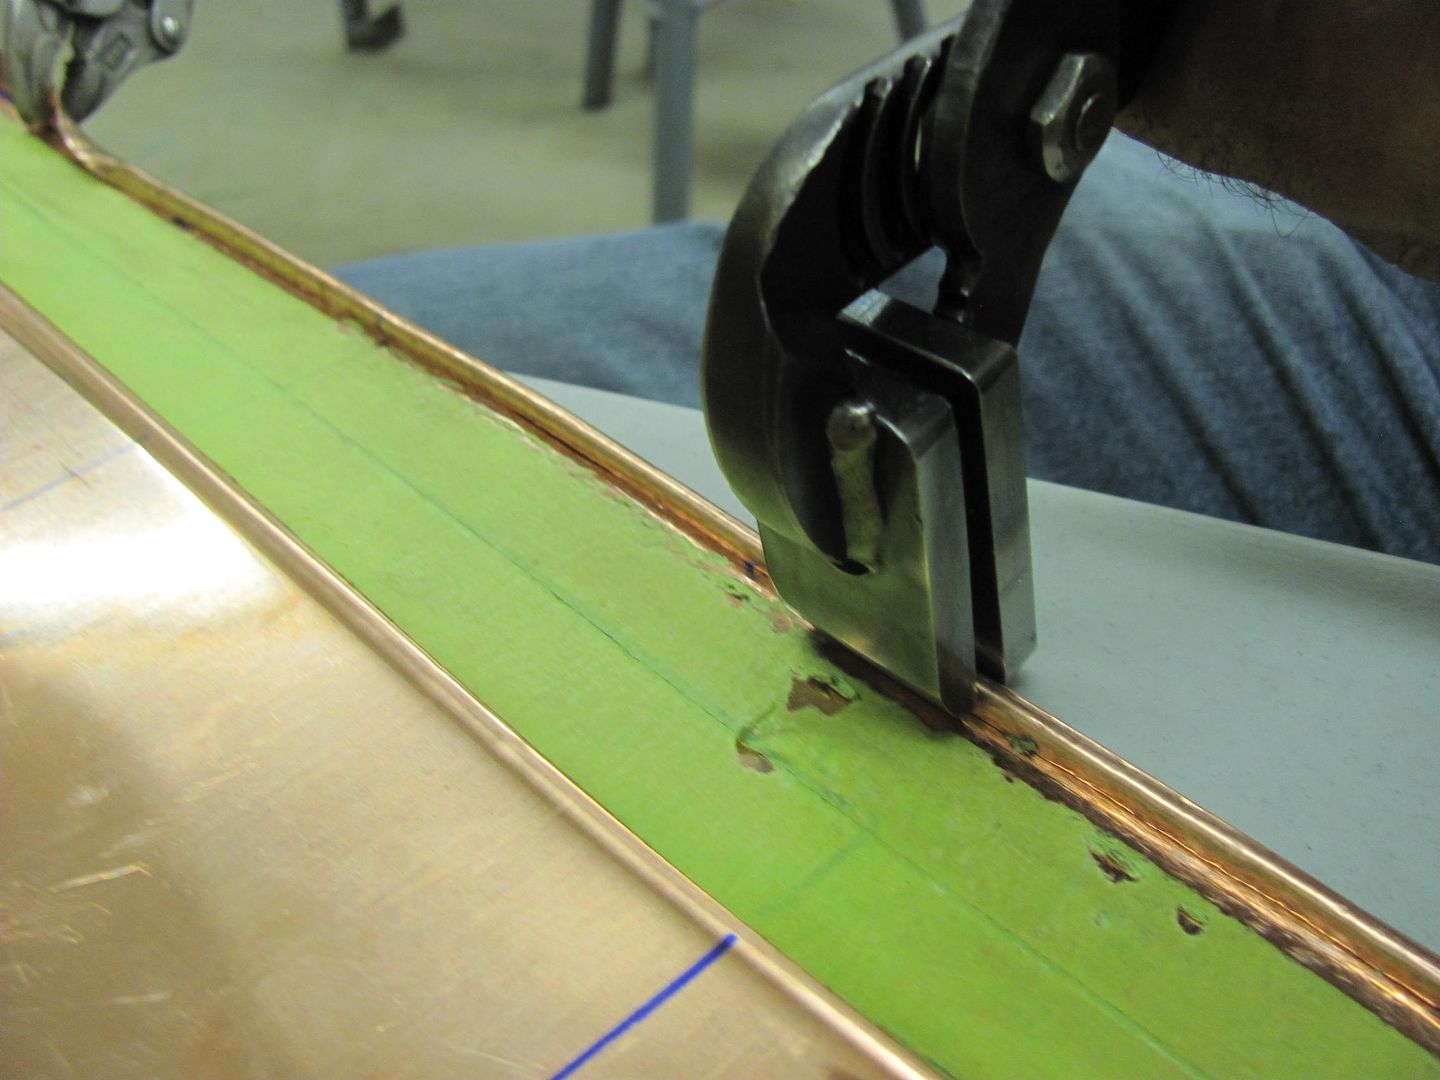
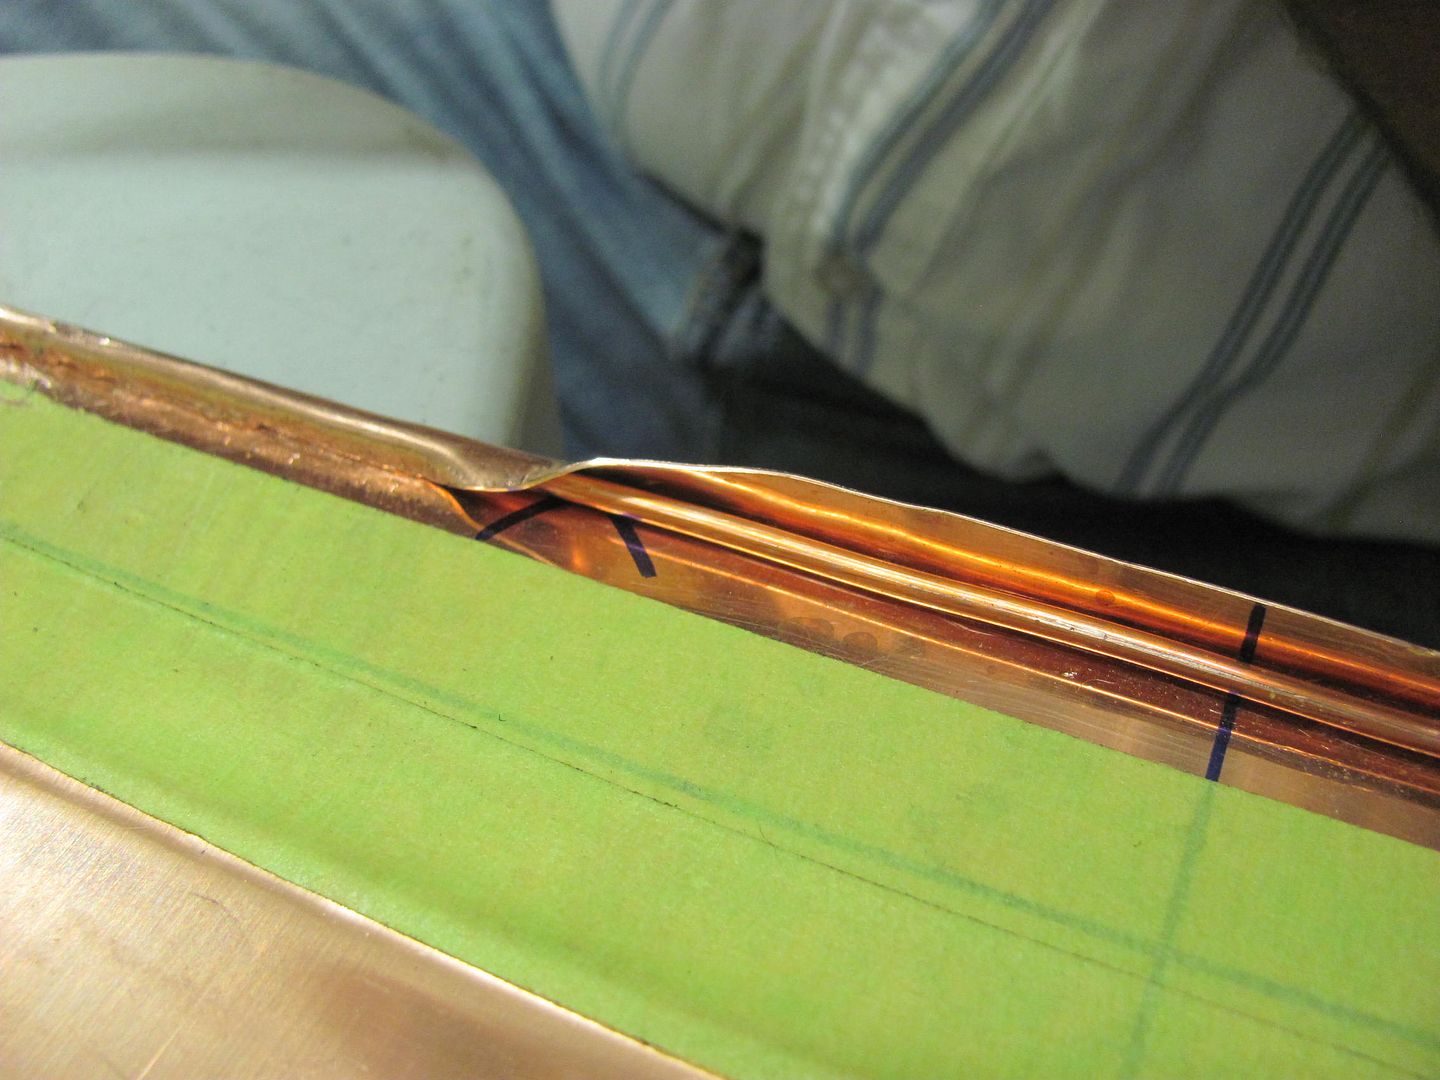
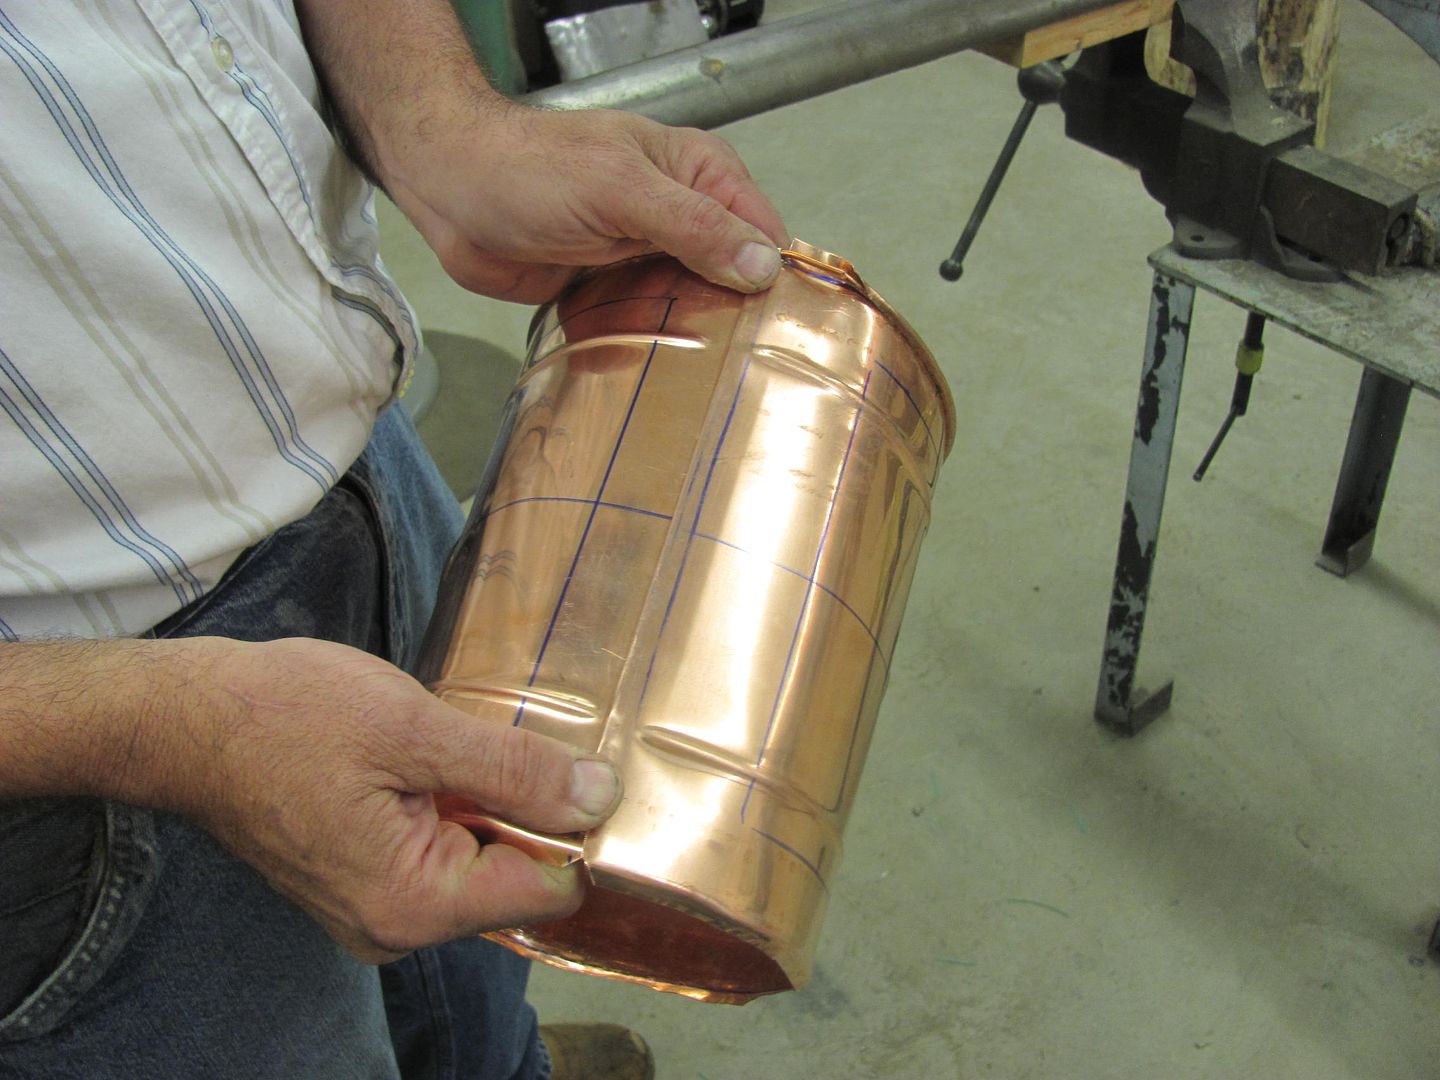
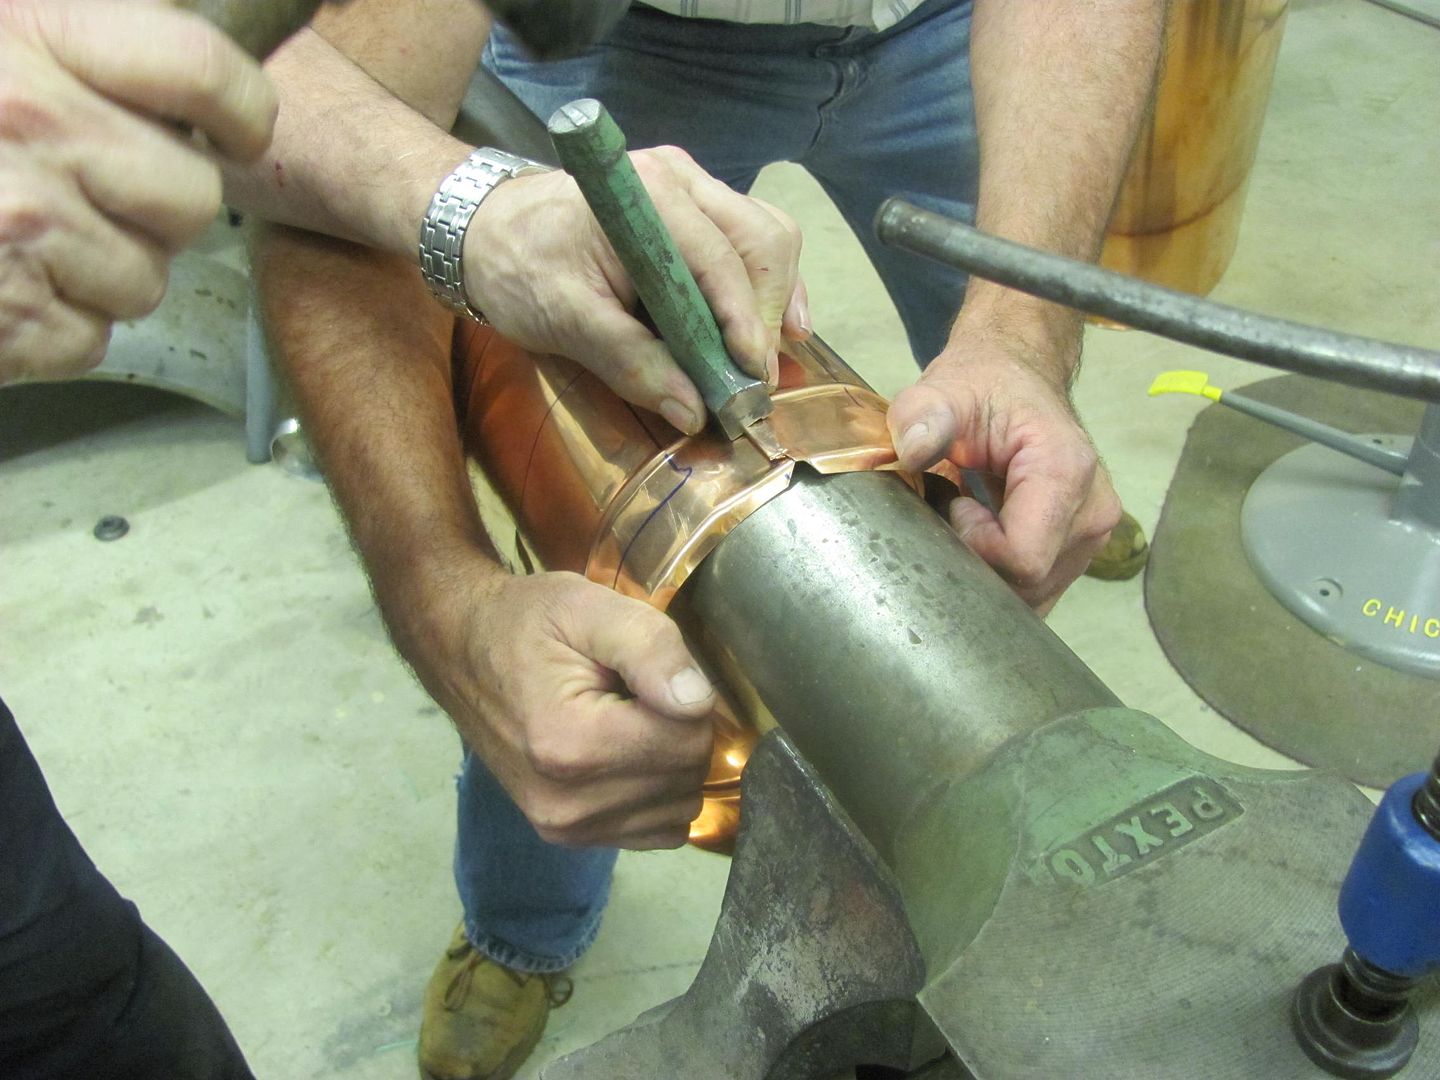
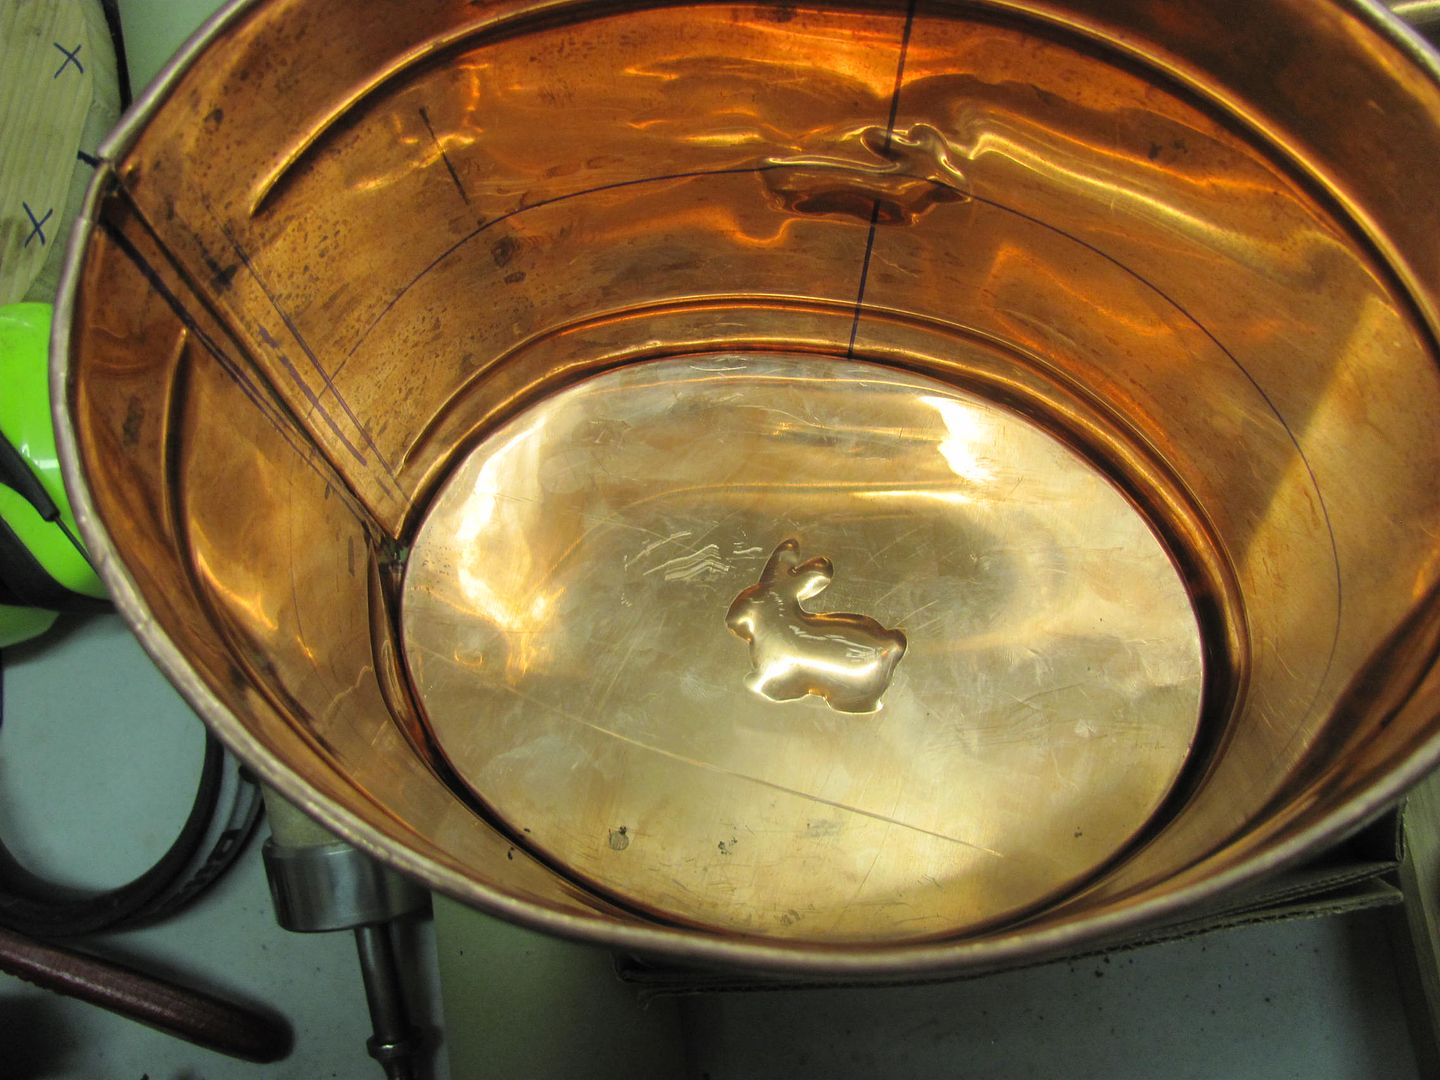
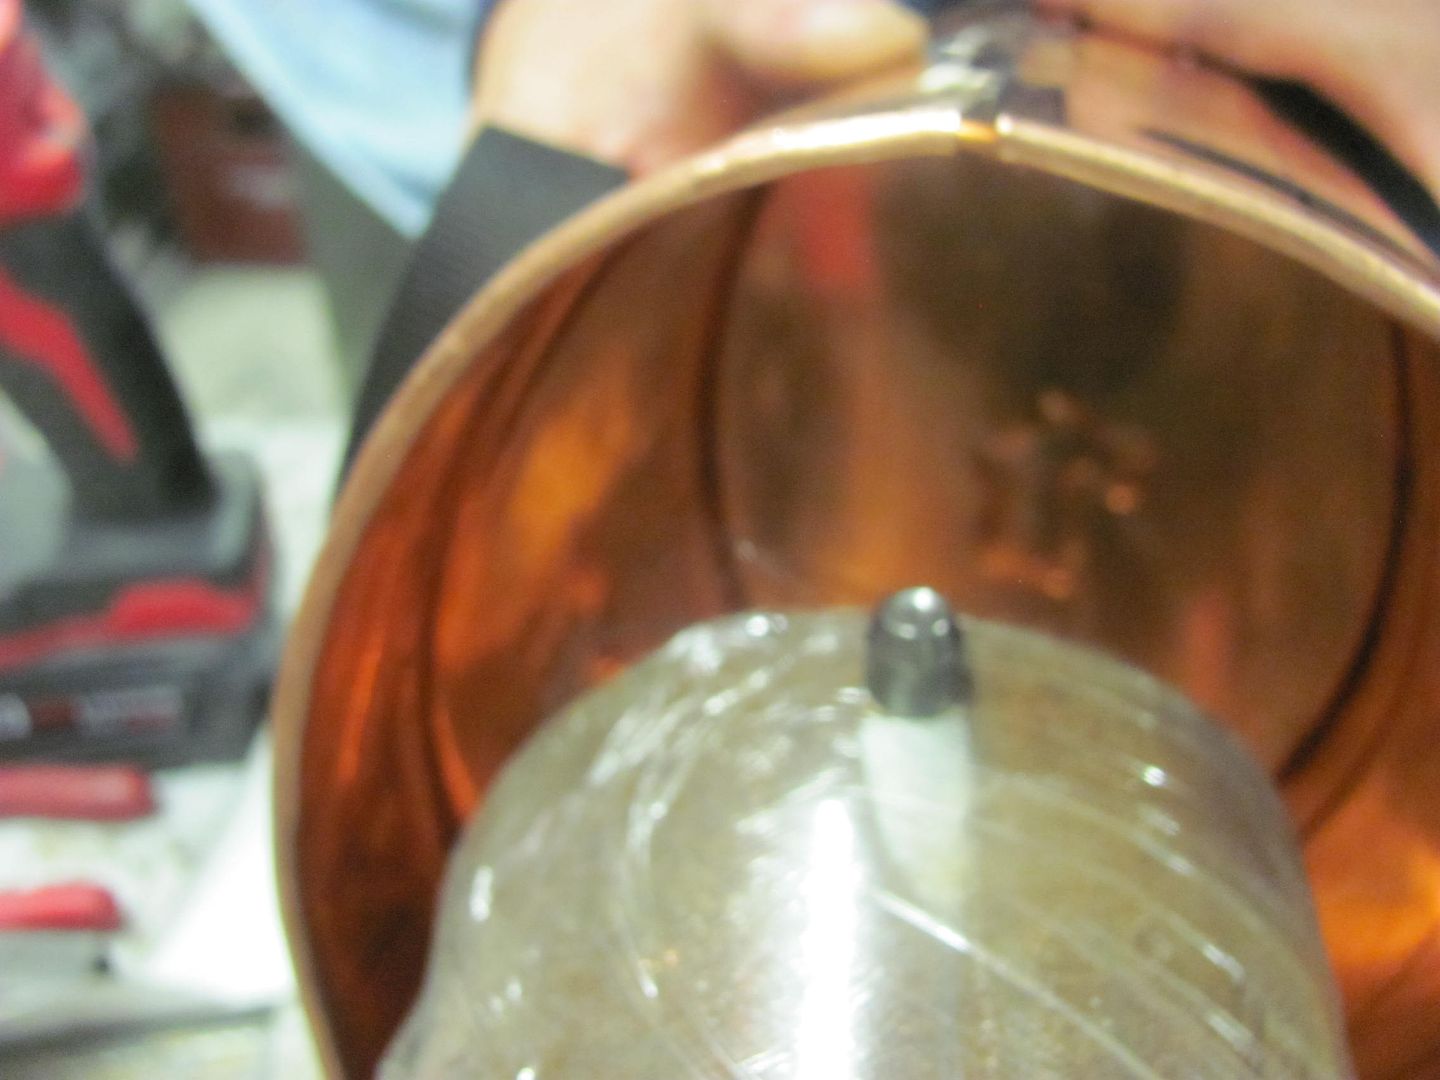
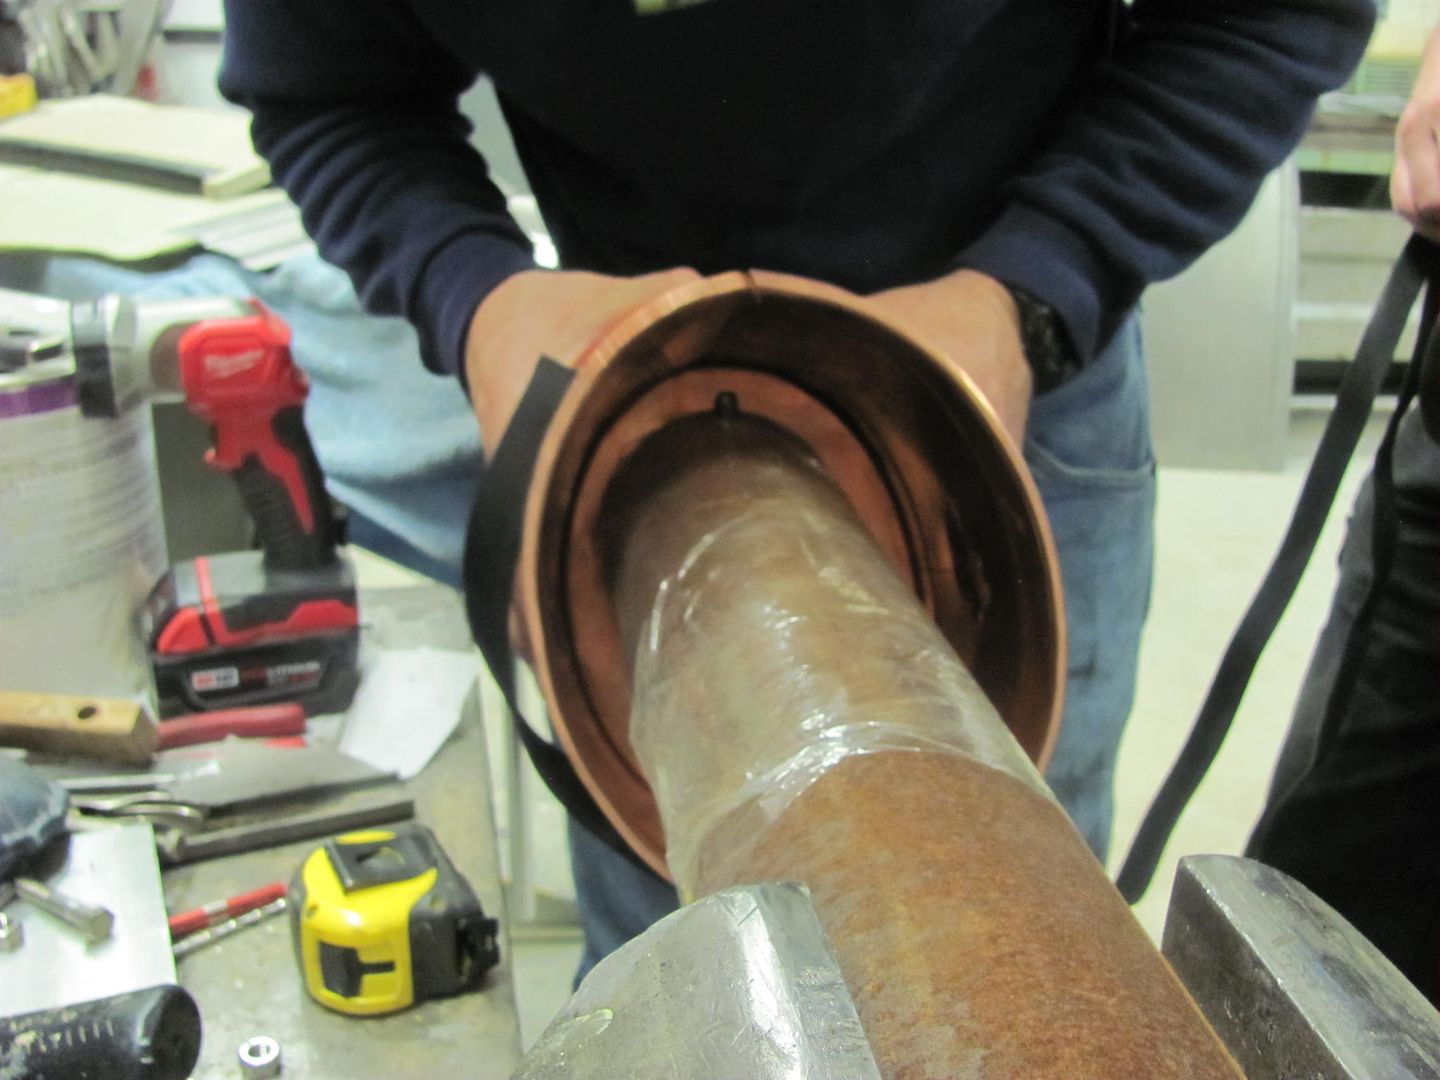
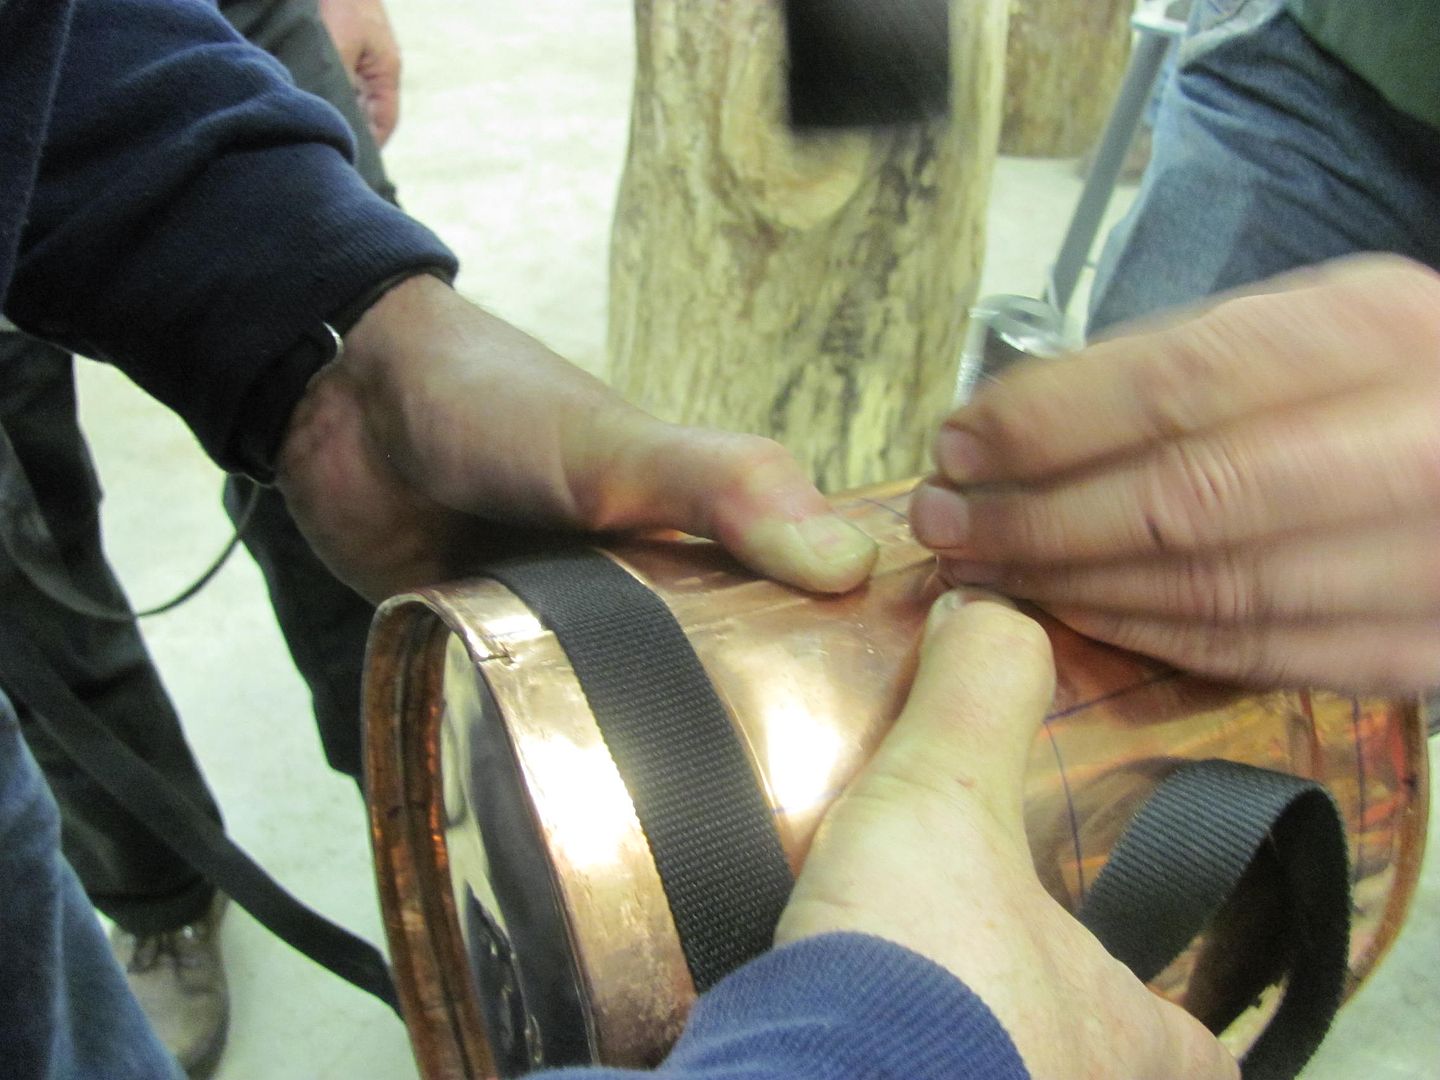
Wiring top edge of the copper trash can..
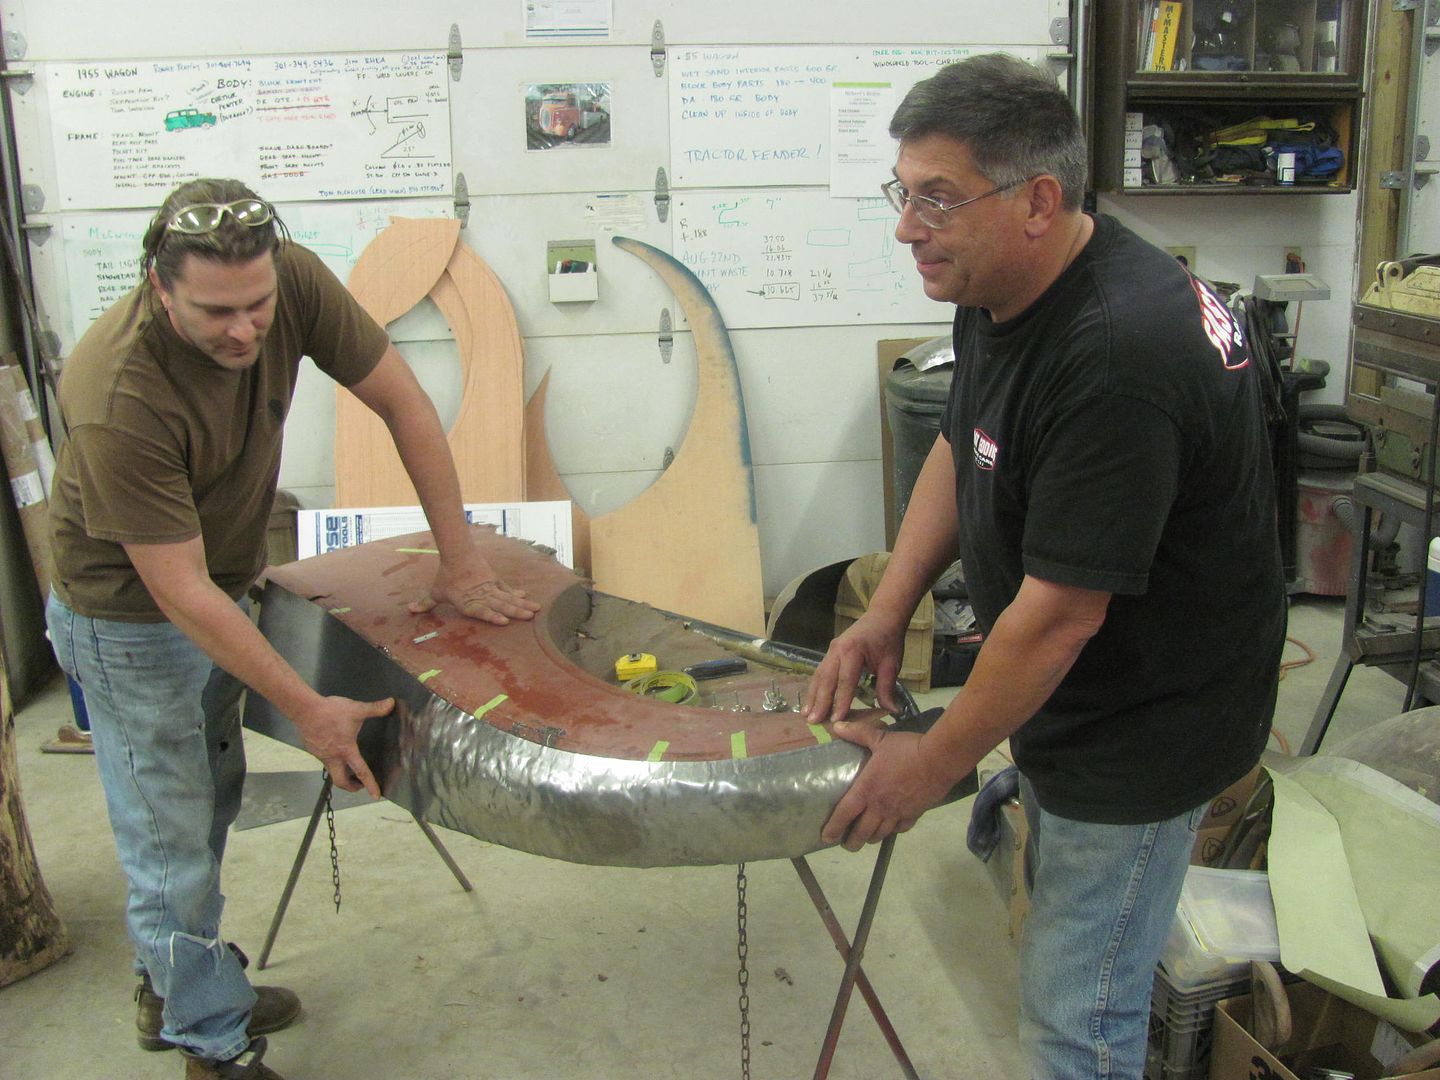
Roadster quarter, making dies for the upper bead detail....
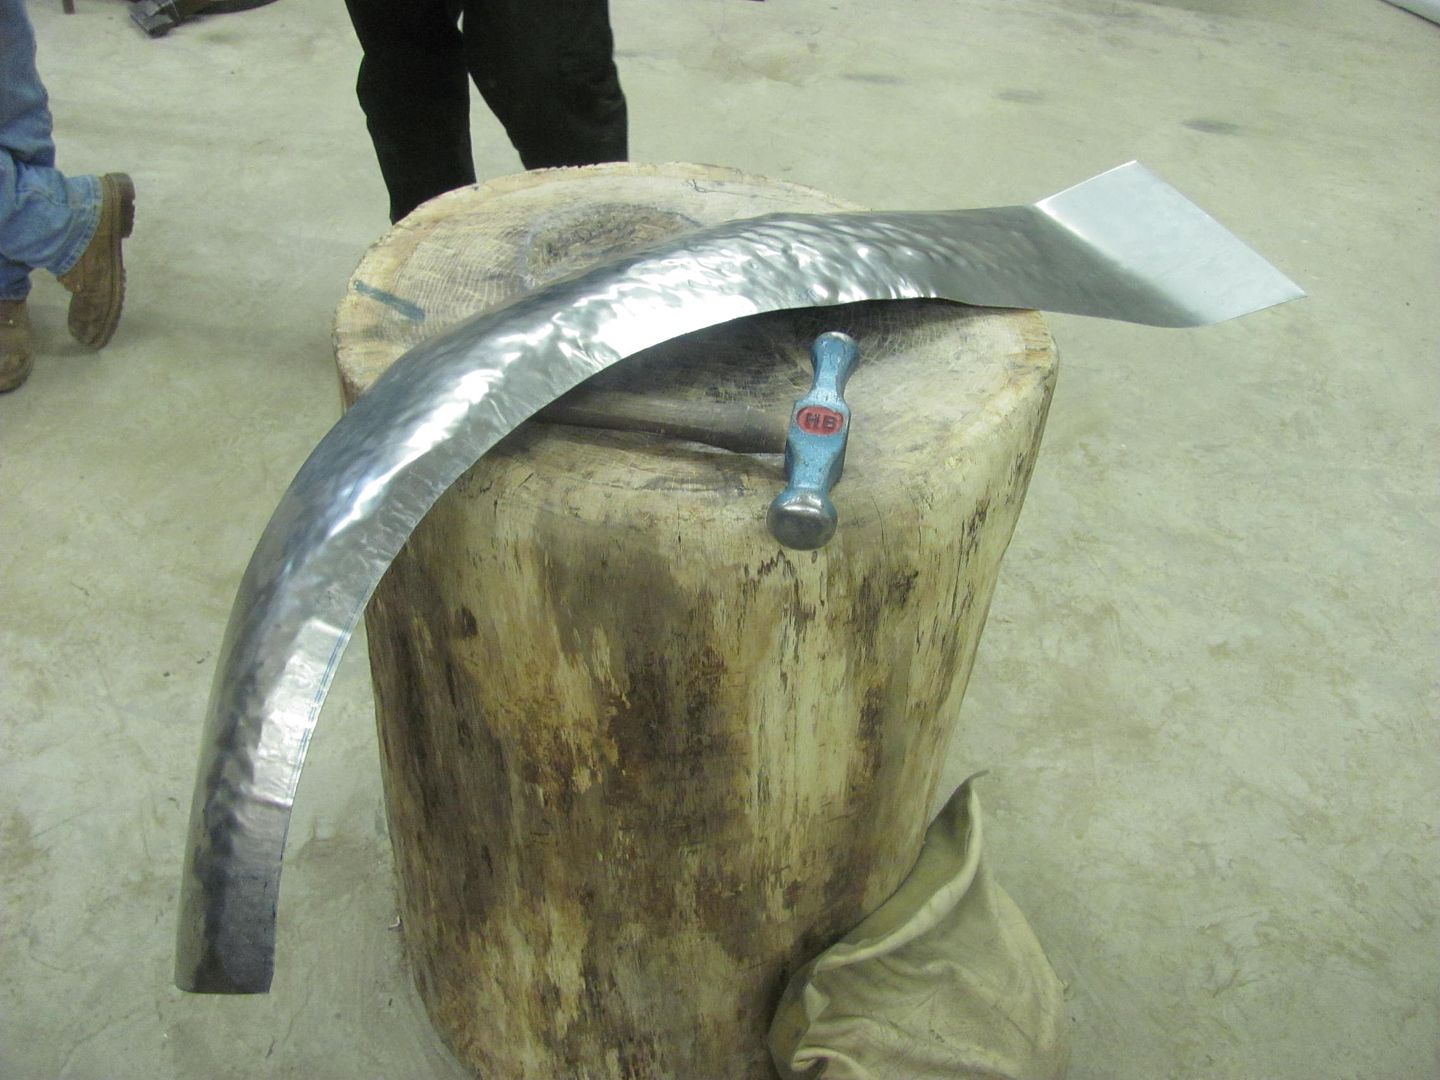
Sharpening the crease
A bit of shrinking....
Test fit...
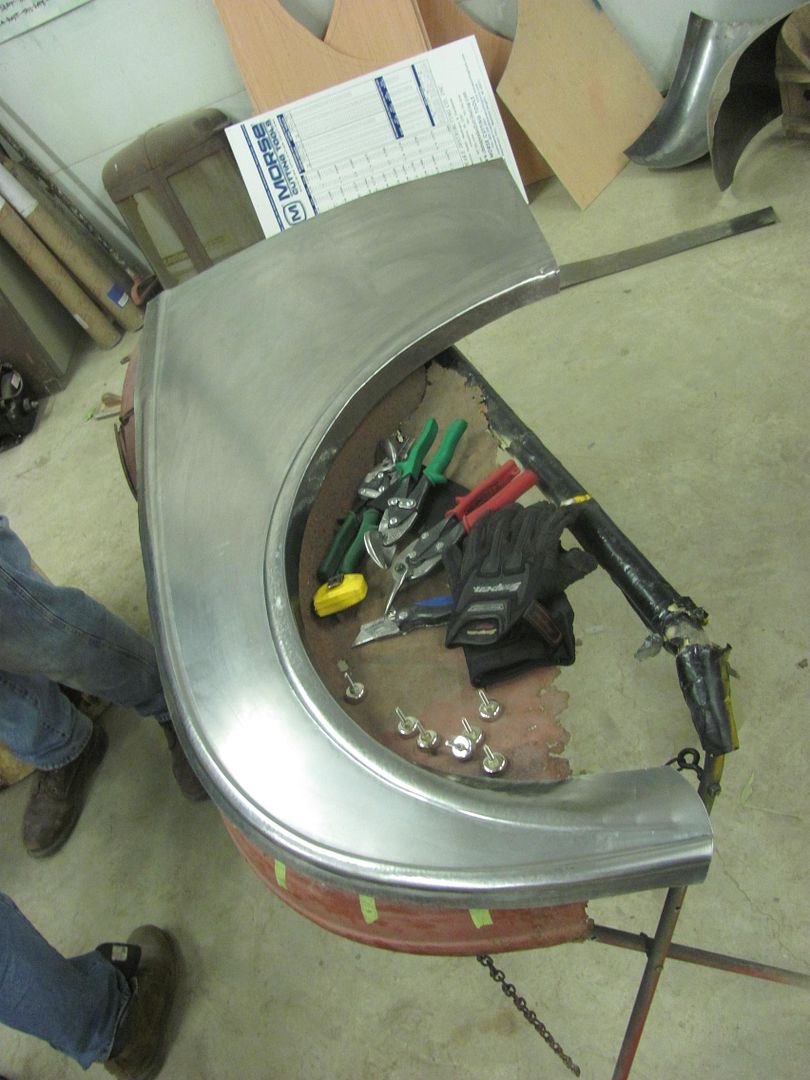
Marking for trimming the wheel opening...

Inside radius backstop

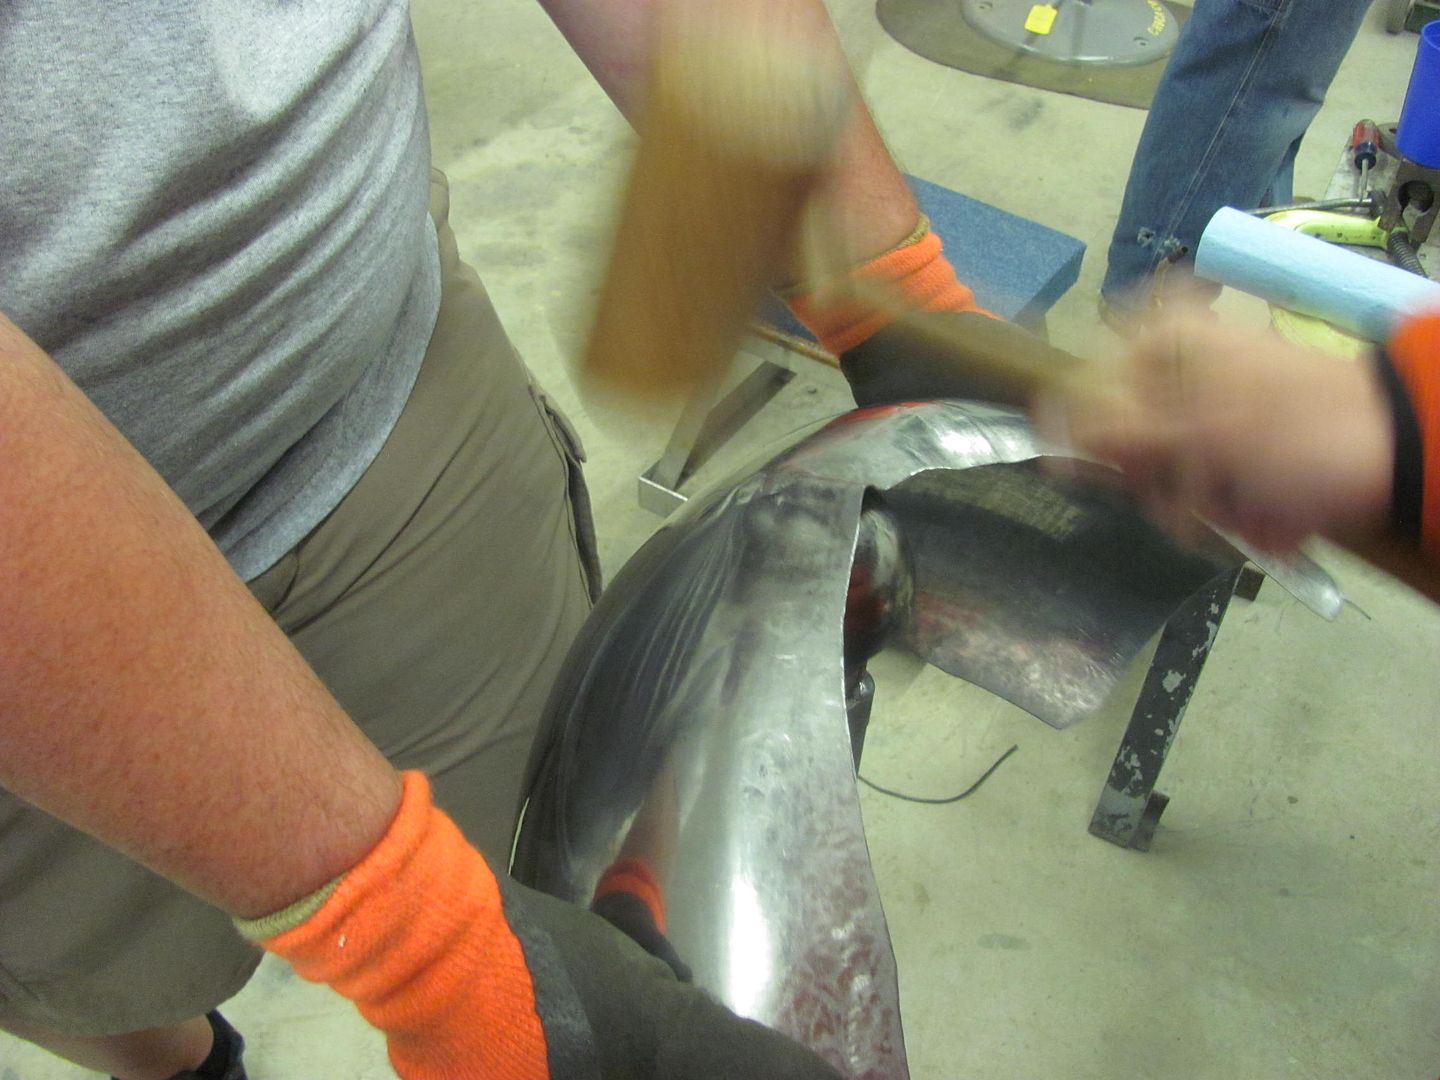
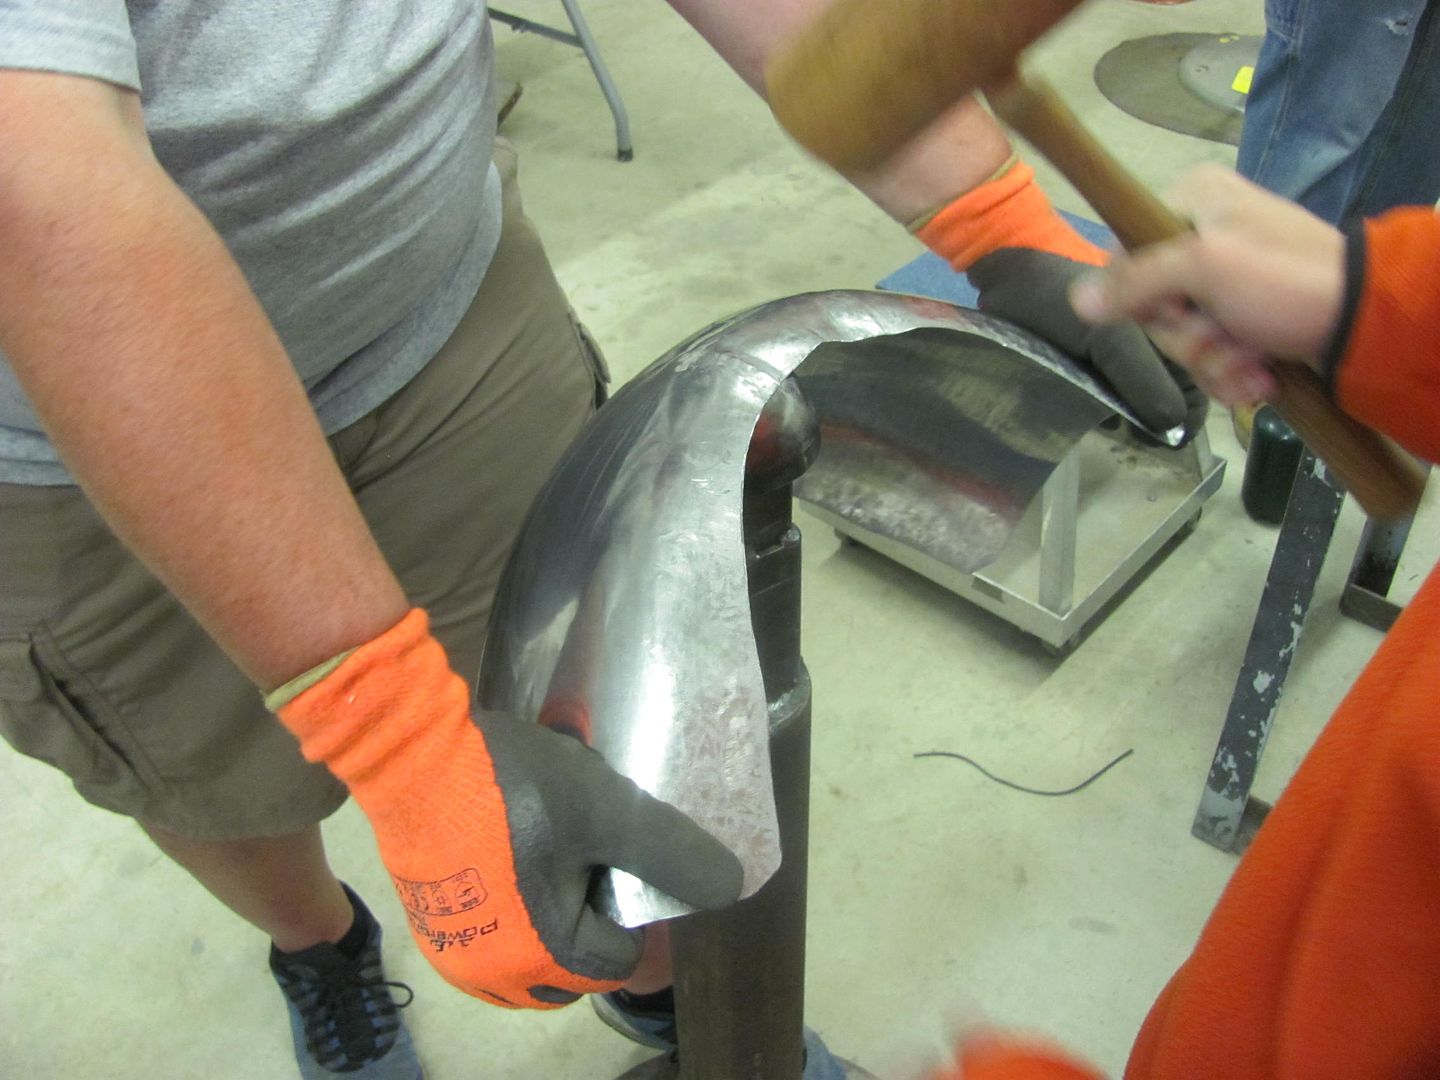
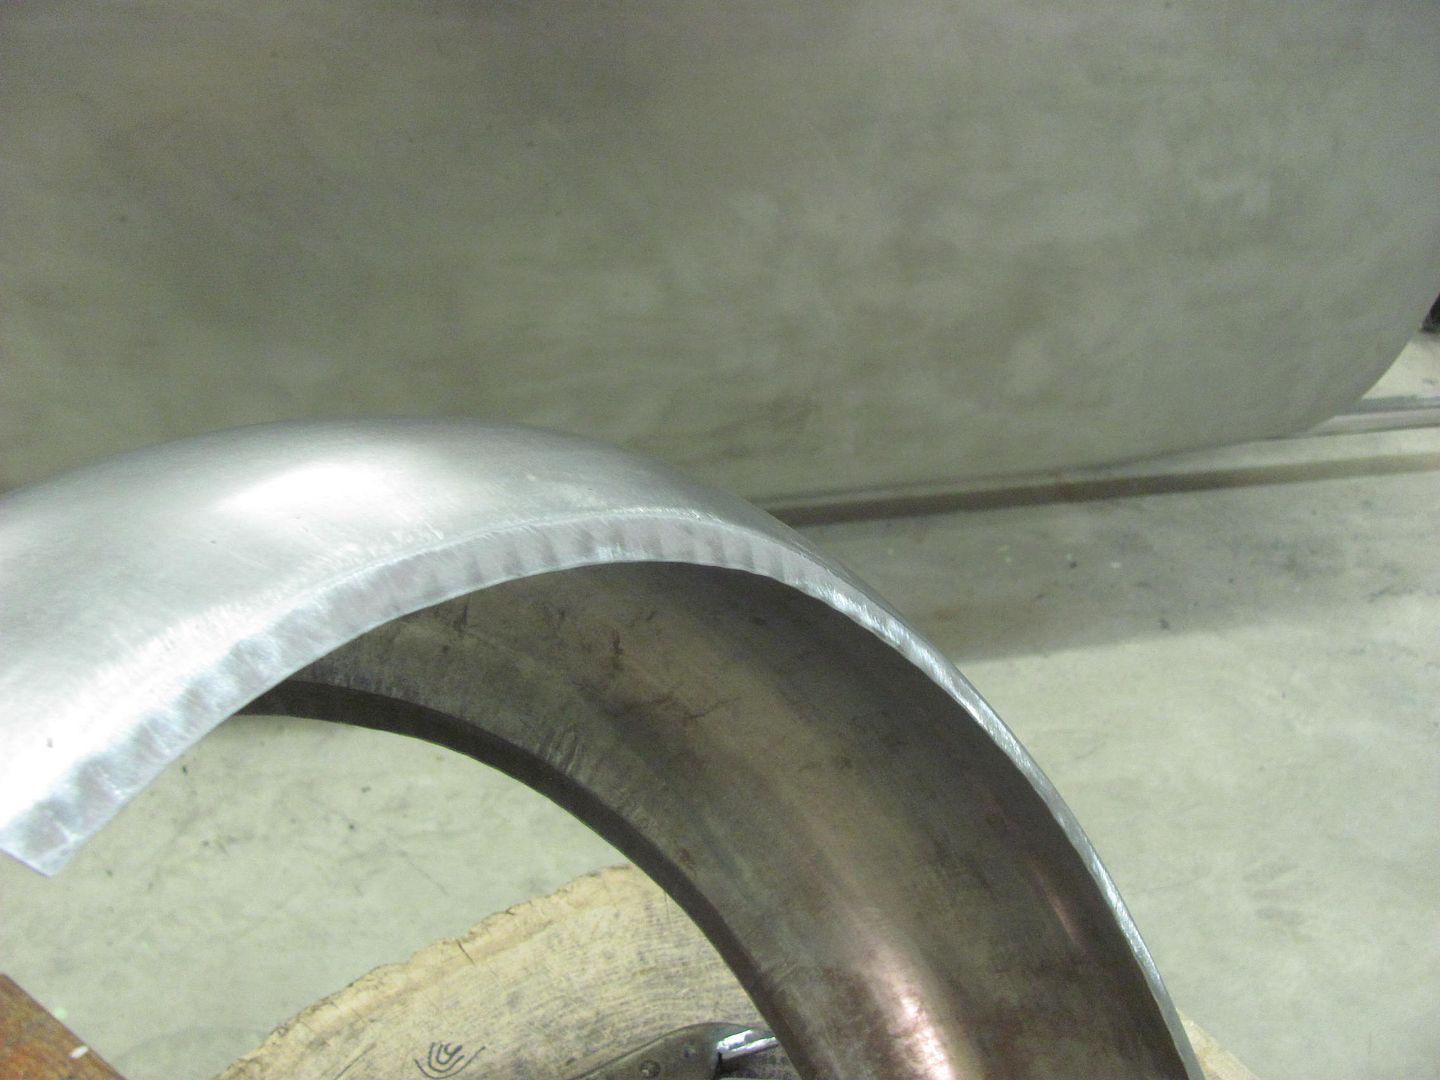
Scooter fender...
Trimming...
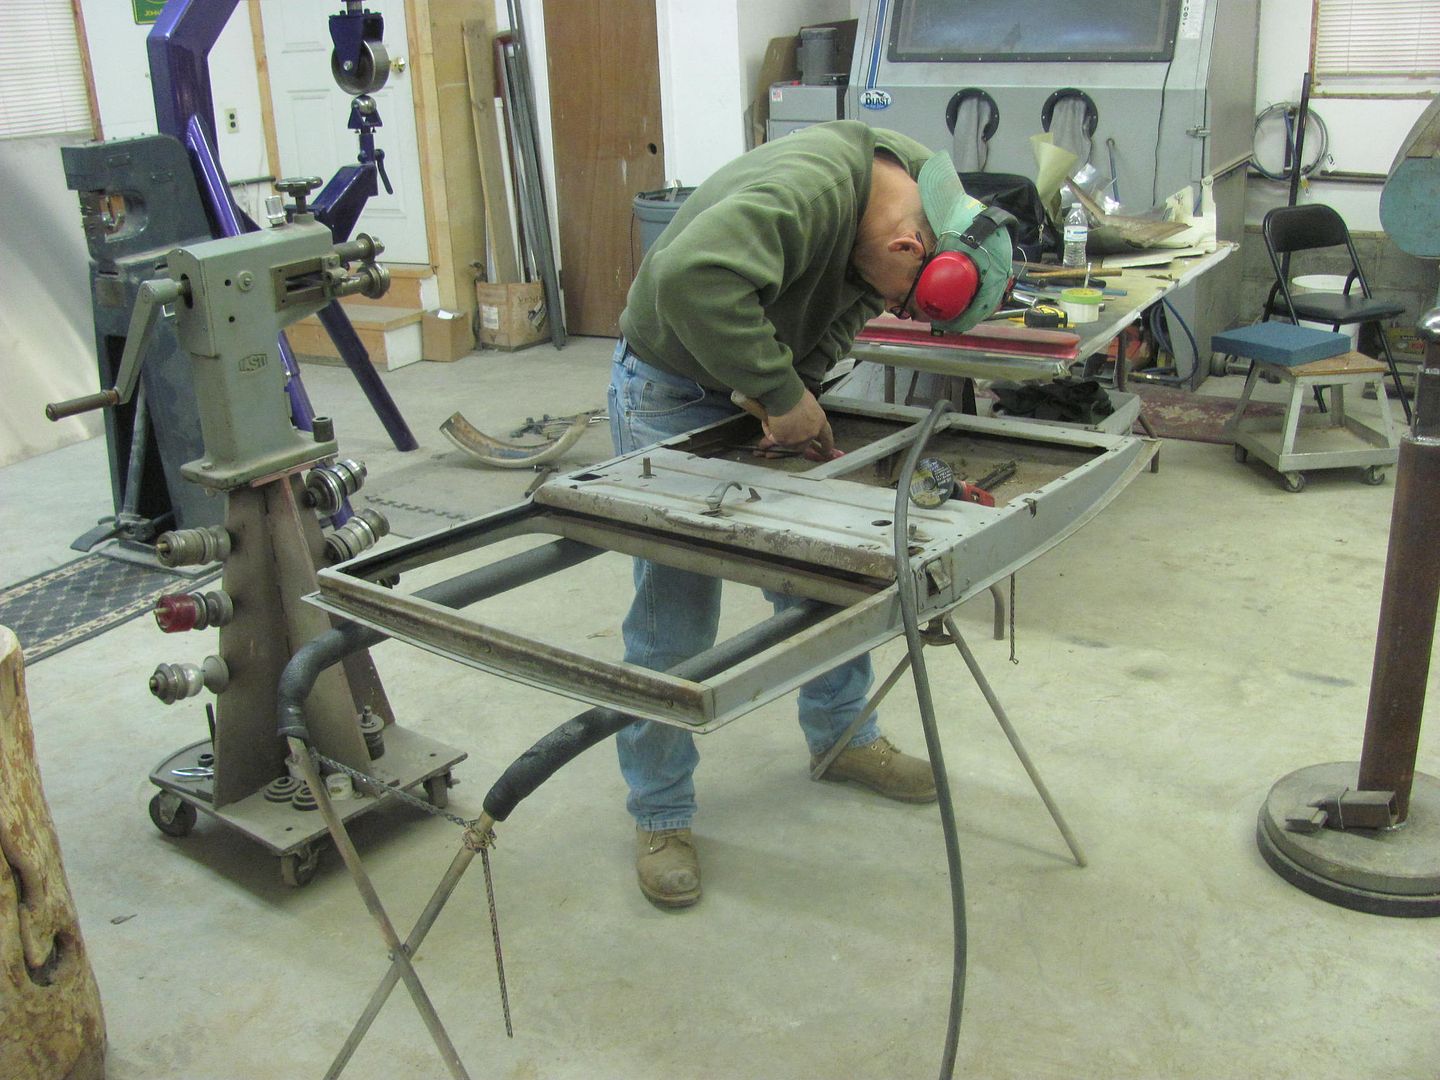
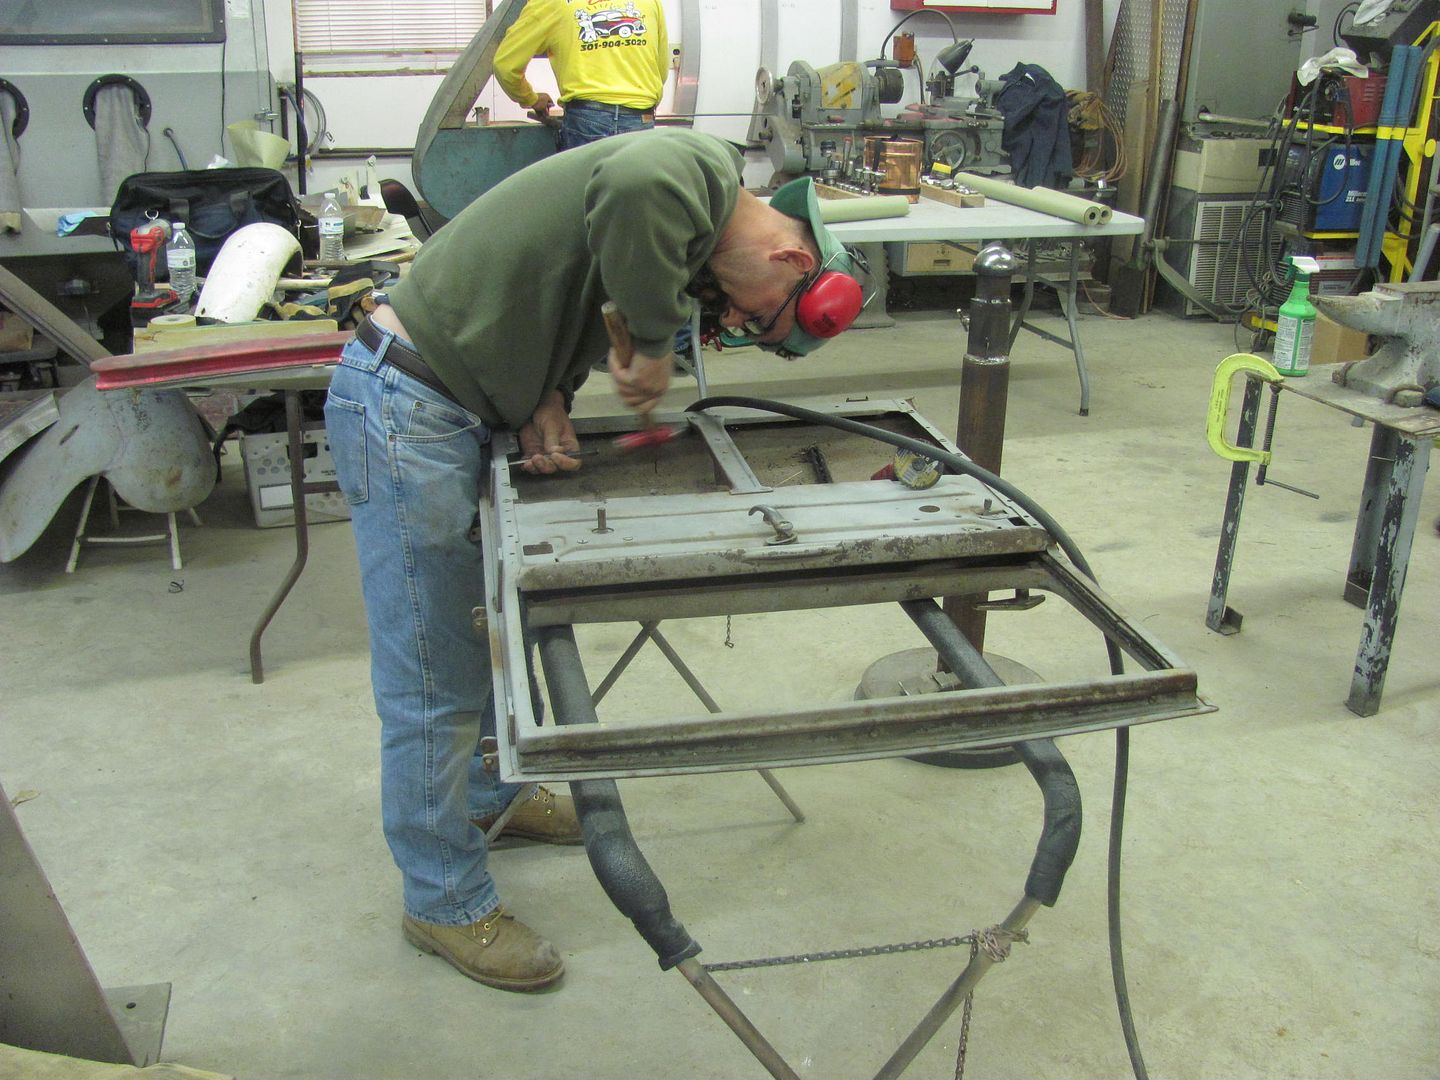
Prepping for Sport Coupe door skin removal
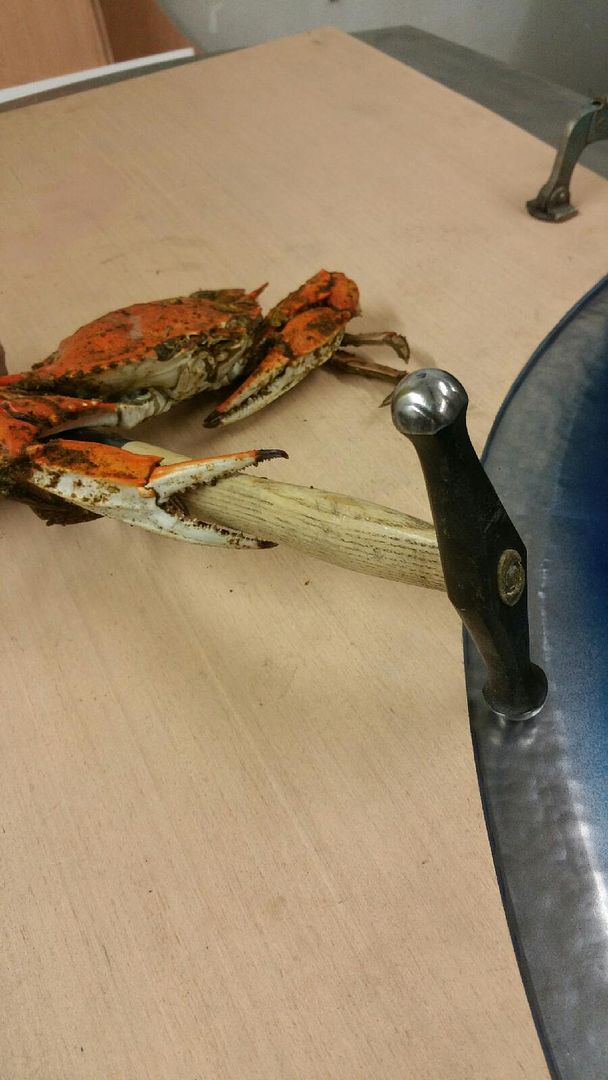
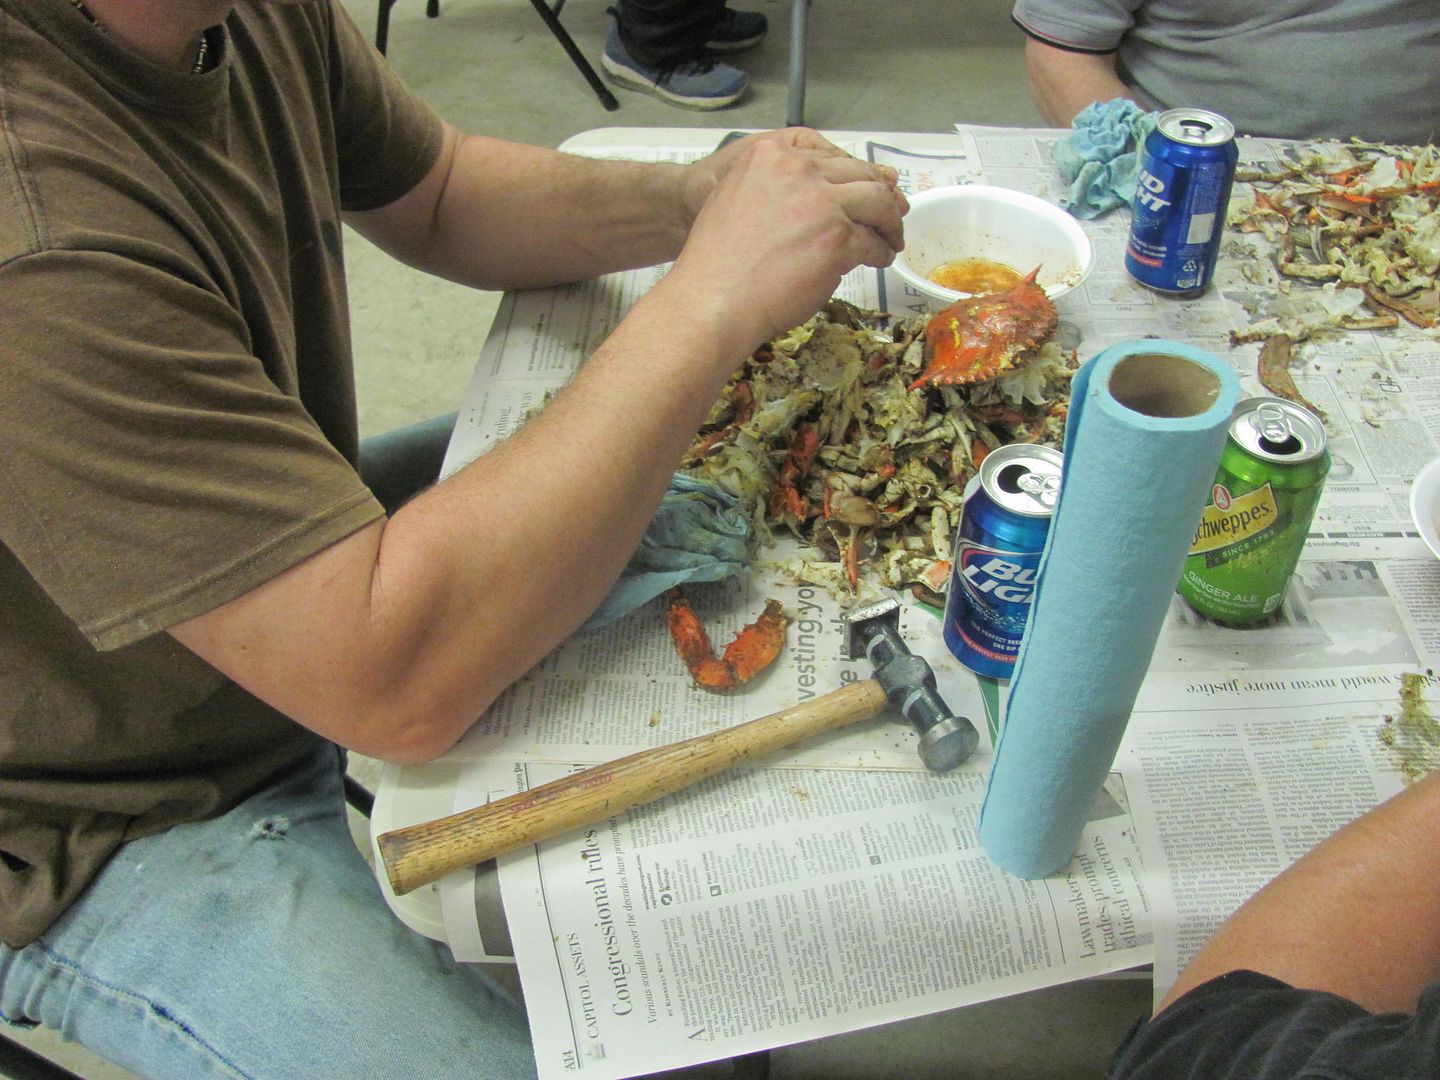
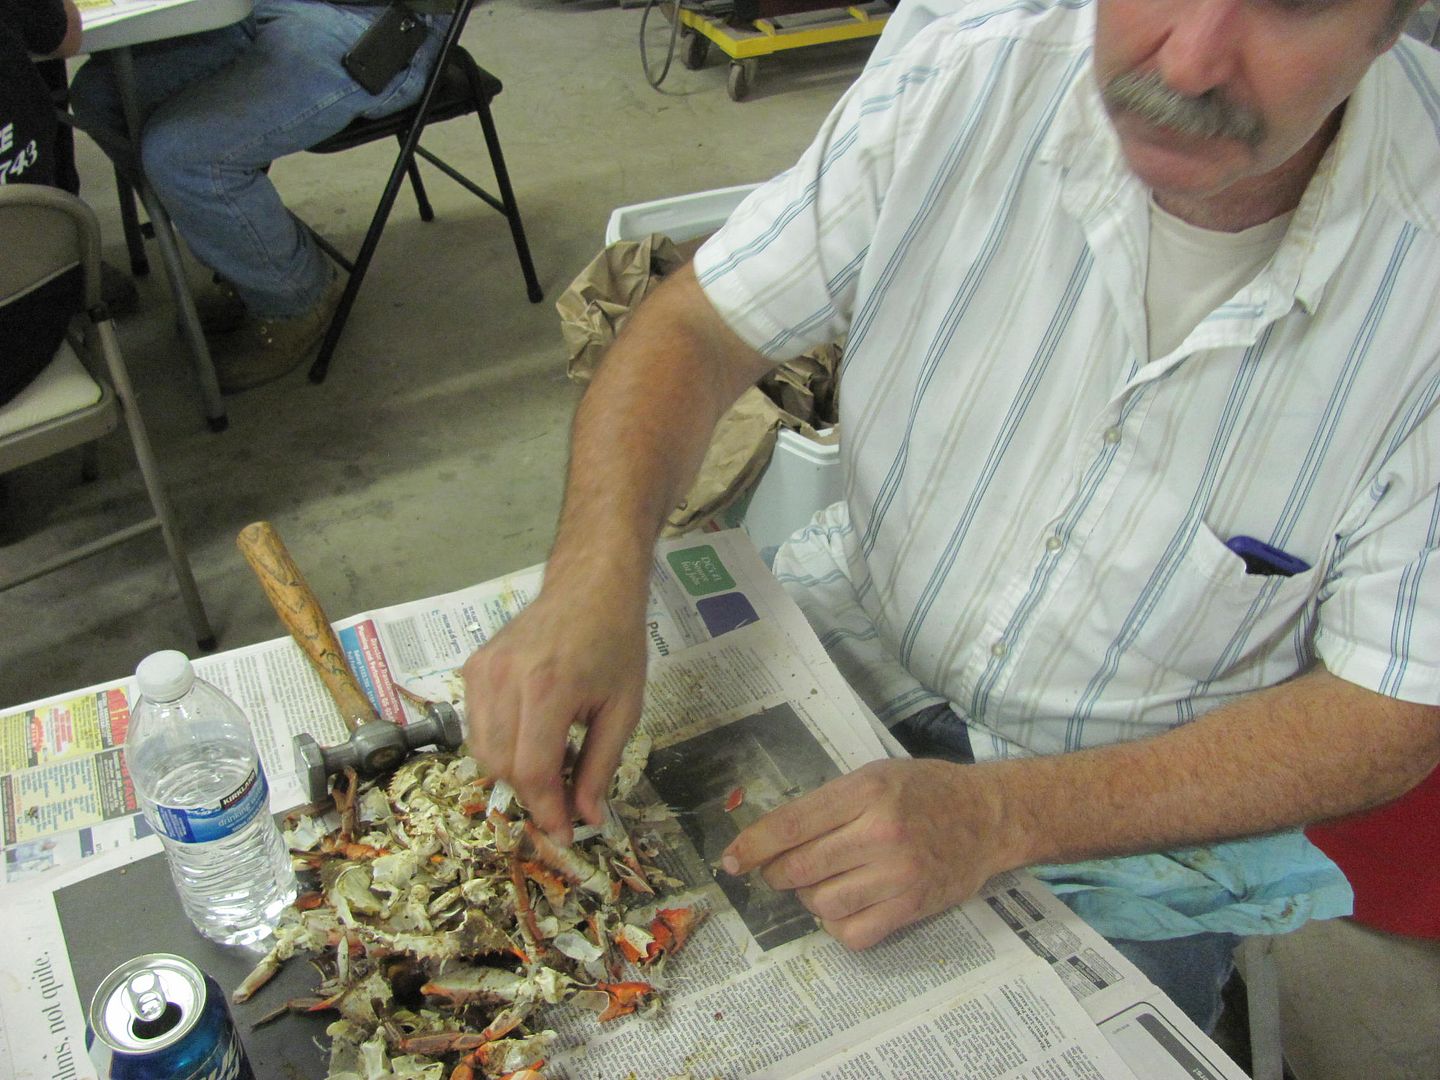
We took a short break for a Maryland treat...
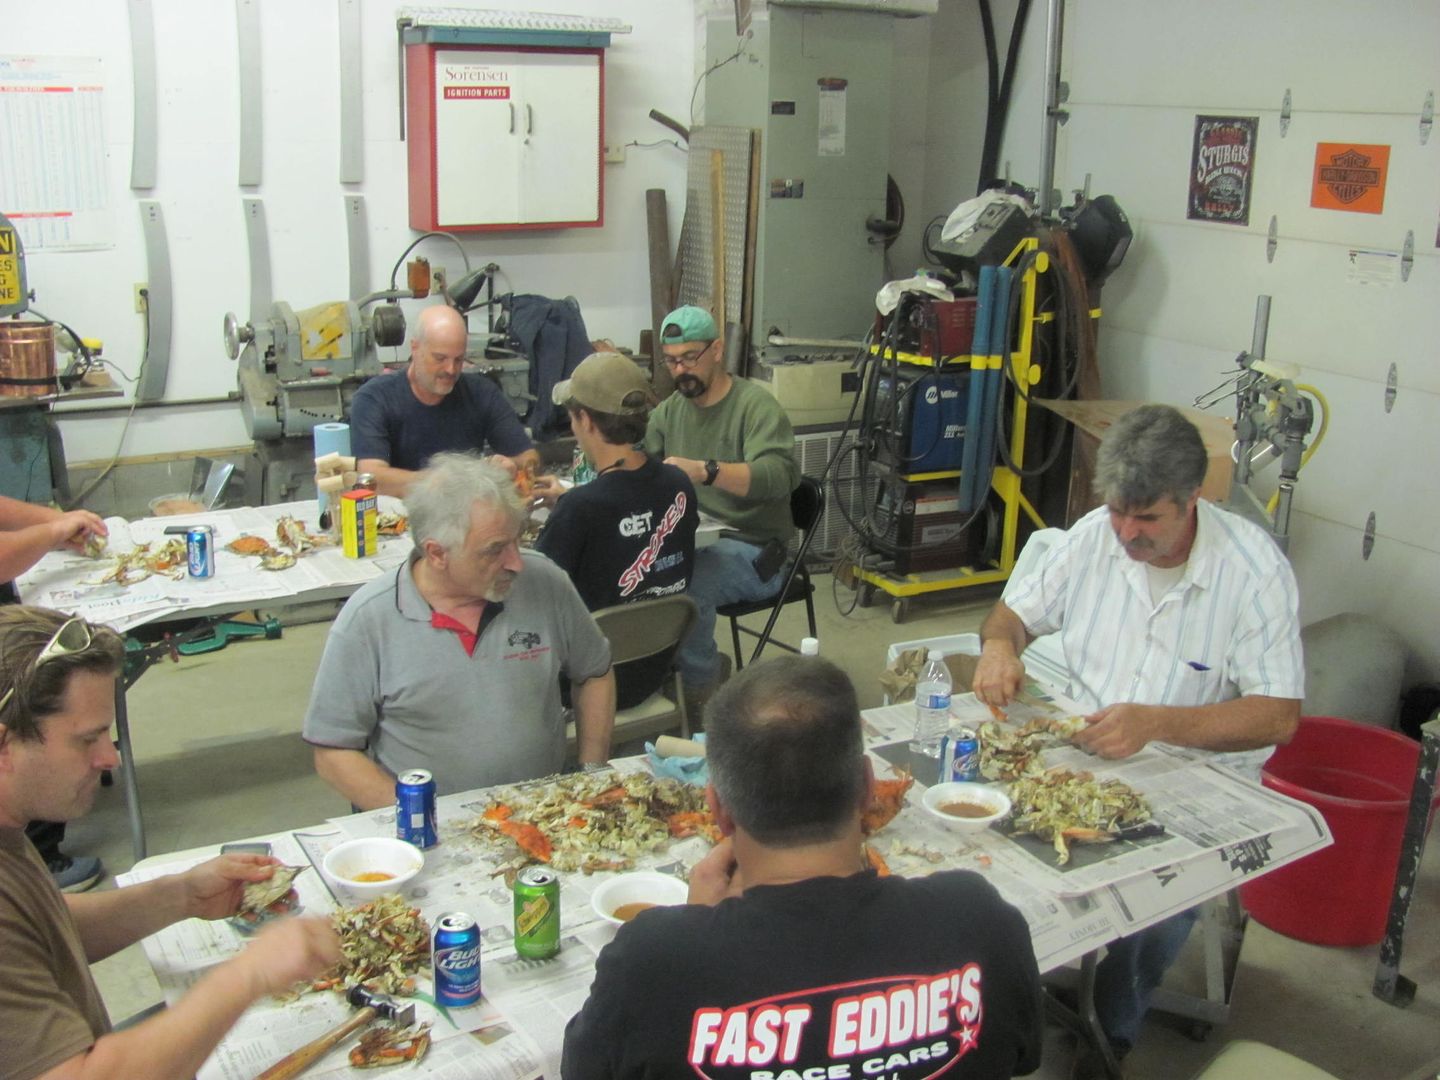
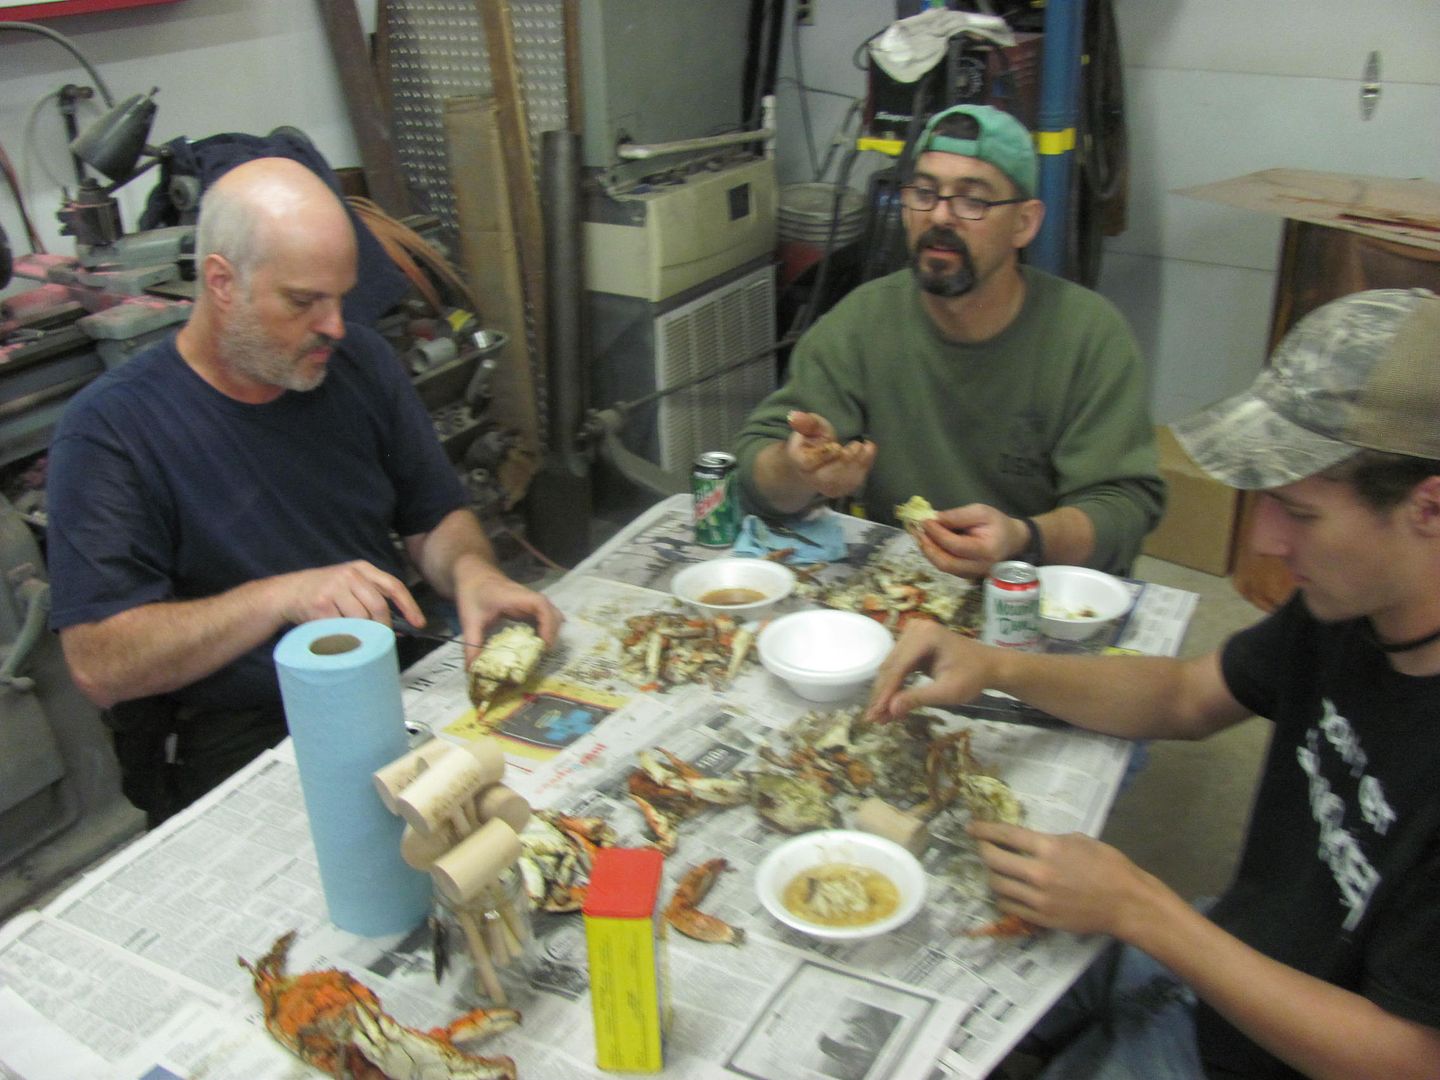
of course, using only the correct utensils....
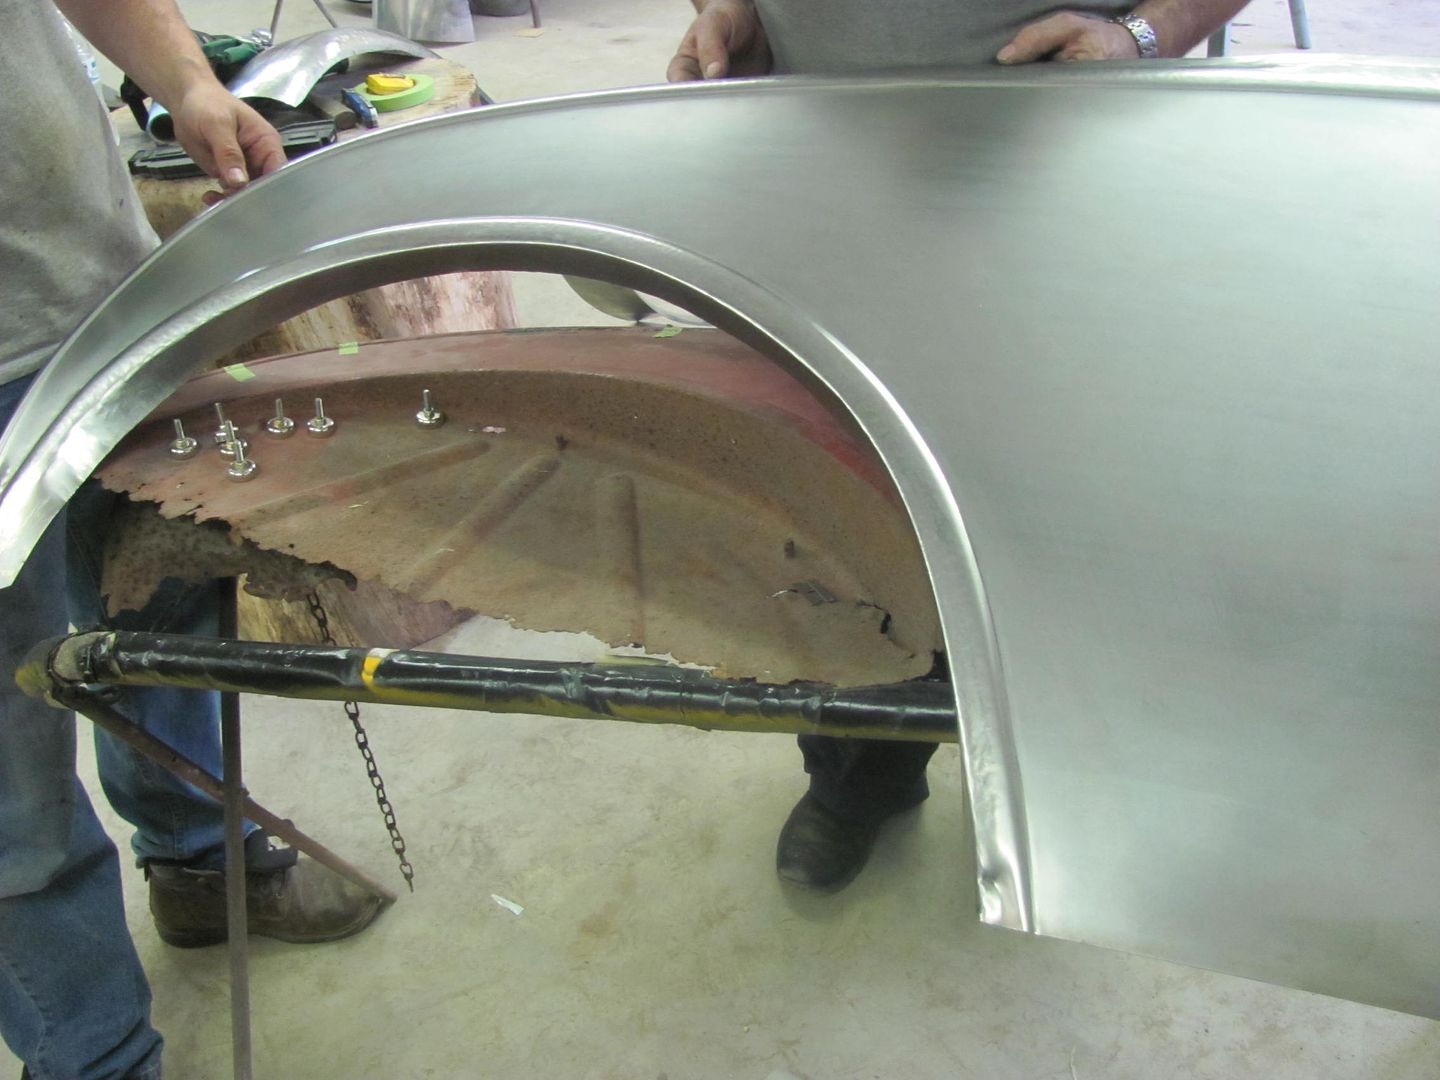
Blocking the top section of the roadster quarter.....
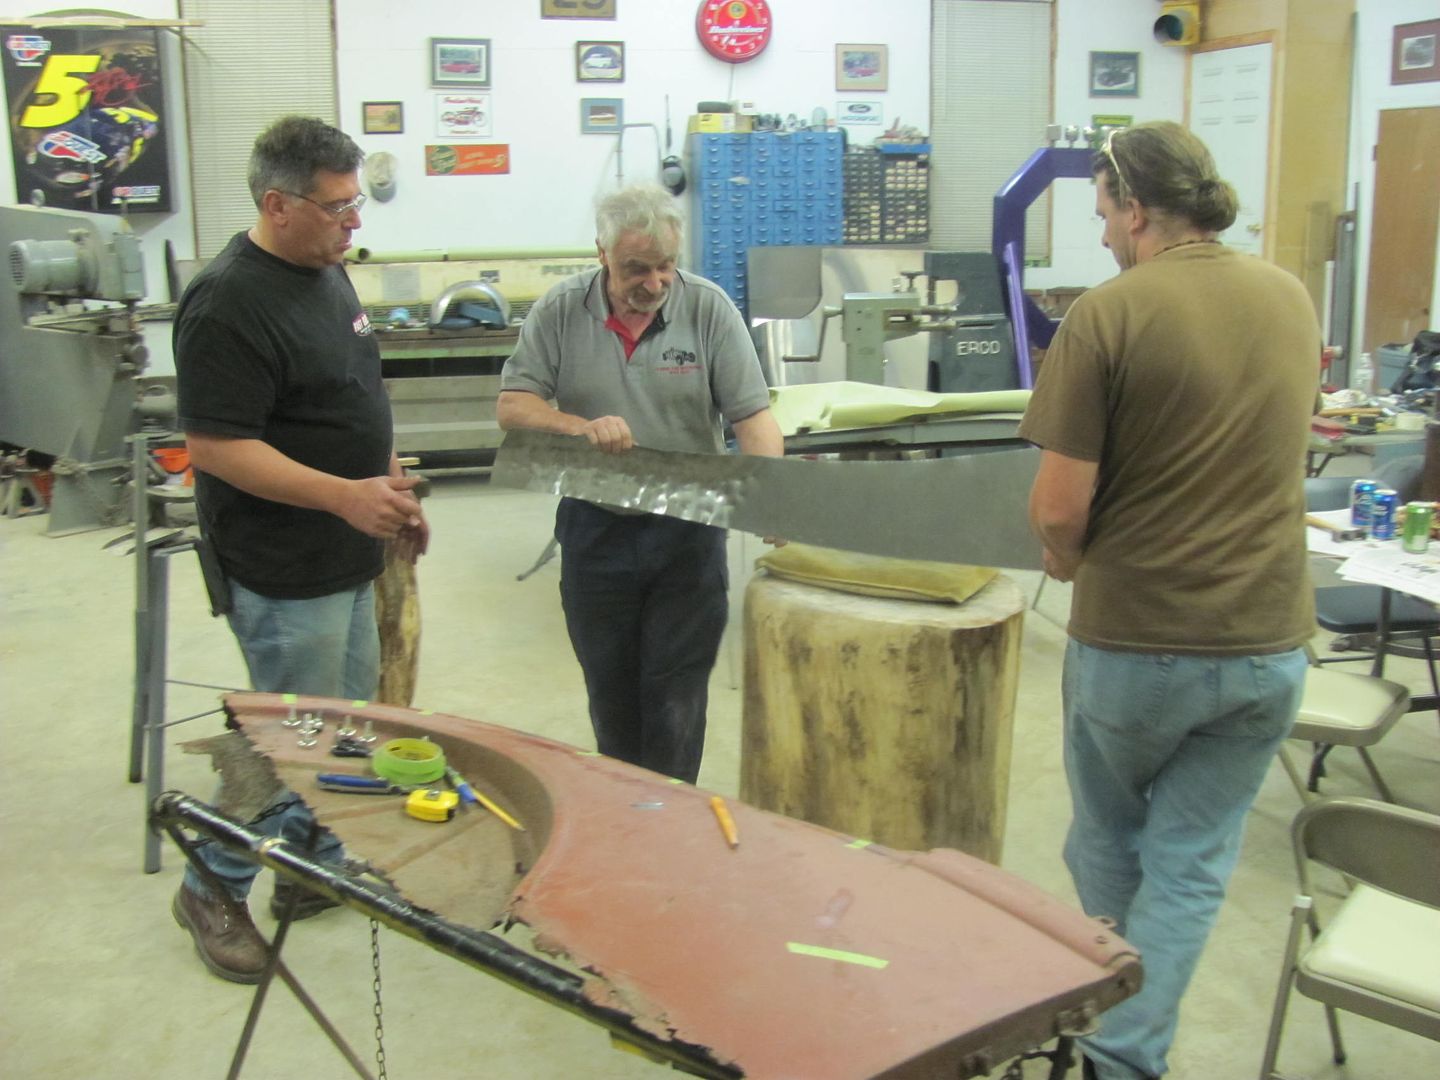
Wiring top edge of the copper trash can..
Roadster quarter, making dies for the upper bead detail....
Sharpening the crease
A bit of shrinking....
Test fit...
Marking for trimming the wheel opening...
Inside radius backstop
Scooter fender...
Trimming...
Prepping for Sport Coupe door skin removal
We took a short break for a Maryland treat...
of course, using only the correct utensils....
Blocking the top section of the roadster quarter.....
Final update of the class, pictures from yesterday.
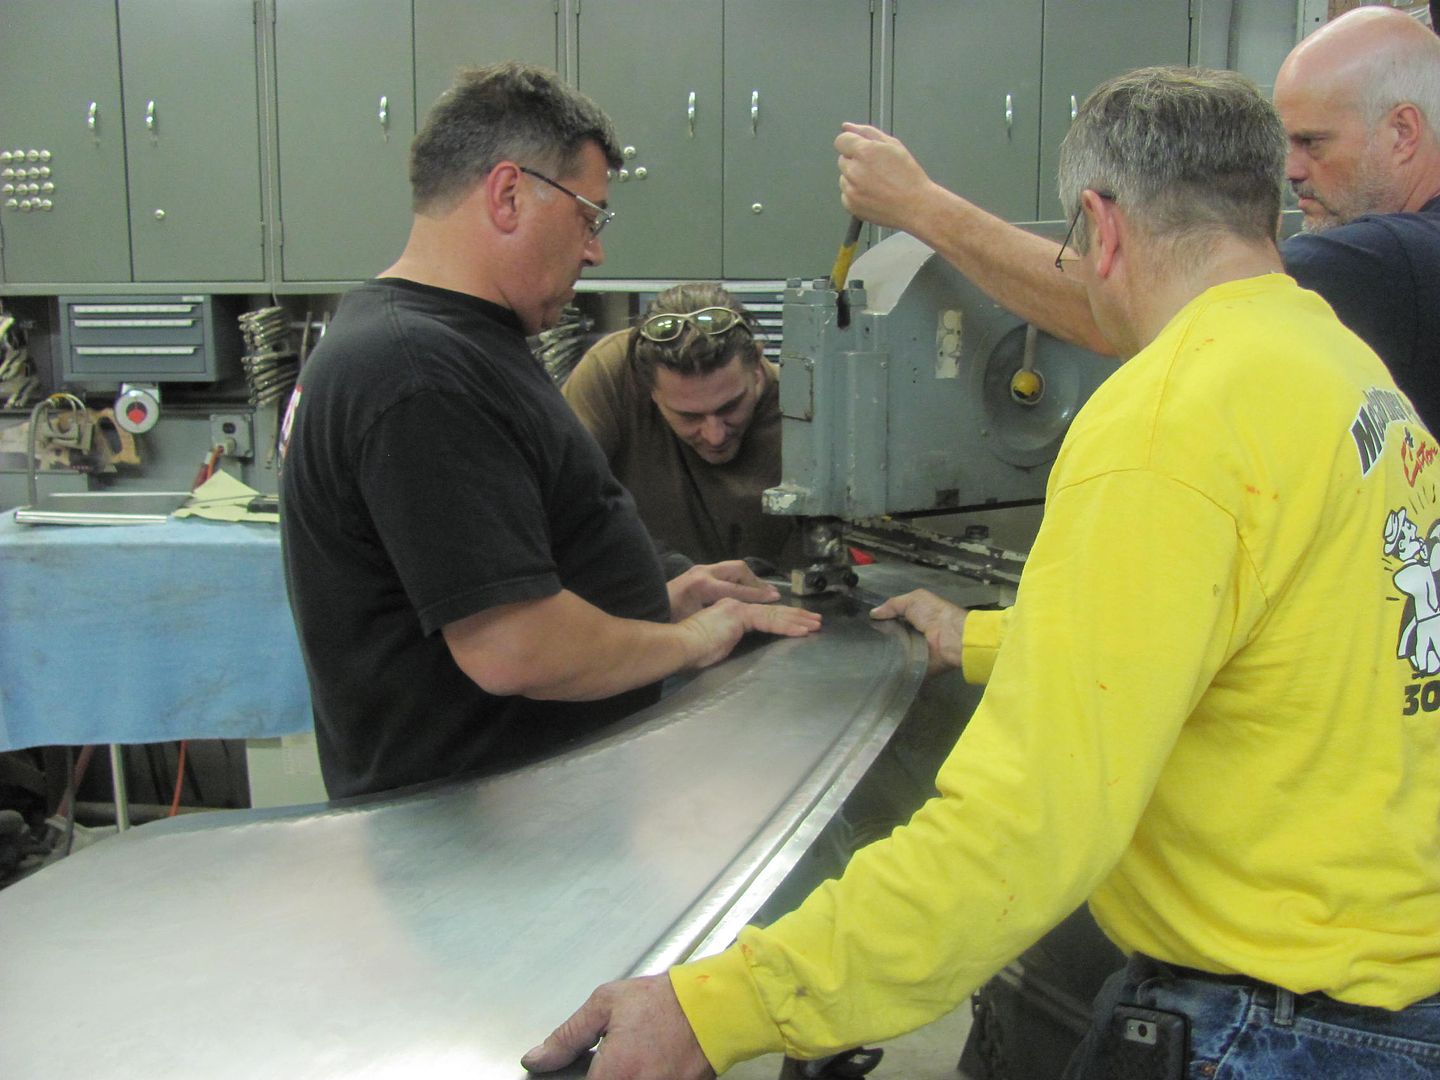
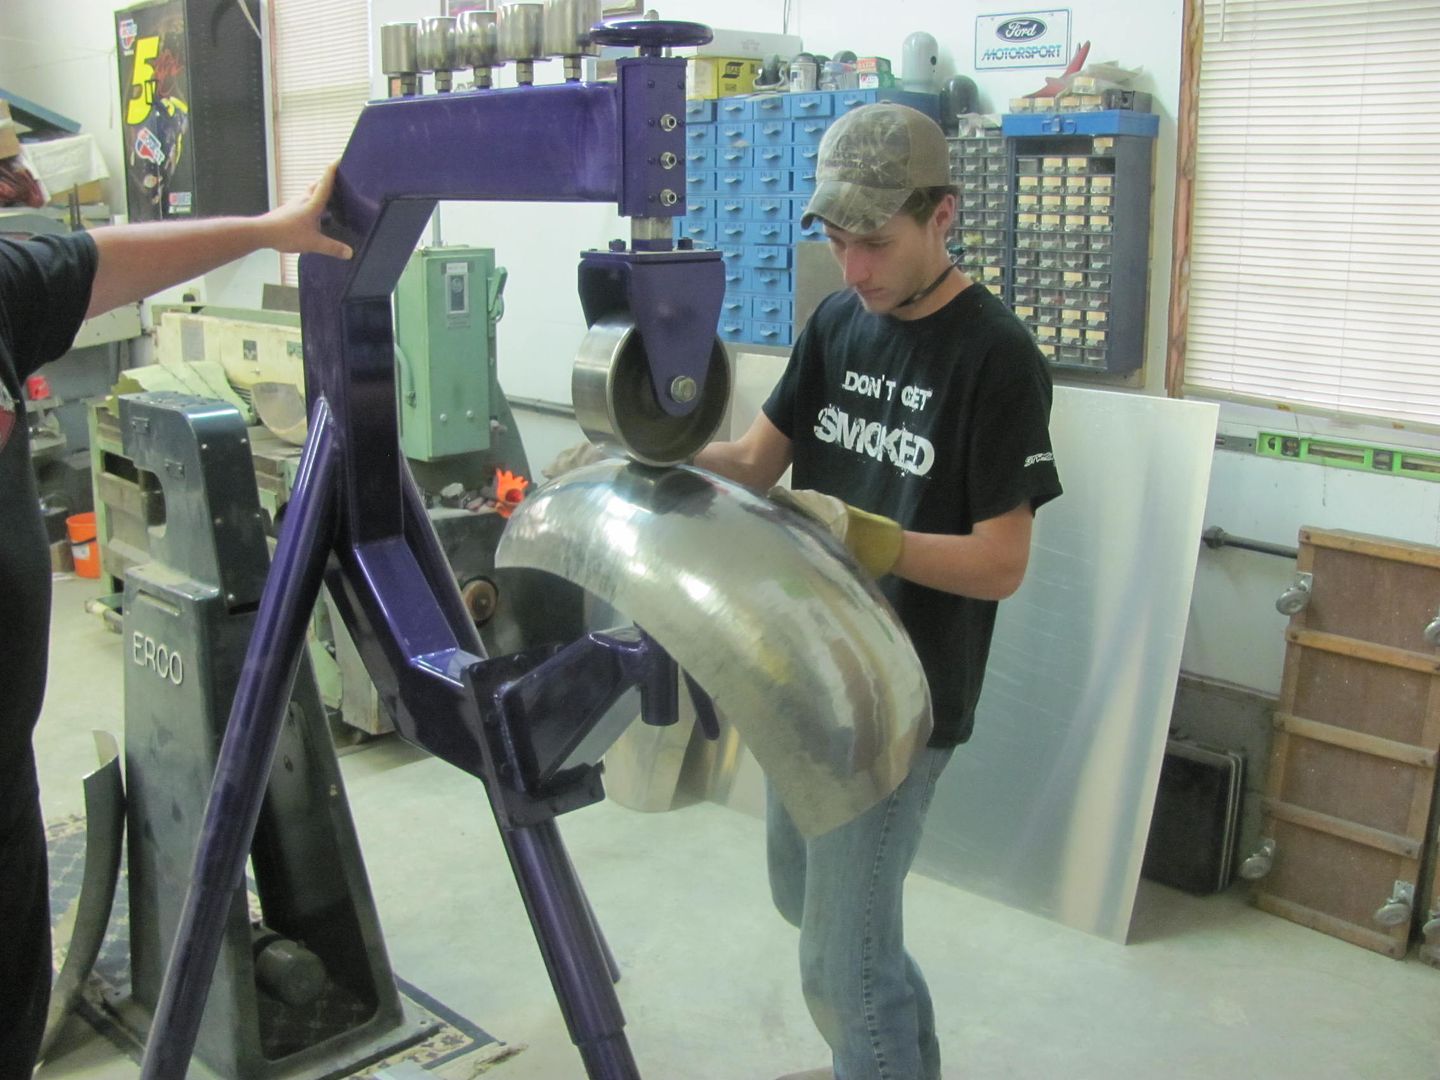
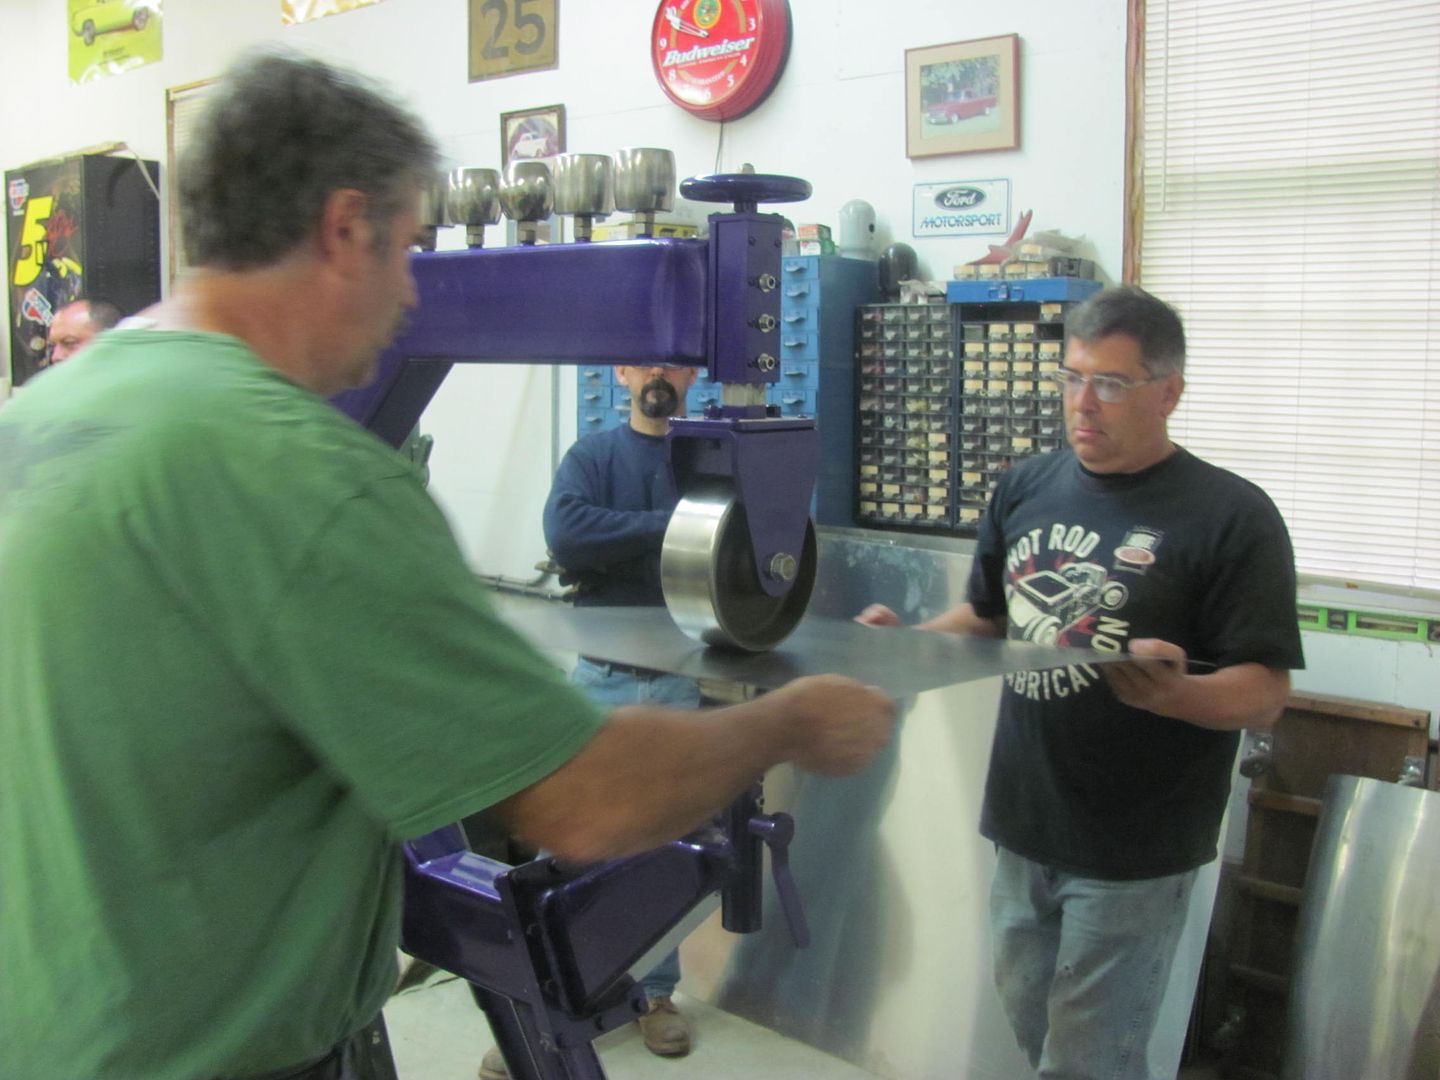
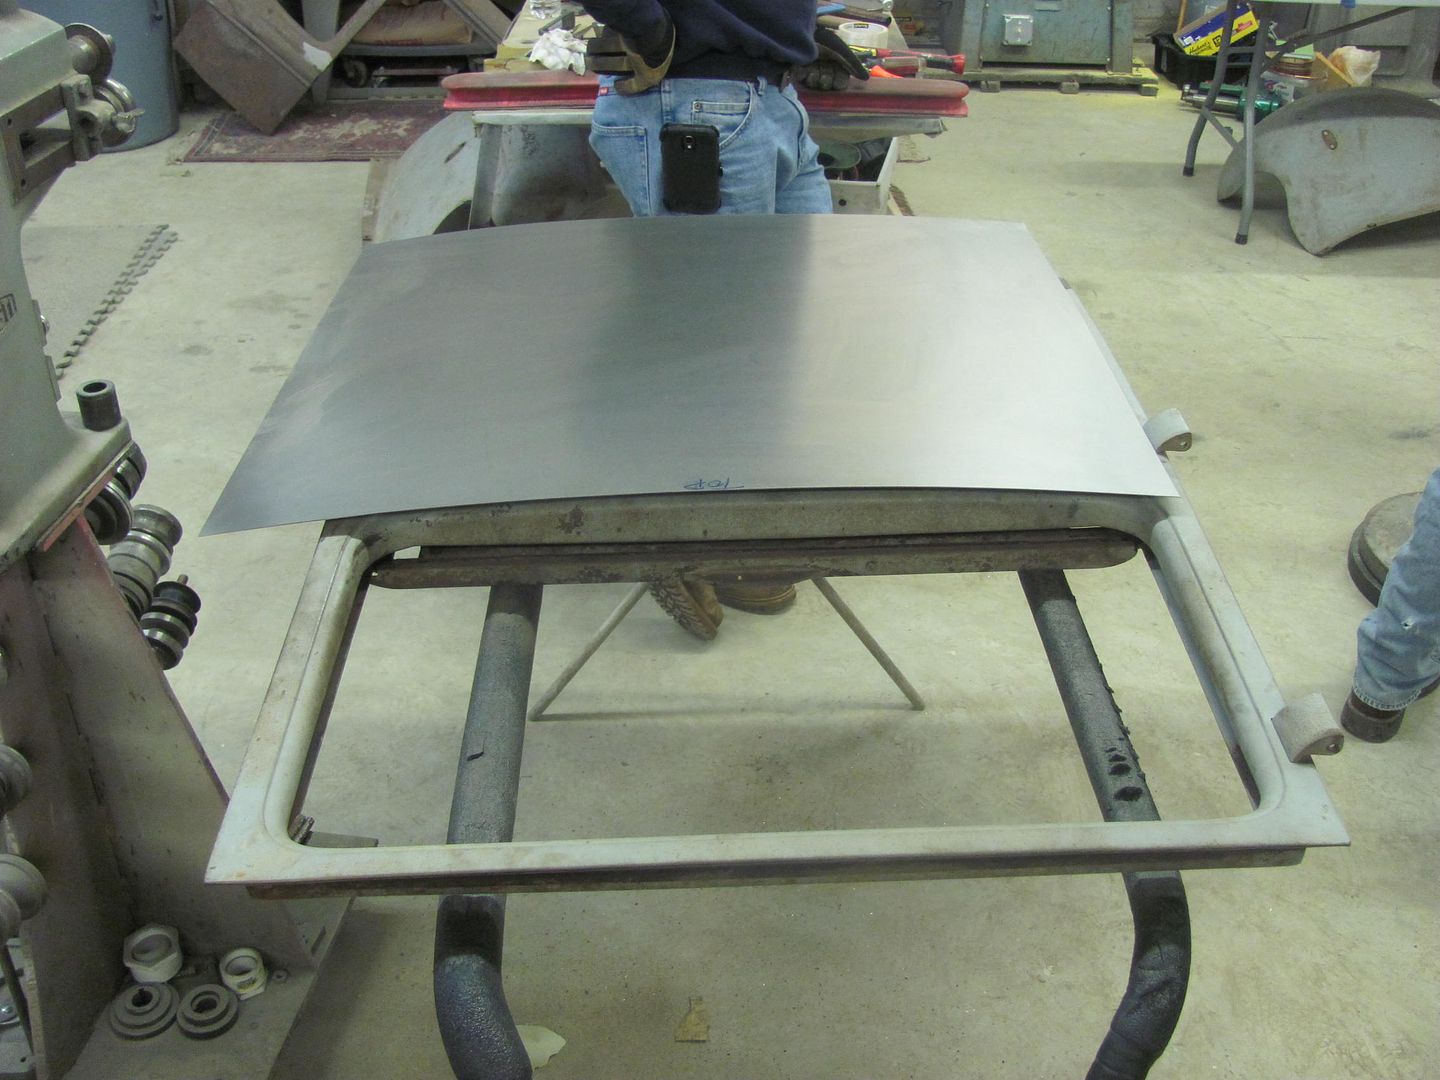
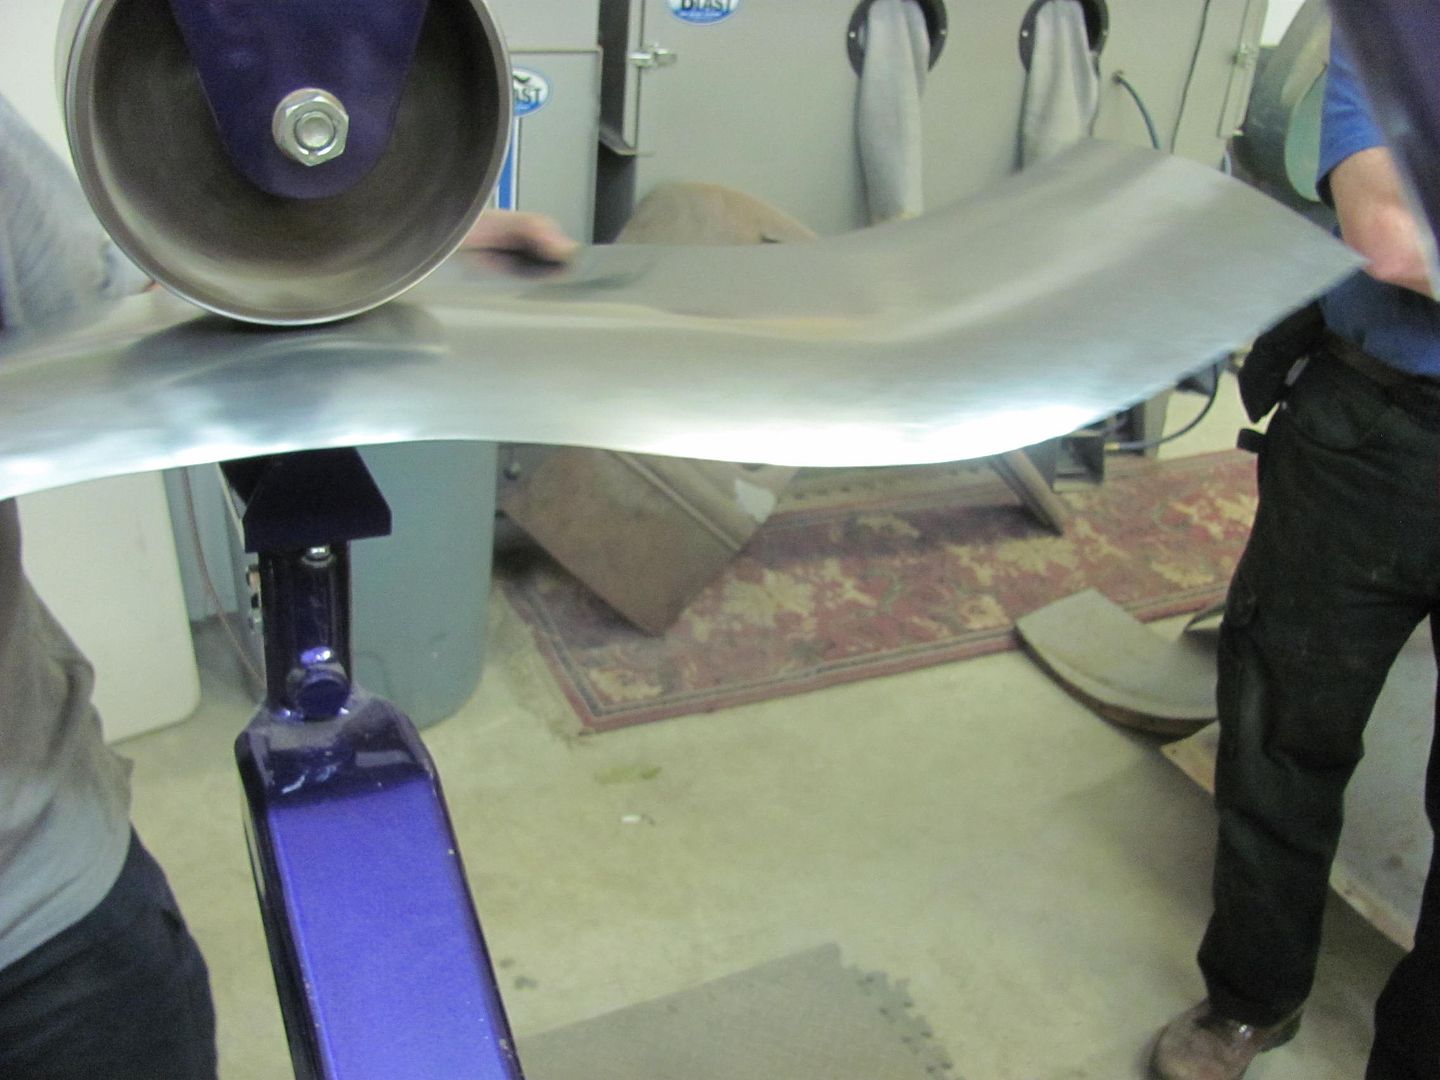
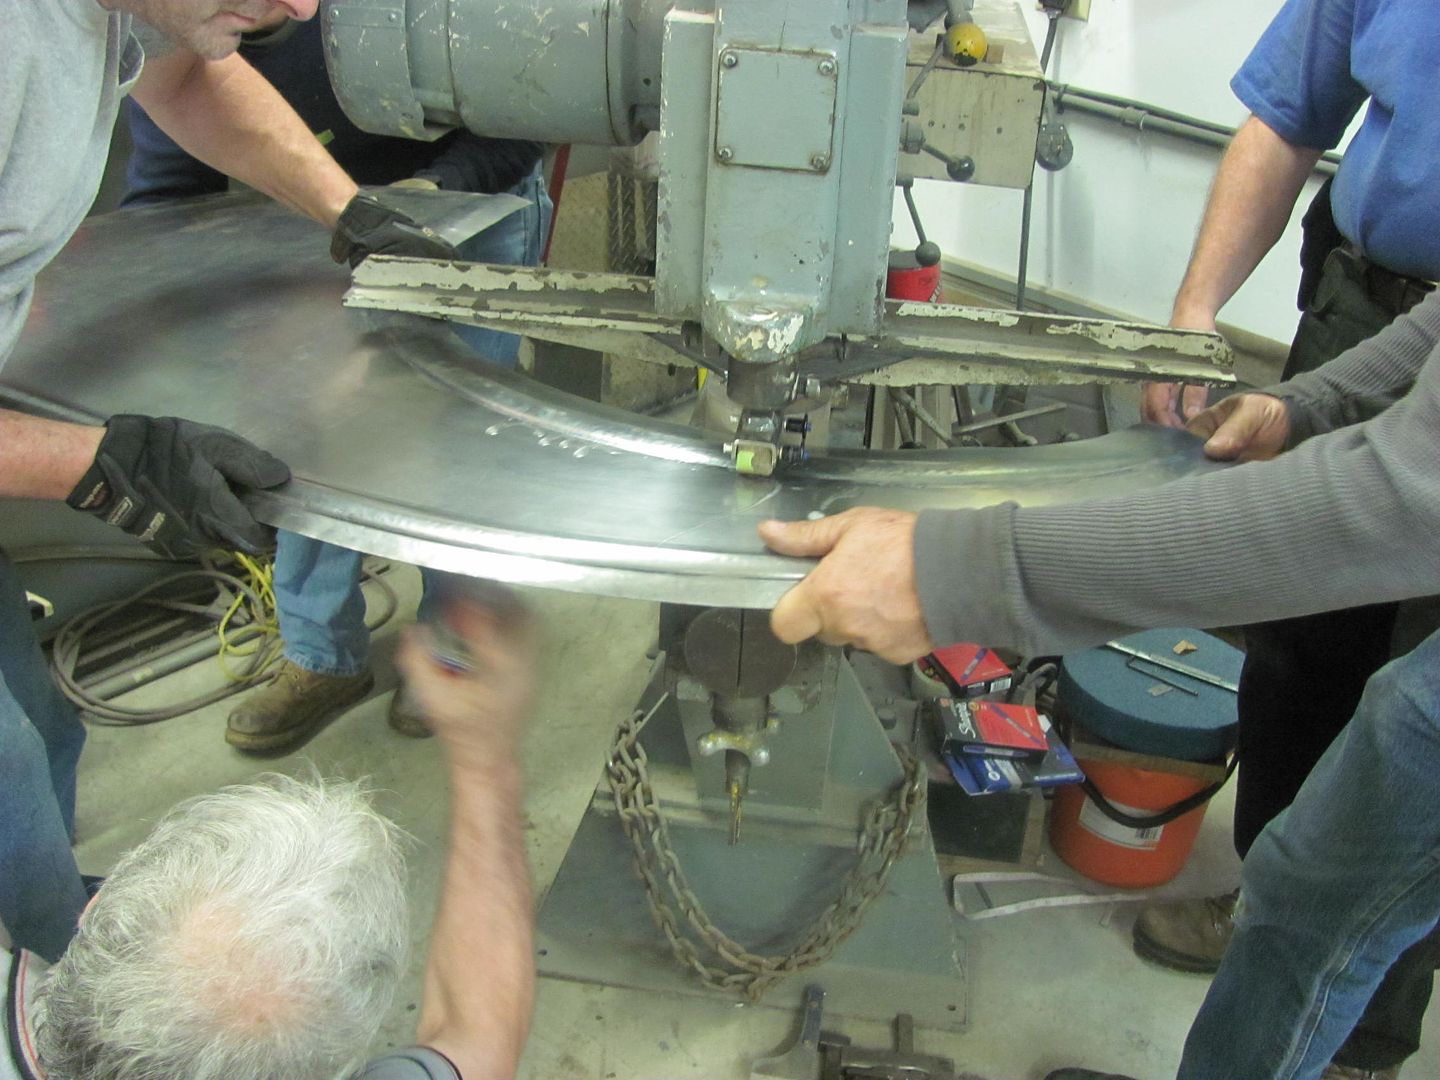
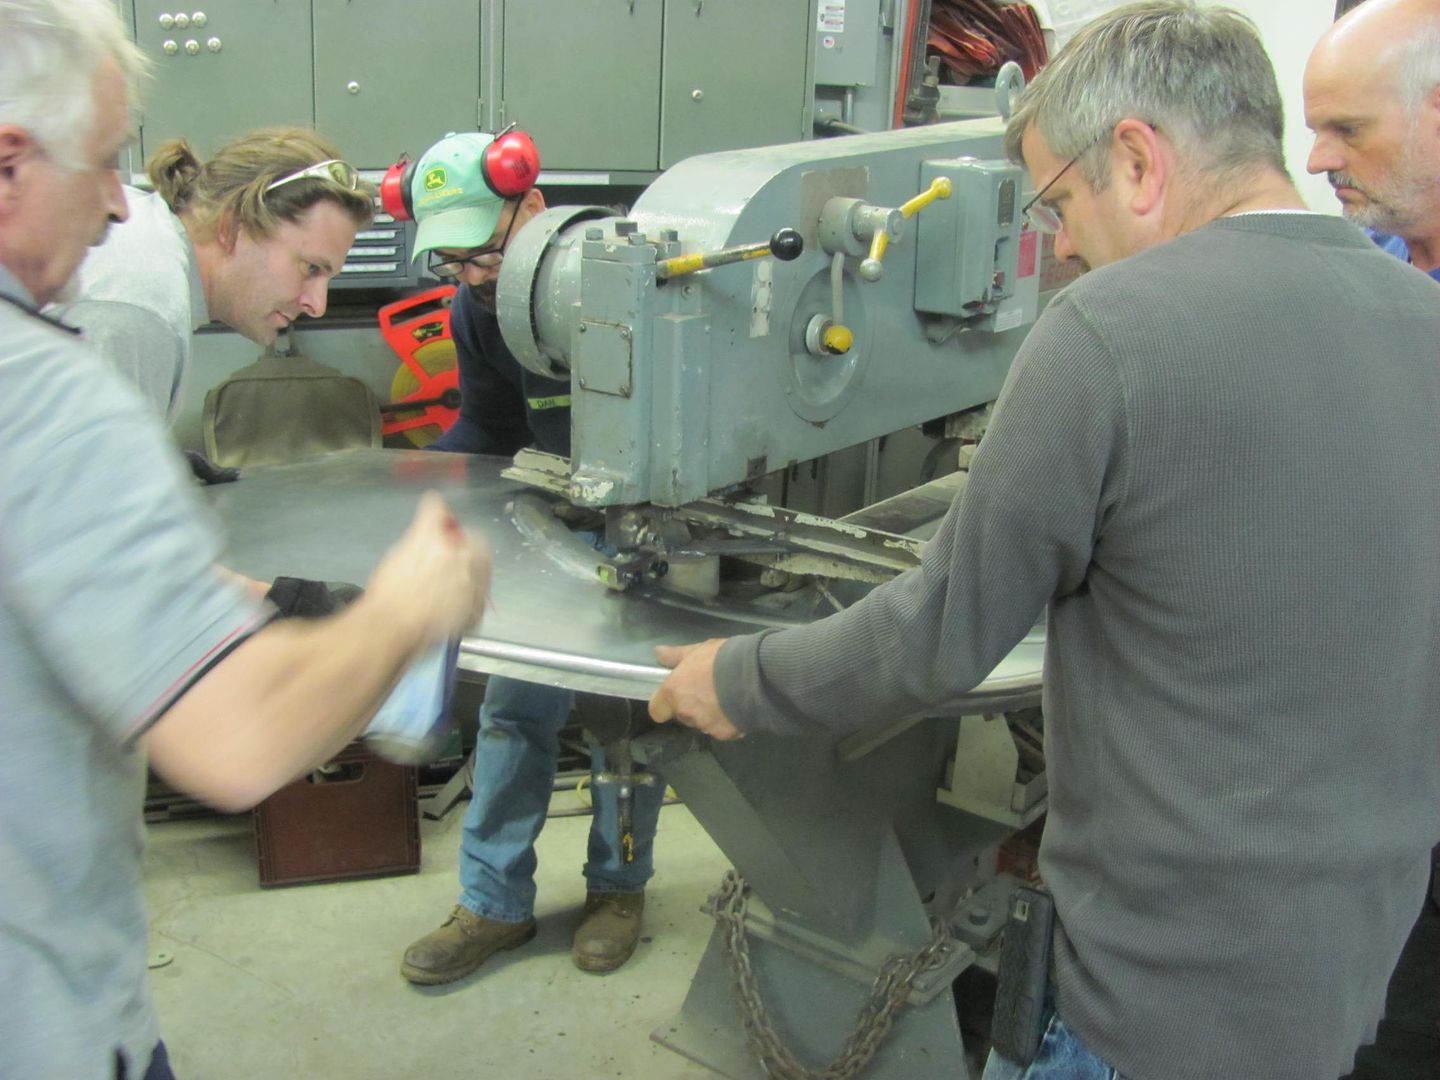
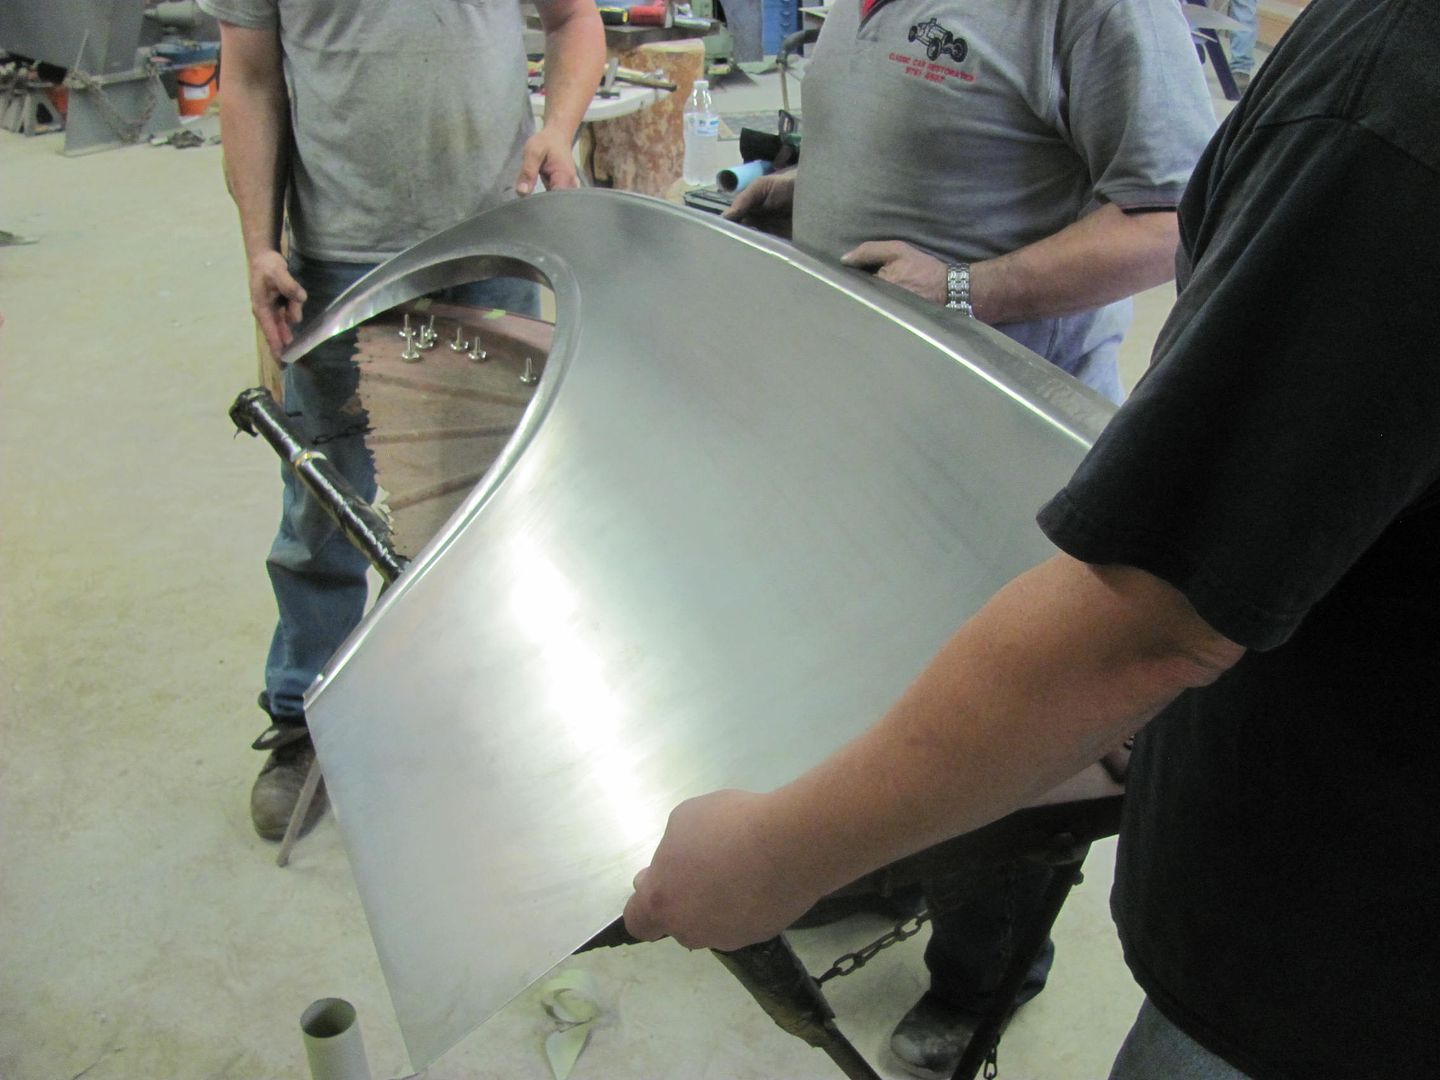
Wheeling door skin for a sport coupe:

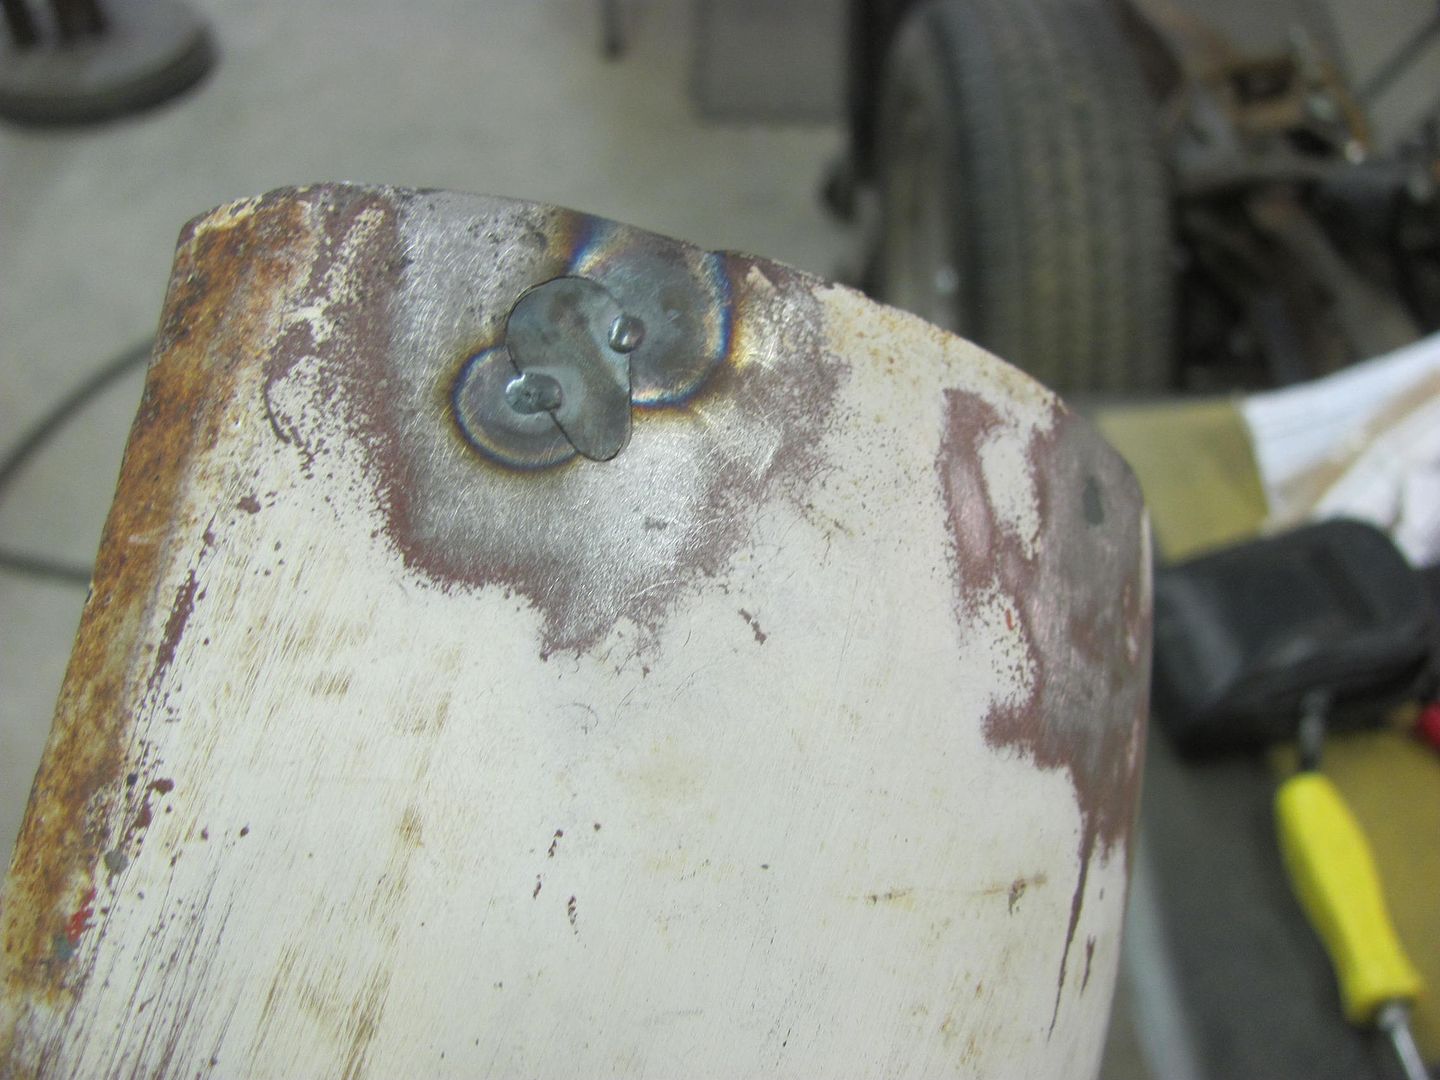
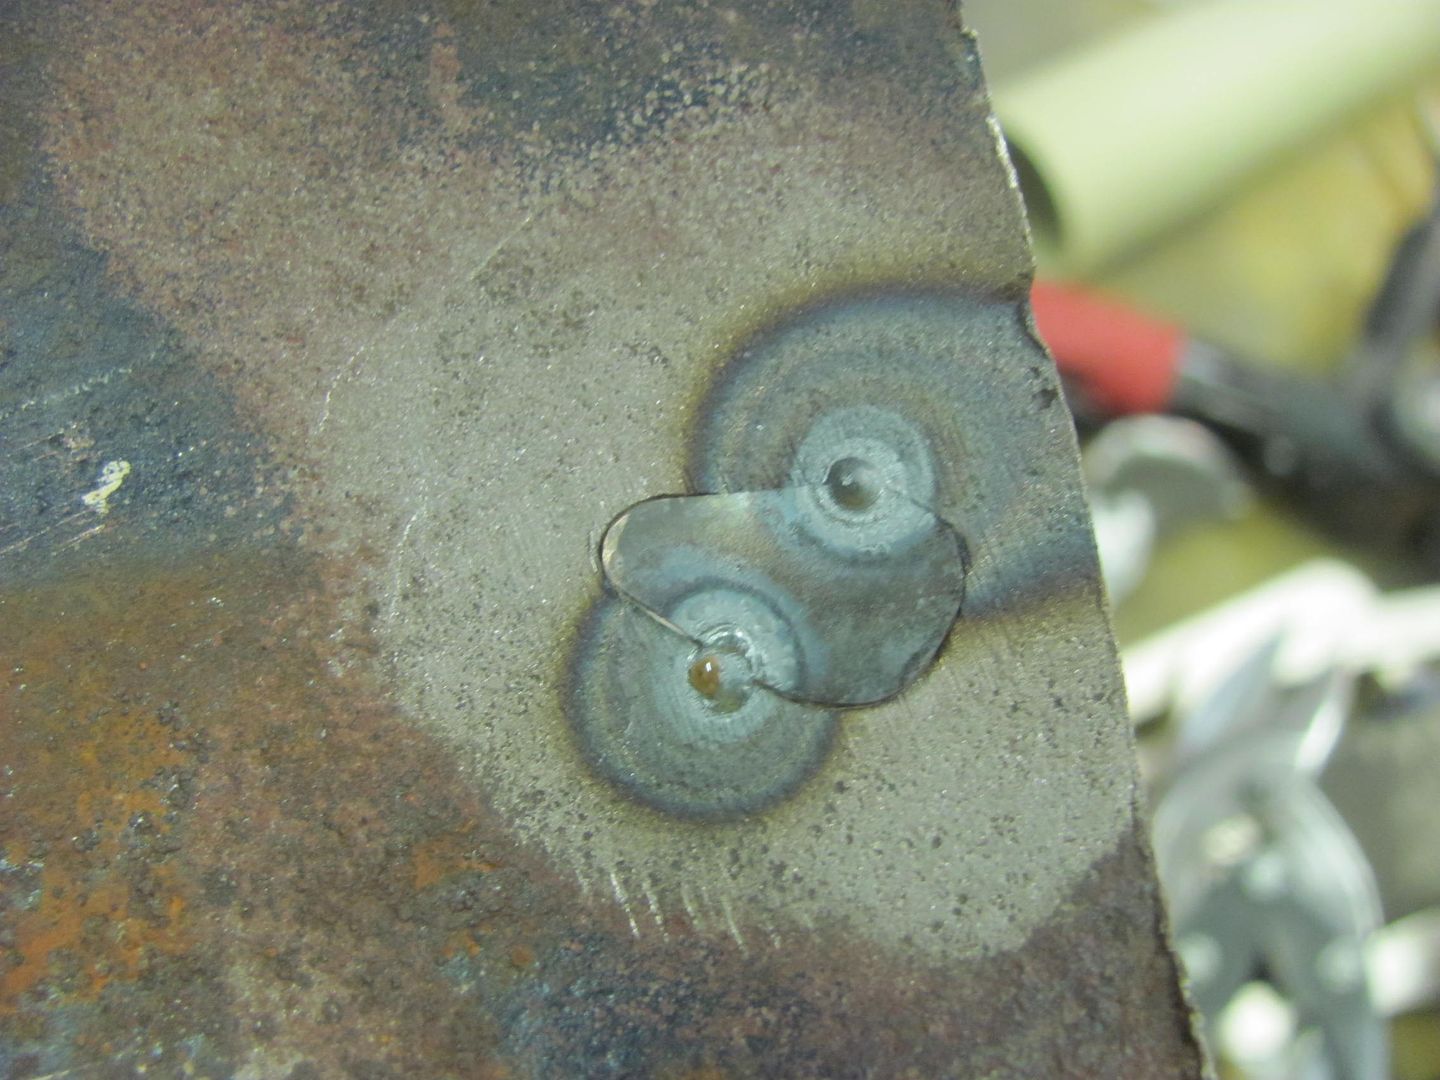
Annealing copper wire to use as rivets:

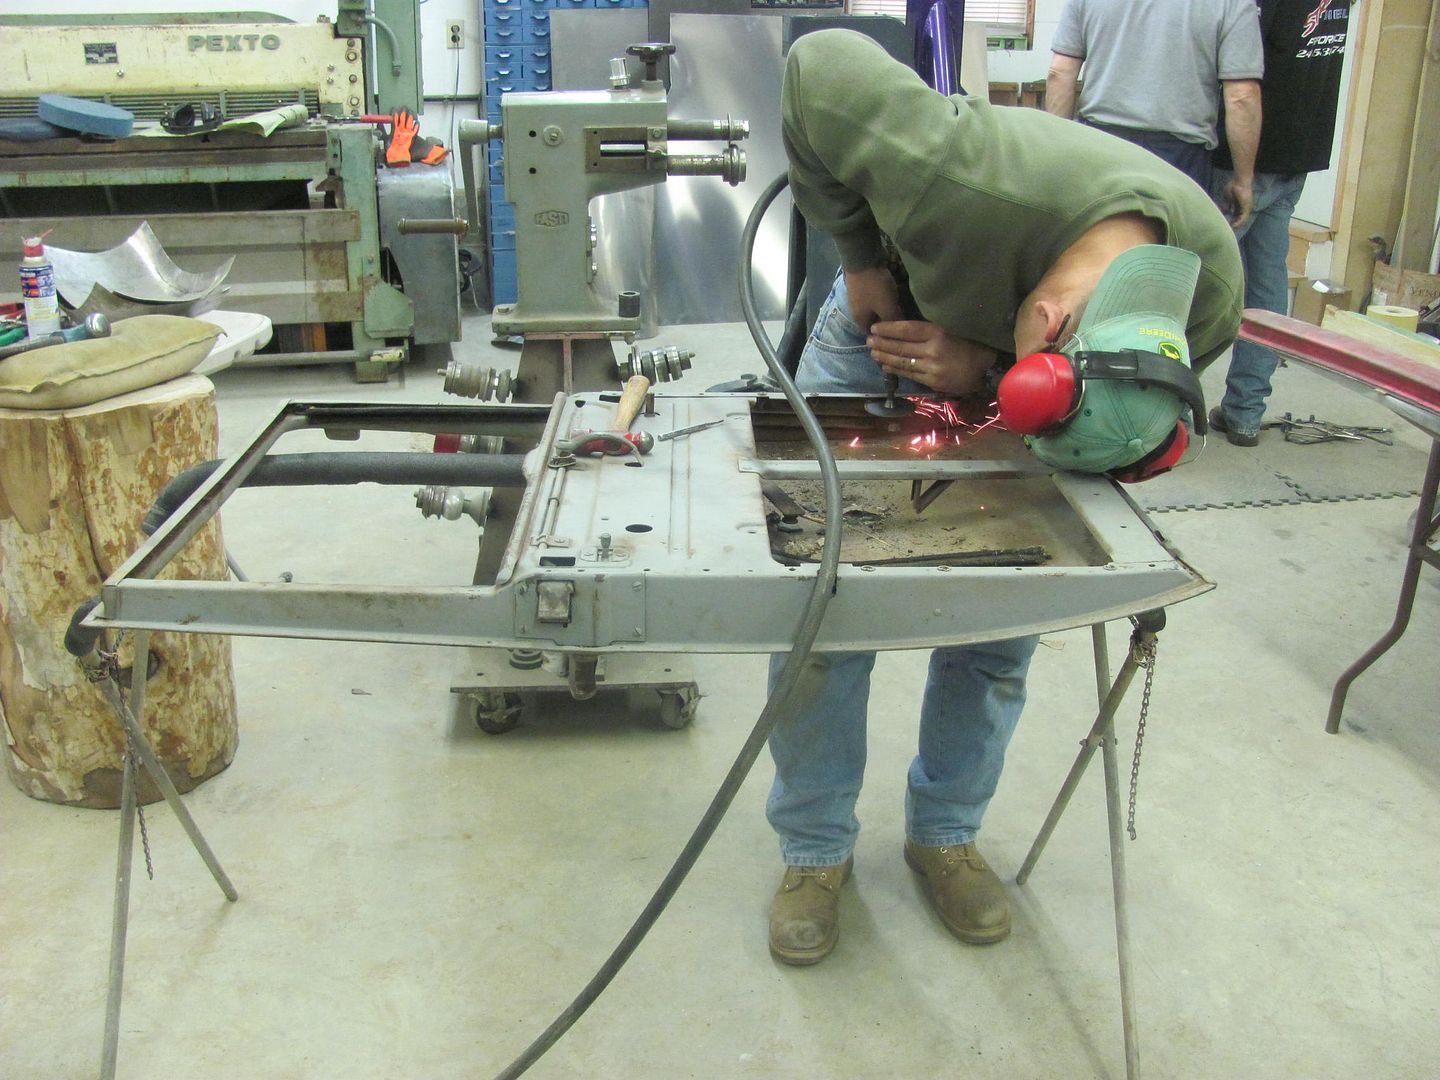
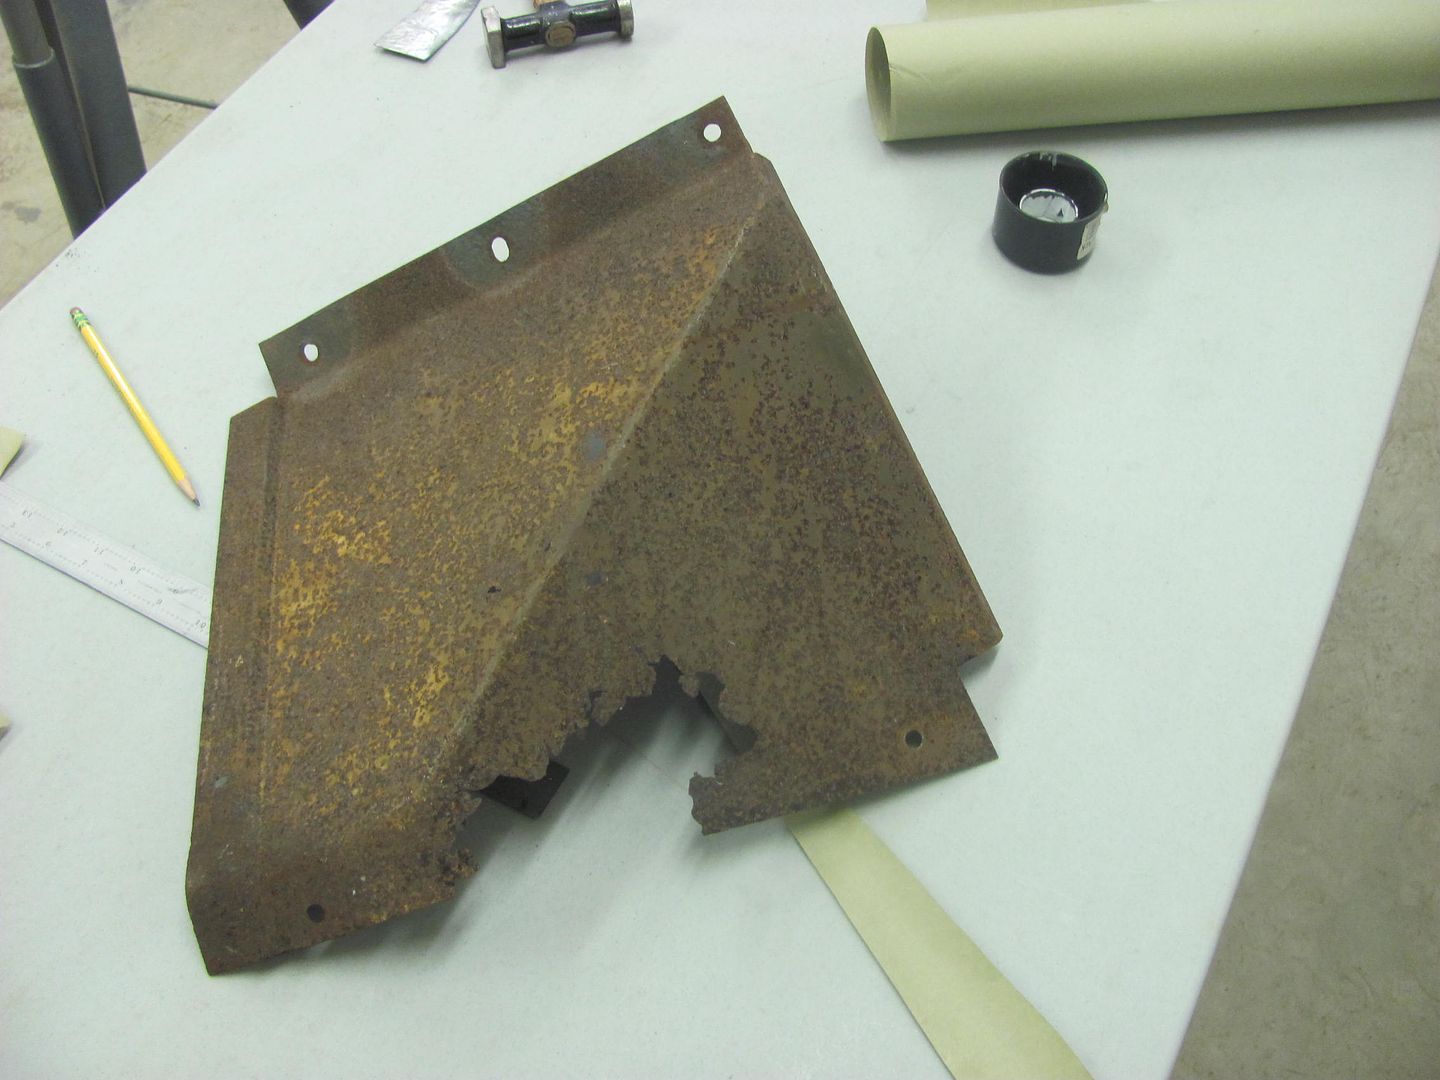
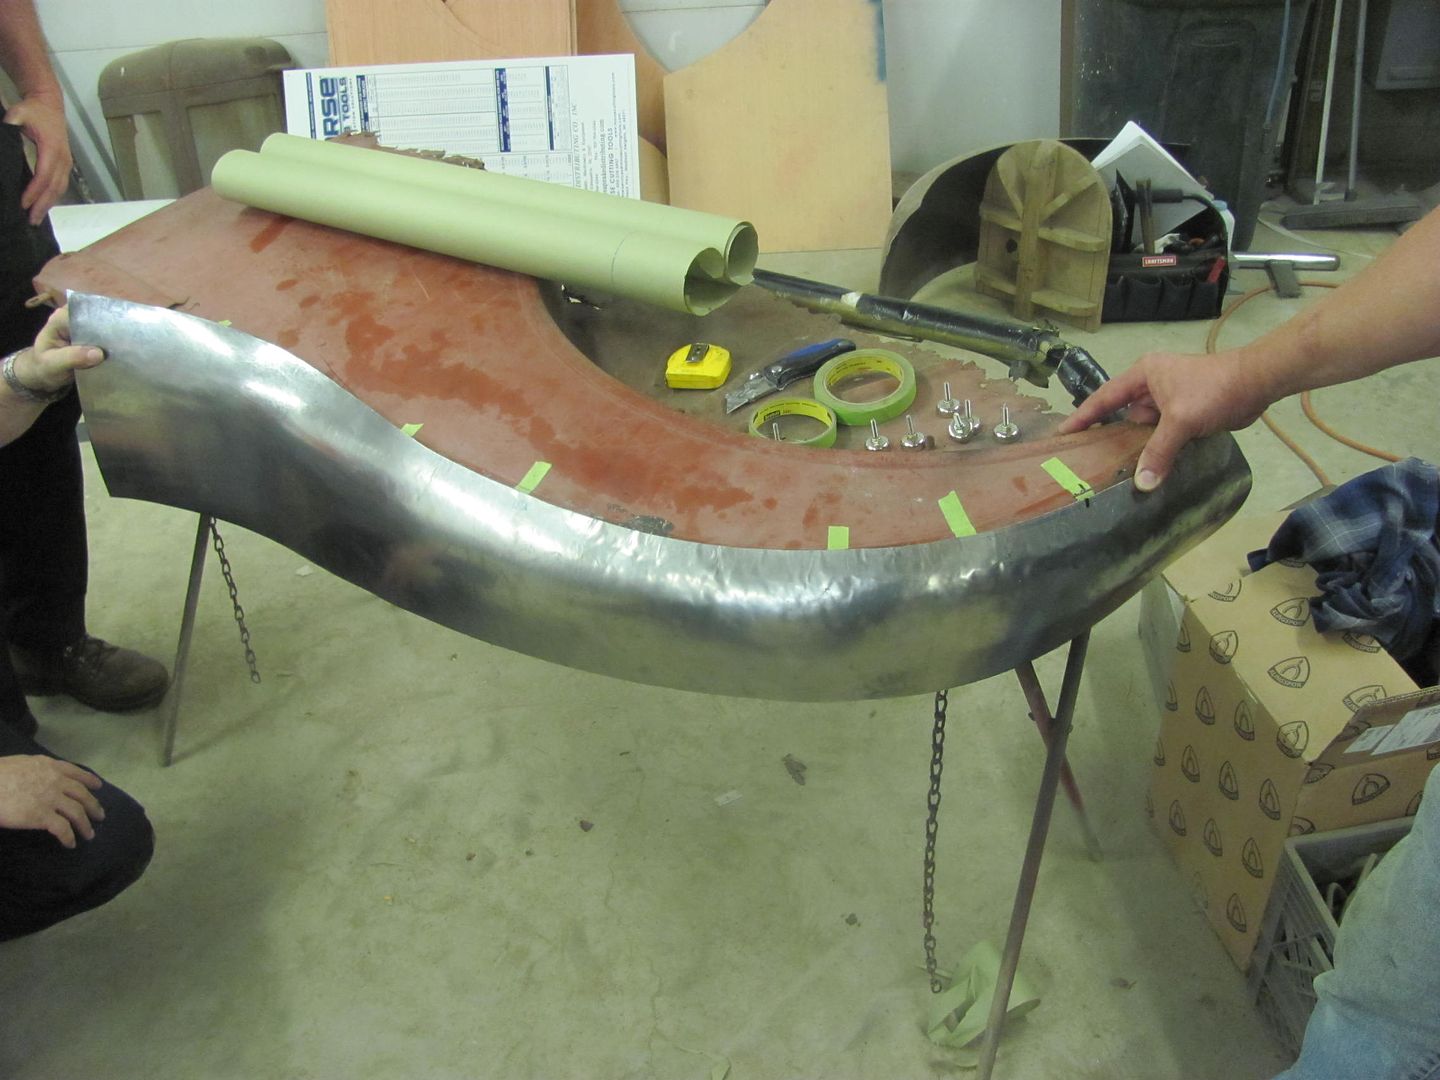
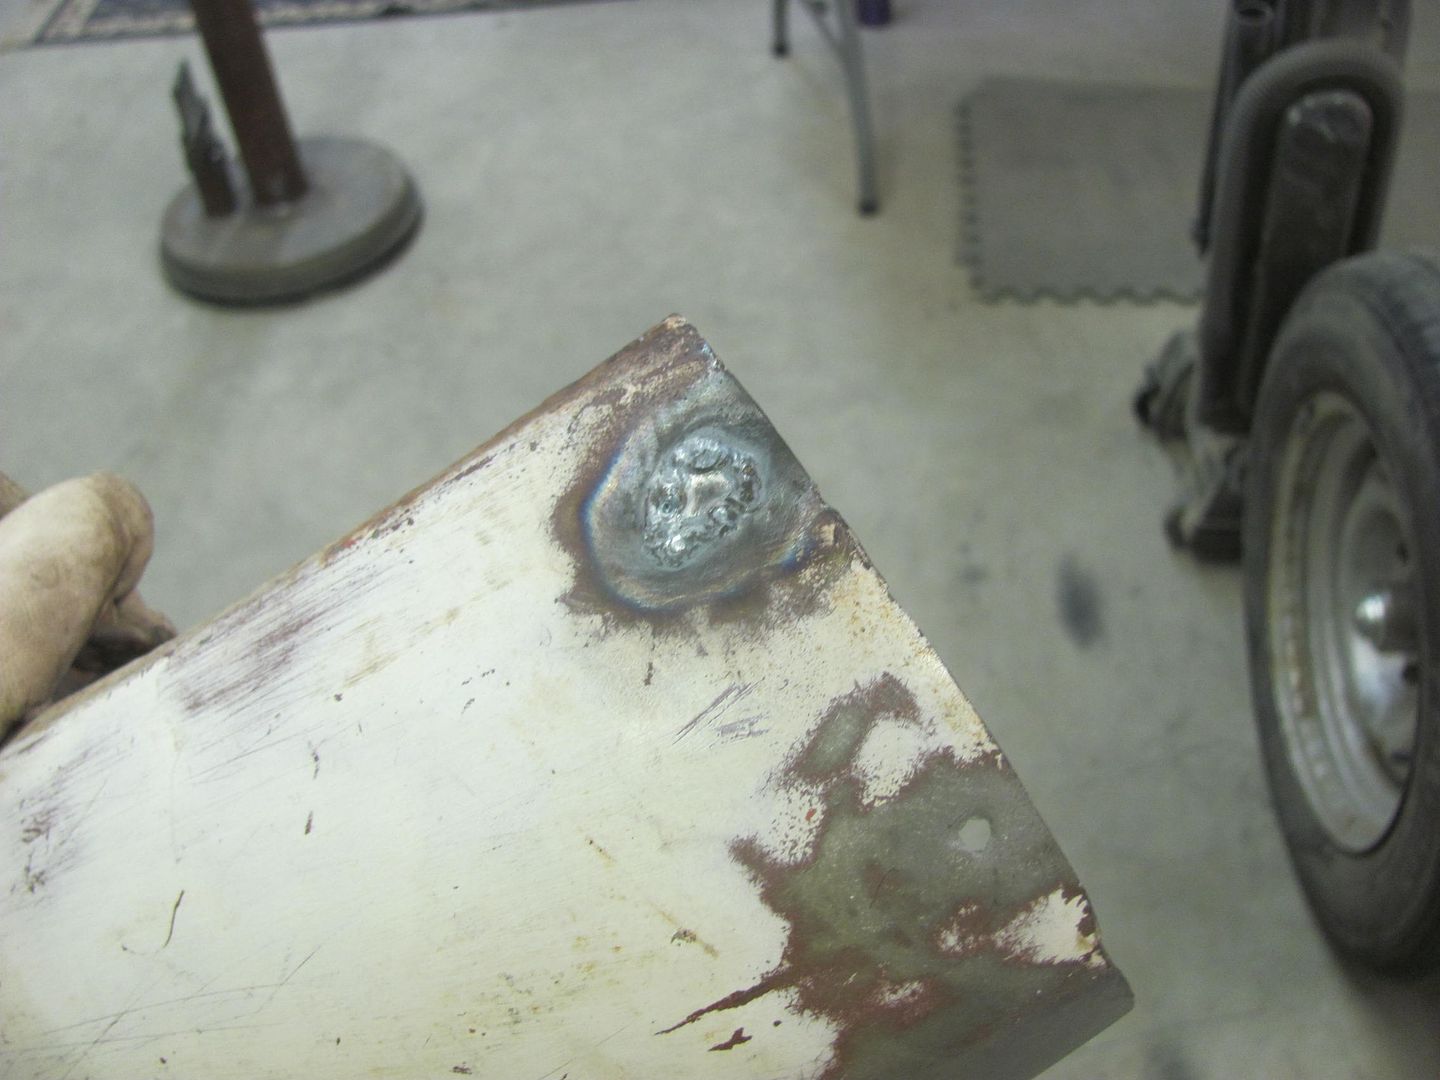
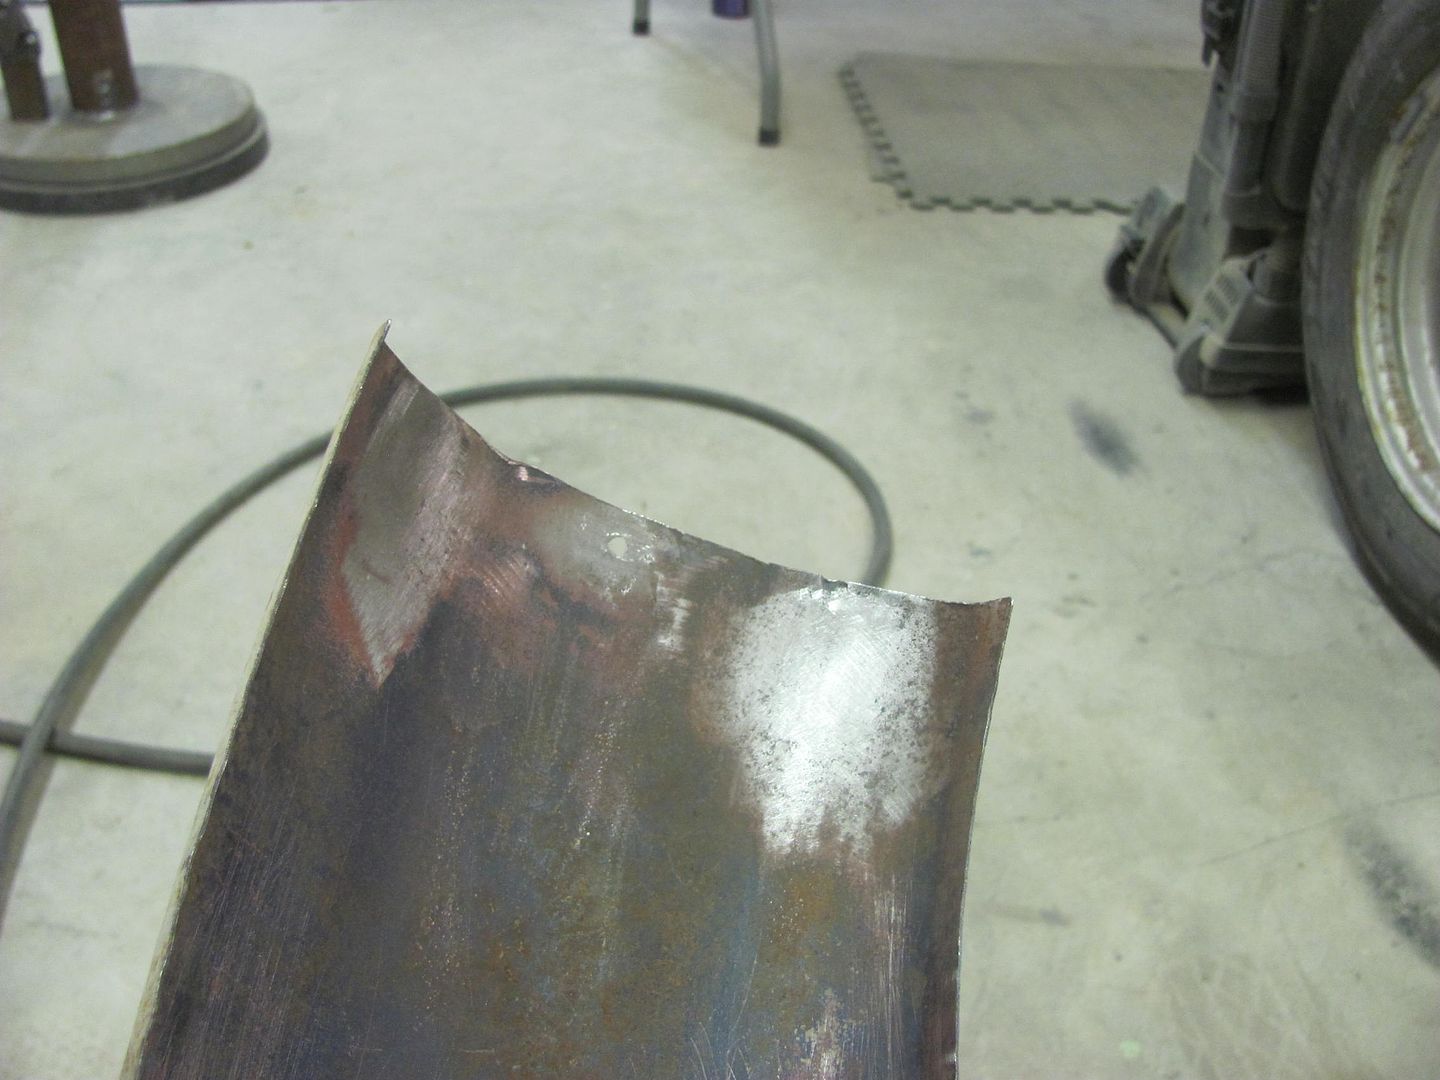
Cover plate for military vehicle:
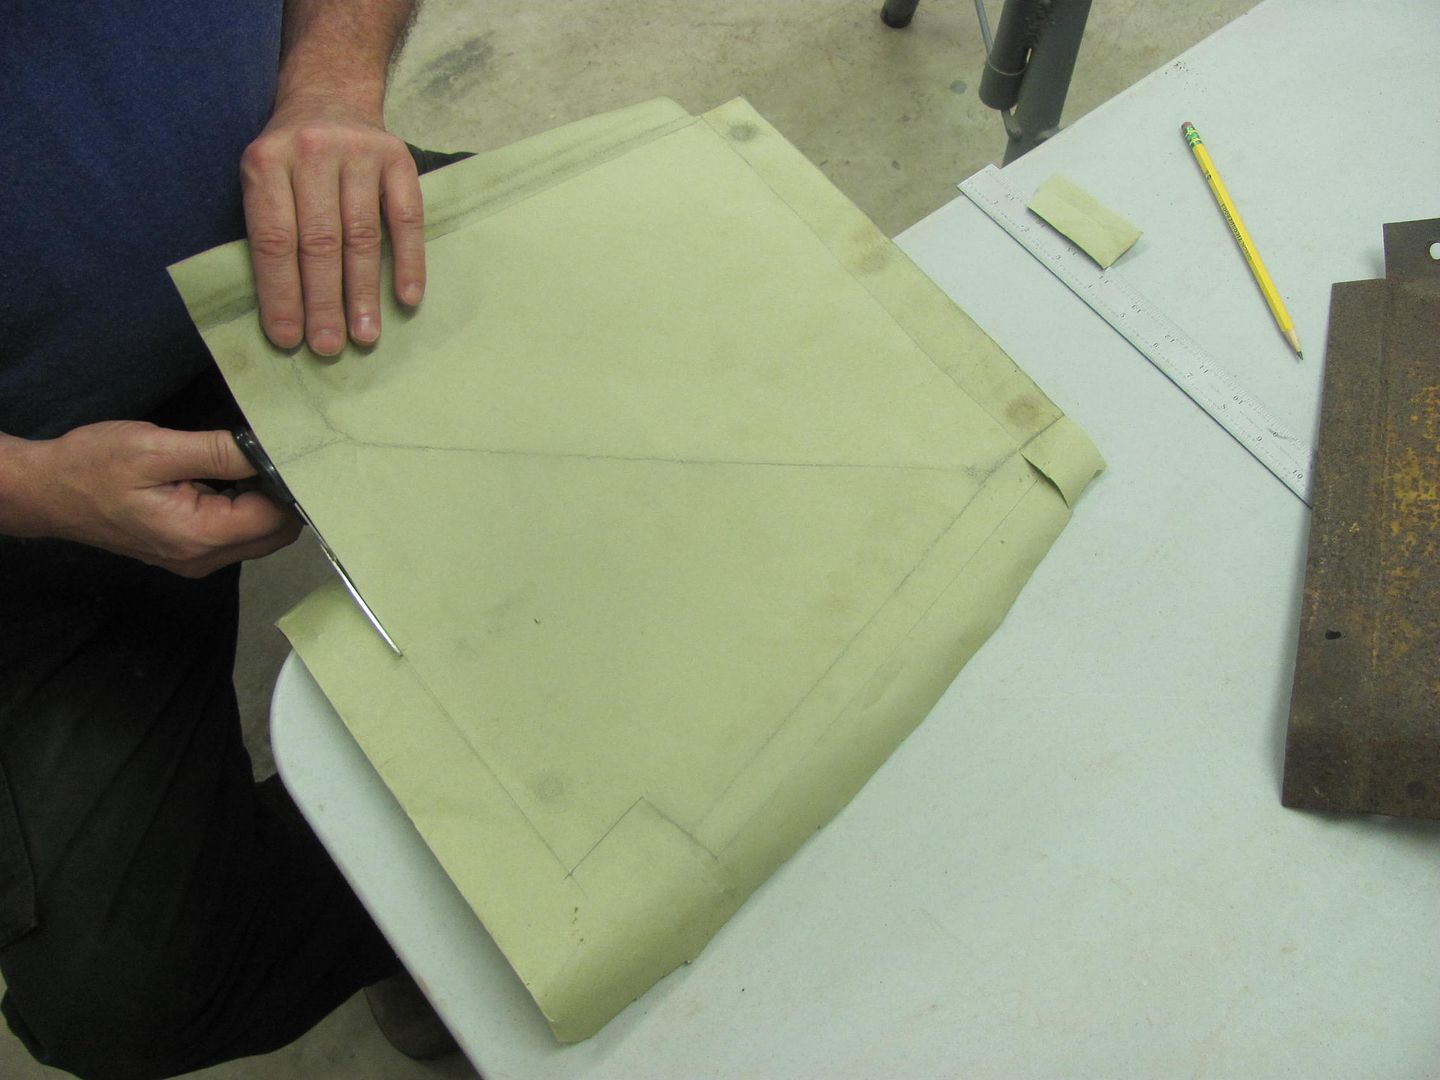
Paper pattern

Tuck shrinking on post dolly
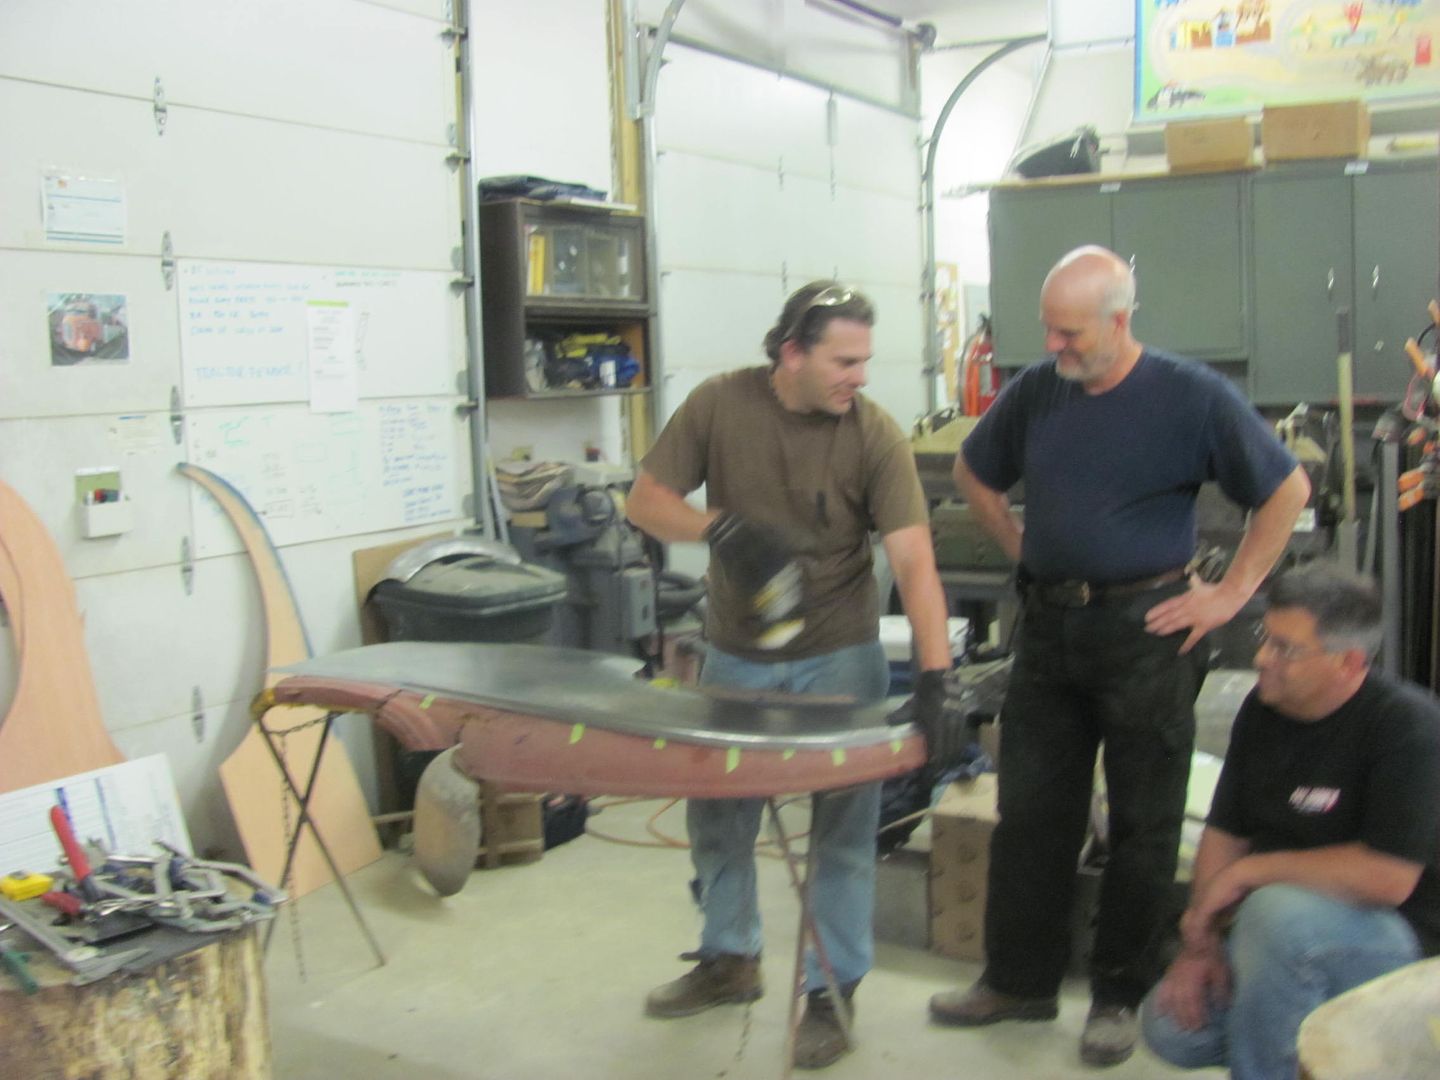
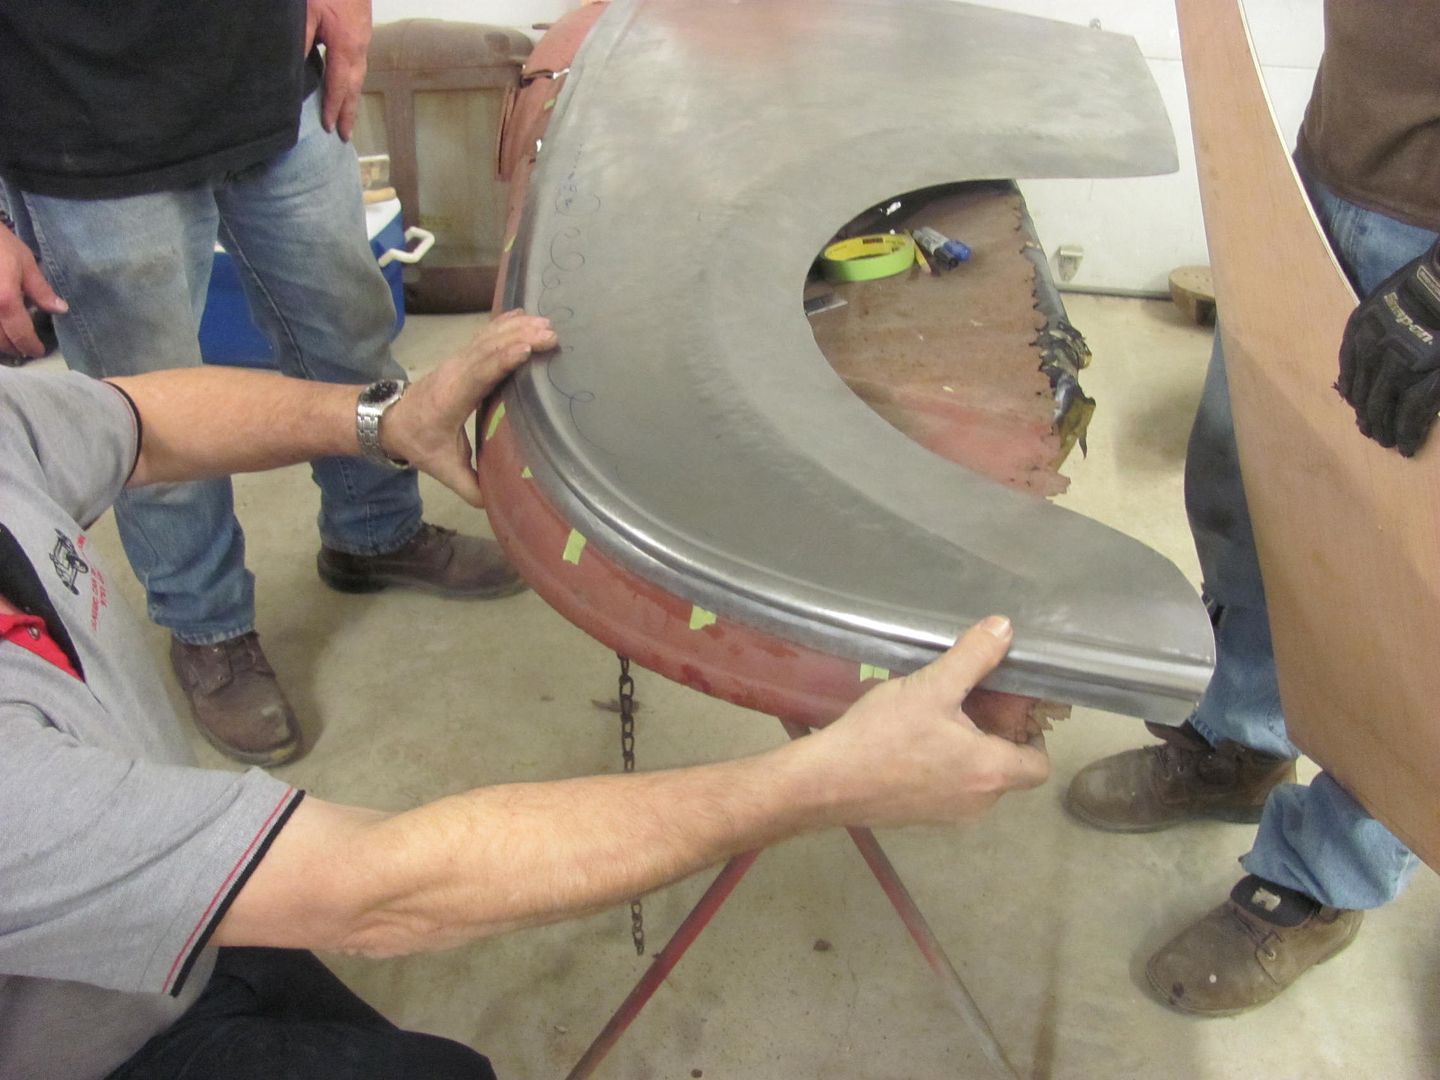
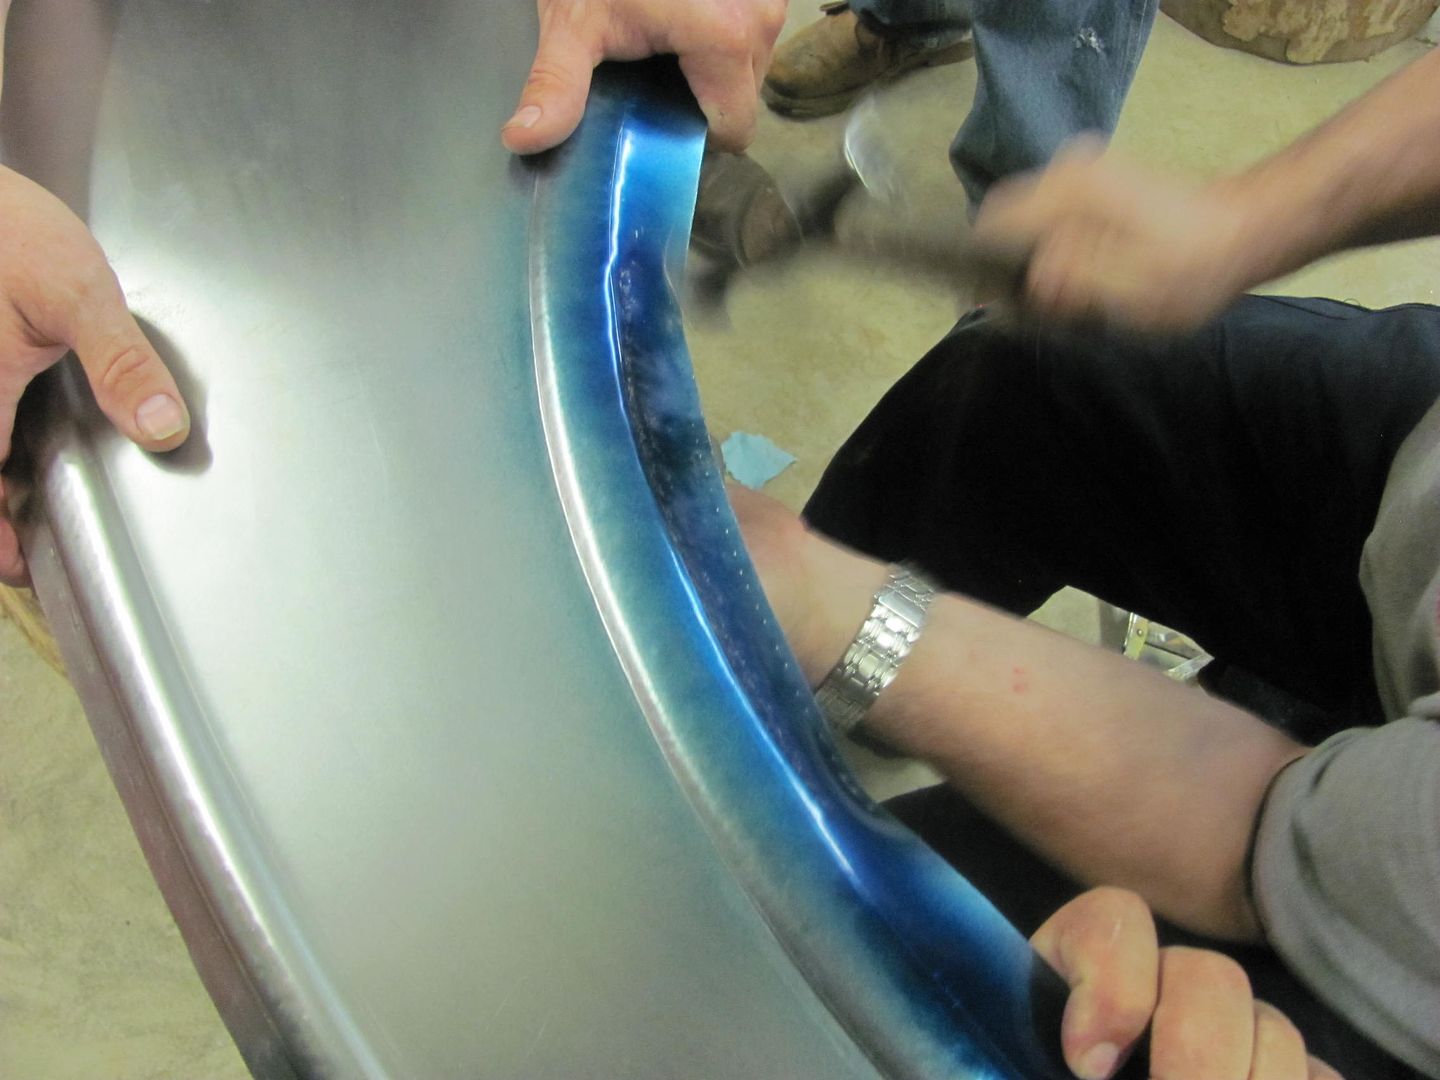
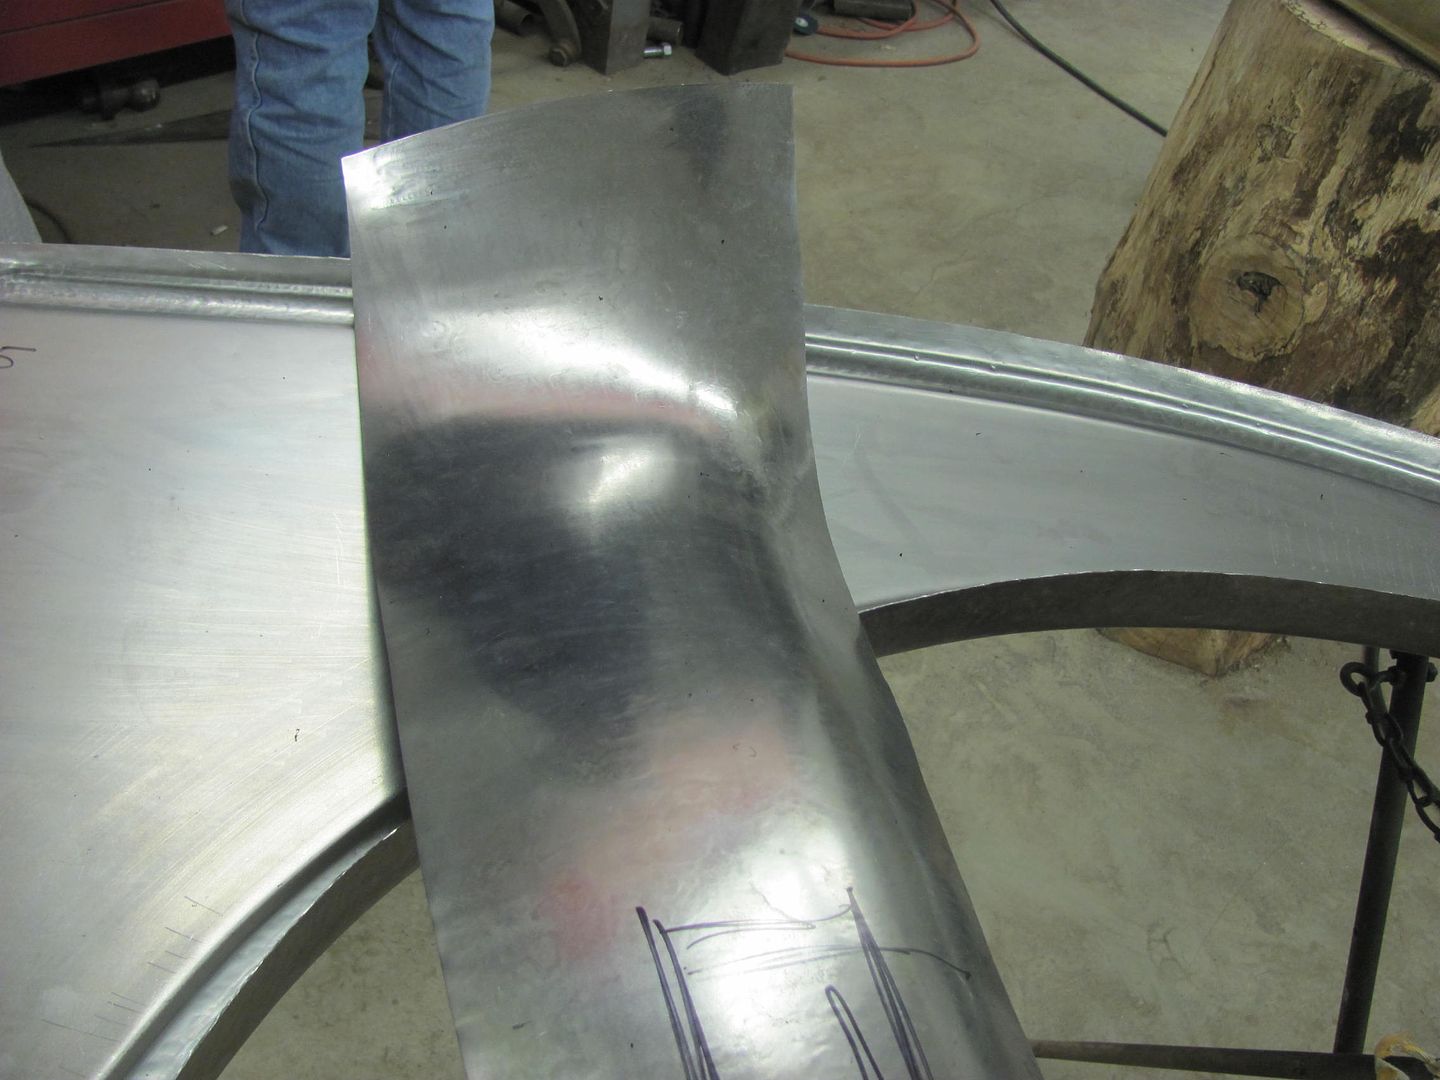
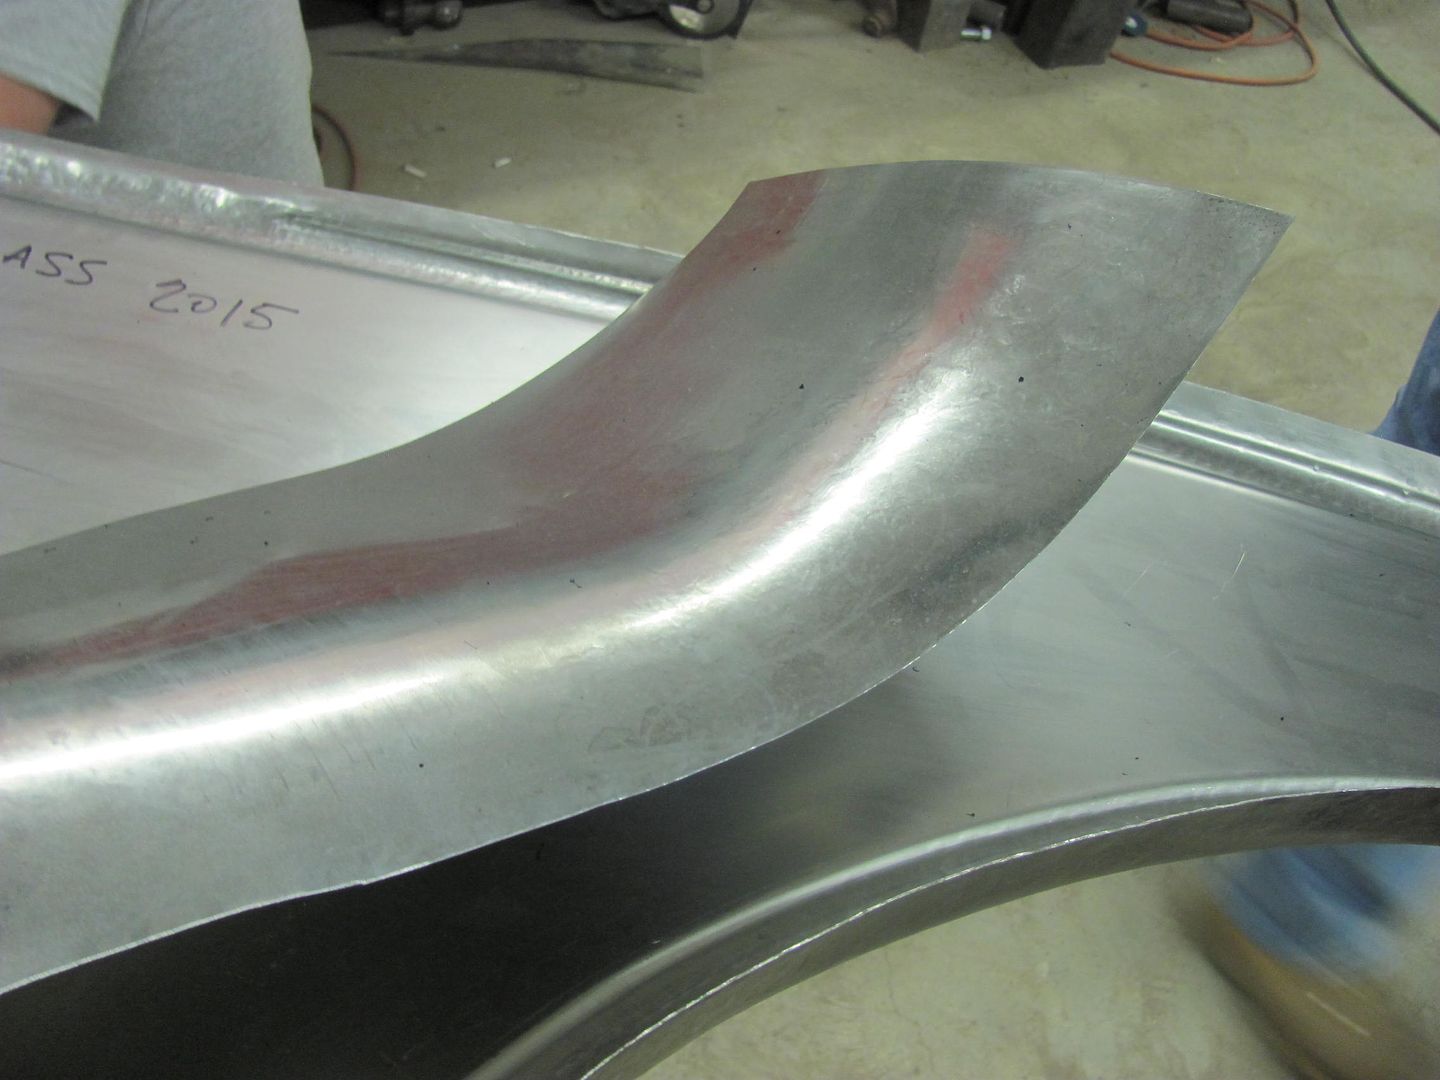
Forming upper quarter reverse
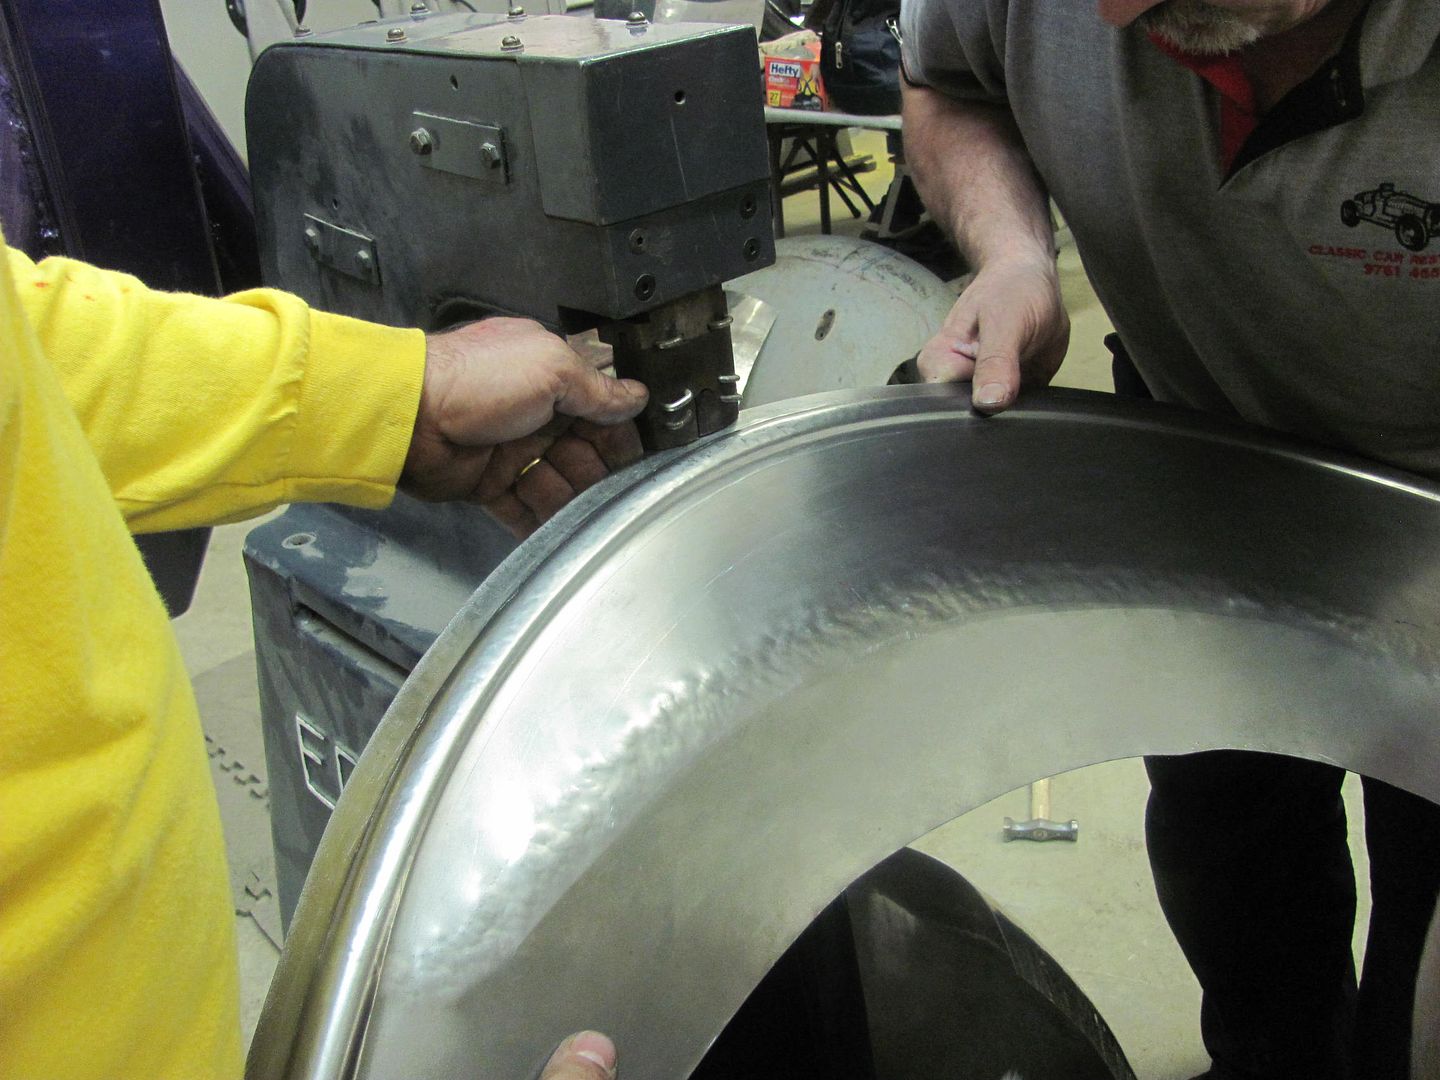
Wheel opening bead detail added

Tipping flange with vise grips with jaws that have been smoothed...

Stretching

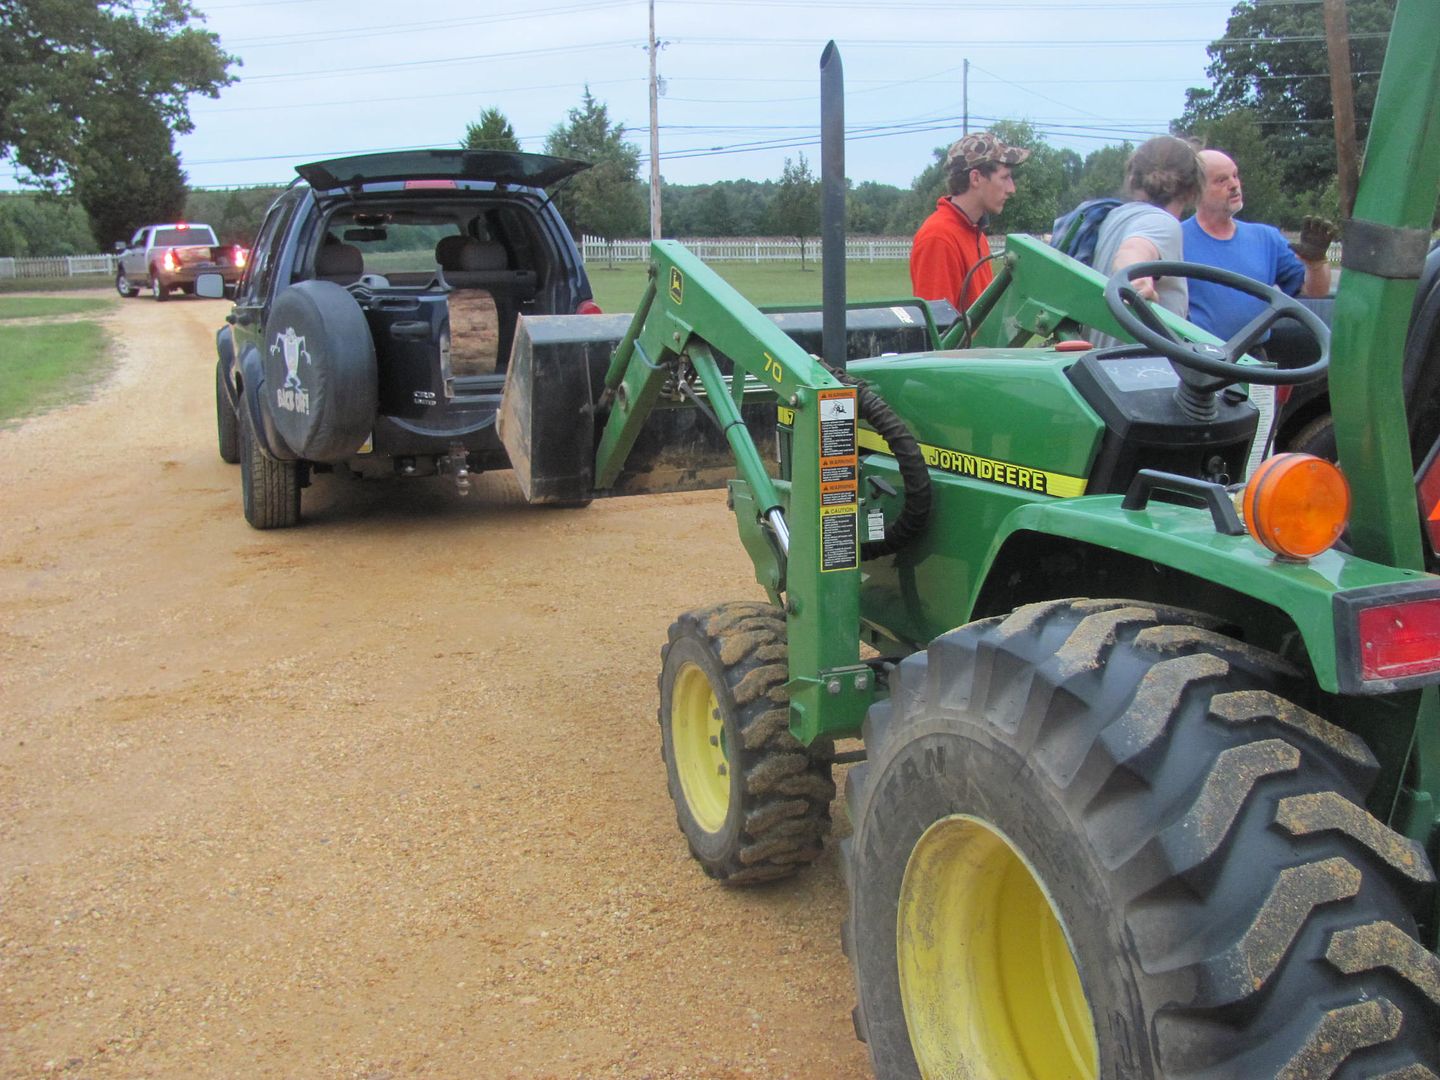
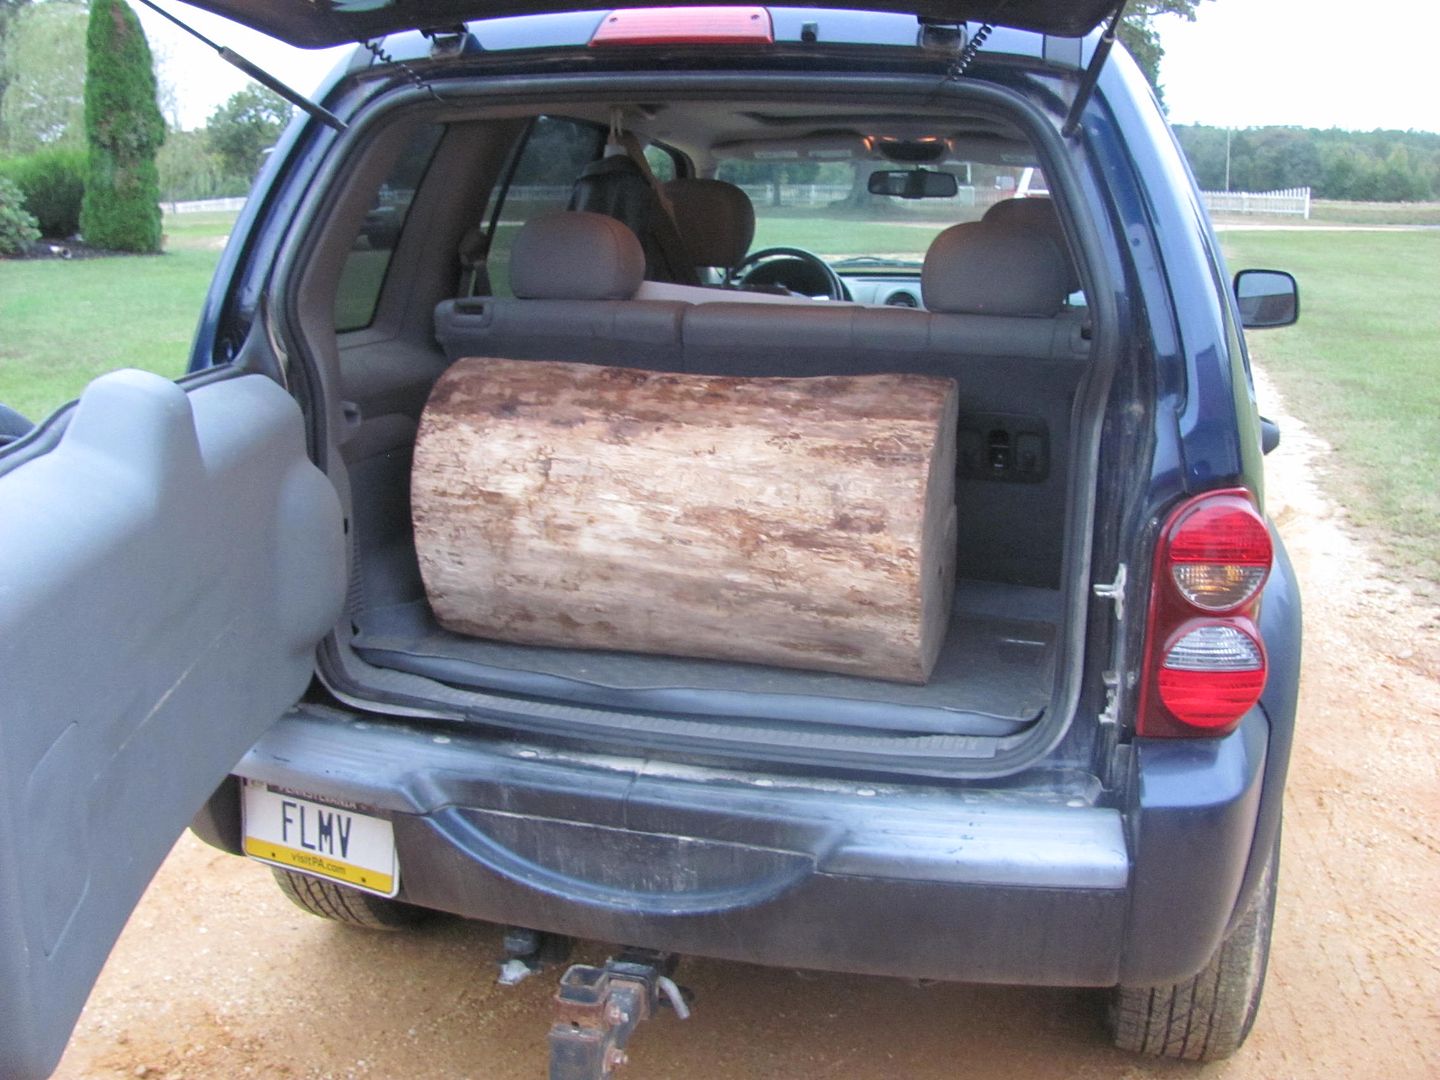
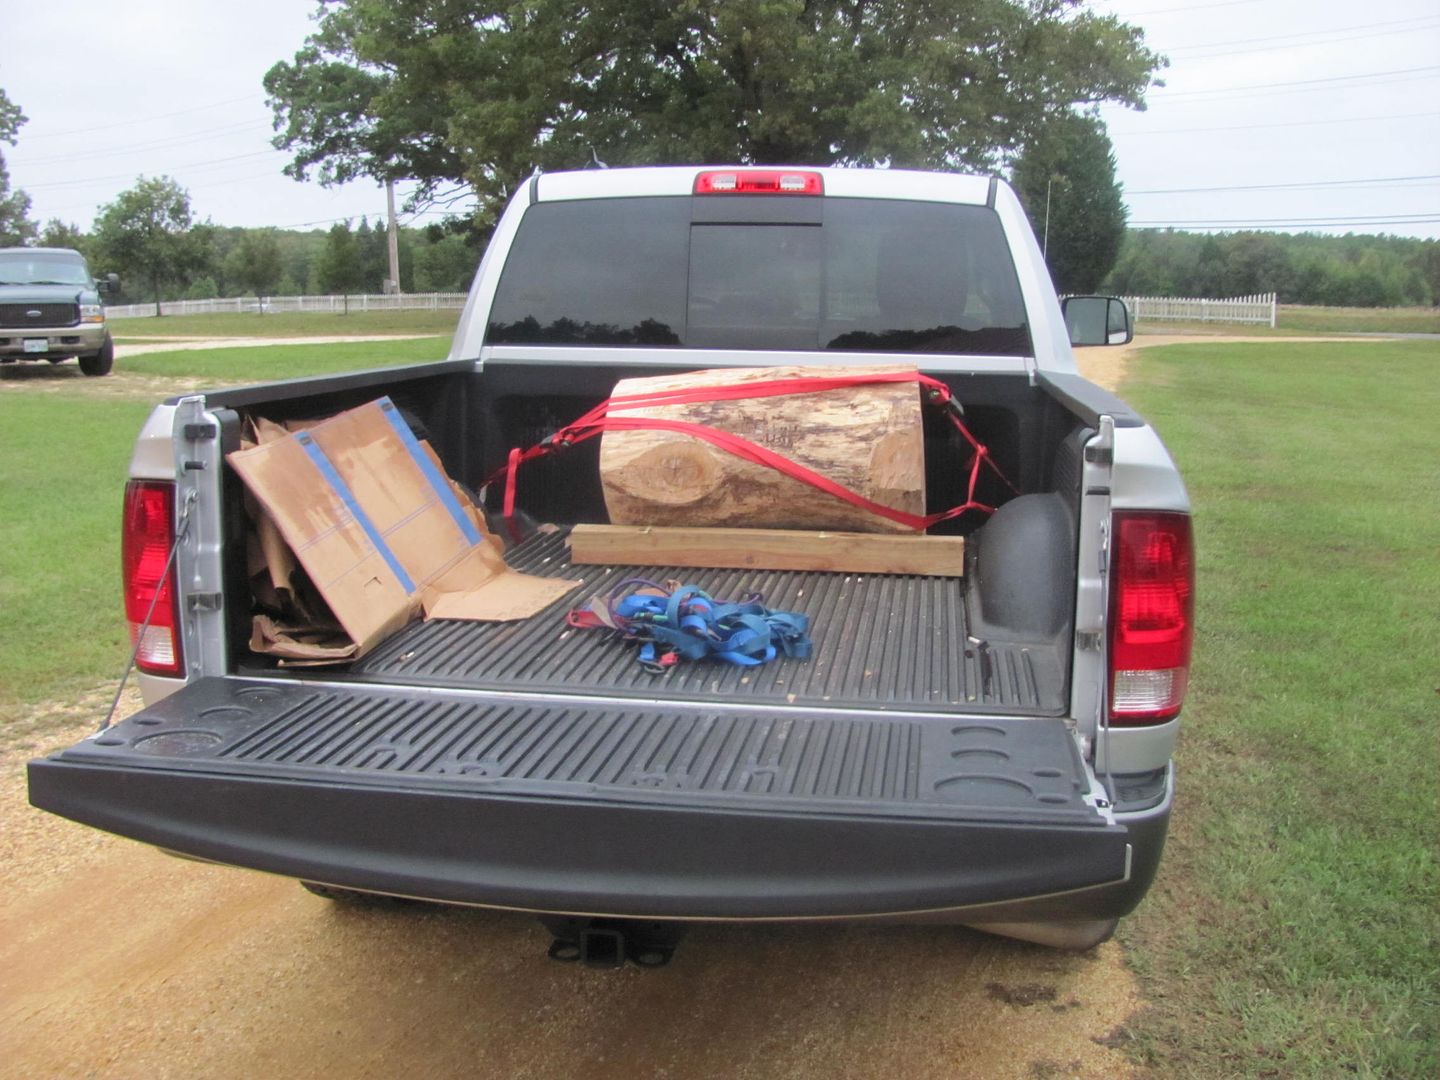
Loading stumps for the journey to their new home..
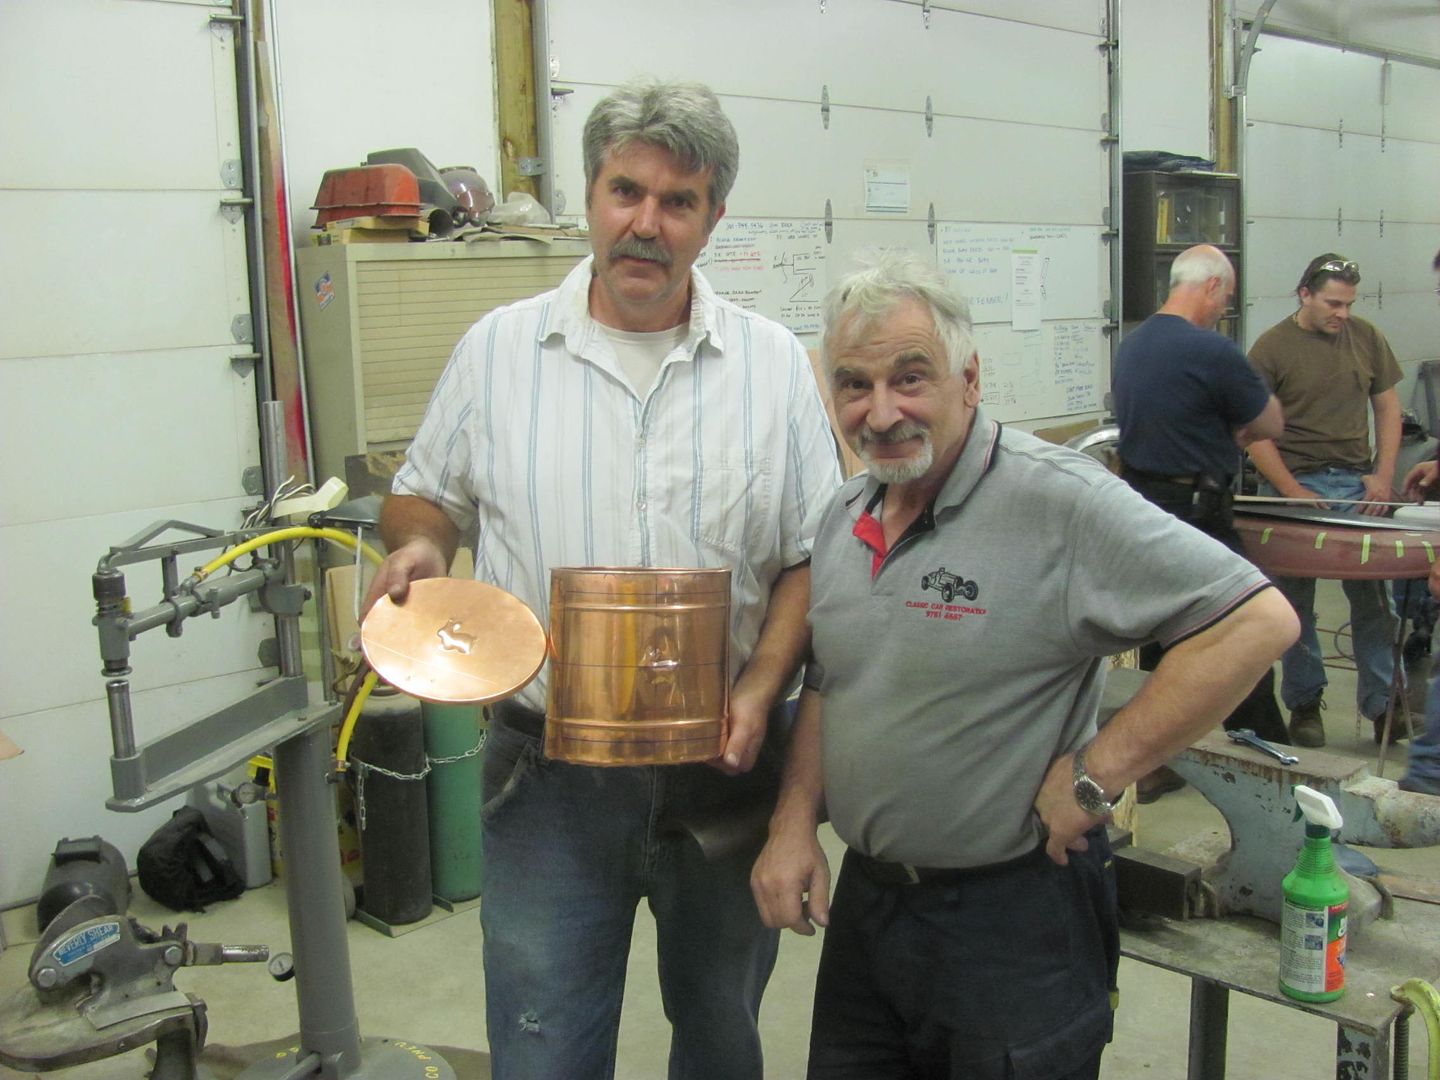
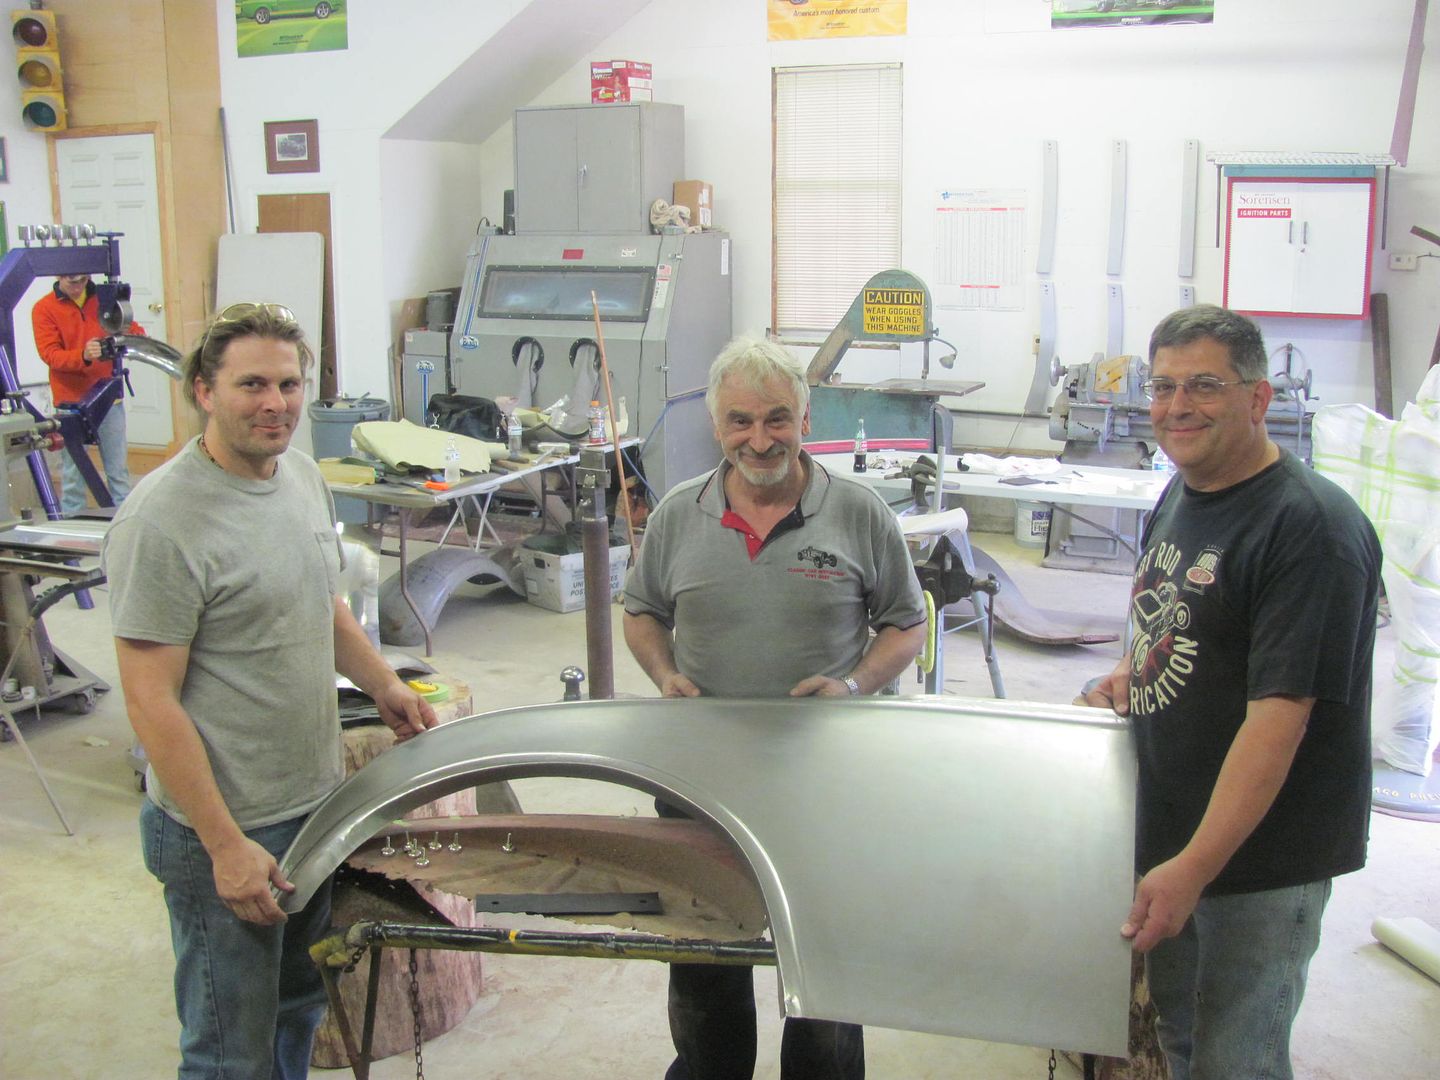
This class has been a blast, Peter is a wealth of knowledge and experience, and we are honored to have him share and pass this on to others. Anxiously looking forward to next year!
Wheeling door skin for a sport coupe:
Annealing copper wire to use as rivets:
Cover plate for military vehicle:
Paper pattern
Tuck shrinking on post dolly
Forming upper quarter reverse
Wheel opening bead detail added
Tipping flange with vise grips with jaws that have been smoothed...
Stretching
Loading stumps for the journey to their new home..
This class has been a blast, Peter is a wealth of knowledge and experience, and we are honored to have him share and pass this on to others. Anxiously looking forward to next year!
TimeWarpF100
Well-known member
WOW! Incredible stuff! Wish I could have been there . .
great white tj
Well-known member
Very nice work !!
jhn9840
Well-known member
Thanks for taking the time to share with us.
jhn9840
John
jhn9840
John
shortykorte
Well-known member
Wow, amazing, wow. I would love to attend a metal shaping class like this.
joeswamp
Well-known member
Thanks so much for sharing the class pictures. I've seen some of Peter's projects and he is one talented individual, that class must have been a lot of fun.
1/2 Cup
Member Emeritus
Wow, just awesome. Thanks for sharing.
Thanks for the comments fellas. The nice part about a class like this is all the different panel "samples" that are brought by the participants. It gives you a good selection to choose from to be able to tackle some of the shapes you don't normally deal with for a good learning experience for all..
aggierailroad
Well-known member
I am just in awe. Wish I could have come on by.
Stop on by!
We'll be doing a class again next year with Peter, likely a basic/intermediate class for four days and an advanced class for four days.
....and one of the lagging projects, Randy's scooter fender is almost there, a bit more fine tuning and we'll be ready to tip the sides...

We'll be doing a class again next year with Peter, likely a basic/intermediate class for four days and an advanced class for four days.
....and one of the lagging projects, Randy's scooter fender is almost there, a bit more fine tuning and we'll be ready to tip the sides...
Kevin54
MEMBER EMERITUS
Wow....just absolutely fantastic!!!!! 
Thanks Kevin!
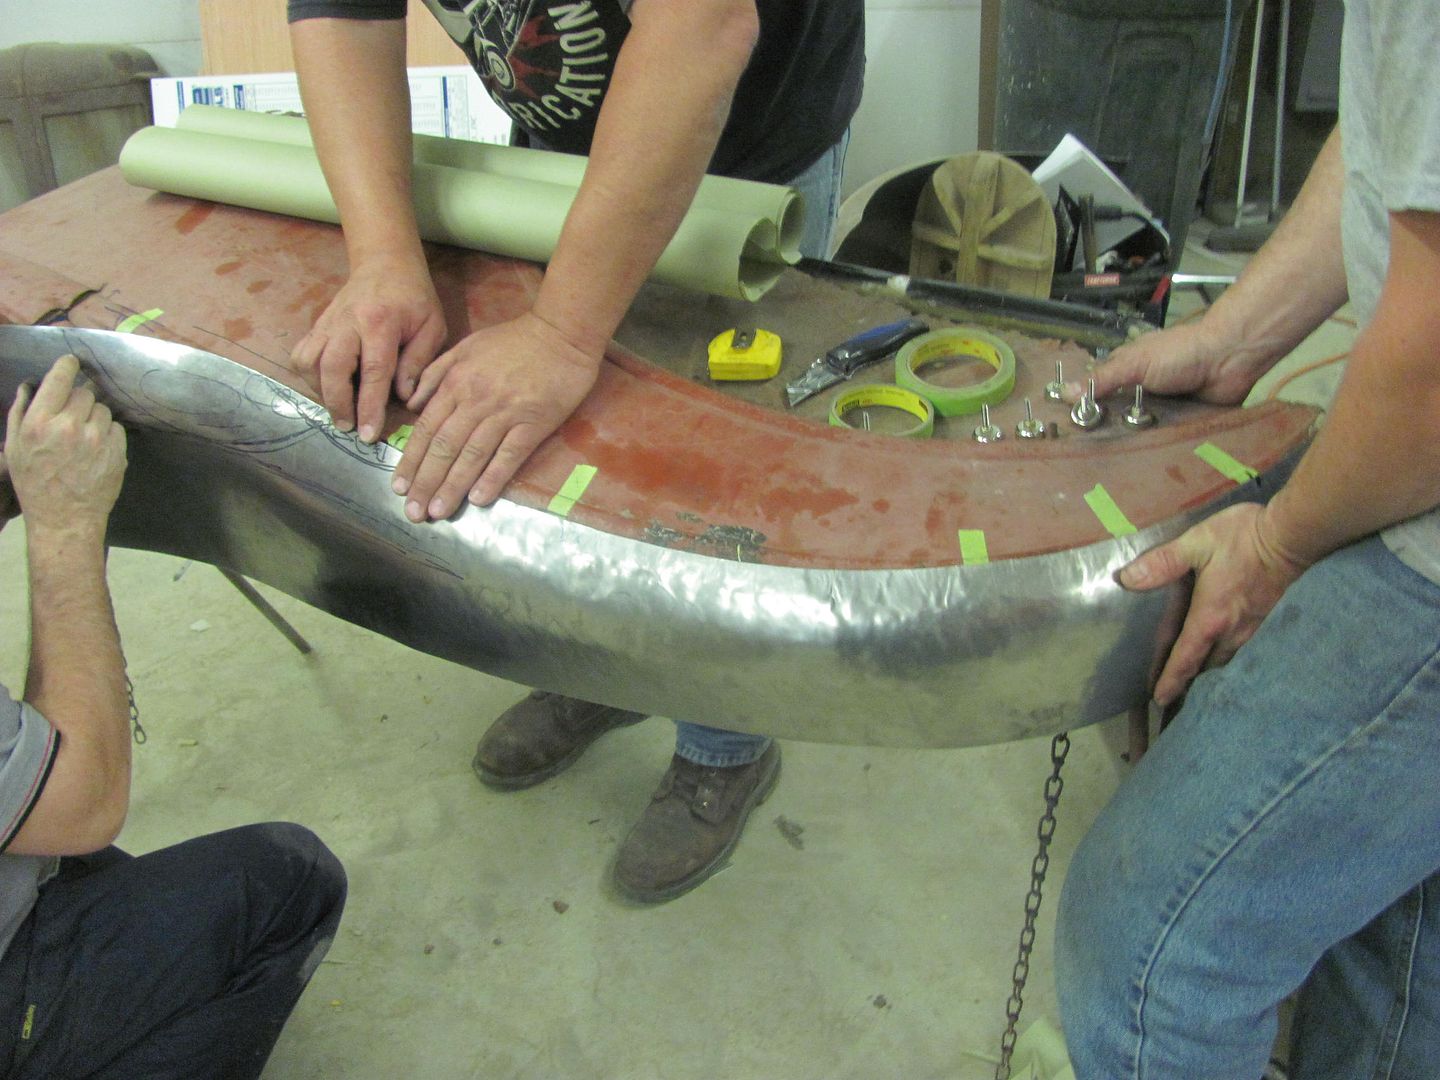
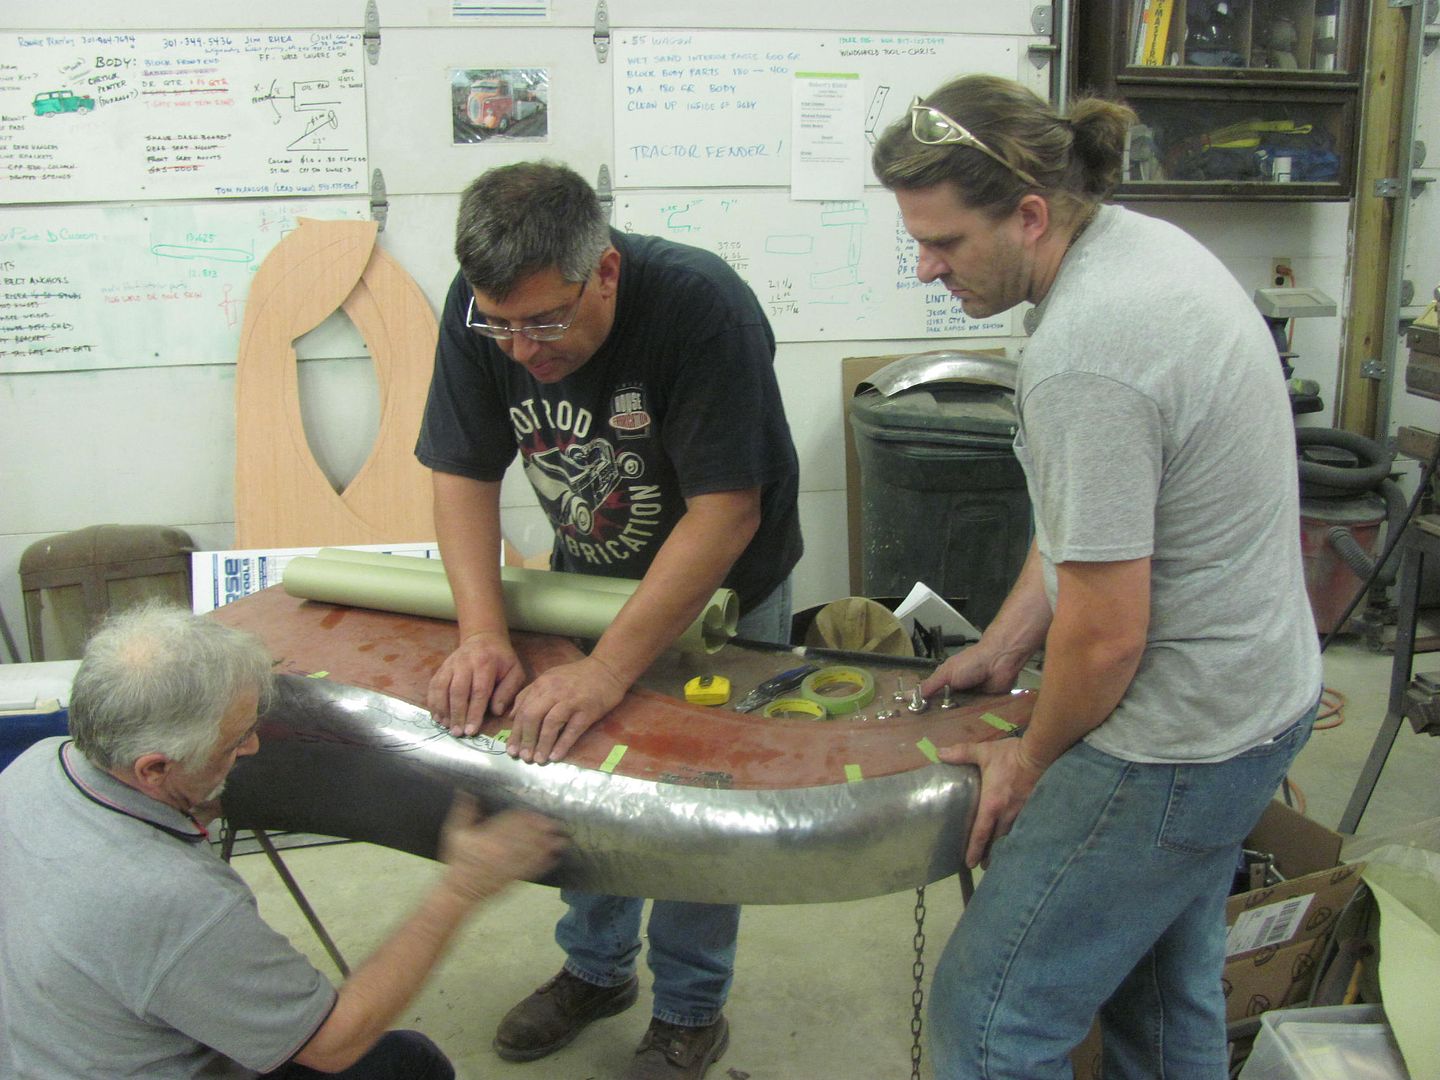
Finishing up the scooter fender..,
Marked for trimming...

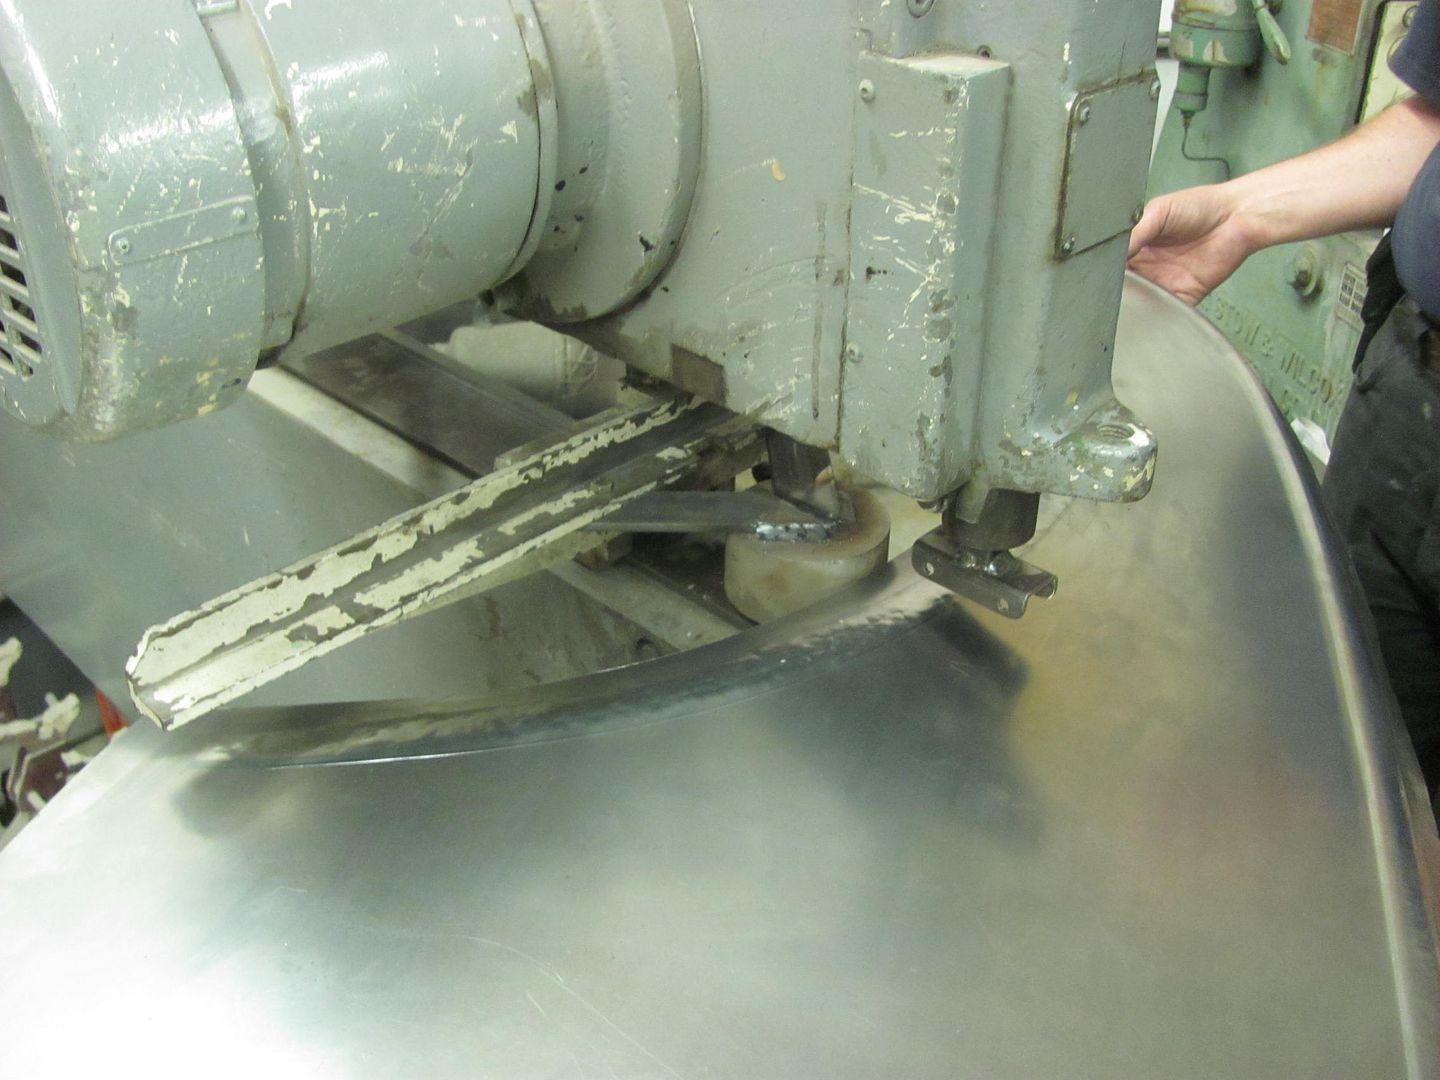
Tipping wheel to set the side flange....
Profile comparison, front to rear...
.....and side to side...

about ready for shipping to AZ.....
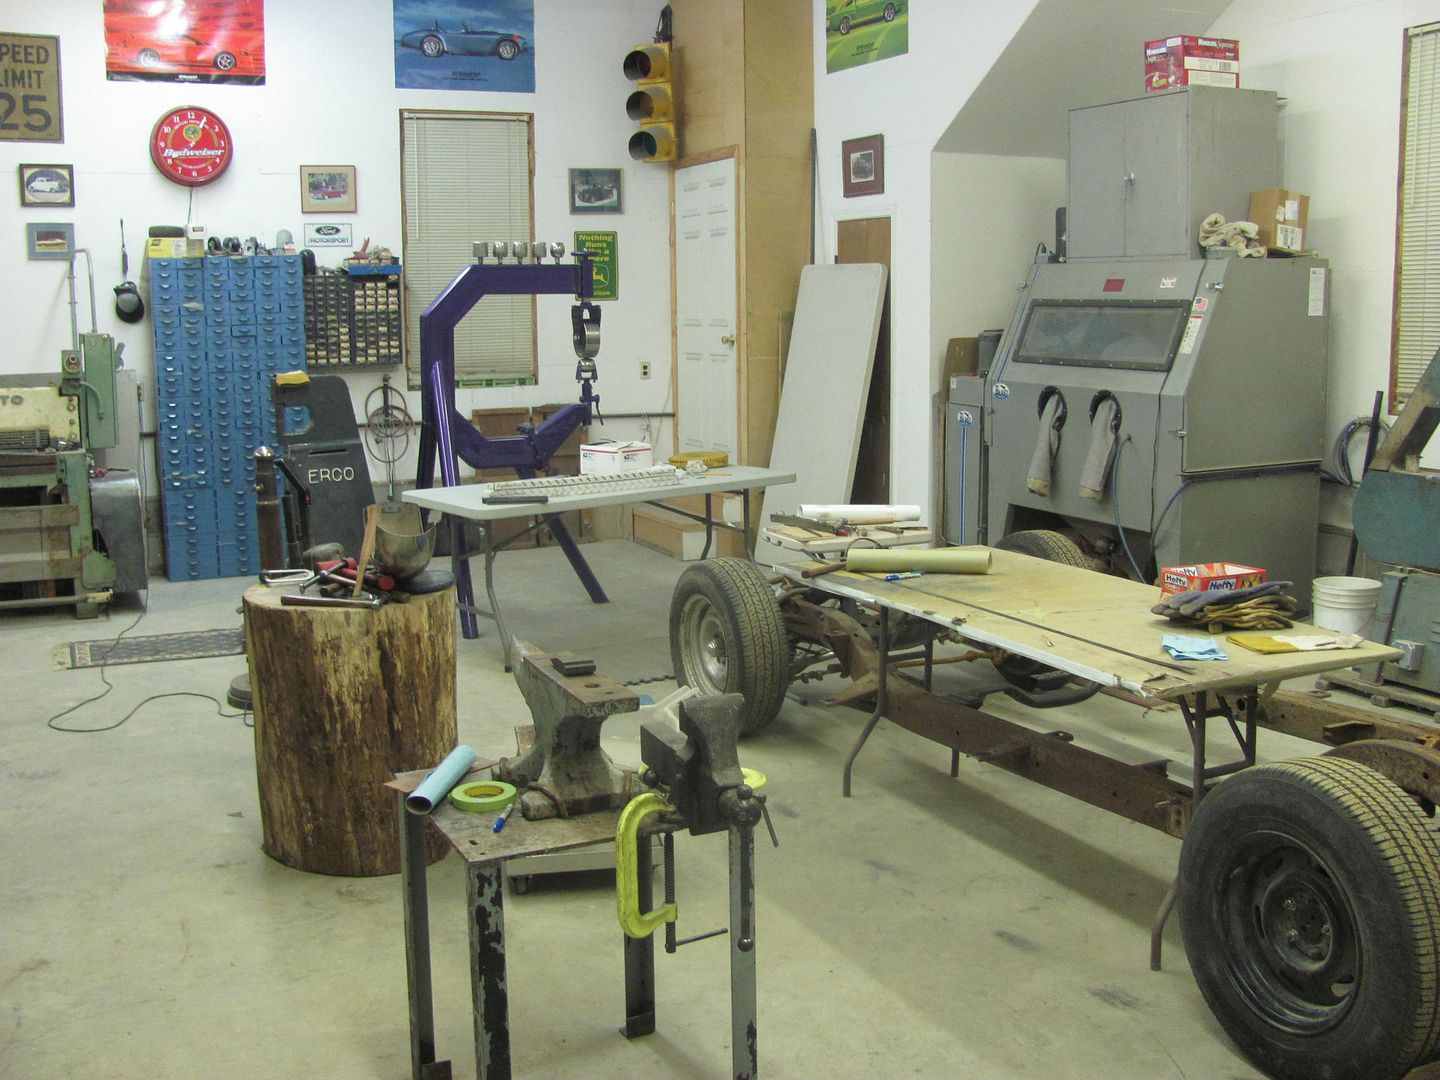
.... and Kyle is dressing some welds and weld touch up to get the body ready for media blasting...

Hey. you can still walk in this place...
Finishing up the scooter fender..,
Marked for trimming...
Tipping wheel to set the side flange....
Profile comparison, front to rear...
.....and side to side...
about ready for shipping to AZ.....
.... and Kyle is dressing some welds and weld touch up to get the body ready for media blasting...
Hey. you can still walk in this place...
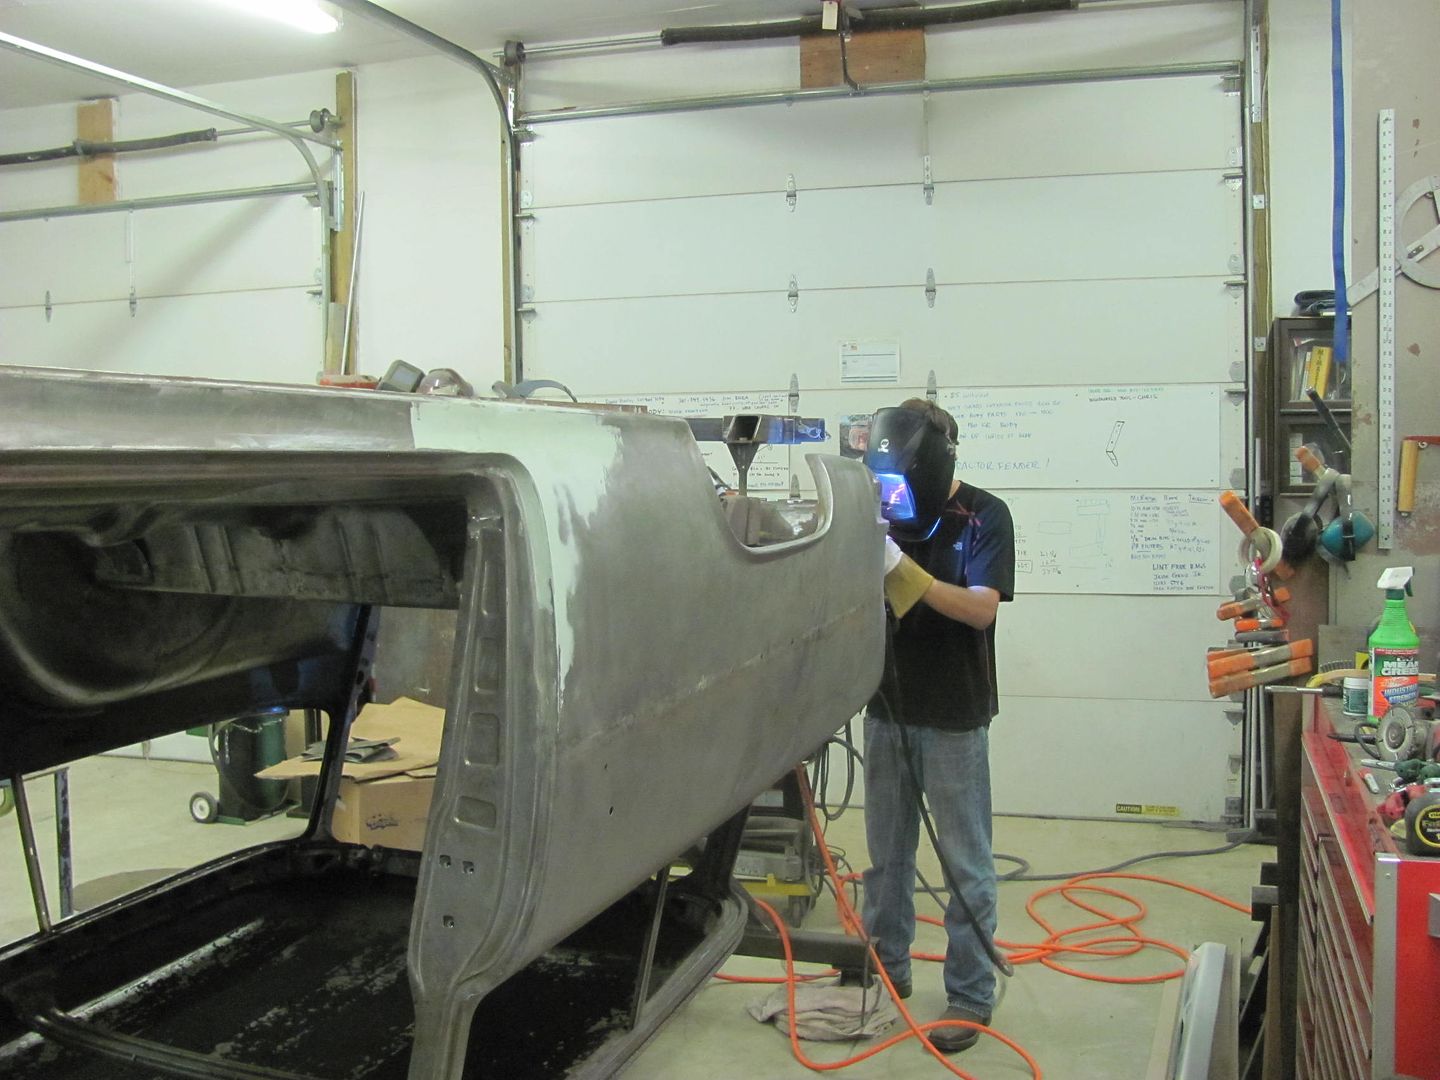
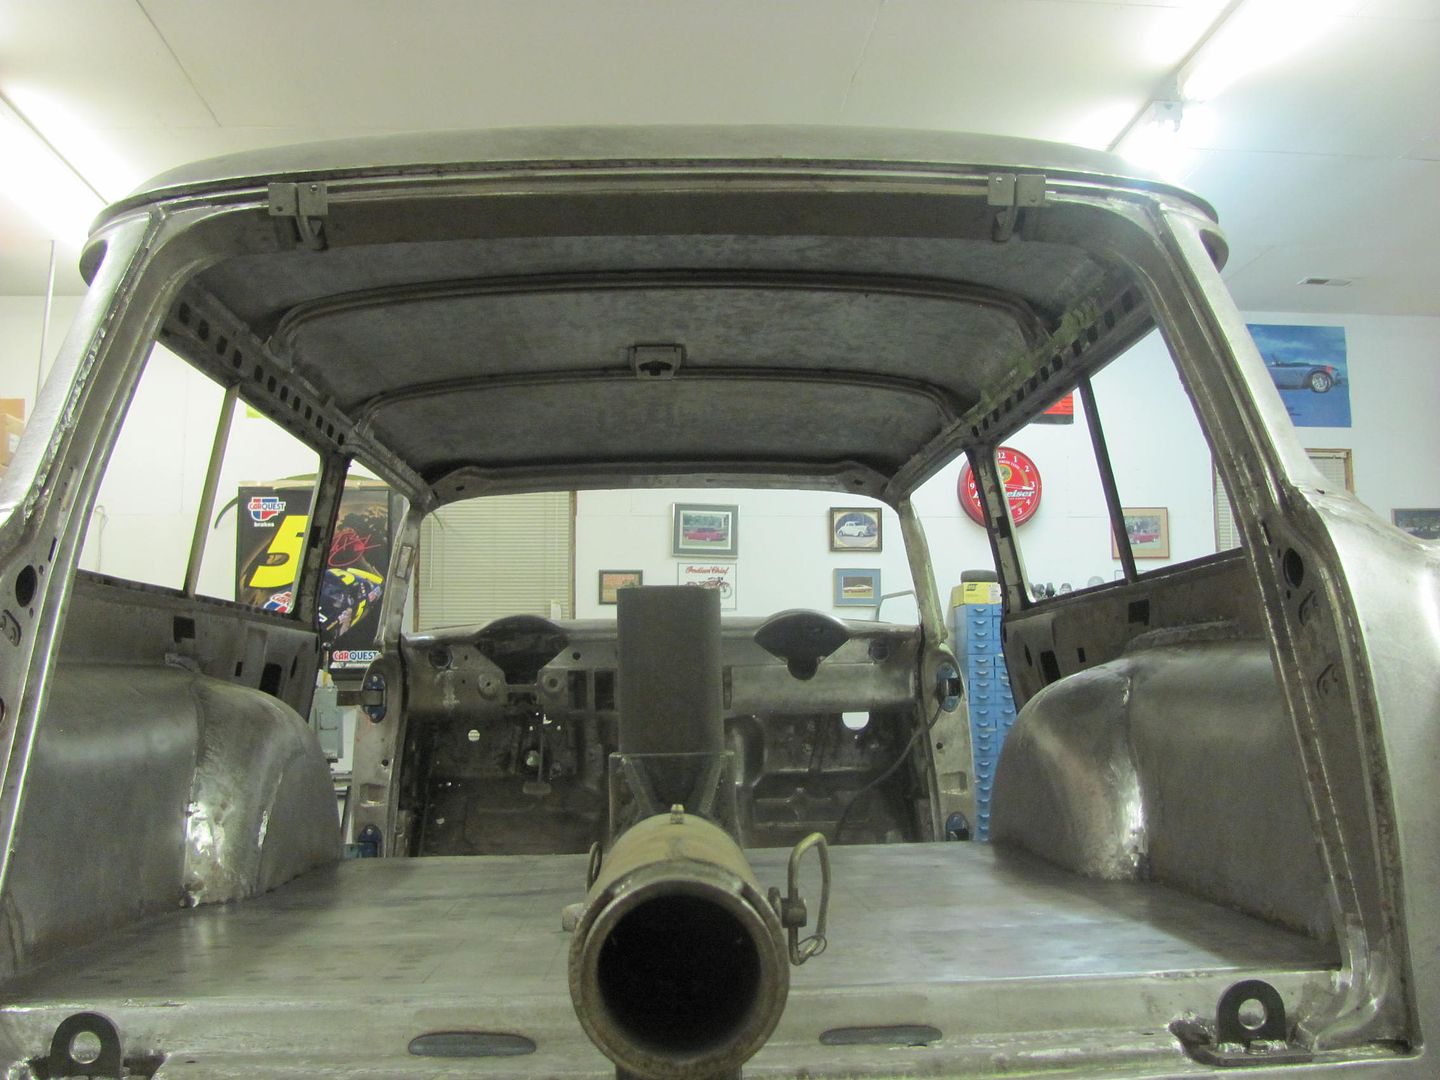
Not much to show, still working on grinding welds and filling pin holes... A good testament to using Tig or O/A welding
Also welded up/shaved the upper firewall seam....
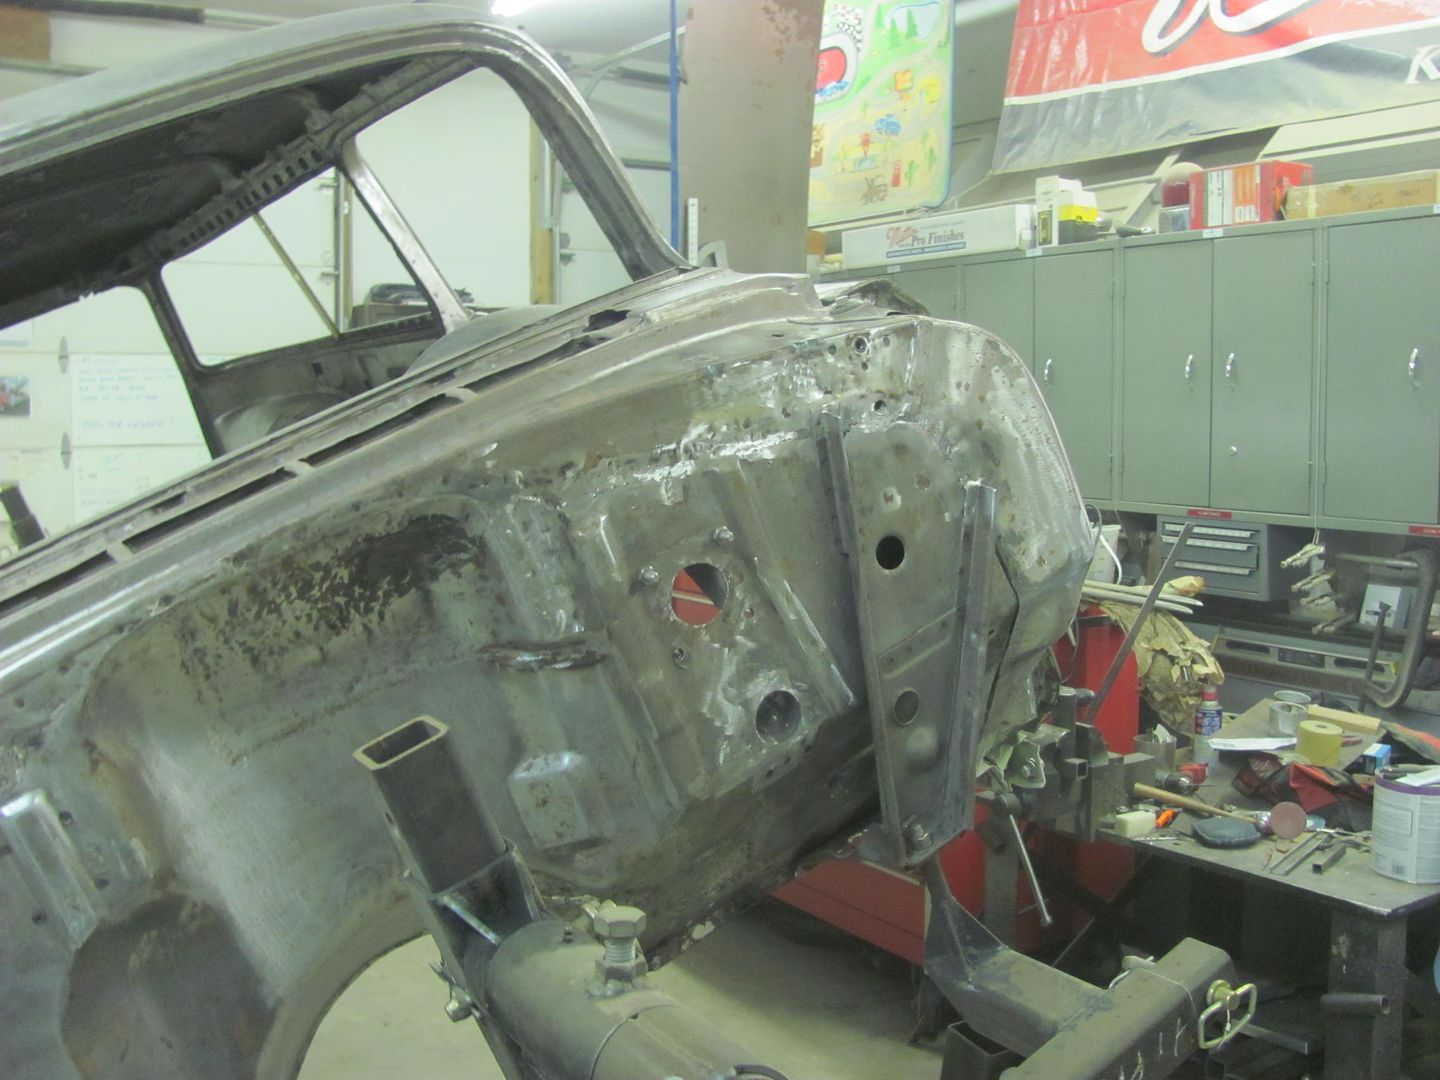

Lesson for this evening is to watch welding around stuff mounted JUST BEHIND the firewall! :tard:
Also welded up/shaved the upper firewall seam....
Lesson for this evening is to watch welding around stuff mounted JUST BEHIND the firewall! :tard:
Last edited:
TimeWarpF100
Well-known member
Thanks Kevin!
Finishing up the scooter fender..,
Marked for trimming...
Tipping wheel to set the side flange....
Profile comparison, front to rear...
.....and side to side...
about ready for shipping to AZ.....
.... and Kyle is dressing some welds and weld touch up to get the body ready for media blasting...
Hey. you can still walk in this place...
Fender looks great!
Thanks Randy! Should get the front and rear radius this Saturday and get it back in the mail to you..
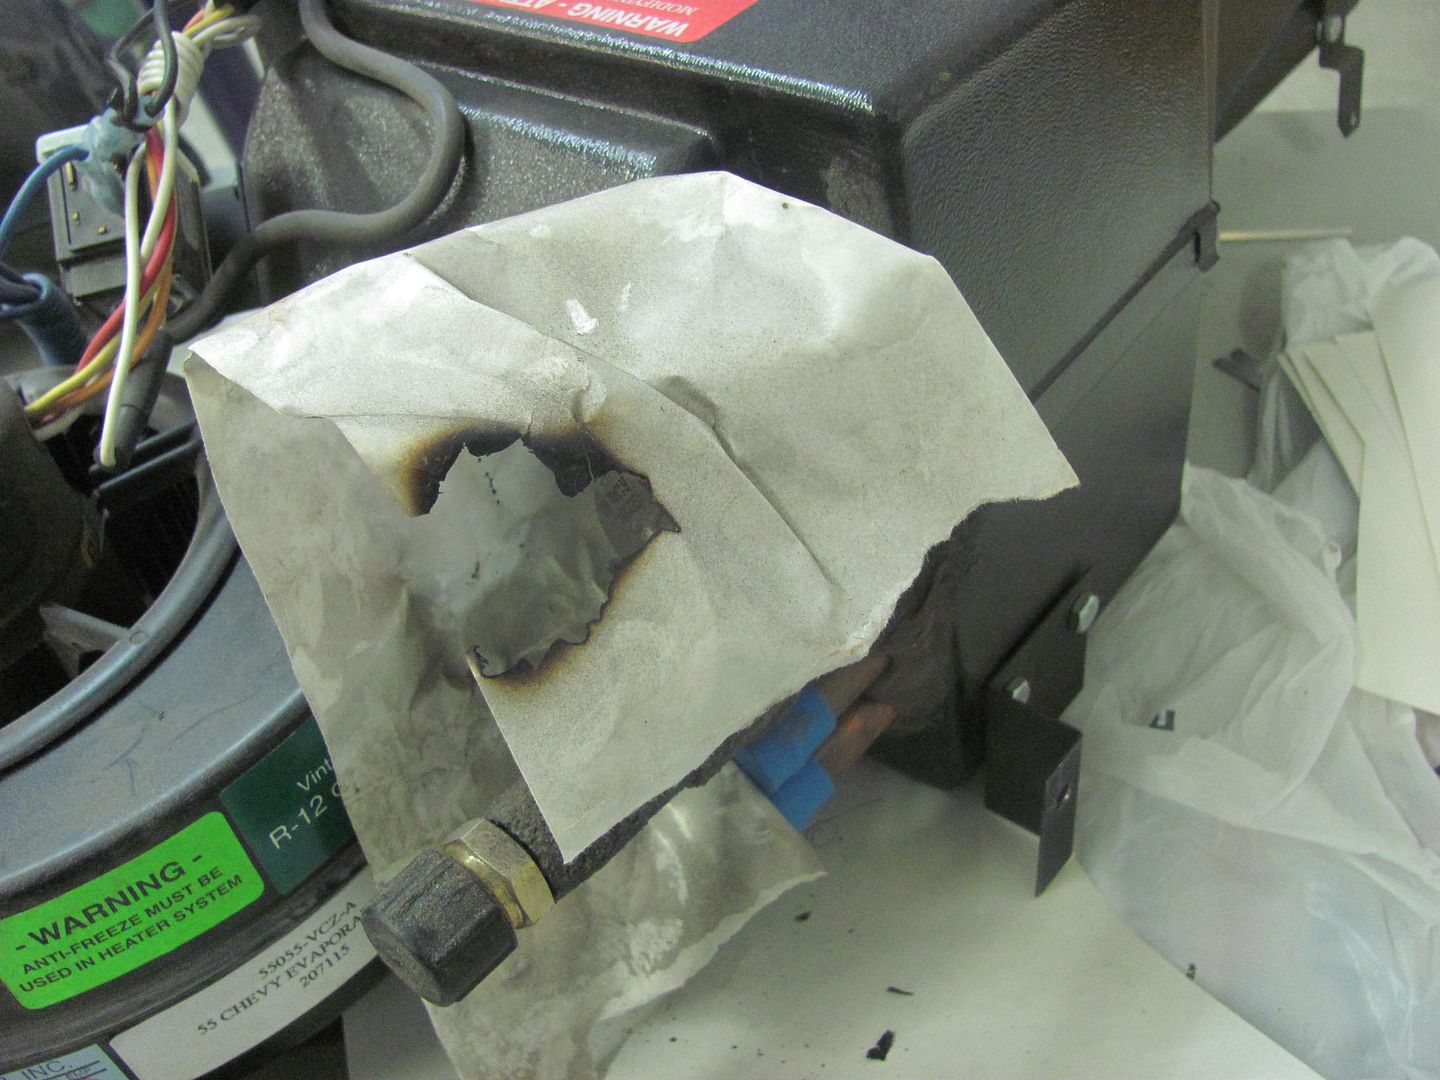
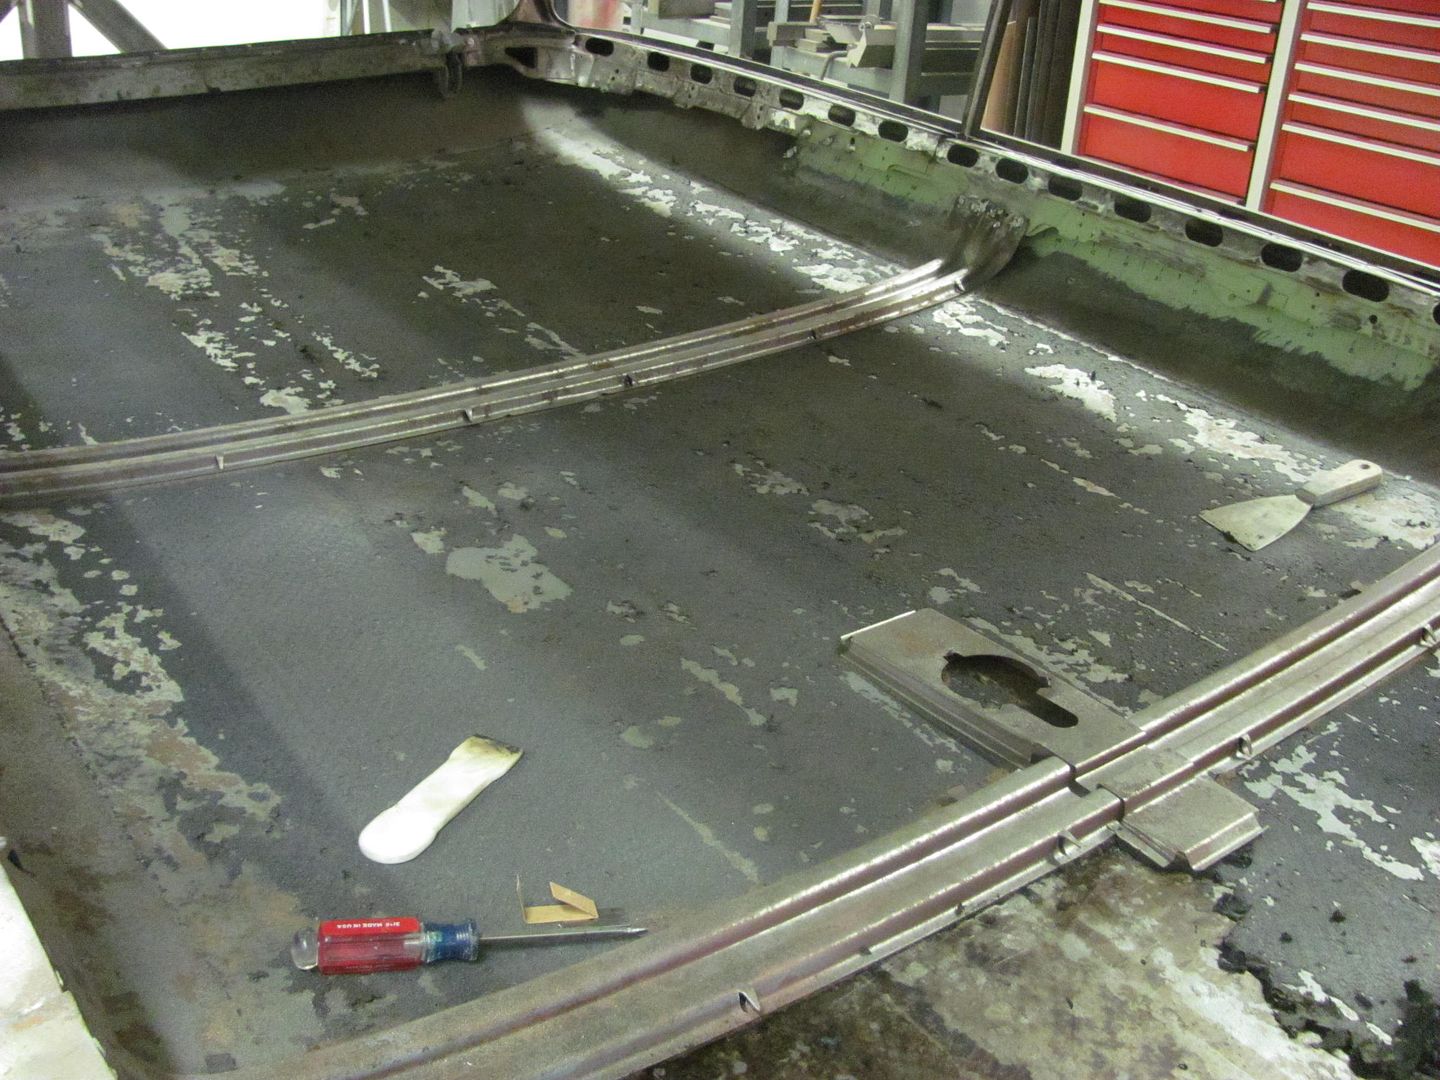
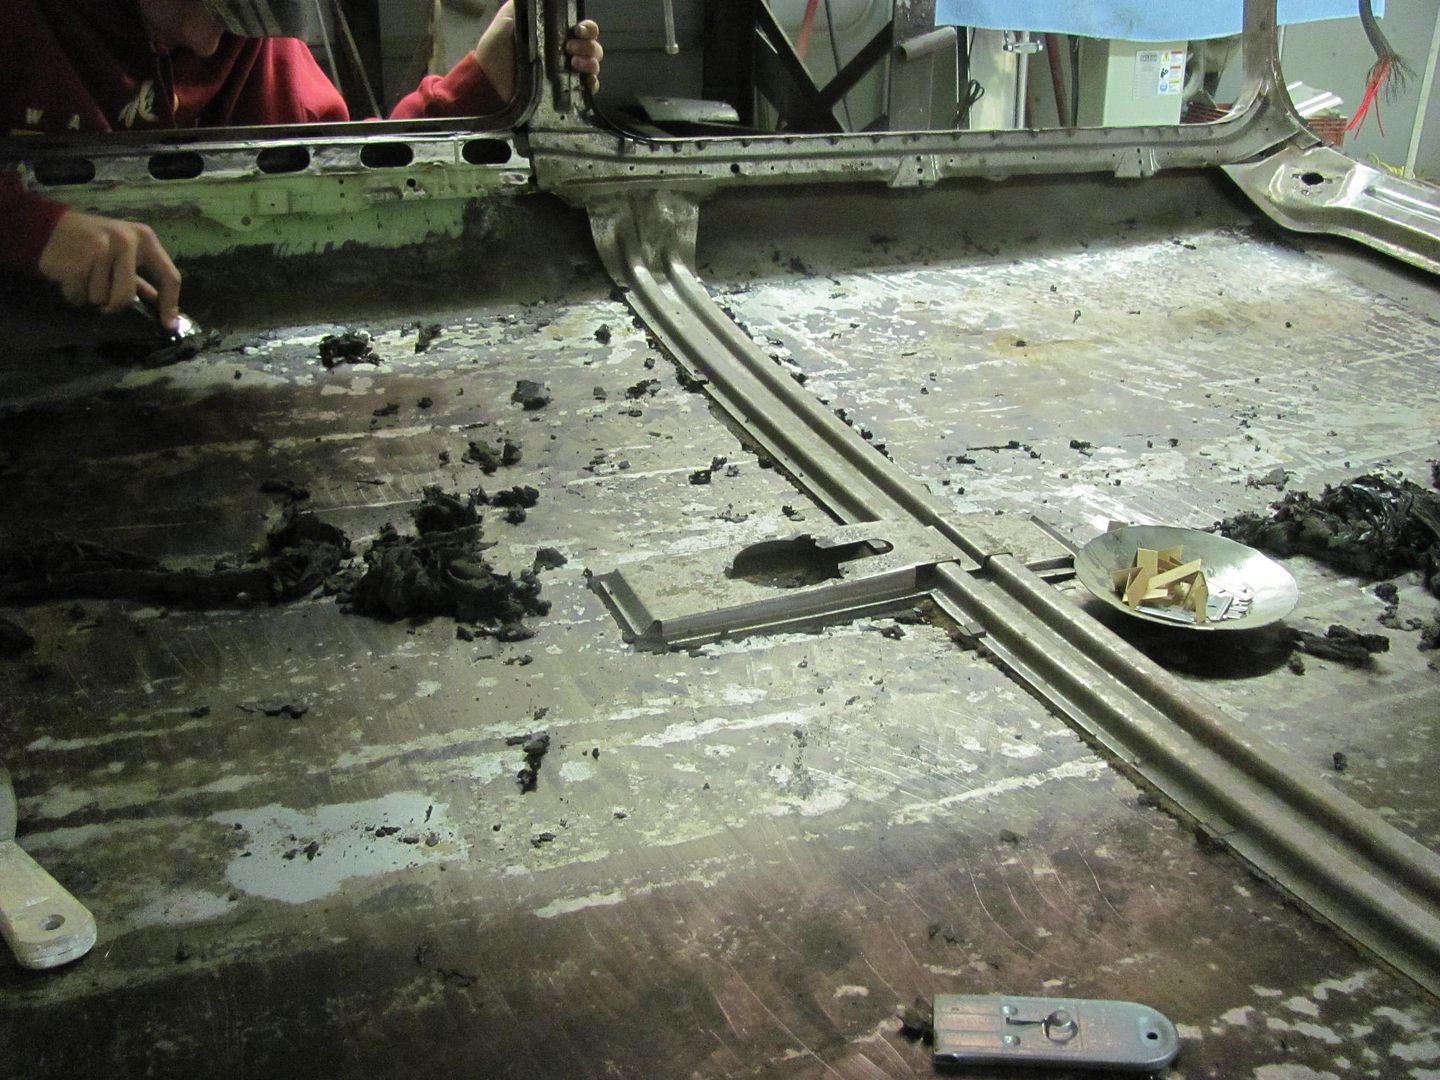
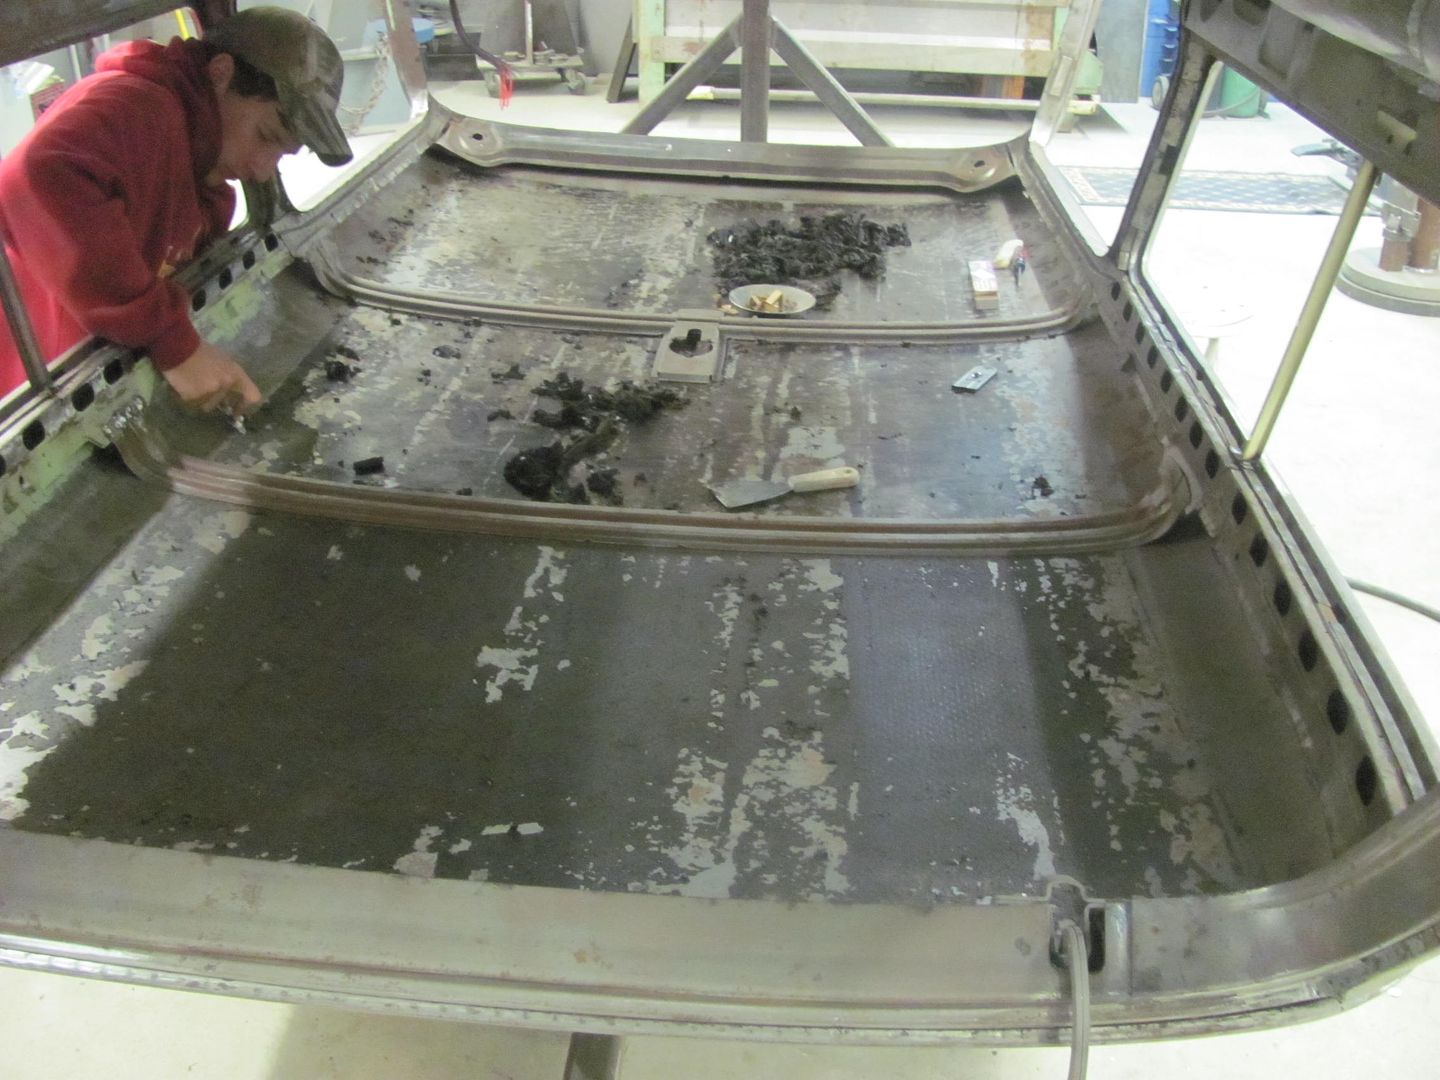
Well, more welding, grinding, and then we decided to give the roof insulation removal a try. Picked a spot and dumped on some lacquer thinner, which softened it up nicely and then made a sticky mess. So we put the putty knives aside and tried the paint scrapers..... without solvents. Dry removal was definitely better...
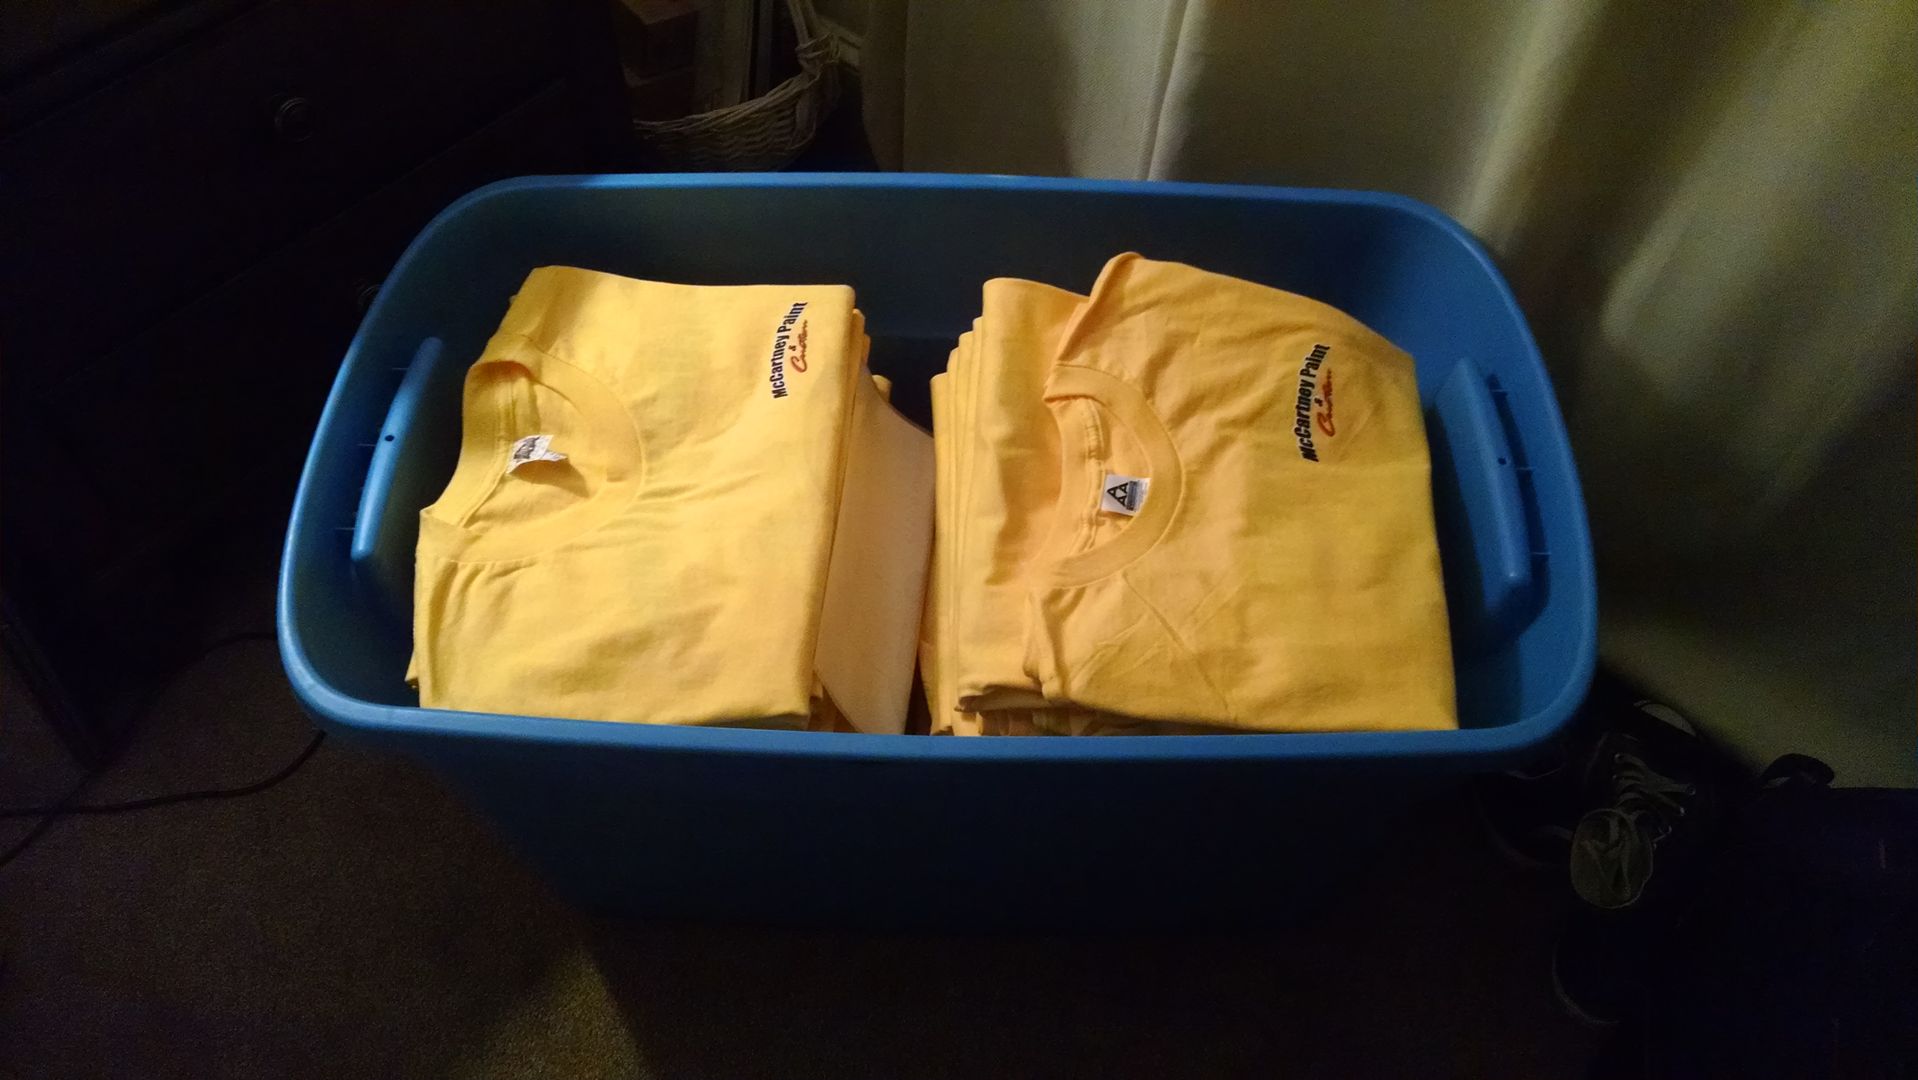
Also got another shipment of shirts in from Bonehead Graphics...
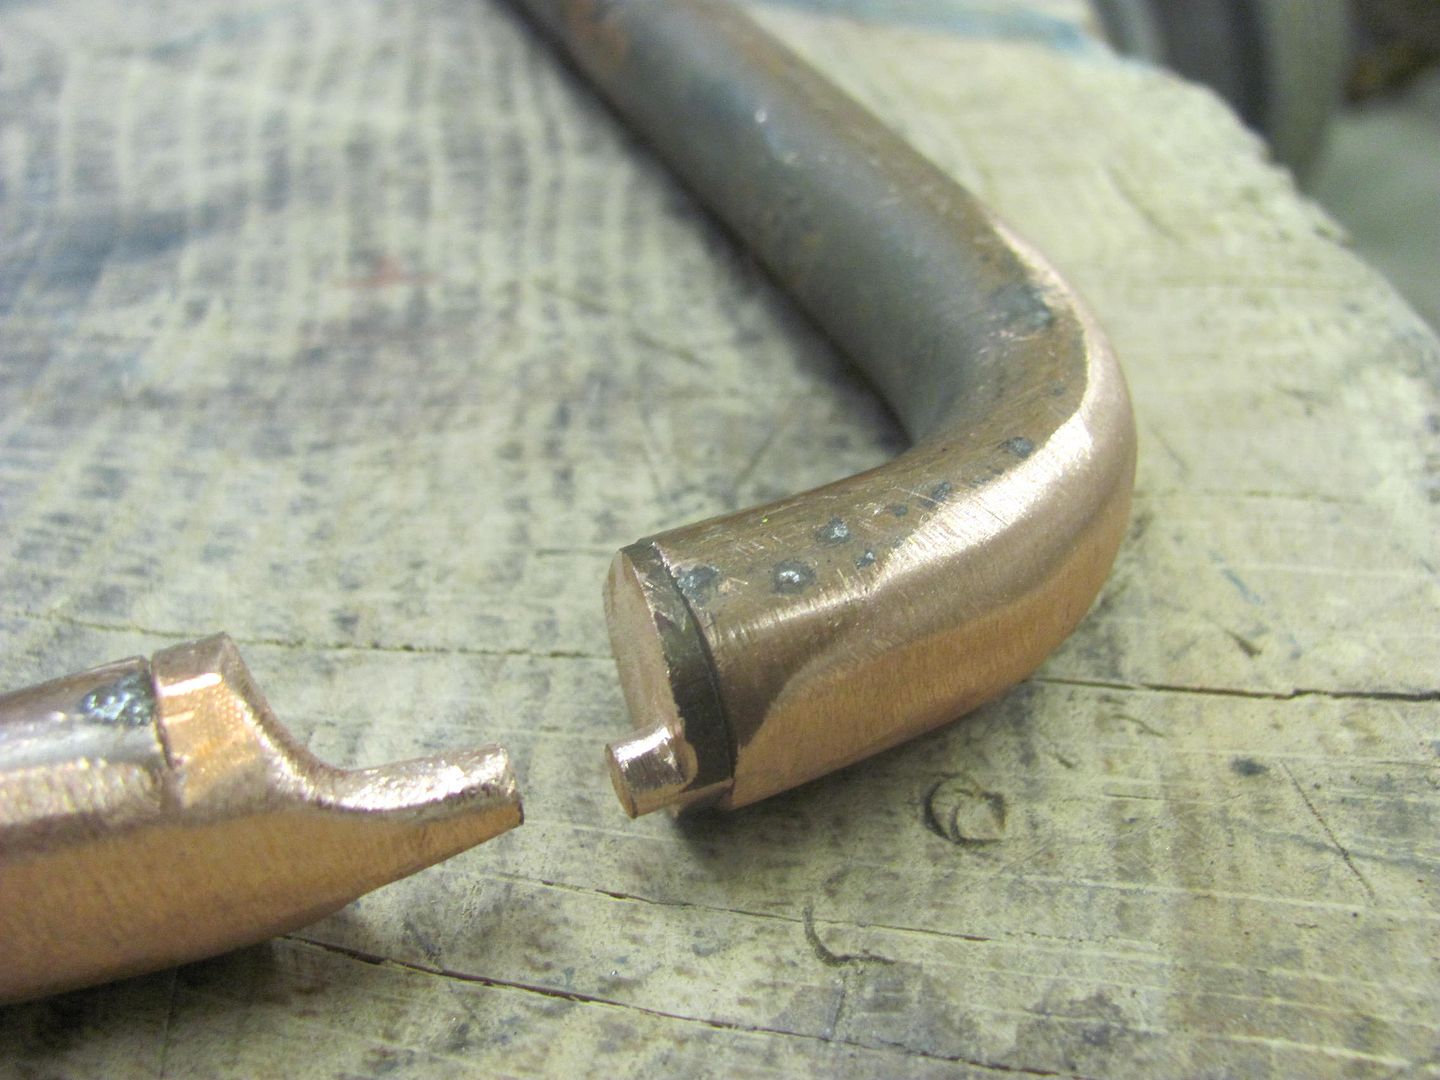
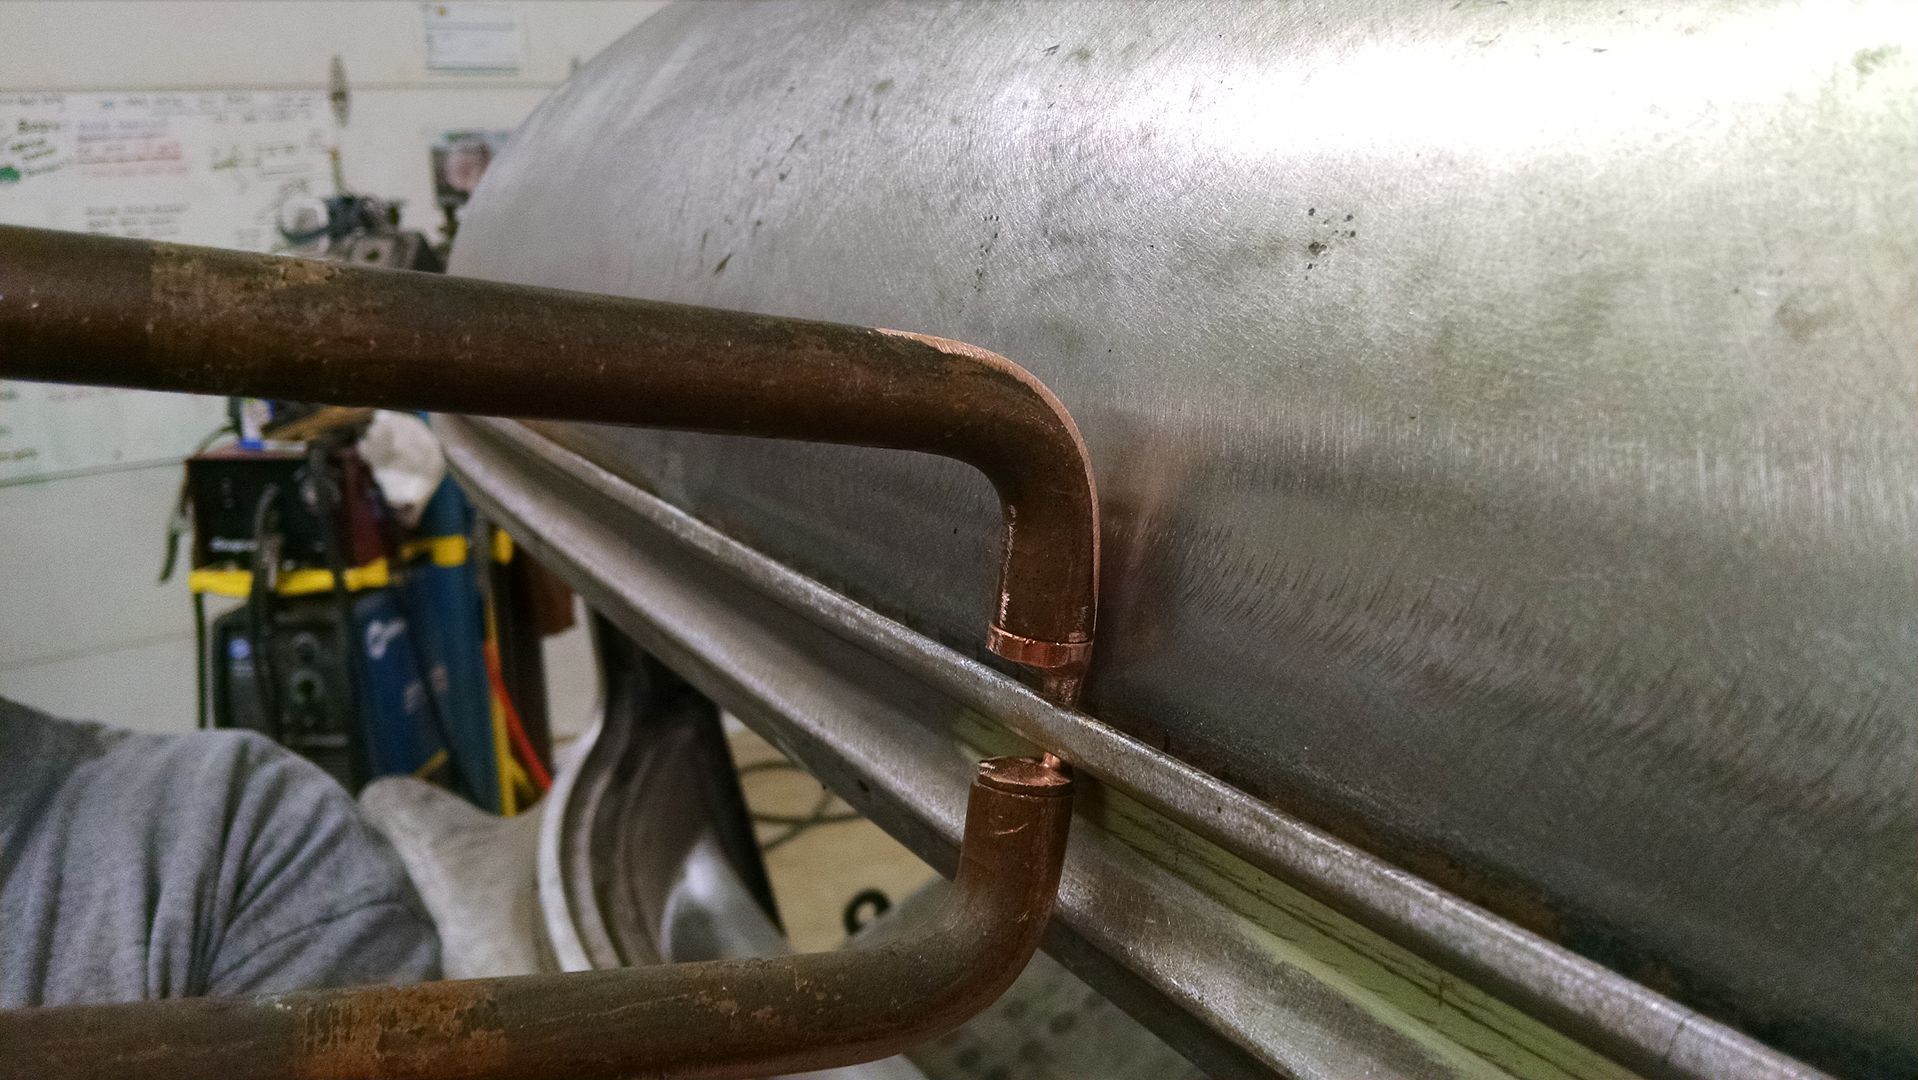
and promised the owner a modified set of spot welder tips to tackle his own wagon roof repairs...

Well, more welding, grinding, and then we decided to give the roof insulation removal a try. Picked a spot and dumped on some lacquer thinner, which softened it up nicely and then made a sticky mess. So we put the putty knives aside and tried the paint scrapers..... without solvents. Dry removal was definitely better...
Also got another shipment of shirts in from Bonehead Graphics...
and promised the owner a modified set of spot welder tips to tackle his own wagon roof repairs...
Divcod
Well-known member
Robert, I would give a multiple tool a shot at the roof insulation. Needed remove under coating and tried solvent, big mess, grinding, consumed grinding wheels, and sand blasting which was extremely slow. Purchased a Craftsman multi tool and it peeled the under coating off in large pieces. Then followed up with sand blasting and normal prep for painting.
joeswamp
Well-known member
Another thing worth trying is a big jug of Goo-gone. On certain kinds of sticky adhesives, I've found it to be more effective than any traditional solvent.
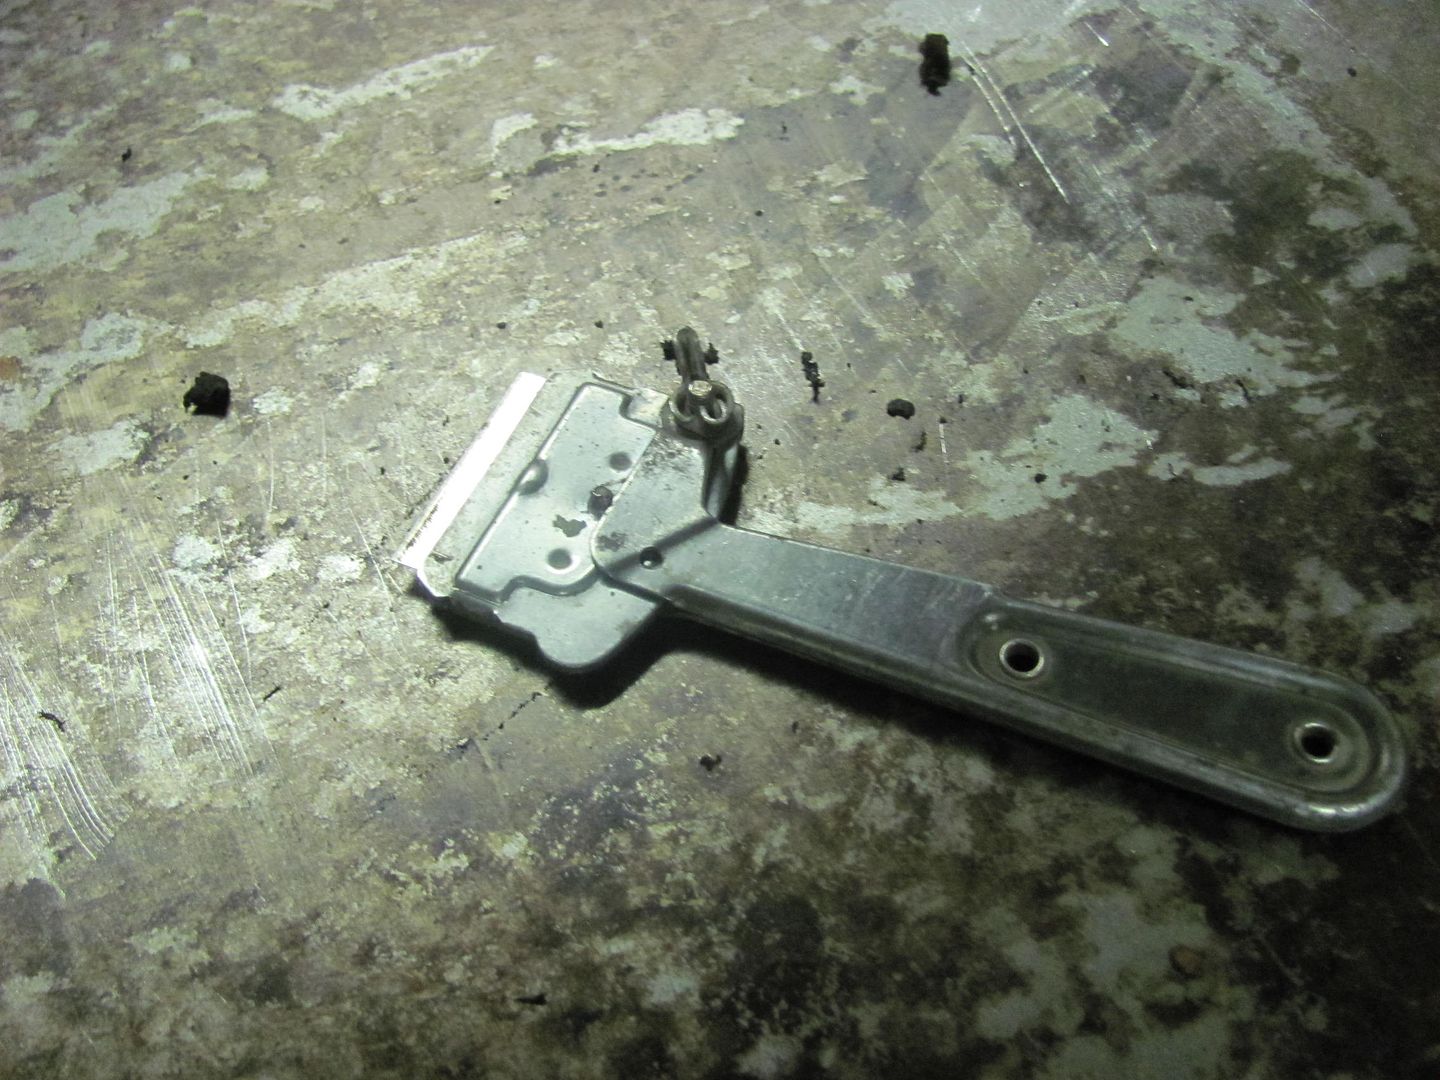
Thanks for the other suggestions. Since we did not have one of those fancy tools, but did have a full box of single edge blades, we got it done with the razor scrapers... much less of a mess than using solvent.. You guys are just trying to get me spending money on more tools.. 
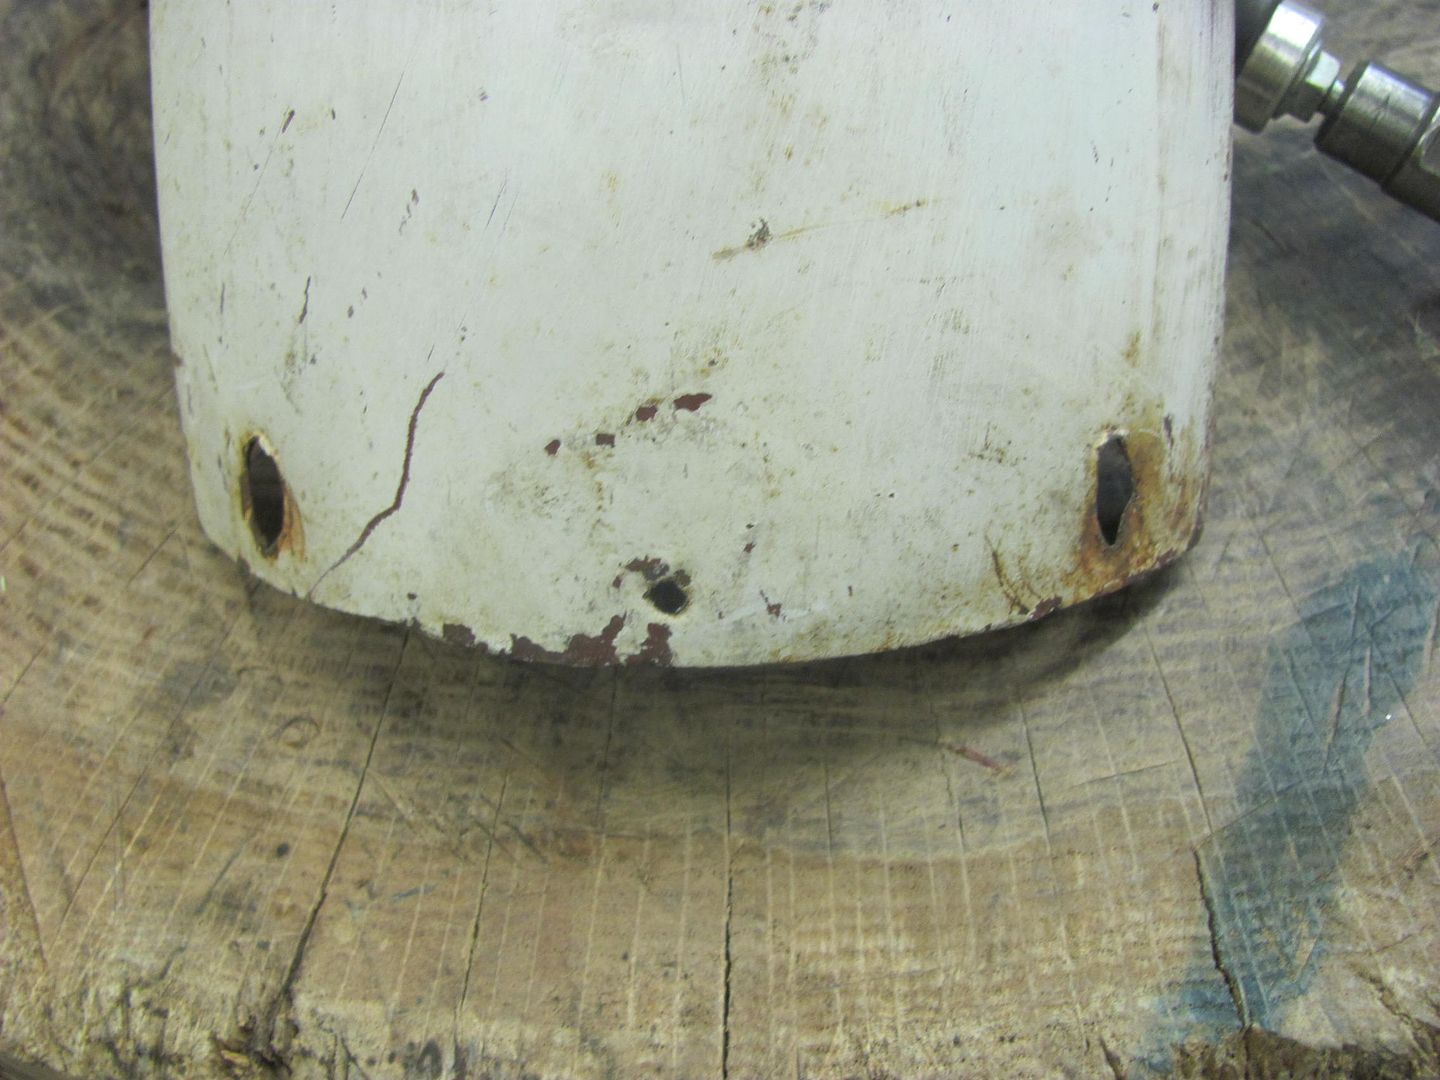
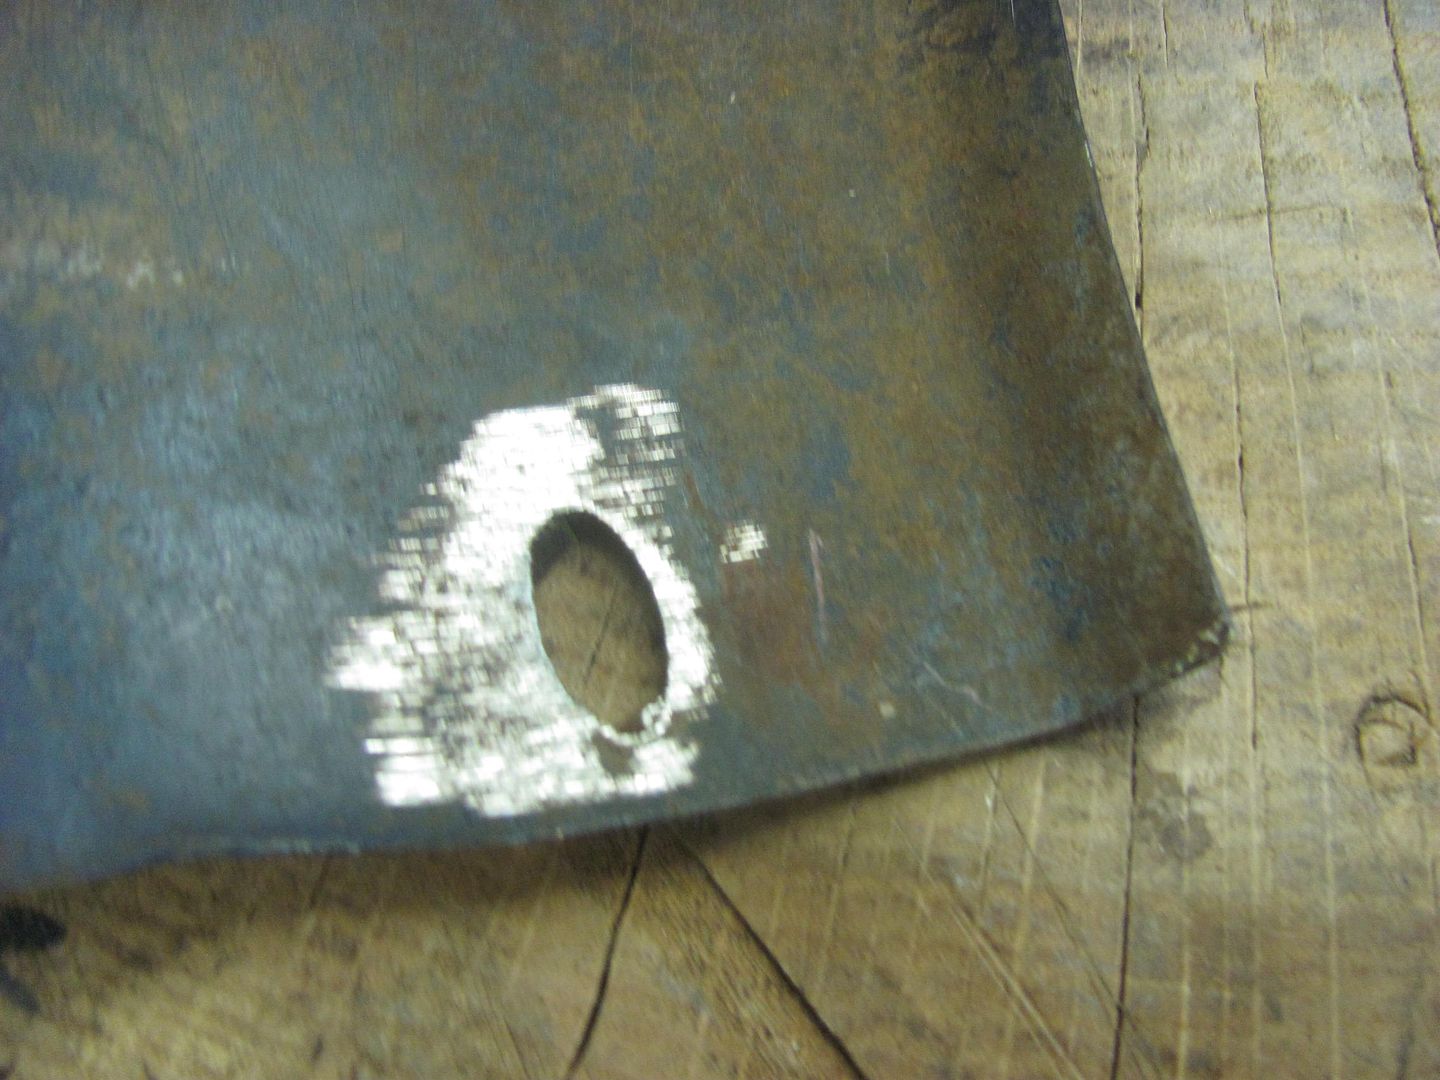
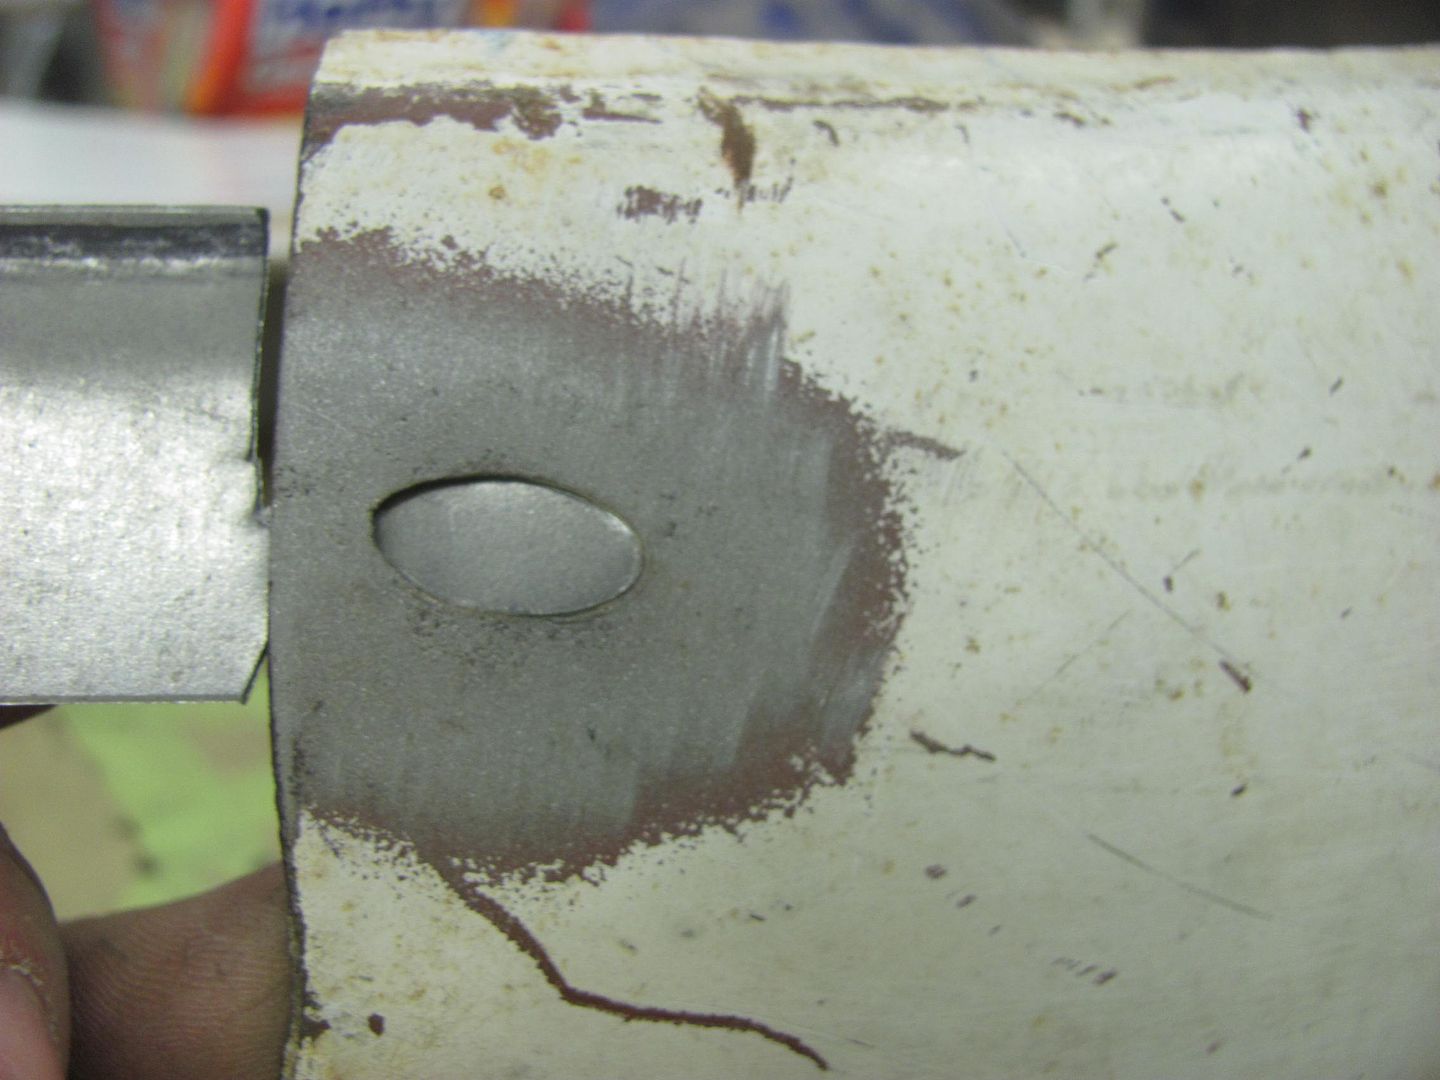
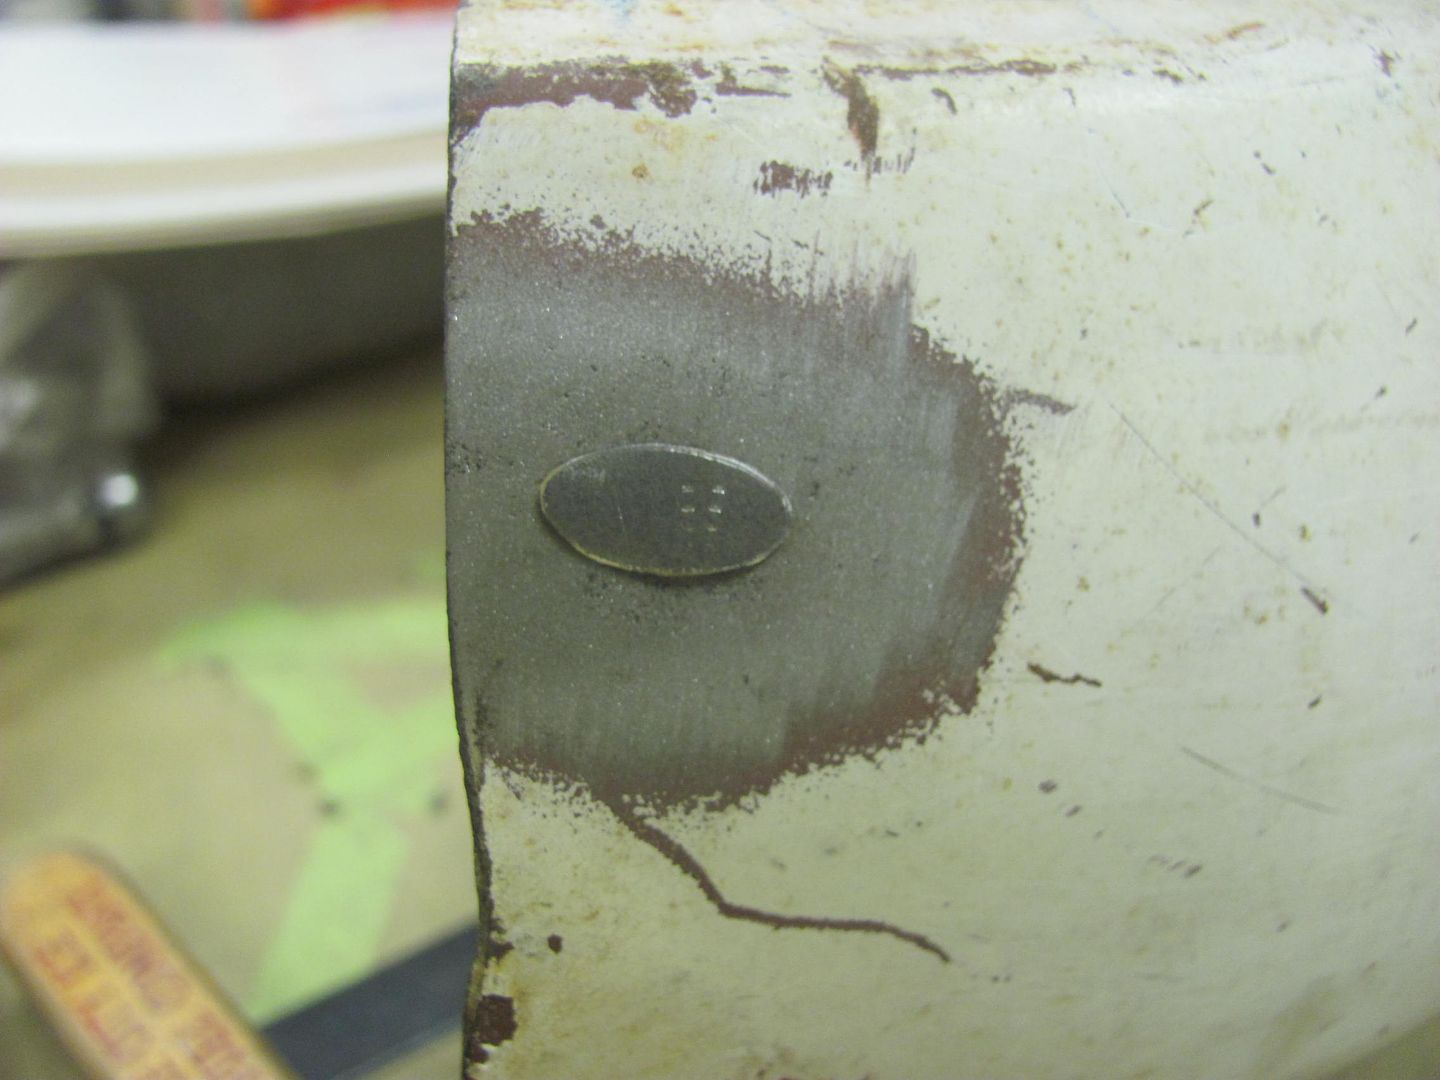
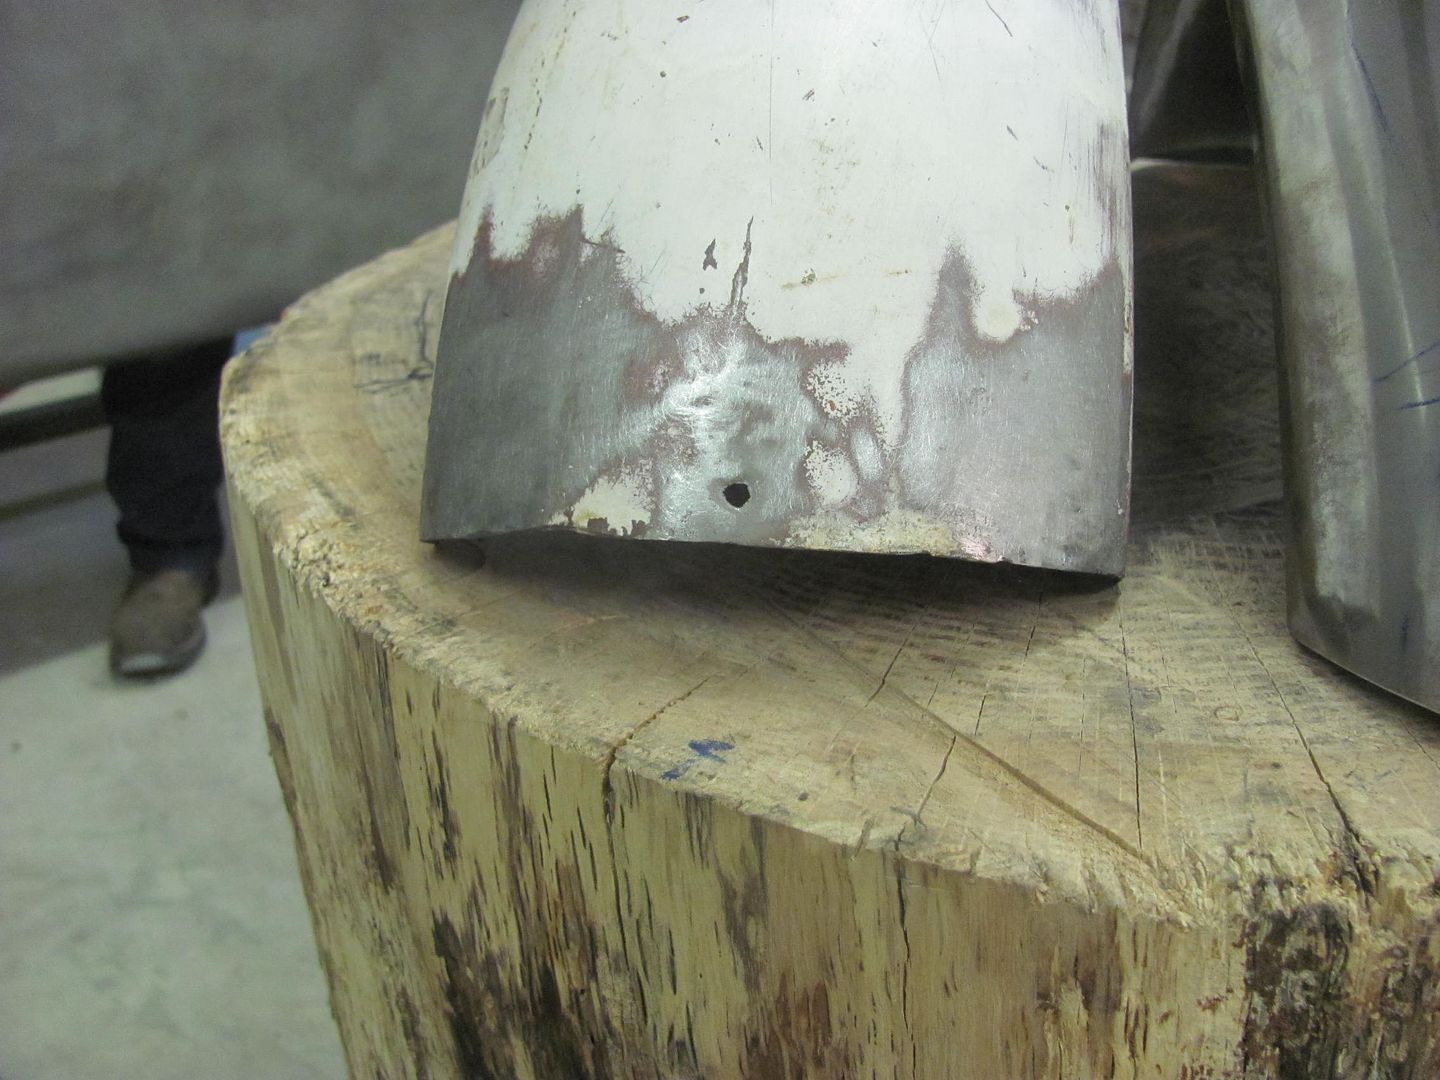
Well time to finish up Randy's scooter fender(s). The original (rear) had been loose at some point as the fender mounting holes were nice and elongated from flopping around. So I'll get them filled in and Randy will need to match drill them to the frame..
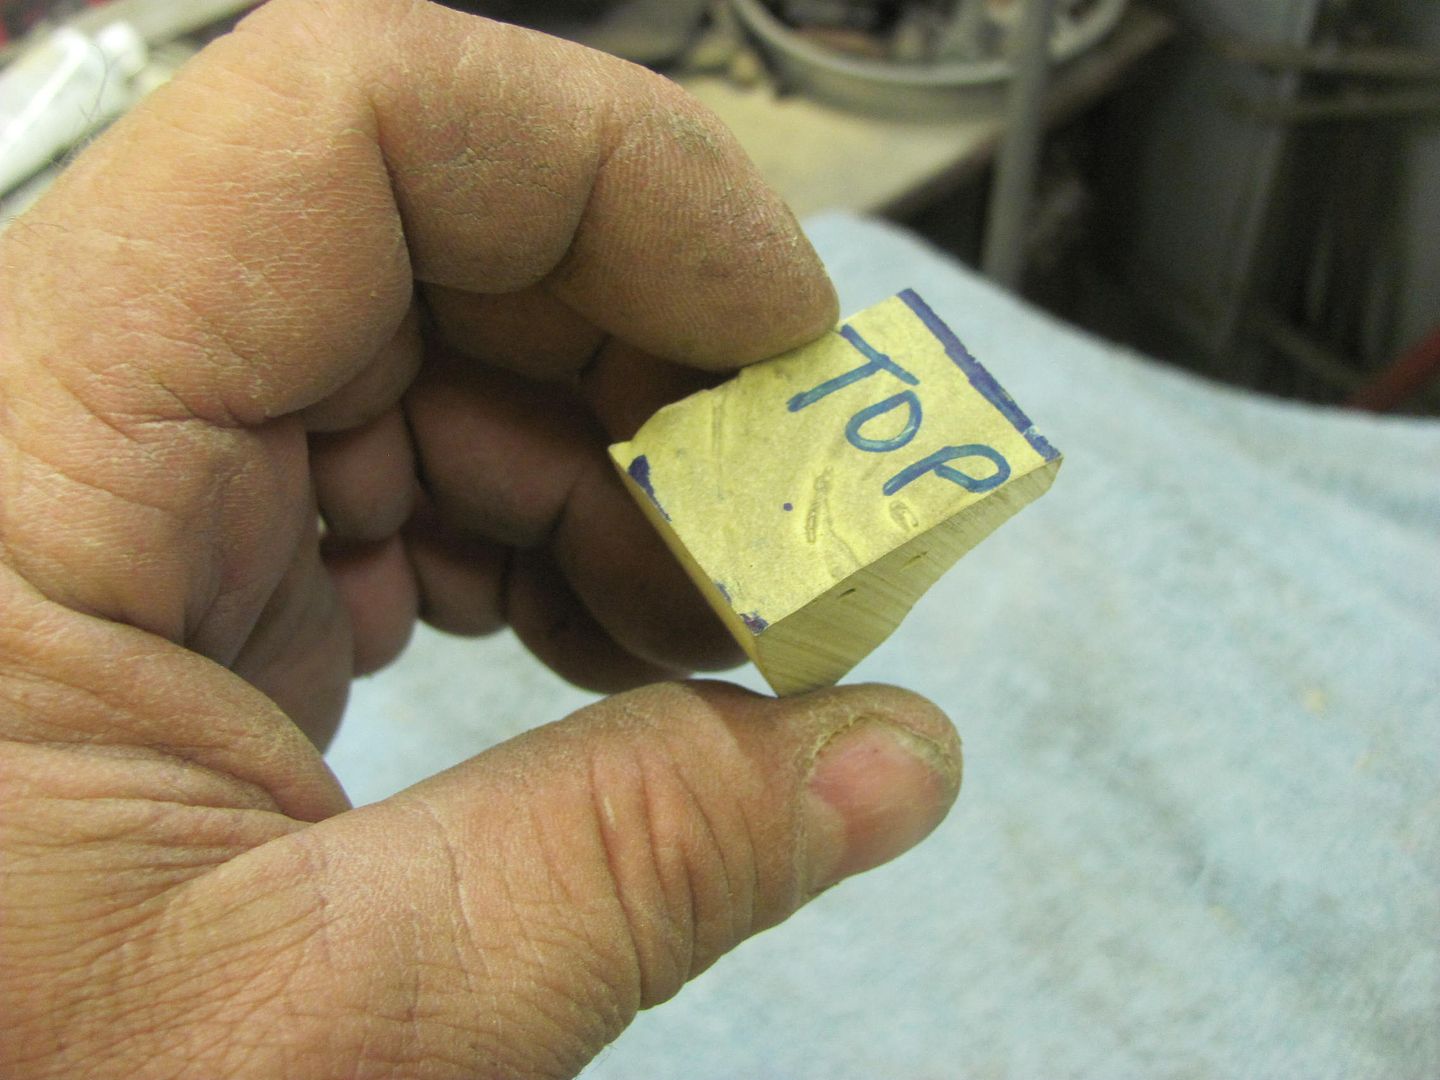
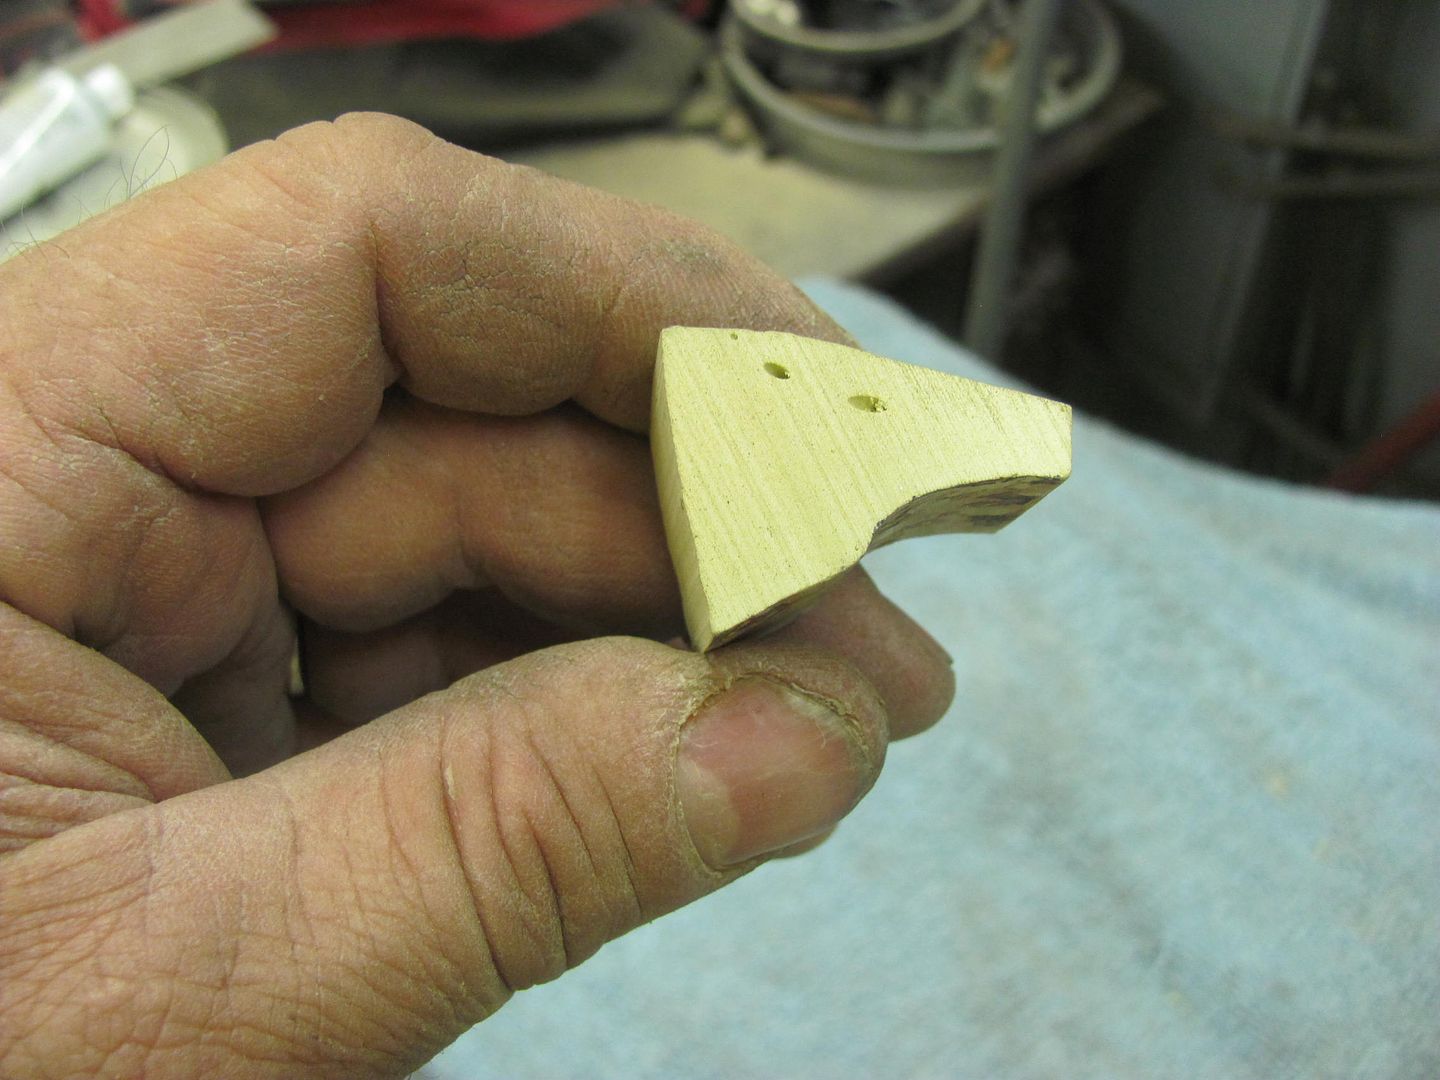
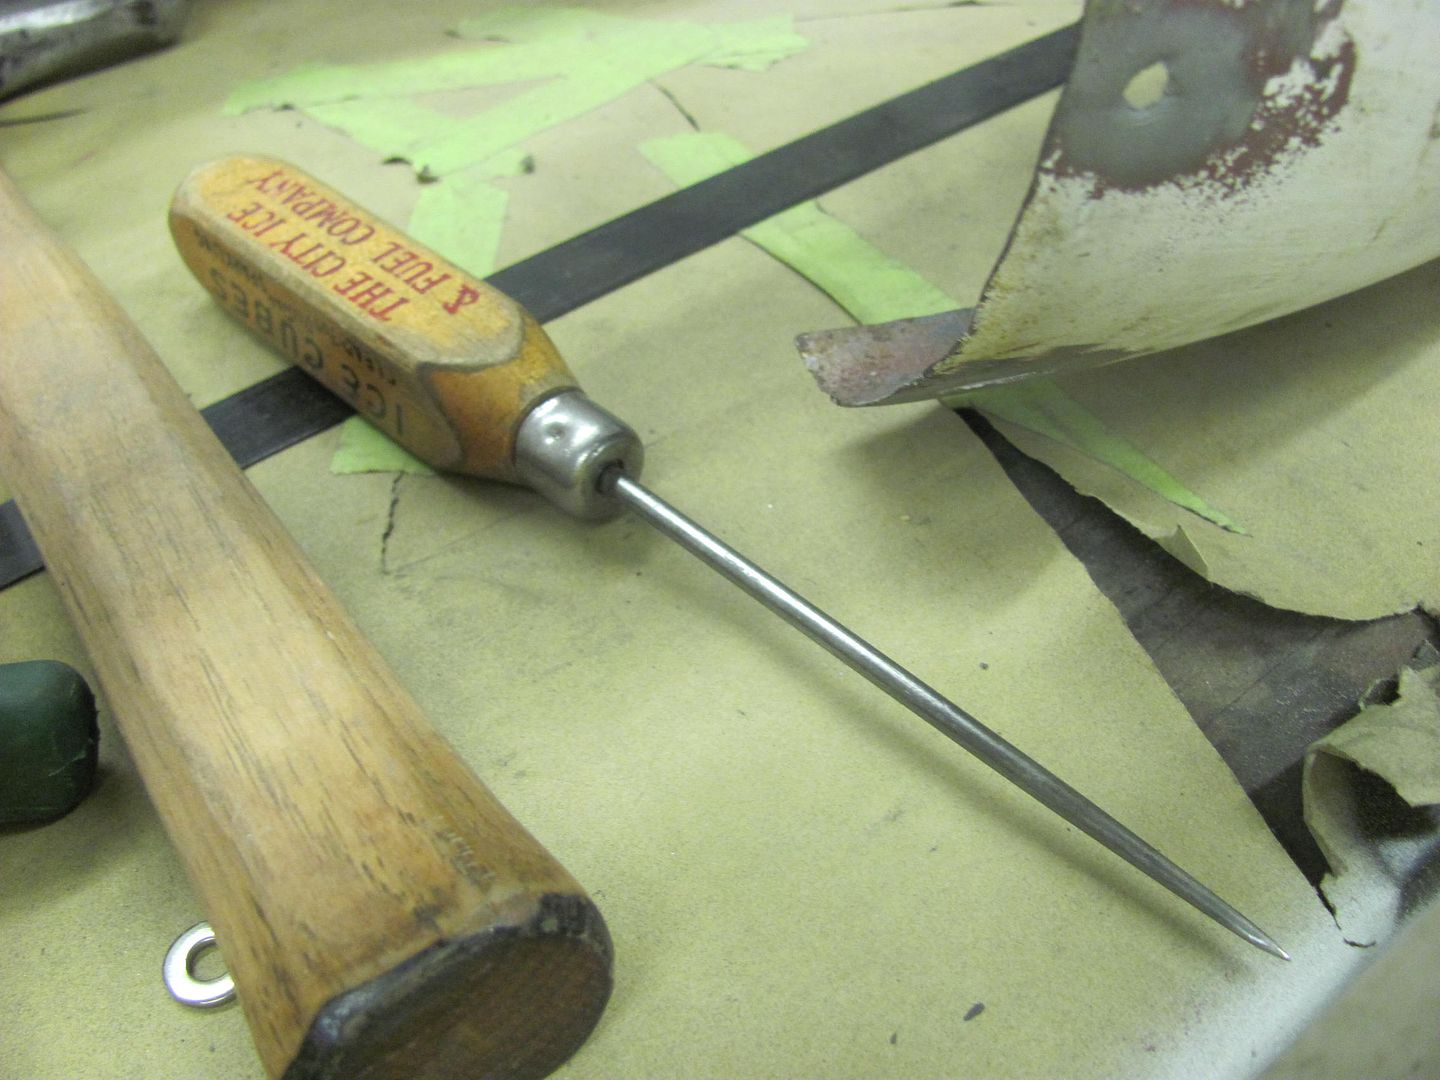
Use the right tools for the job
After marking, when cutting out such a small piece I like to leave a "handle" until the very end..

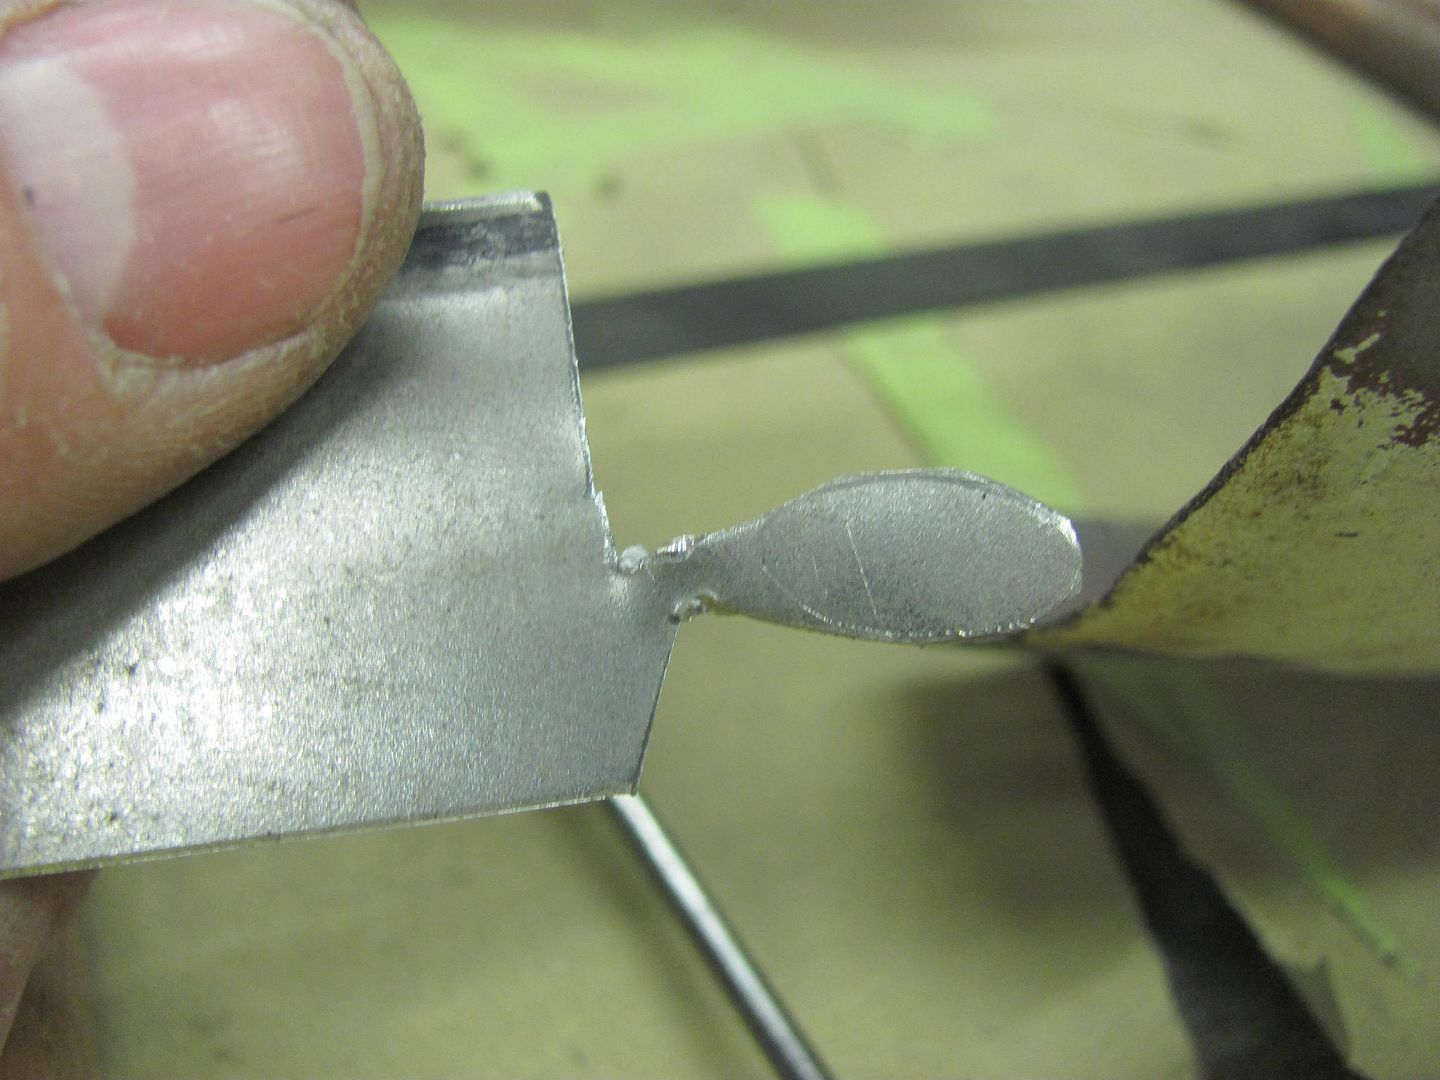
....gives you something to hold onto while fine tuning the fit
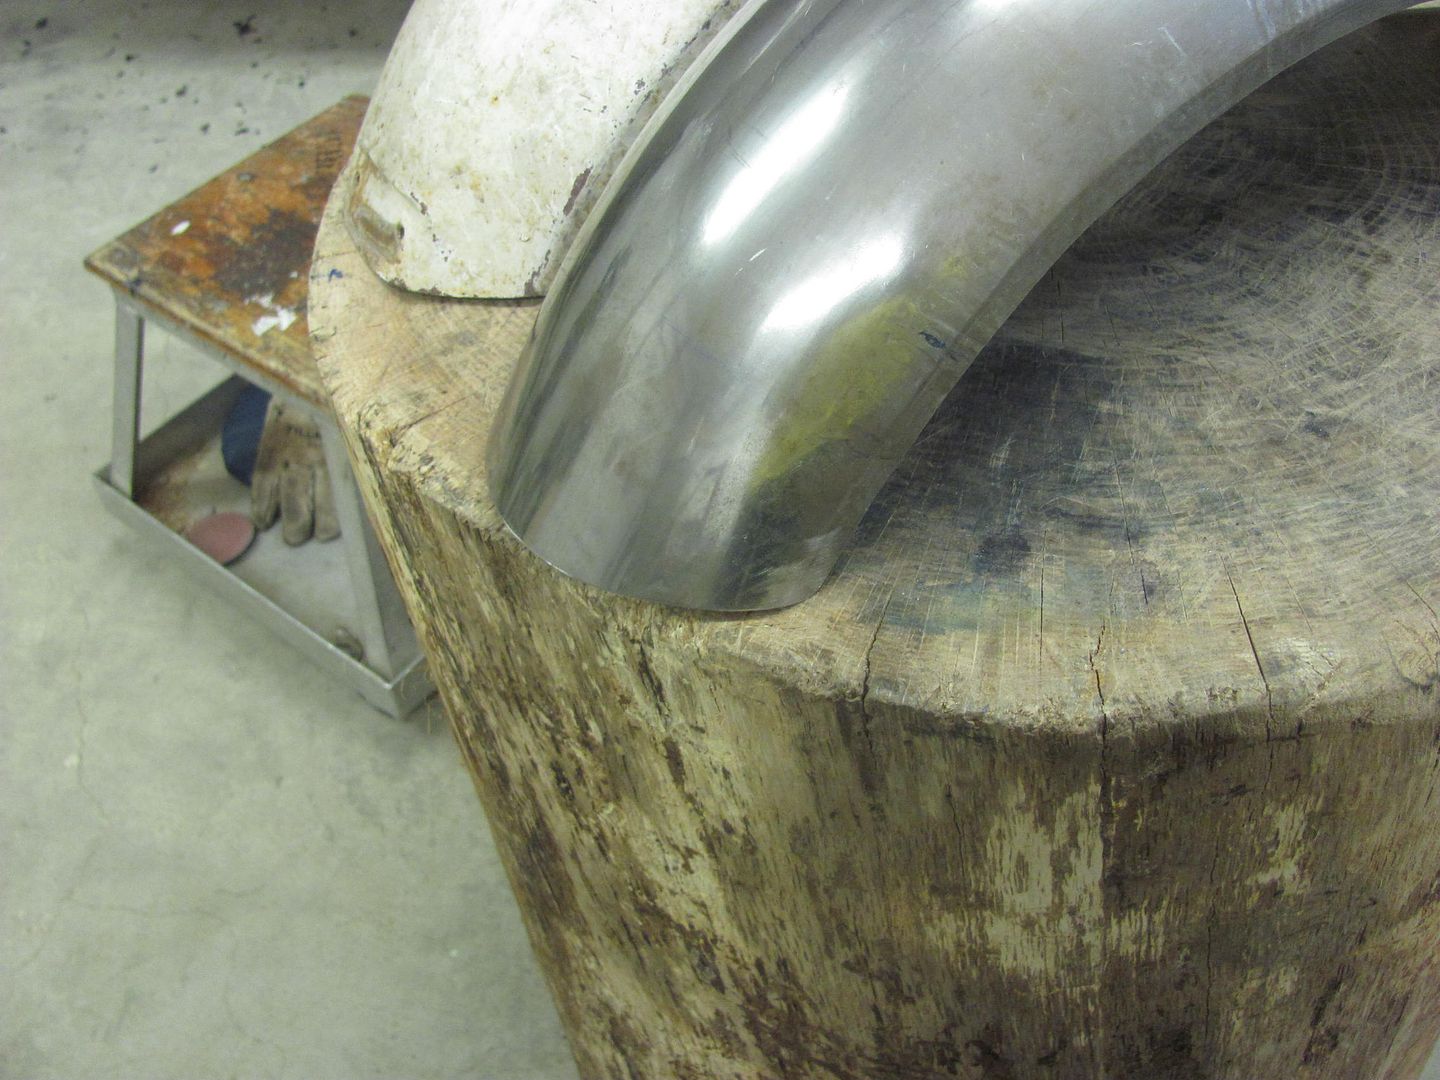
Nice and snug....
Tacking in the filler piece...
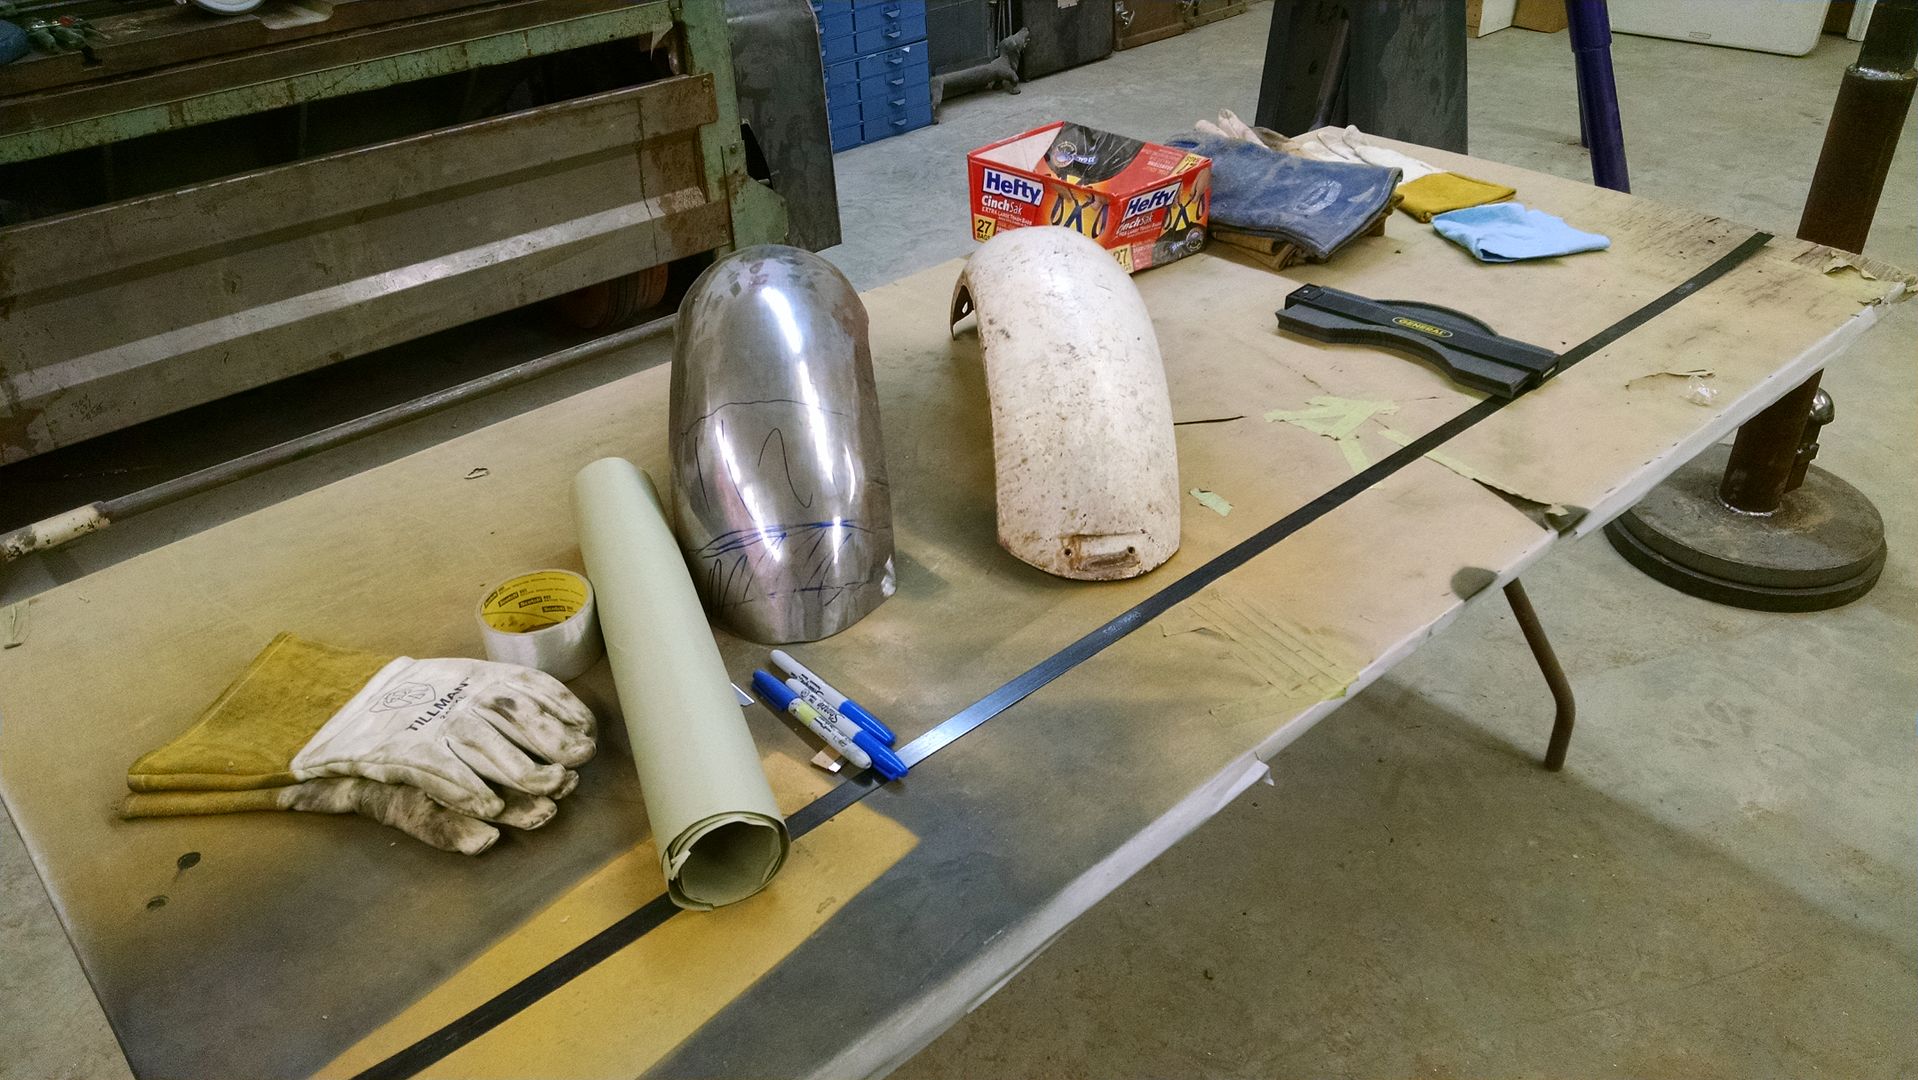
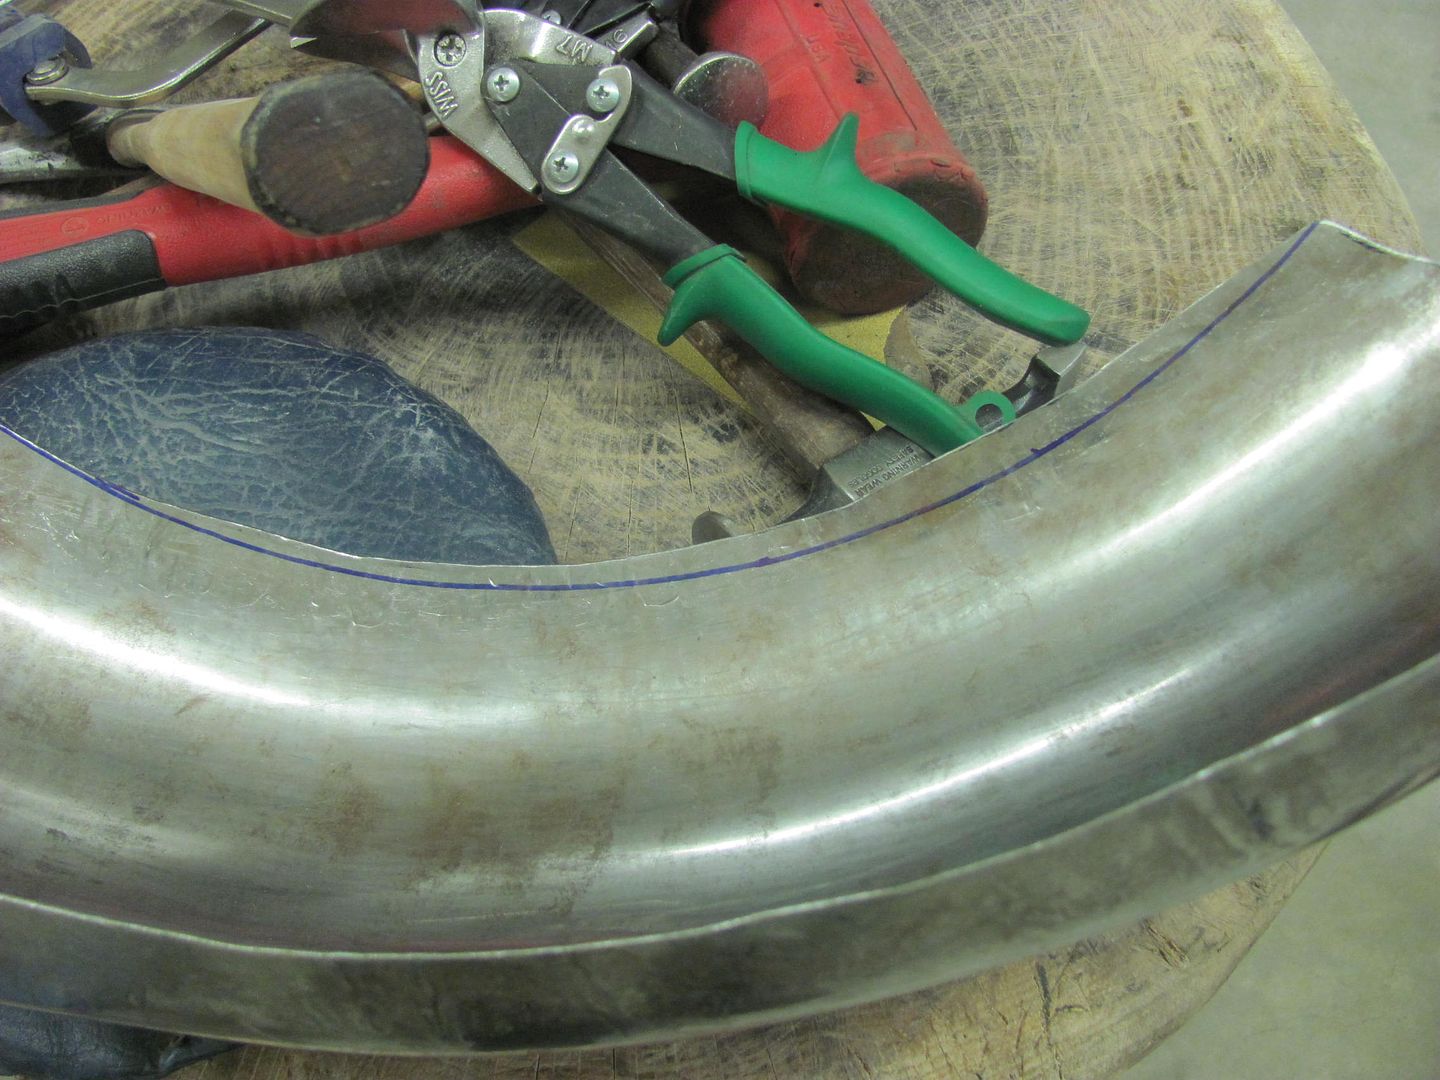
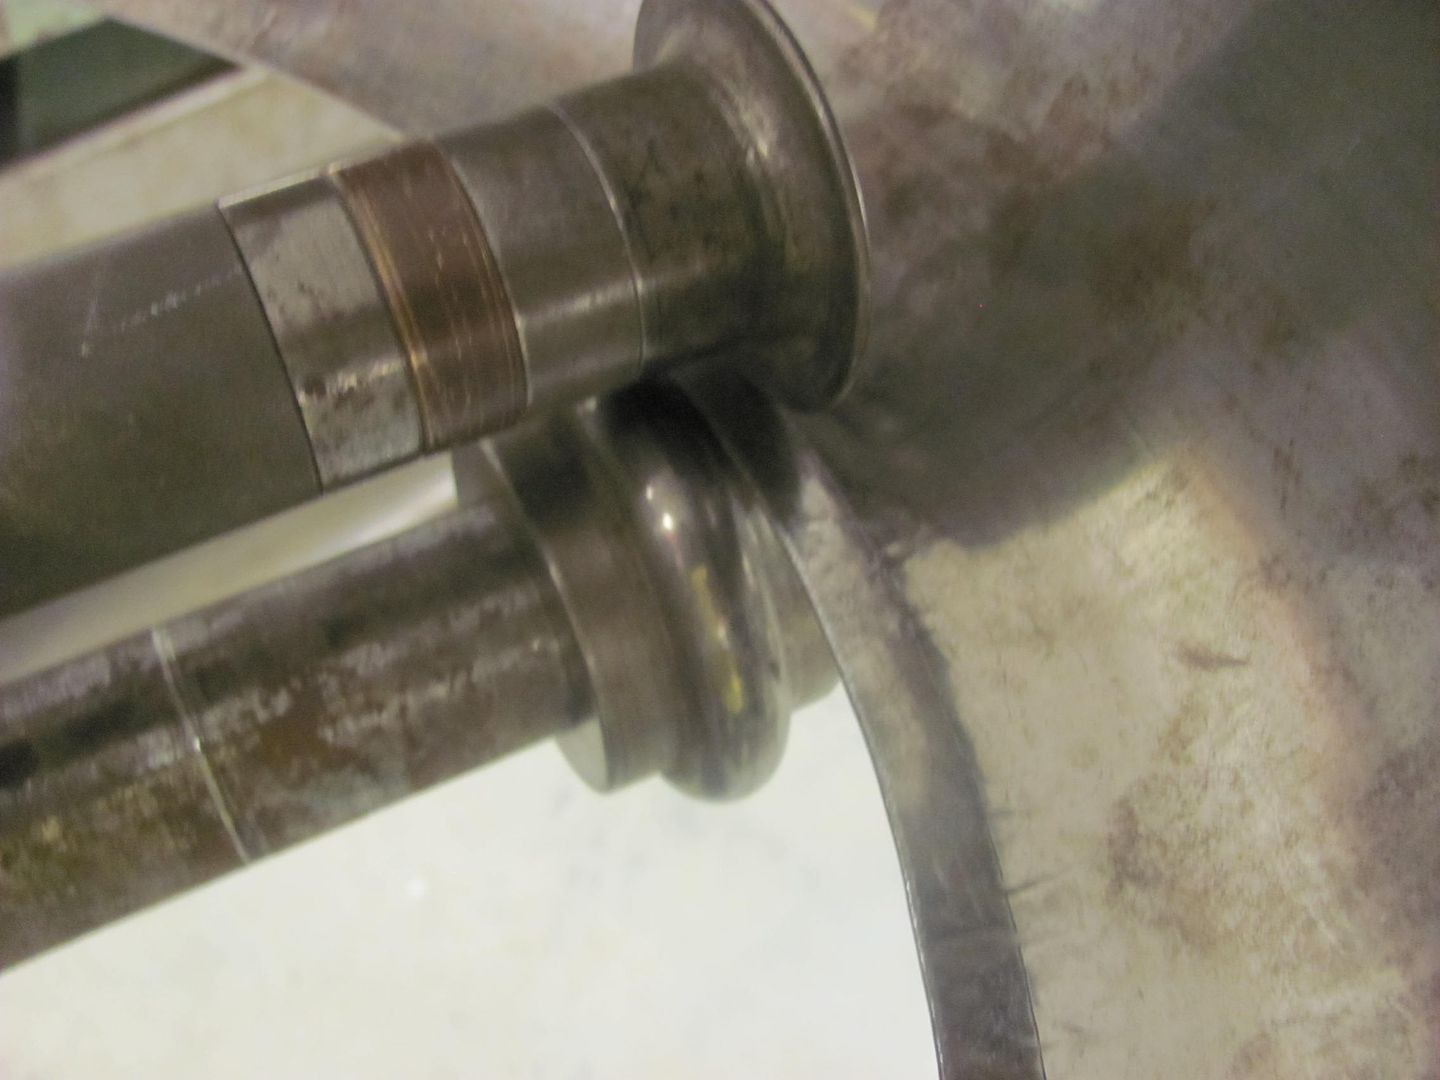
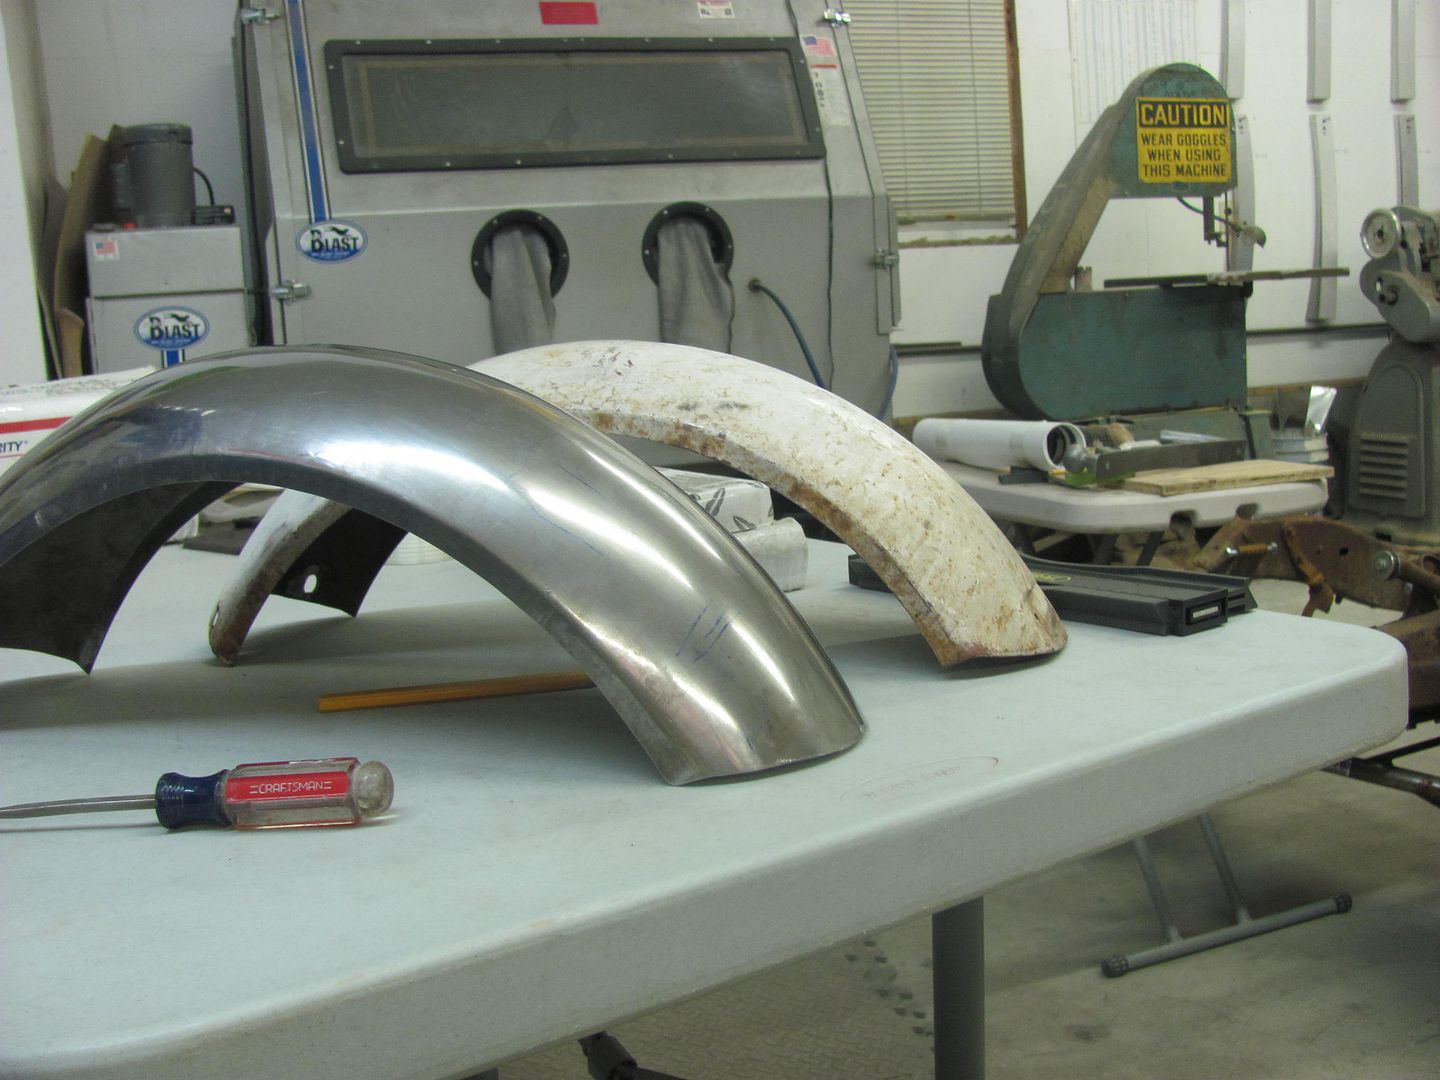
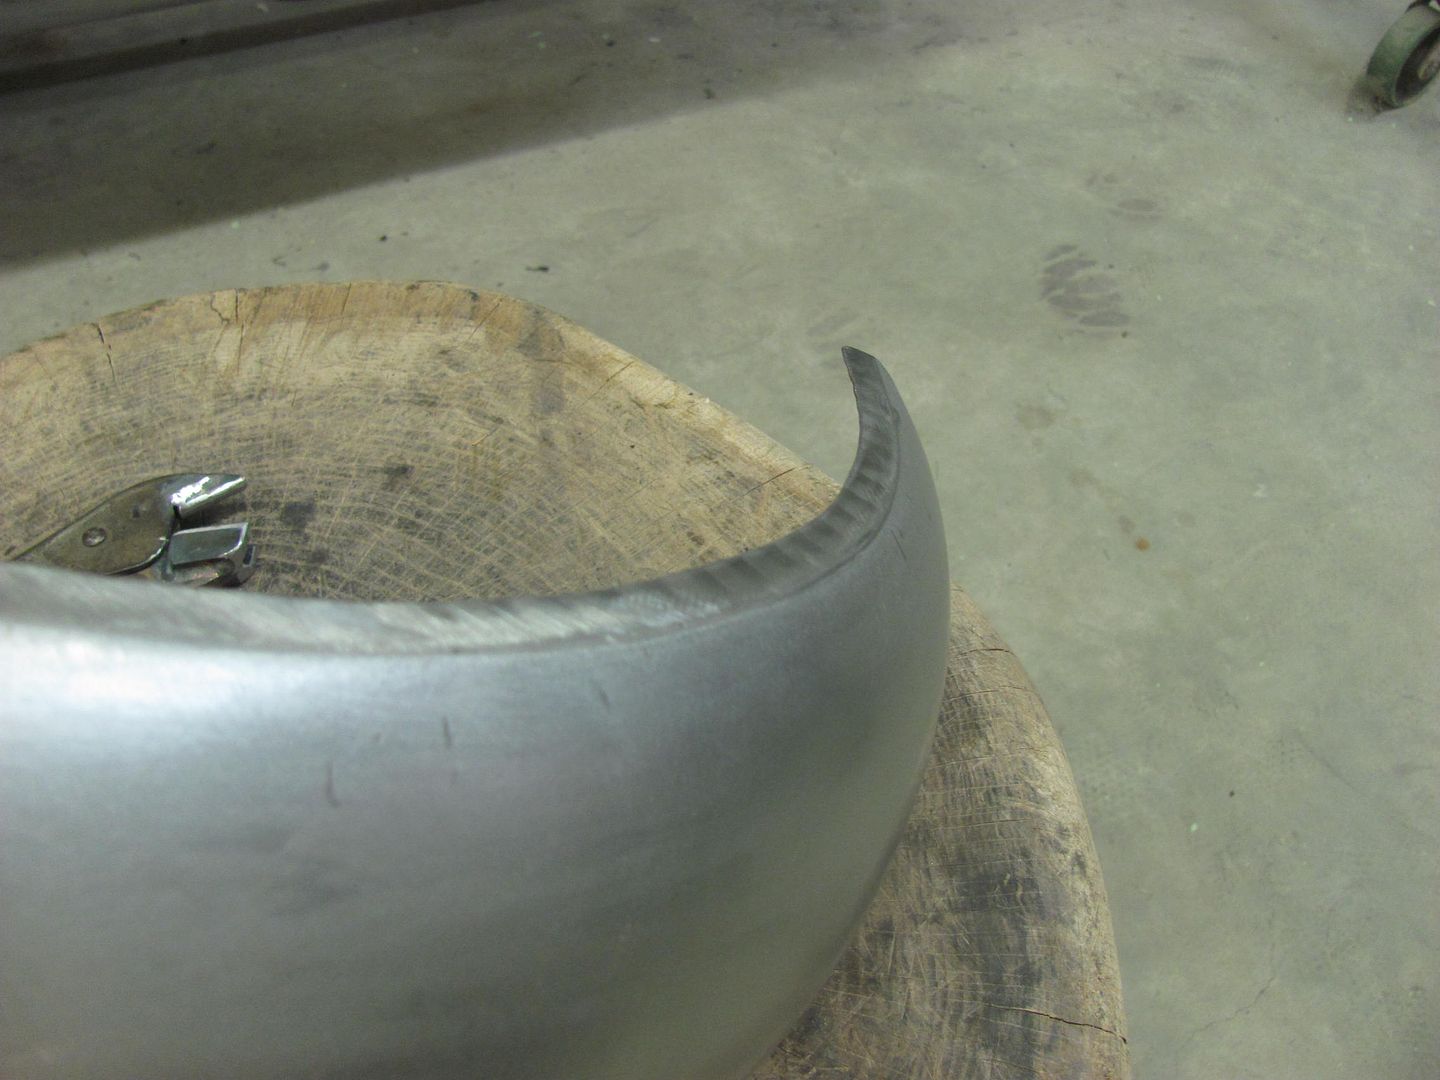
Next was to trim a nice radius on the front and back ends of the new front fender....
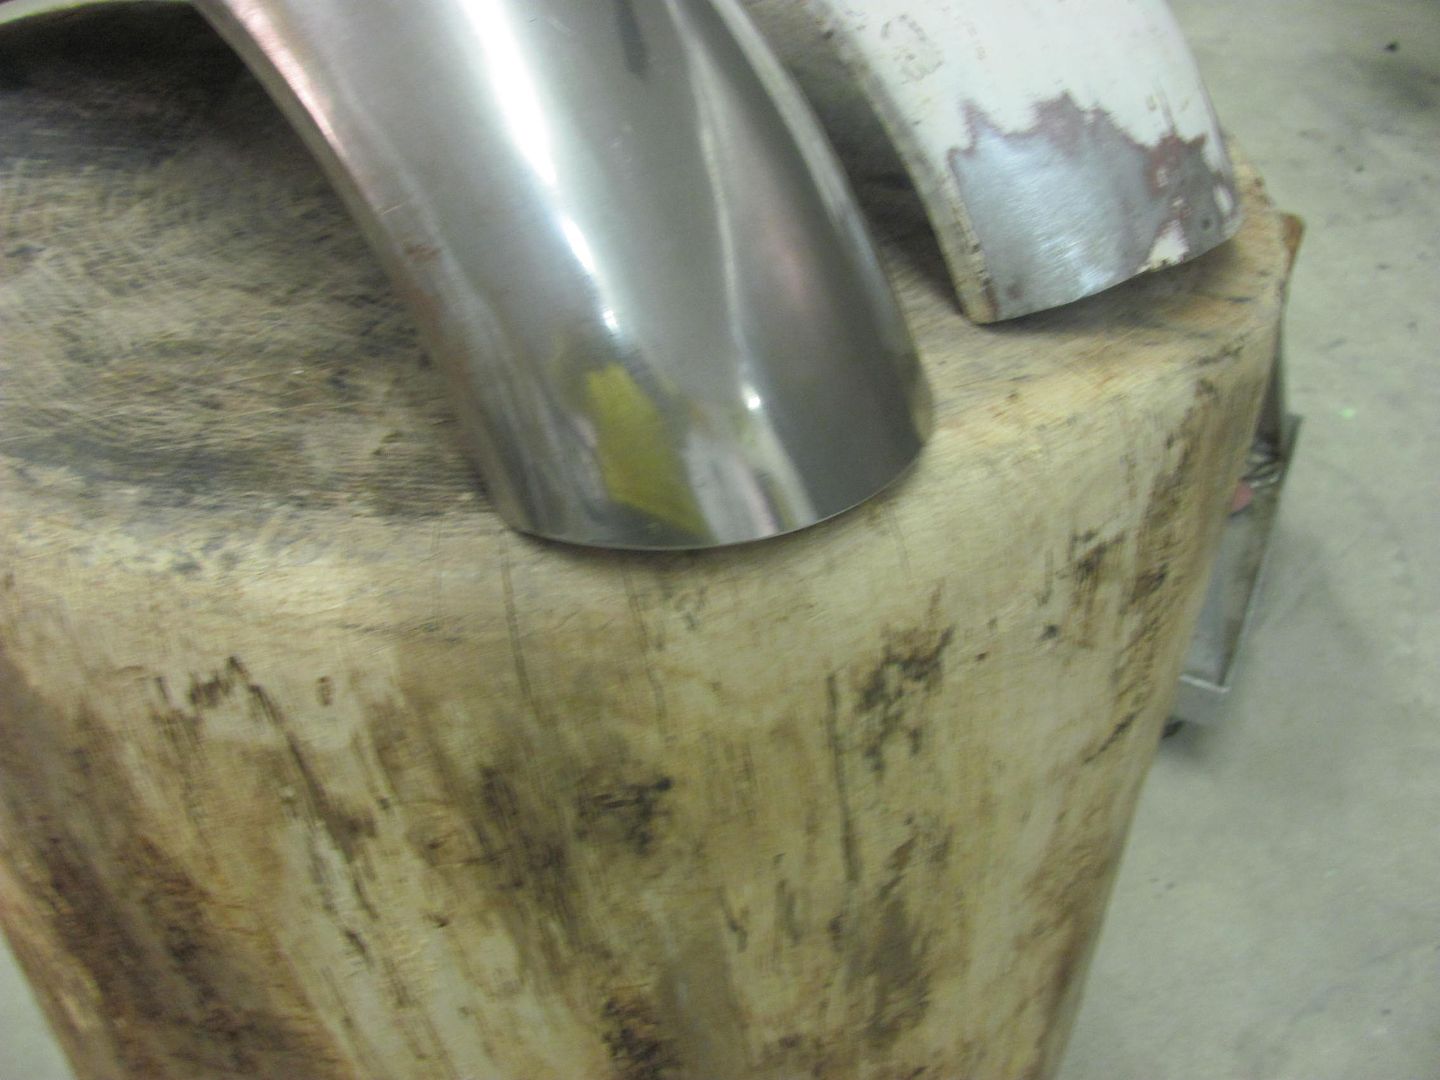
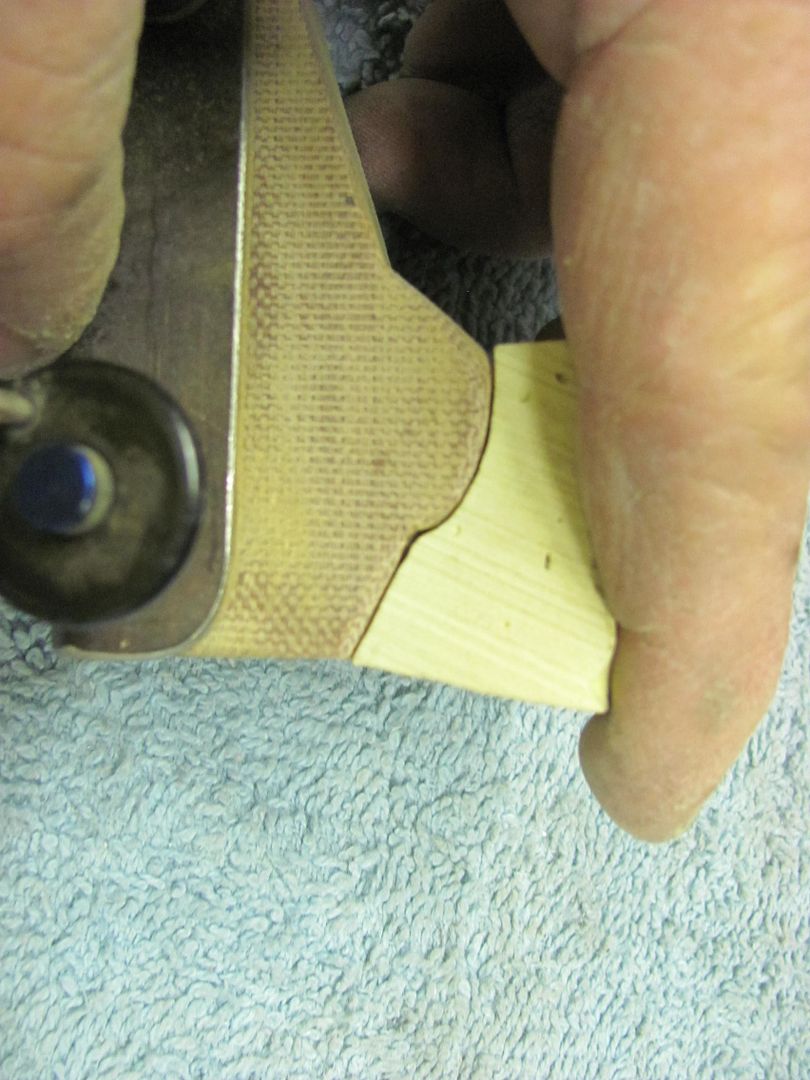
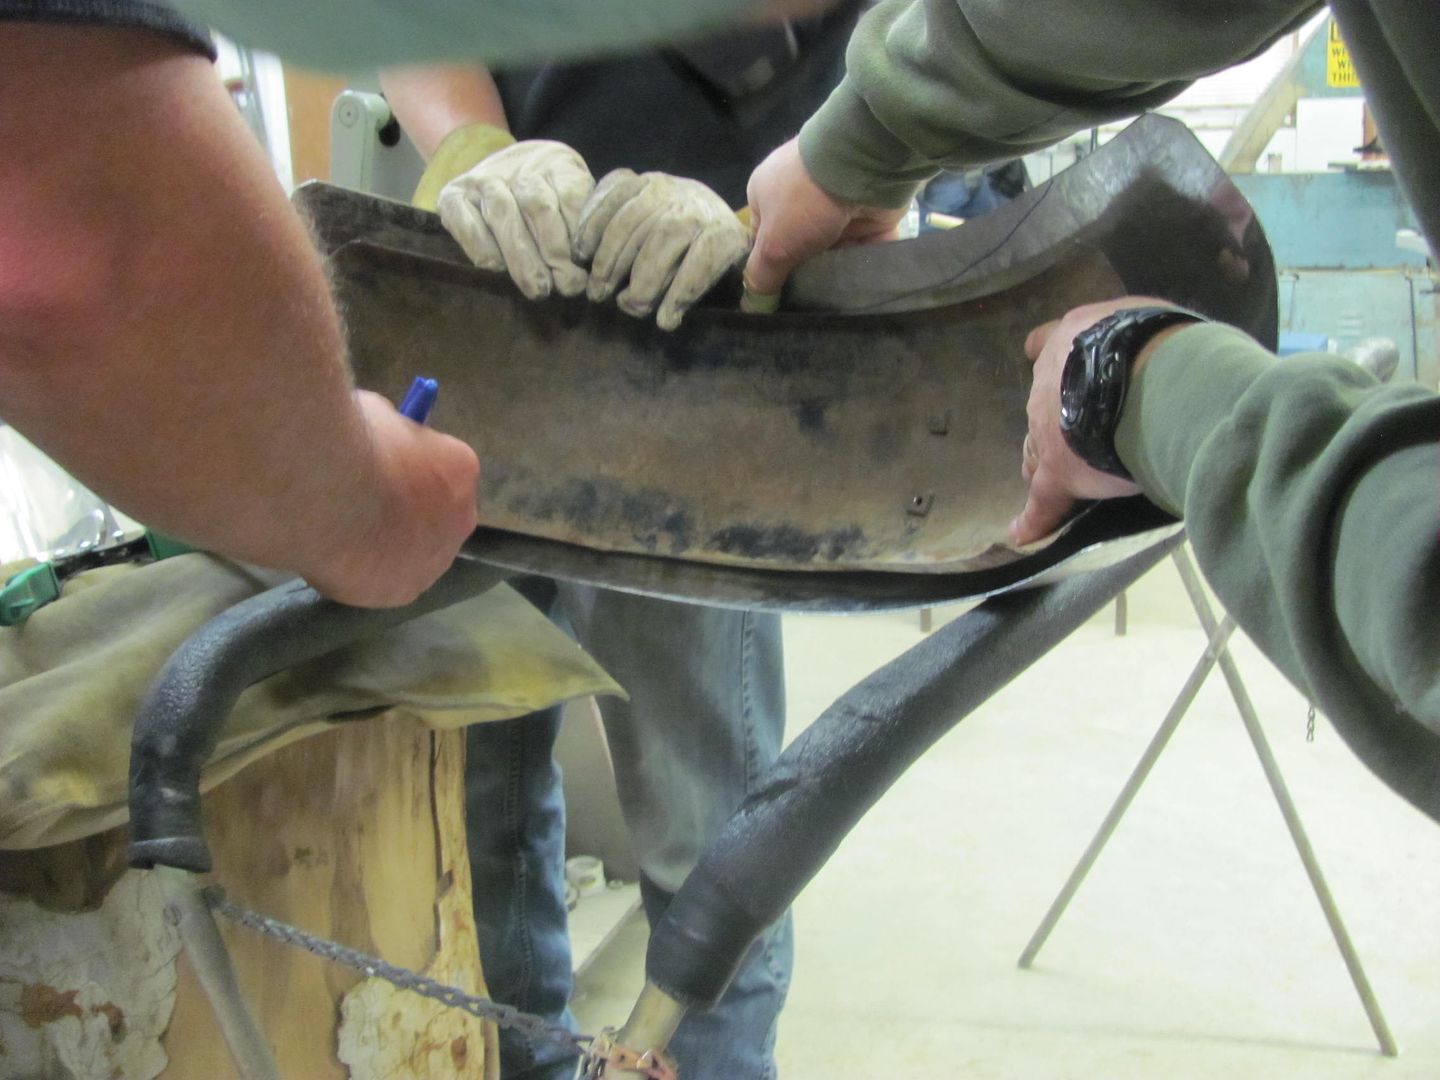
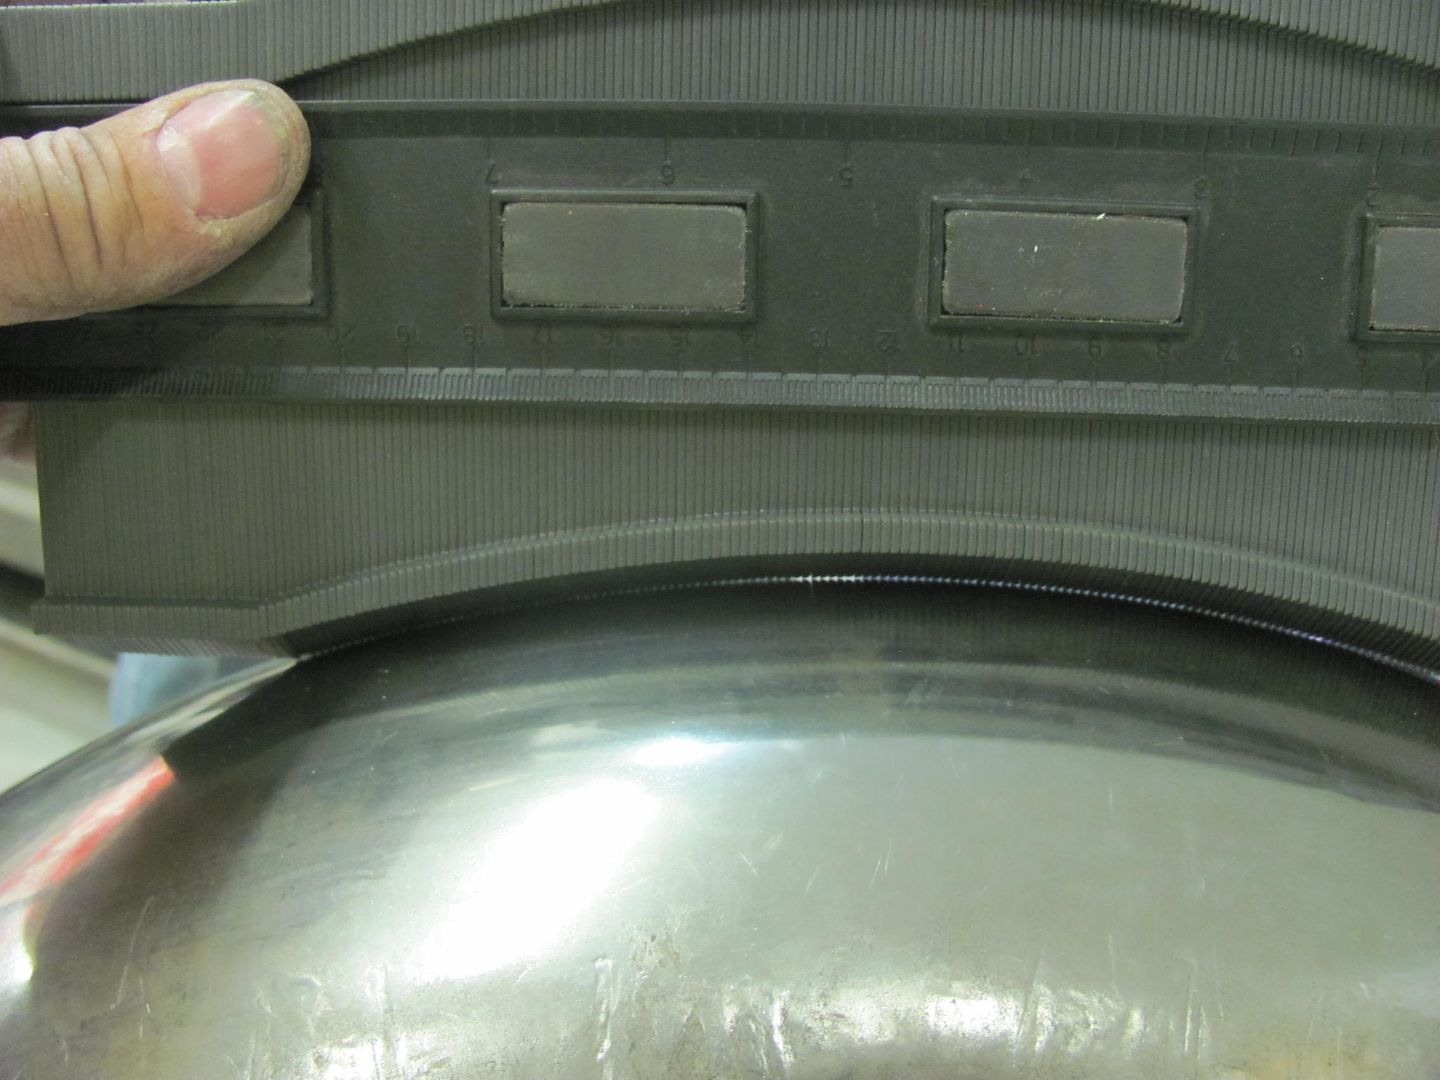
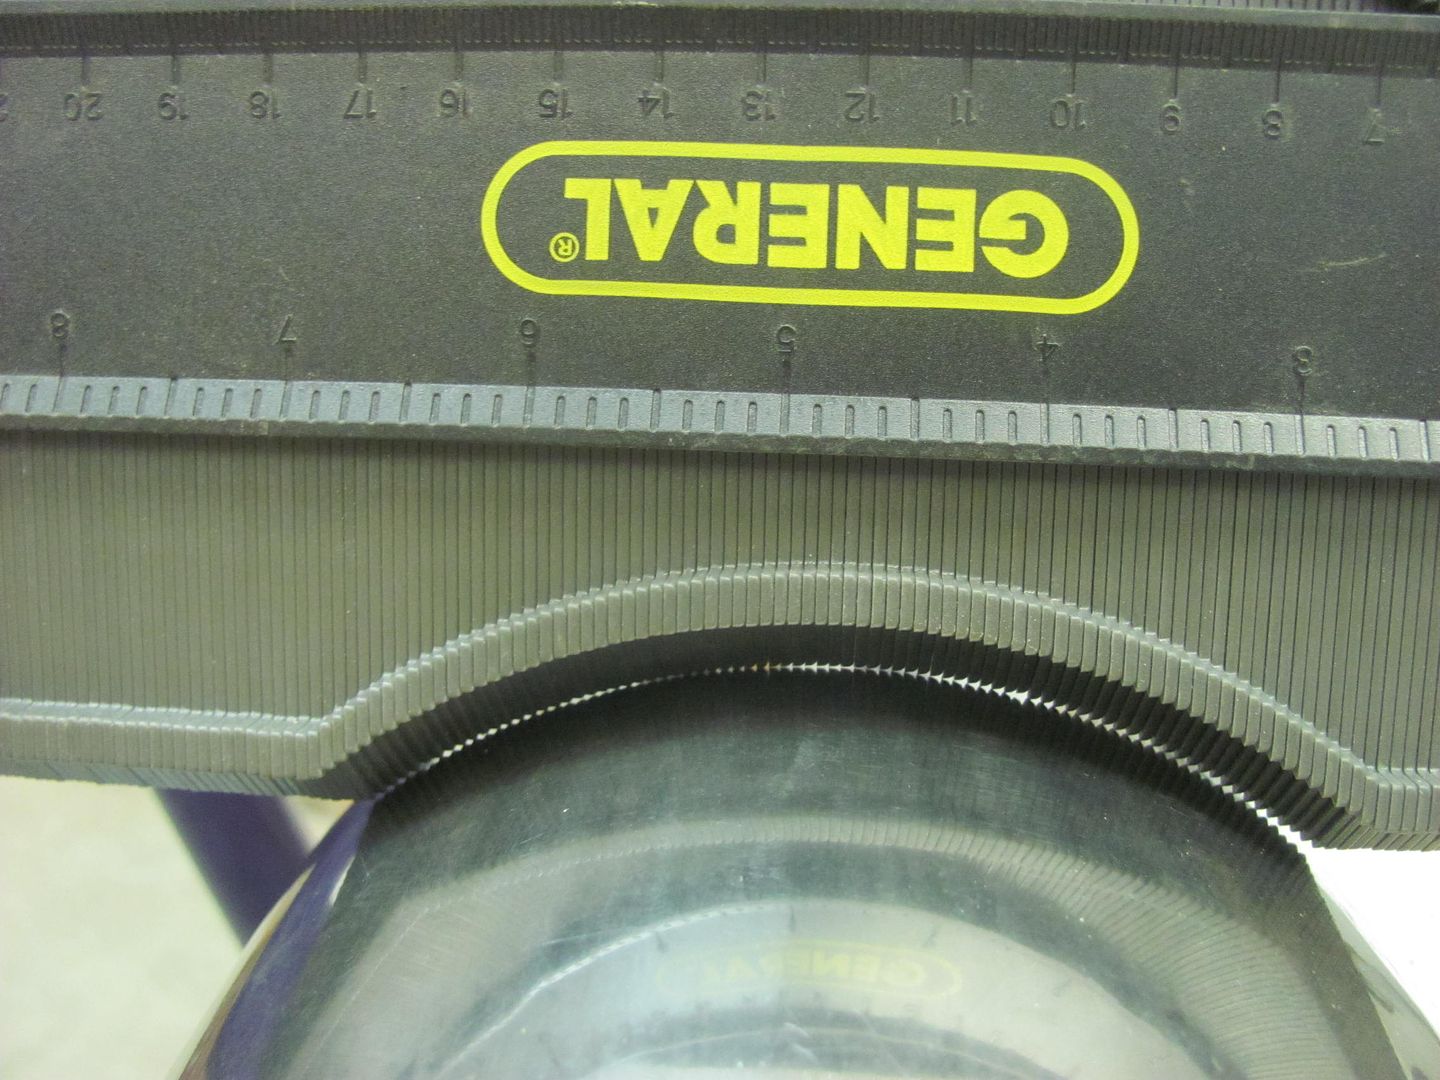
Last on the list, the forming process with the old fender left some "pie crust" edging, as seen here and in an original photo...
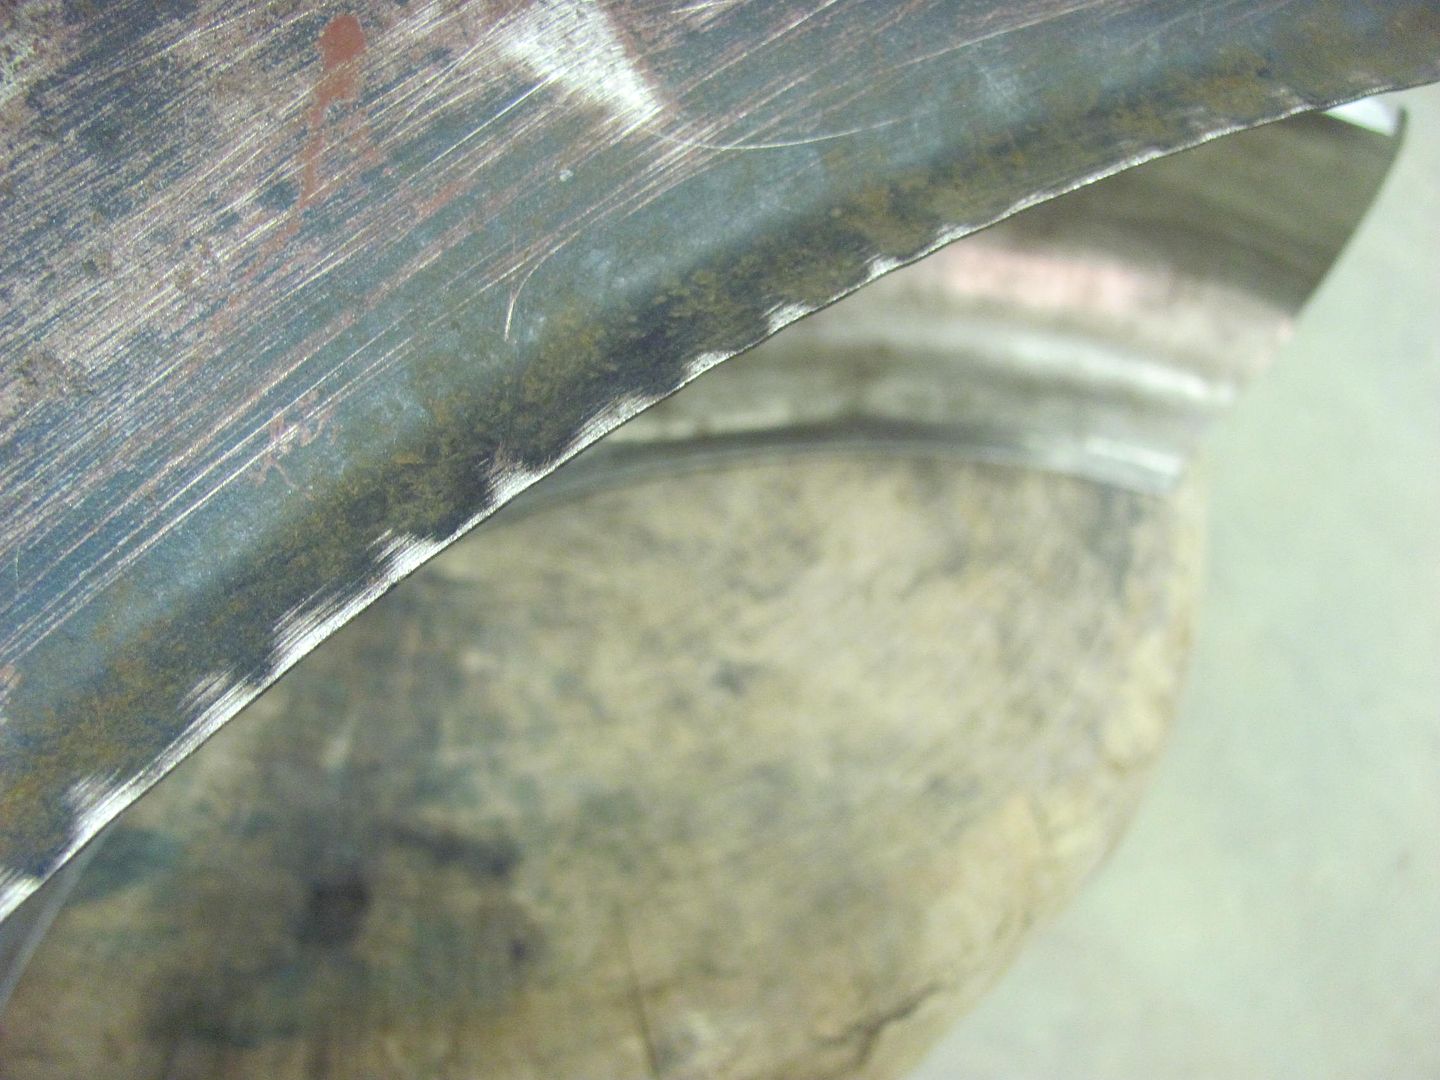
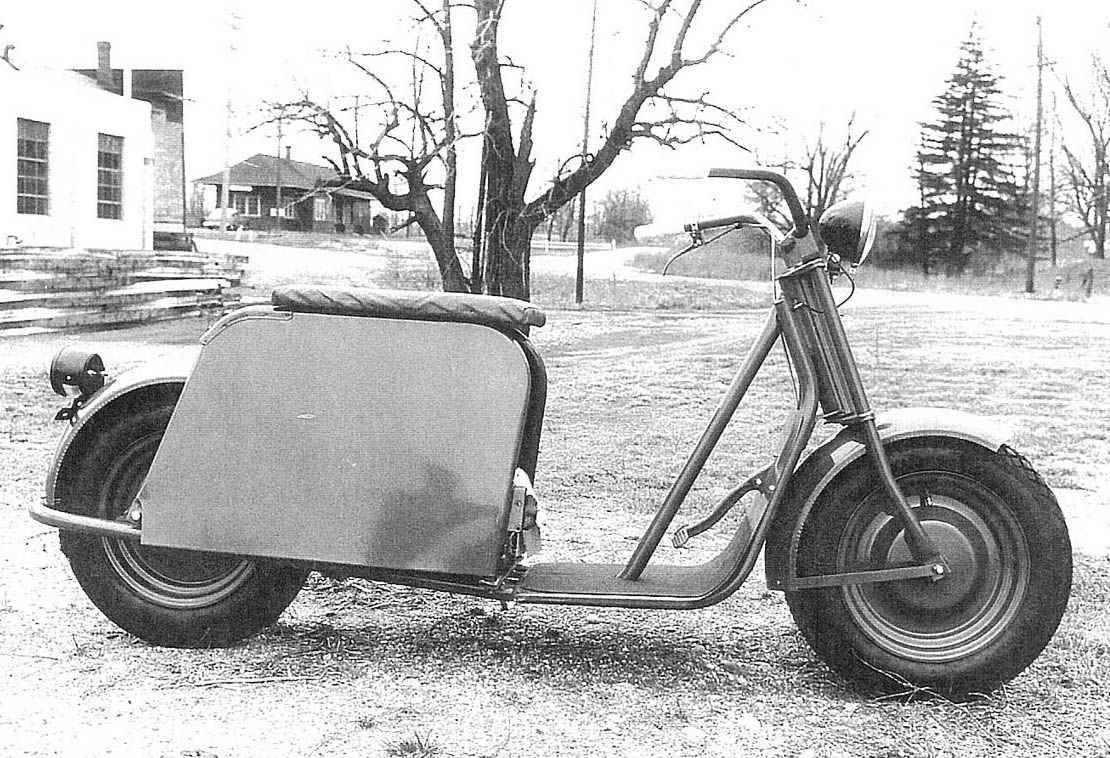
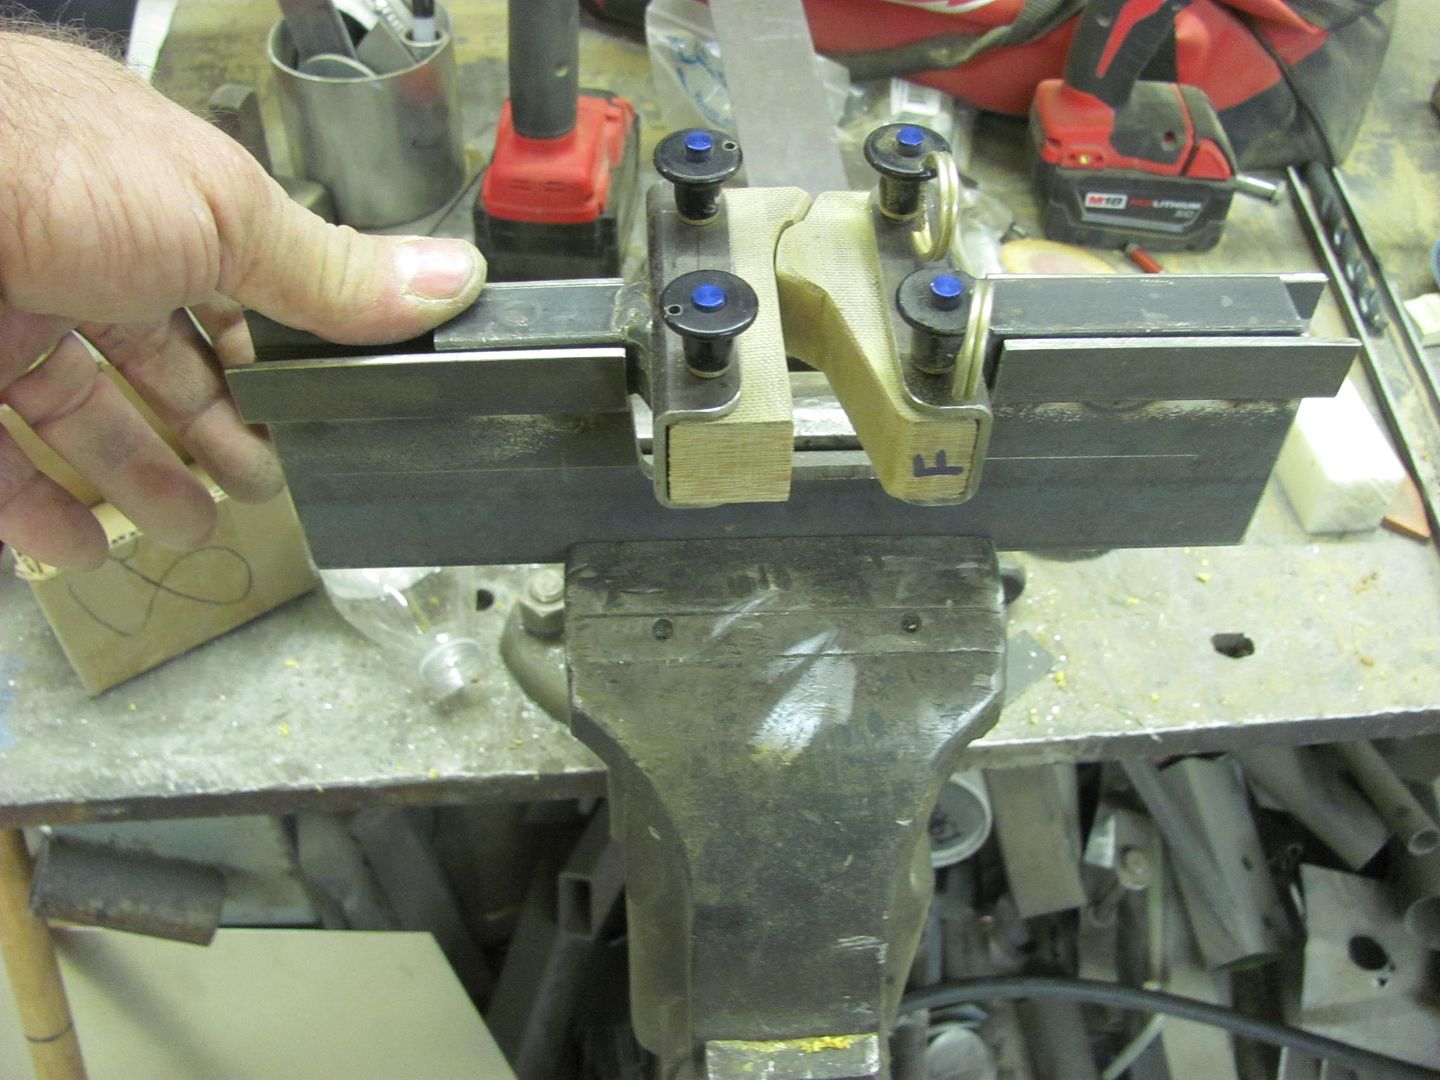
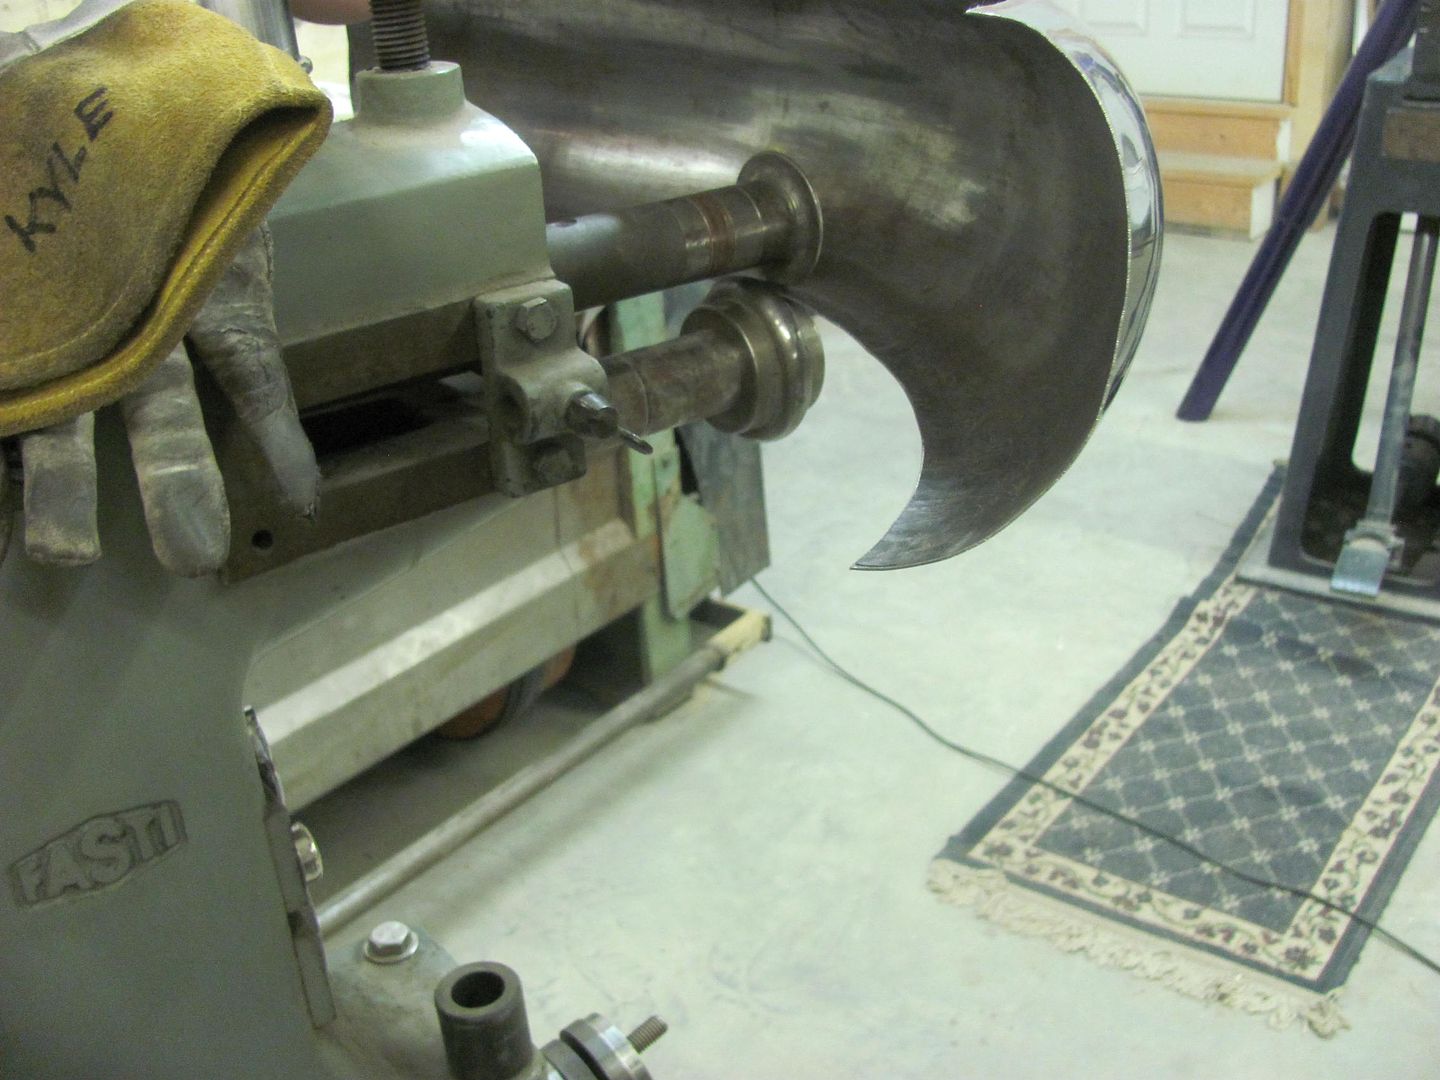
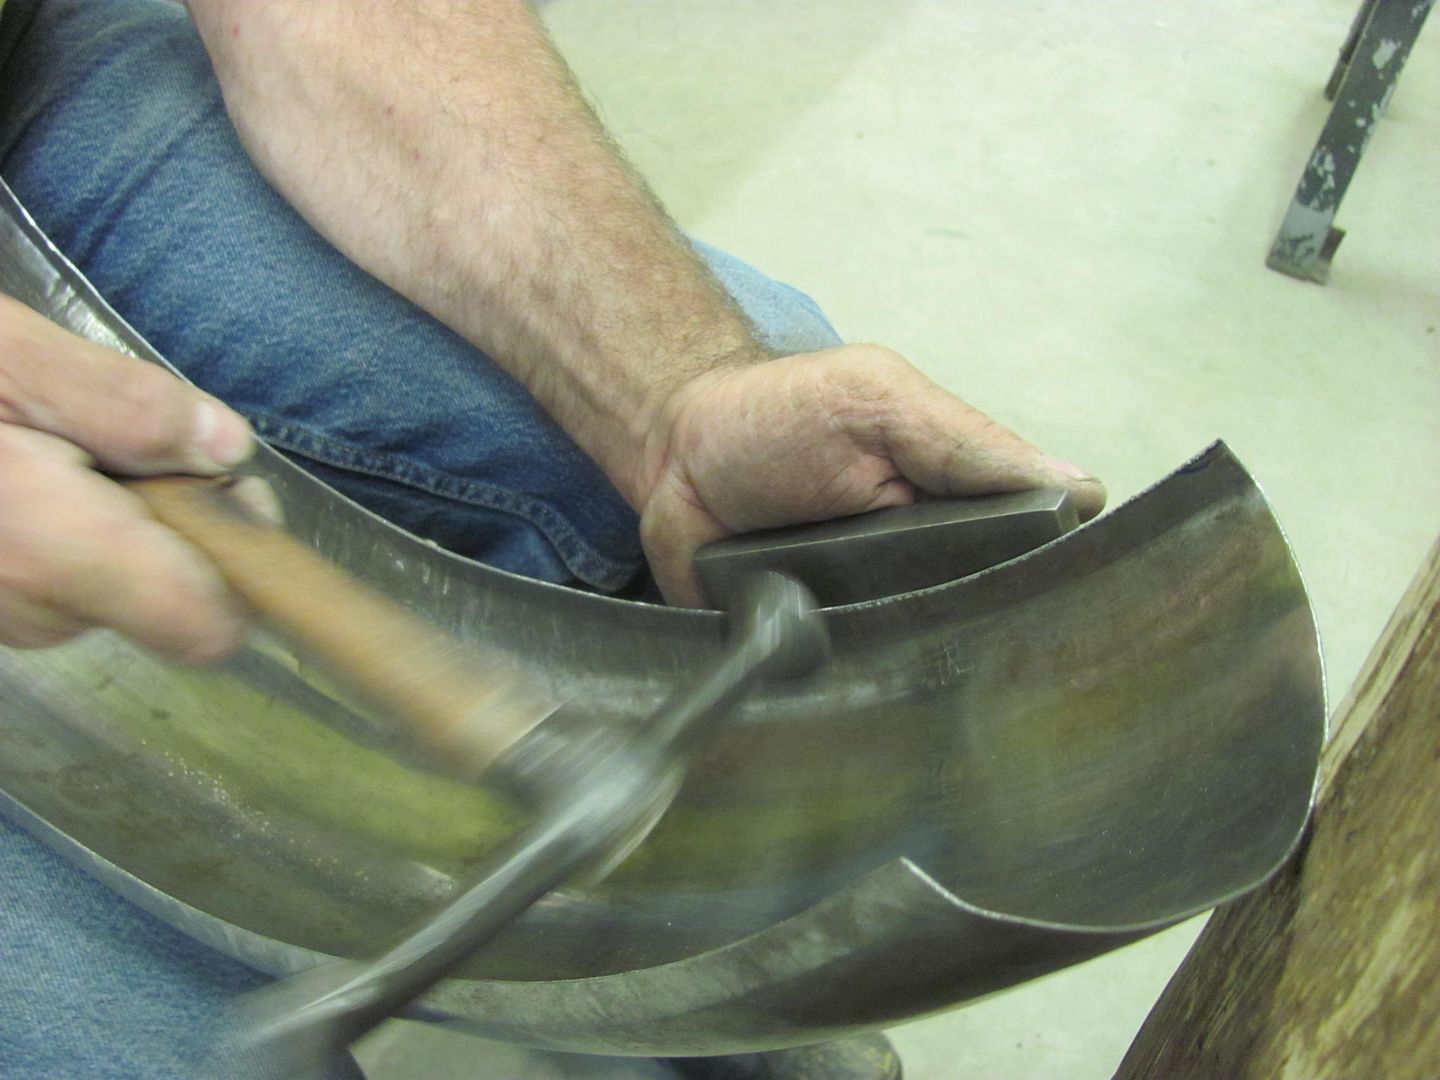
So we needed a special tool in order to duplicate this feature...

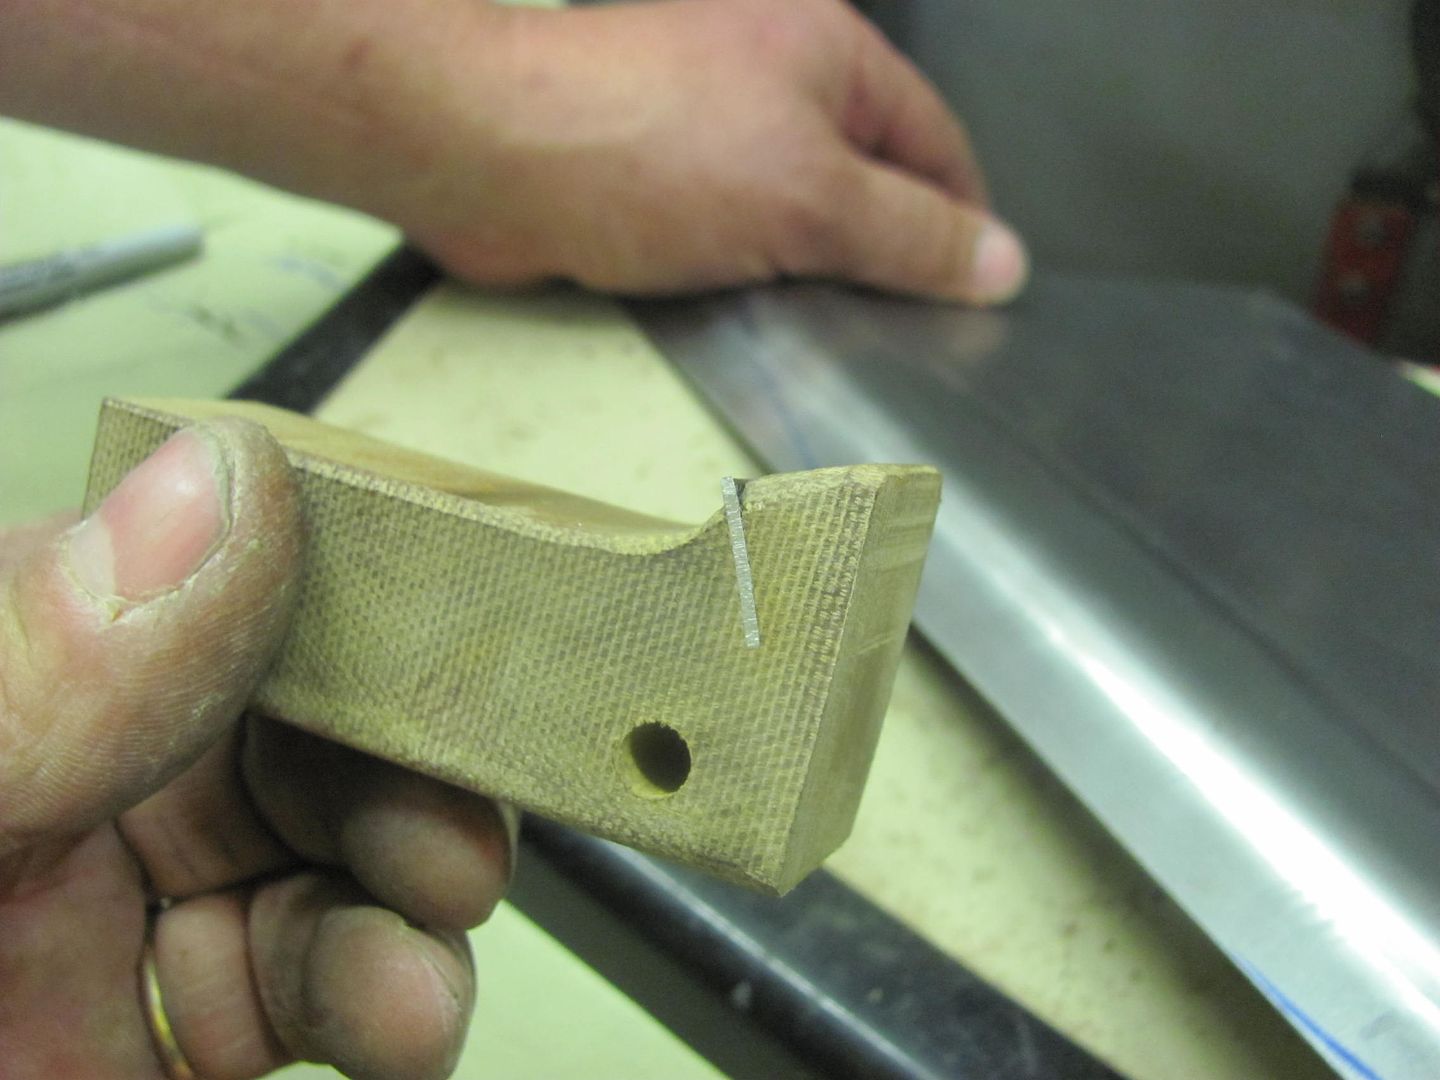
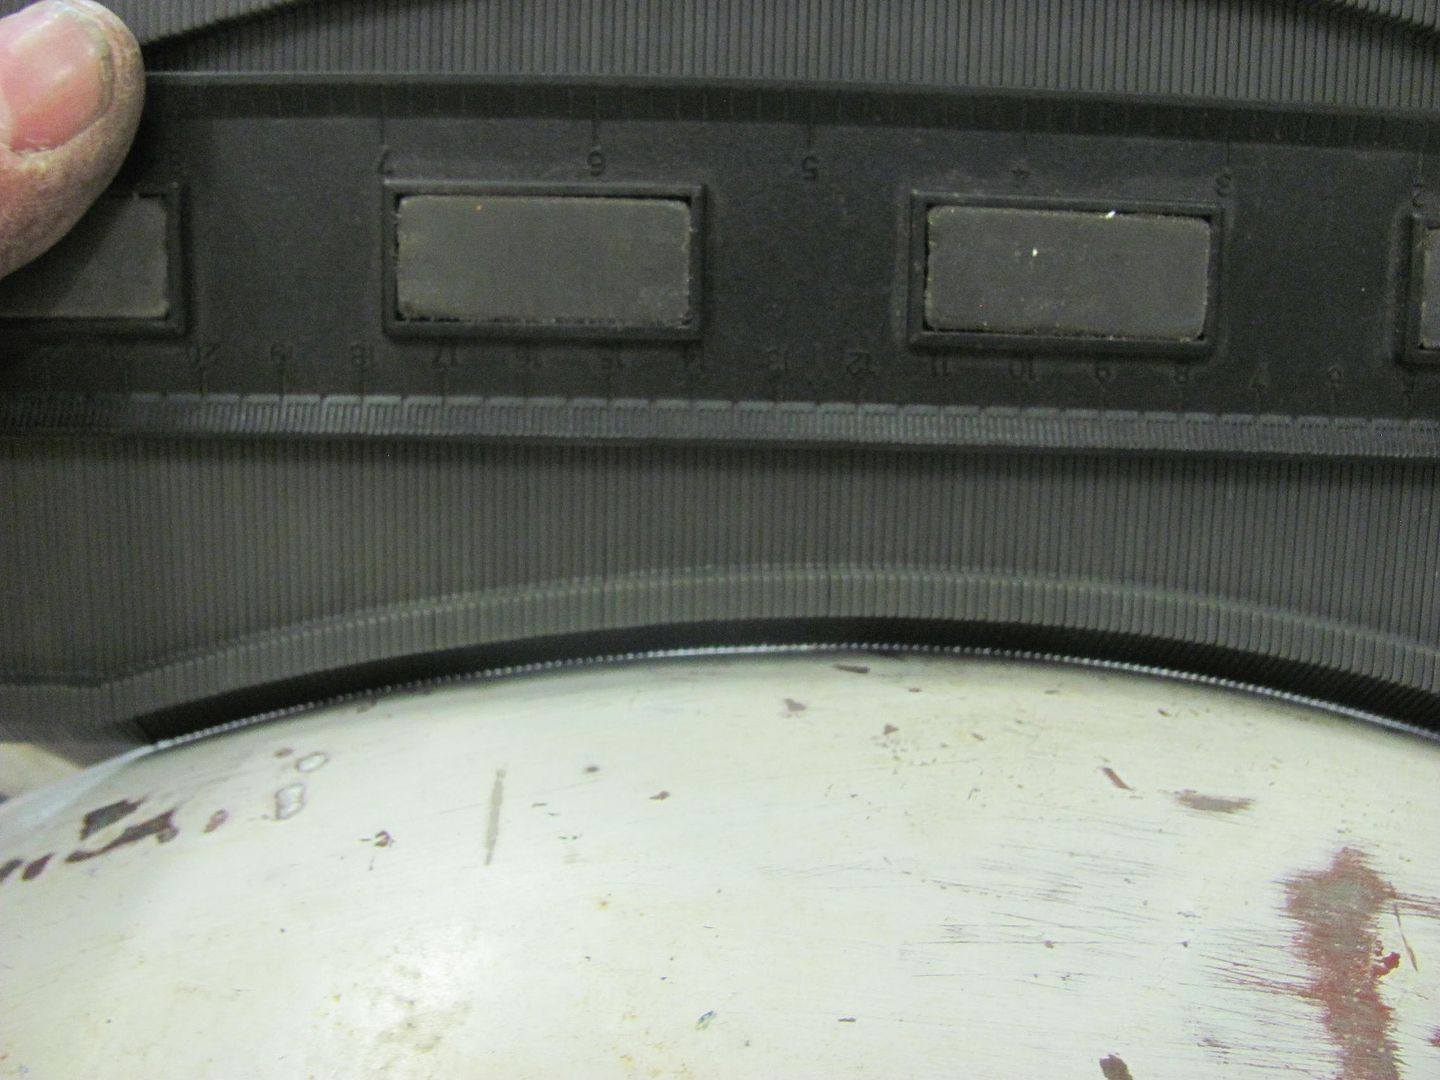
Spacing all marked out....
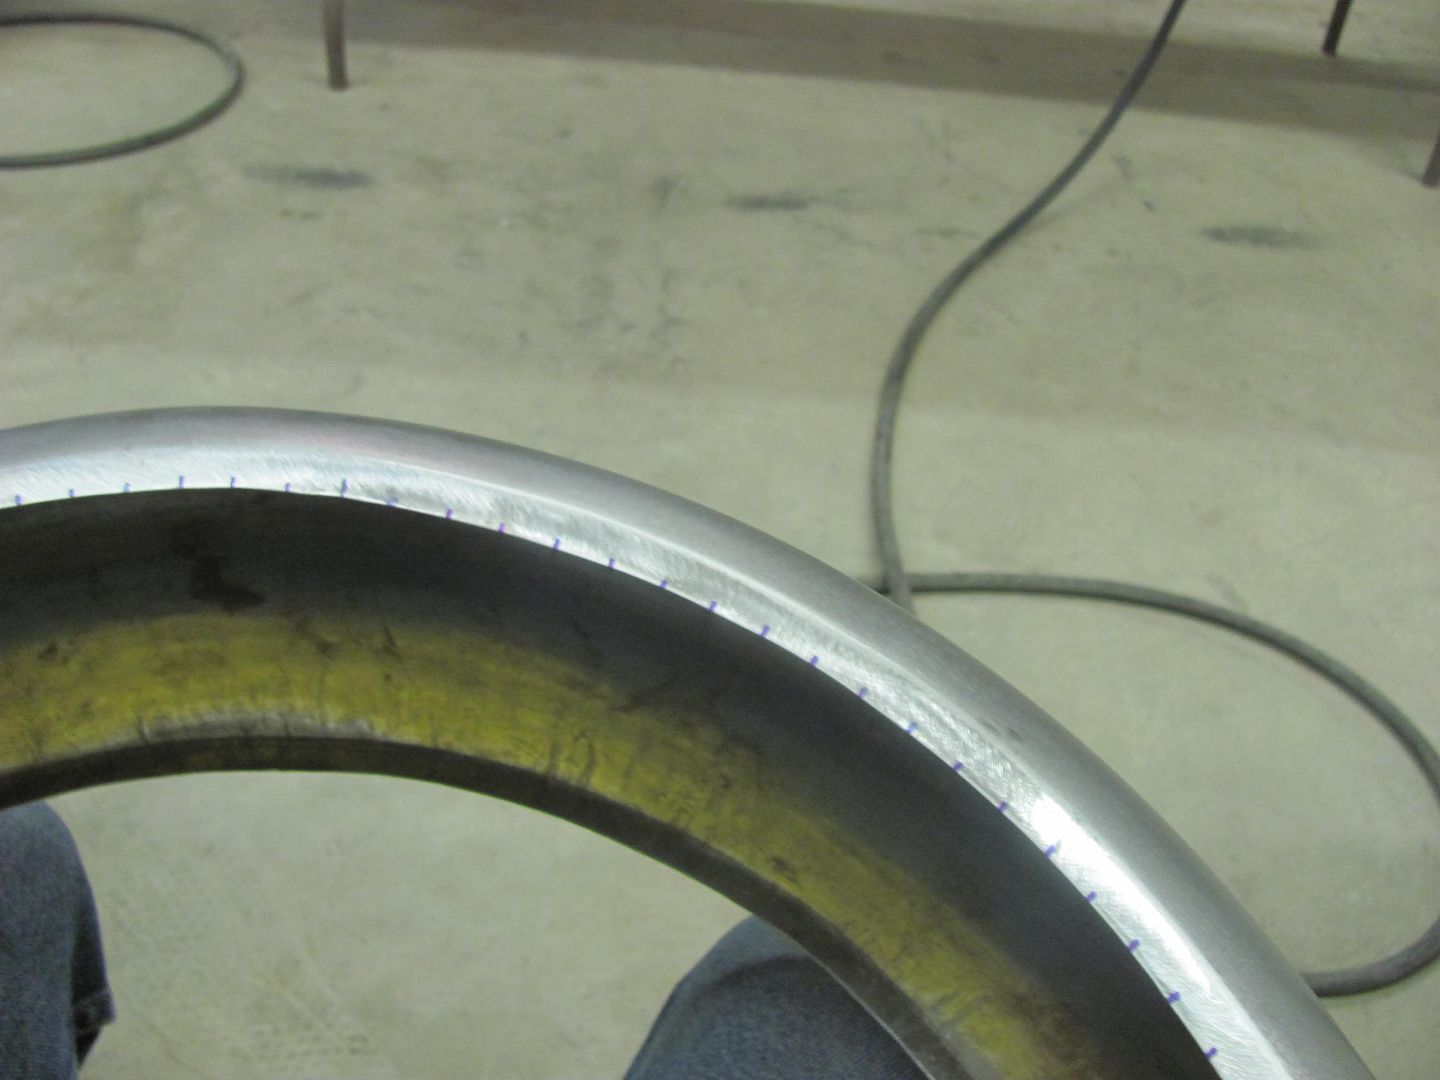
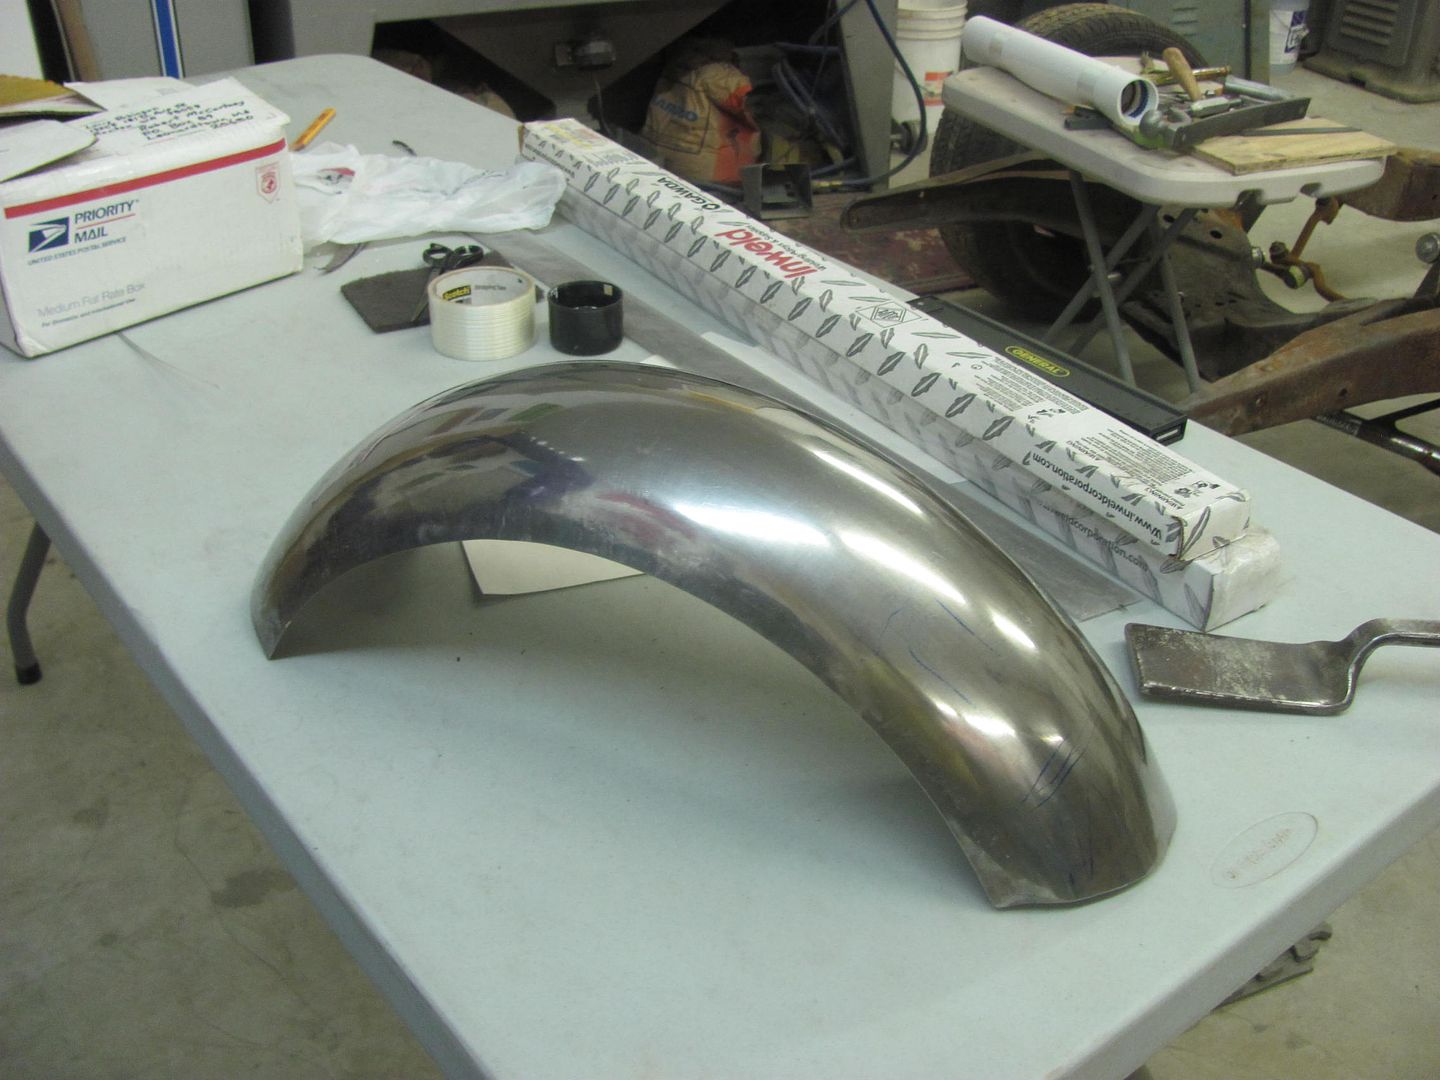
Finished edge...
All ready for delivery!
Well time to finish up Randy's scooter fender(s). The original (rear) had been loose at some point as the fender mounting holes were nice and elongated from flopping around. So I'll get them filled in and Randy will need to match drill them to the frame..
Use the right tools for the job
After marking, when cutting out such a small piece I like to leave a "handle" until the very end..
....gives you something to hold onto while fine tuning the fit
Nice and snug....
Tacking in the filler piece...
Next was to trim a nice radius on the front and back ends of the new front fender....
Last on the list, the forming process with the old fender left some "pie crust" edging, as seen here and in an original photo...
So we needed a special tool in order to duplicate this feature...
Spacing all marked out....
Finished edge...
All ready for delivery!
PugetDude
ALLIANCE MEMBER
Great job. This is one of my favorite GJ threads.
Ohmthis
Well-known member
Robert, the attention to every detail still boggles my brain. The pie crust edging really shows how important every little detail is. Thanks for showing these as they are very easily overlooked.
TimeWarpF100
Well-known member
Thanks for the other suggestions. Since we did not have one of those fancy tools, but did have a full box of single edge blades, we got it done with the razor scrapers... much less of a mess than using solvent.. You guys are just trying to get me spending money on more tools..
Well time to finish up Randy's scooter fender(s). The original (rear) had been loose at some point as the fender mounting holes were nice and elongated from flopping around. So I'll get them filled in and Randy will need to match drill them to the frame..
Use the right tools for the job
After marking, when cutting out such a small piece I like to leave a "handle" until the very end..
....gives you something to hold onto while fine tuning the fit
Nice and snug....
Tacking in the filler piece...
Next was to trim a nice radius on the front and back ends of the new front fender....
Last on the list, the forming process with the old fender left some "pie crust" edging, as seen here and in an original photo...
So we needed a special tool in order to duplicate this feature...
Spacing all marked out....
Finished edge...
All ready for delivery!
Simply Amazing Robert, Simply Amazing!
Could not have been in better hands . .
Have not been online much as have been busy with Bronco . .
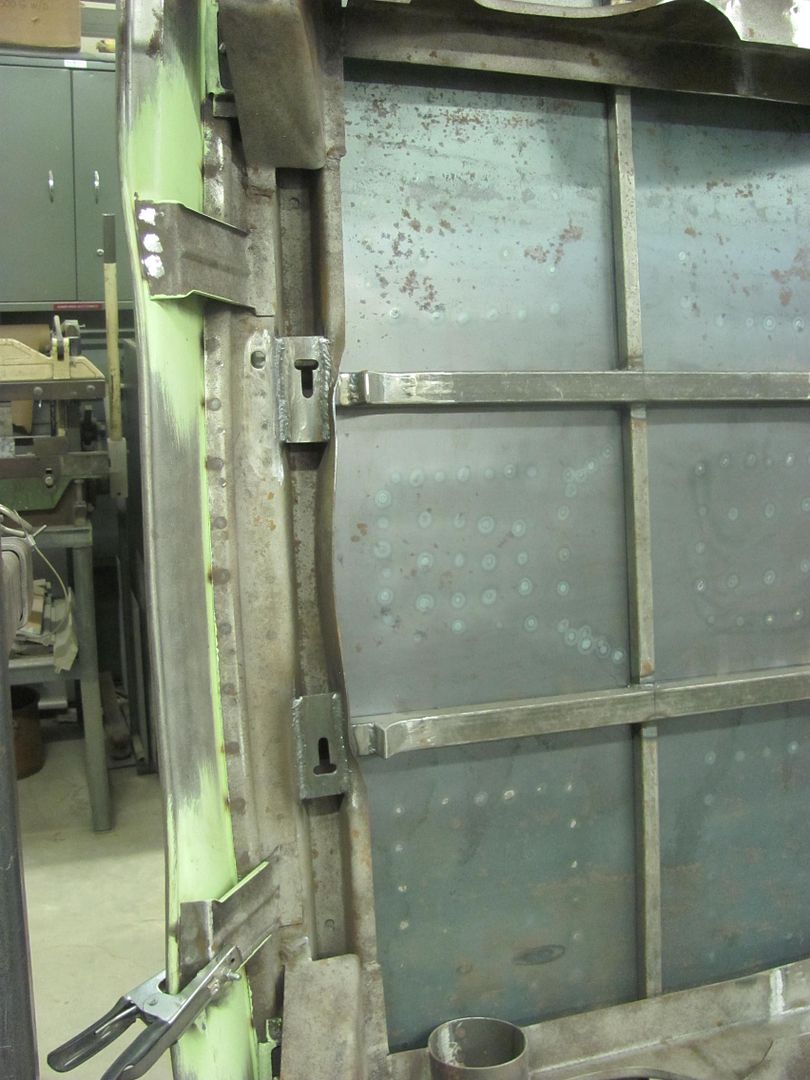
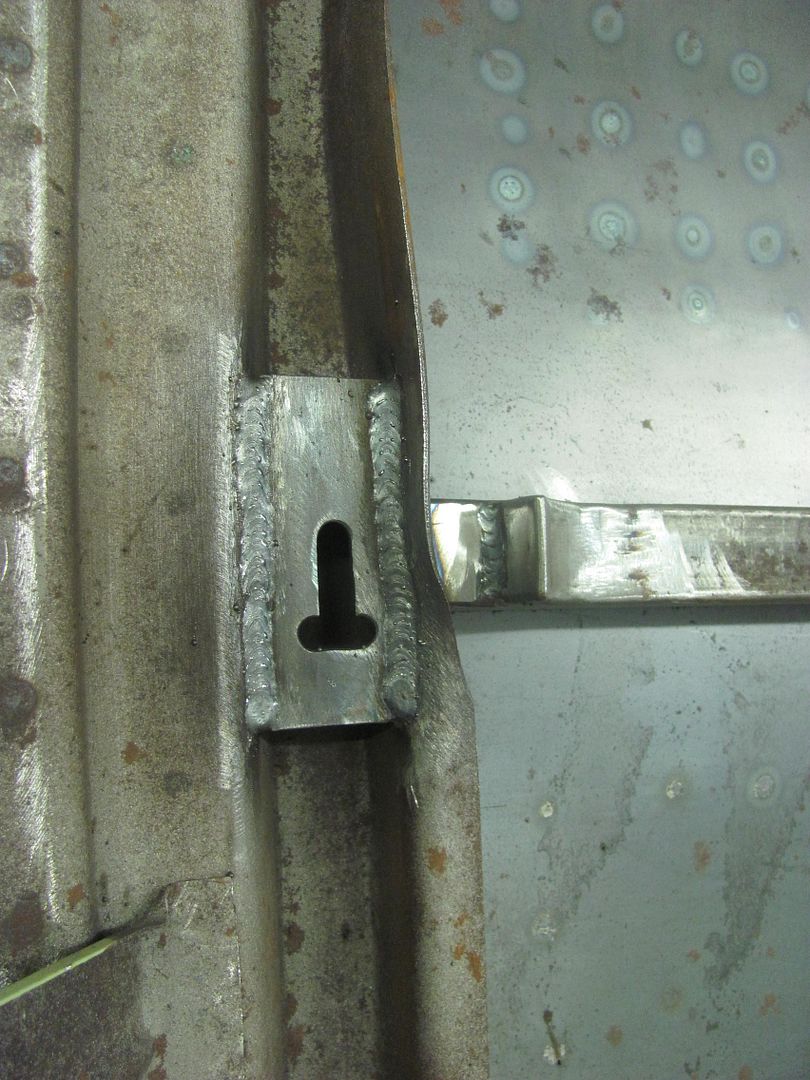
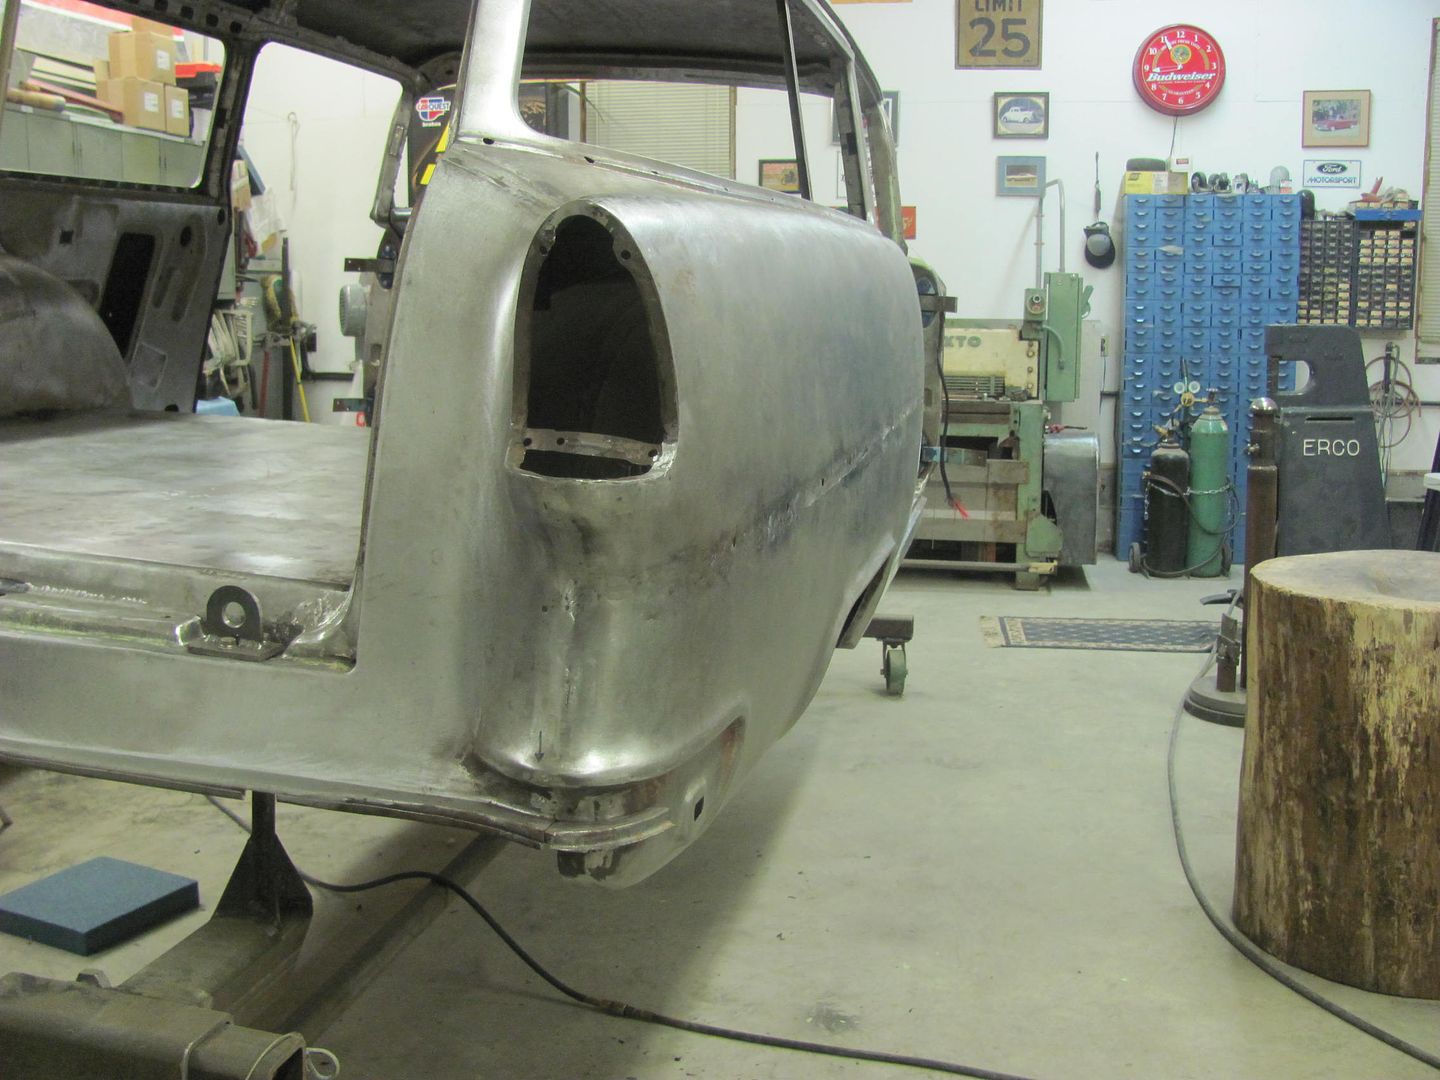
Kyle was off tonight so I missed getting some in-process pictures.. Still cleaning up welds to get the body ready for media blasting. The rear brackets for the gas tank straps were welded in...
I also worked on the passenger quarter this evening. One of the biggest problems with welding a horizontal seam down through the middle of the quarter on a car is the tendency for the seam to cave inwards.. I had some help this evening using the Watervliet hammer and a 24" radius die..

Still have some highs and lows to address, but the weld seam is back out close to where it should be, and the Atlantic Ocean has calmed quite a bit..
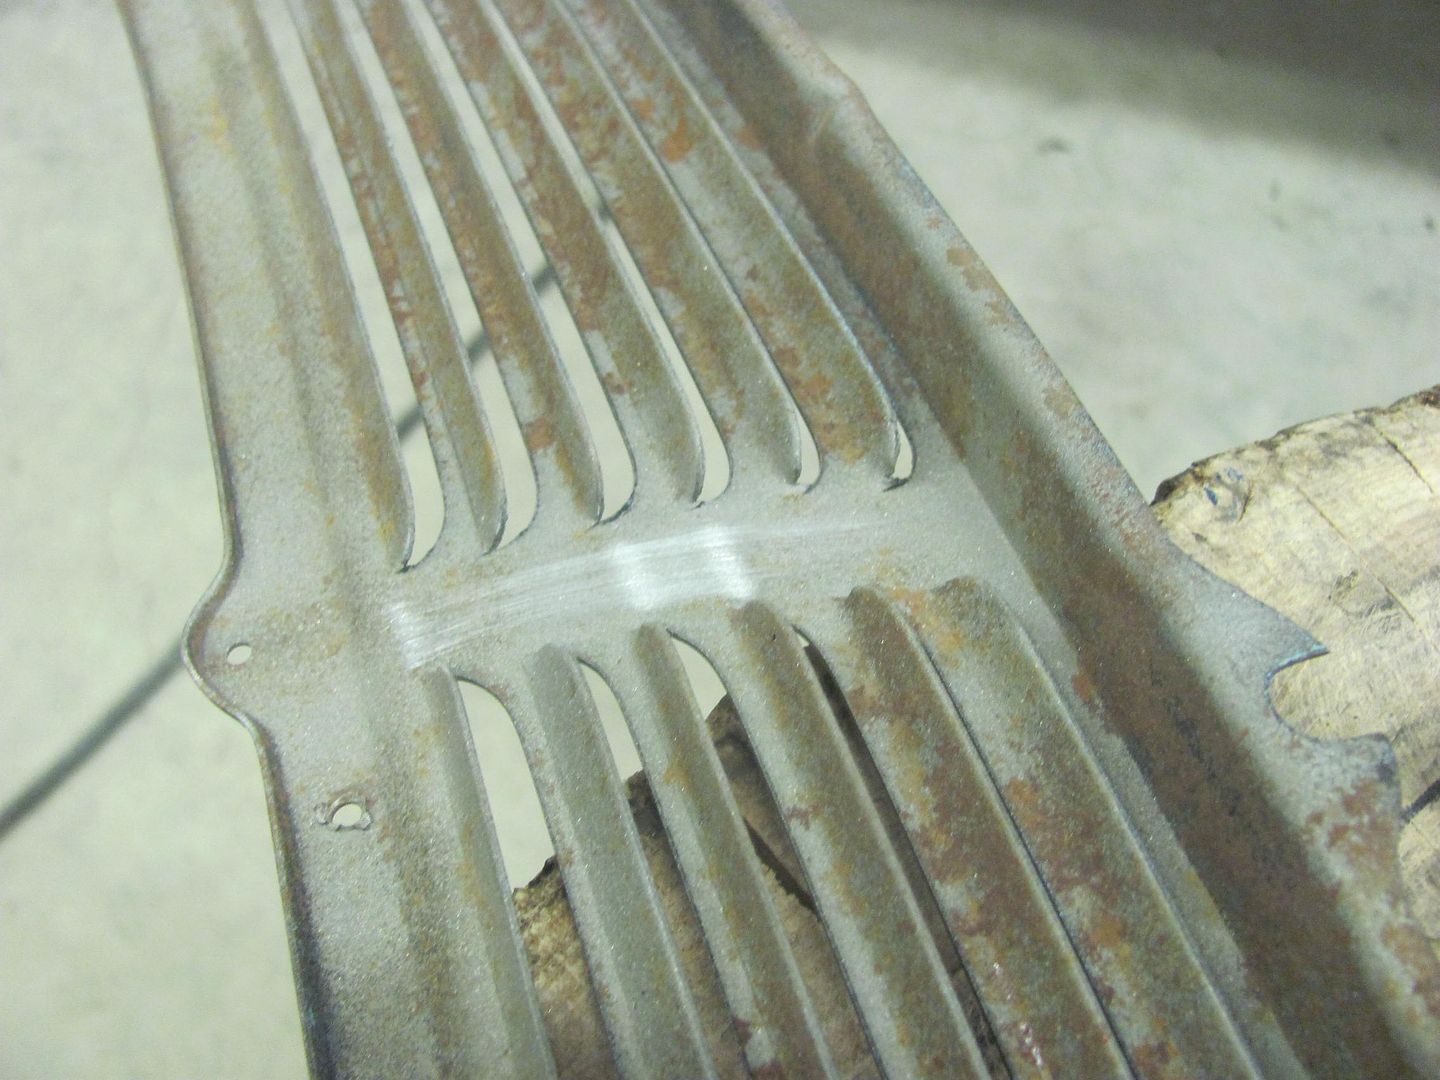
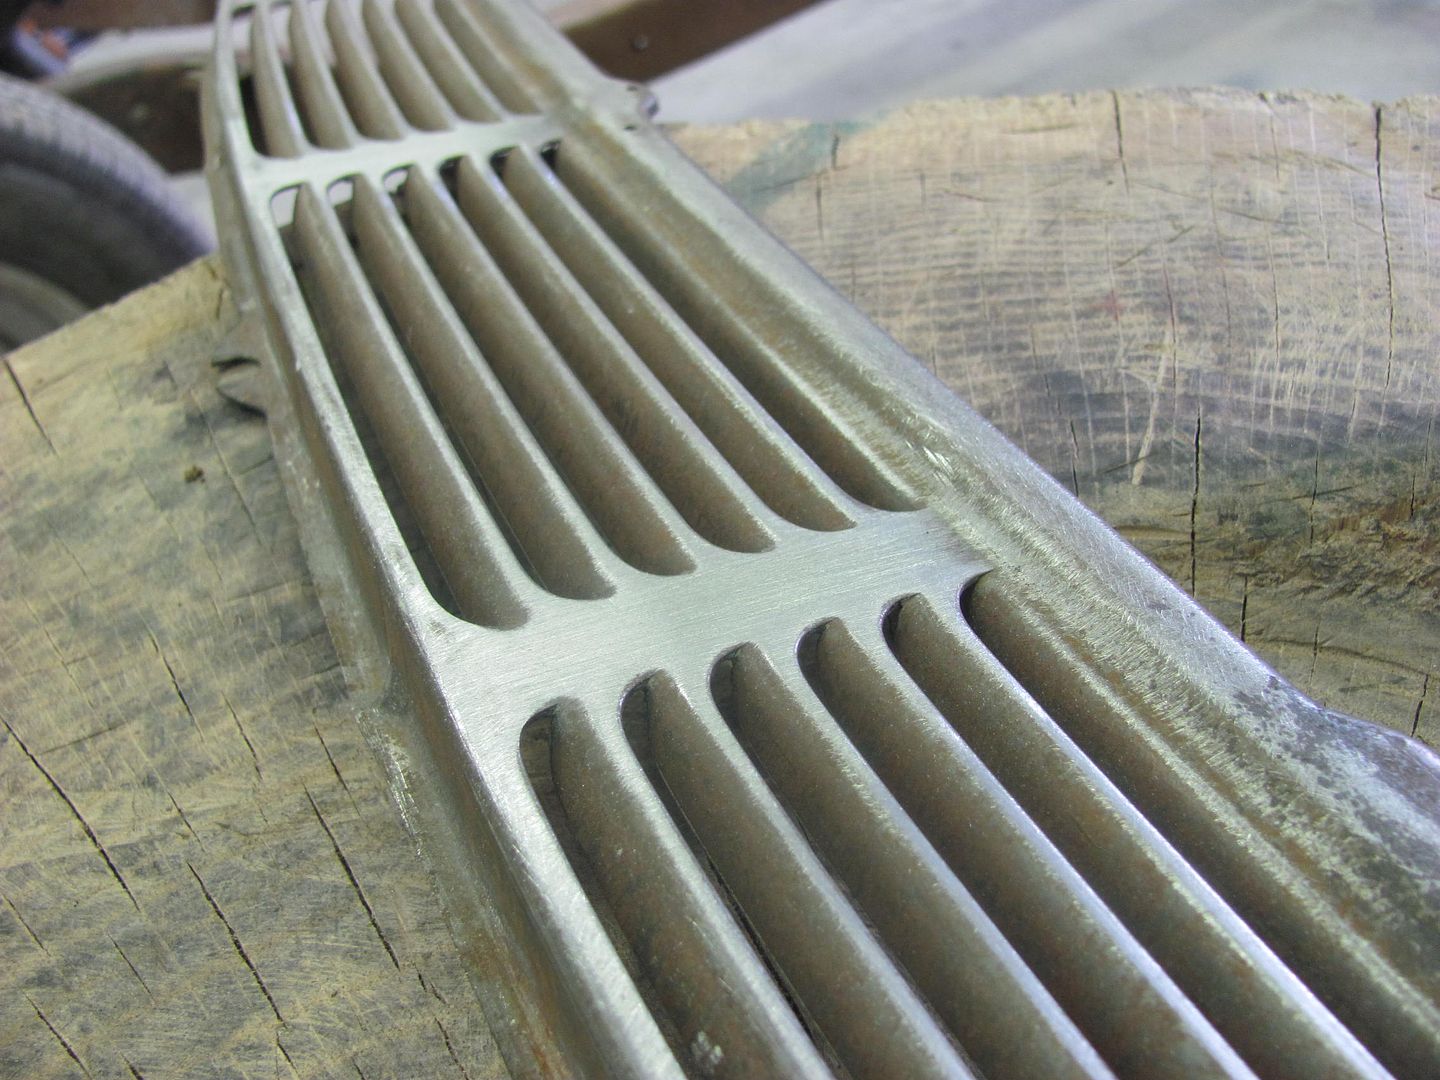
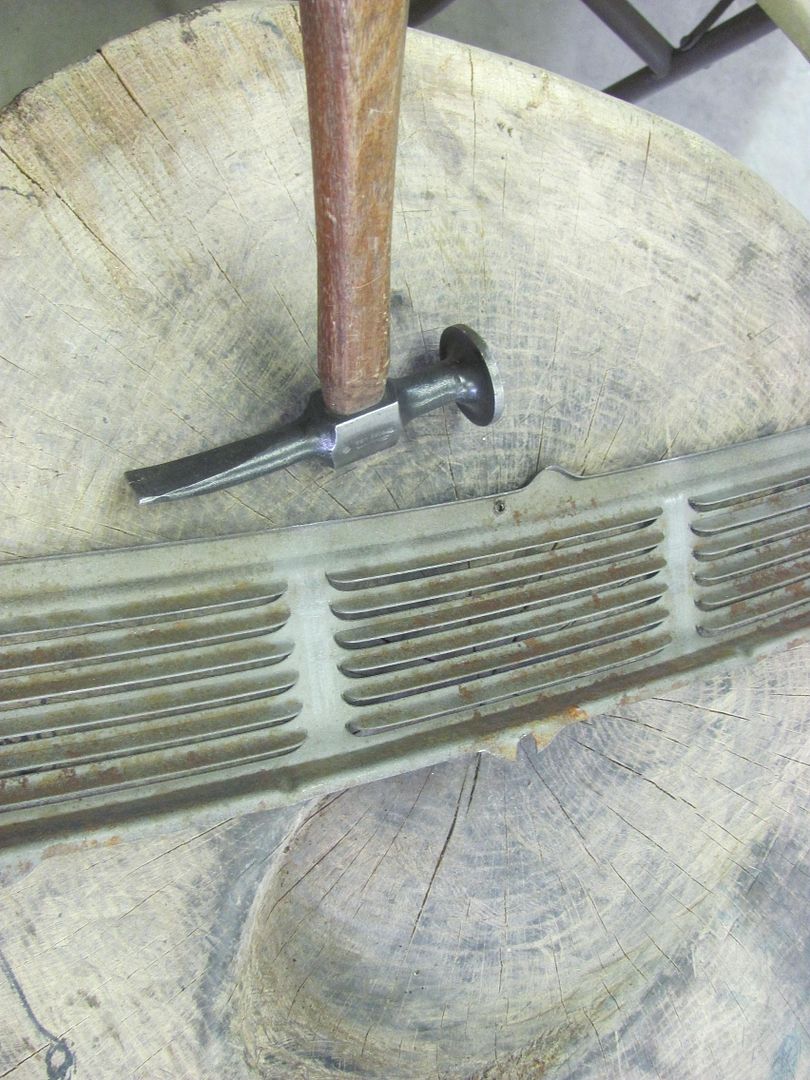
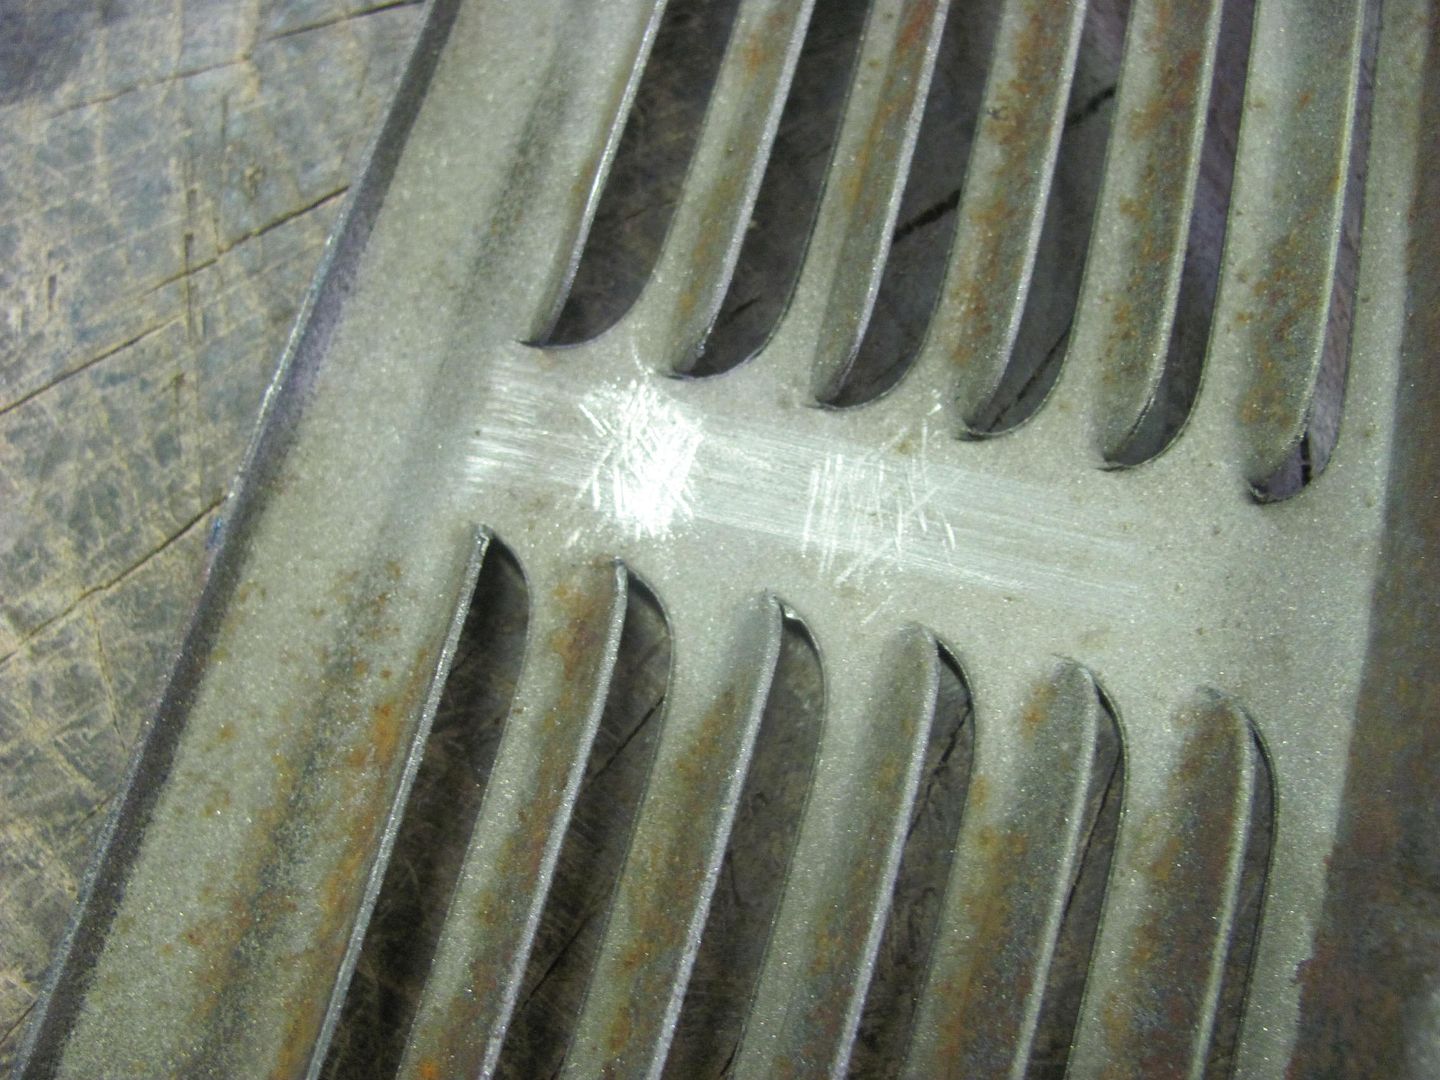
Next was to remove some creases in the cowl vent, seen here...
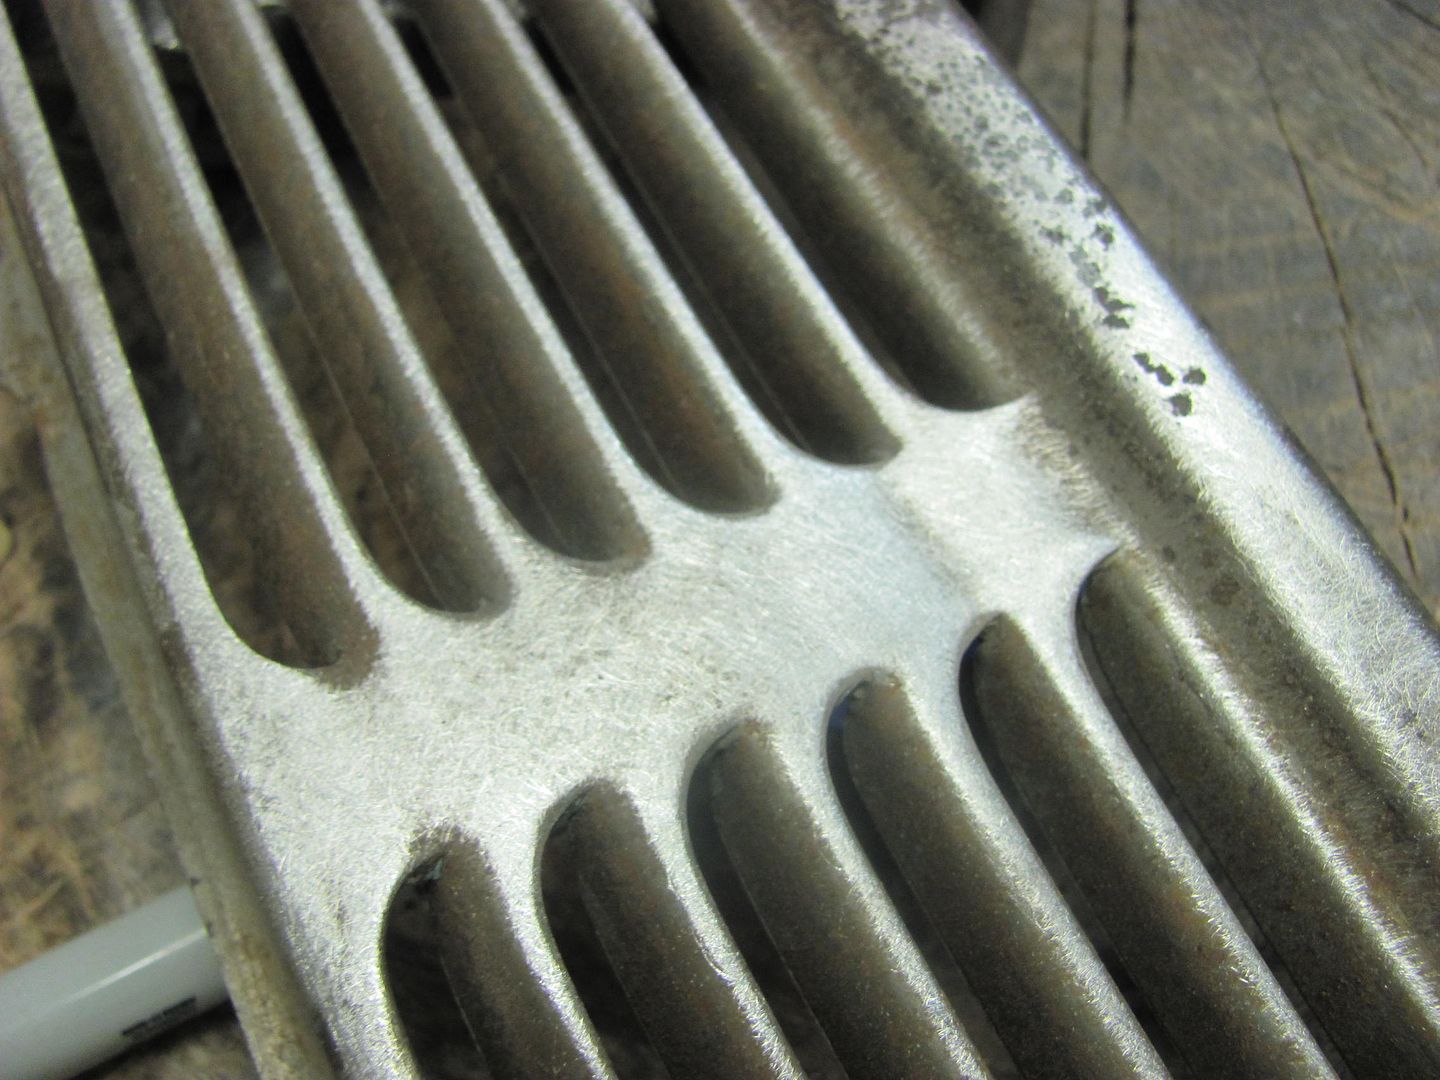
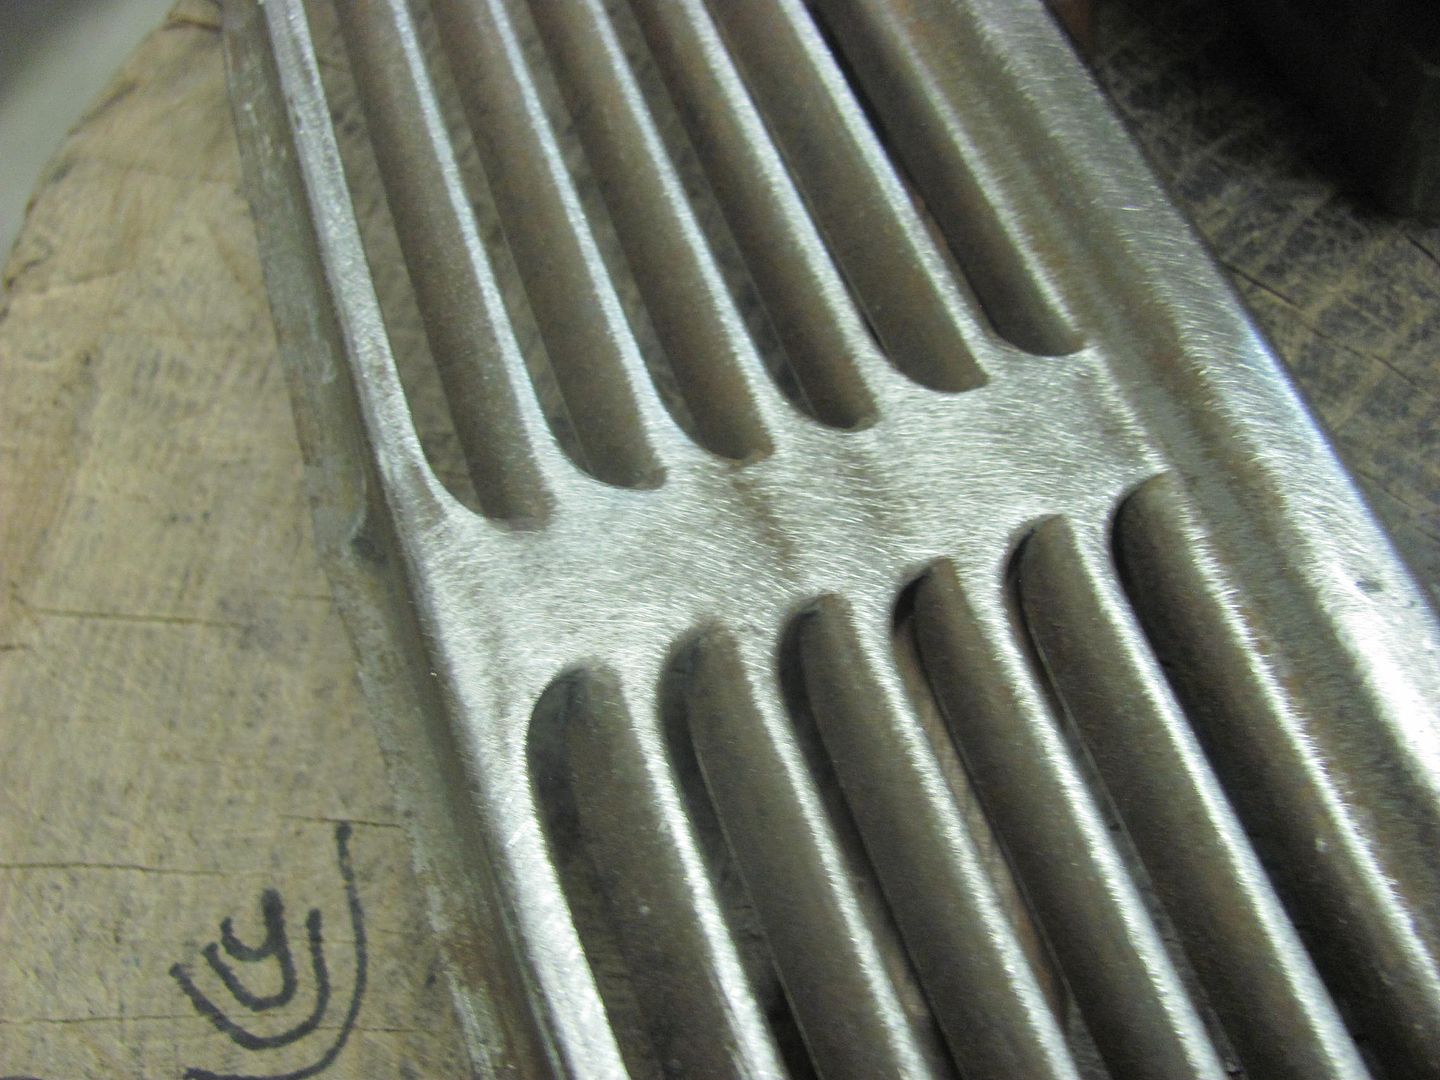
Looks like someone may have kneeled on it at some point in the last 60 years. I've found the easy way to "highlight" an area like this in need of repair is to use a piece of 80 grit on the back side:

Got the creases out using the body hammer with the chisel tip, and forgot to get the finished pictures. Next time...
I also worked on the passenger quarter this evening. One of the biggest problems with welding a horizontal seam down through the middle of the quarter on a car is the tendency for the seam to cave inwards.. I had some help this evening using the Watervliet hammer and a 24" radius die..
Still have some highs and lows to address, but the weld seam is back out close to where it should be, and the Atlantic Ocean has calmed quite a bit..
Next was to remove some creases in the cowl vent, seen here...
Looks like someone may have kneeled on it at some point in the last 60 years. I've found the easy way to "highlight" an area like this in need of repair is to use a piece of 80 grit on the back side:
Got the creases out using the body hammer with the chisel tip, and forgot to get the finished pictures. Next time...
Last edited:
Last night was a brake job on my wife's Expedition, and while we were working on it found a worn hub as well..


I finished up the brakes this morning and was out for a test drive when I noticed my buddy John had his shop door open.. Stopped in for a visit and he was about to set the cab on his Biederman truck. Some jobs are just too much for one person, so I gave him a hand in getting the cab set in place.


He's got the right tool for setting it in place, anyhow..


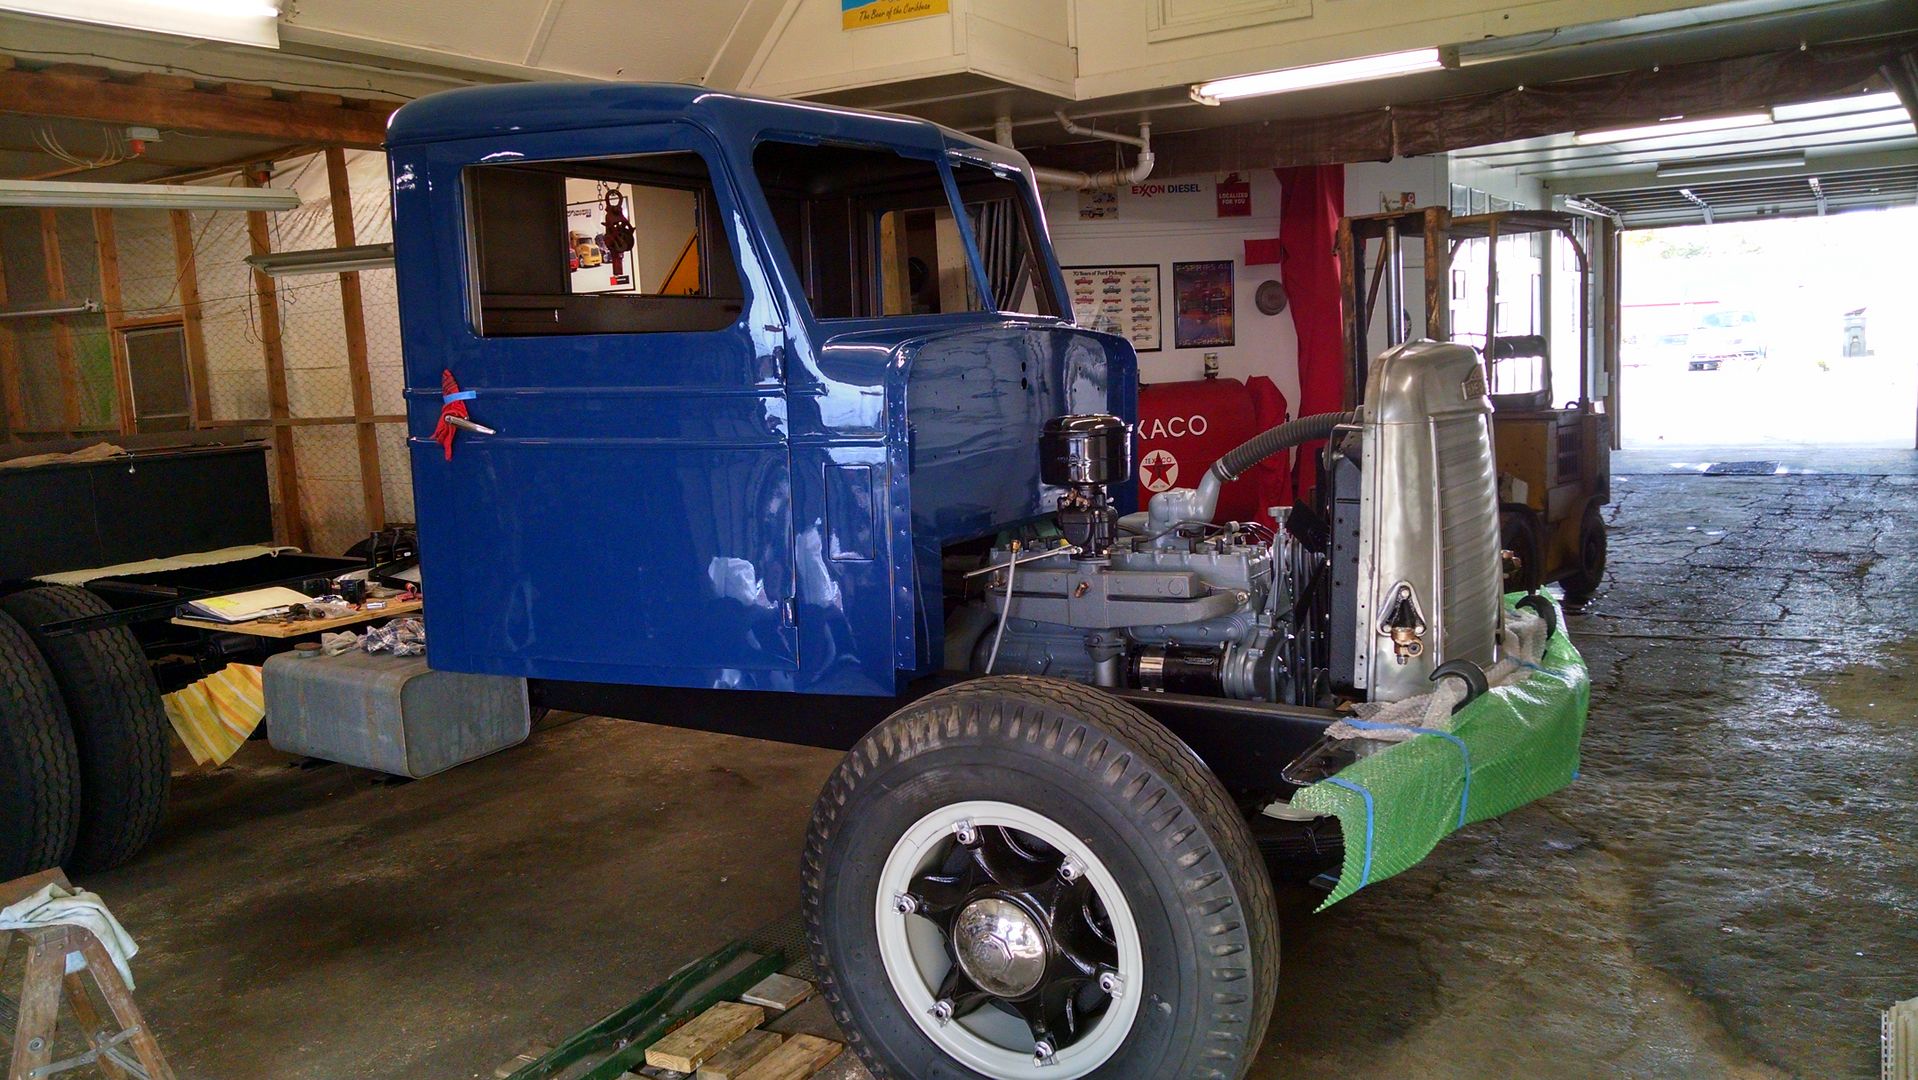

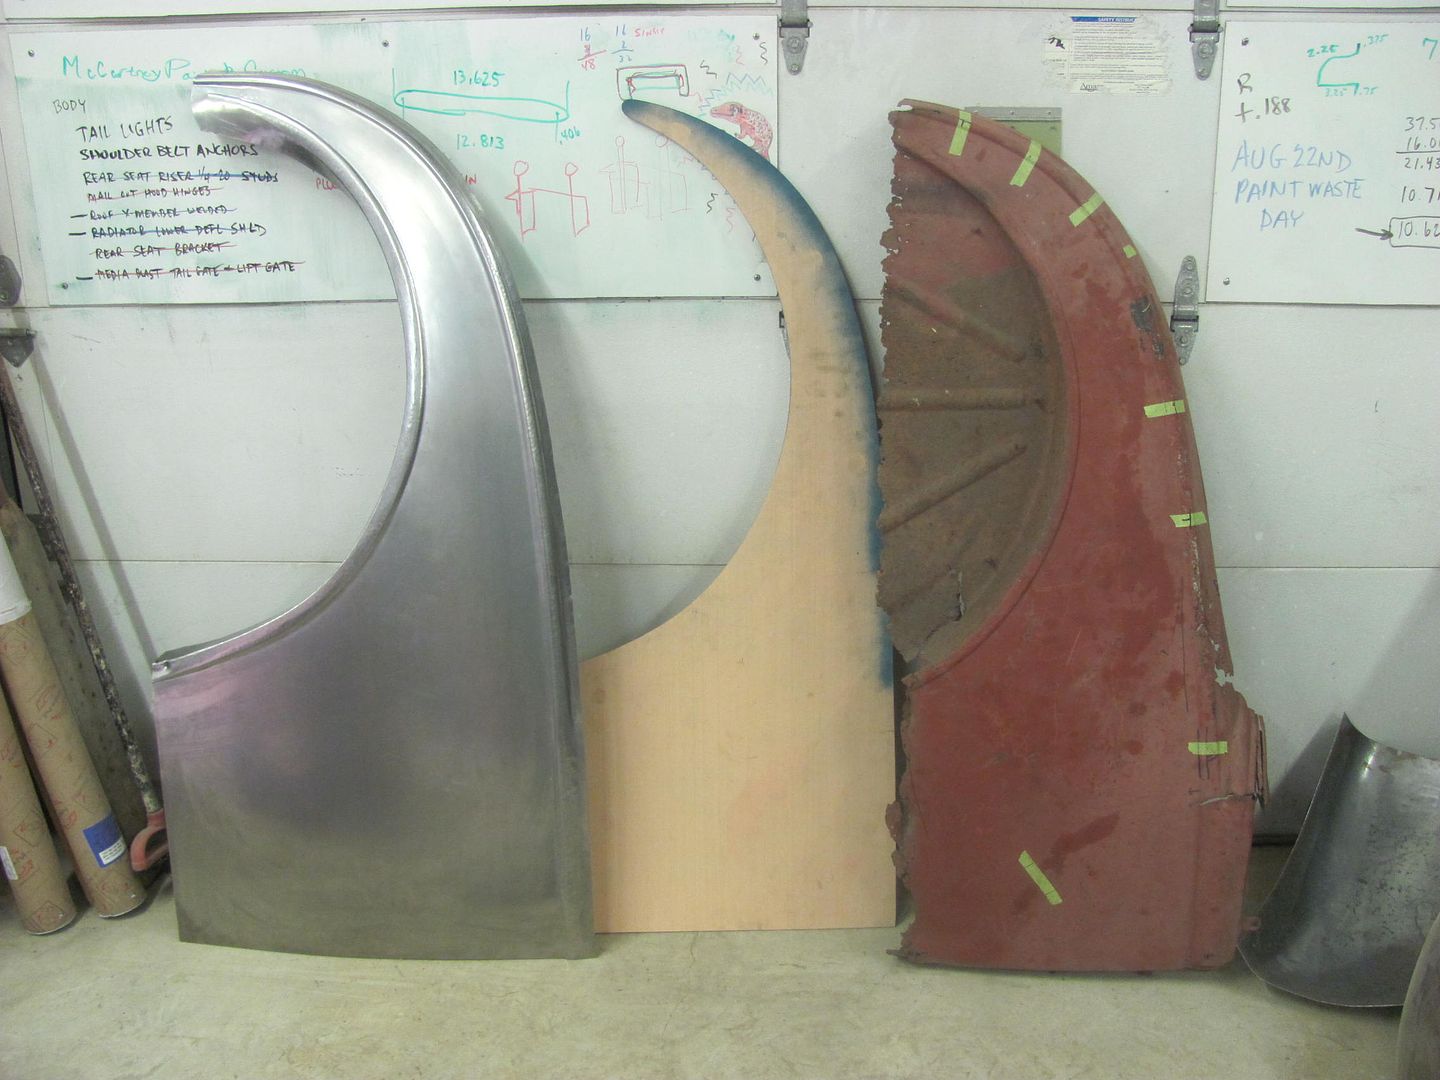
His front fenders have some rust issues, you may see some pictures of this one again...
I finished up the brakes this morning and was out for a test drive when I noticed my buddy John had his shop door open.. Stopped in for a visit and he was about to set the cab on his Biederman truck. Some jobs are just too much for one person, so I gave him a hand in getting the cab set in place.
He's got the right tool for setting it in place, anyhow..
His front fenders have some rust issues, you may see some pictures of this one again...
Last edited:
polexican23
Banned
That **** is on VW tunnels and it ***** to remove. Thankfully it isn't as big of an area as you had to tackle.
54FordPanel
Well-known member
Wow, wow, wow, wow, wow. Your work is amazing, Robert.
Kevin54
MEMBER EMERITUS
Put me down for a short sleeve shirt as I already have the long sleeve. Where do I send the money?
stinkity stoink
Well-known member
Put me in to Robert. I would like to have a shirt. PayPal or check let me know.
shortykorte
Well-known member
Jet powered wagon! Cool!