xtremek
Well-known member
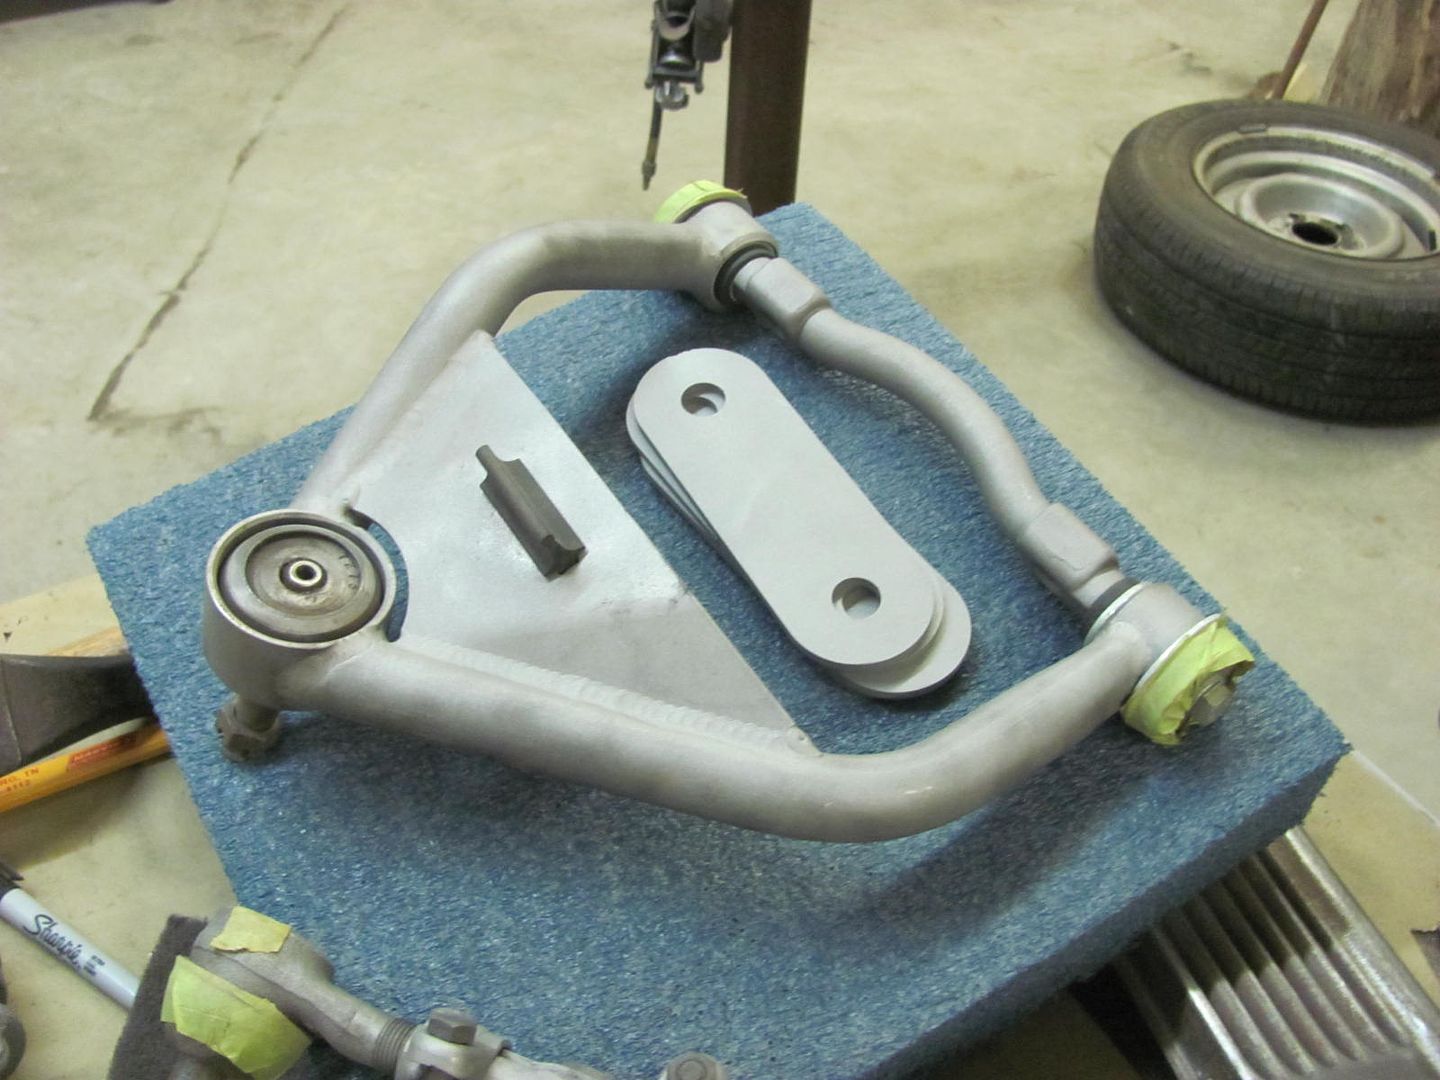
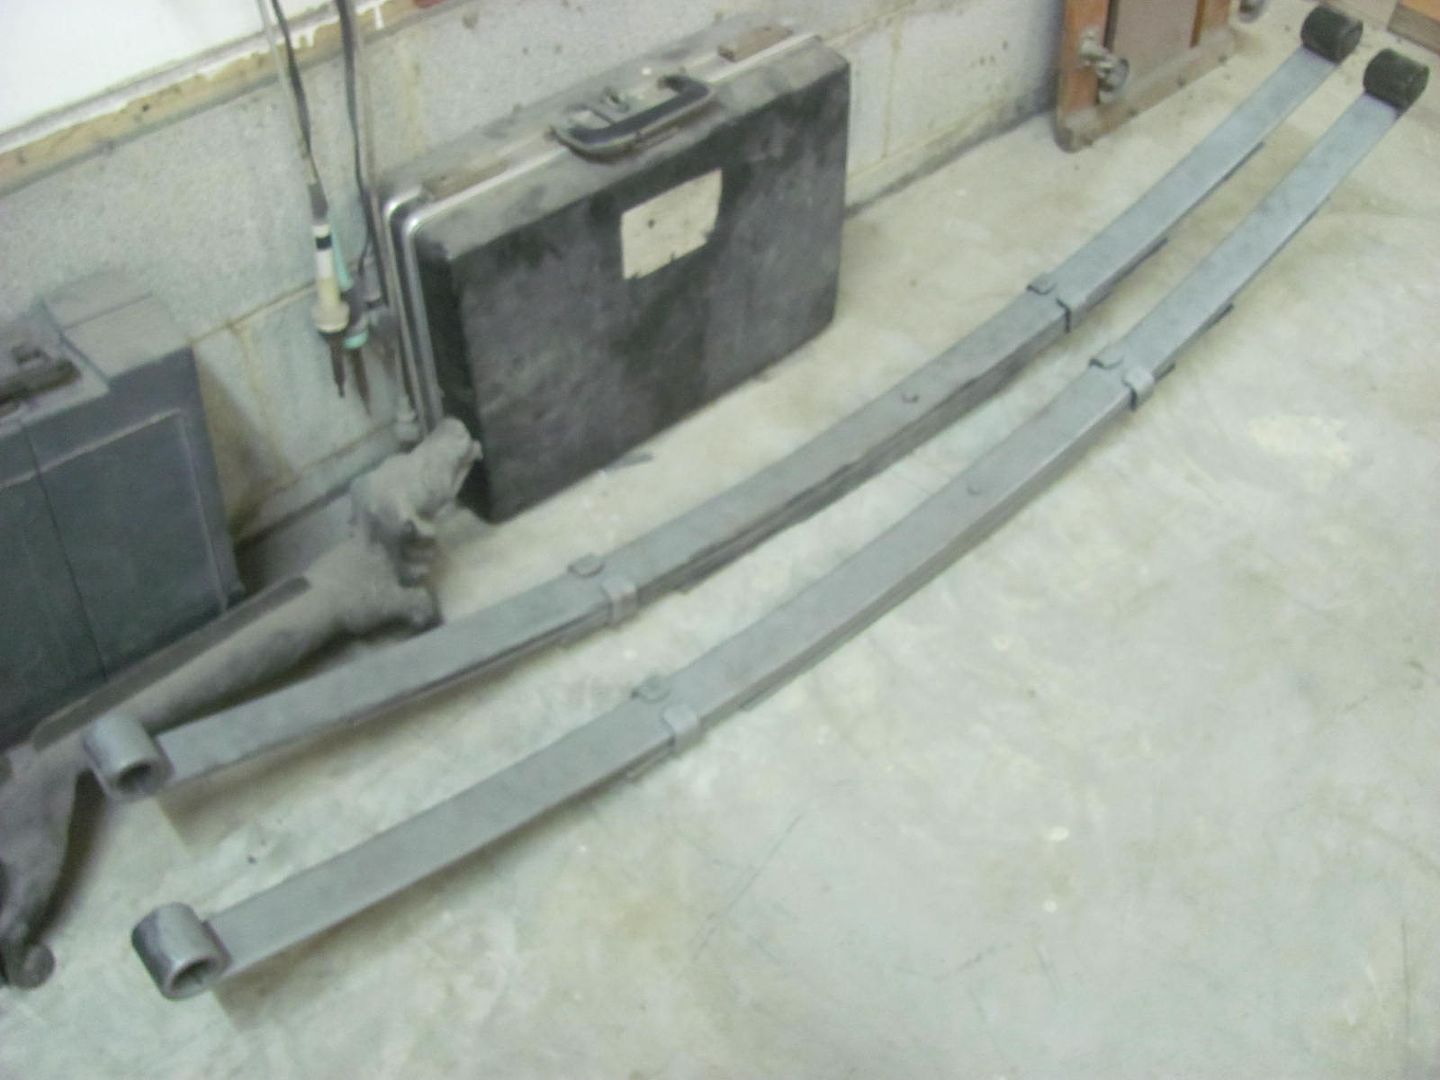
Actually, I want to do an air ride suspension and do that for the trailing arms. But that project needs an engine first and it's about number 8 on the list


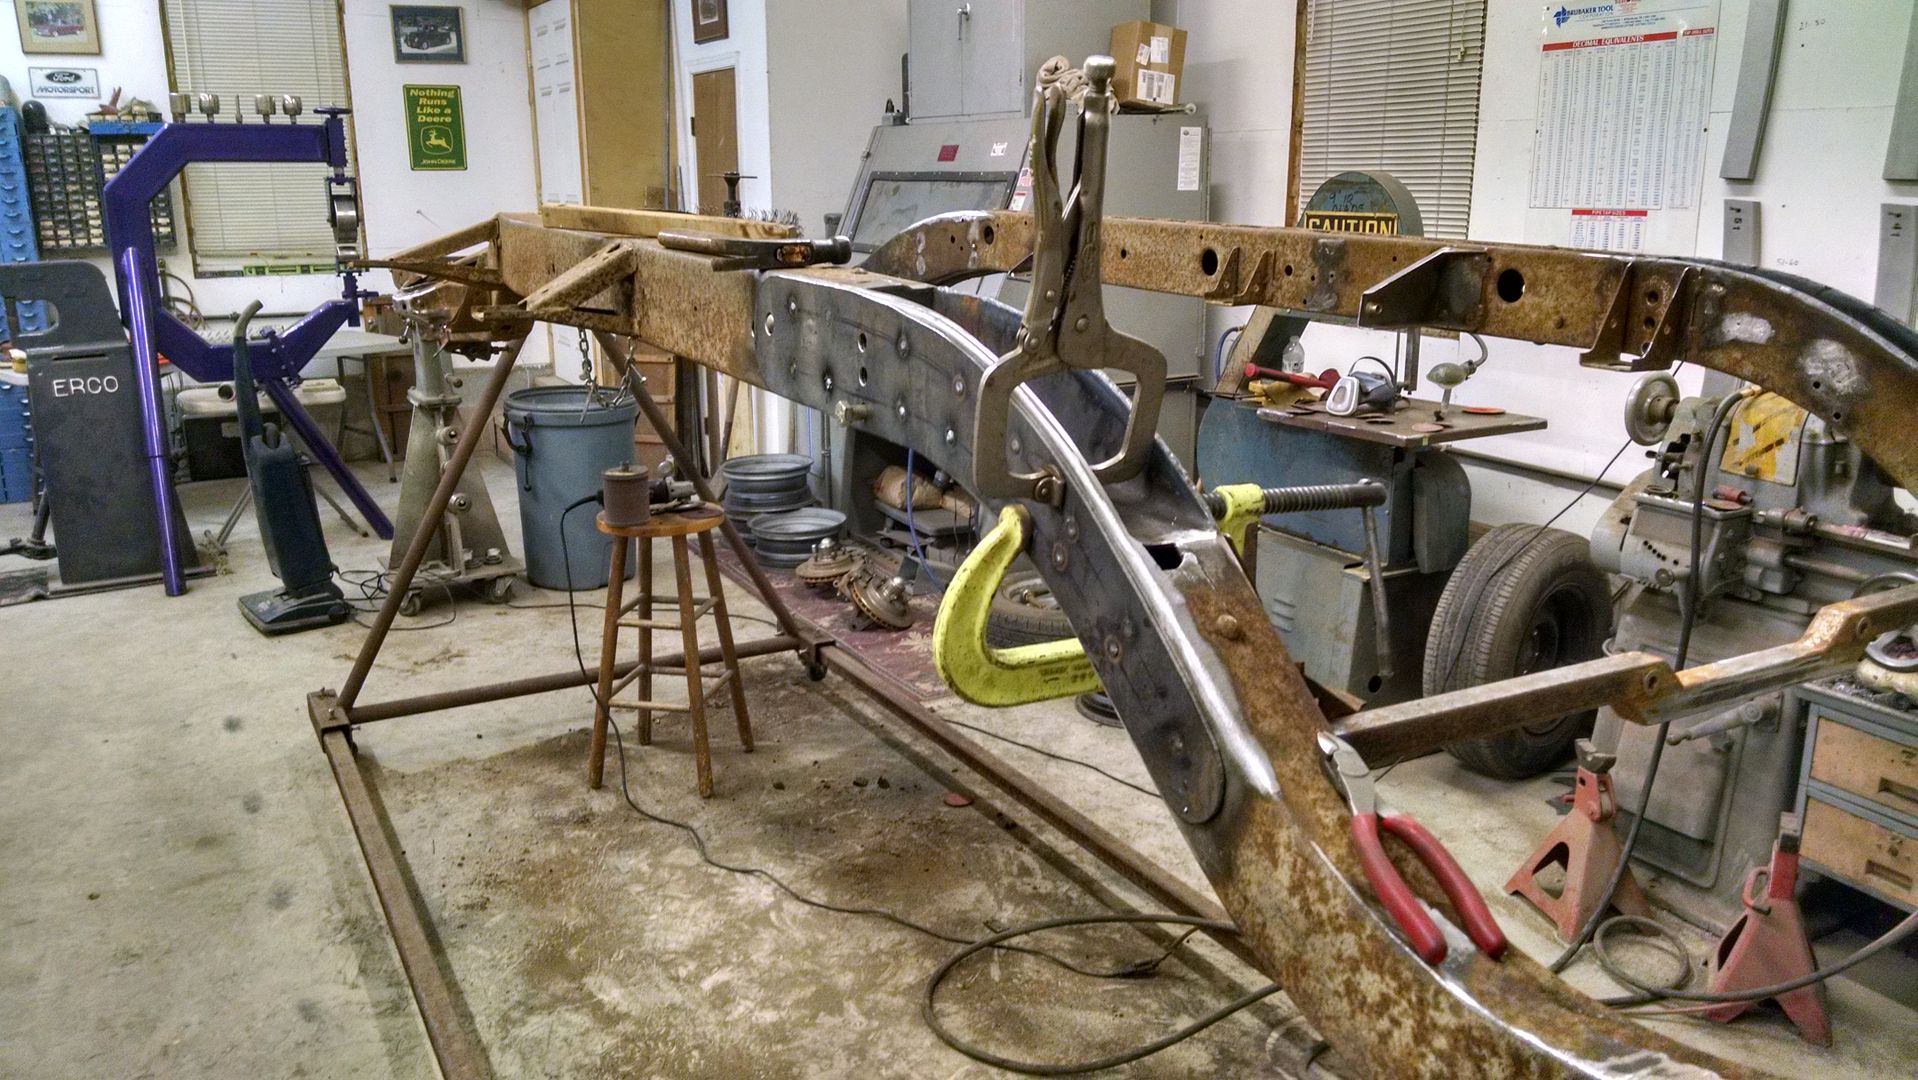
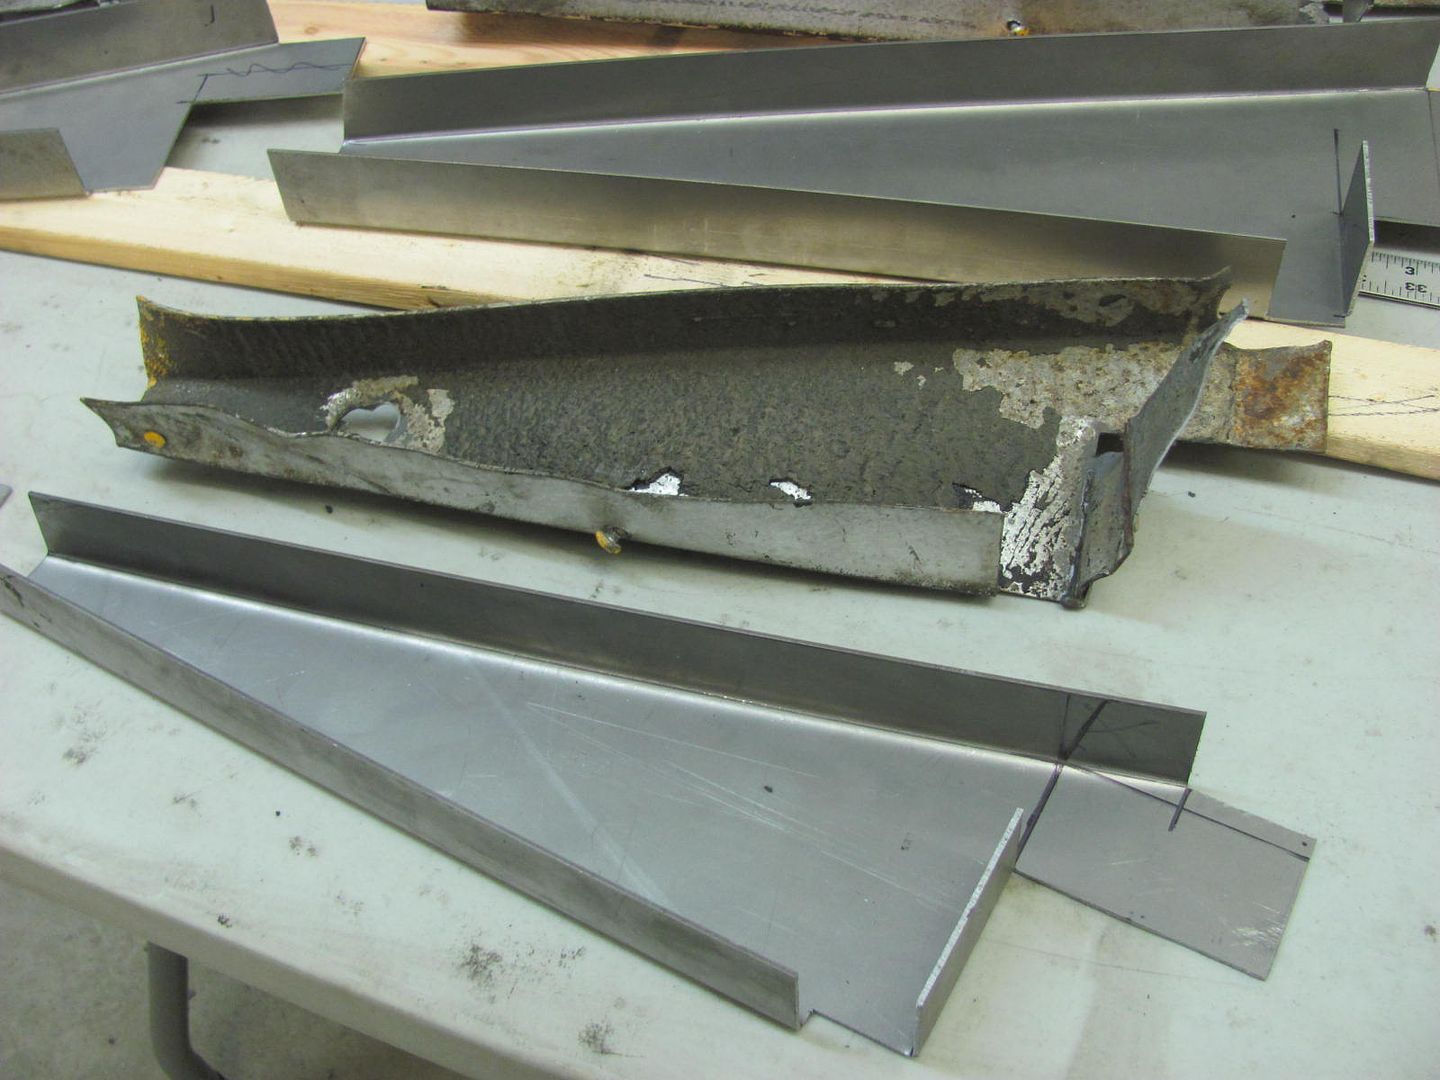
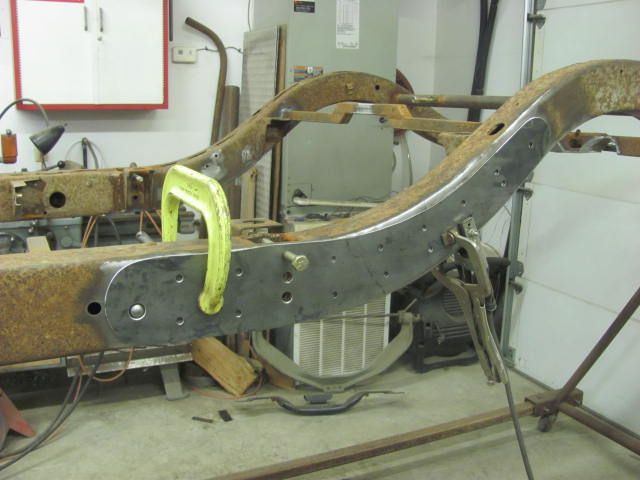
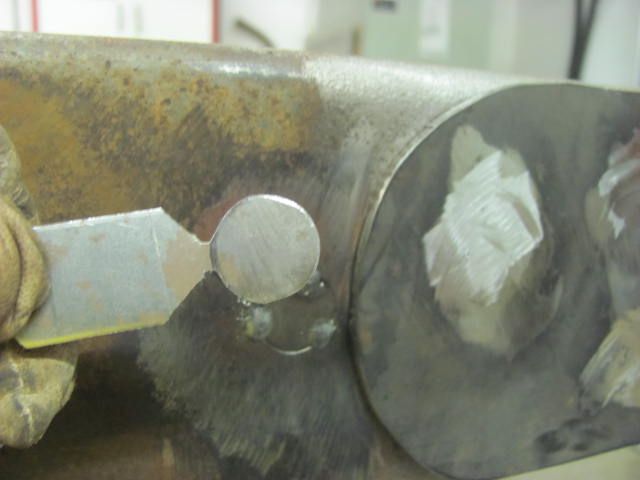
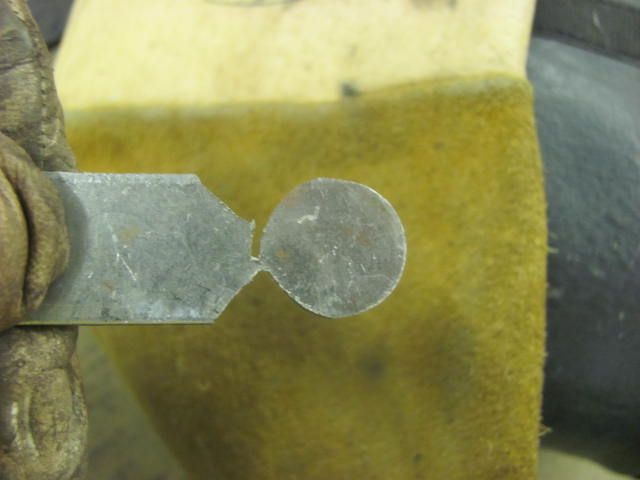
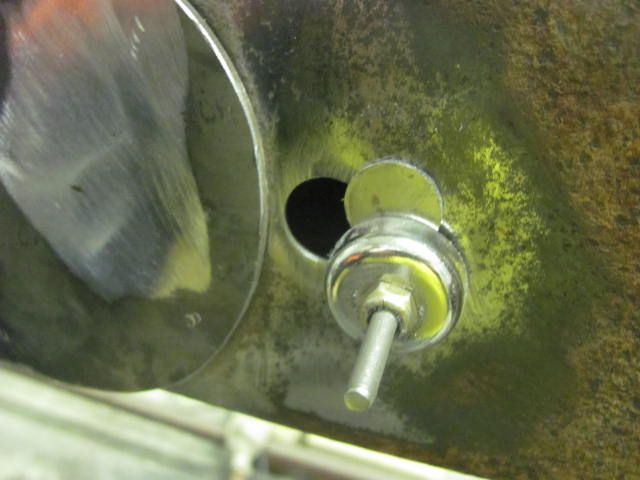
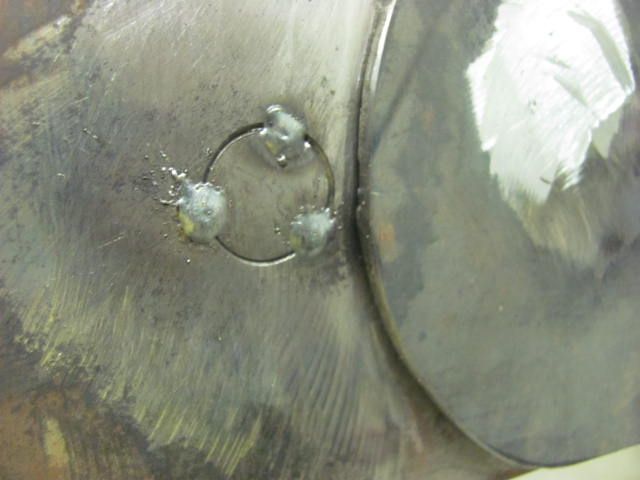
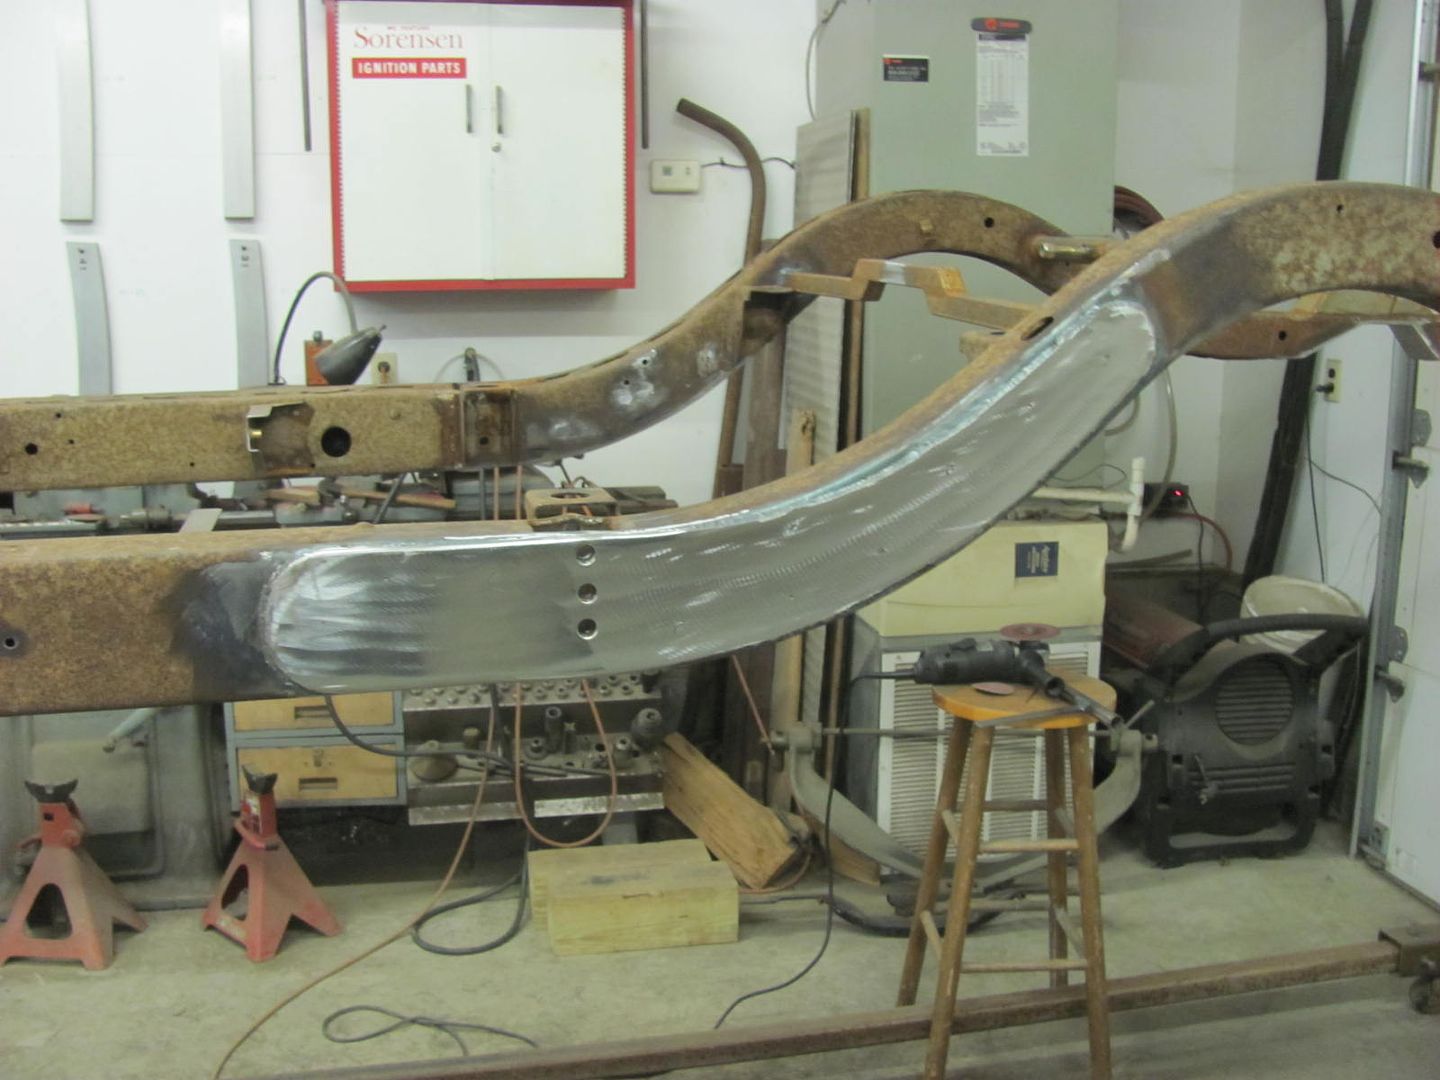
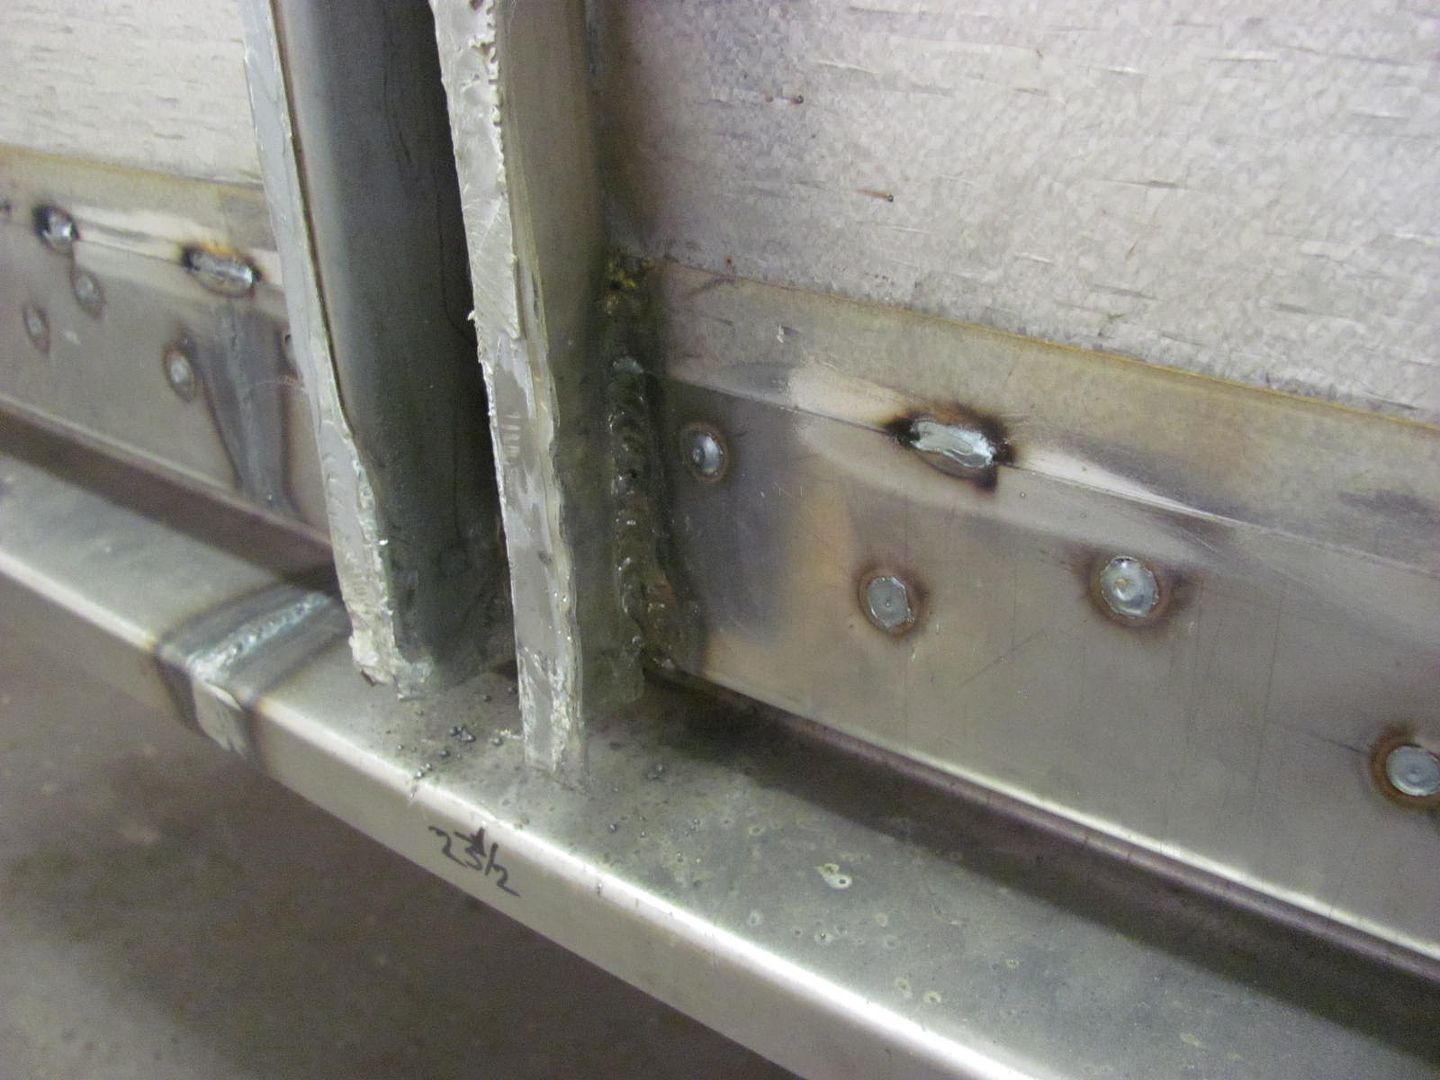
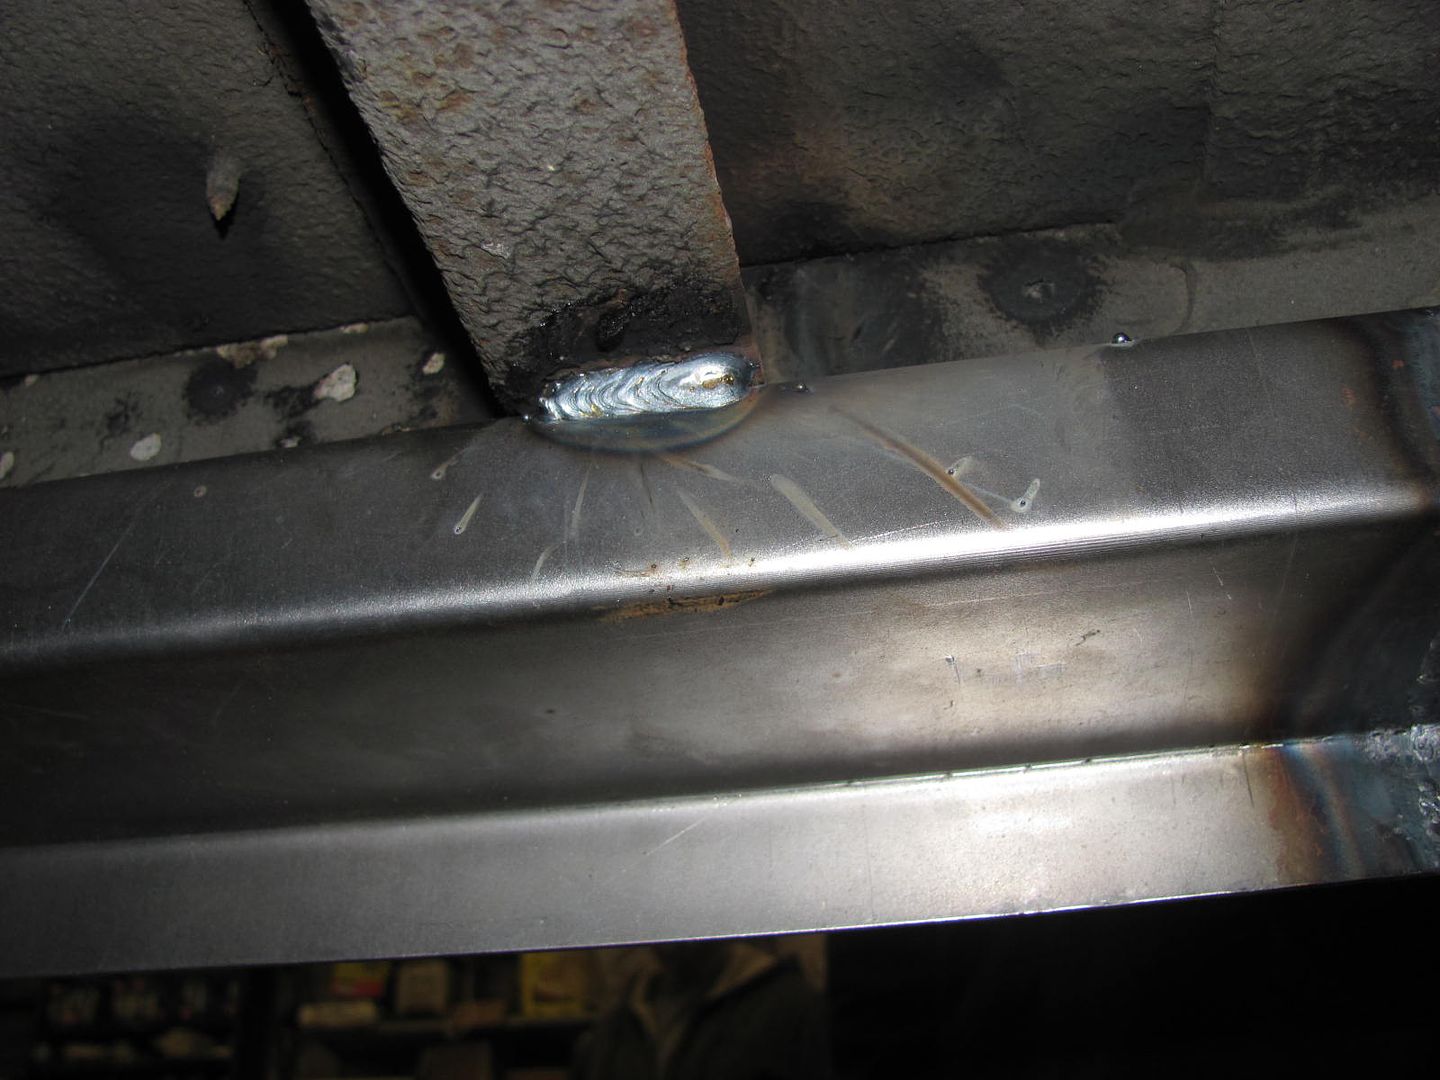
Robert, Agree on the need to draw the line, although I always go over the line , as to what is possible and what is required. Looking at the frame one could remove all of the brackets, clean and paint the joint and then re-rivet. Even at our low shop rate it would be hard to justify the cost. Still waiting for the person with a boat load of money.Anthony, for this we didn't use any paint between, at some point we need to finish this car..
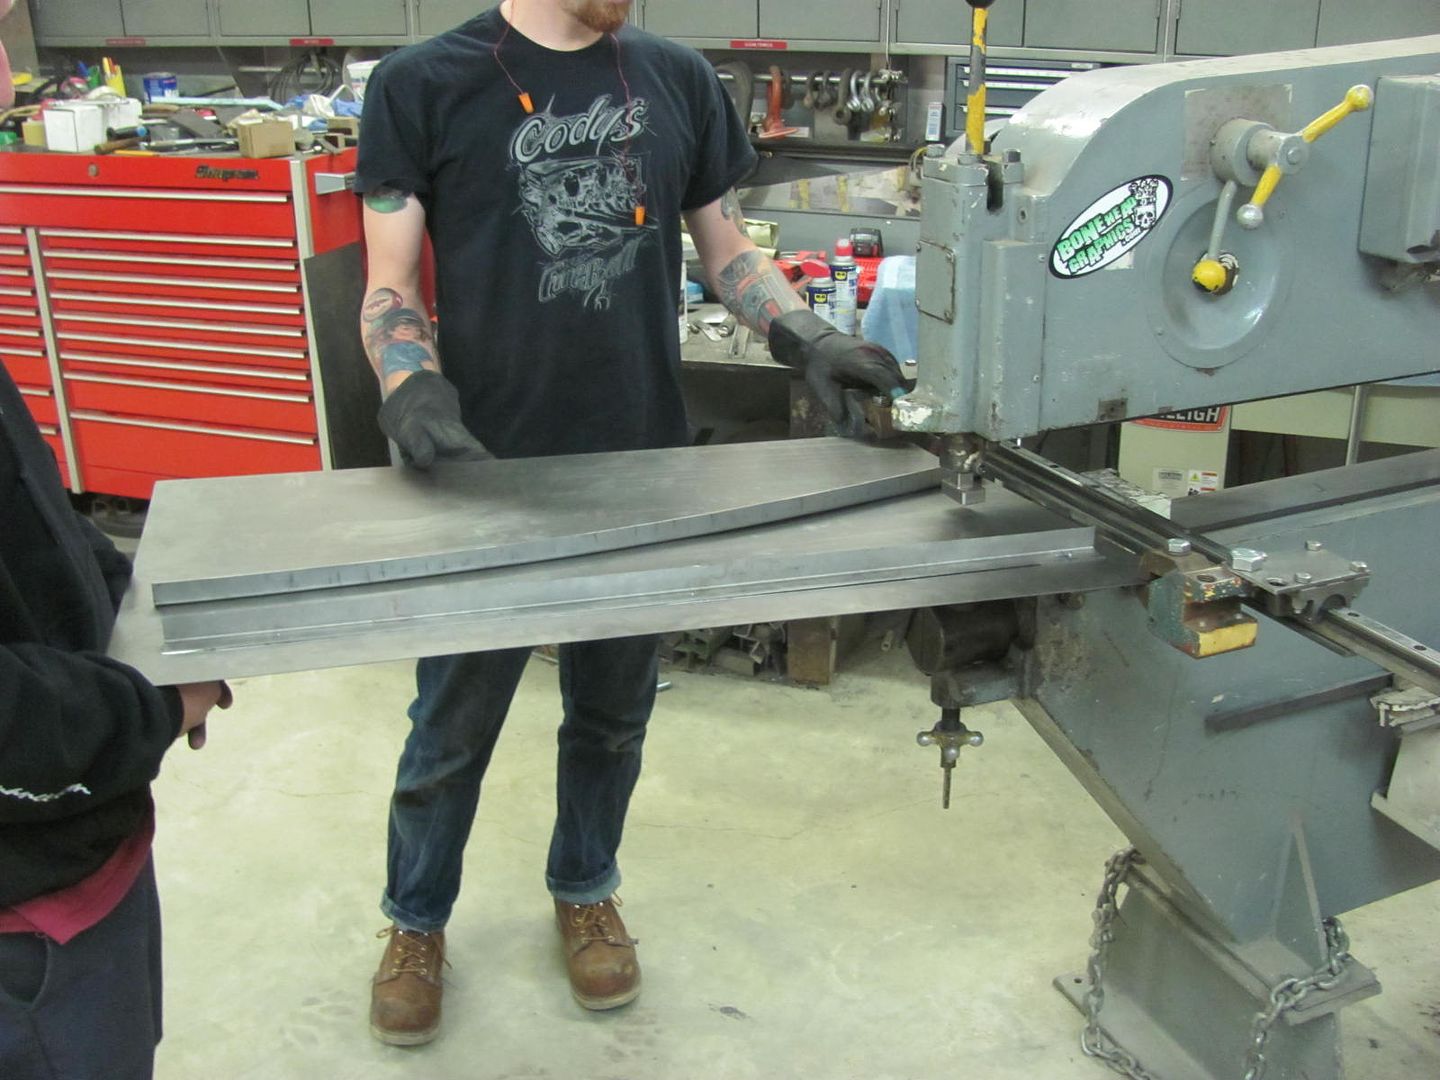
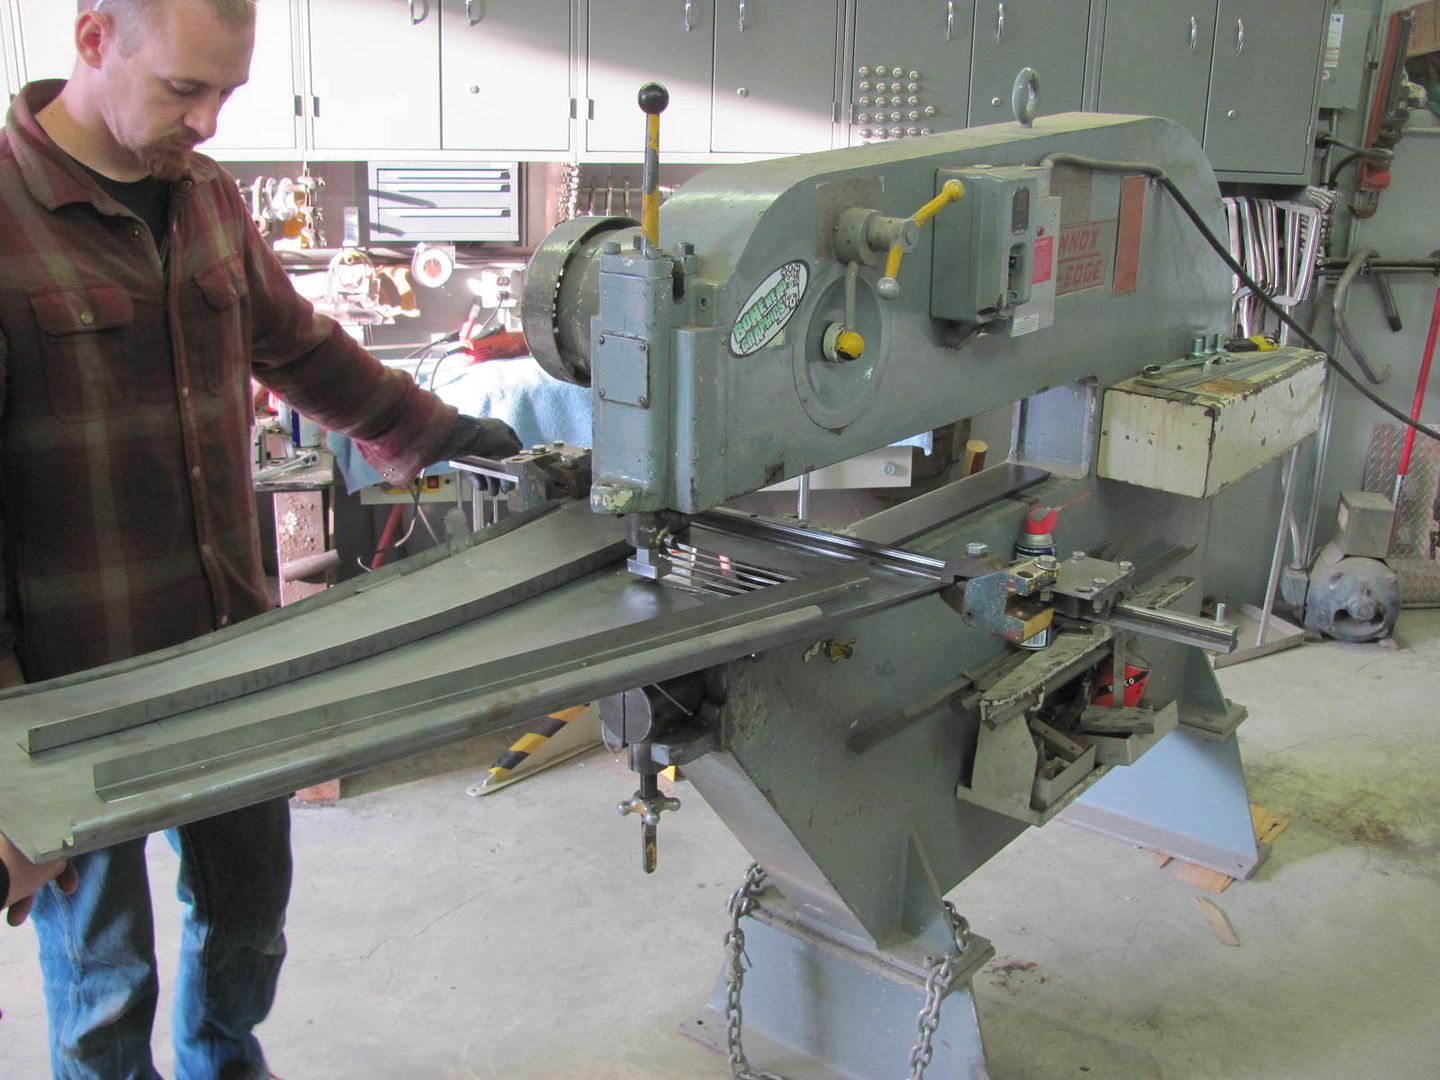
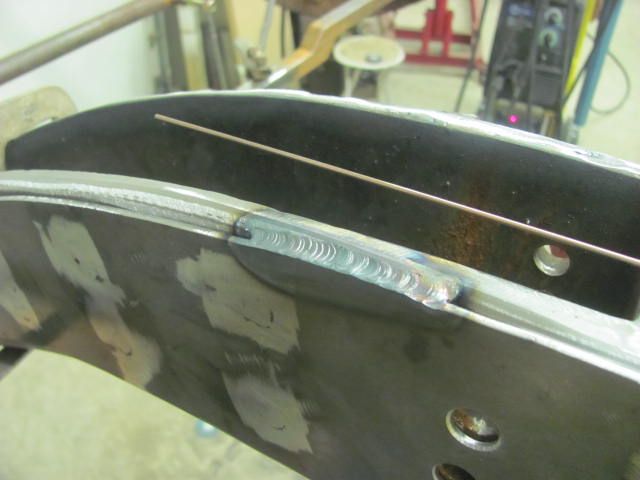
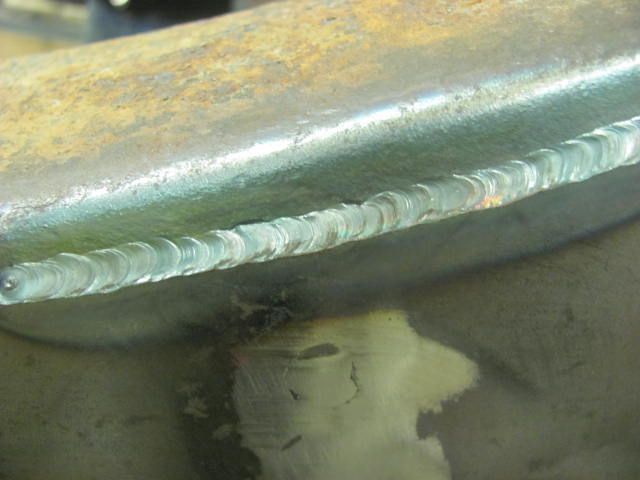
We had cleaned up the frame fairly well underneath and the new plates (hot rolled) still retain a light mill scale, which should help protect a slight bit. The entire perimeter will be welded using the TIG, so we shouldn't see too much corrosion in there. Plus, I'd venture this will not see as much rainy travel in the next 60 years as it has in the past 60. If the owner had a bottomless barrel of cash we could take everything apart, epoxy, and reassemble. But absent that, at times you draw a line in the sand..
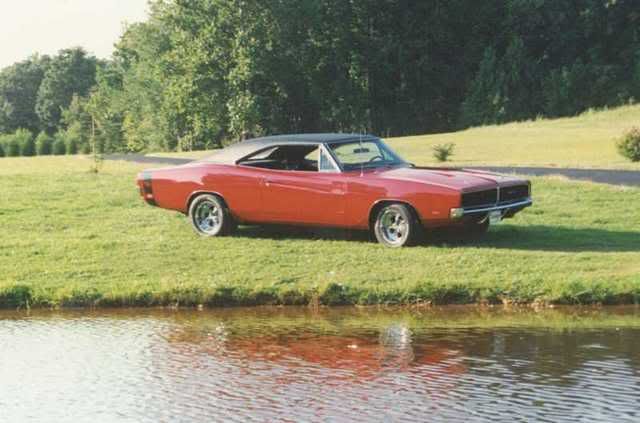
Now, more importantly, when do we get to see some pictures of your Charger? Here's my old one, another that I should never have sold.. but that big block and 4 speed was going to get me in trouble!

Somehow missed this one....
What has been your experience with the tape around oil, and what tape did you use?
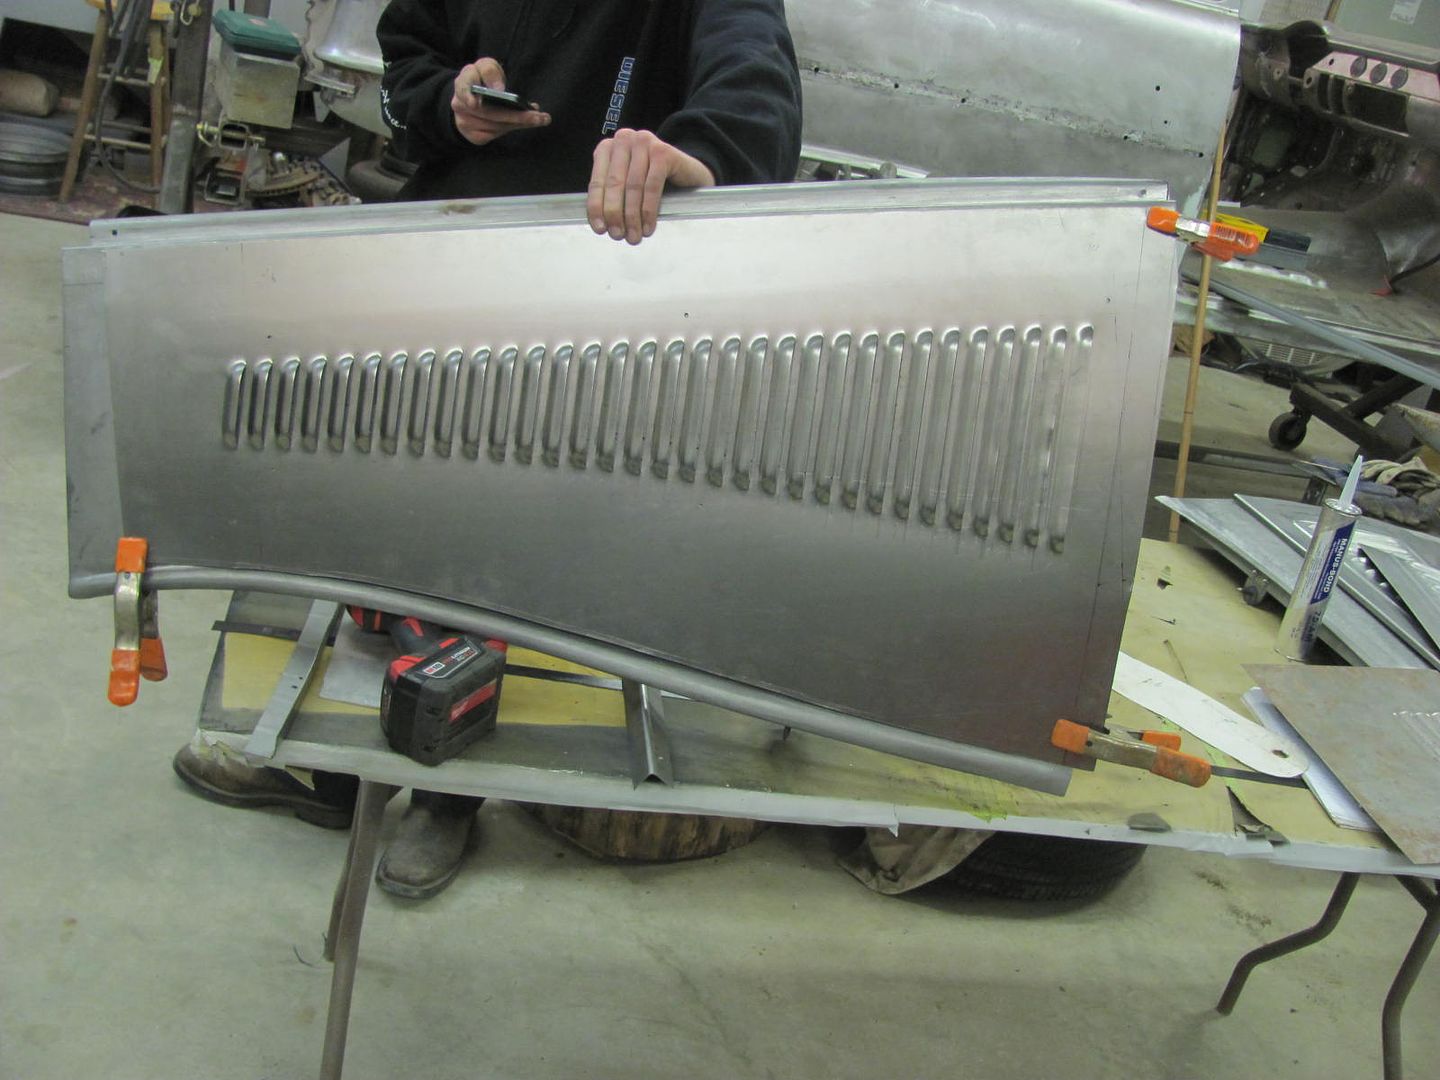
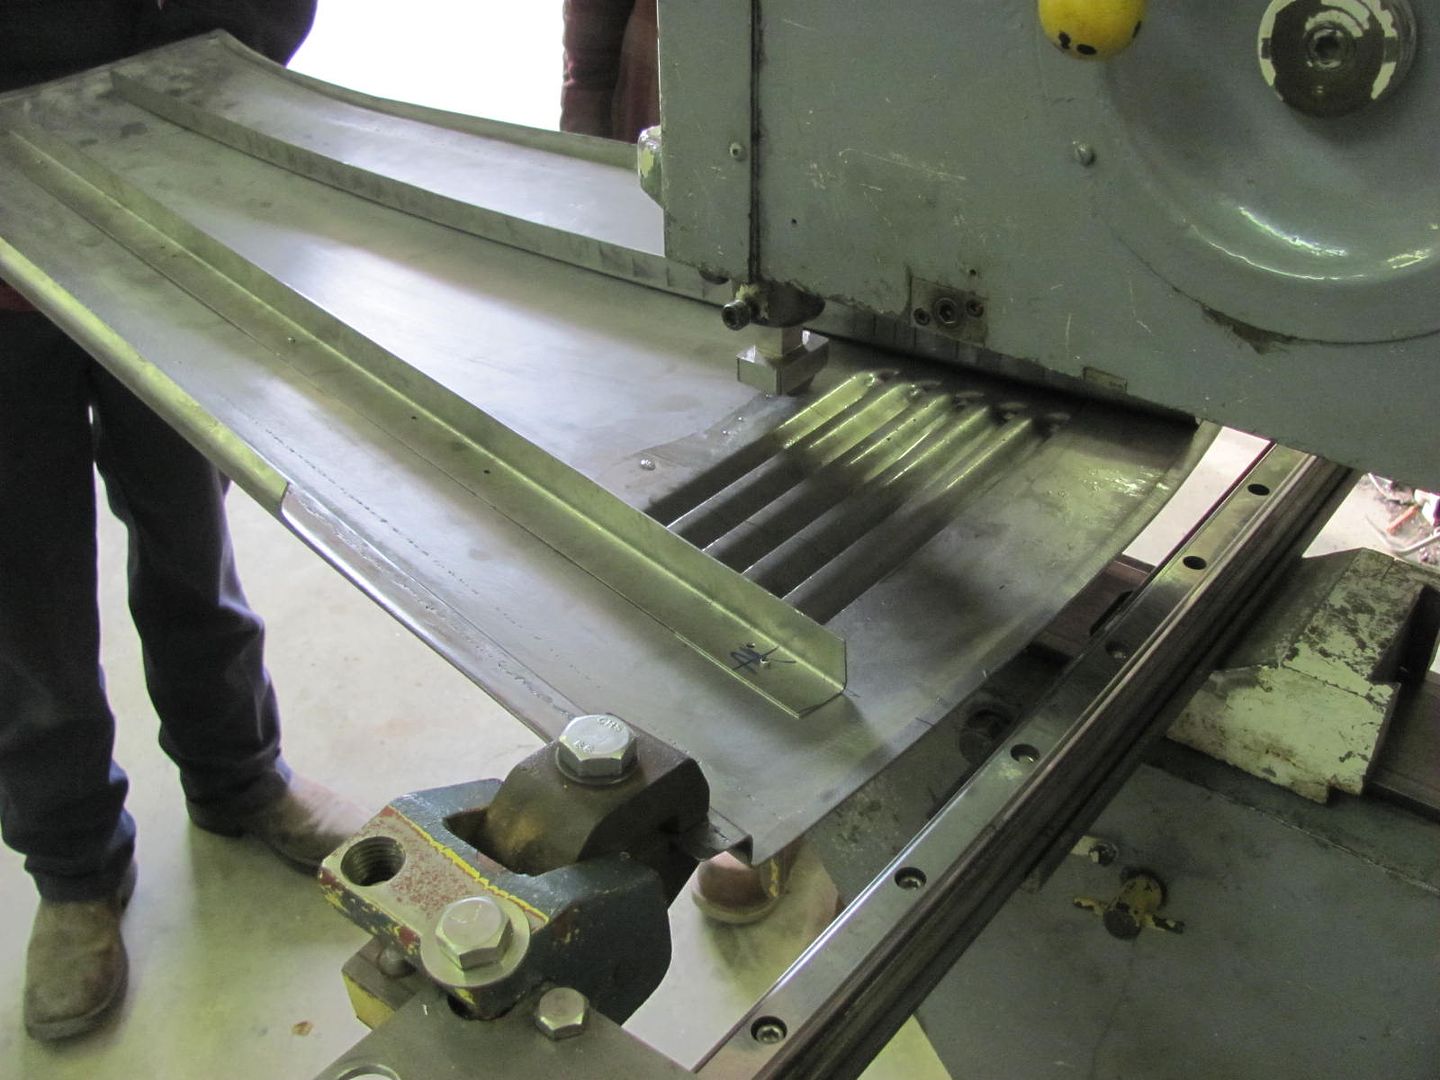
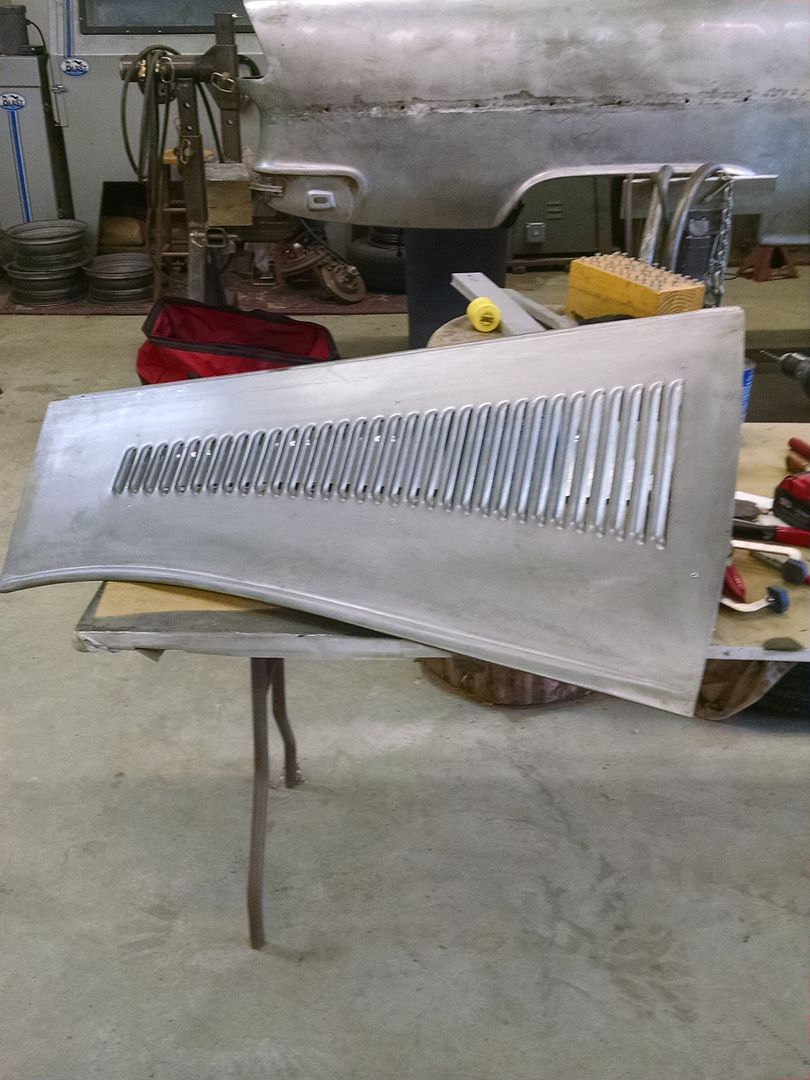
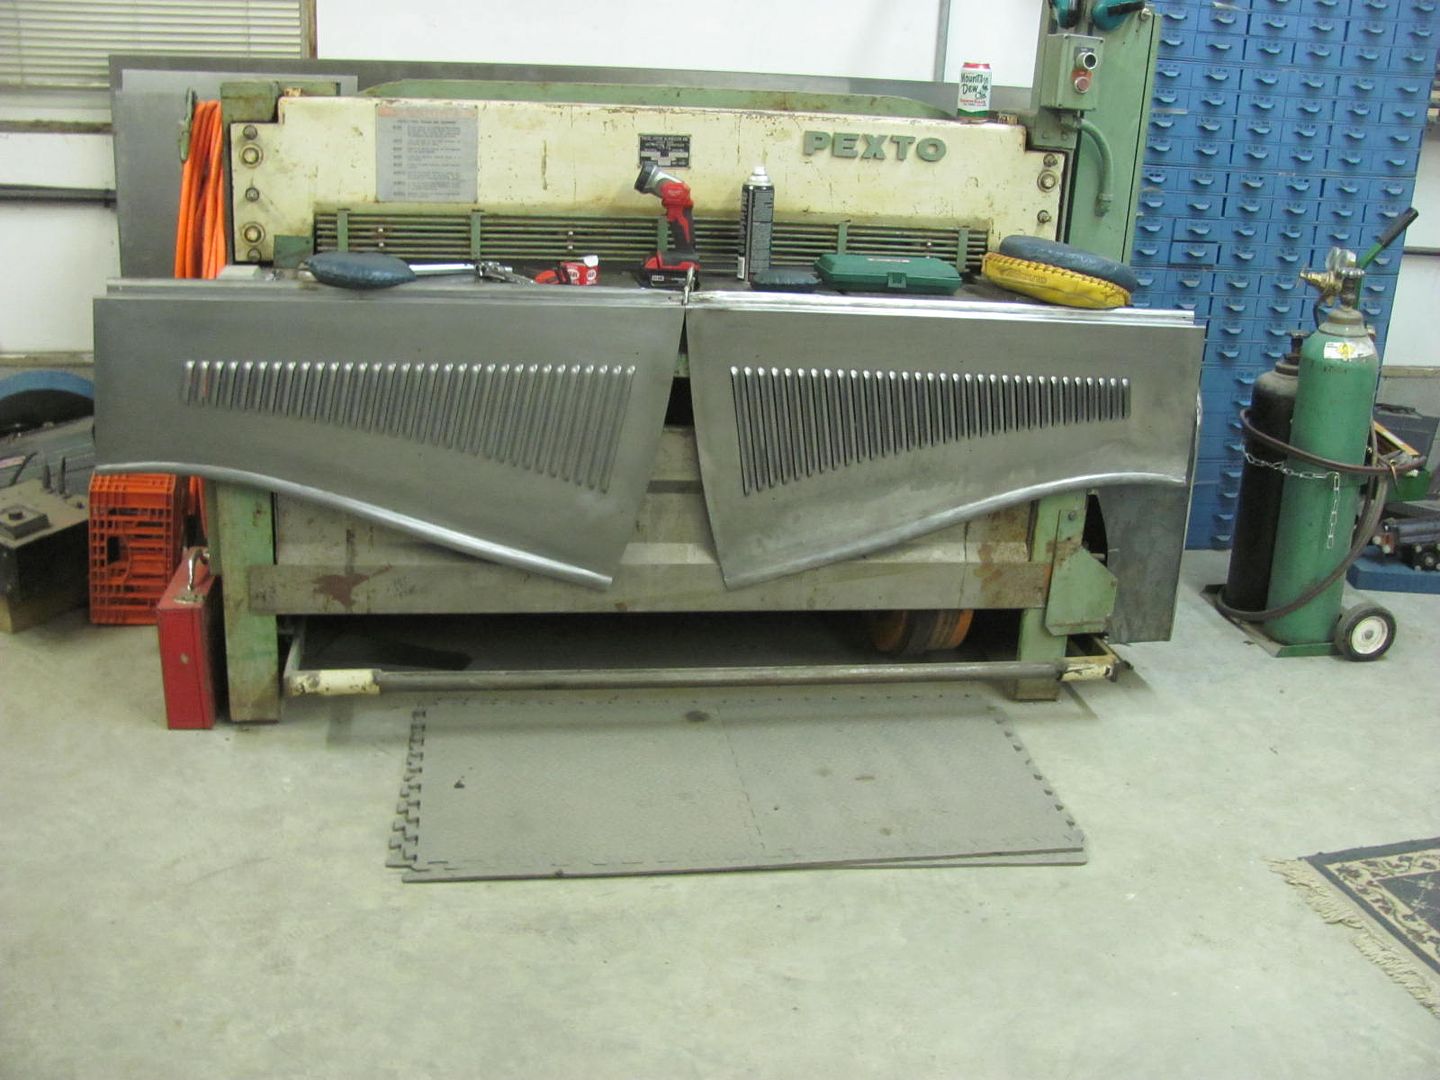
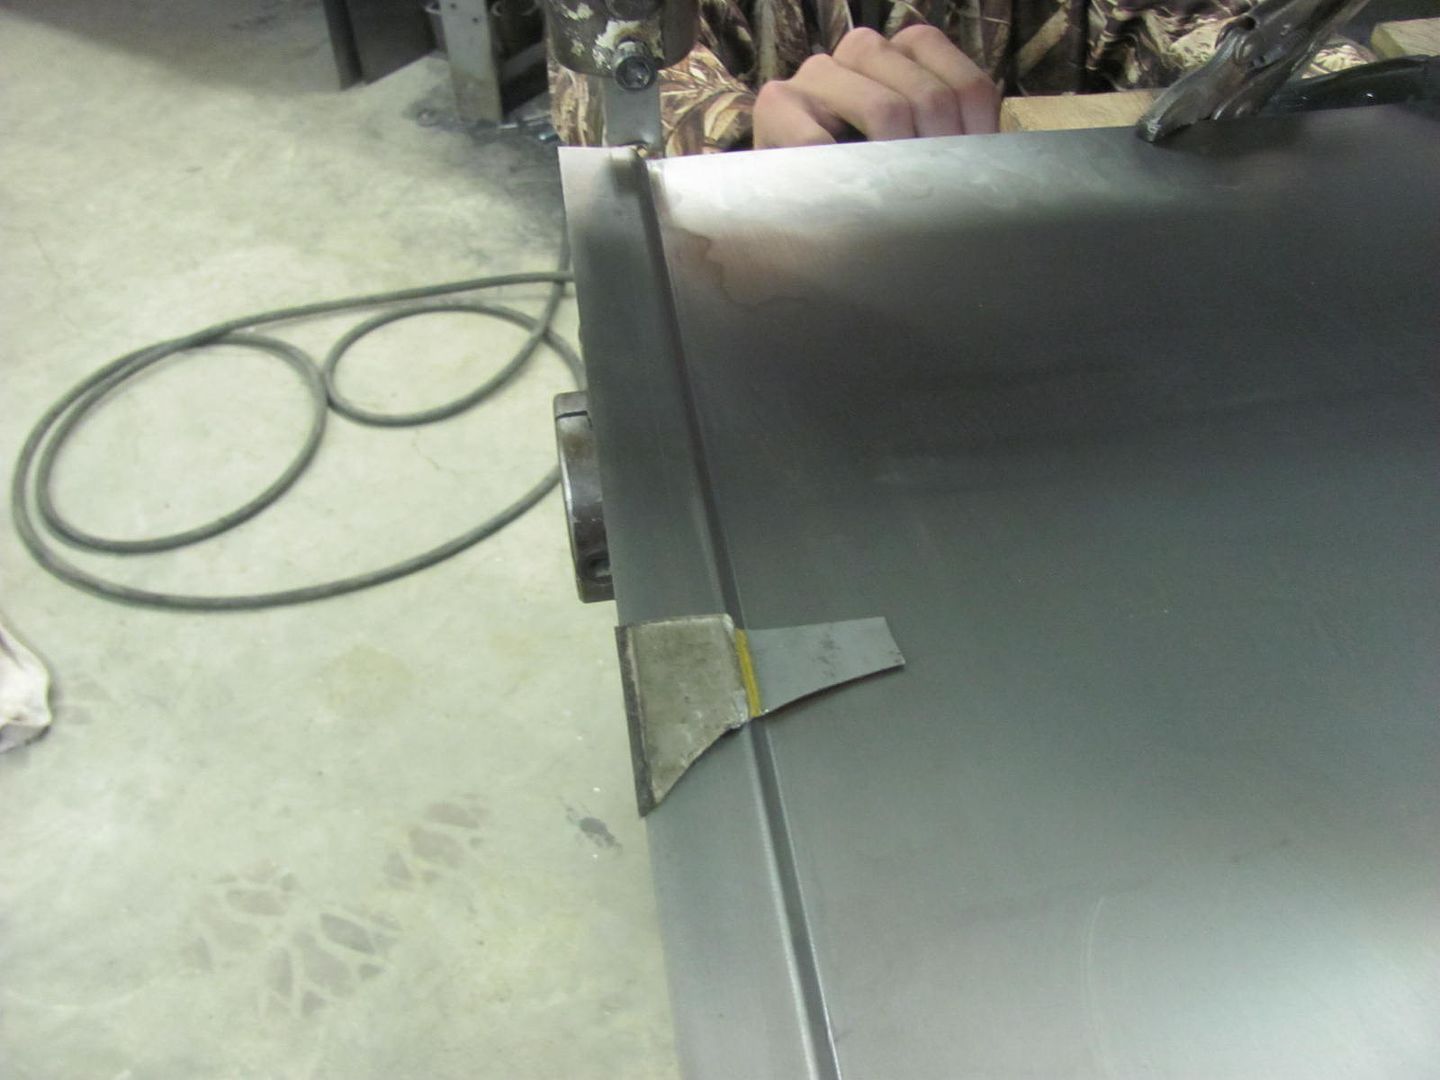
We considered some 3M double-sided body molding tape (as I had that in stock), but given all the WD40 used we feared it would have been a temporary hold...... letting go right in the middle, the way my luck runs.. We'll revisit the clamping method with Cody, he's coming to the shop when we punch the "GOOD" hood sides. The final version will likely be a bit longer, so we could even use some vise grips, if they don't pull puckers in the metal from the weight pulling down....
Man I wish your shop was down here!
Sorry I missed this... It's like a 3M VHB 4950. High bond strength and oil resistant. For turning operations, the first thing to break the bond is if you overheat the part with the tool.
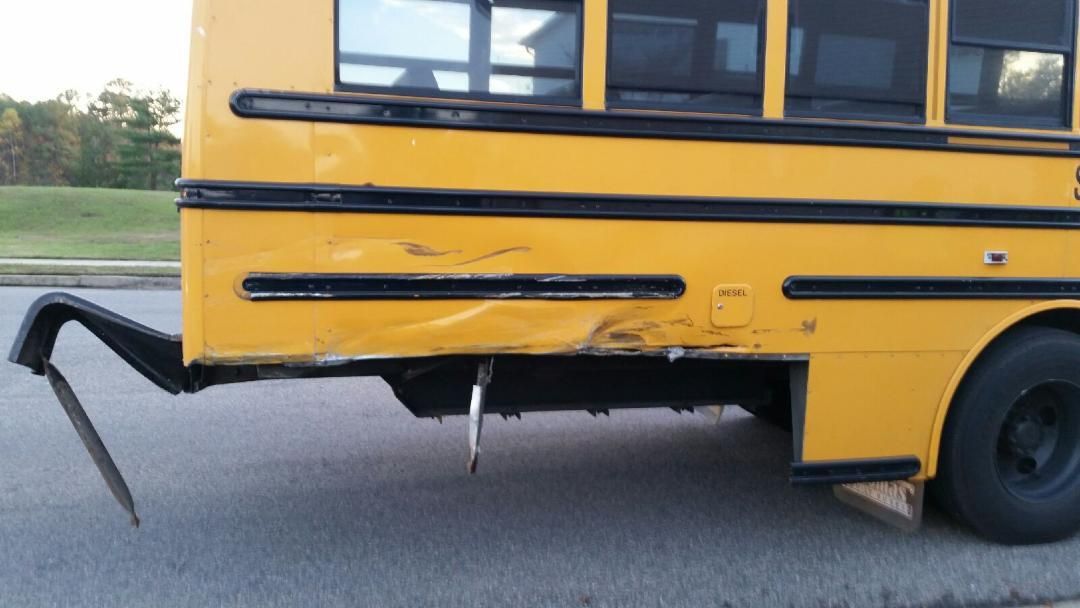
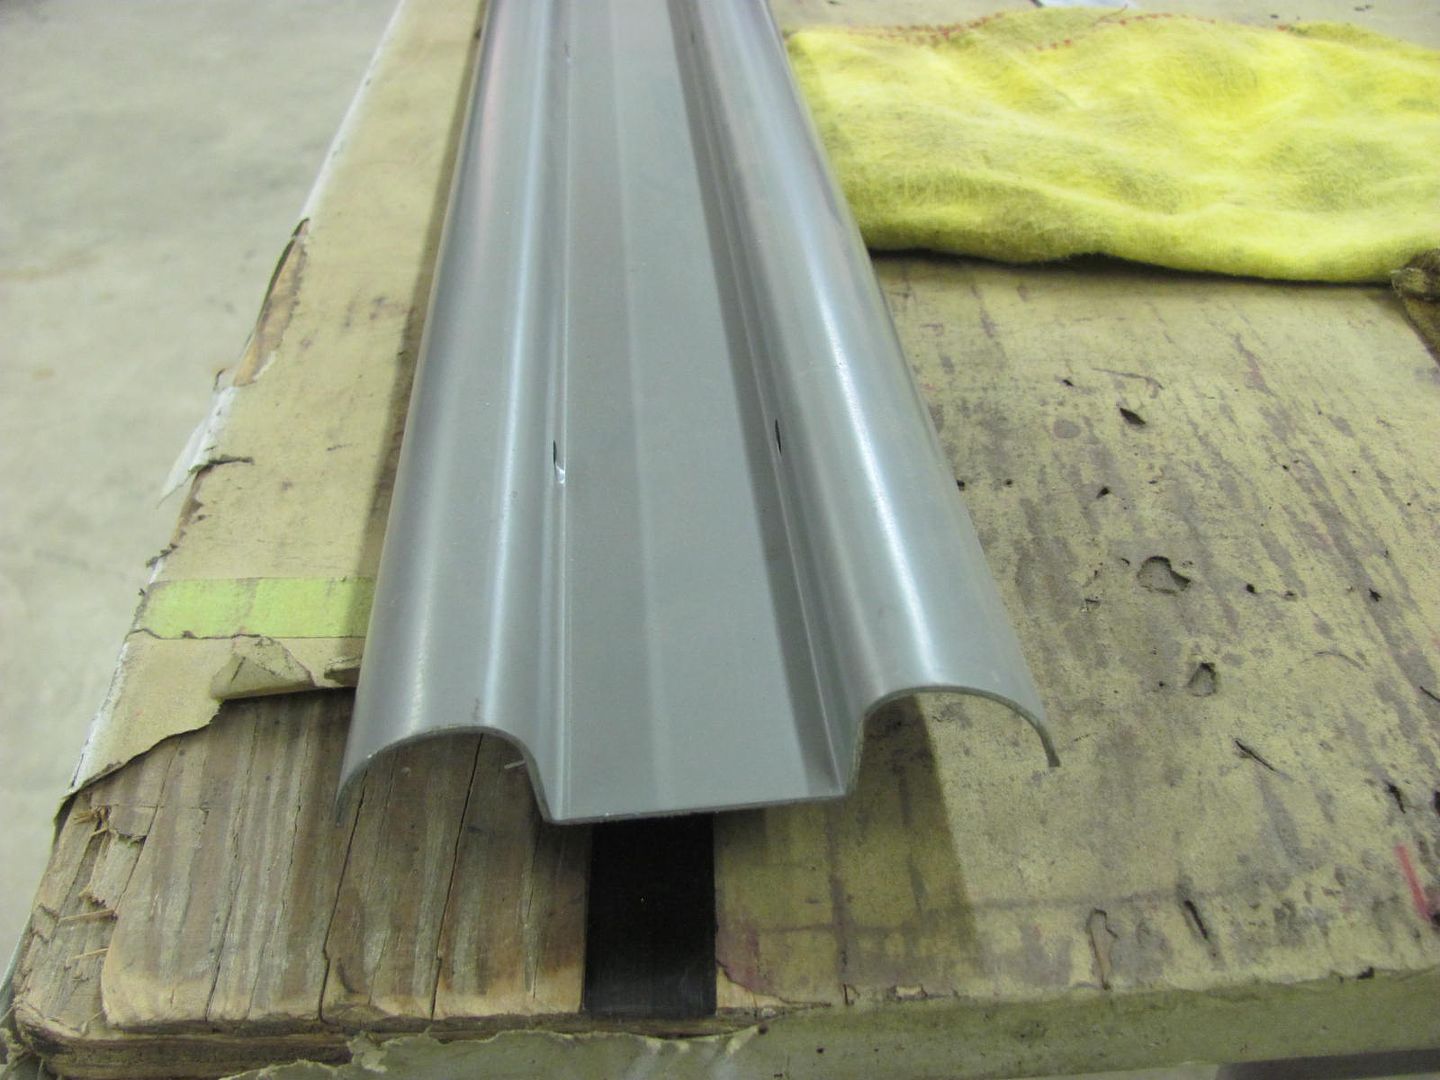
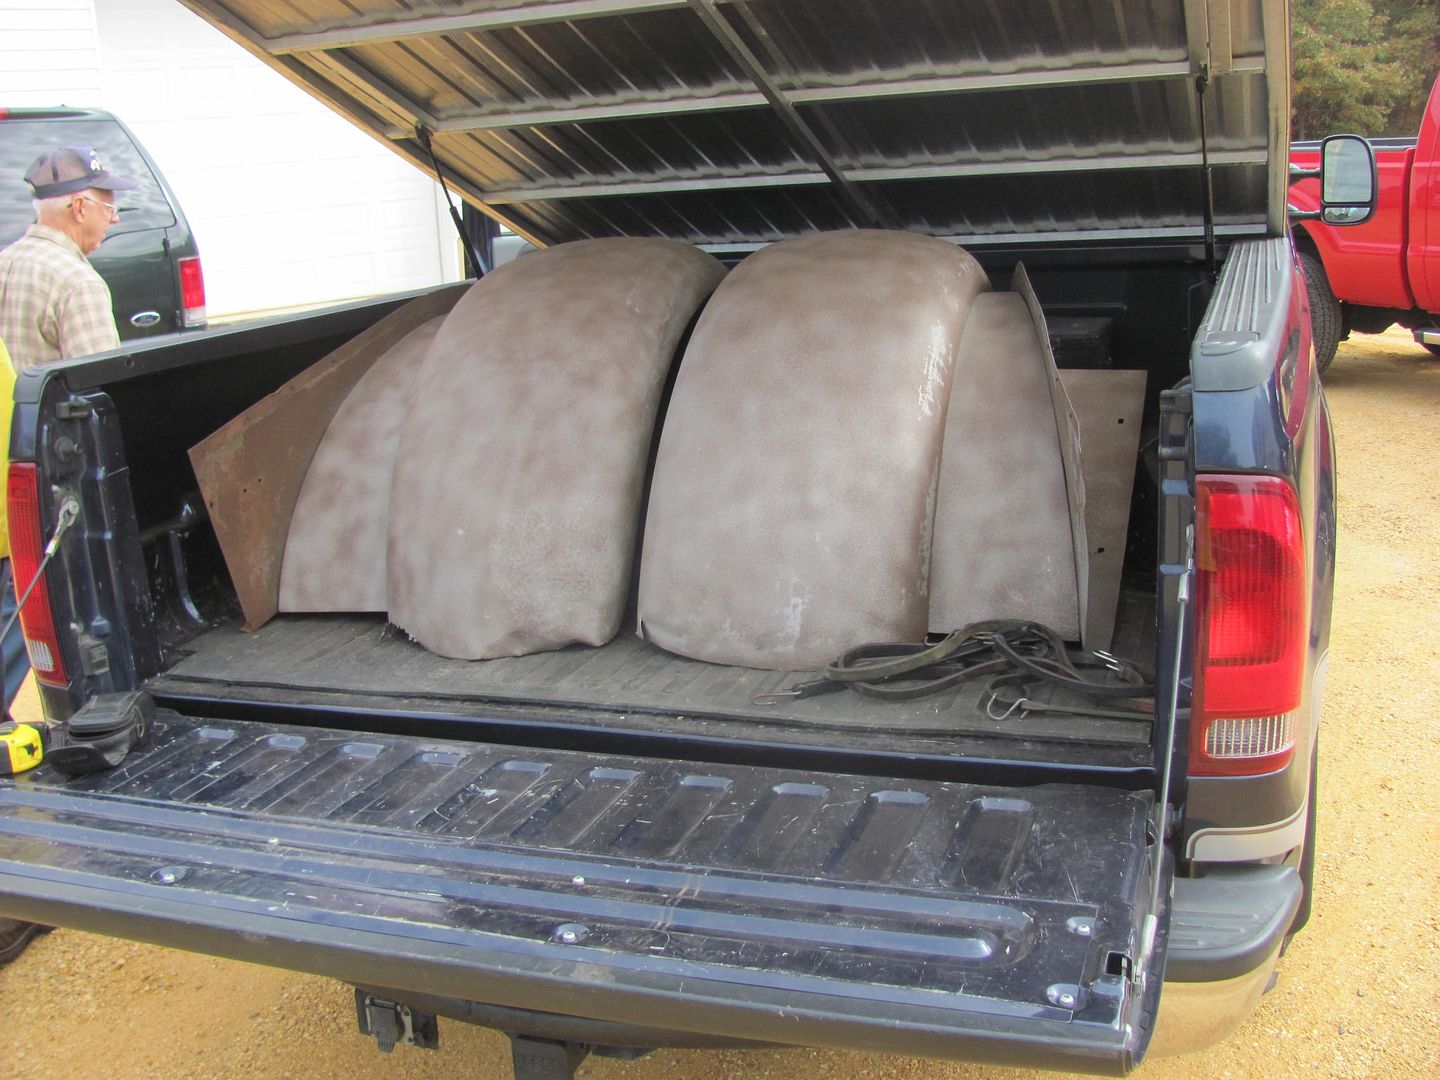
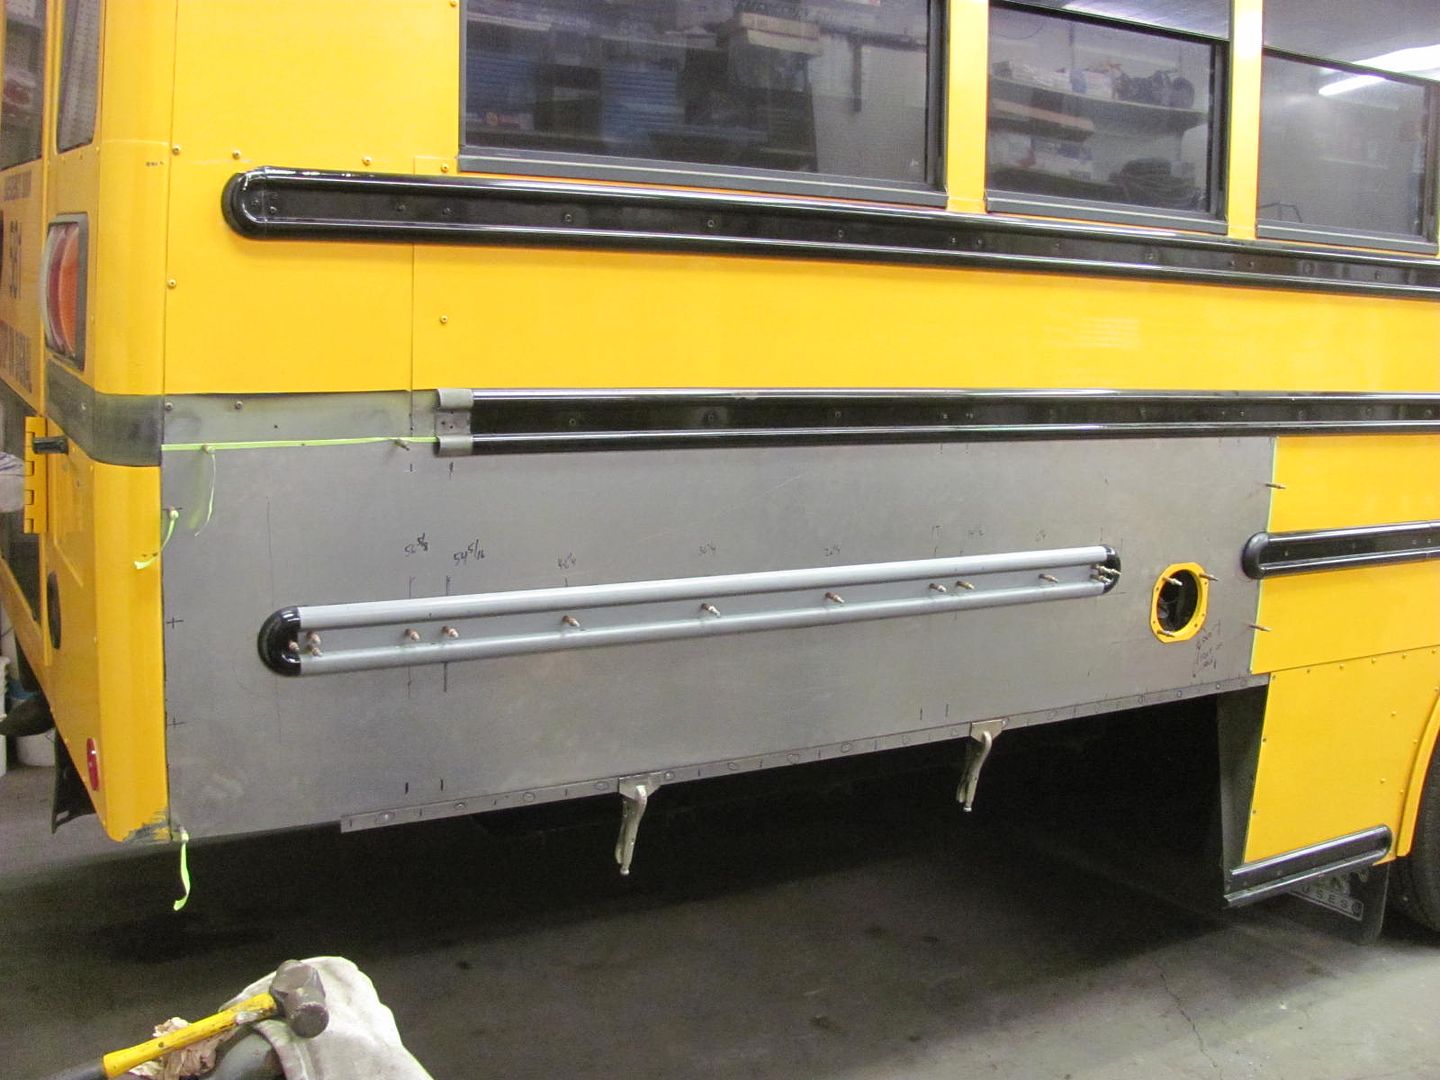
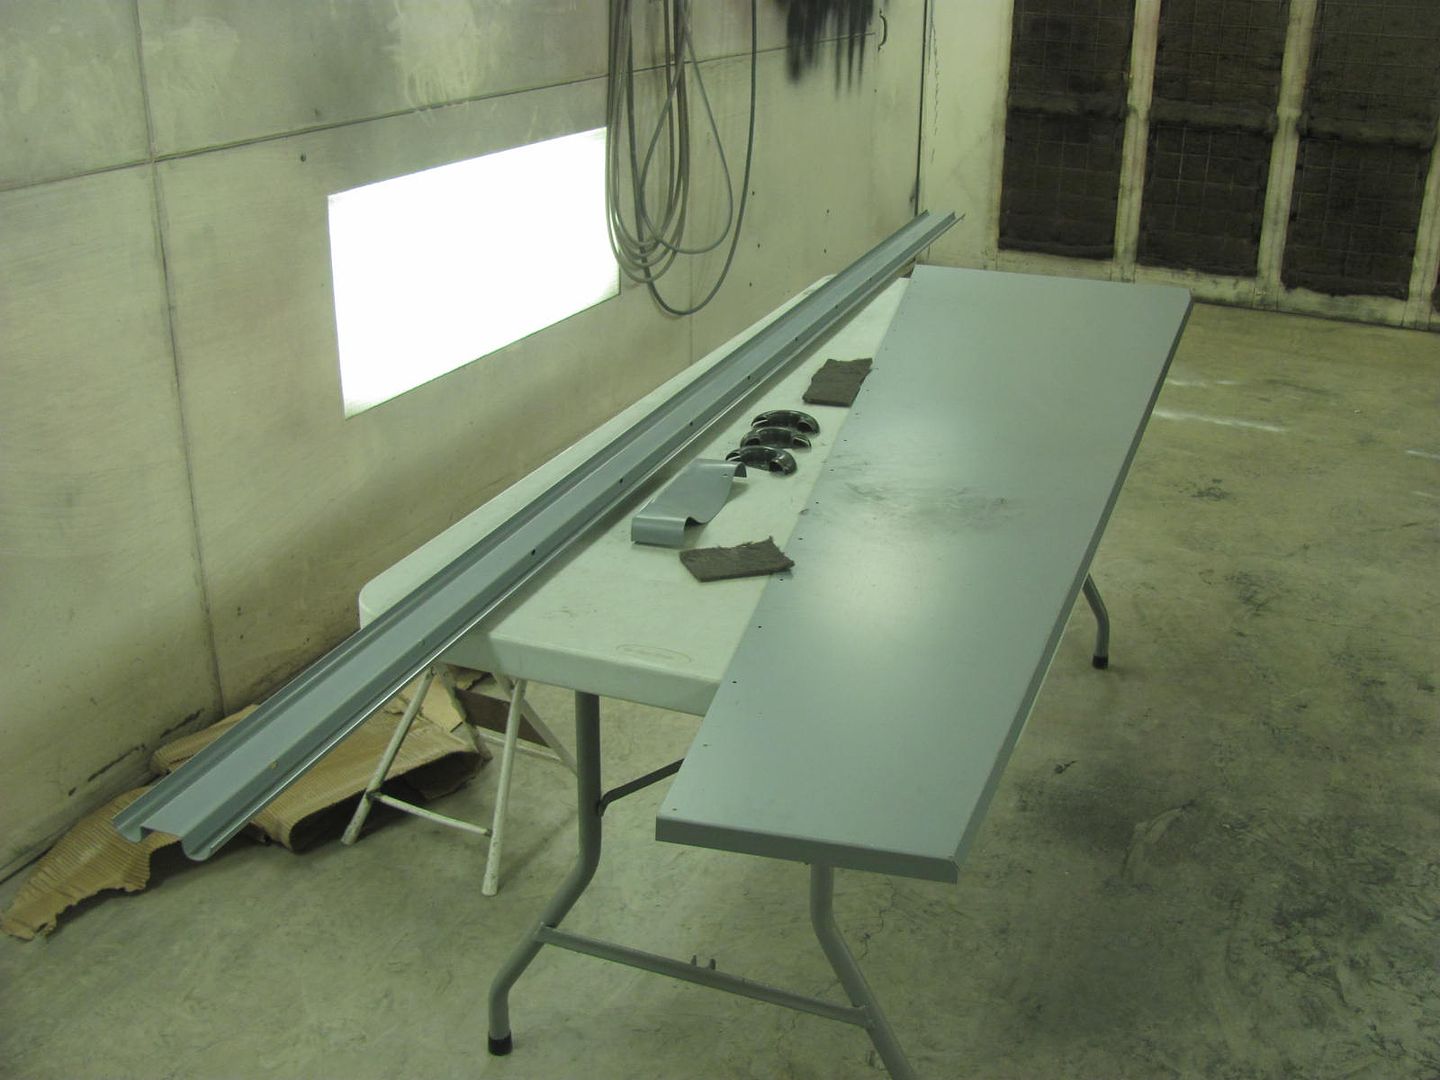
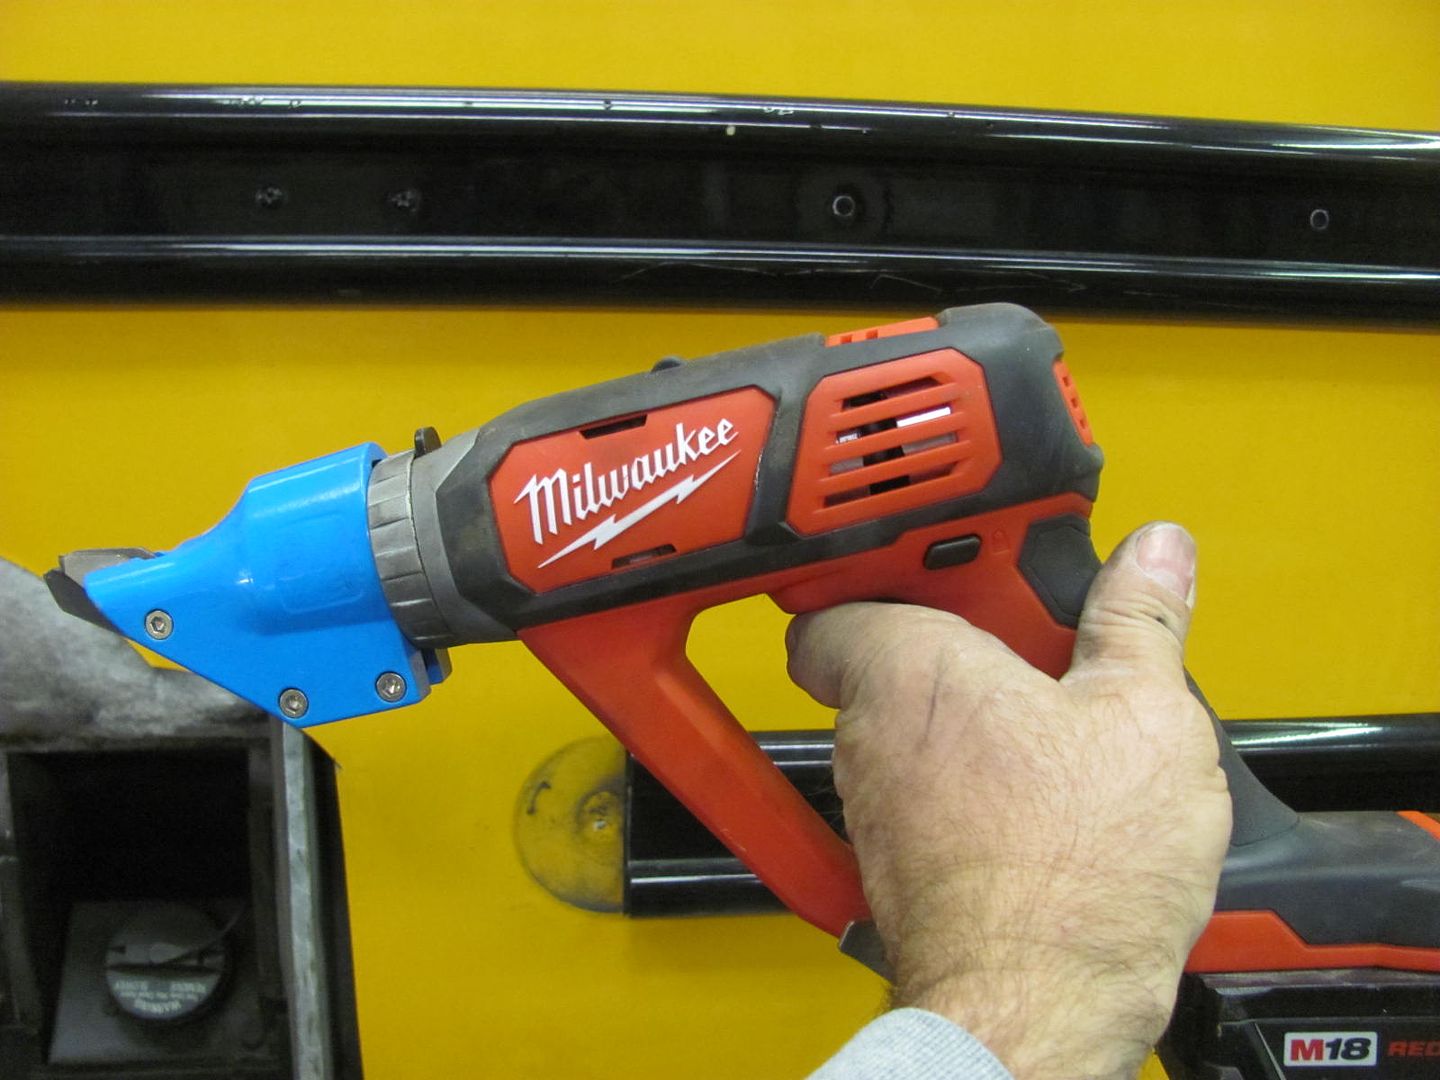
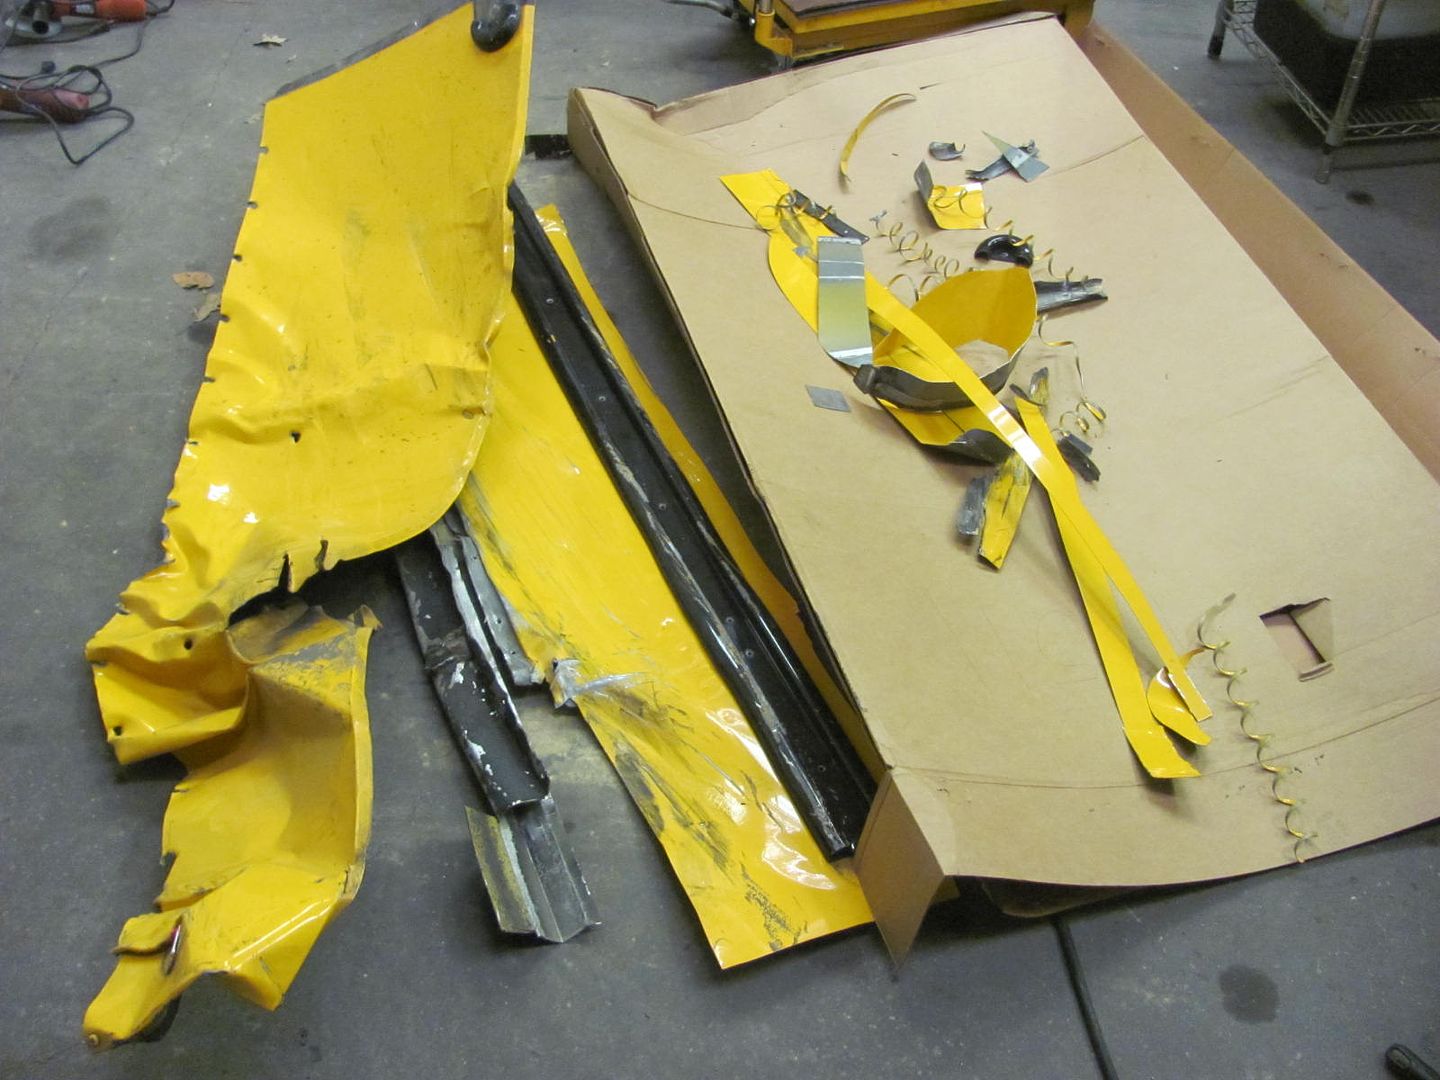
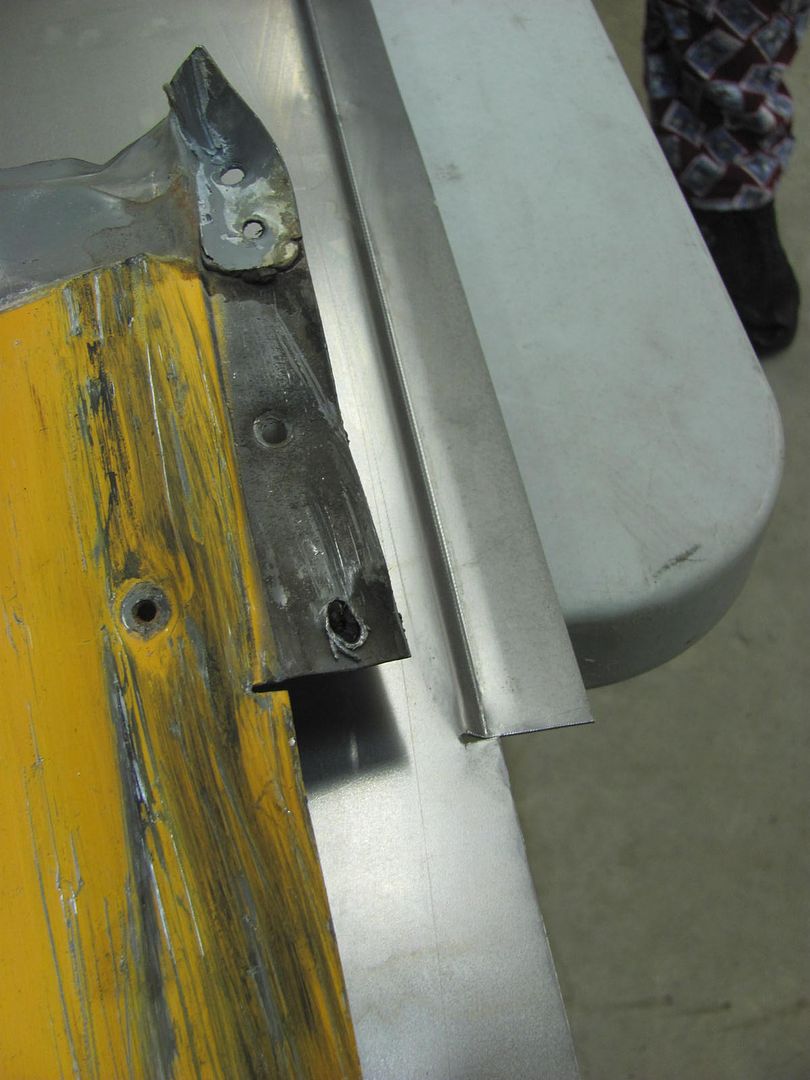
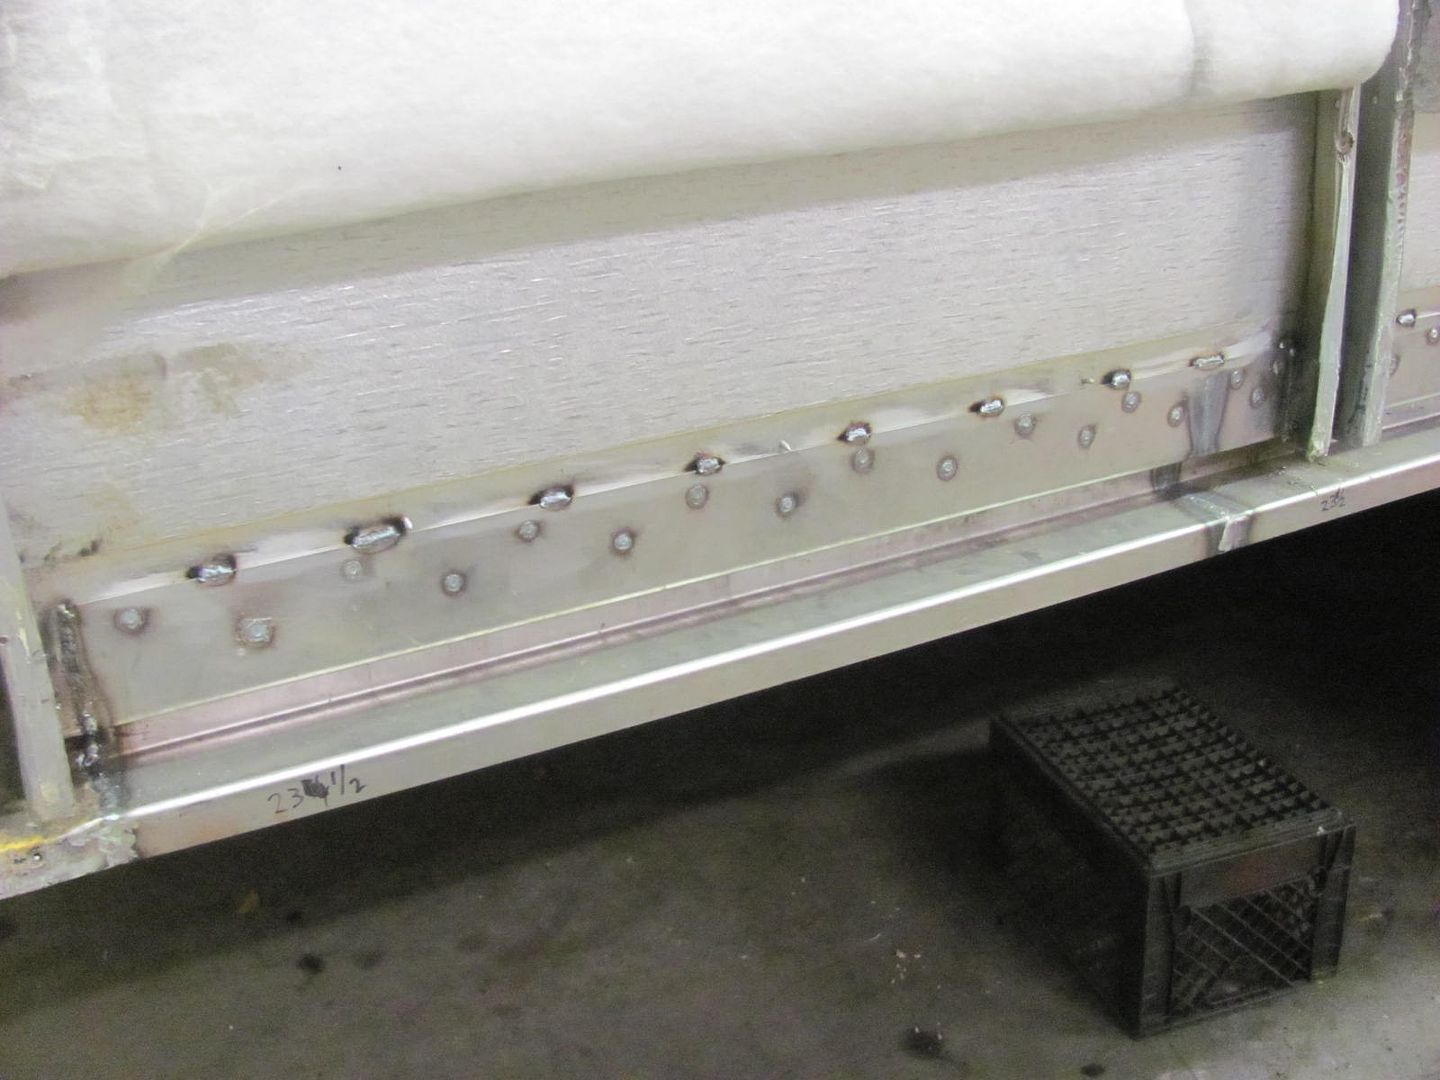
 . They were quick easy money, on big trucks we were able to charge a higher shop rate which meant more money in my pocket since I worked on a 50/50 commission. We always bought replacement panels directly from Thomas with all the rivet holes predrilled, swap out the panels, squirt some yellow & black 2 stage on & out the door they went. I think I still have some left over rub rail end caps in the bottom of my toolbox...
")
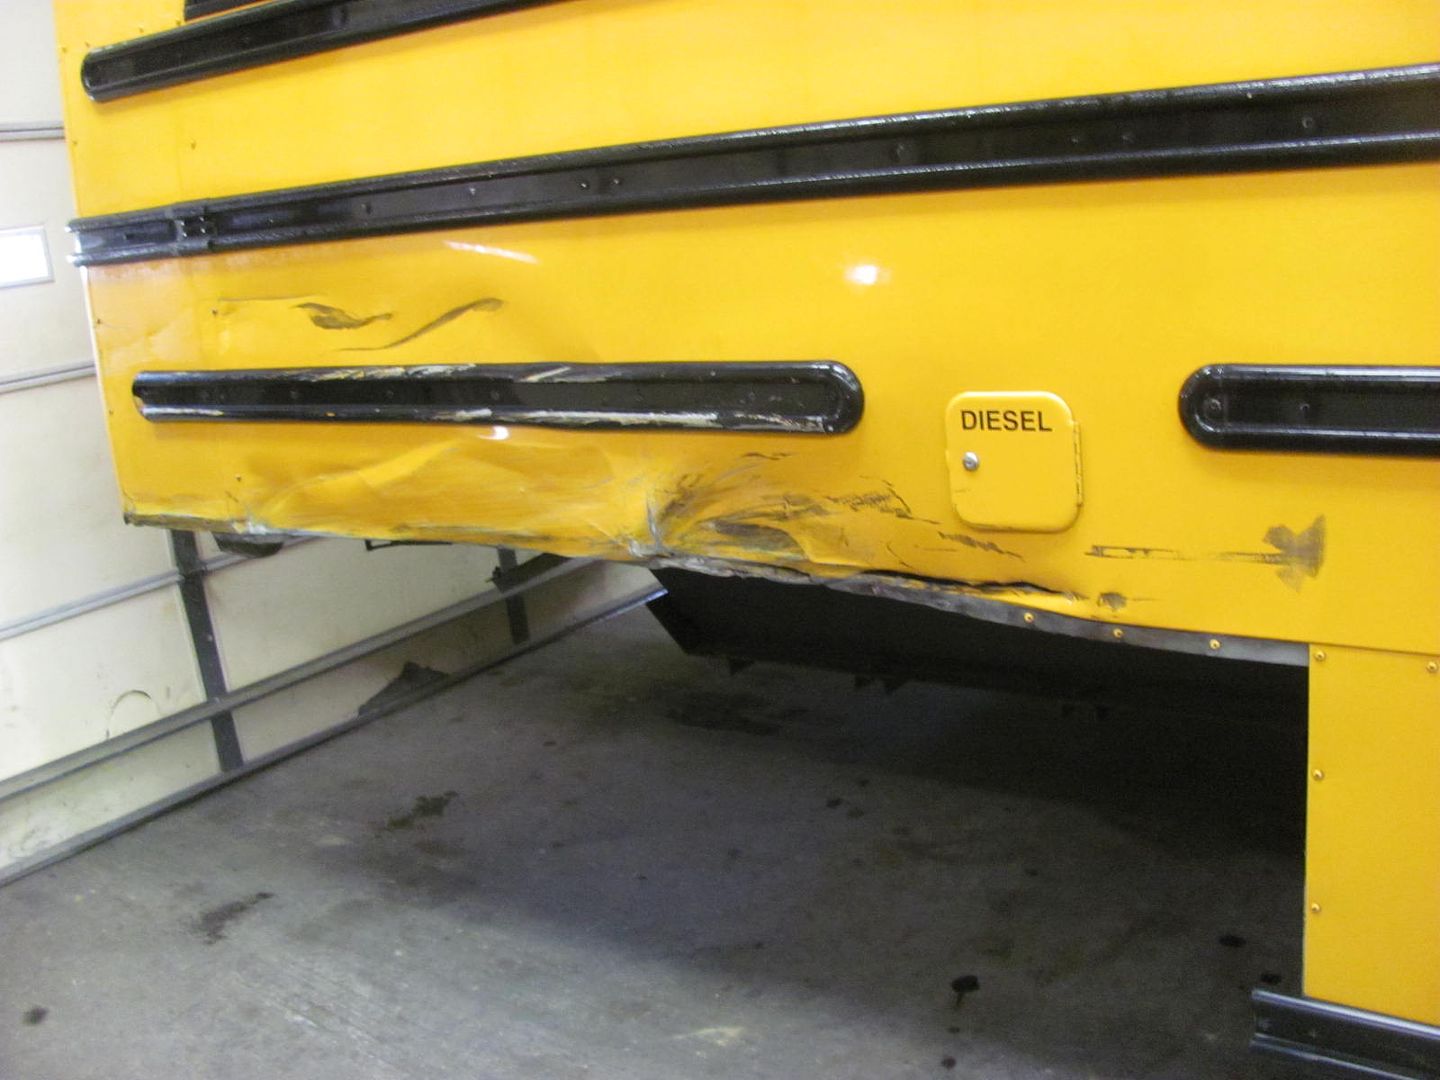

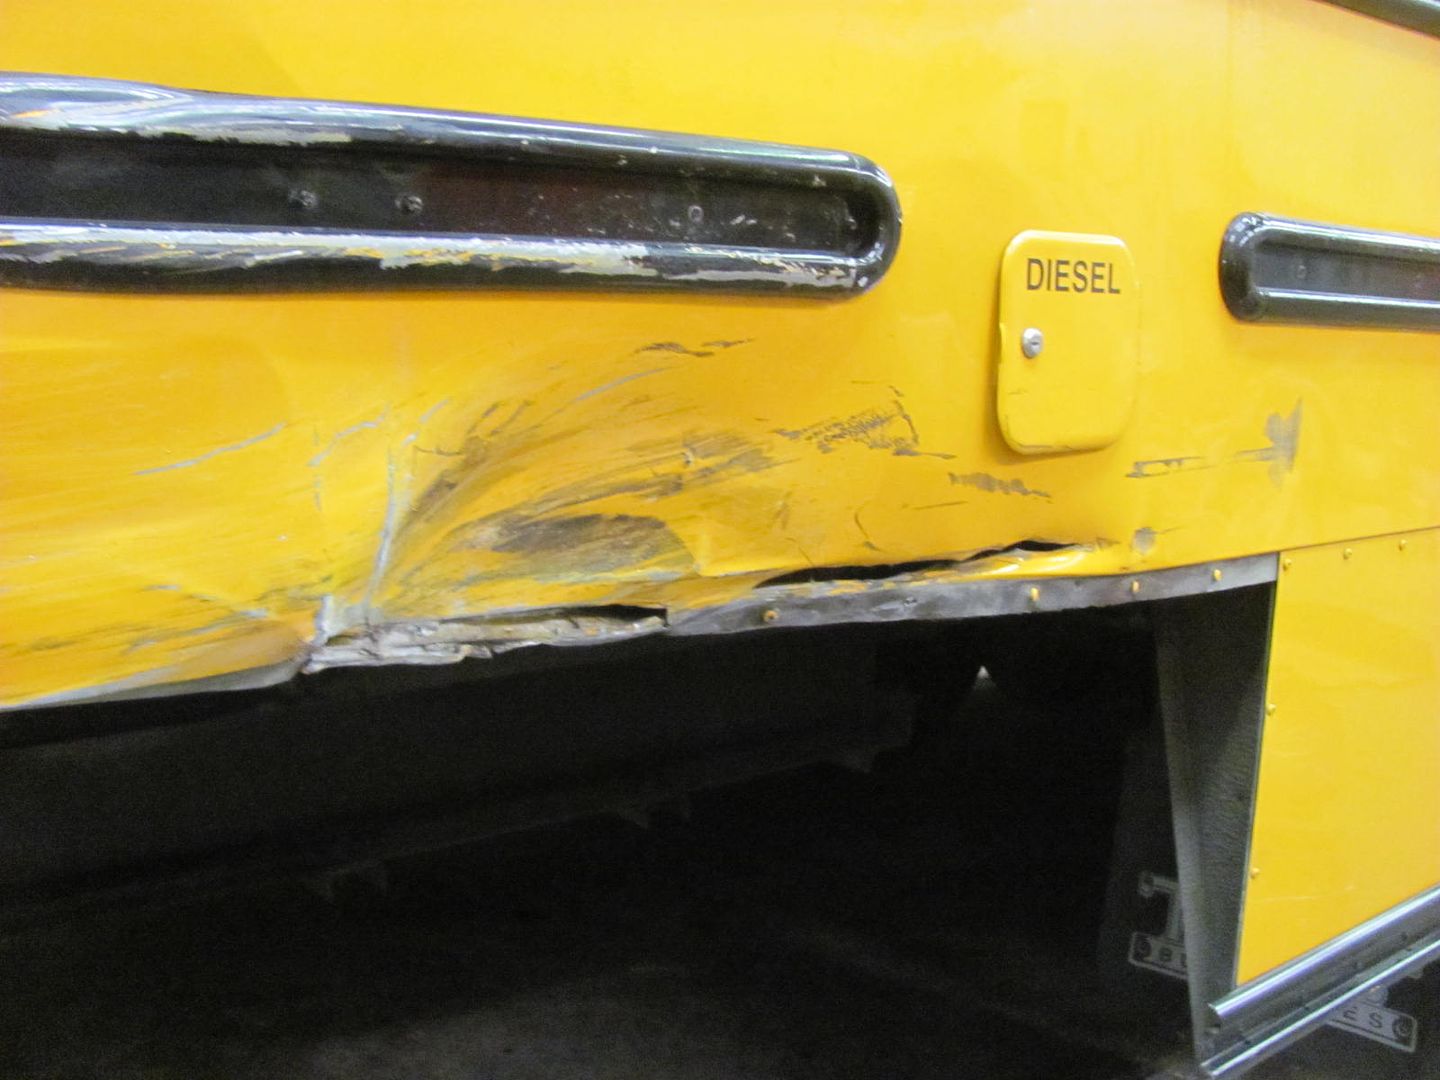
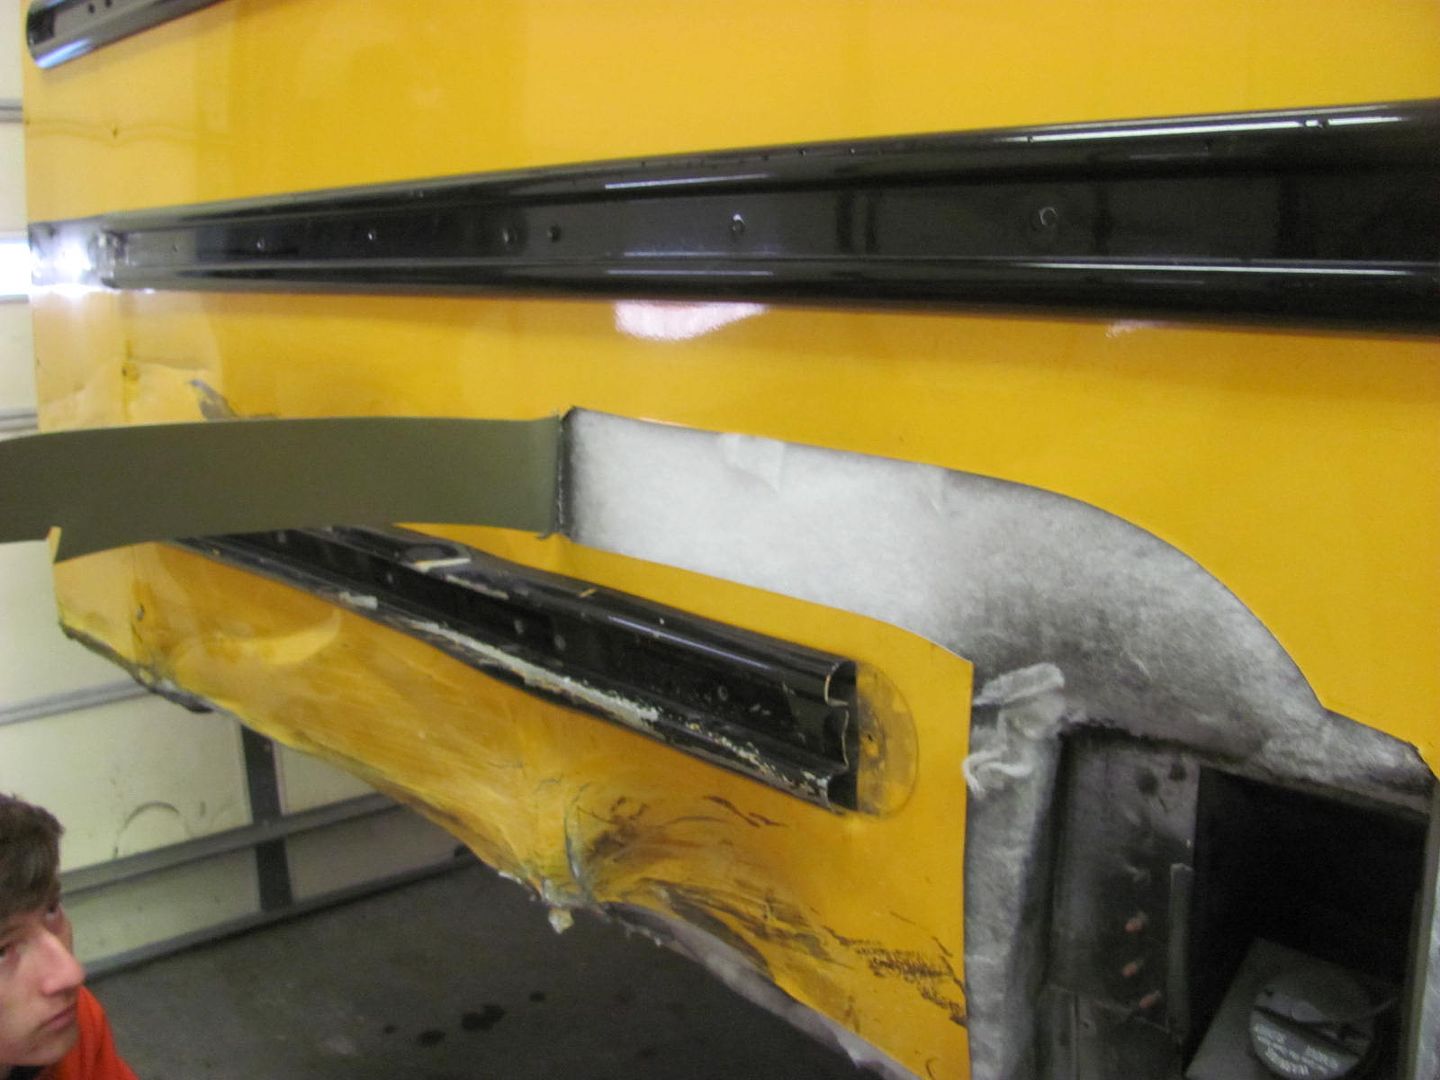

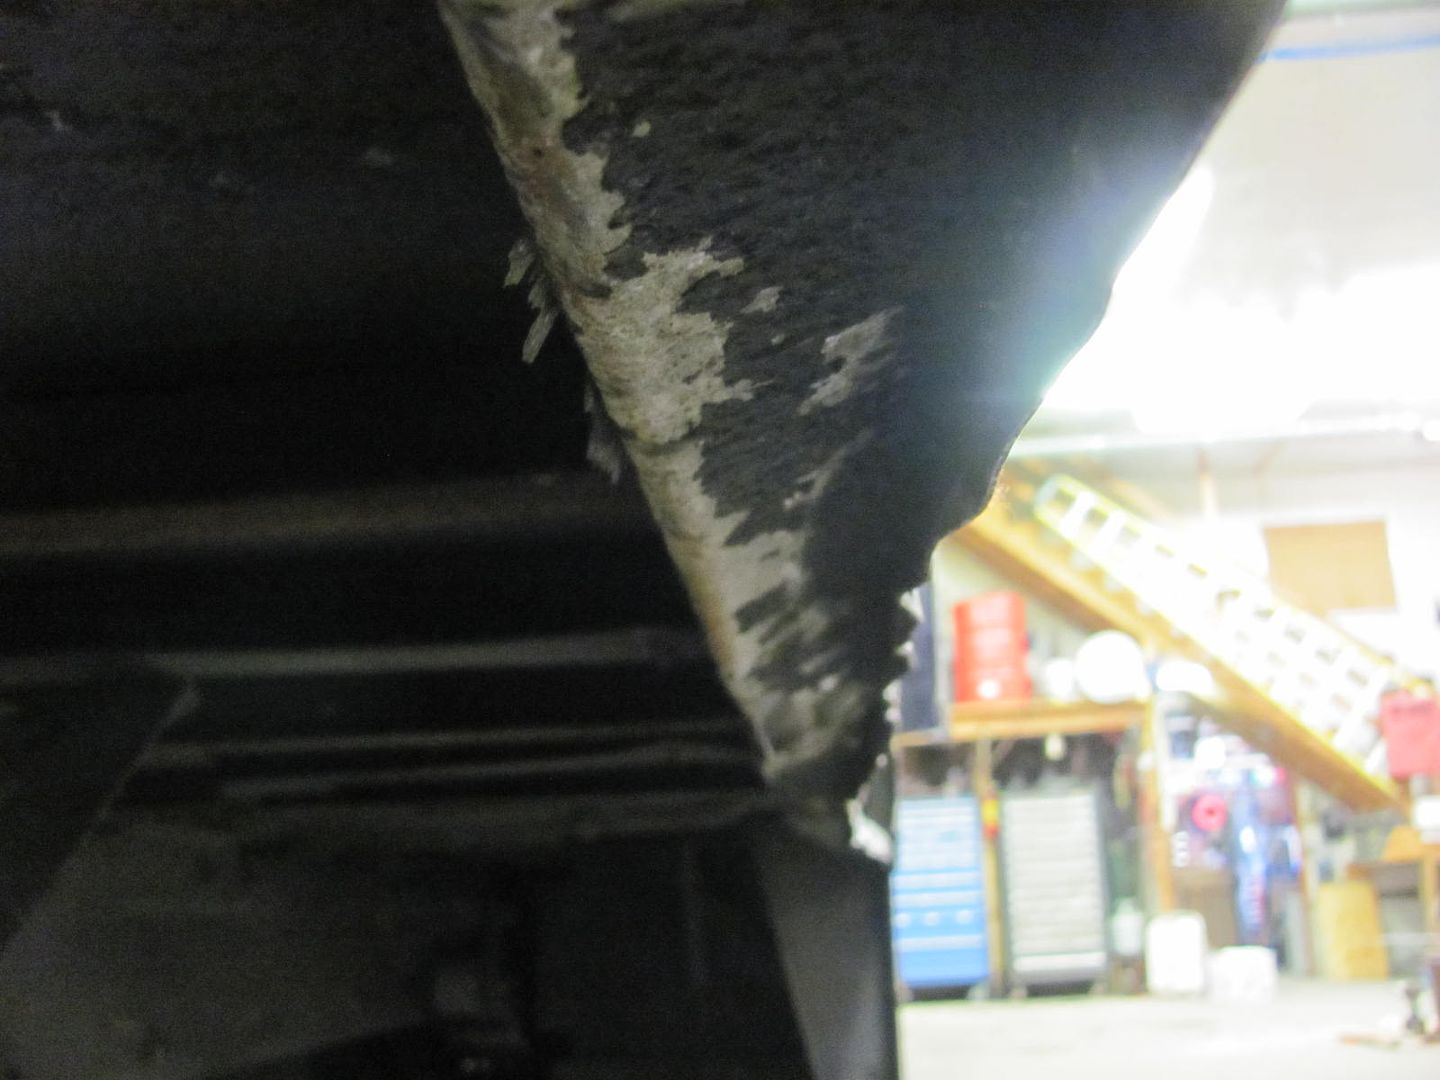

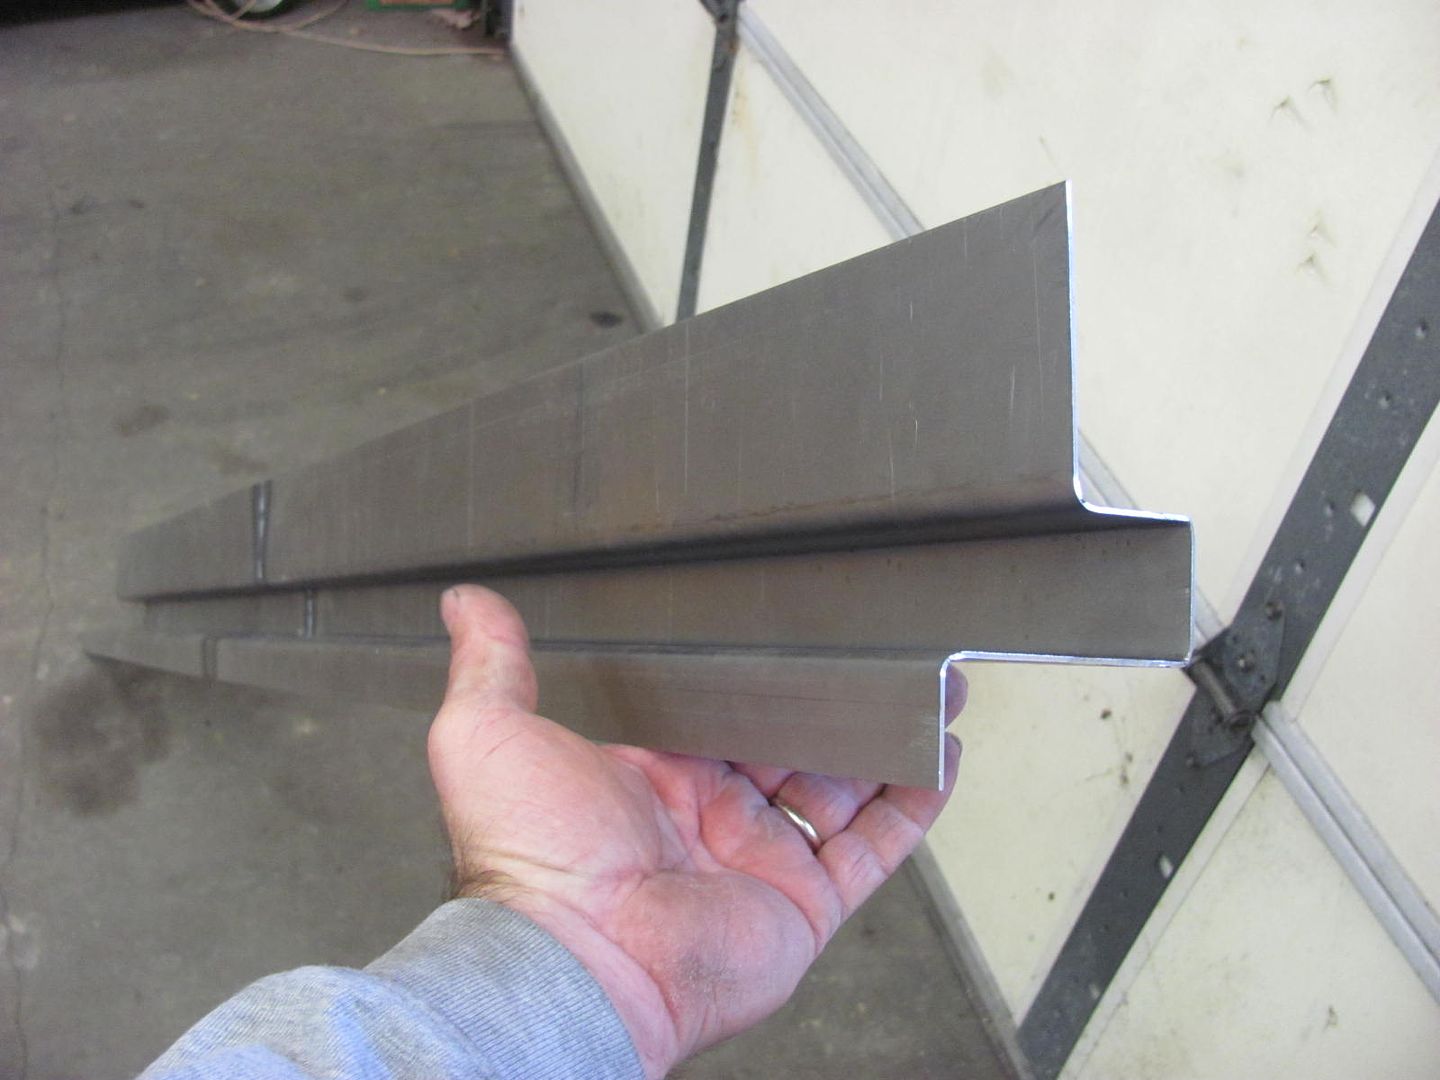
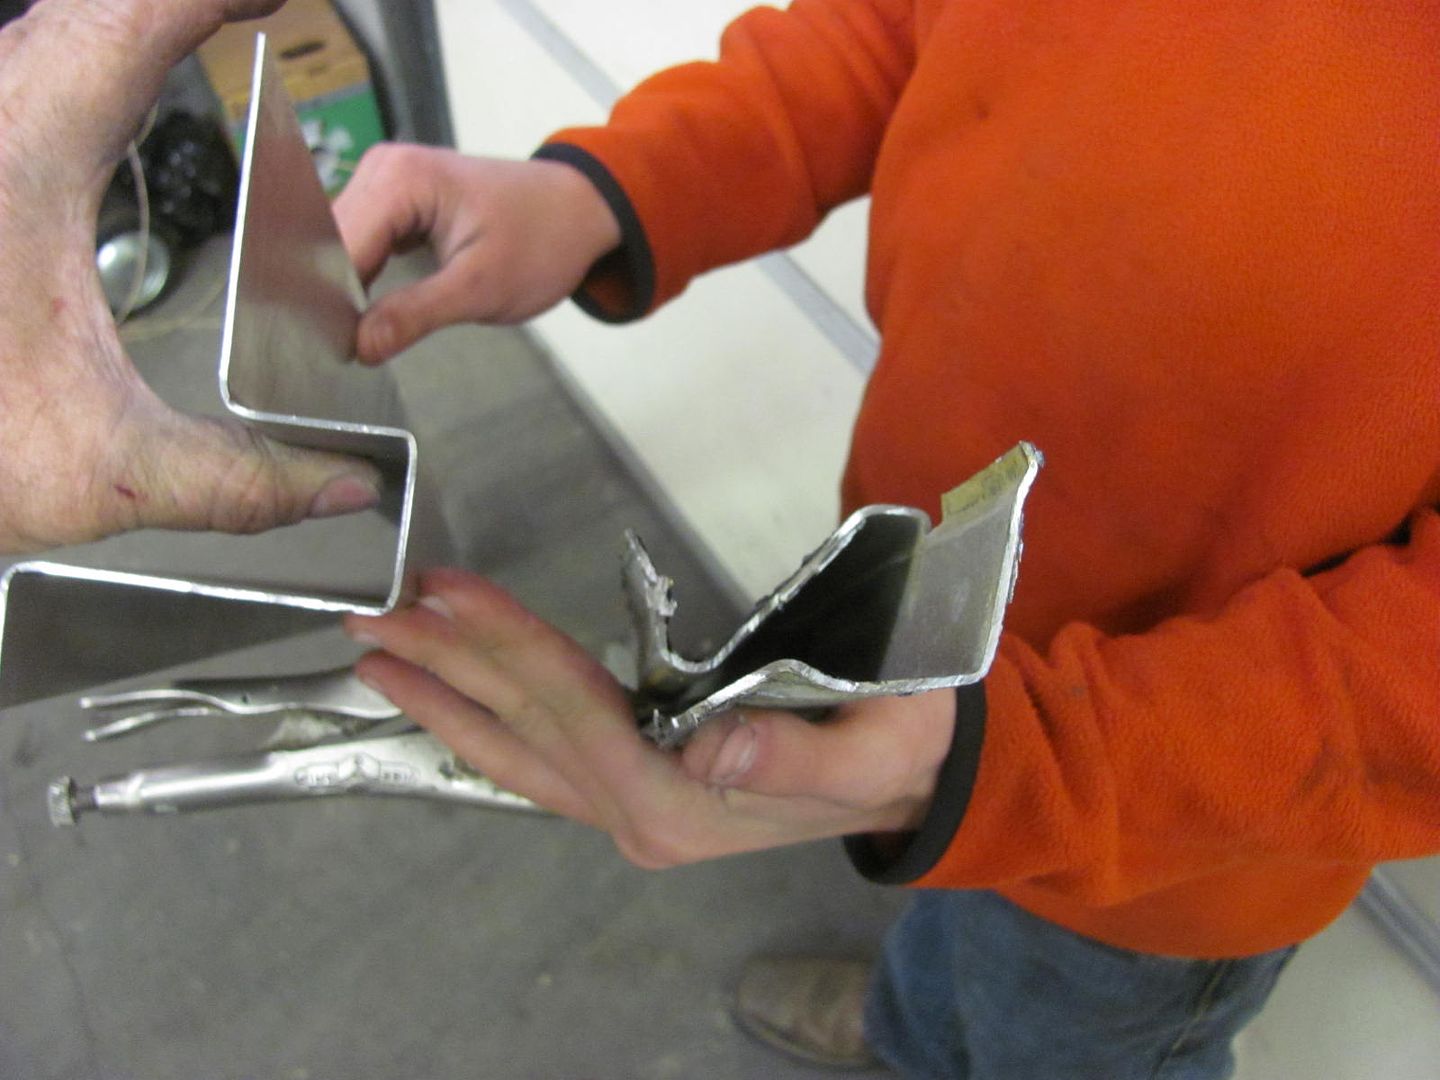
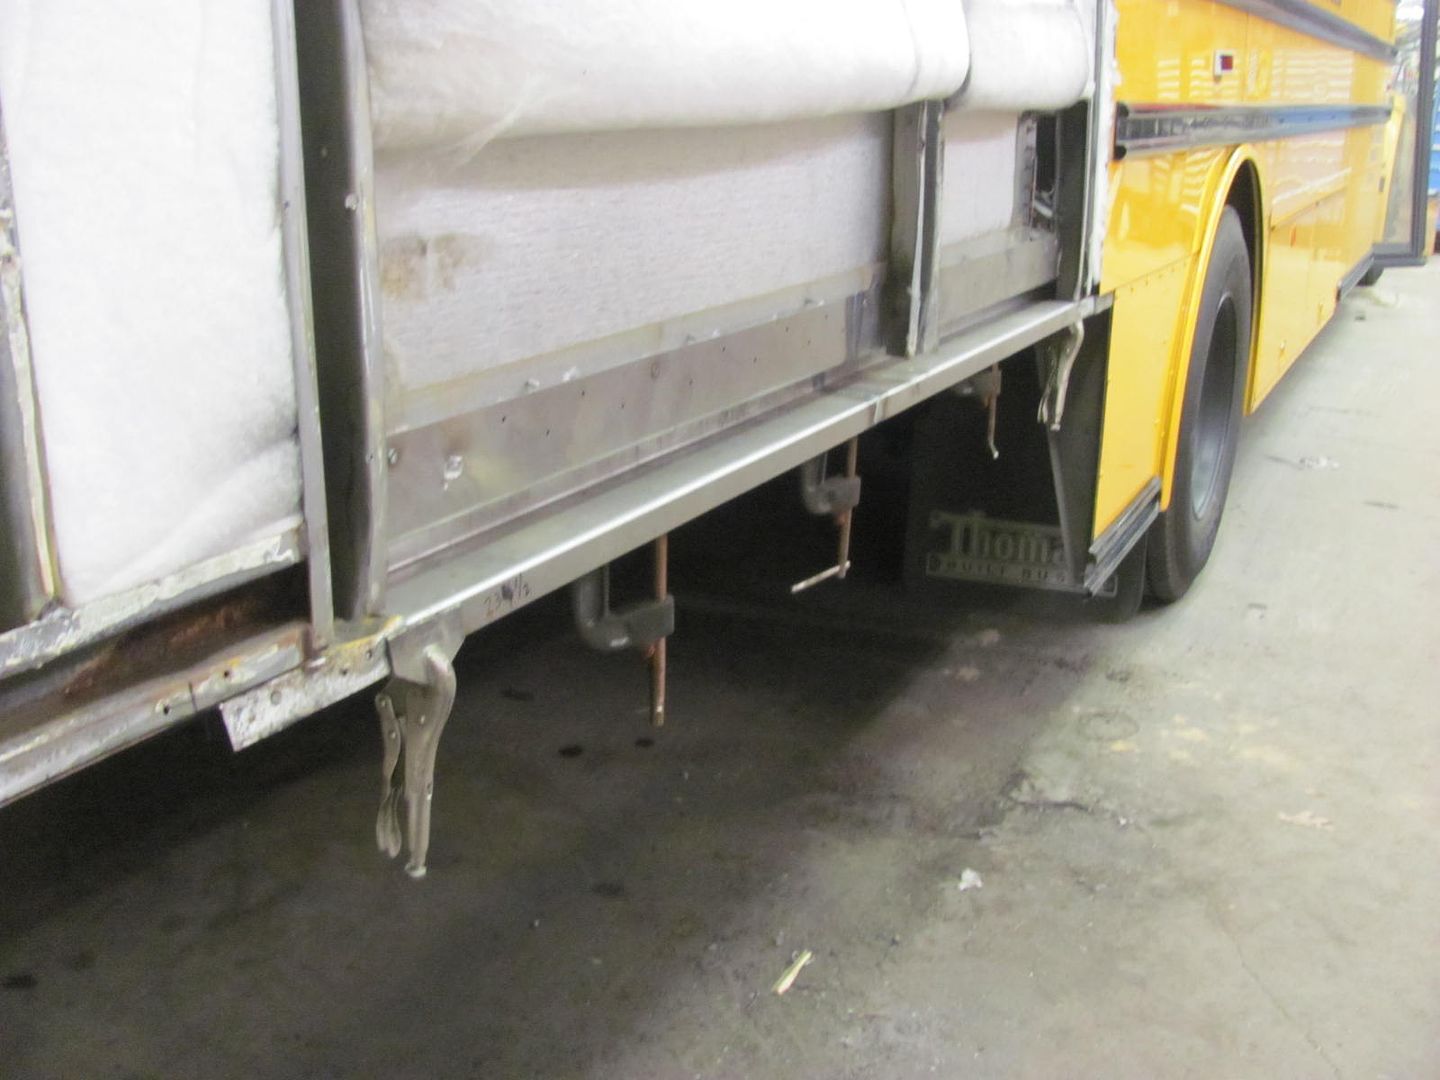
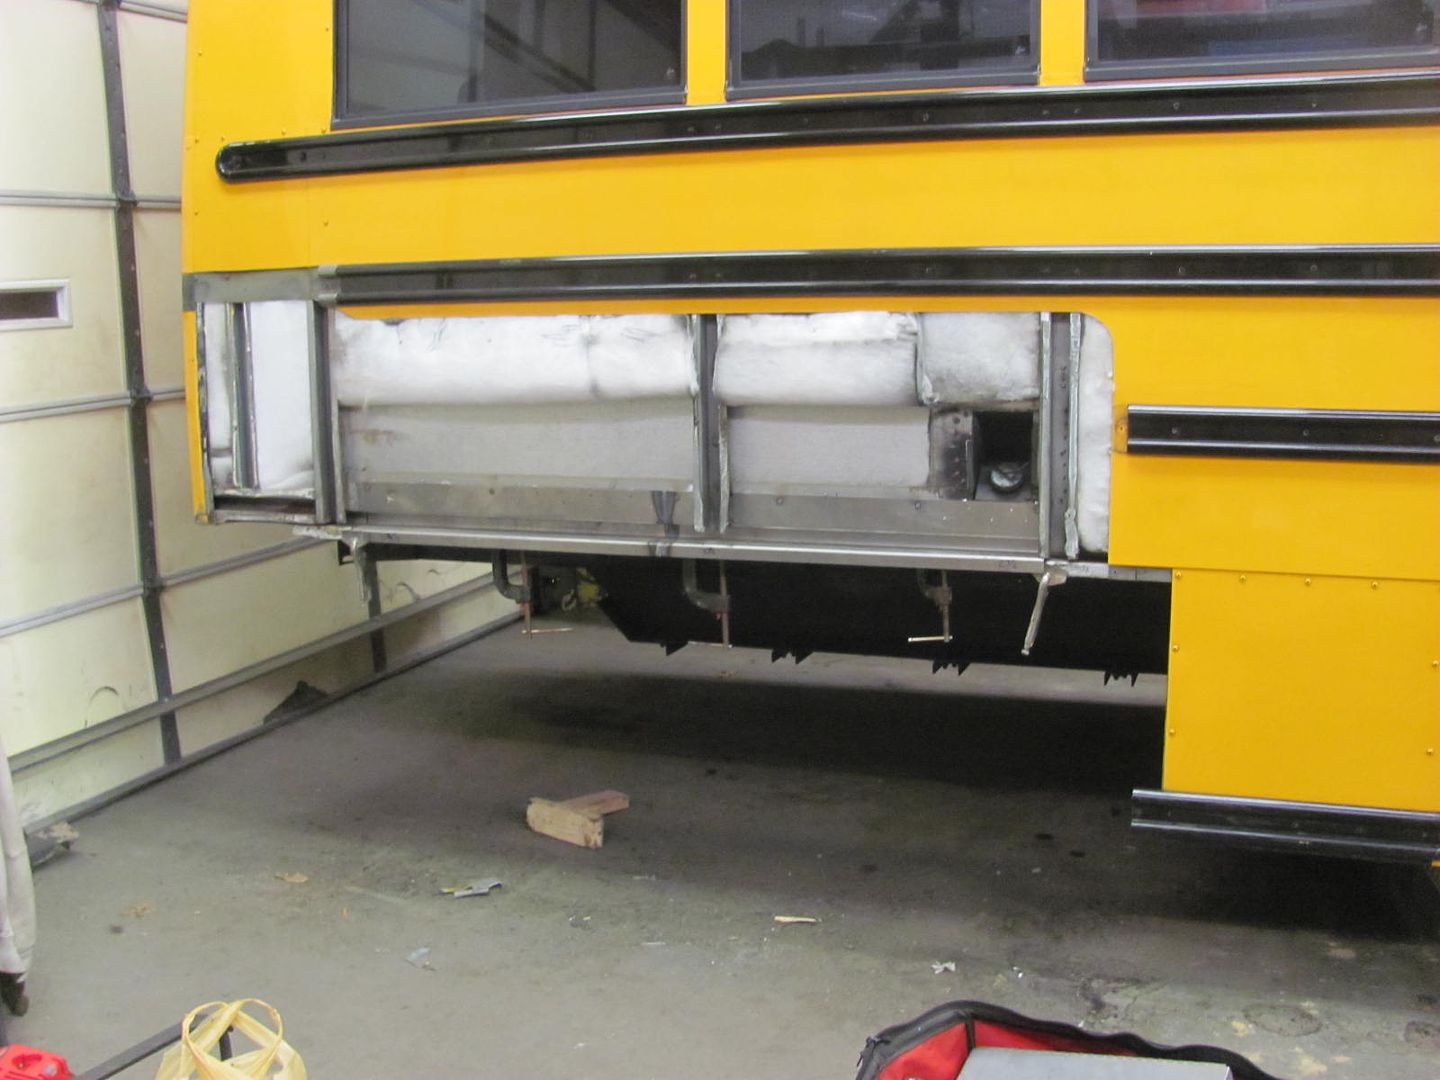
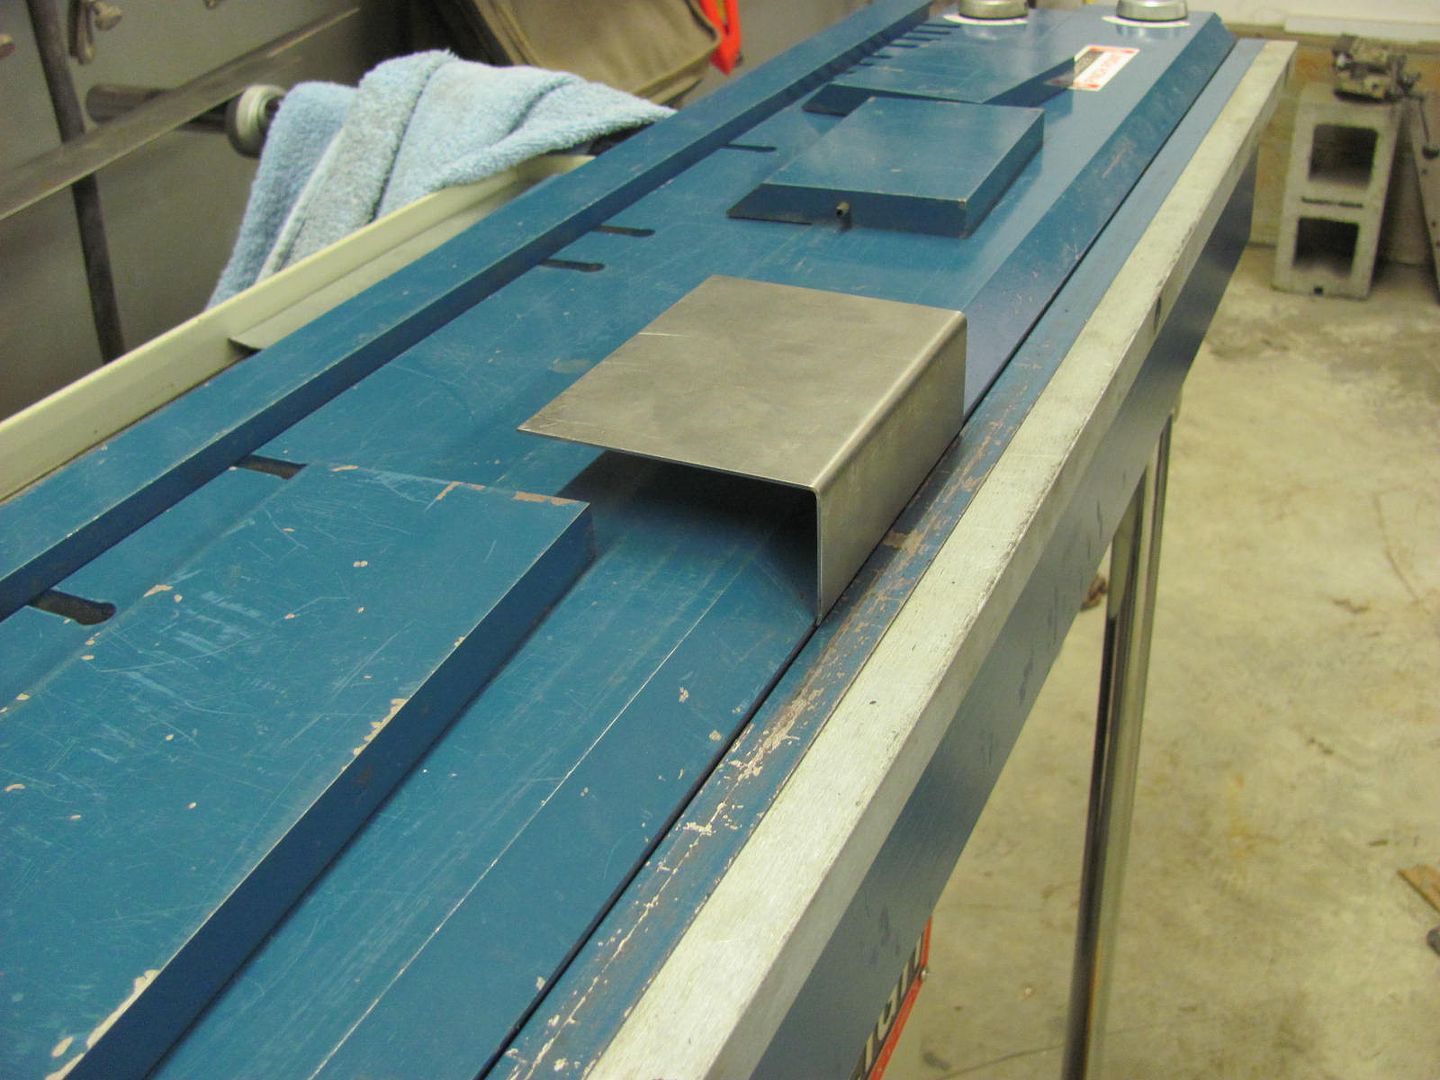
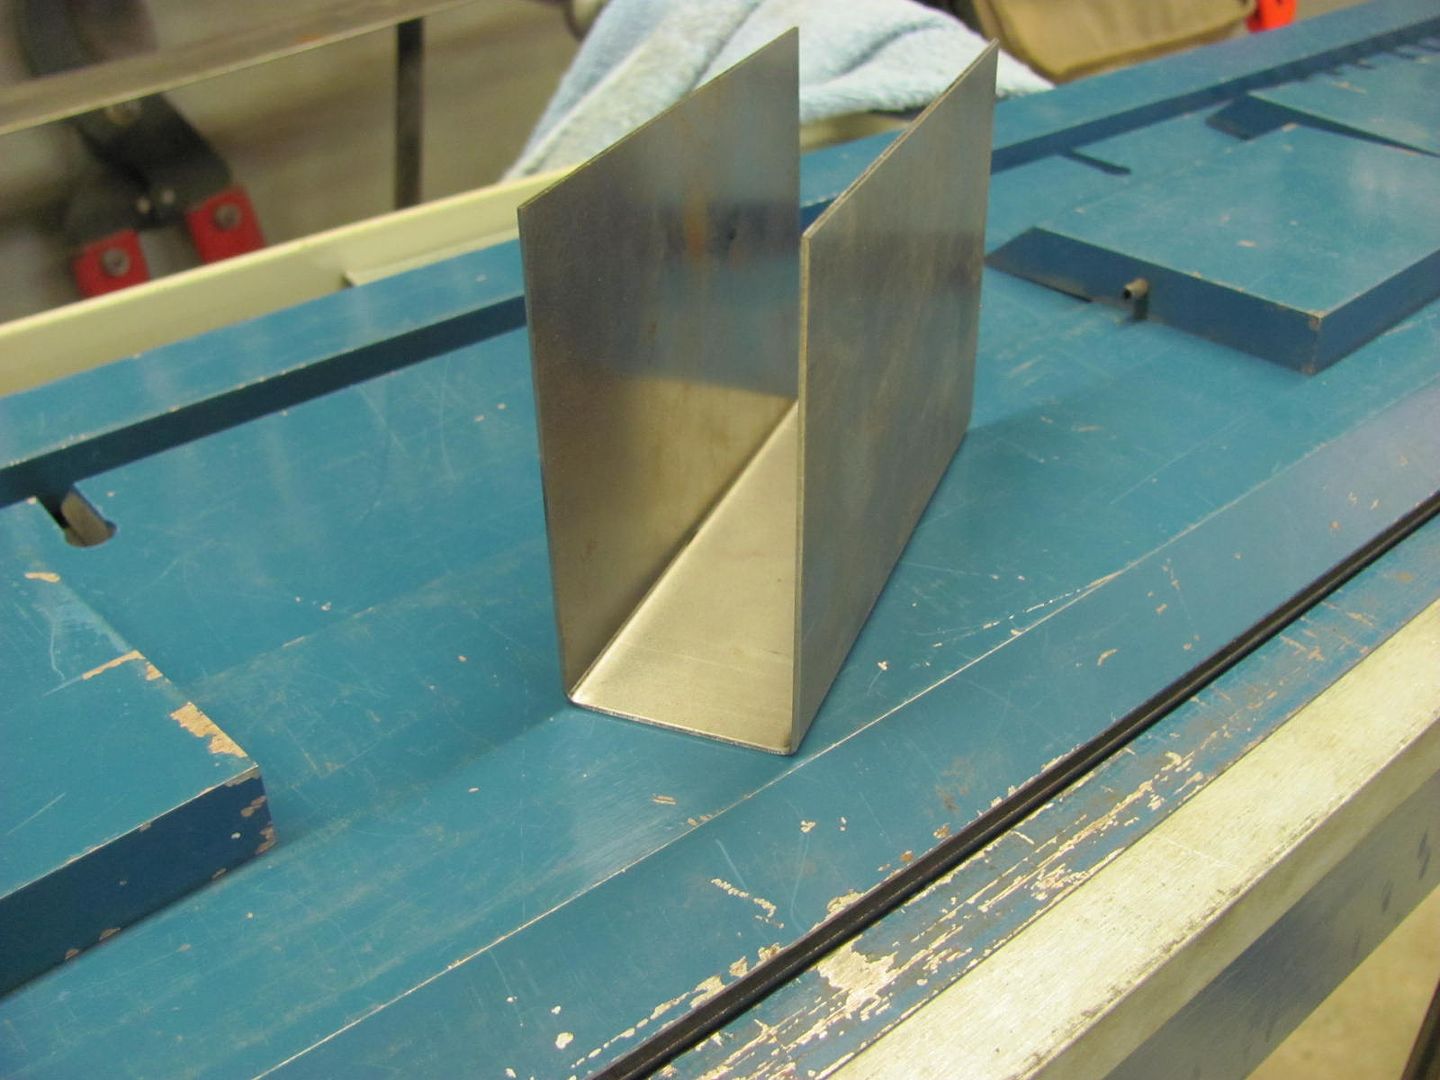
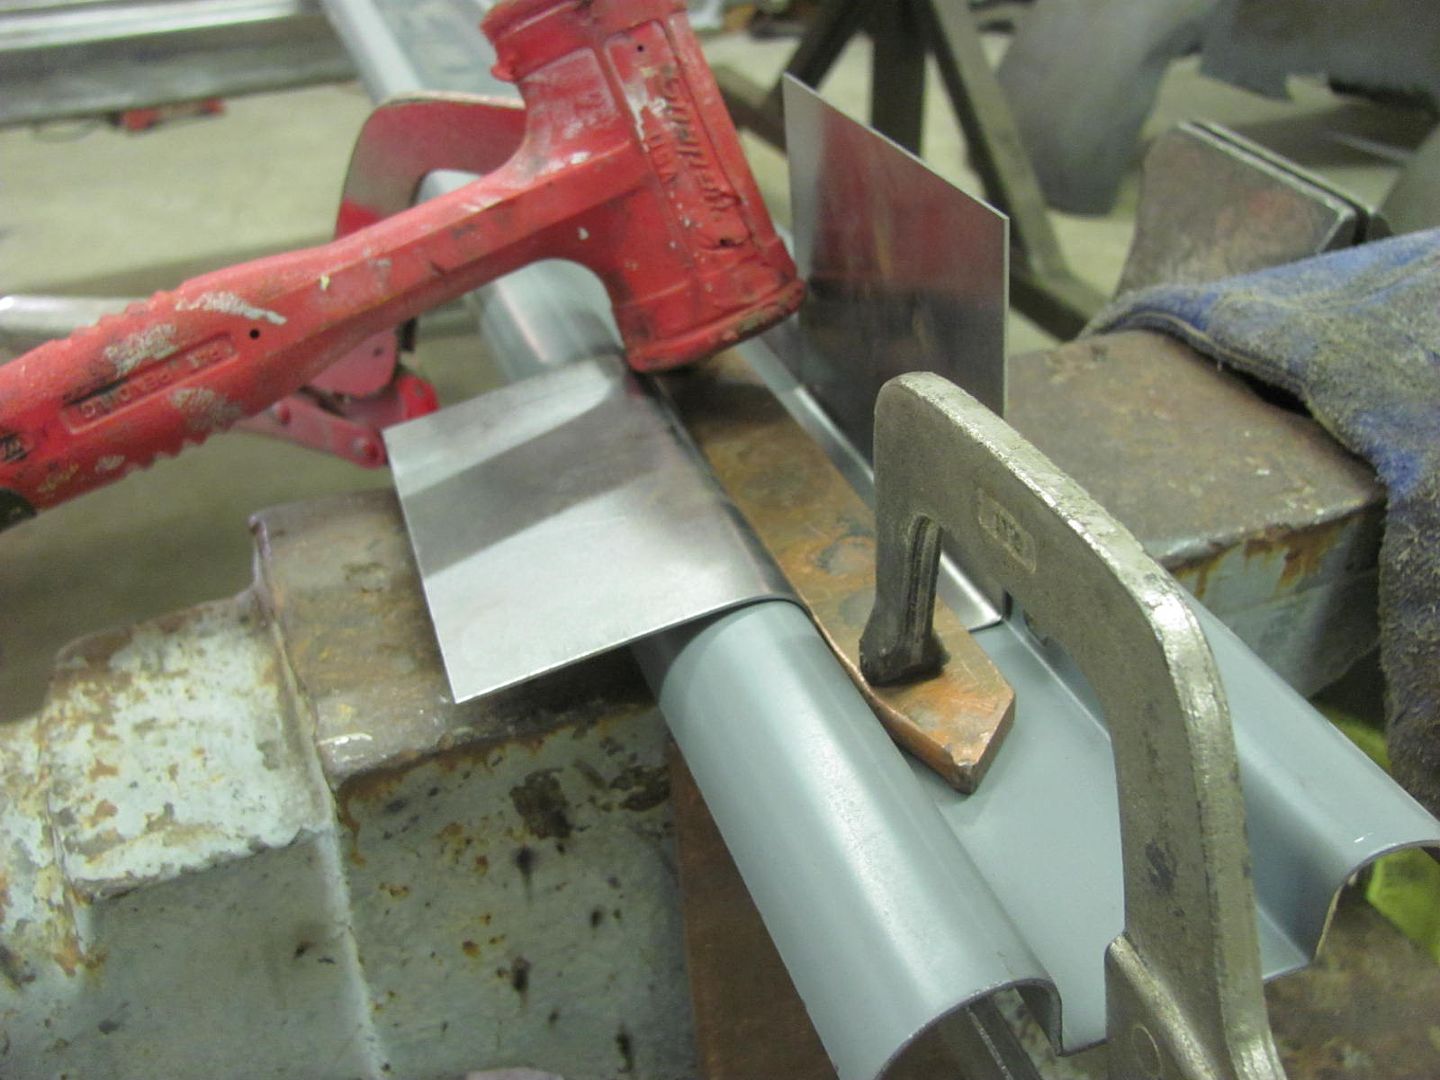
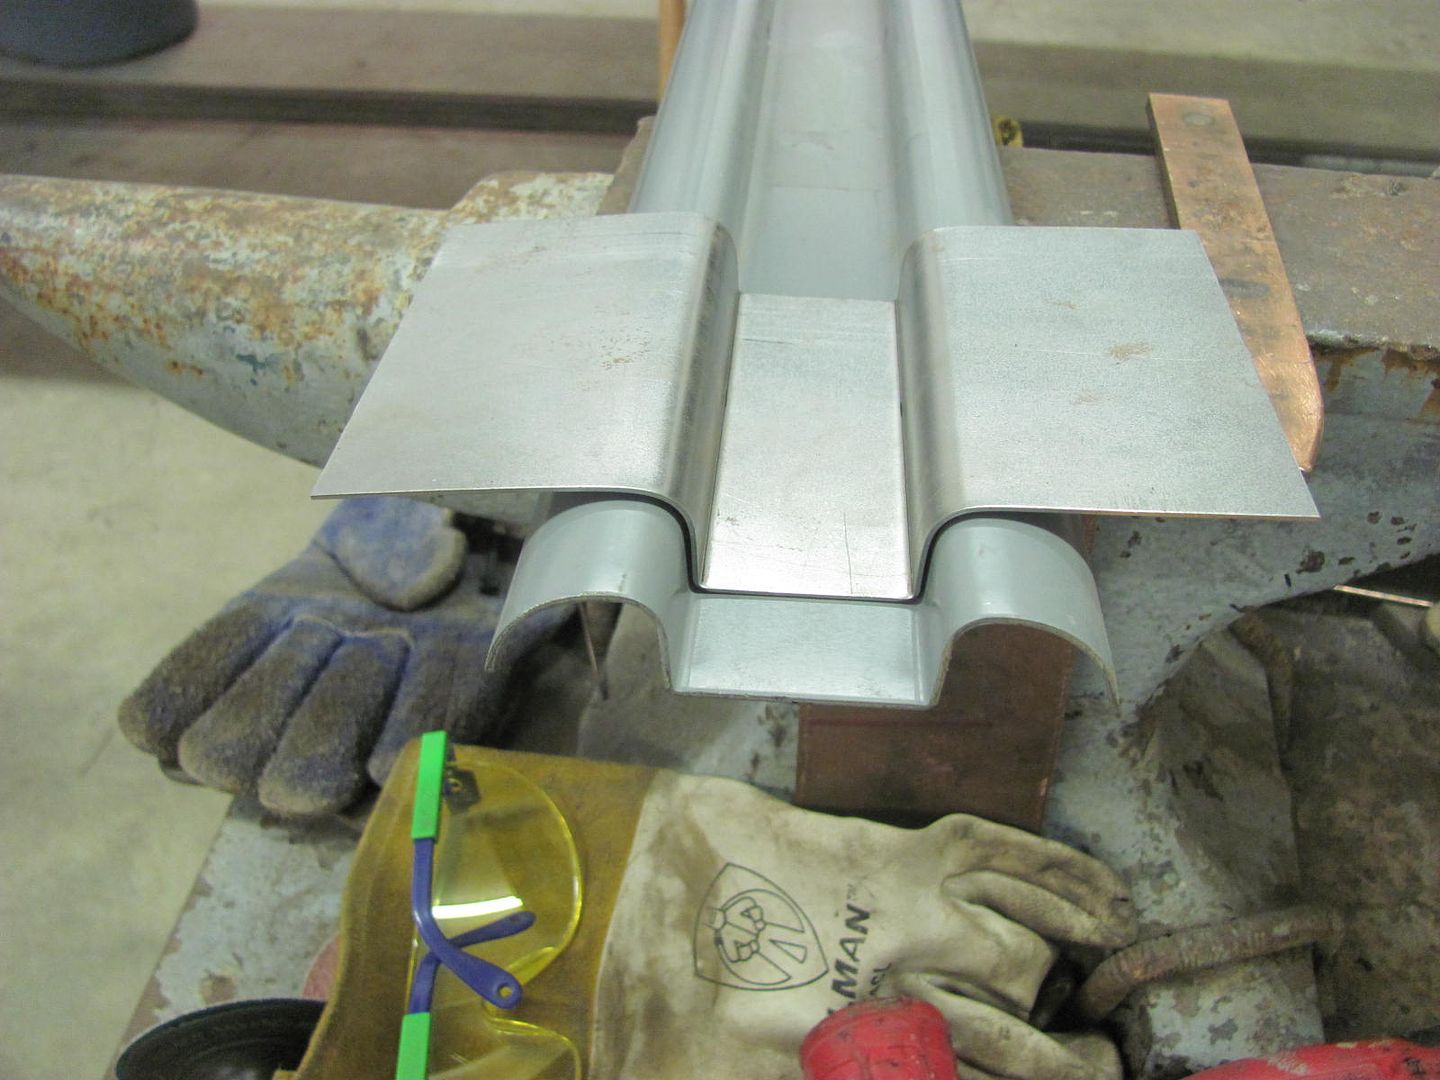
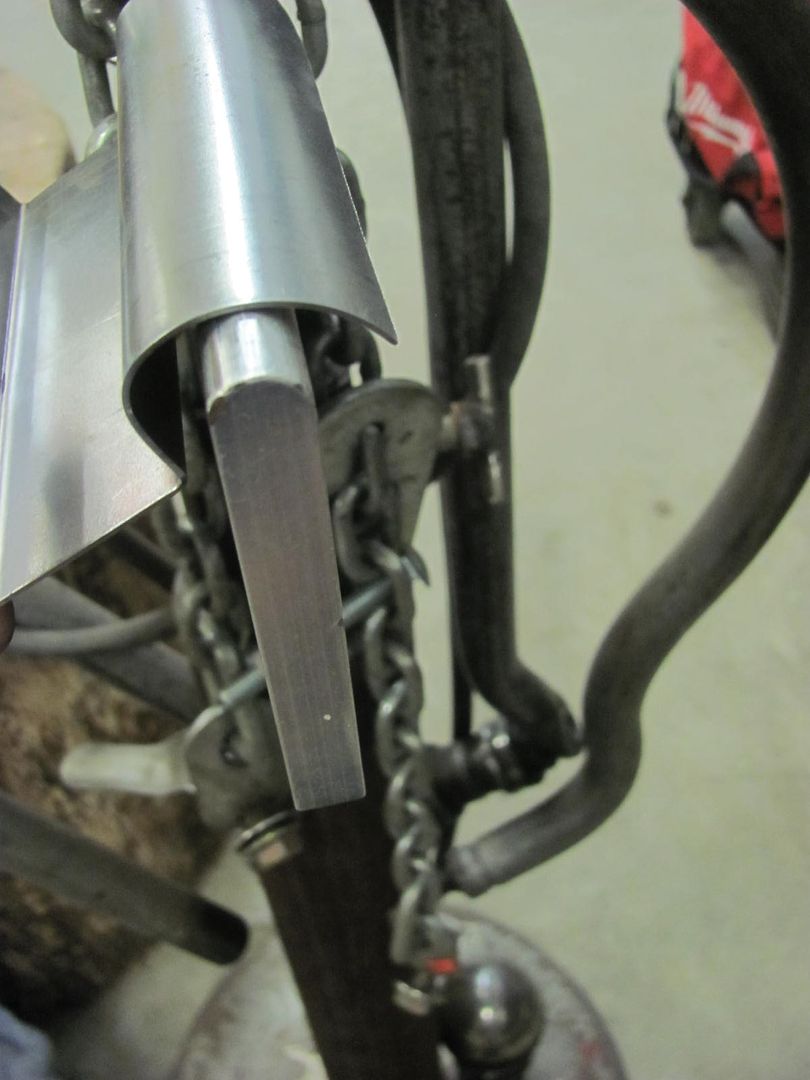
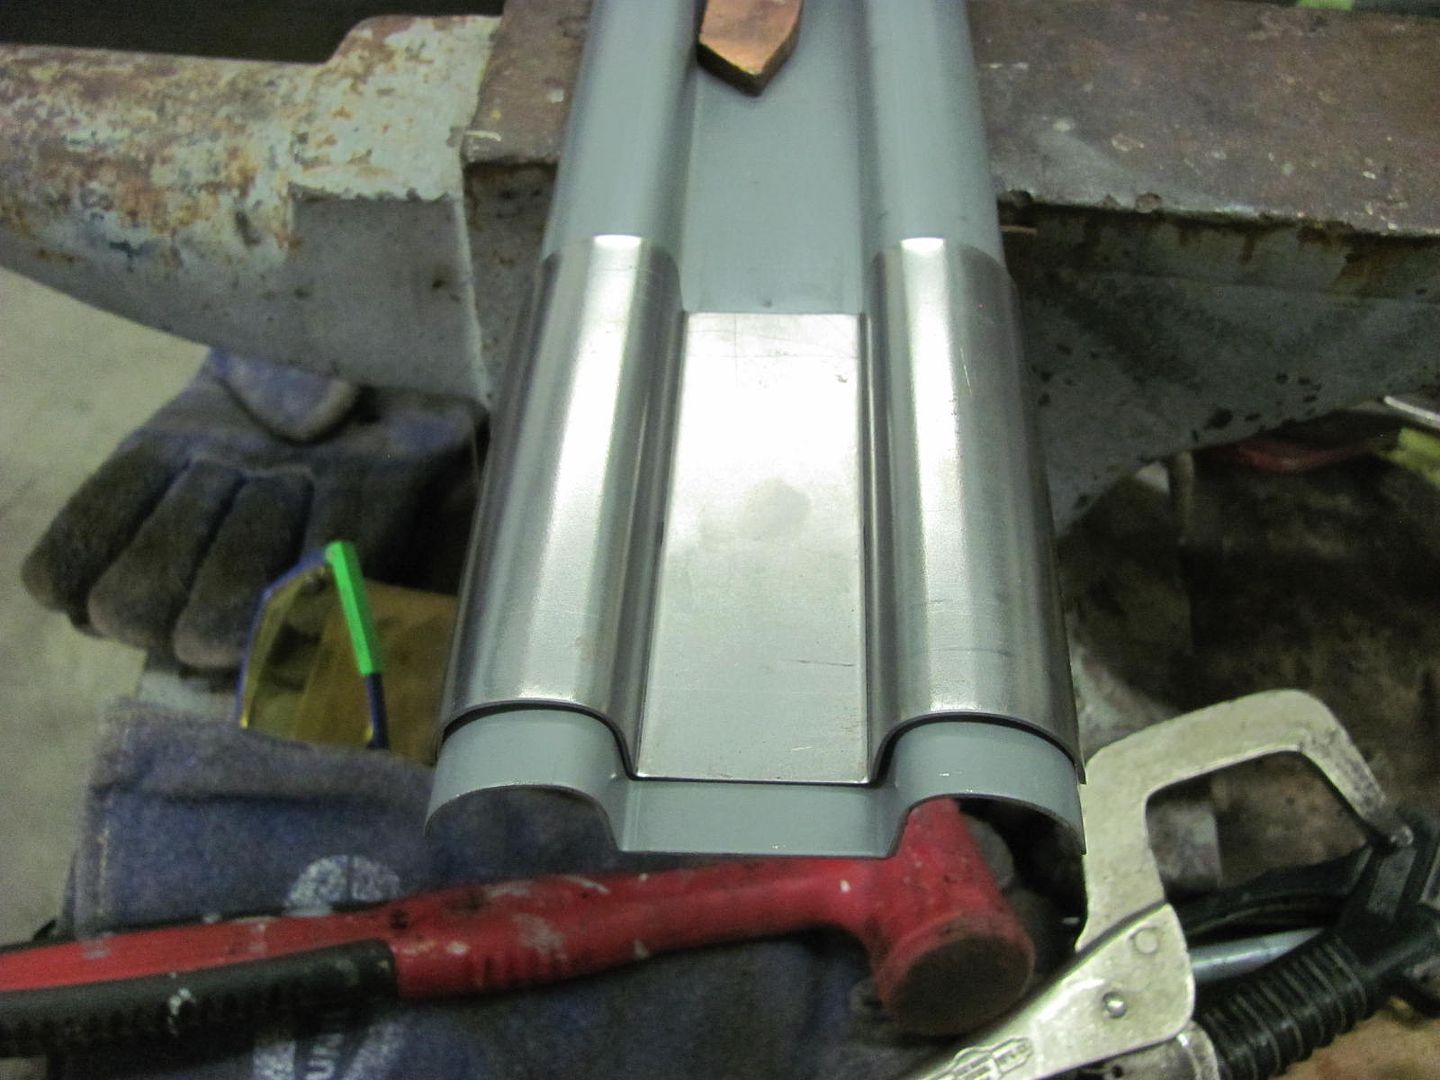
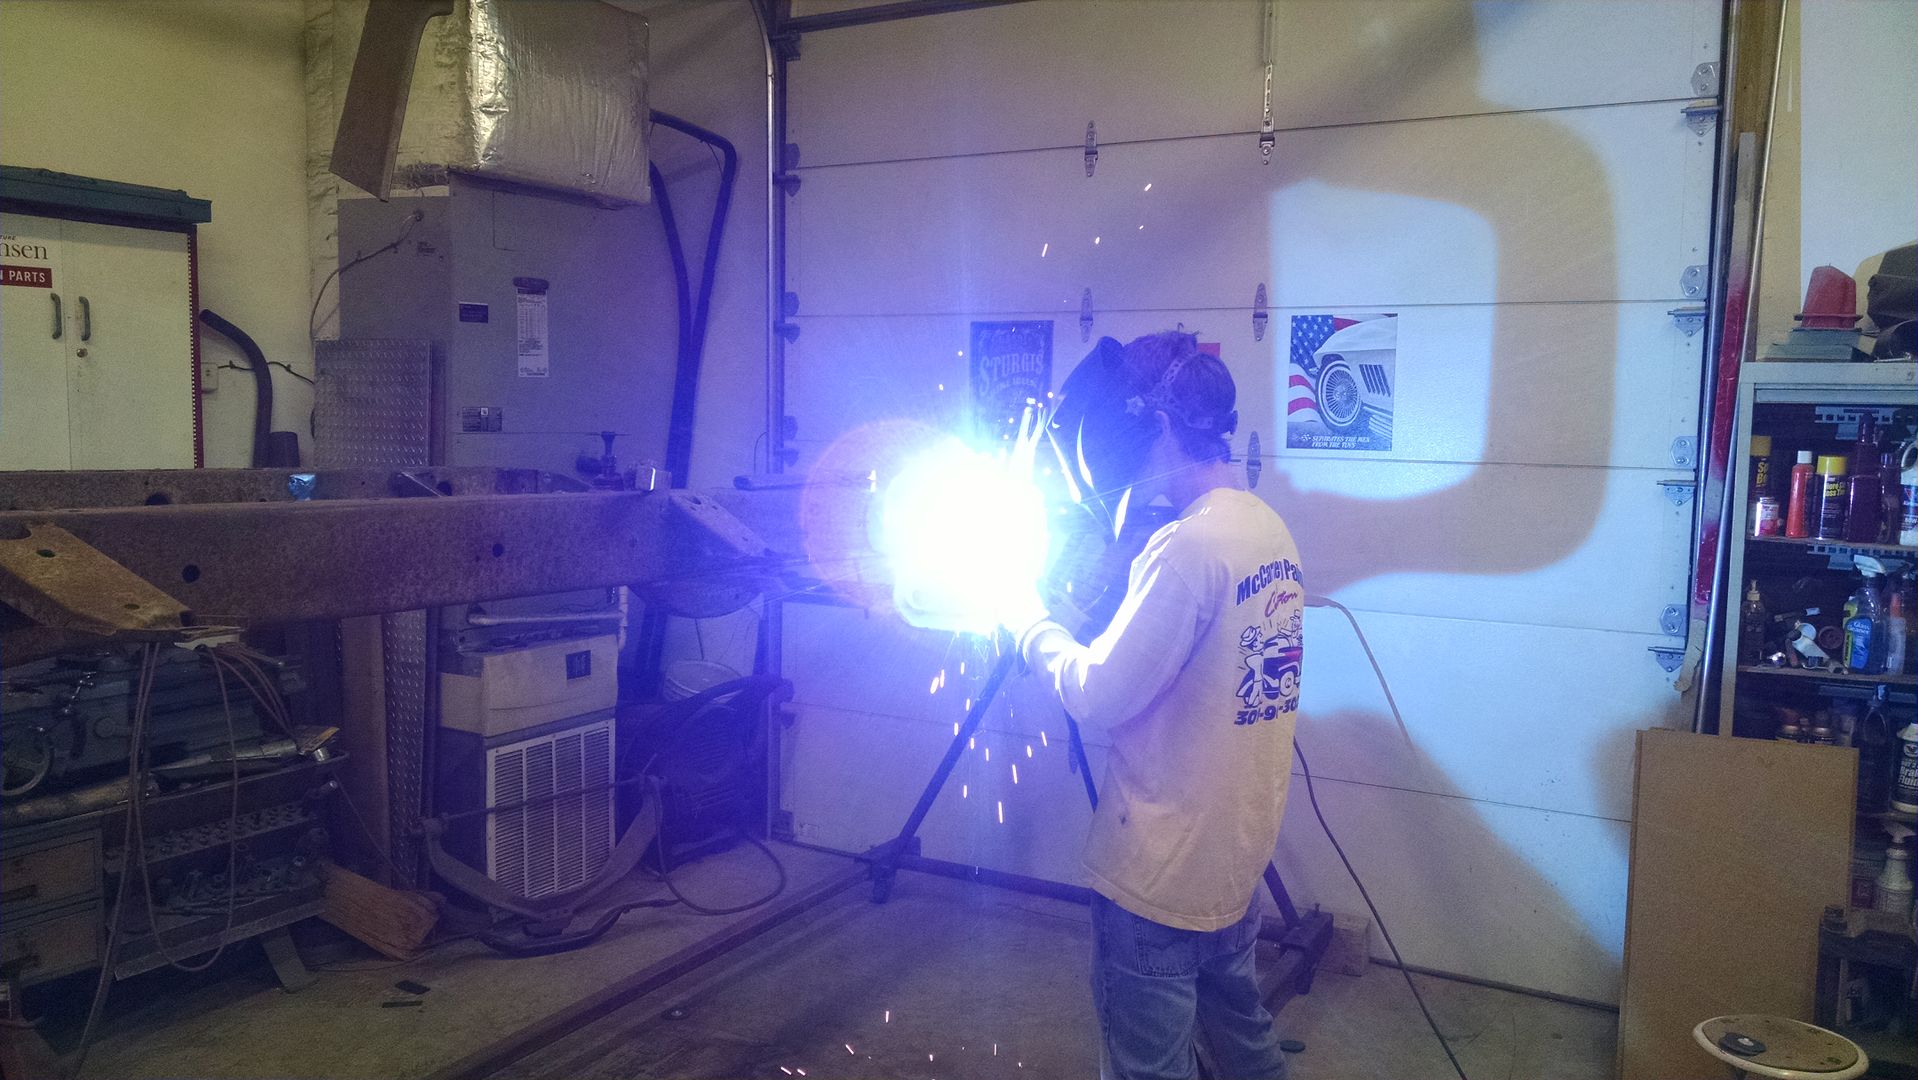
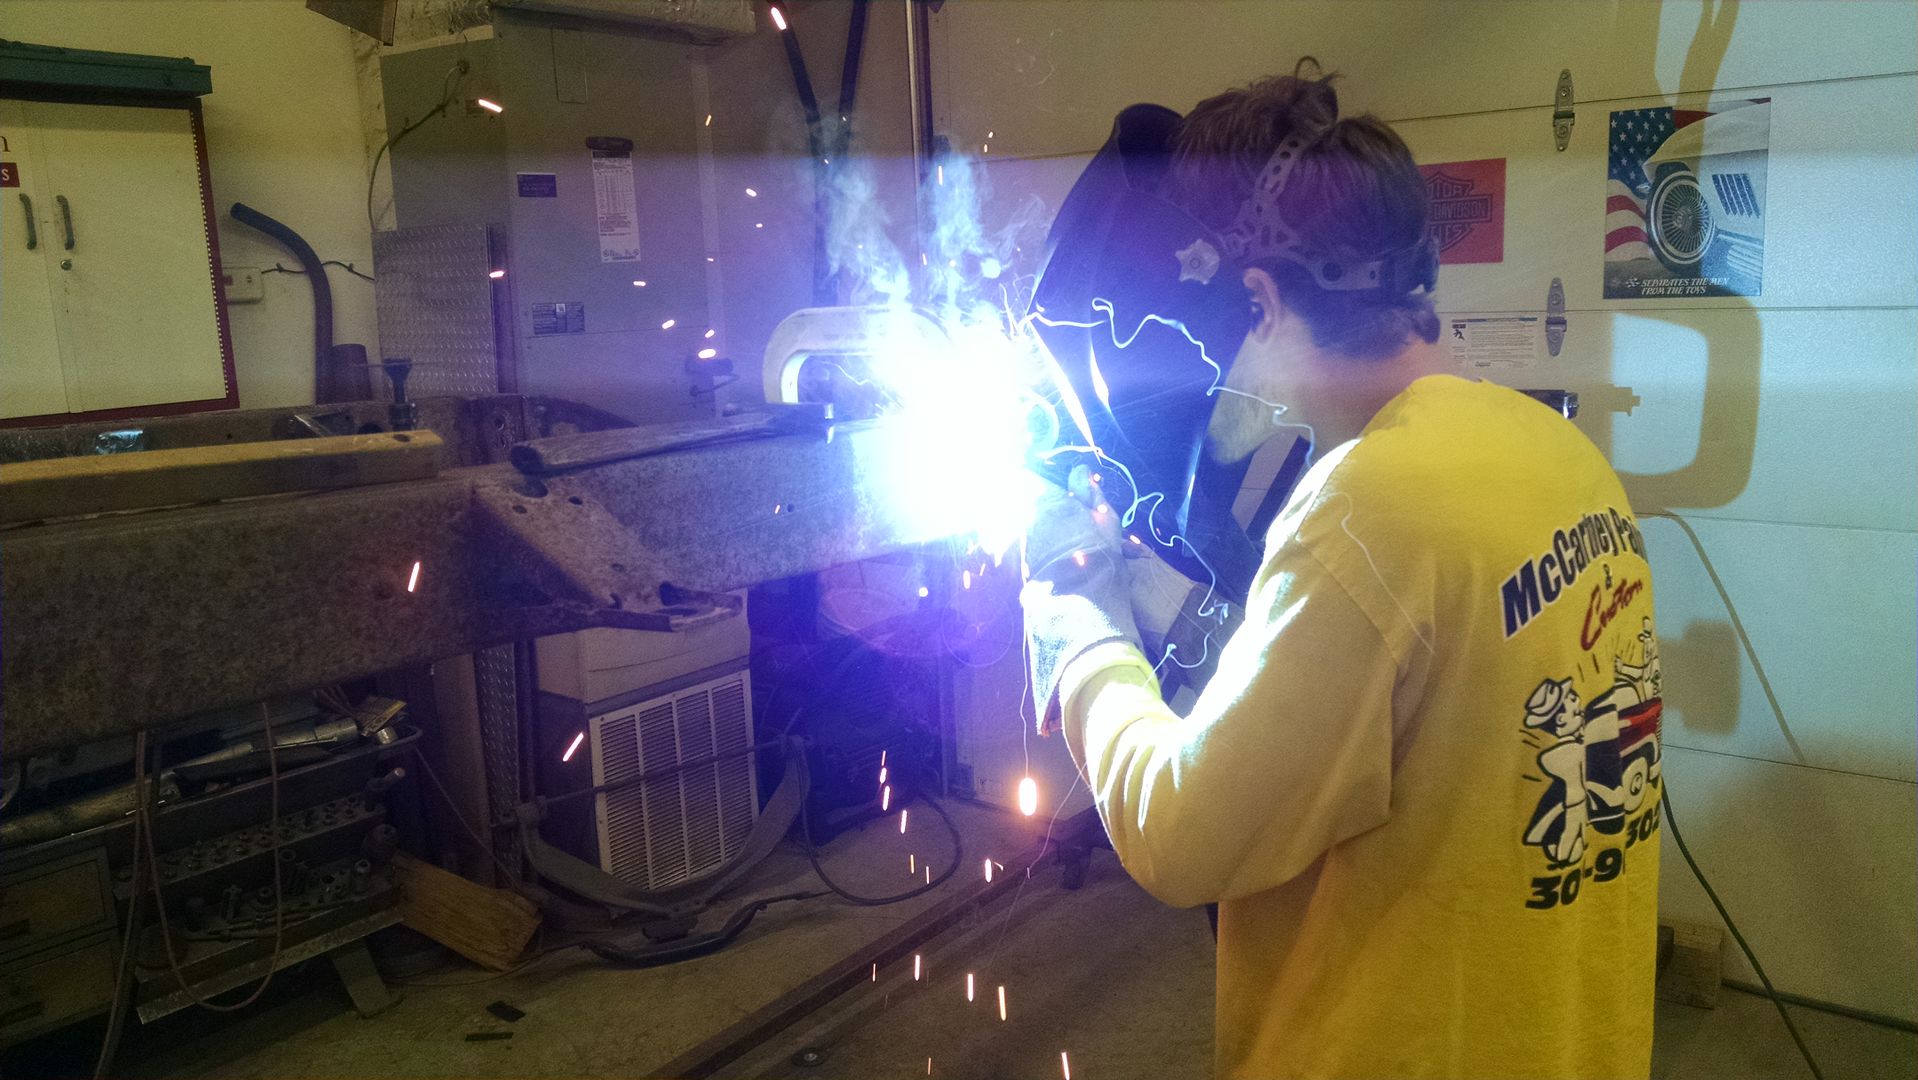
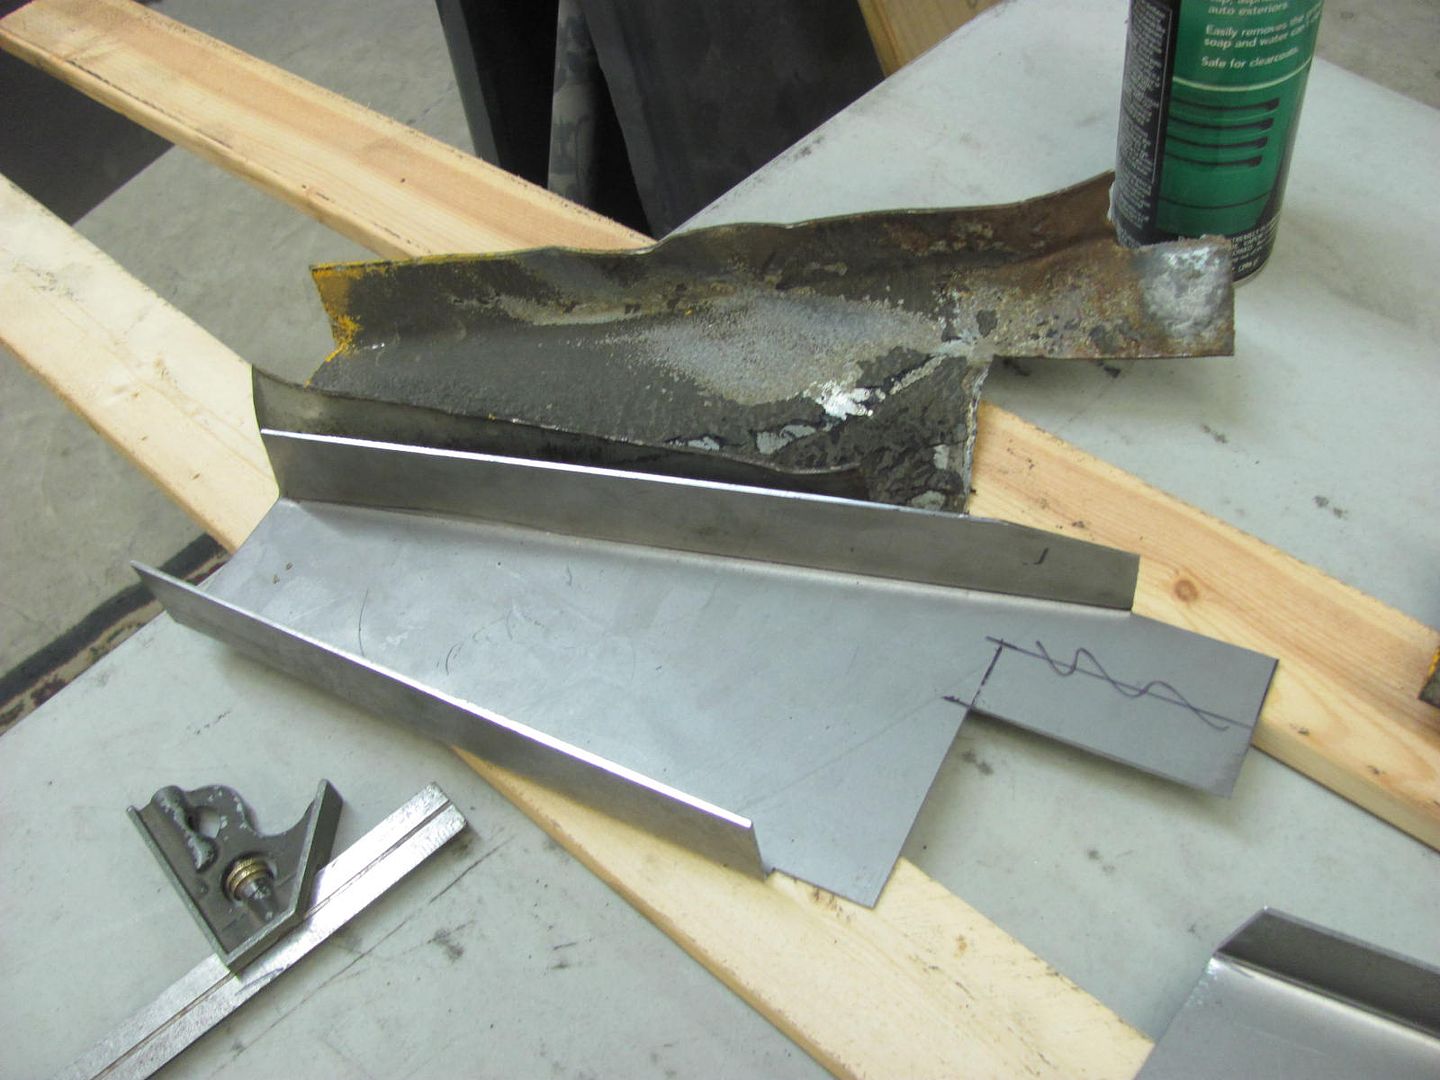
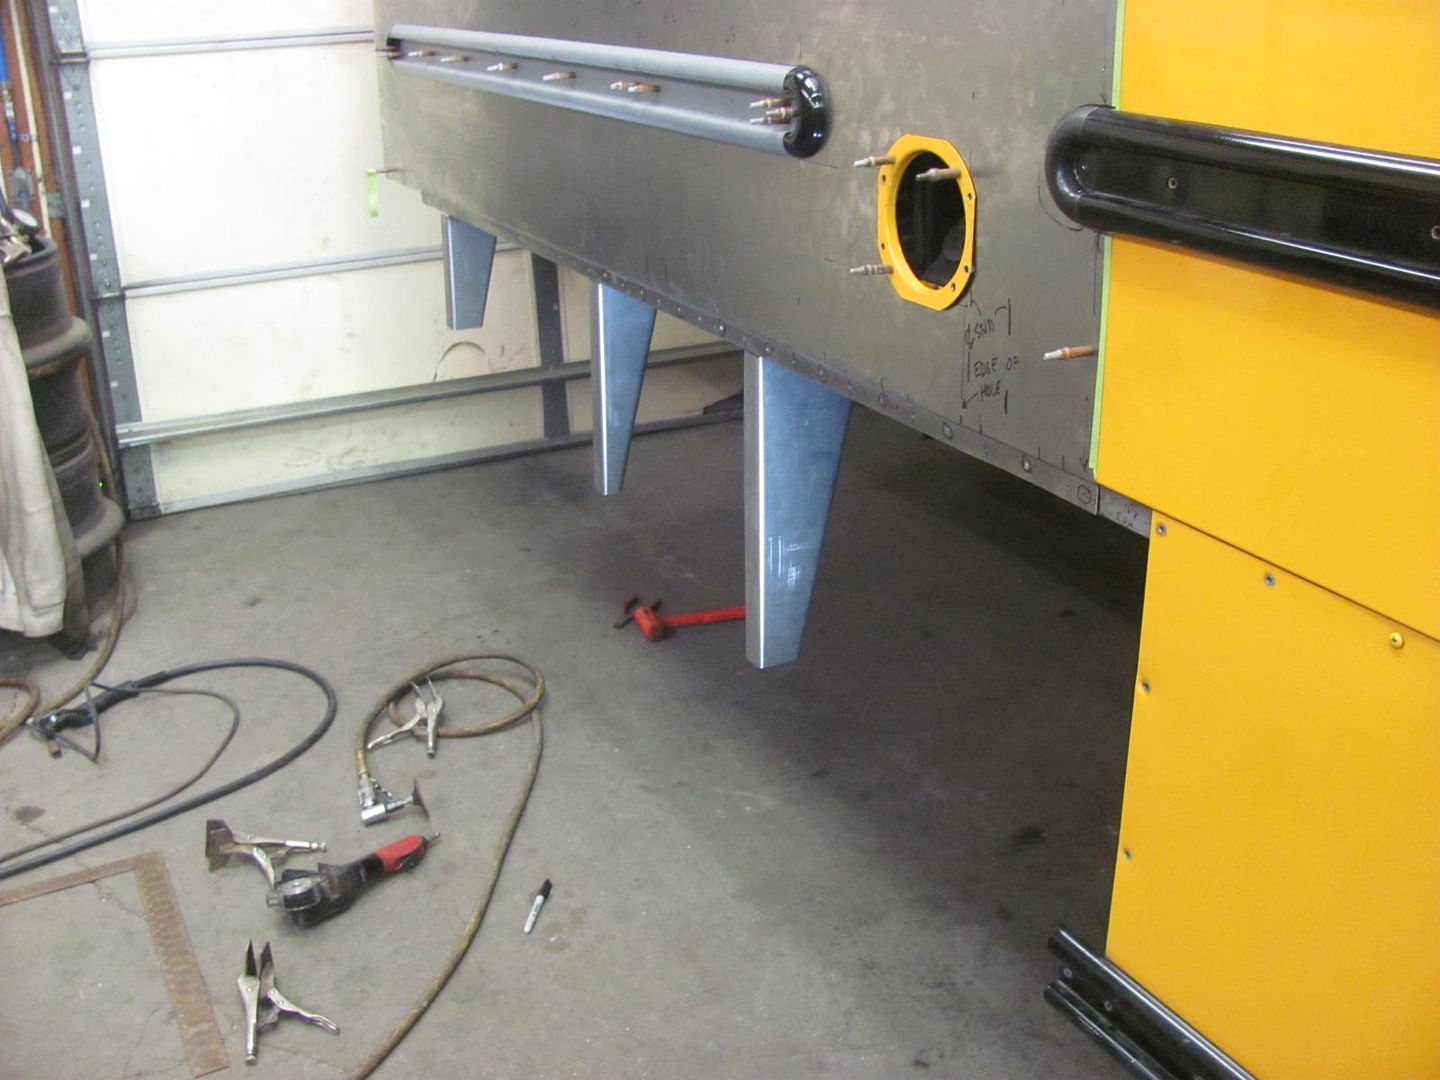
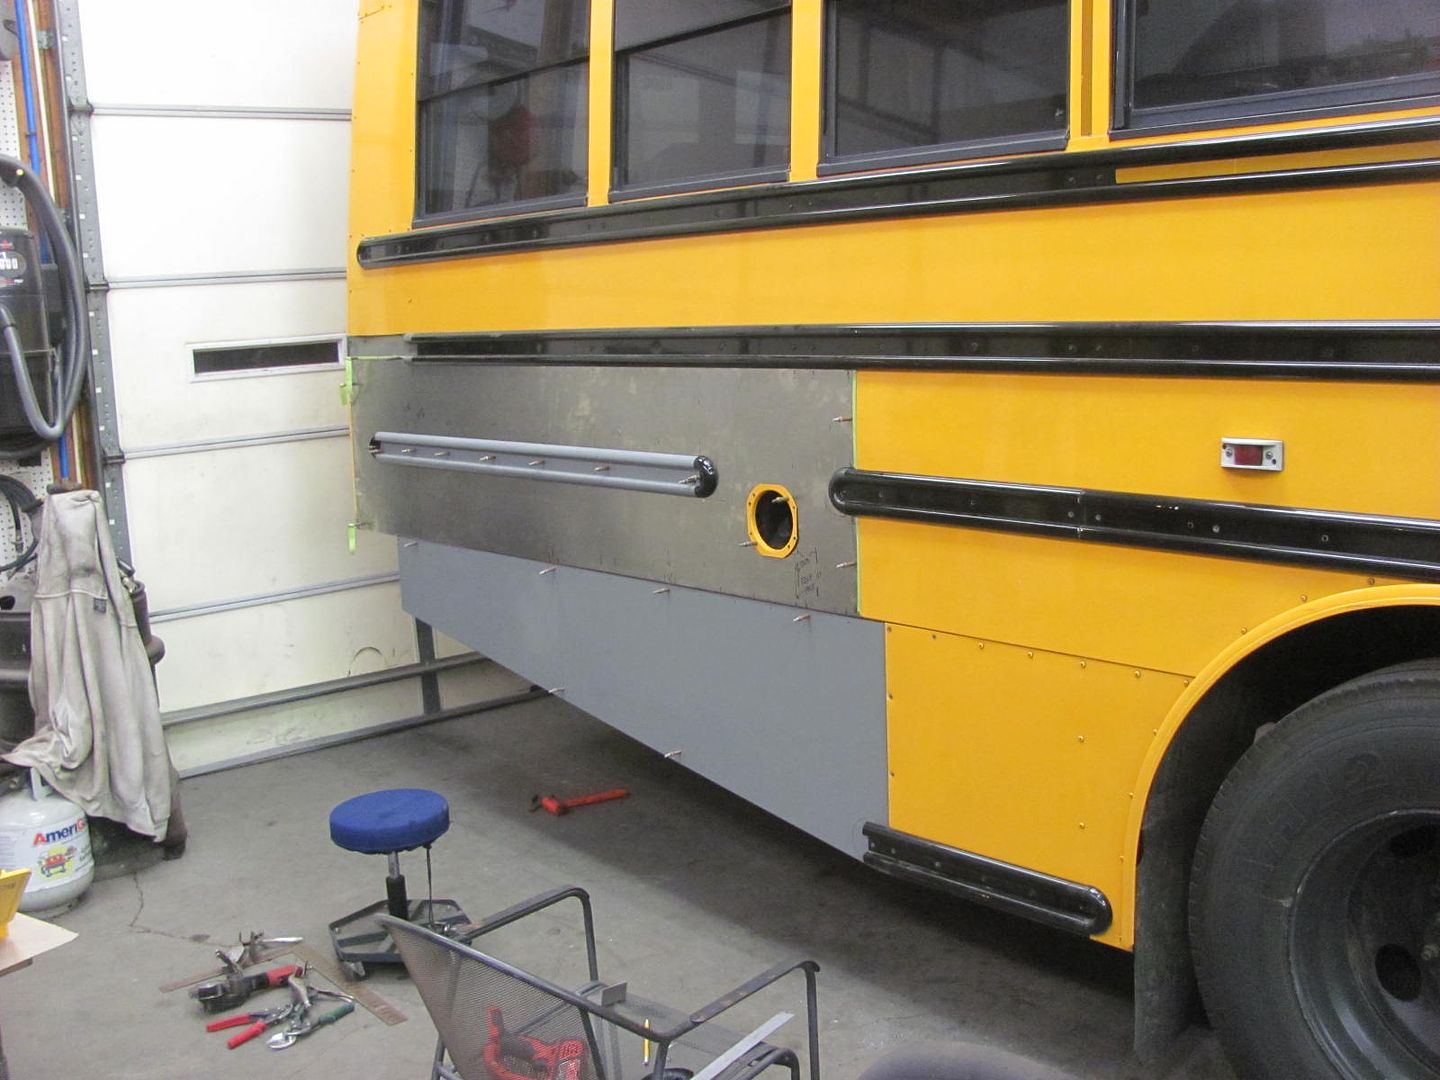
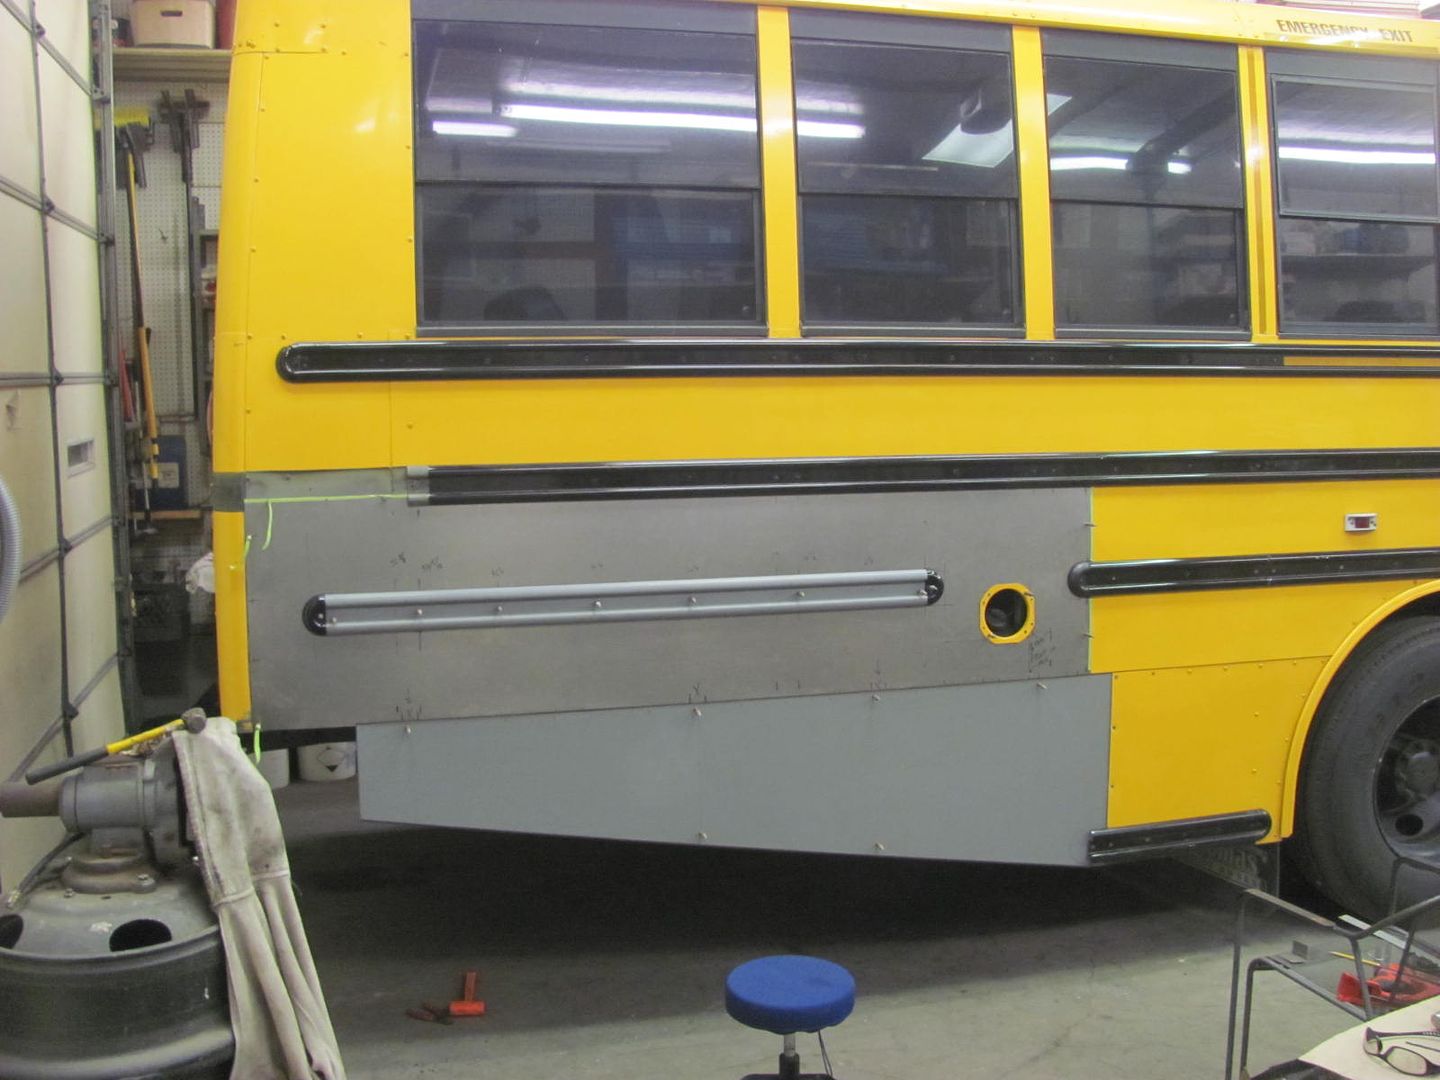
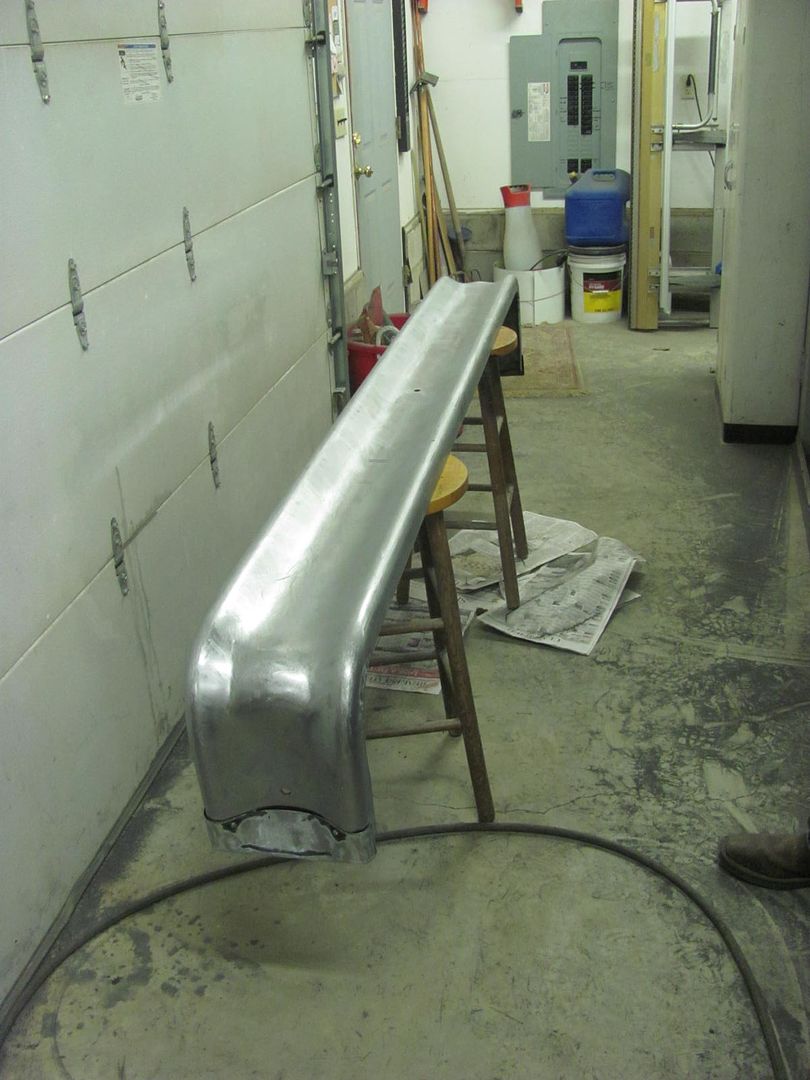
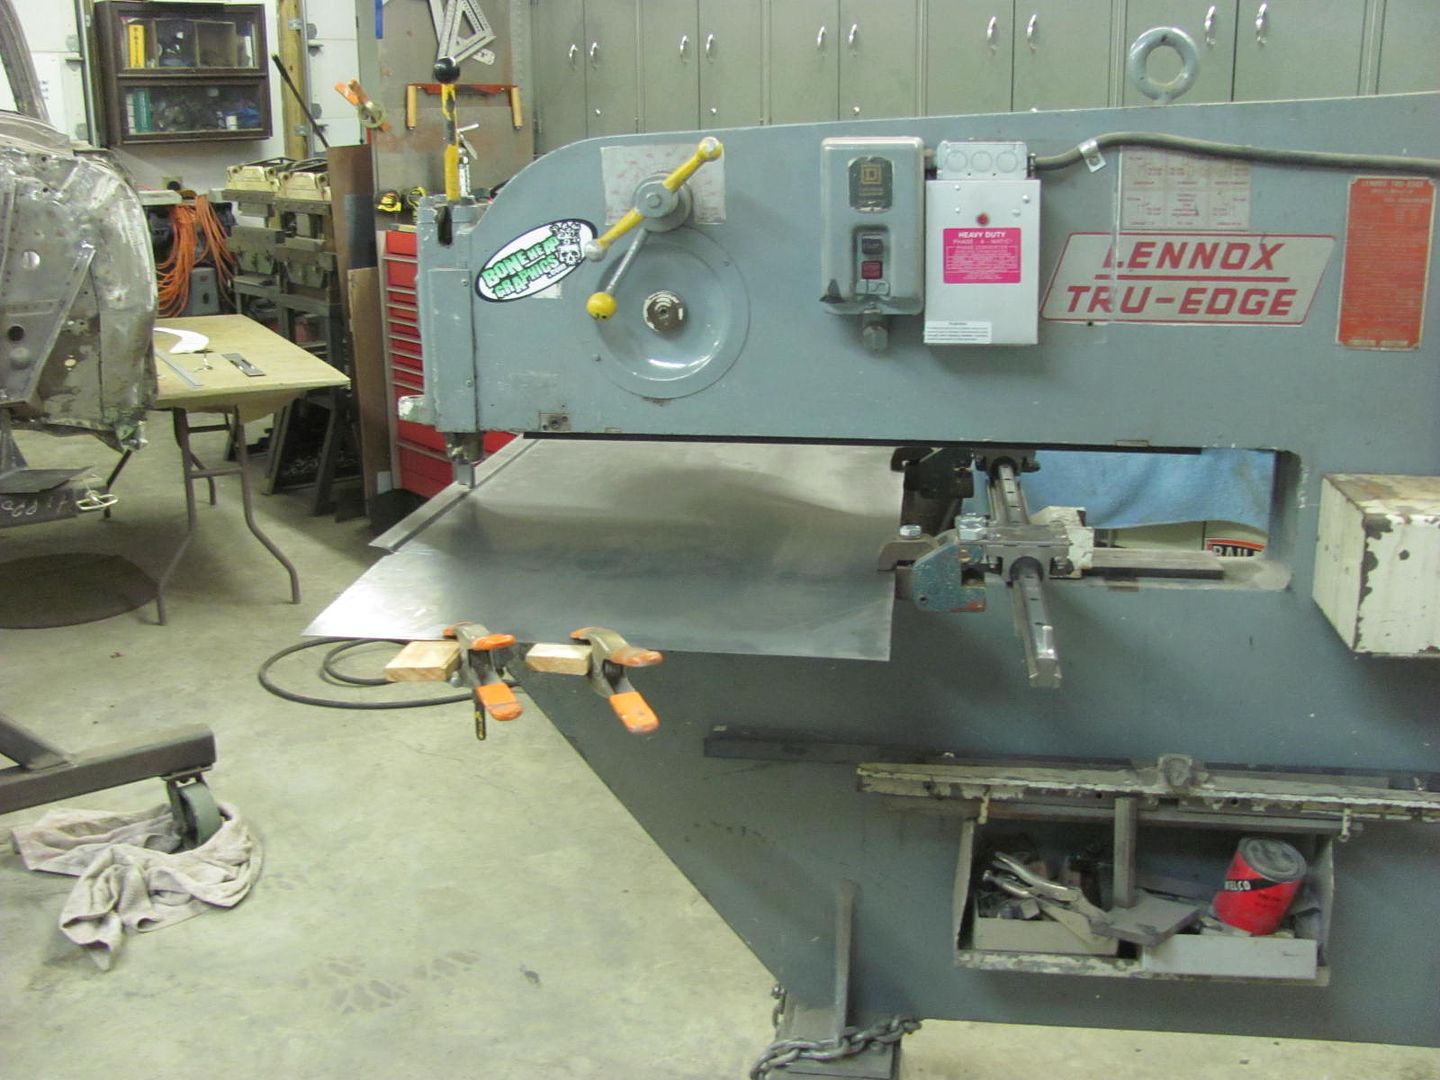
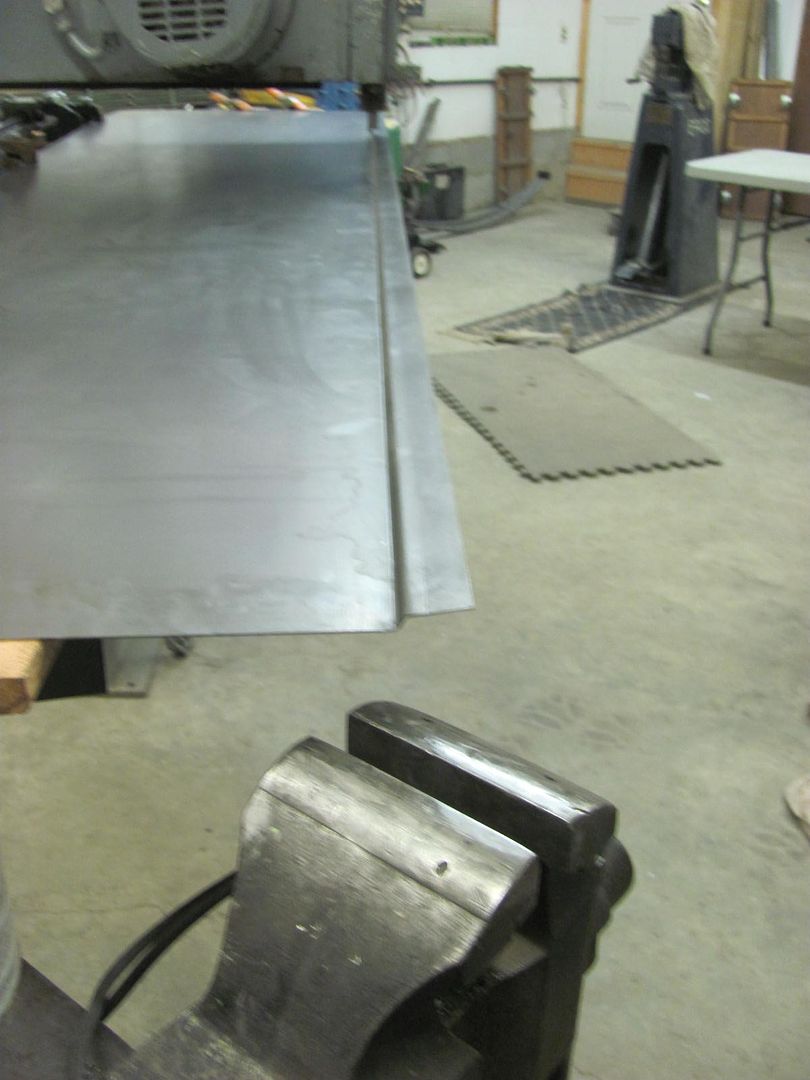
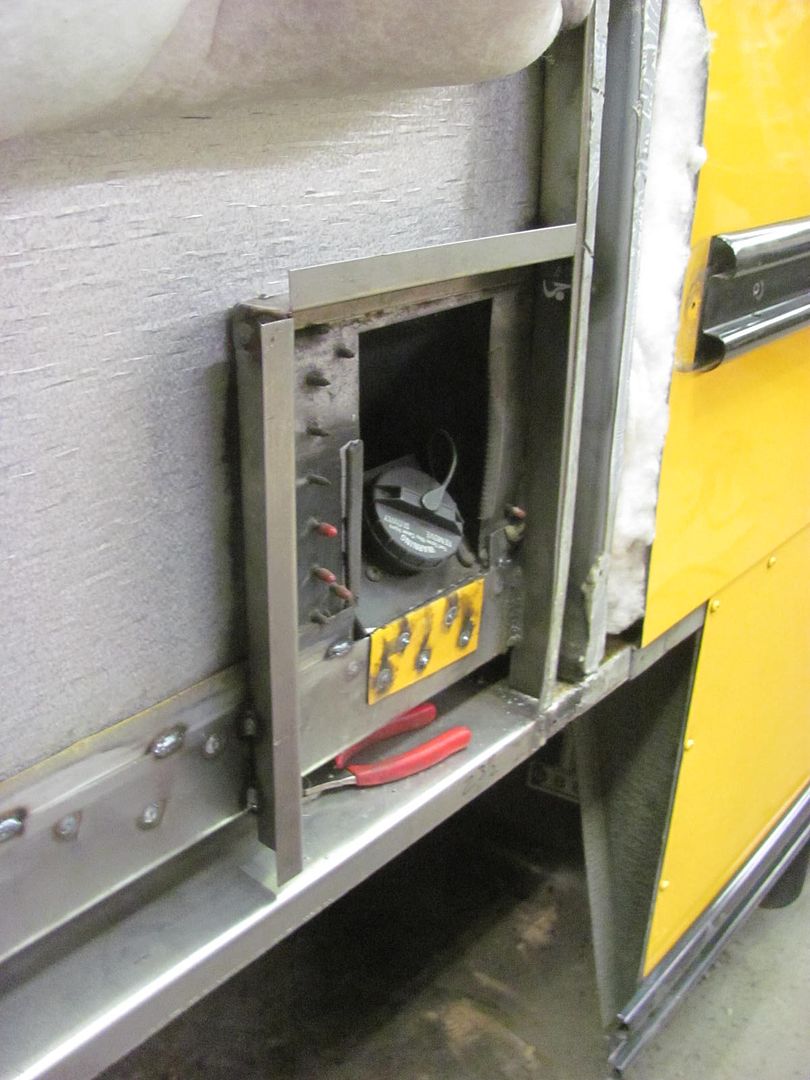
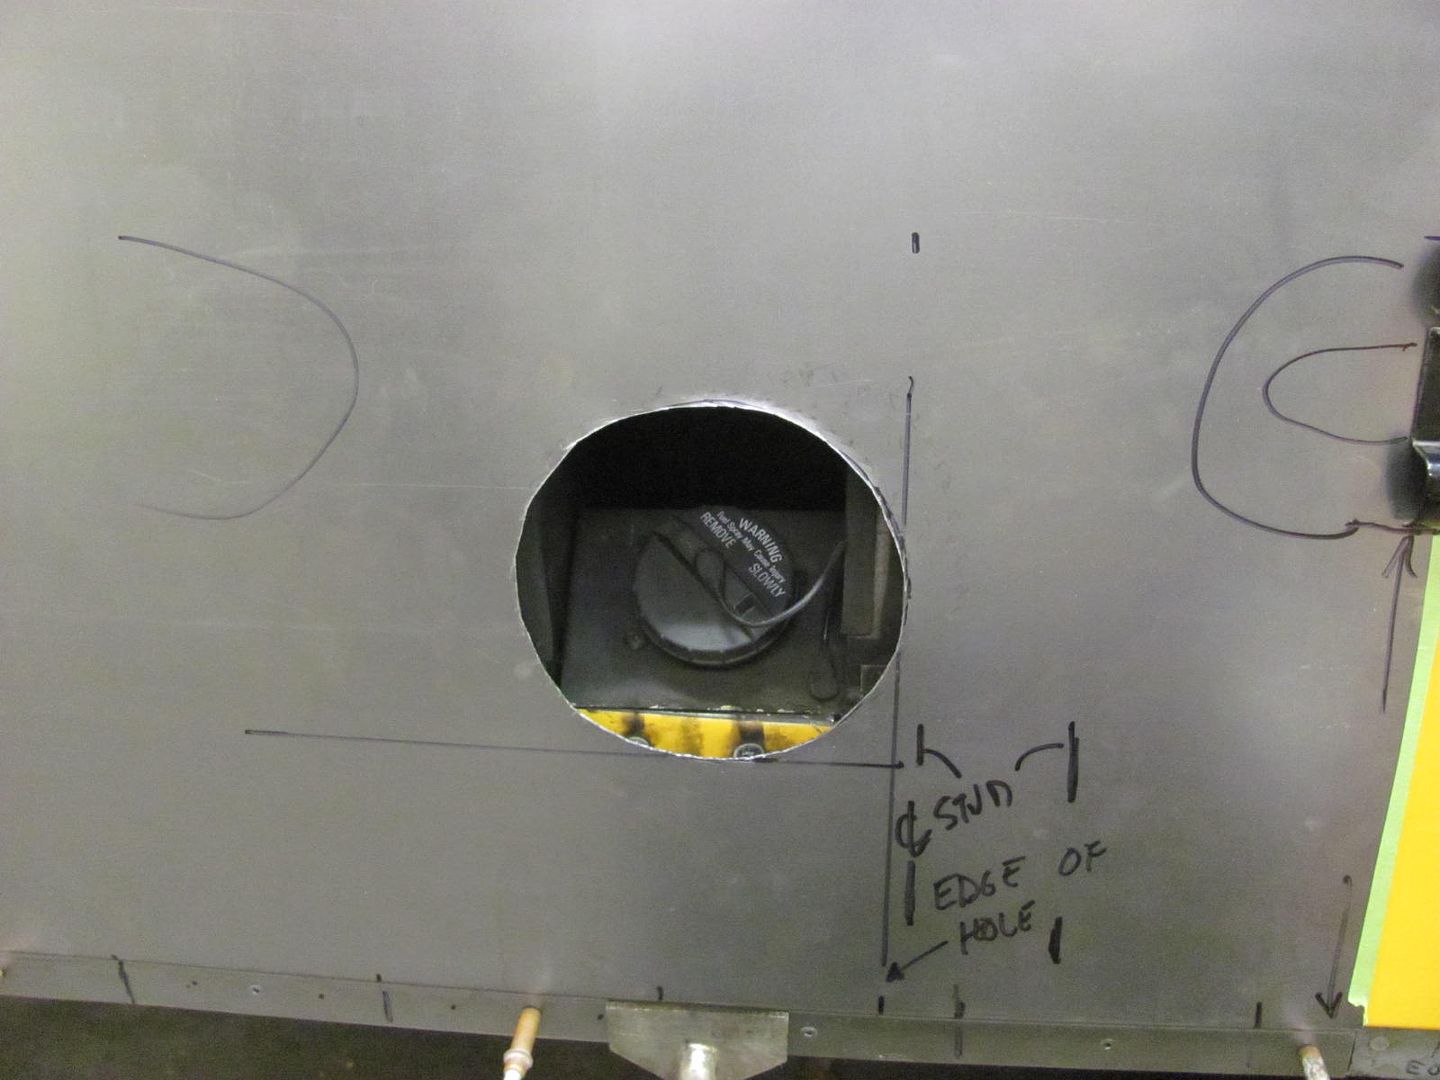
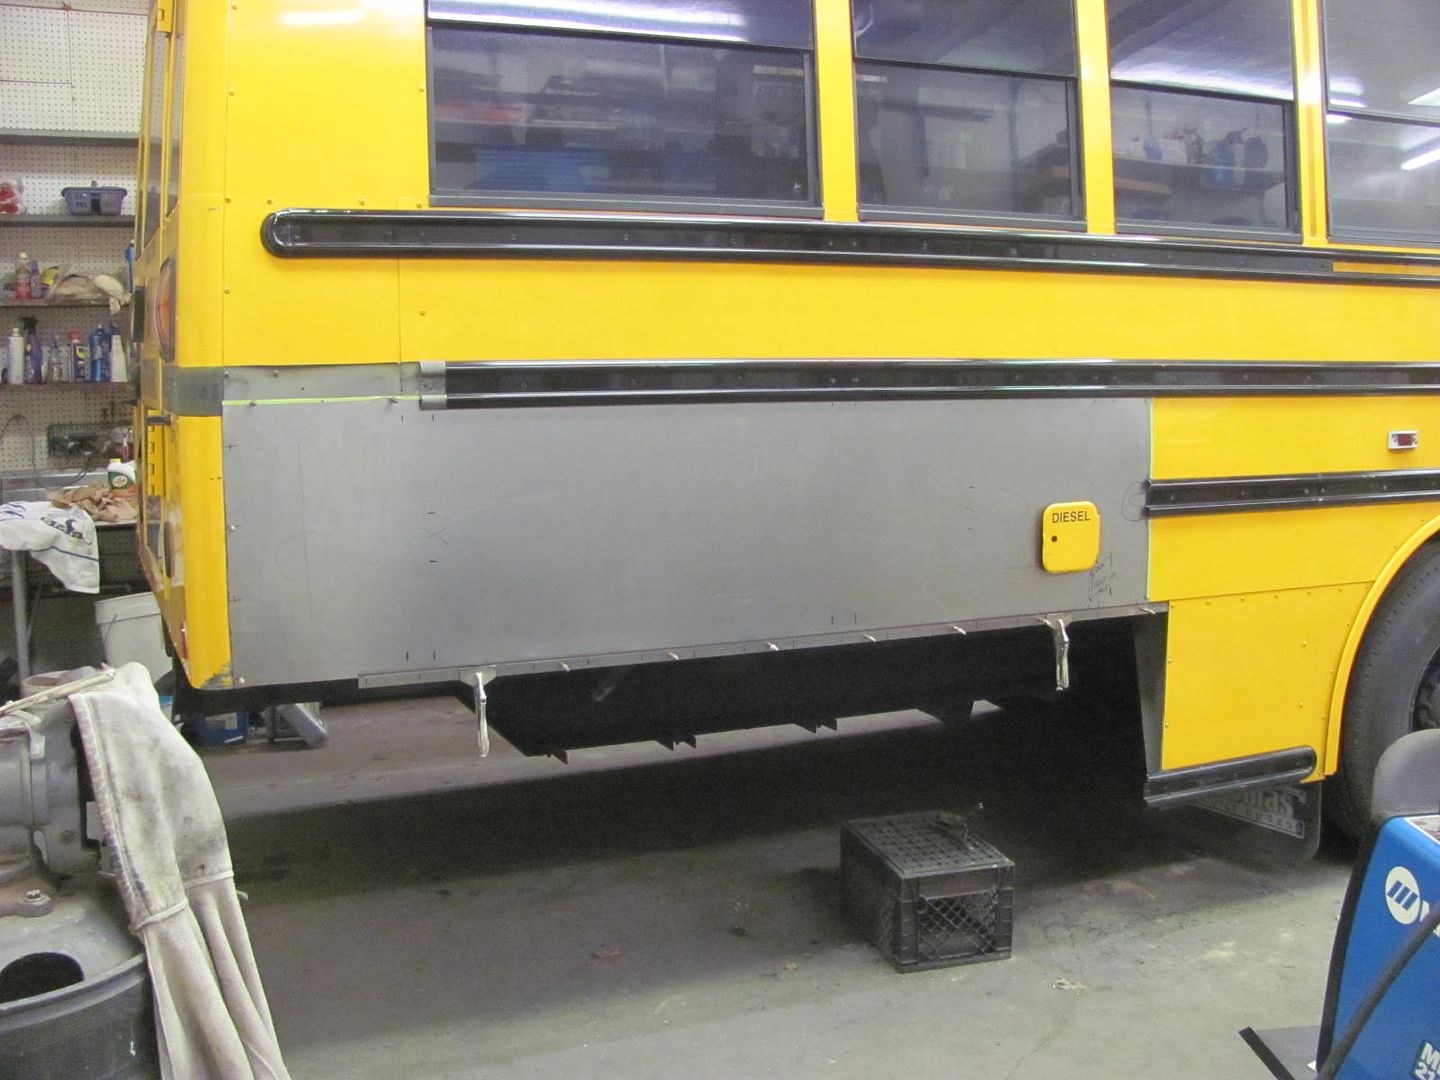
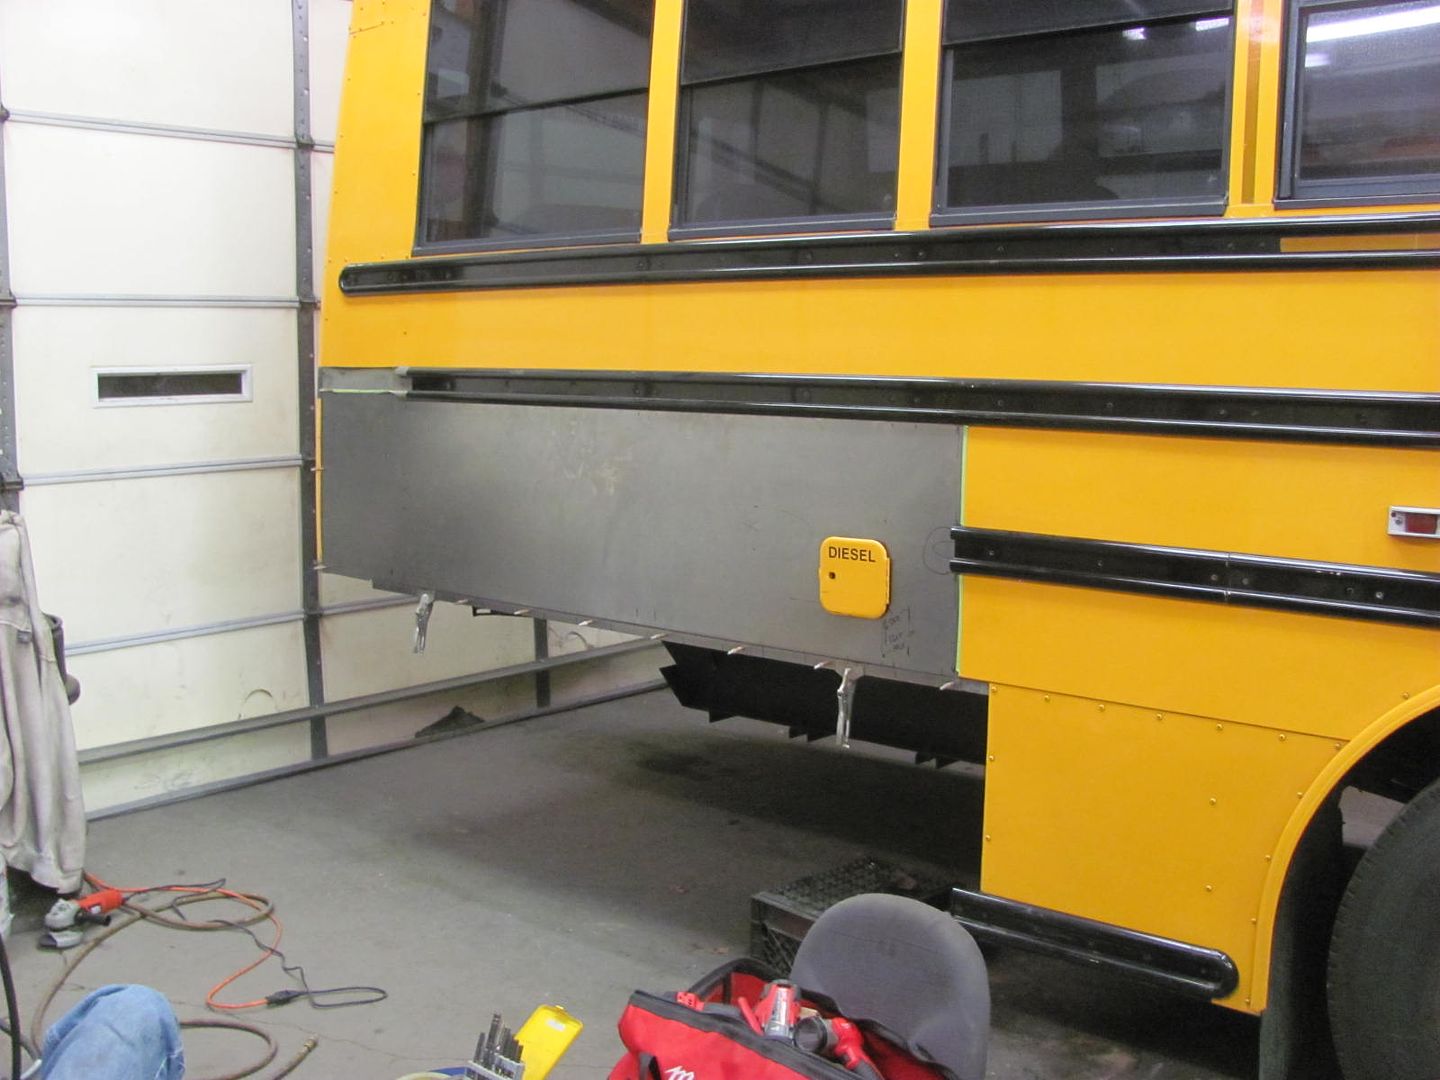
This was done at the bus owner's shop, my shop isn't large enough and it was too brisk this past weekend to work outside. For these bus repairs we tend to make parts that can be painted and assembled after the fact, since the buses don't fit in my booth either..
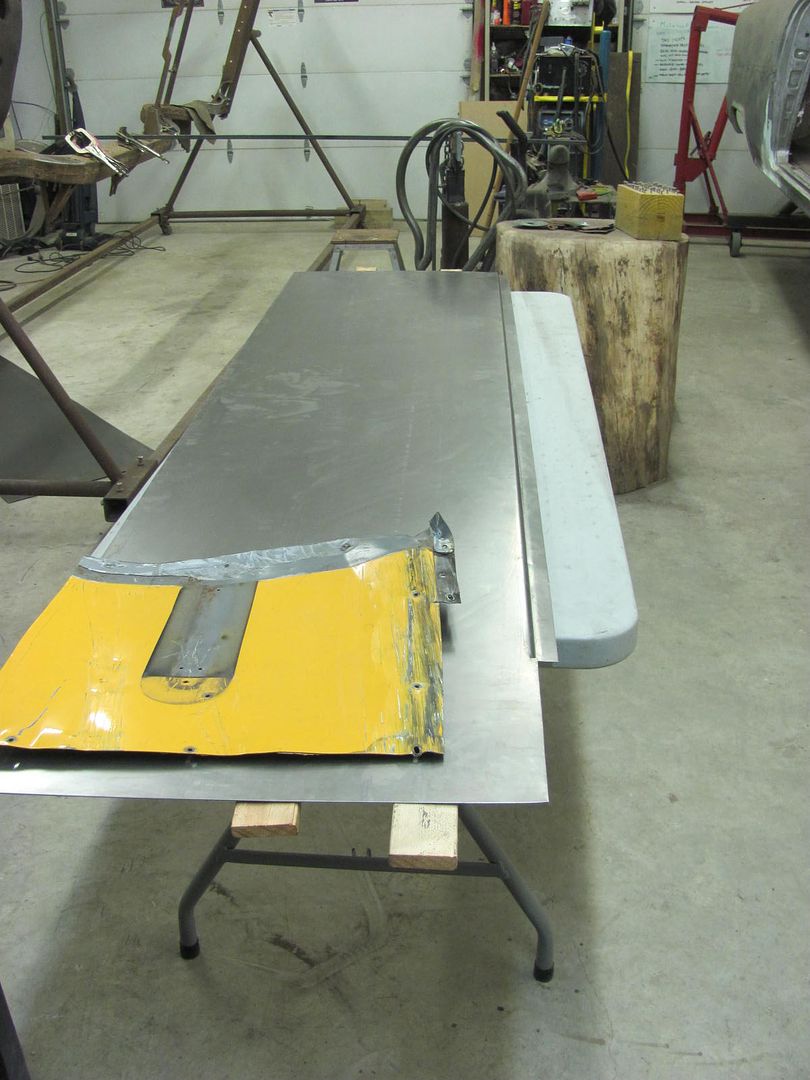
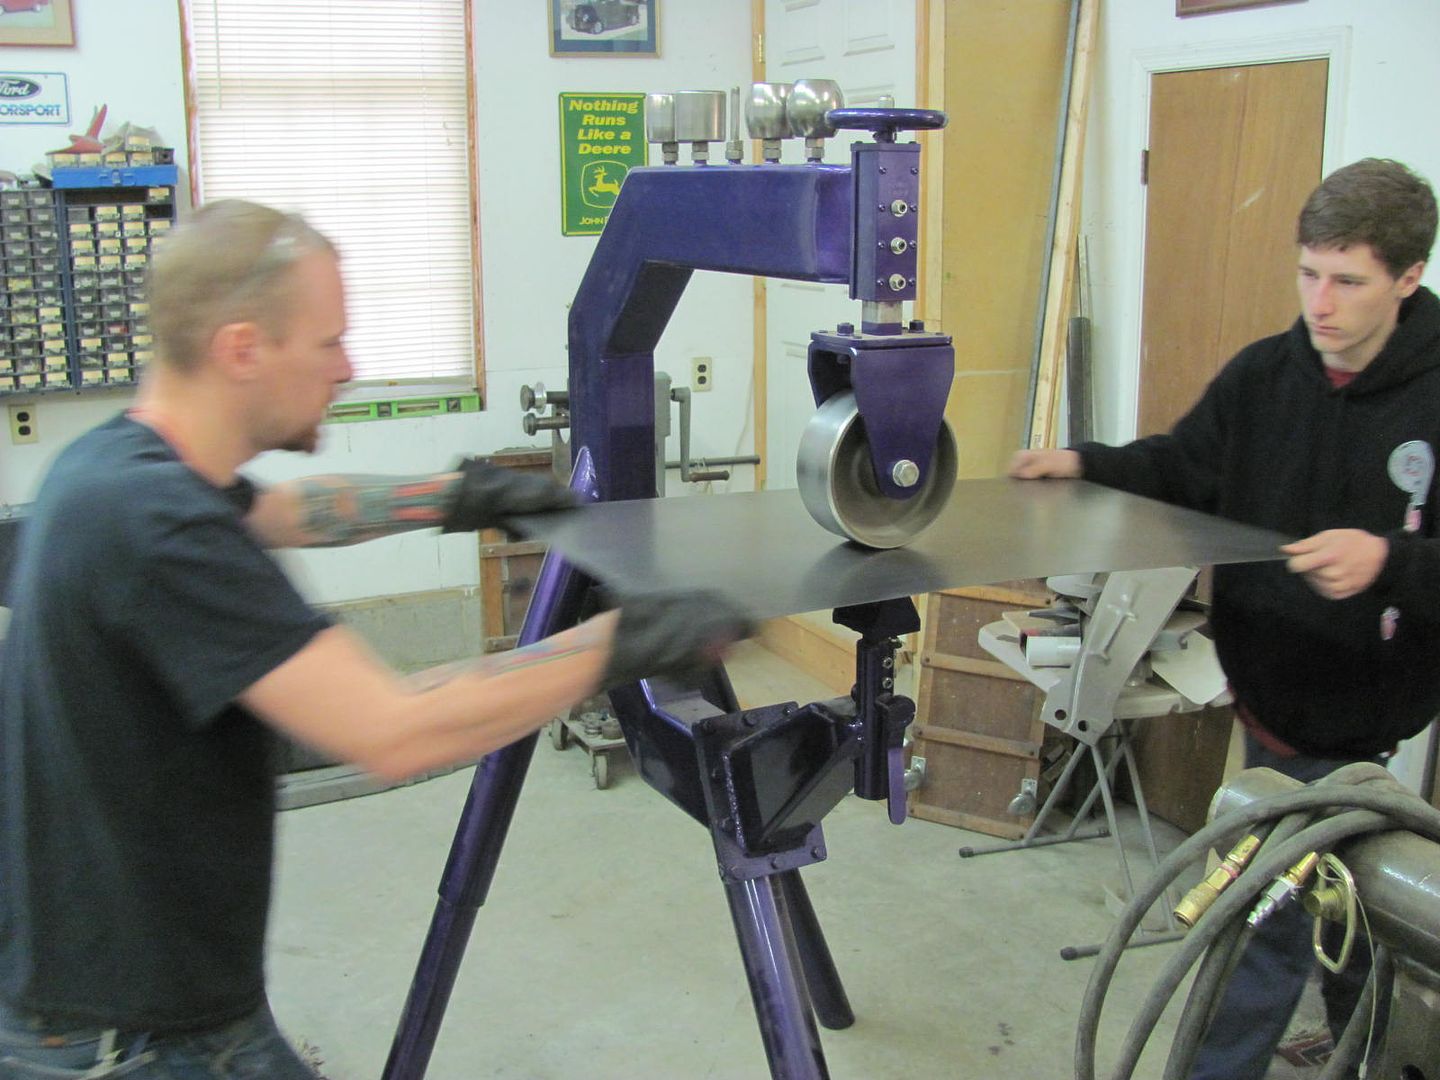
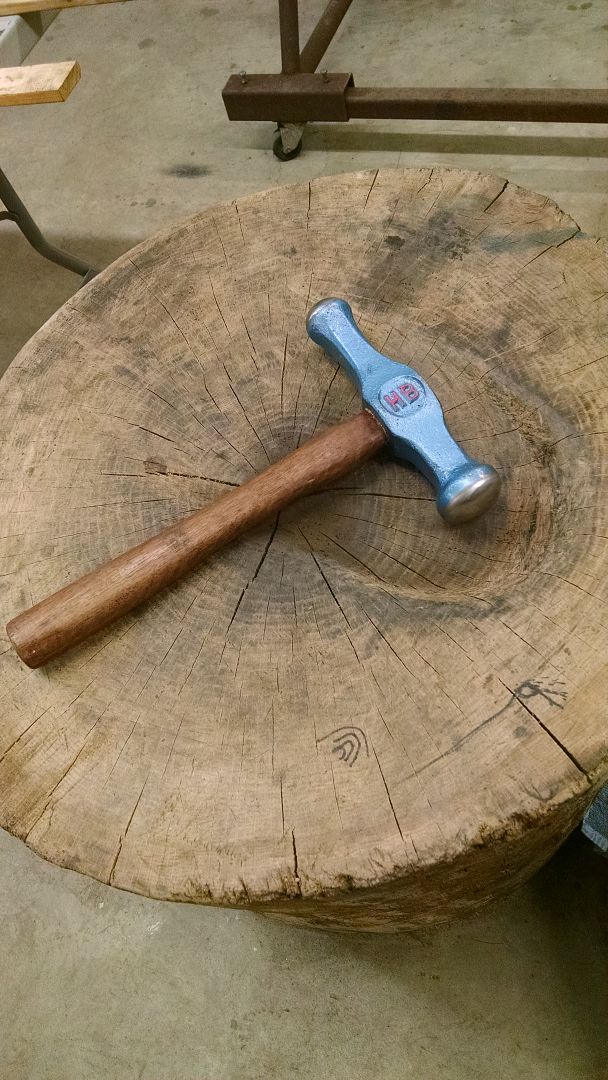
Took delivery yesterday of a Blocking Hammer from Peter Tommasini. To give you an idea of the size of this beast, the stump is 24" in diameter..