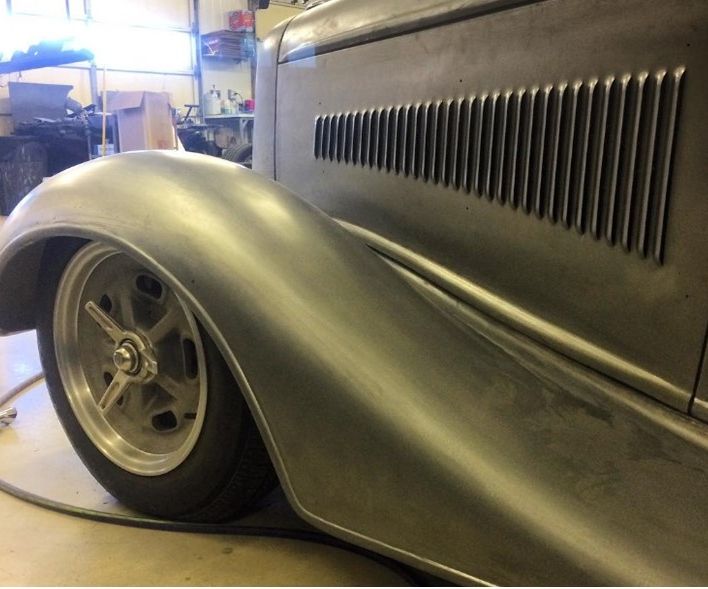
Thanks for the comments everyone. Want to thank Dave Russell (D-Russ on the HAMB) for giving us the referral at Jalopyrama (we couldn't make it this year) and especially to Cody and Dave Thomas (the car owner) for bringing us the challenge. Great to work with Cody if even just for a day, you get a good feel for his eye for detail......if you didn't get it from looking at his build thread.

You are using an out of date browser. It may not display this or other websites correctly.
You should upgrade or use an alternative browser.
You should upgrade or use an alternative browser.
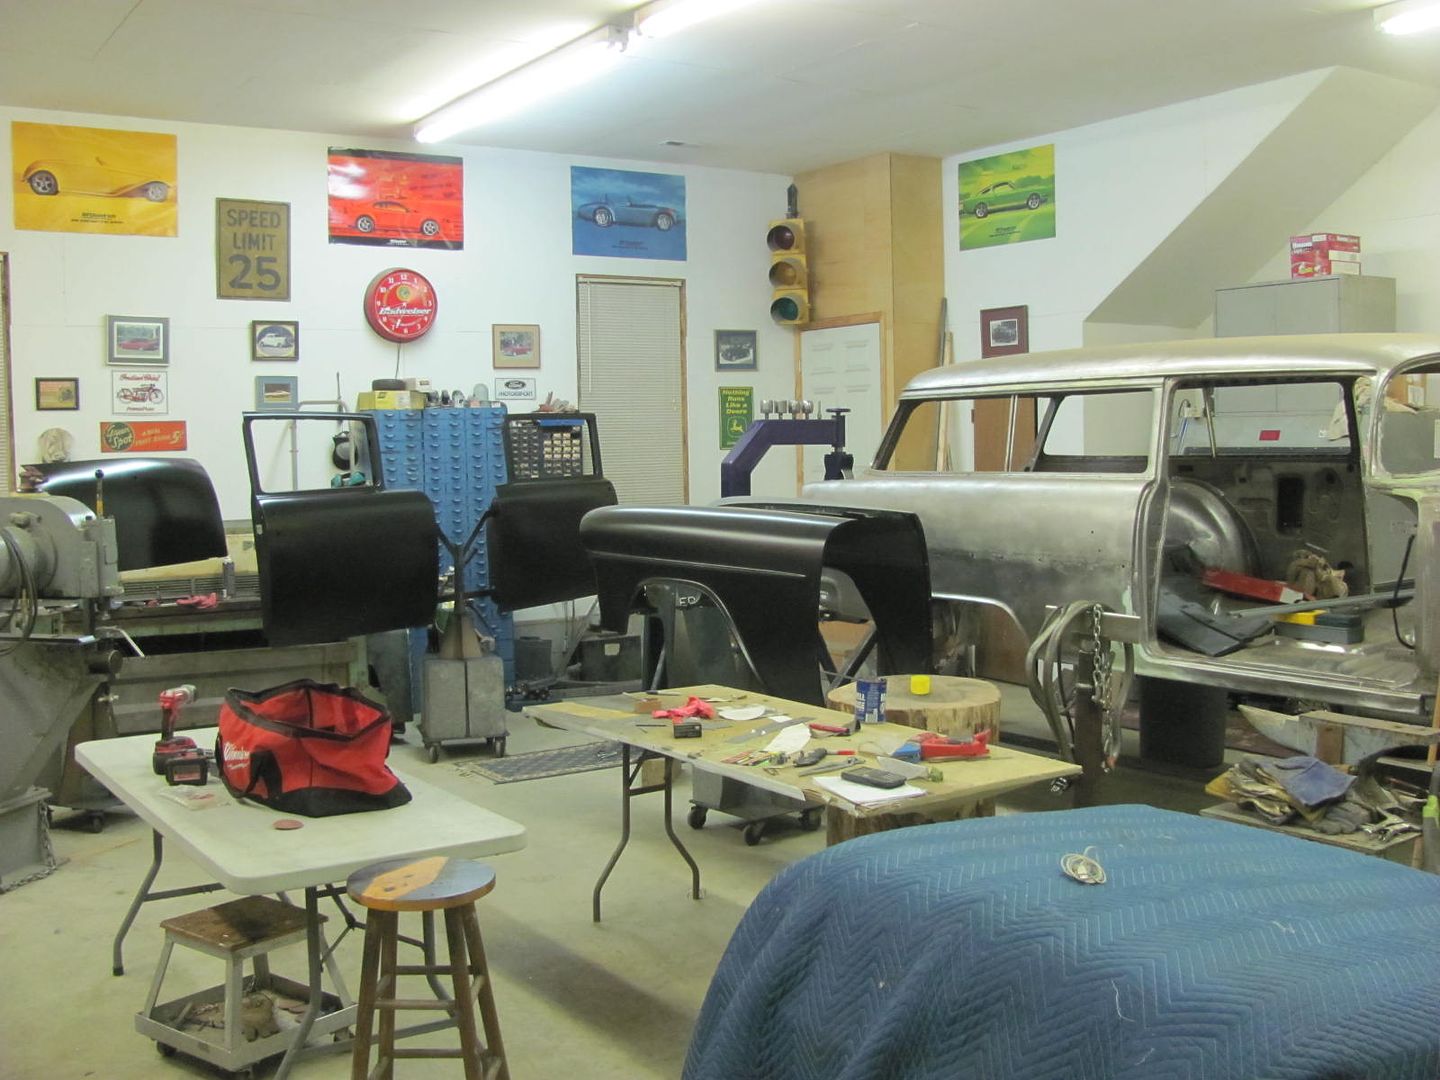
MP&C Shop Projects
- Thread starter MP&C
- Start date
Kevin54
MEMBER EMERITUS
After reading and getting all caught up, I now need to wipe the drool off of my keyboard. 
As usual...fantastic work. And it looks like your helper is doing a great job also.
As usual...fantastic work. And it looks like your helper is doing a great job also.
Nor'Easter
Well-known member
Robert how are you cleaning the welds before throwing down epoxy primer? My preferred method is blasting but hard to do when it's on a large piece (or attached to a bus).
zmotorsports
ALLIANCE MEMBER
Wow, just wow. So much skill and talent.
Wow is right. I am in awe any time I tune into Roberts thread for an update.
Amazing talent and workmanship.
Mike.
zmotorsports
ALLIANCE MEMBER
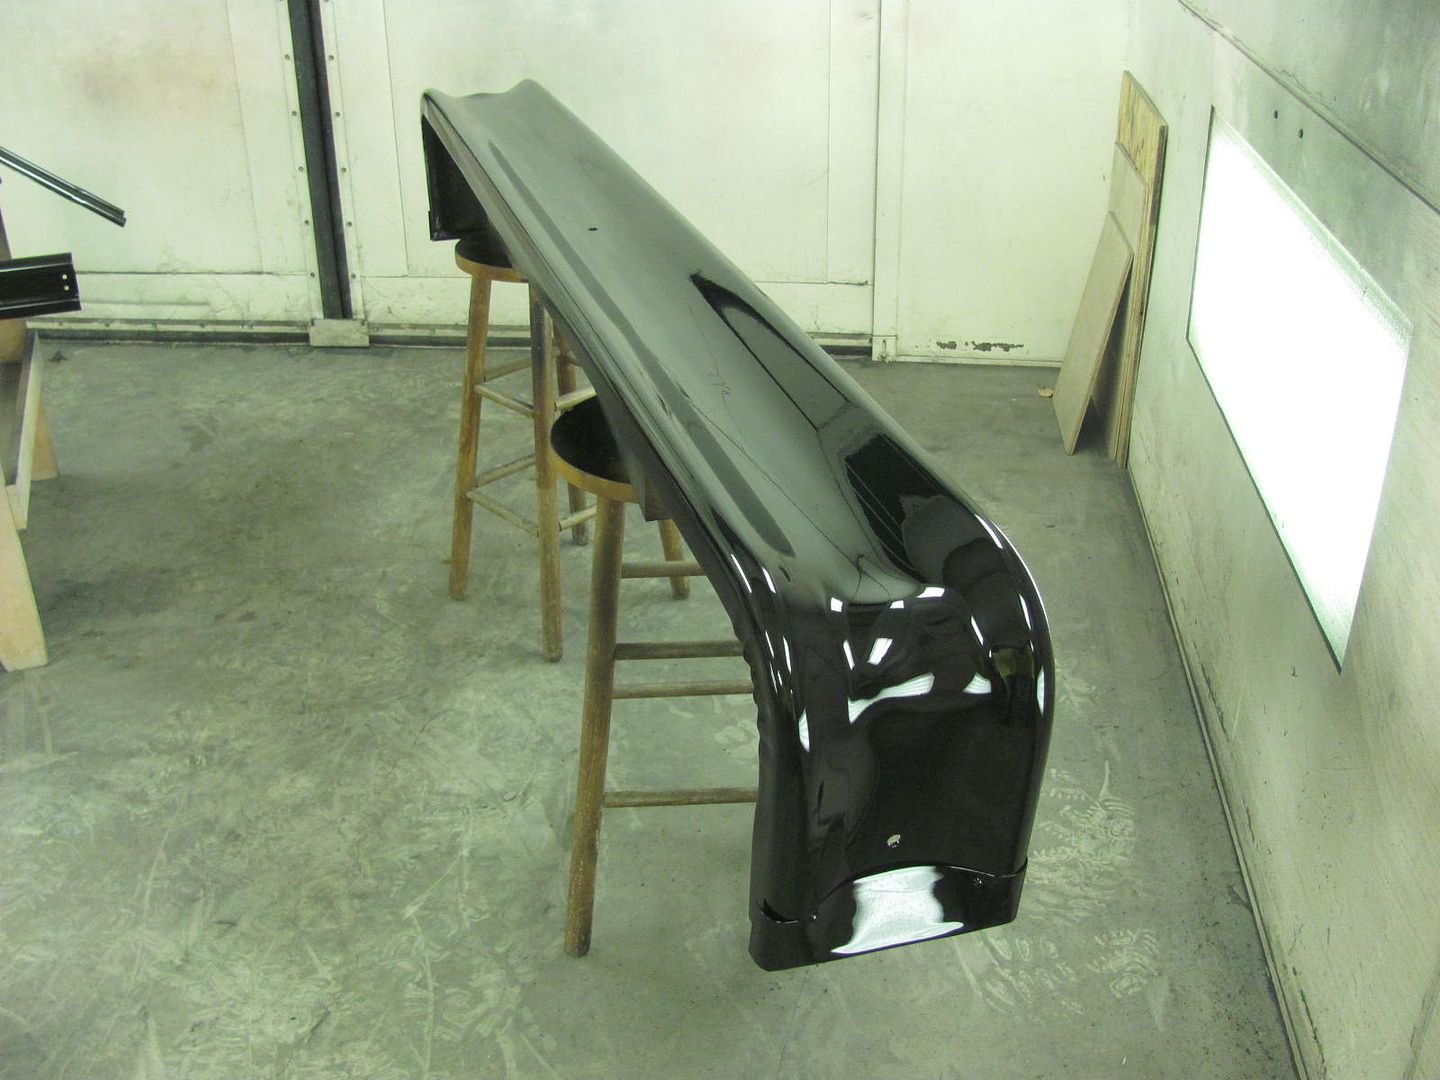
That turned out great Robert. The fitment around the perimeter and the reveal along the bottom match up fantastic.
Mike.
Mike.
Got some paint on the bus parts tonight....
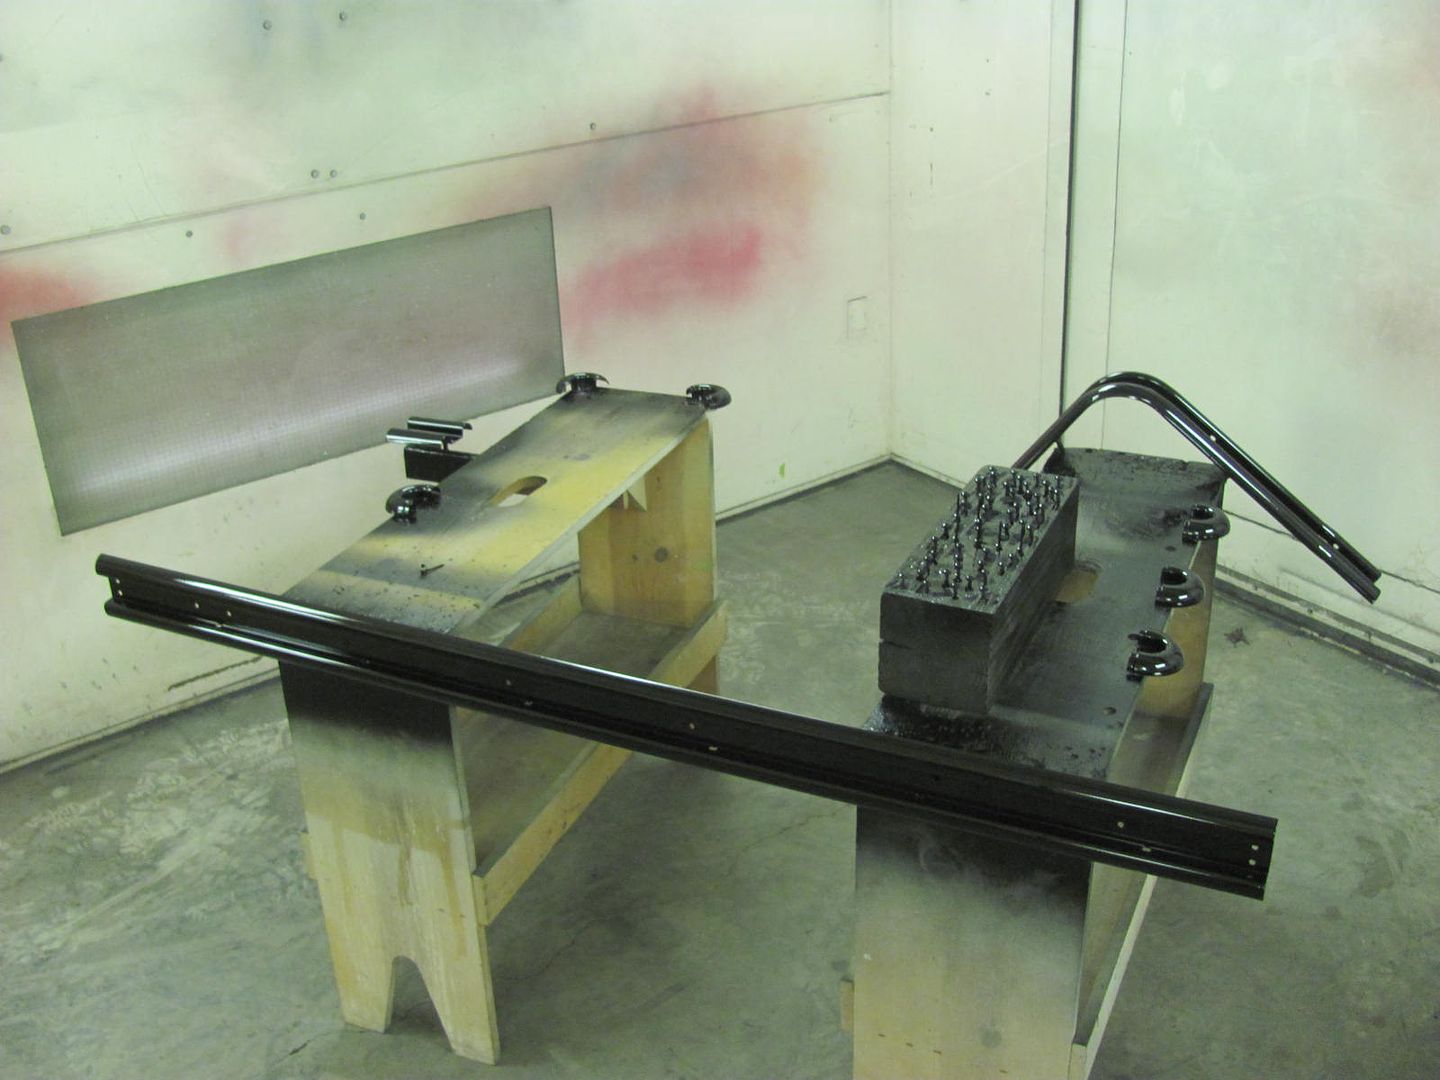
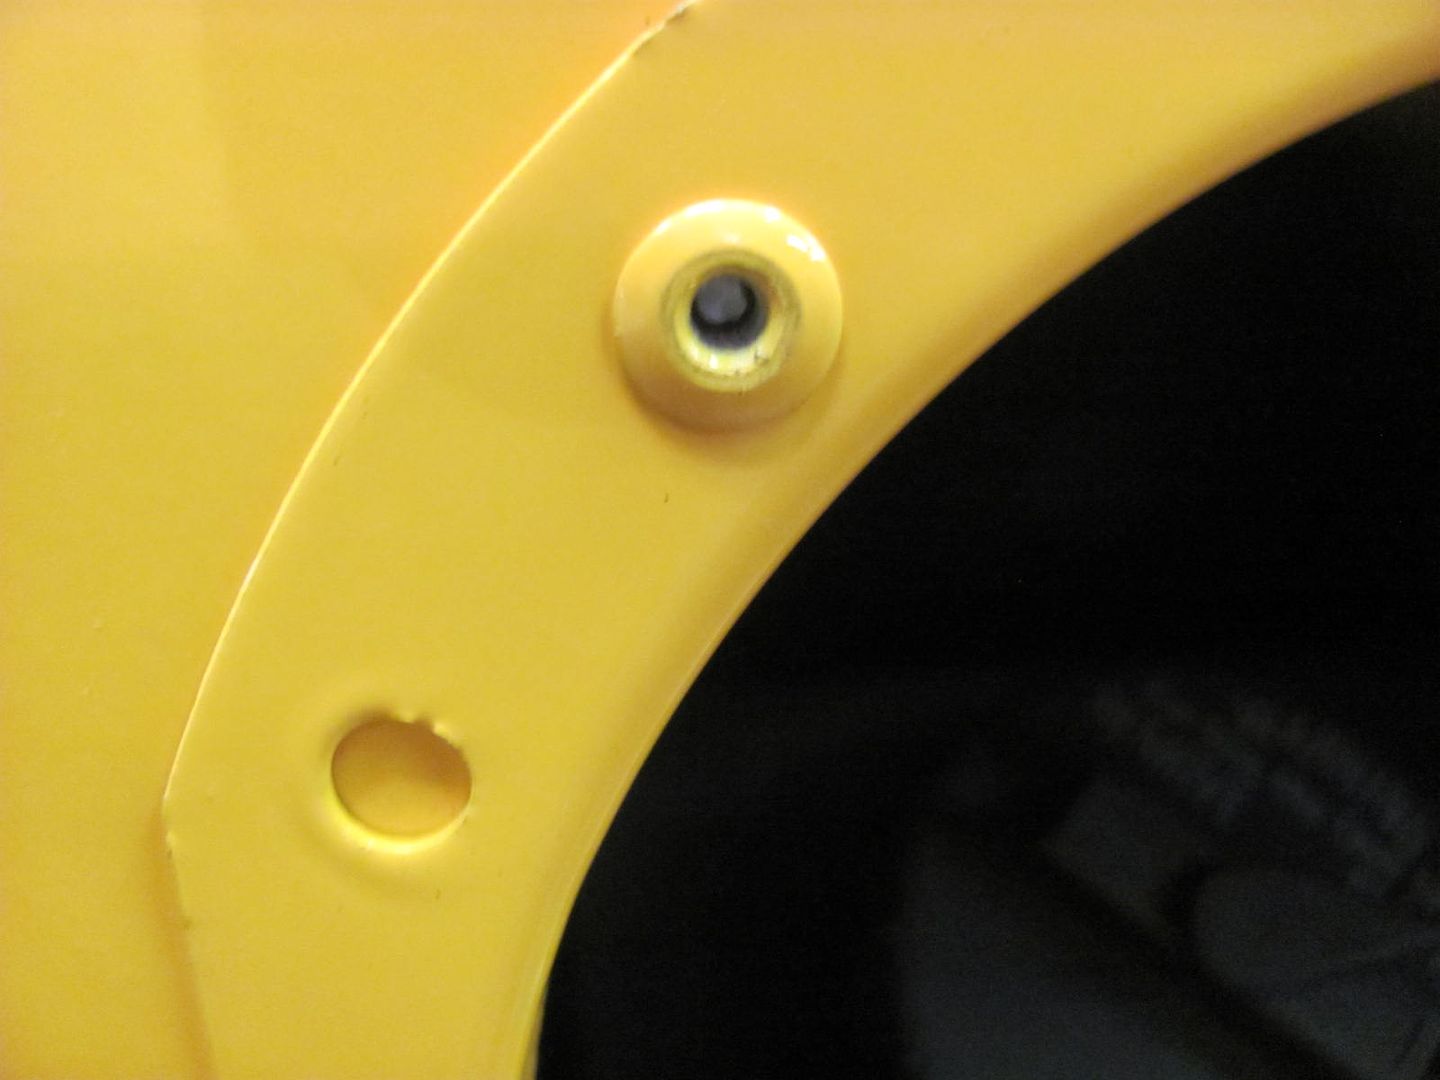
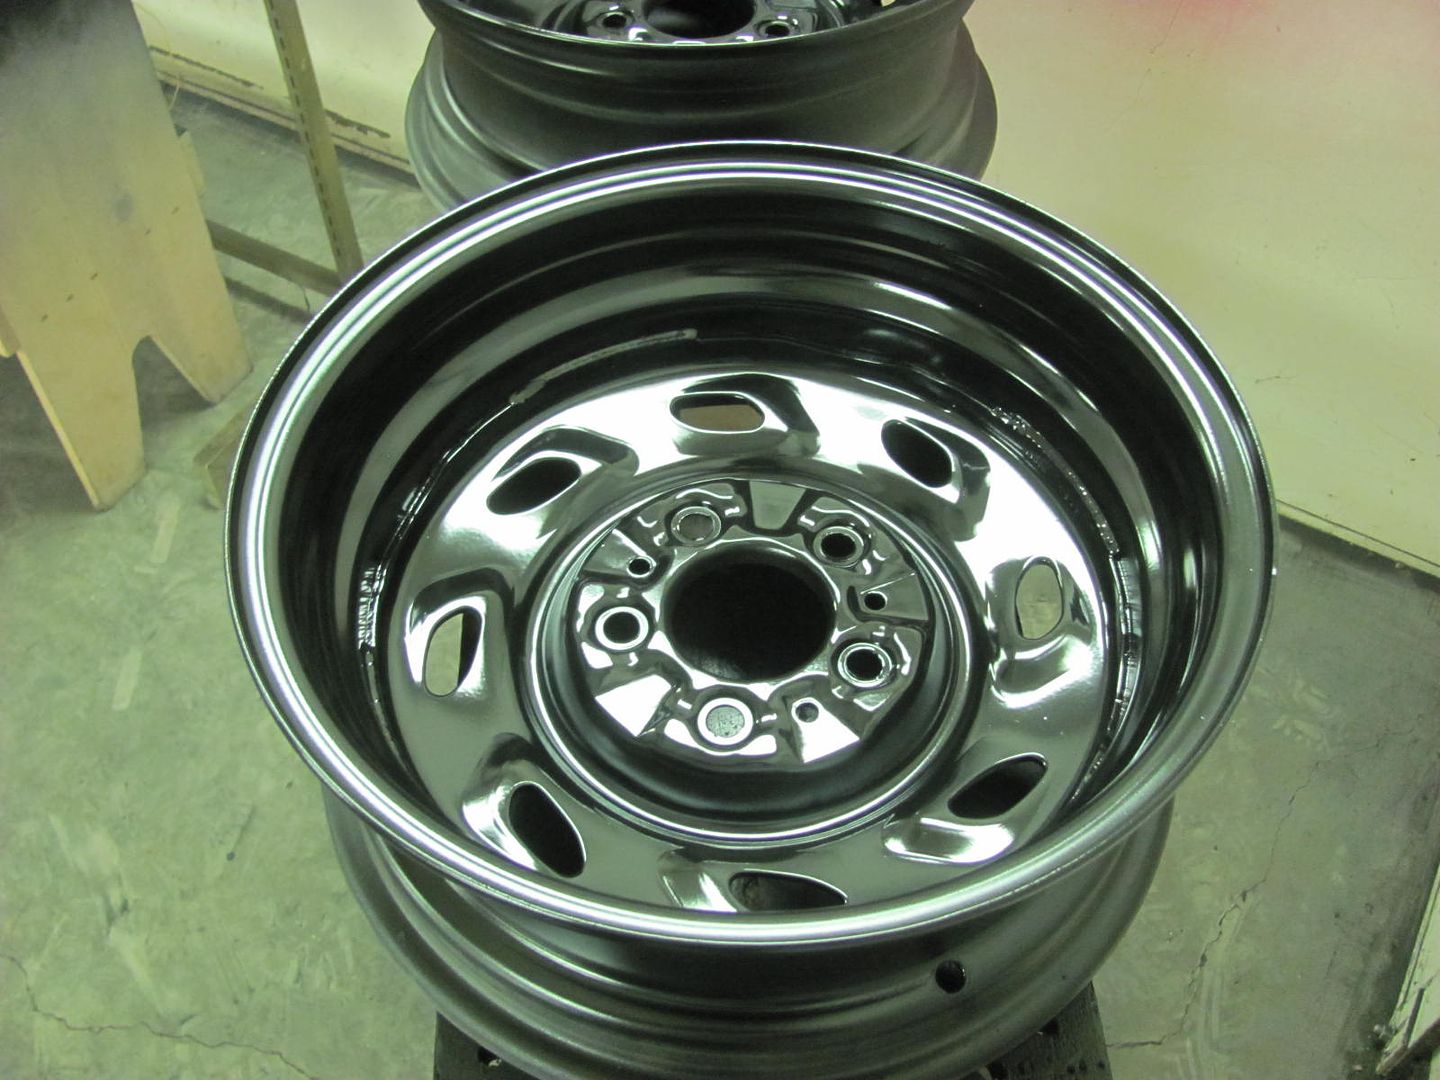
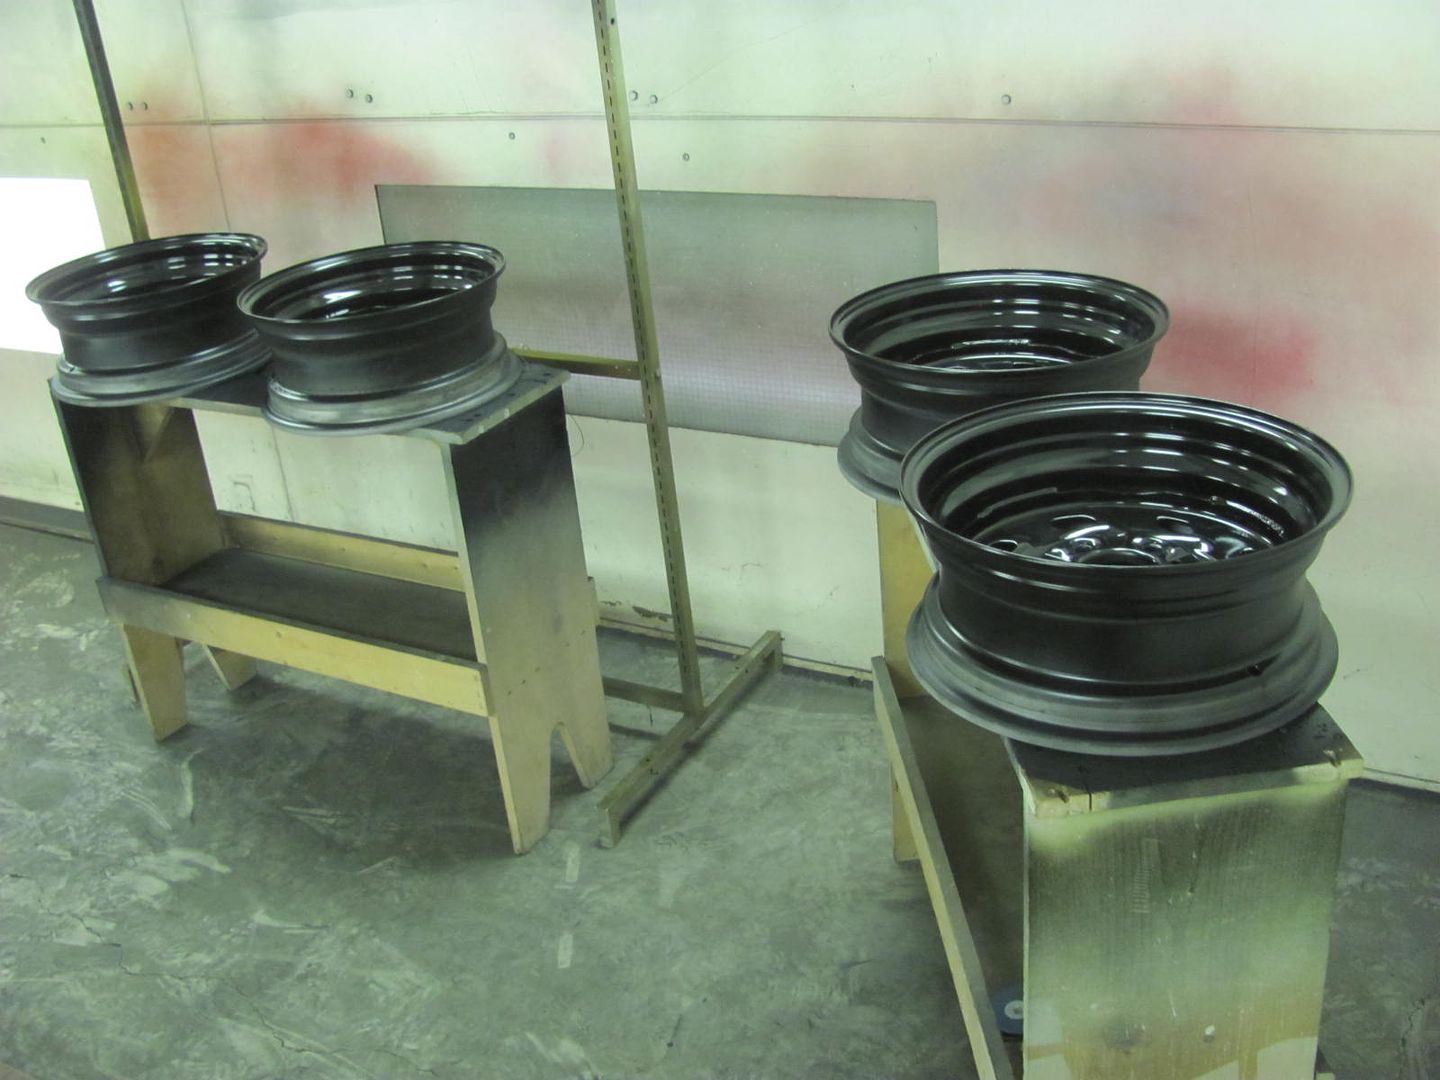
For the hardware, we media blast the heads using 80 grit garnet media and then paint the urethane directly on the bare metal using NO primer..... I've found that more build thickness makes for easier chips. This method seems to hold up well, even using drill/drivers for installation.
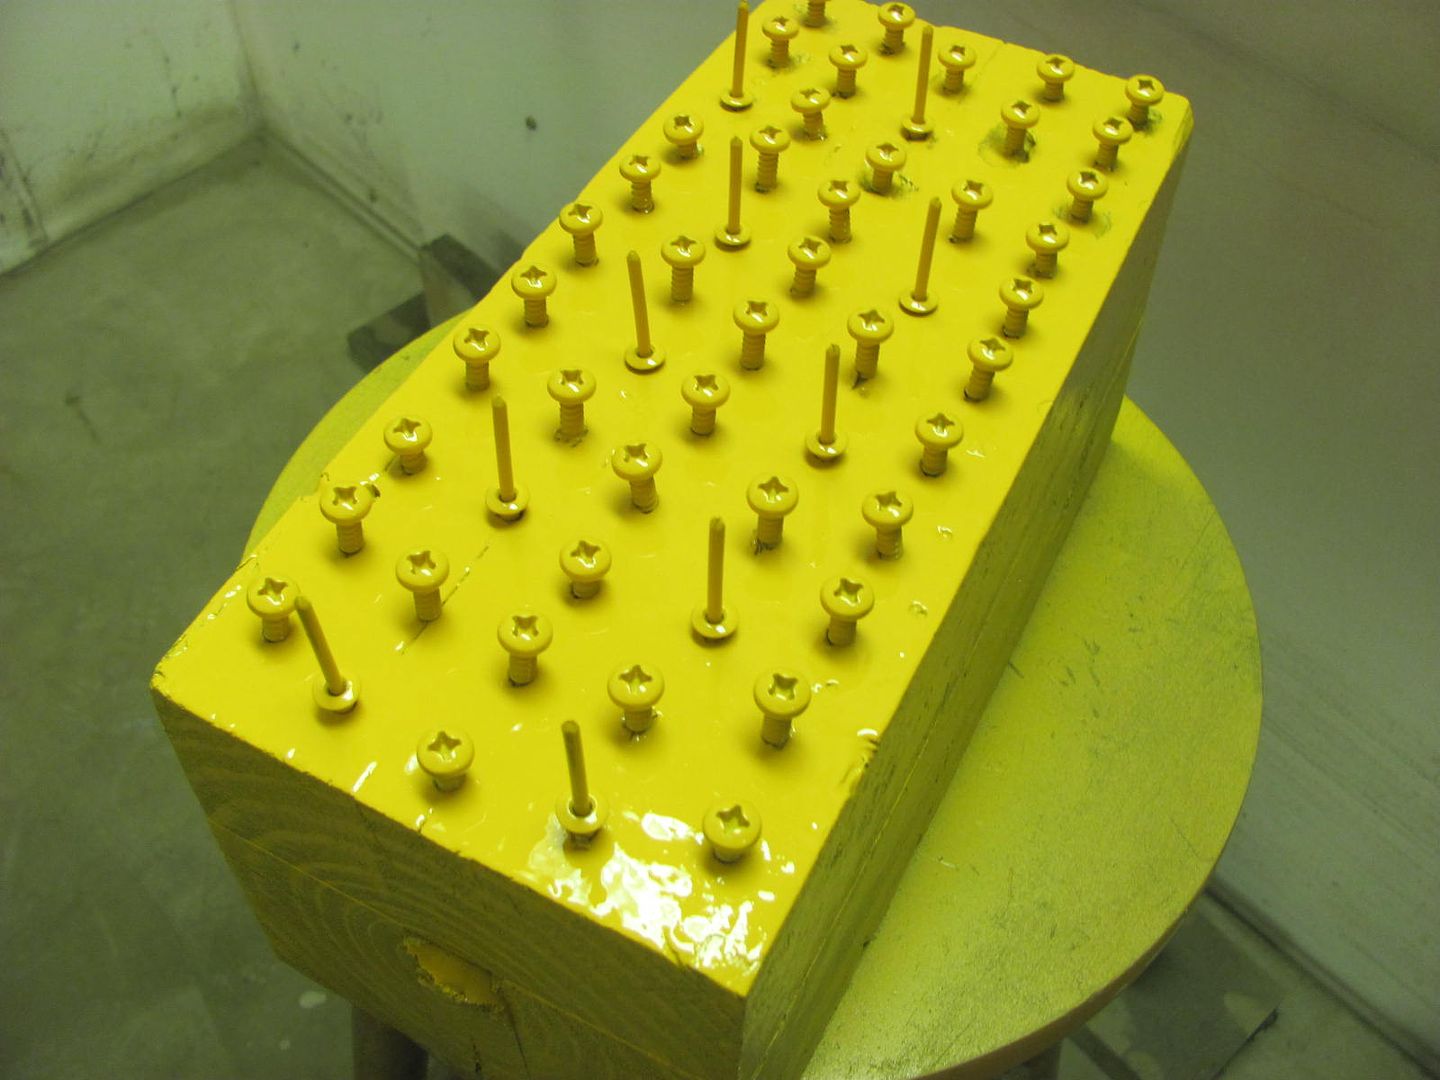
For the hardware, we media blast the heads using 80 grit garnet media and then paint the urethane directly on the bare metal using NO primer..... I've found that more build thickness makes for easier chips. This method seems to hold up well, even using drill/drivers for installation.
Last edited:
larry4406
Well-known member
Robert - those louvers are bad ***!!! Truly inspiring work! Keep it up.
bulletpruf
Well-known member
Does anyone else here get the idea that having Robert doing the bodywork on a school bus is overkill? Kind of like Moses dropping by your Sunday school class to chat about the 10 commandments?
zmotorsports
ALLIANCE MEMBER
Robert, I apologize if you have answered this before, but do you use a single stage urethane on the screws/bolts or a BC/CC urethane? I've used both but the BC/CC seems to chip way too easy due to the thickness, but there are times when I couldn't match up the color close enough OR I simply didn't want to purchase some single stage when I already had the BC/CC color.
Thoughts/opinions?
Mike.
Thoughts/opinions?
Mike.
Actually Mike I don't even use primer on the hardware to try and keep the build down. This is single stage (catalyzed) BASF urethane that he gets from the Thomas dealer. The screws I pick up from the local ACE, stainless so they won't rust, then media blast the heads. they get about two coats, and I've found these don't do too bad for chipping. As you said, you don't want much more in build thickness or you're asking for it..
Last edited:
JC23
Well-known member
Thanks guys, and if it's any consolation, while taking the bus apart in the owner's shop, we did discuss with him how we NEED to paint flames on one of his buses..
All RIGHT!
SteveH-CO
Well-known member
Does anyone else here get the idea that having Robert doing the bodywork on a school bus is overkill? Kind of like Moses dropping by your Sunday school class to chat about the 10 commandments?
I was thinking that last week! Perhaps one day, the rear corner of that bus will be on display at the Henry Ford in Dearborn.
I was thinking that last week! Perhaps one day, the rear corner of that bus will be on display at the Henry Ford in Dearborn.
zmotorsports
ALLIANCE MEMBER
Actually Mike I don't even use primer on the hardware to try and keep the build down. This is single stage (catalyzed) BASF urethane that he gets from the Thomas dealer. The screws I pick up from the local ACE, stainless so they won't rust, then media blast the heads. they get about two coats, and I've found these don't do too bad for chipping. As you said, you don't want much more in build thickness or you're asking for it..
Thanks for the response Robert. Maybe that is where I am going wrong as I put a light coat of PPG's DP epoxy primer/sealer prior to the paint and then hit a couple of very light coats of color. My thinking with the DP is that it will create a good chemical bond as well as the mechanical bond after bead blasting. But then again, it is another layer of product which adds thickness.
Mike.
We normally put those screws in with a cordless drill during re-assembly, and that is about the best test going, how the hardware reacts to driver-bits. We were using epoxy on the panels and hardware alike and had those same chipping issues. Direct spraying the urethane over the blasted hardware seems to work the best, in our experience with these.
Ohmthis
Well-known member
I learn something new everyday here. Mike, thanks for throwing that question out on the paint chipping. Robert, thanks for giving us the little details also. Your answer could have easily been, "just use single stage paint".
zmotorsports
ALLIANCE MEMBER
We normally put those screws in with a cordless drill during re-assembly, and that is about the best test going, how the hardware reacts to driver-bits. We were using epoxy on the panels and hardware alike and had those same chipping issues. Direct spraying the urethane over the blasted hardware seems to work the best, in our experience with these.
Thanks Robert. I am going to try to skip the DP epoxy step and just shoot the color and see how it goes.
Thanks again and I really enjoy seeing your talent put to use.
Thank you for posting.
Mike.
ScubaSteve
Well-known member
What kind of media blaster are you using? Looks like you do it all outside versus a blast cabinet...seems like a good way to save space and keep the grit out of the shop!

HOTFR8
Banned
What is the idea of the steering wheel set up like that ?
Royce, good to see you drop by! I'll have to go check your update..
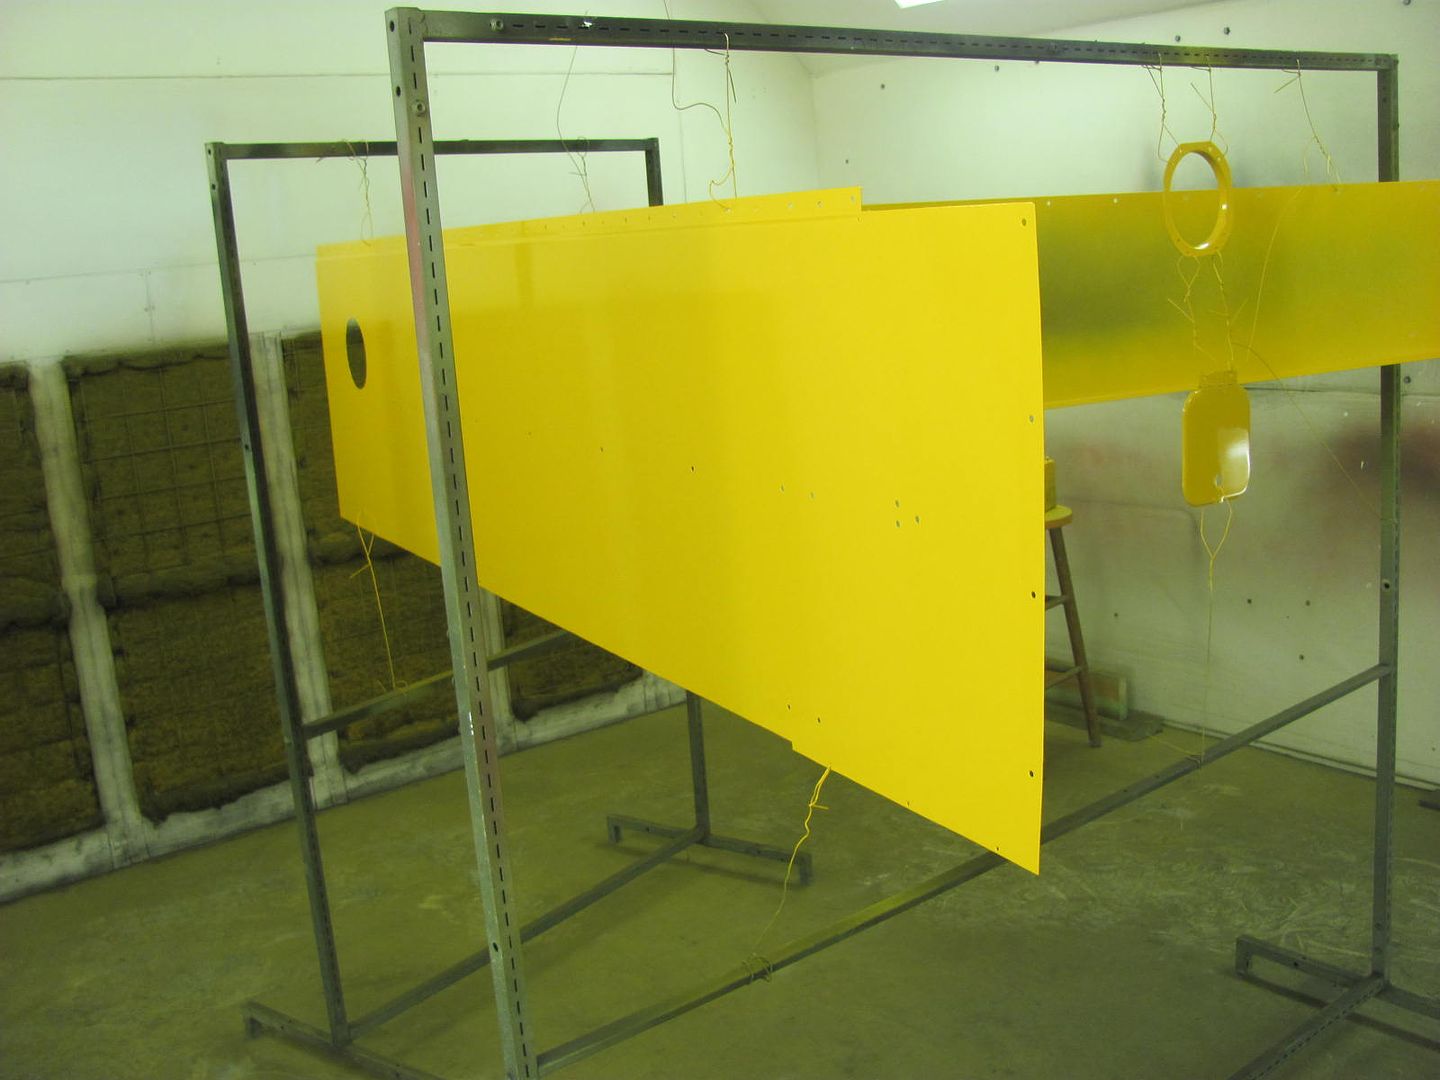
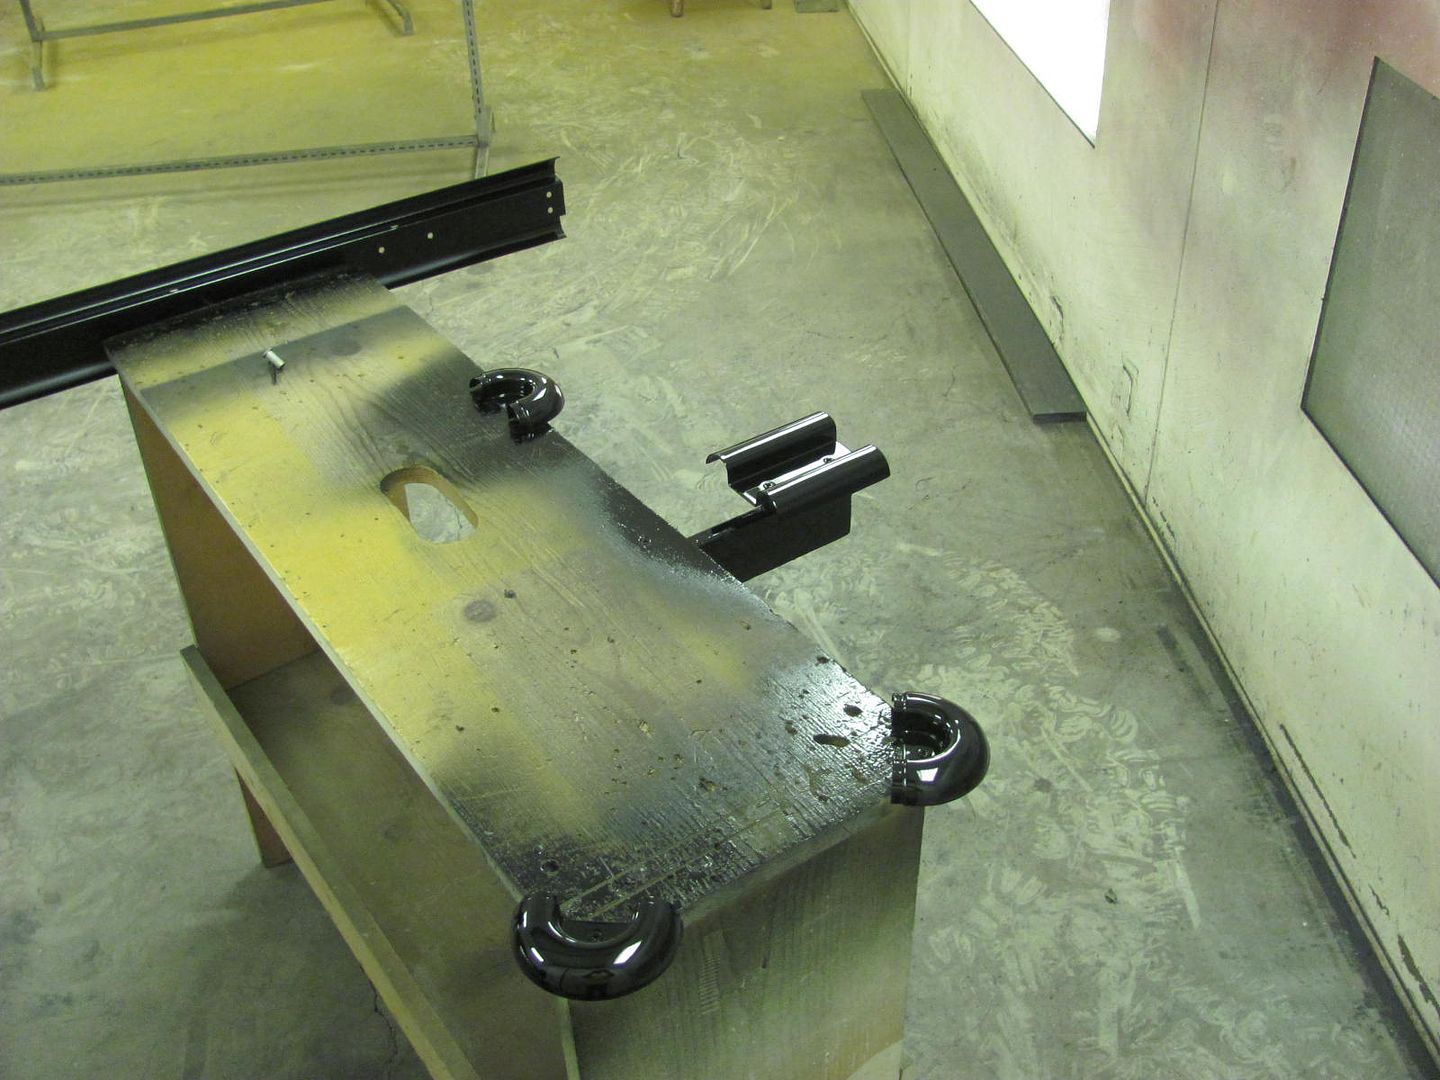
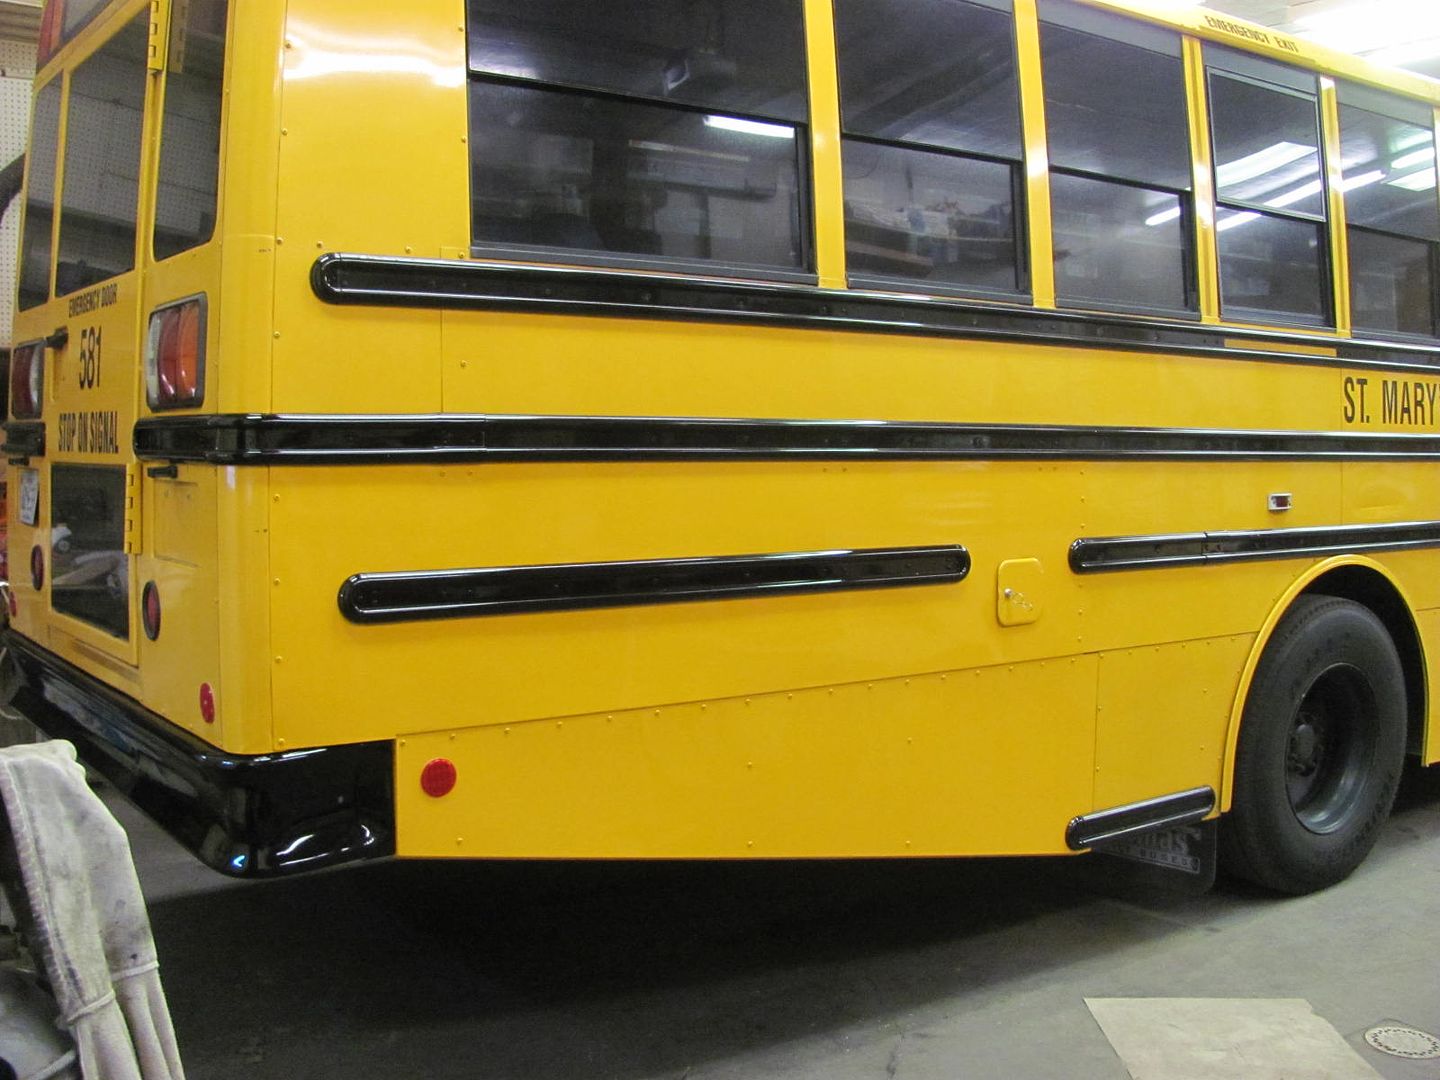
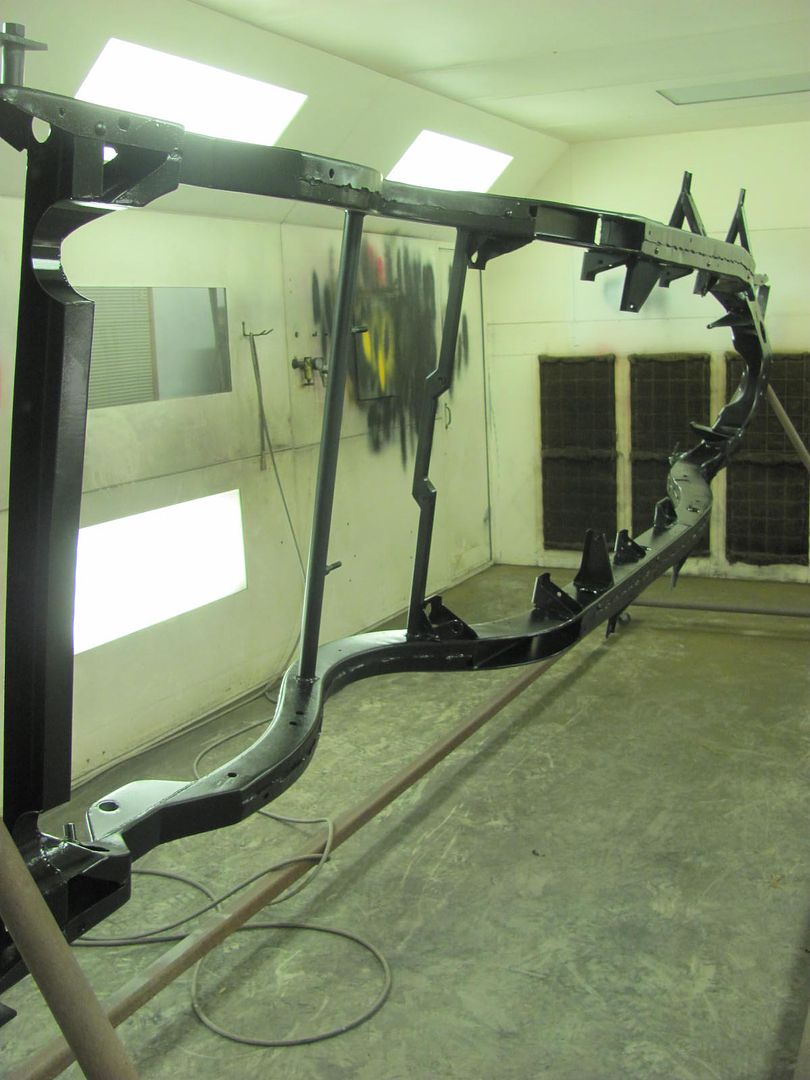
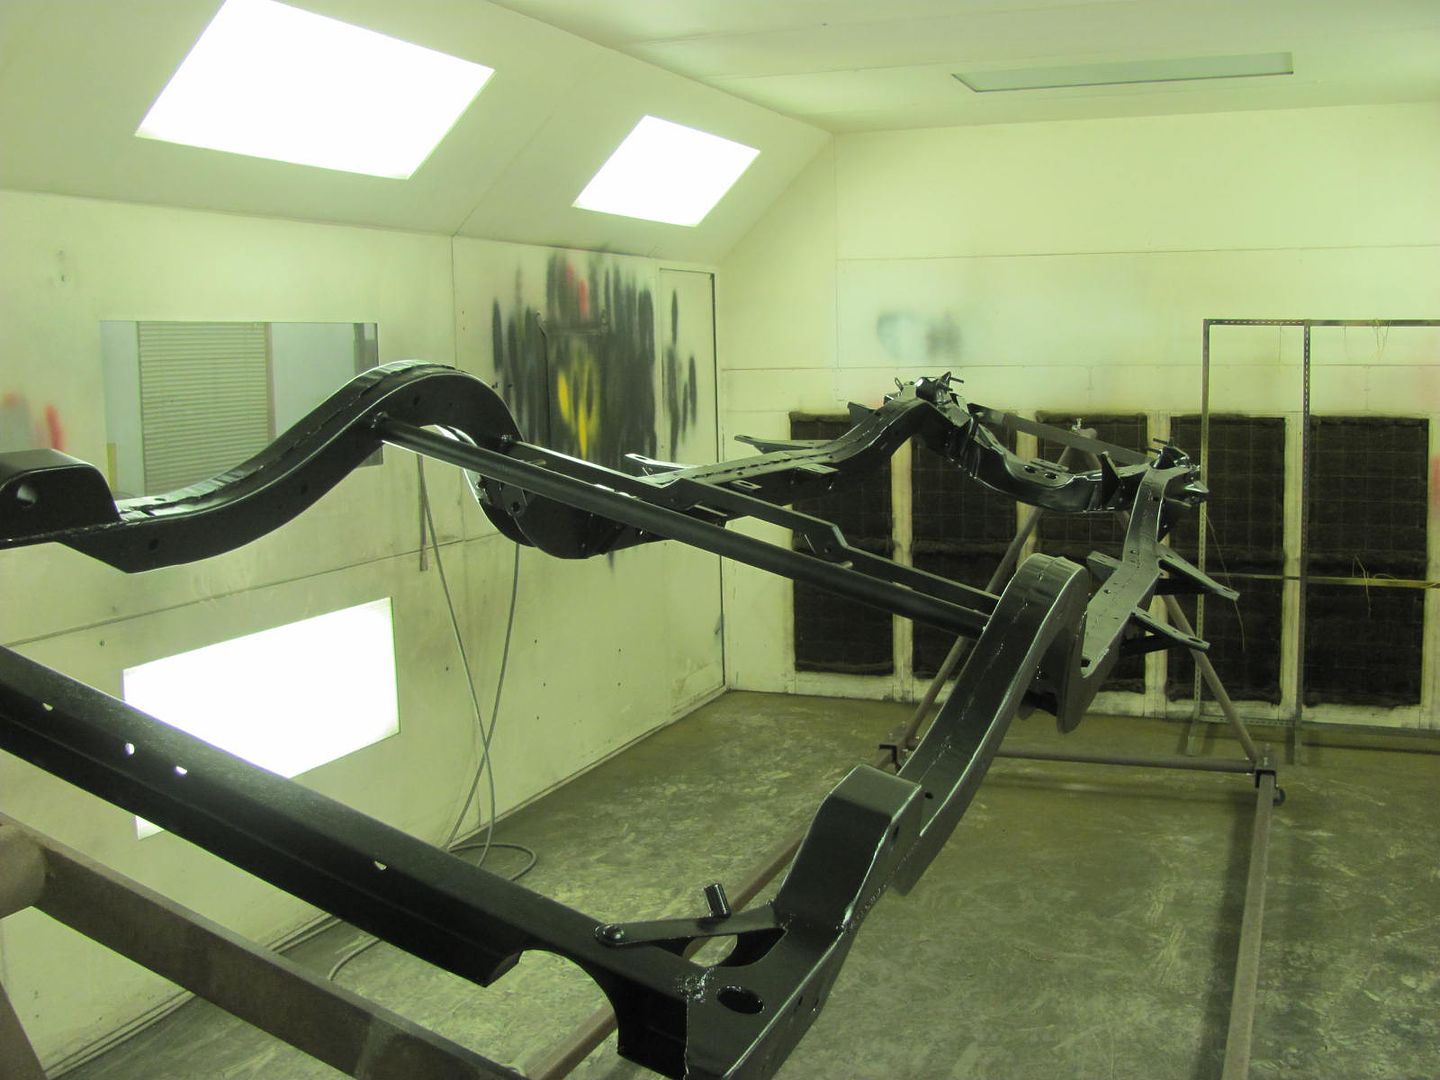
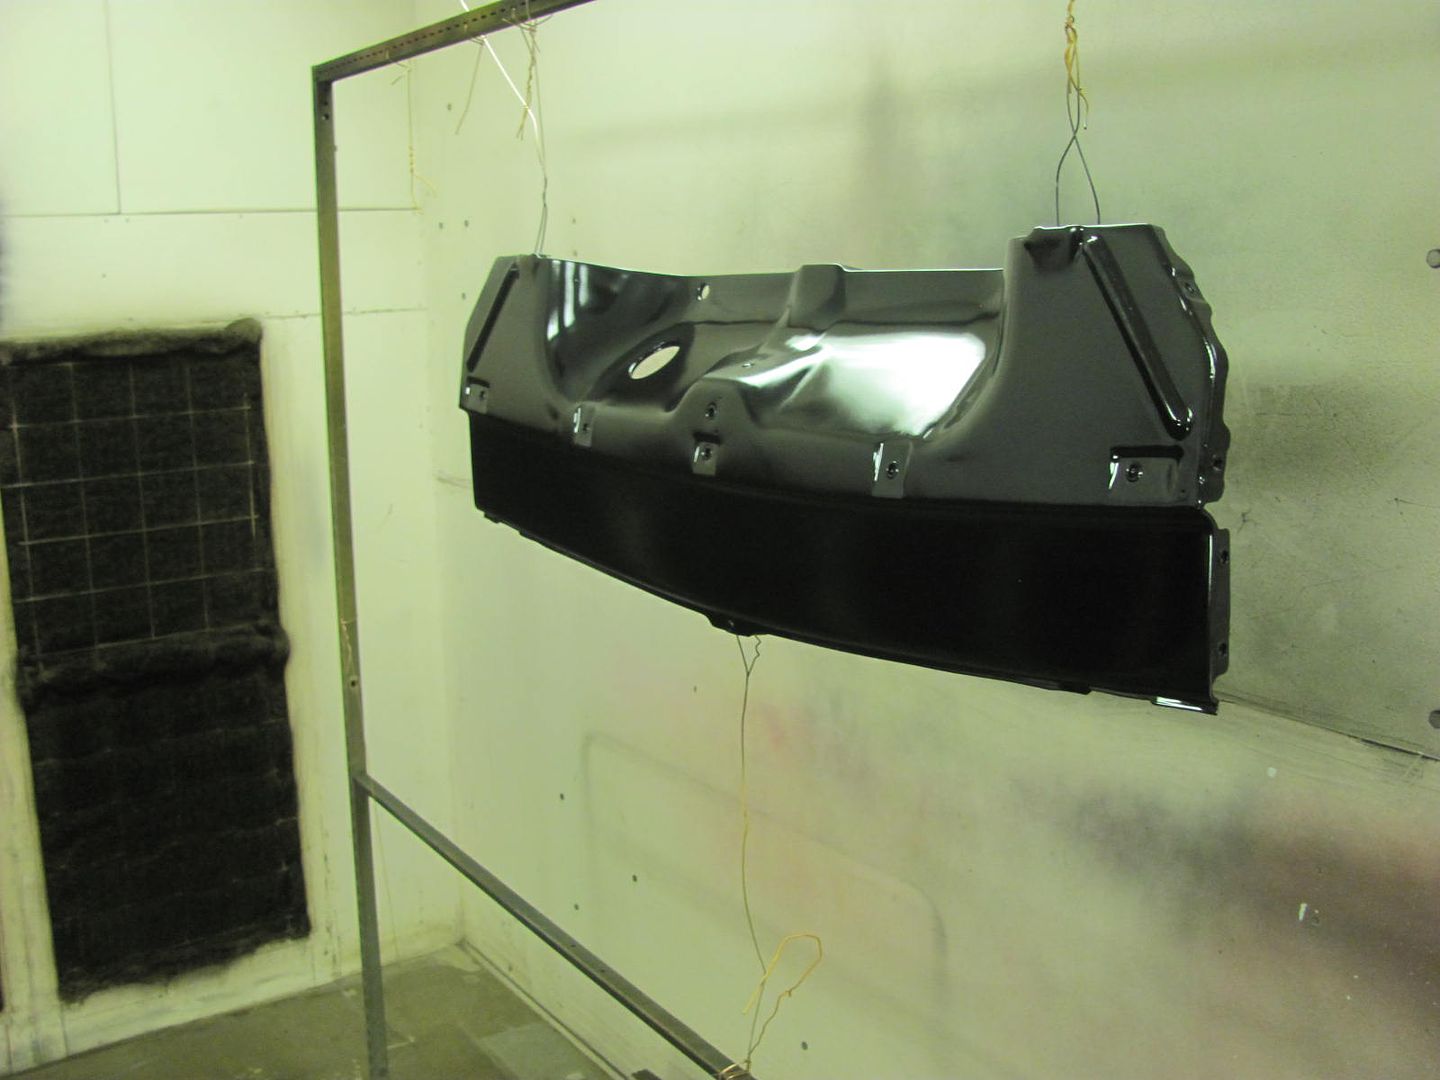
The other night while spraying parts, I made a couple trips over to the bus location with the spray gun... in between coats, to get some primer on the bare steel we put in... SPI epoxy on the structural components..
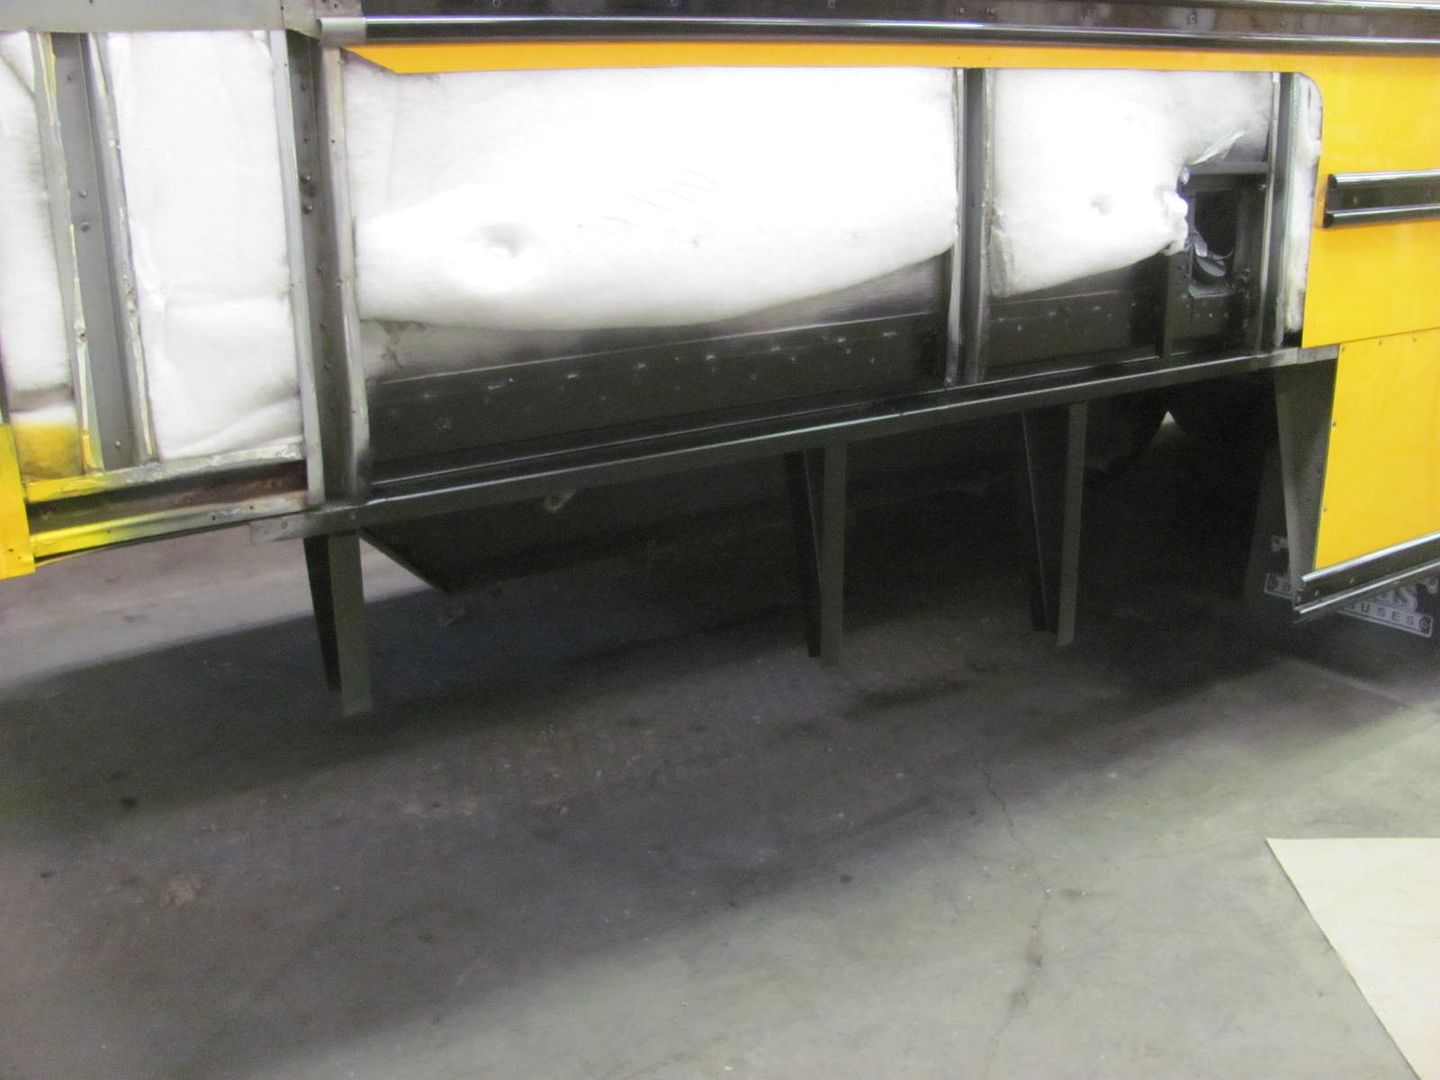
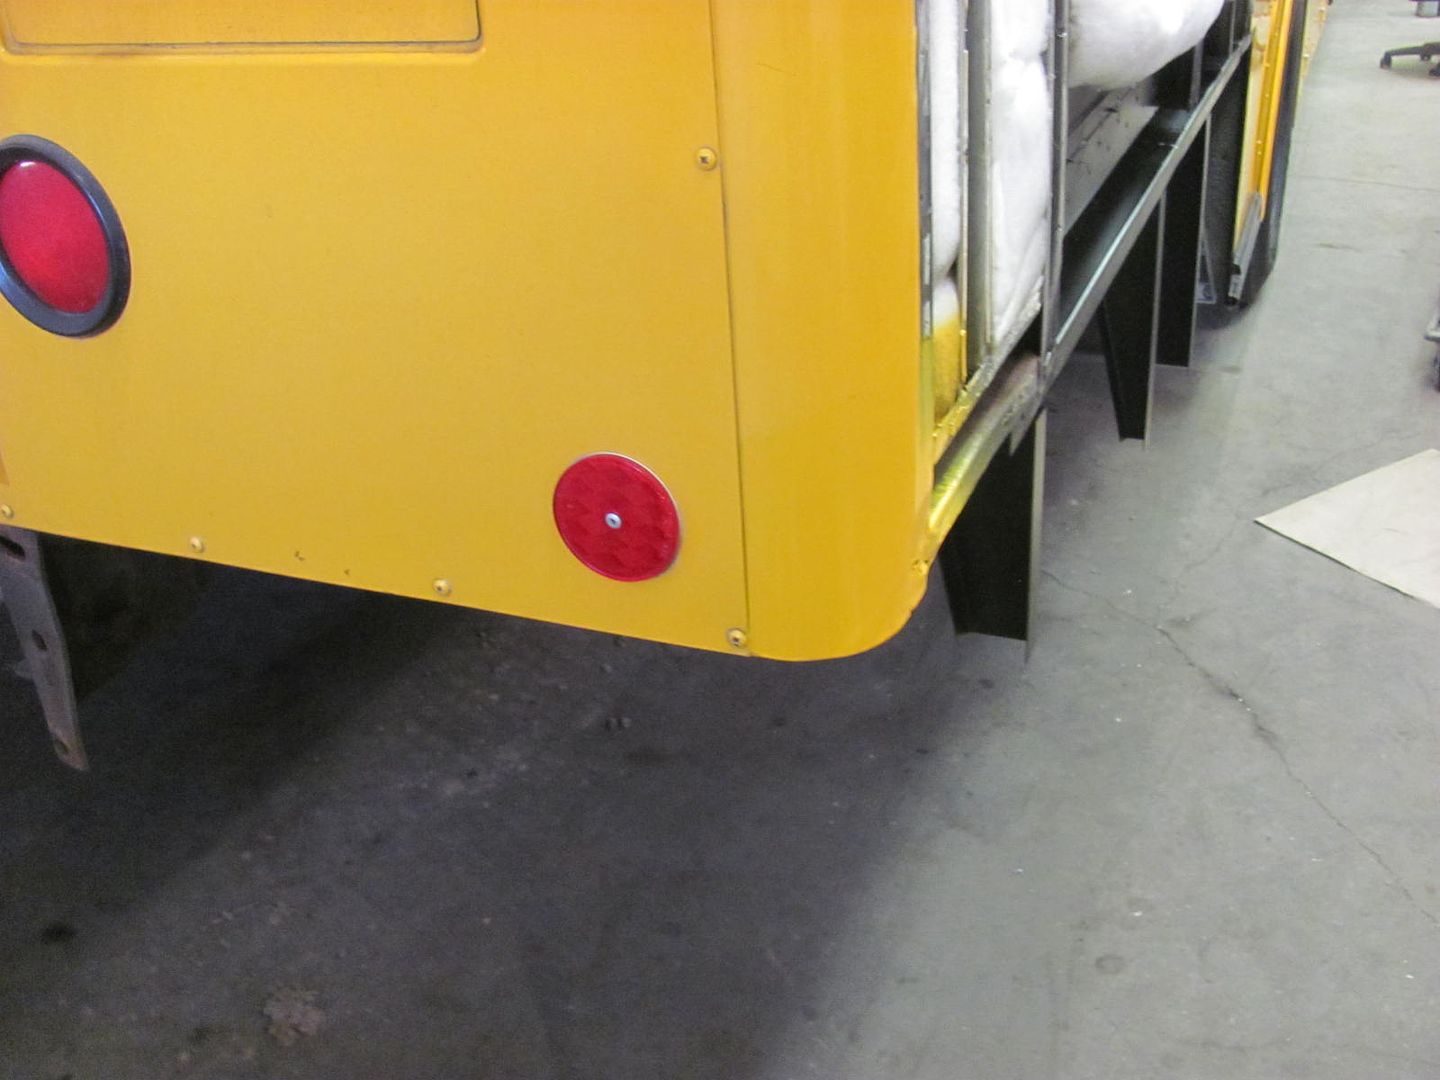
.....and some epoxy AND yellow added to the nice scraped up lower corner..
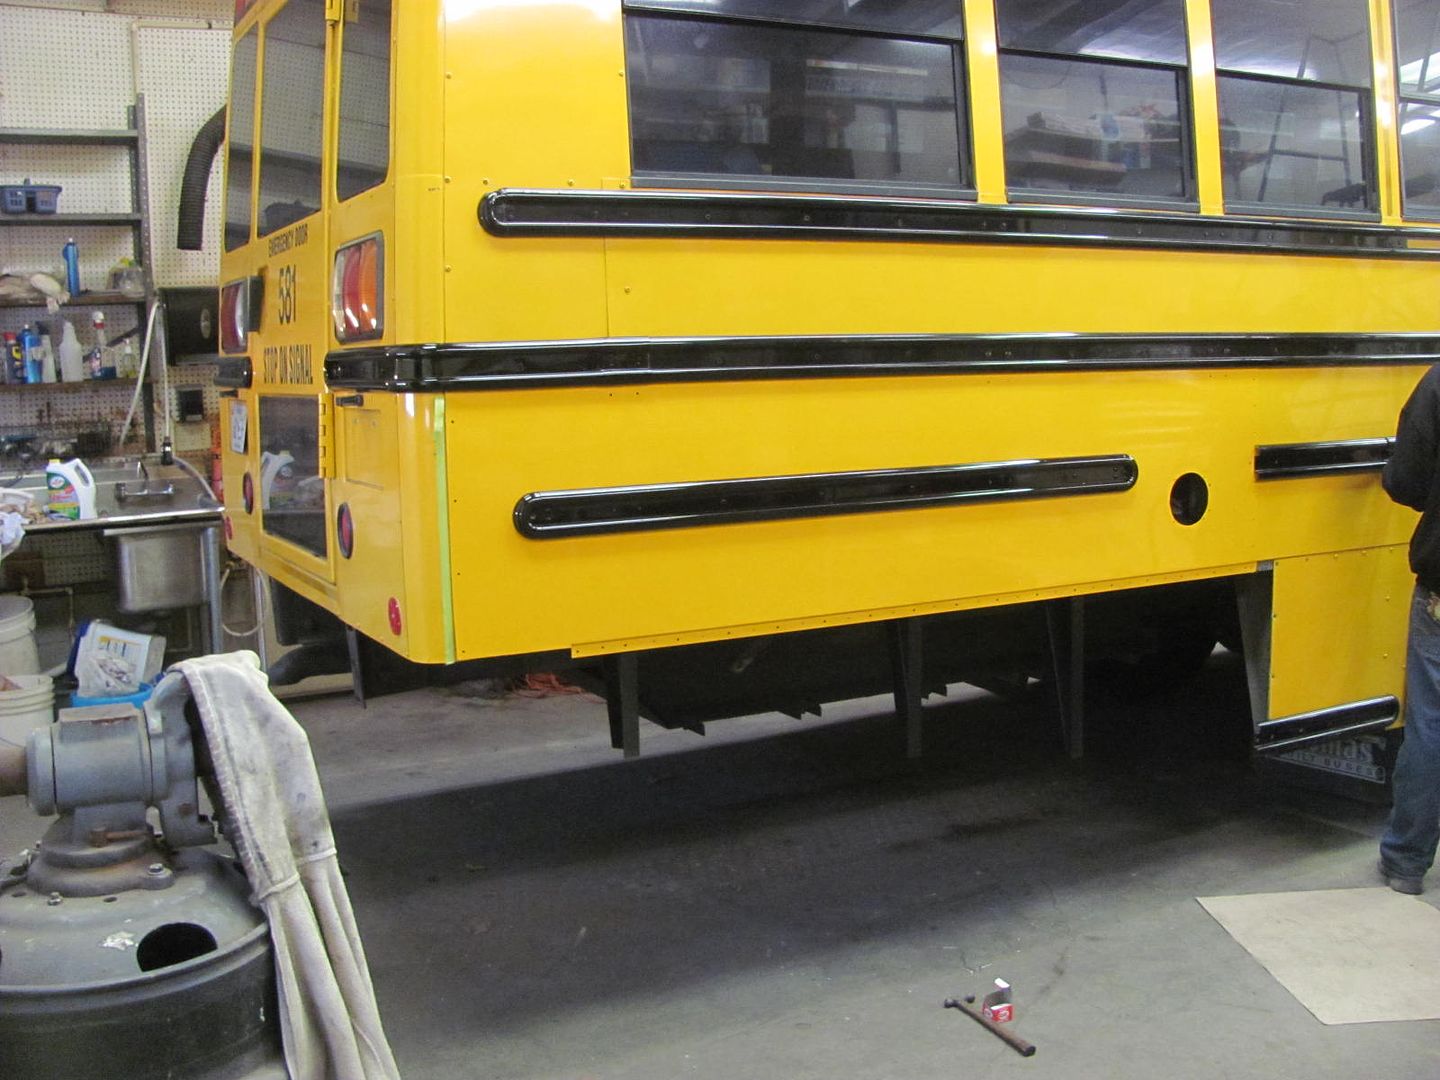
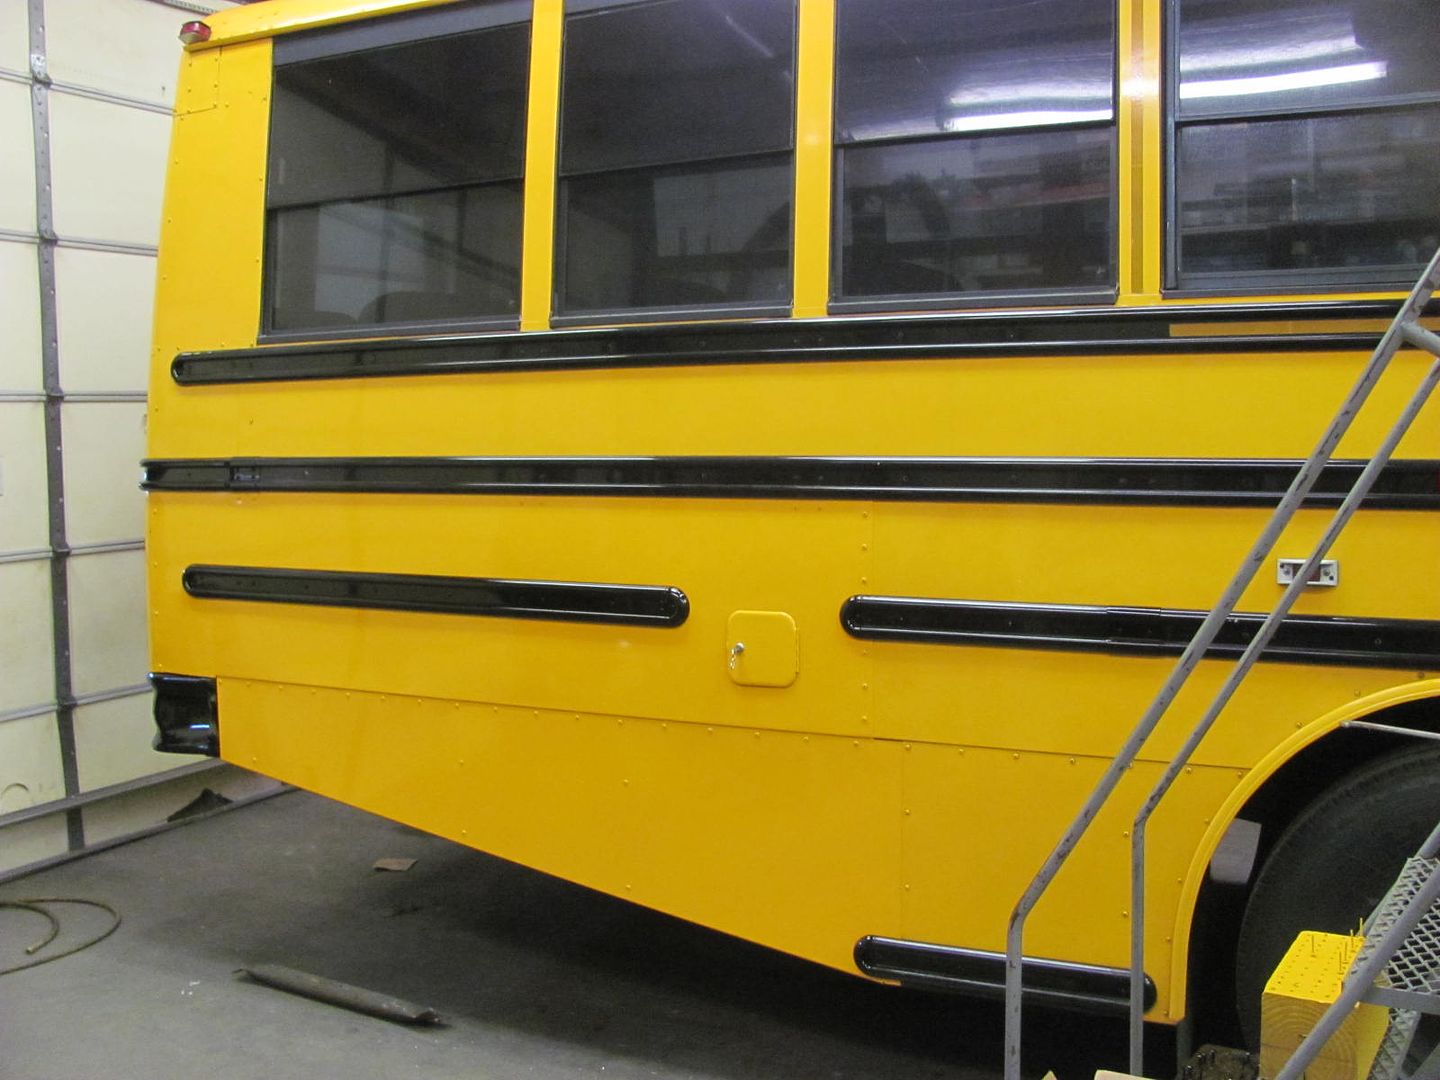
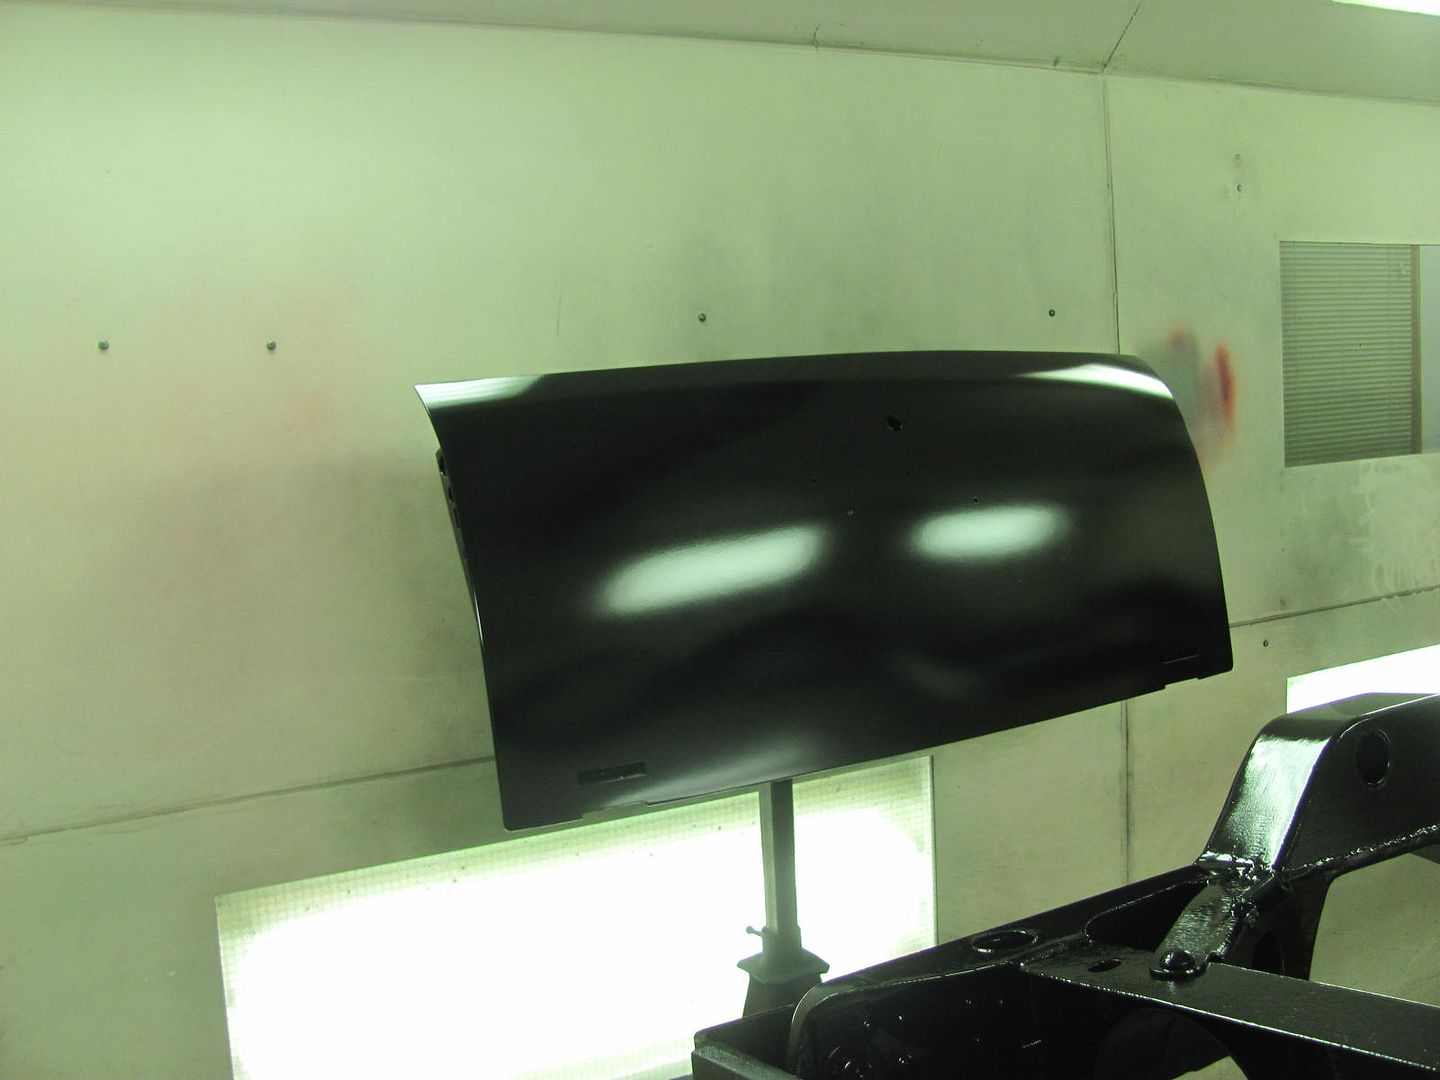
Coming together...
Rivets were media blasted and urethane only, just like the screws. This shows how well the paint holds up to the installation "abuse" of a pop-rivet gun...
Done!
The other night while spraying parts, I made a couple trips over to the bus location with the spray gun... in between coats, to get some primer on the bare steel we put in... SPI epoxy on the structural components..
.....and some epoxy AND yellow added to the nice scraped up lower corner..
Coming together...
Rivets were media blasted and urethane only, just like the screws. This shows how well the paint holds up to the installation "abuse" of a pop-rivet gun...
Done!
Last edited:
1969
Well-known member
Looking Good!!
Thanks!
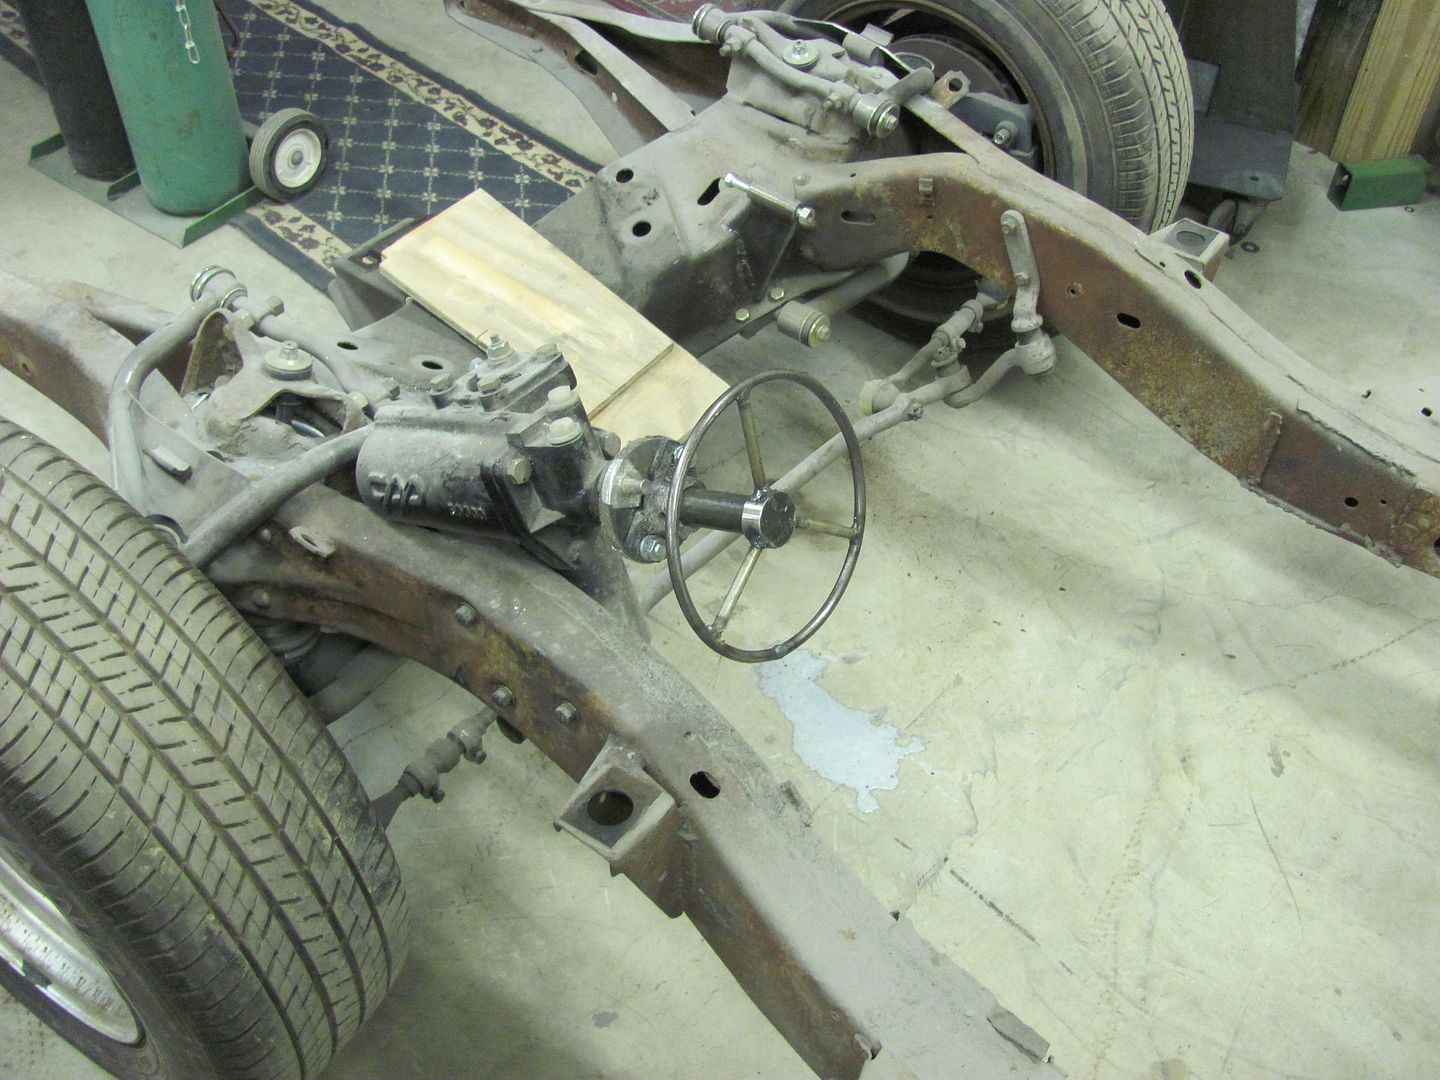
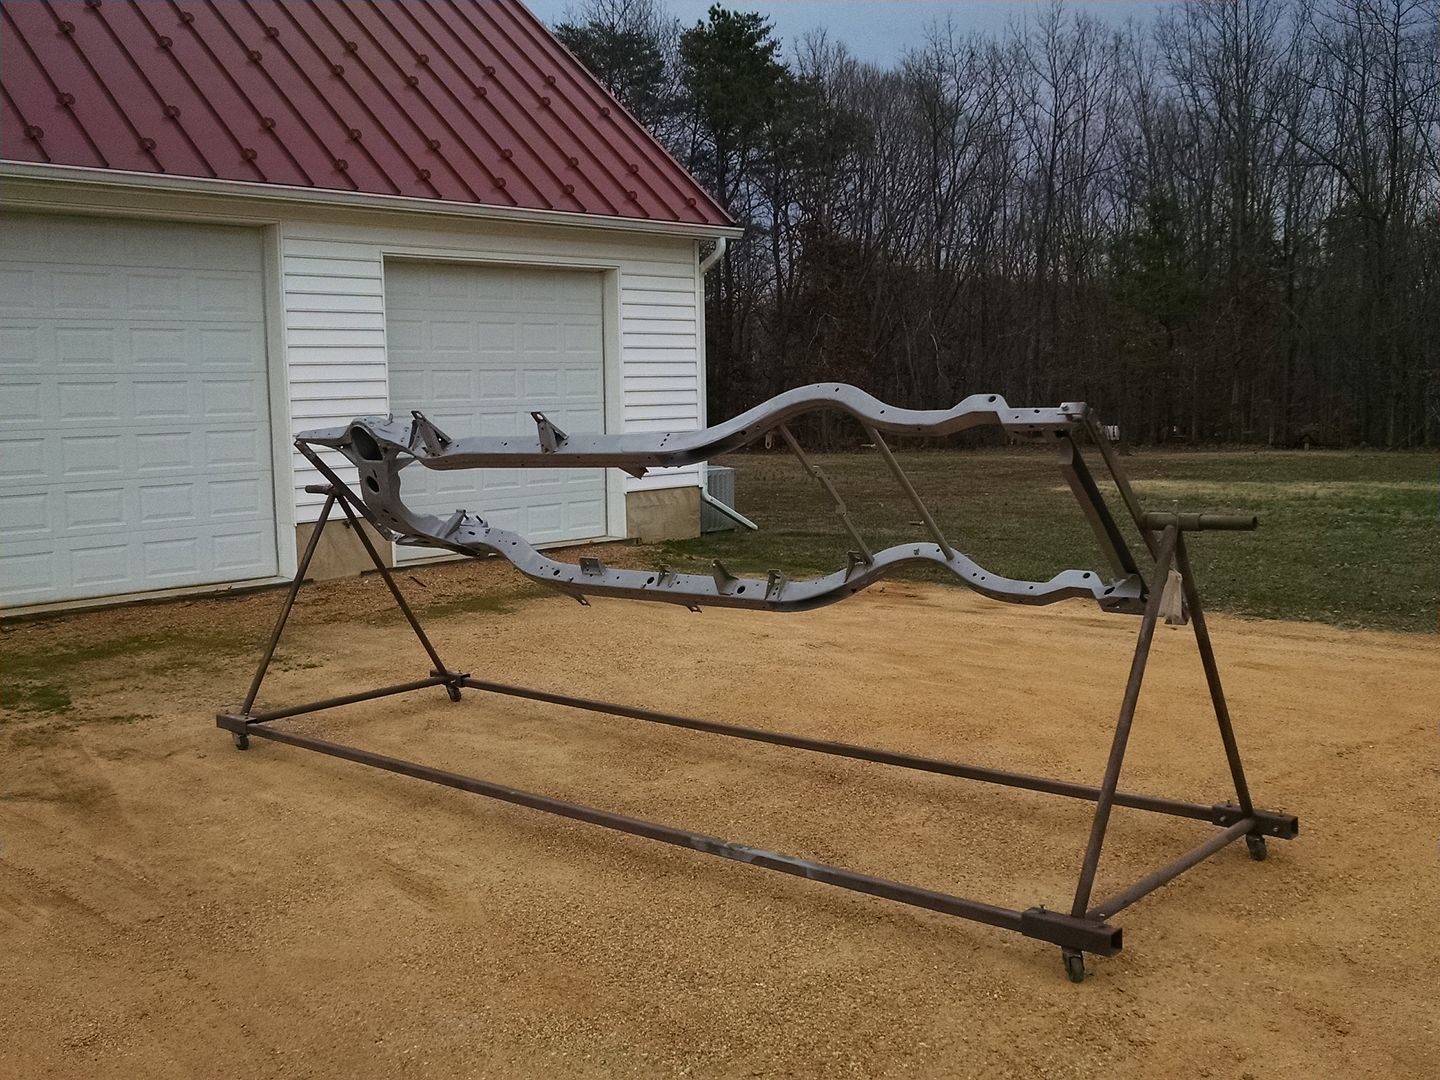
Simon, we had some moving of the frame to do, including a stop at the local car wash for a de-greasing. This didn't work well at all for steering:
.....so using a 1" dia bolt and some solid rod that was laying around, this worked much better. With no drivetrain it's light enough that this steers very well. Driving it around the parking lot of the car wash with Kyle pushing drew quite a few looks....
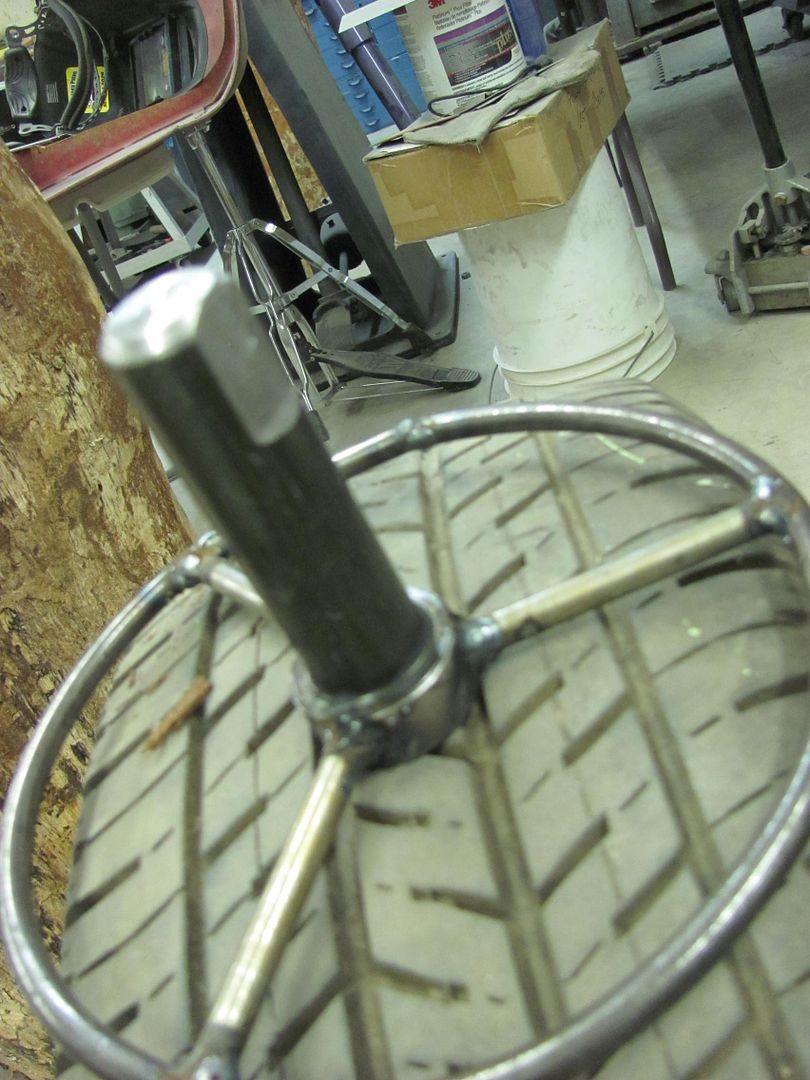
What is the idea of the steering wheel set up like that ?
Simon, we had some moving of the frame to do, including a stop at the local car wash for a de-greasing. This didn't work well at all for steering:
.....so using a 1" dia bolt and some solid rod that was laying around, this worked much better. With no drivetrain it's light enough that this steers very well. Driving it around the parking lot of the car wash with Kyle pushing drew quite a few looks....
HOTFR8
Banned
Rob,
What a very clever idea. I never considered that. Sure would make it easier to move about.
What a very clever idea. I never considered that. Sure would make it easier to move about.

BigMike782
Well-known member
Robert, the 70's called and wants it paint style back
A buddy of mine had a Duster drag car with a bunch of home made fiberglass that had the front to rear fade paint with lace on the roof and trunk lid
A buddy of mine had a Duster drag car with a bunch of home made fiberglass that had the front to rear fade paint with lace on the roof and trunk lid

shortykorte
Well-known member
I like the hardware painting block.
The GJ logo would look good on the roof. Lol.
The GJ logo would look good on the roof. Lol.
EdT
Well-known member
I follow your thread religiously. Thanks for taking the time to help all of us raise our game to a new level. I'm hoping the lace paint was in jest. If not, NO!!!
Not a surprise but My vote is for a Laced roof. It is very addicting and looks good on 50-60's cars.
Also roofs on a car like that are low risk. If you end up wanting something different it costs a days work and it can be changed.
Also roofs on a car like that are low risk. If you end up wanting something different it costs a days work and it can be changed.
Last edited:
JAKE-THE-TOOL-MAN
Well-known member
Not a surprise but My vote is for a Laced roof. It is very addicting and looks good on 50-60's cars.
Also roofs on a car like that are low risk. If you end up wanting something different it costs a days work and it can be changed.
I agree, I love the hot rodder feel of it
larry4406
Well-known member
I think the lace is cool on classics. Please provide the details on how this is done when you do it.
RickP
Well-known member
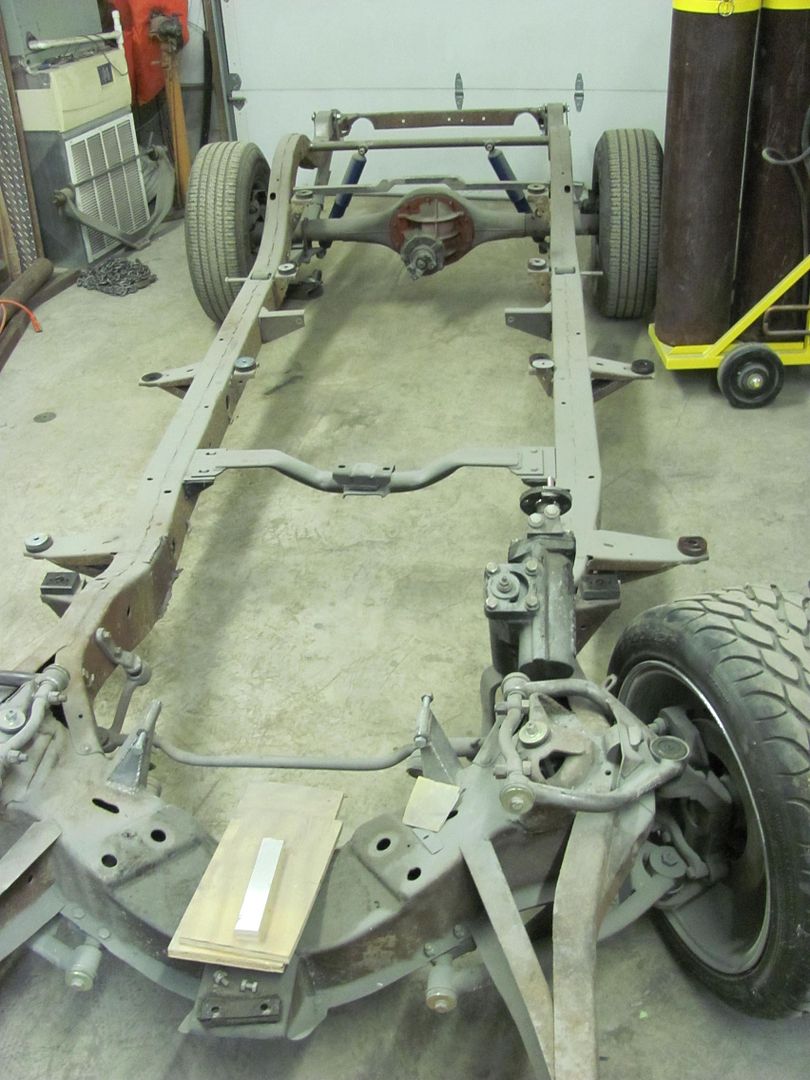
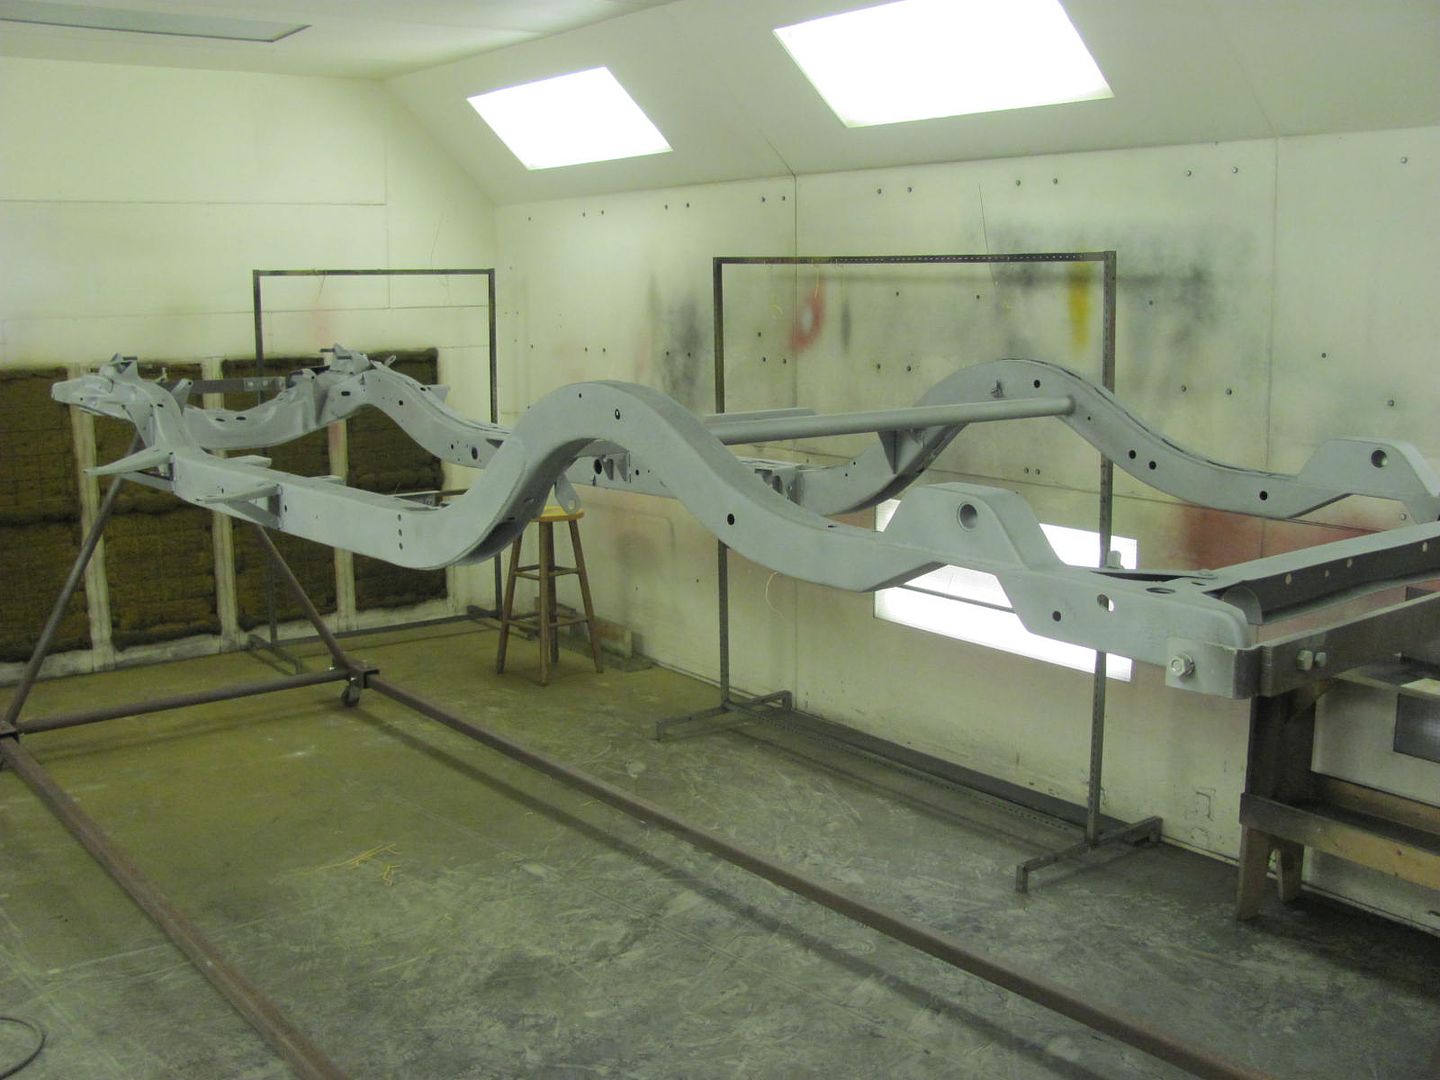
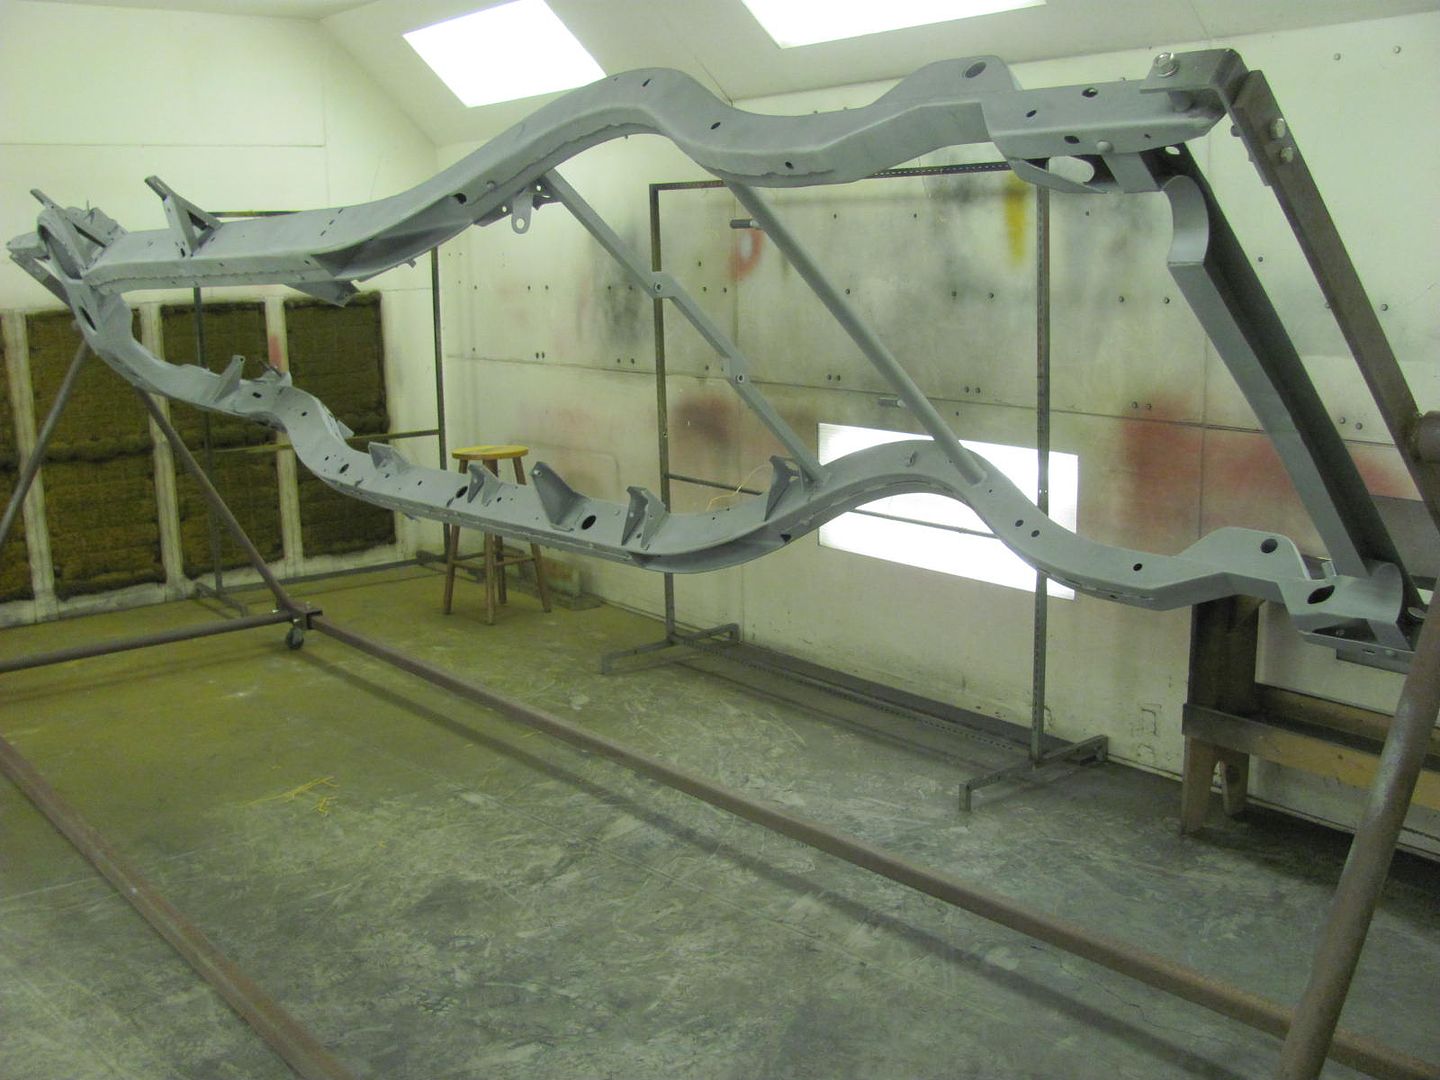
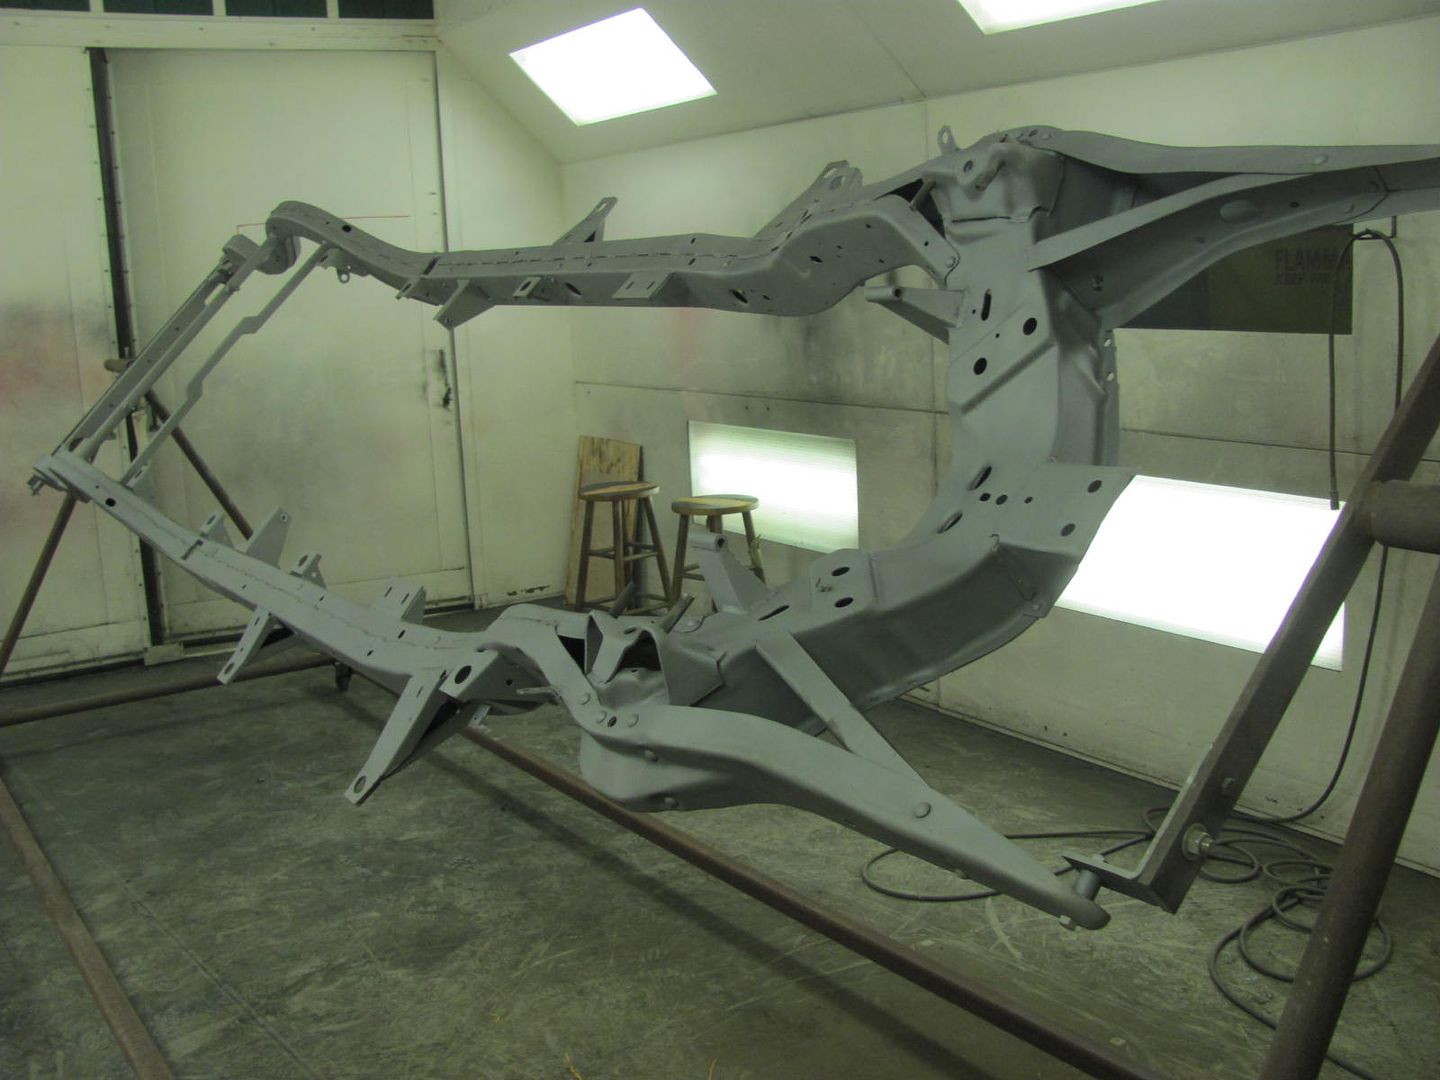
dayum, that frame looks good!
TimeWarpF100
Well-known member
Royce, good to see you drop by! I'll have to go check your update..
The other night while spraying parts, I made a couple trips over to the bus location with the spray gun... in between coats, to get some primer on the bare steel we put in... SPI epoxy on the structural components..
.....and some epoxy AND yellow added to the nice scraped up lower corner..
Coming together...
Rivets were media blasted and urethane only, just like the screws. This shows how well the paint holds up to the installation "abuse"...
Done!
Looks perfect to me!