To avoid these ads, REGISTER NOW!

MP&C Shop Projects

NASTYZEN

Well-known member
Joined
Jun 11, 2010
Messages
2,823
Location
St-Colomban,Que. Canada
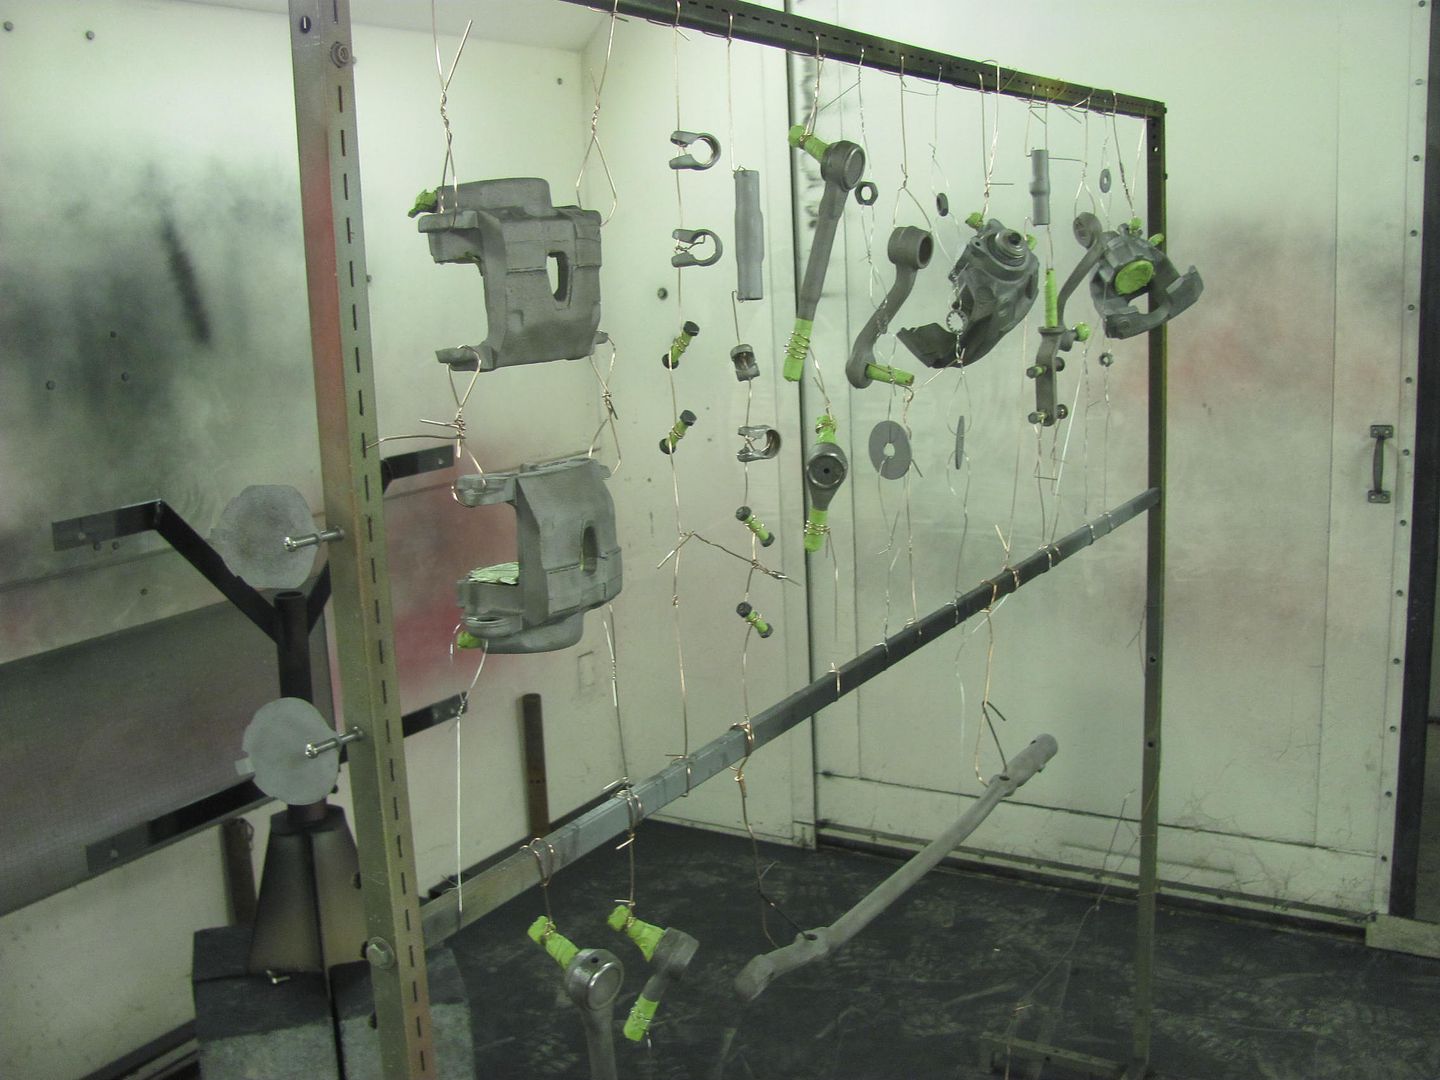
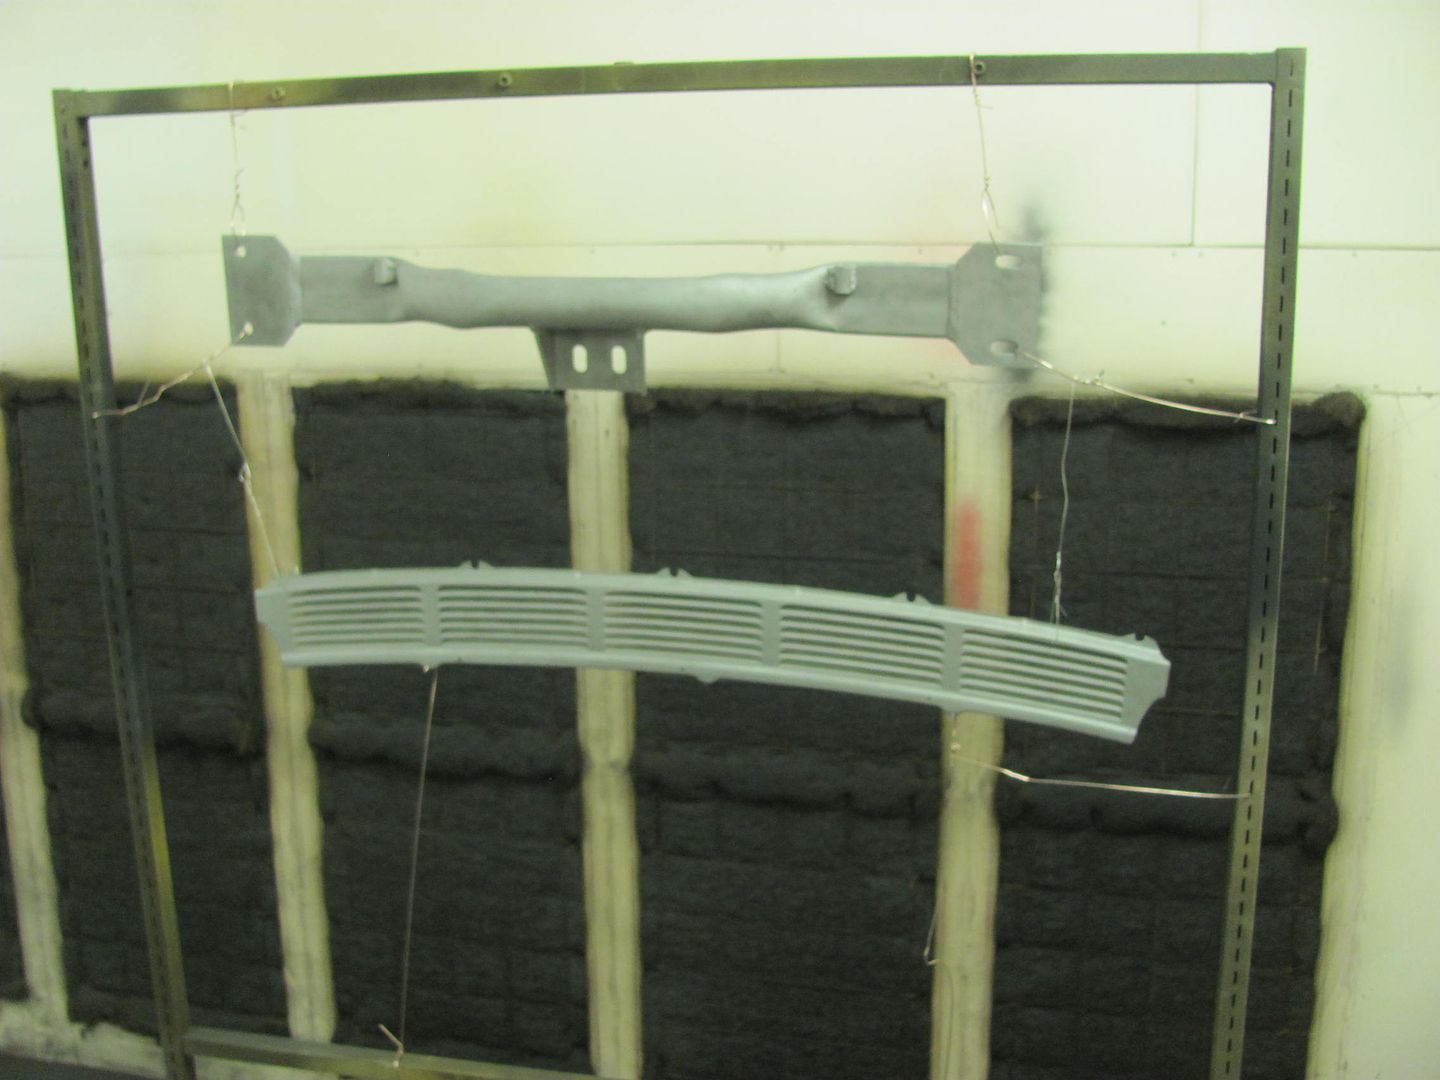
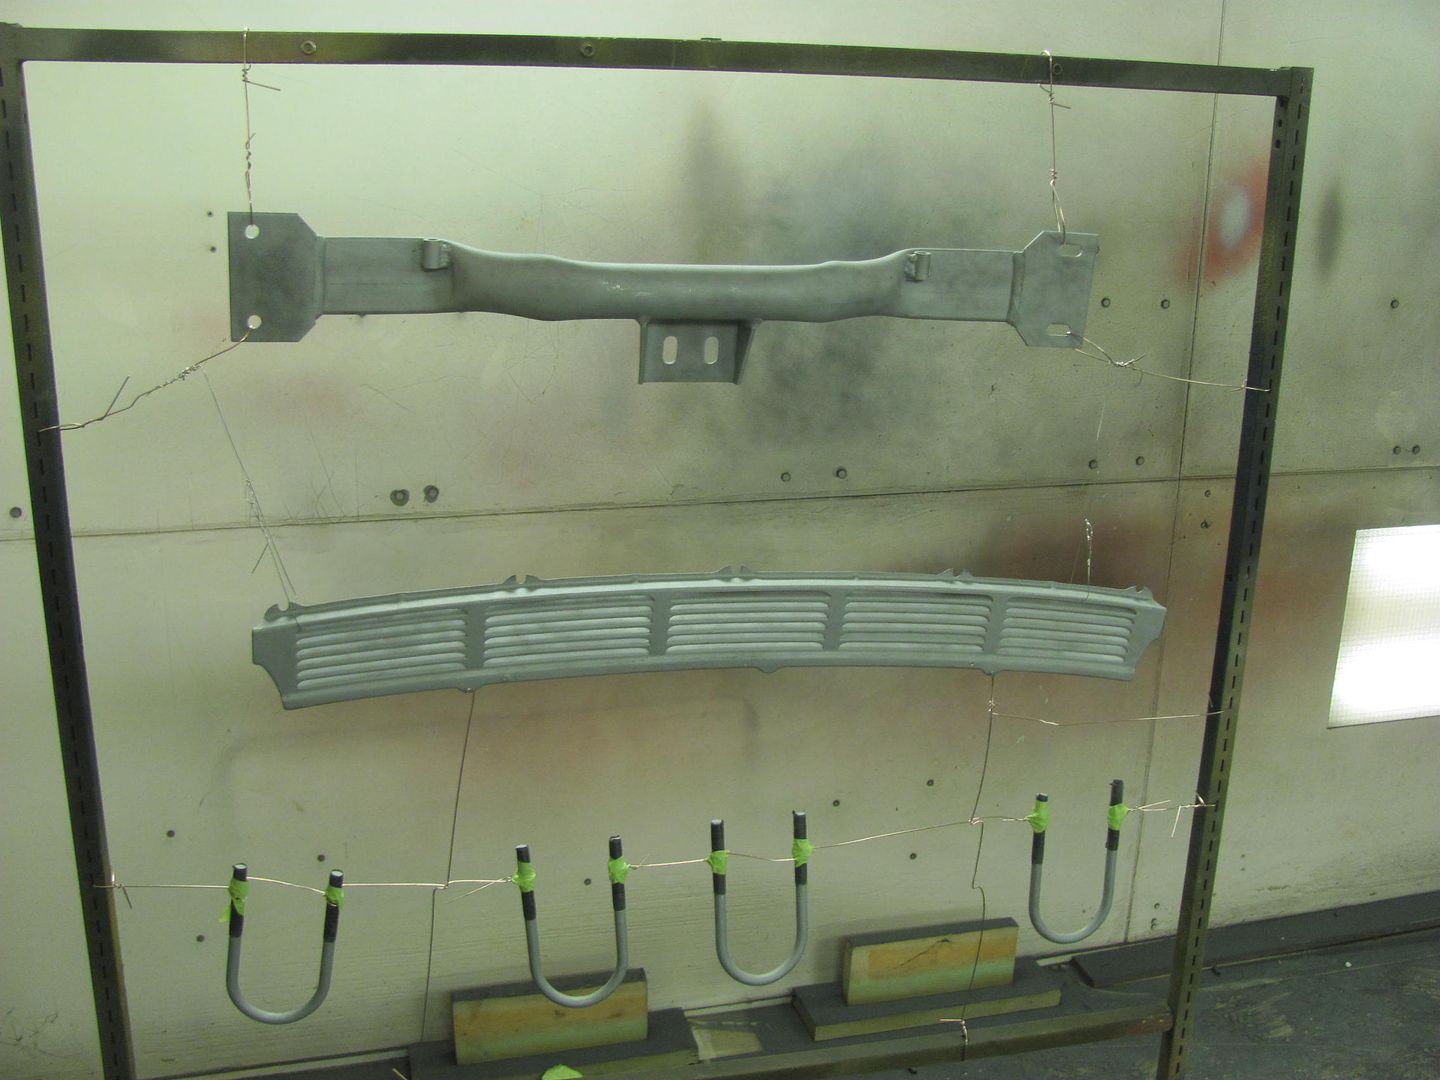
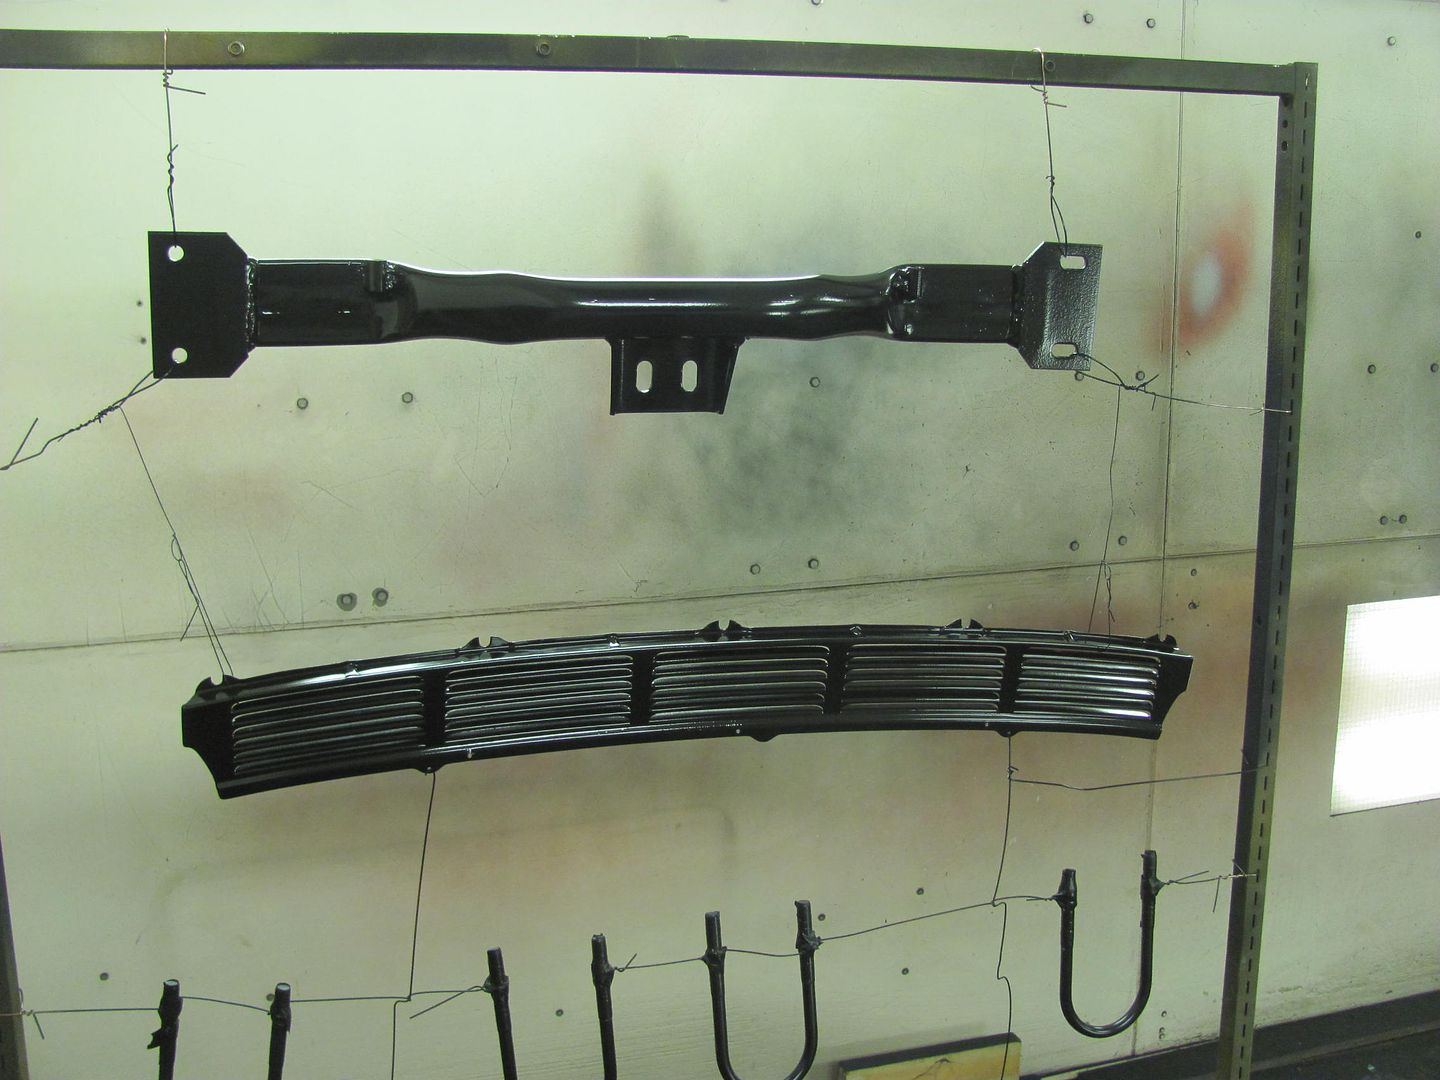
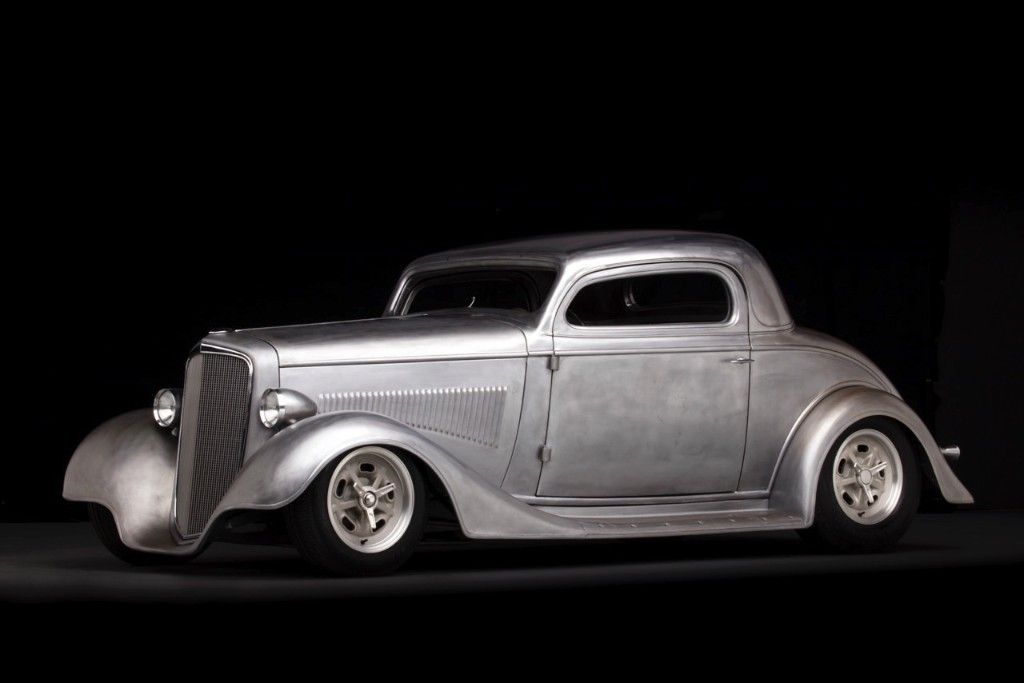
Those louvers are just over the top Robert. Really!:thumbup:
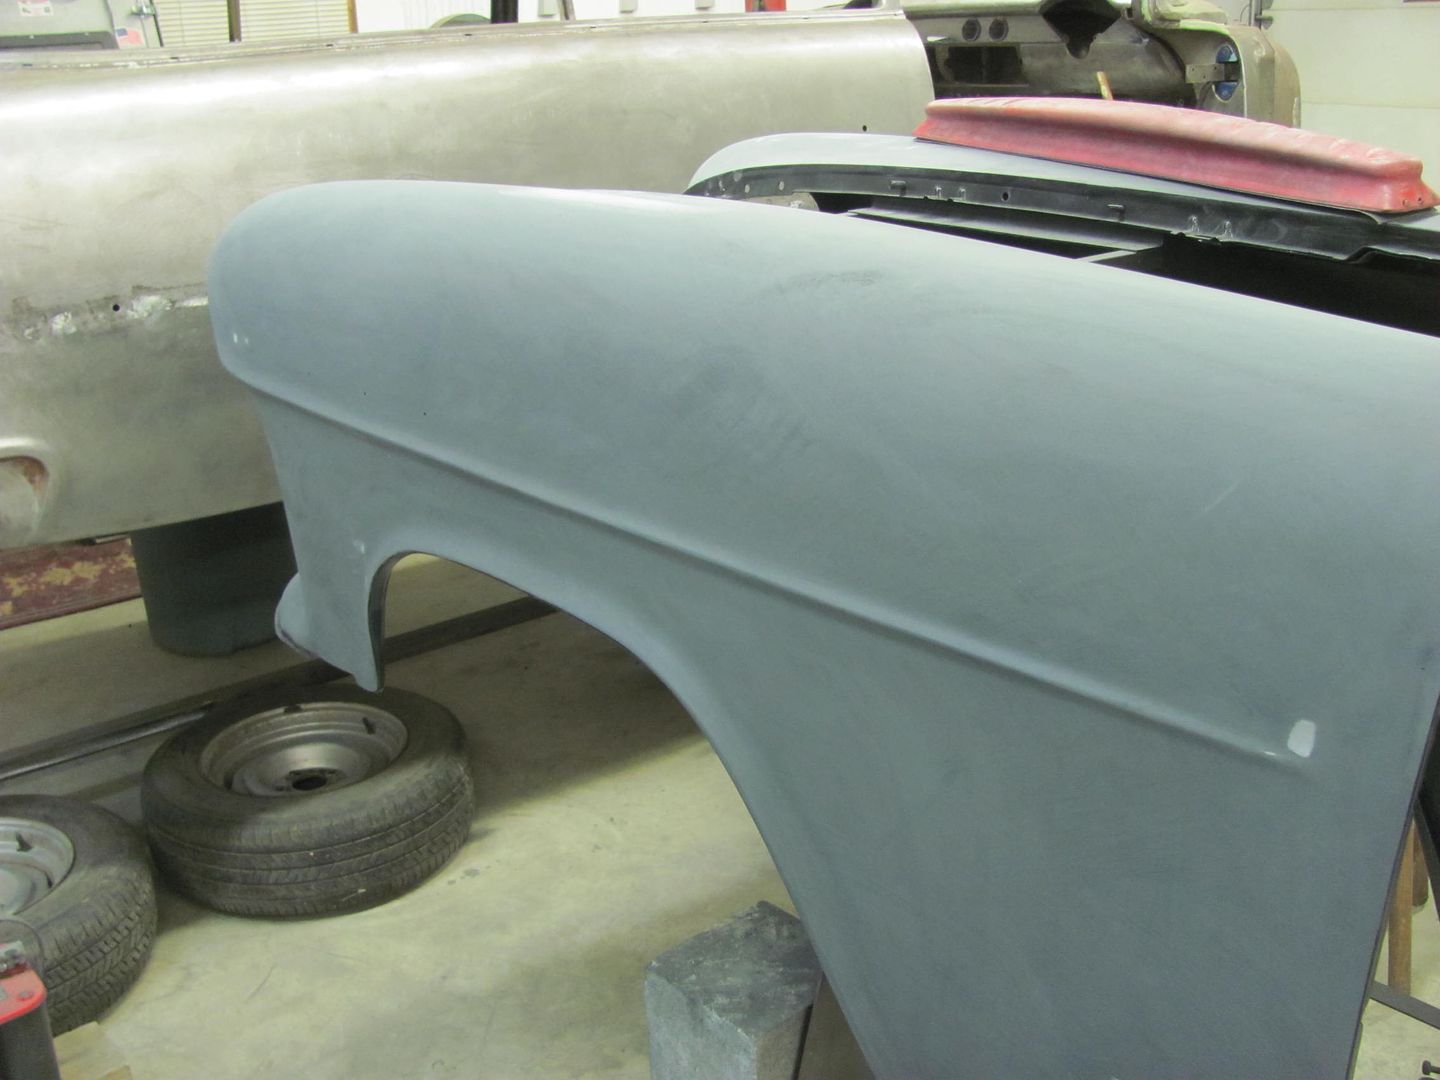
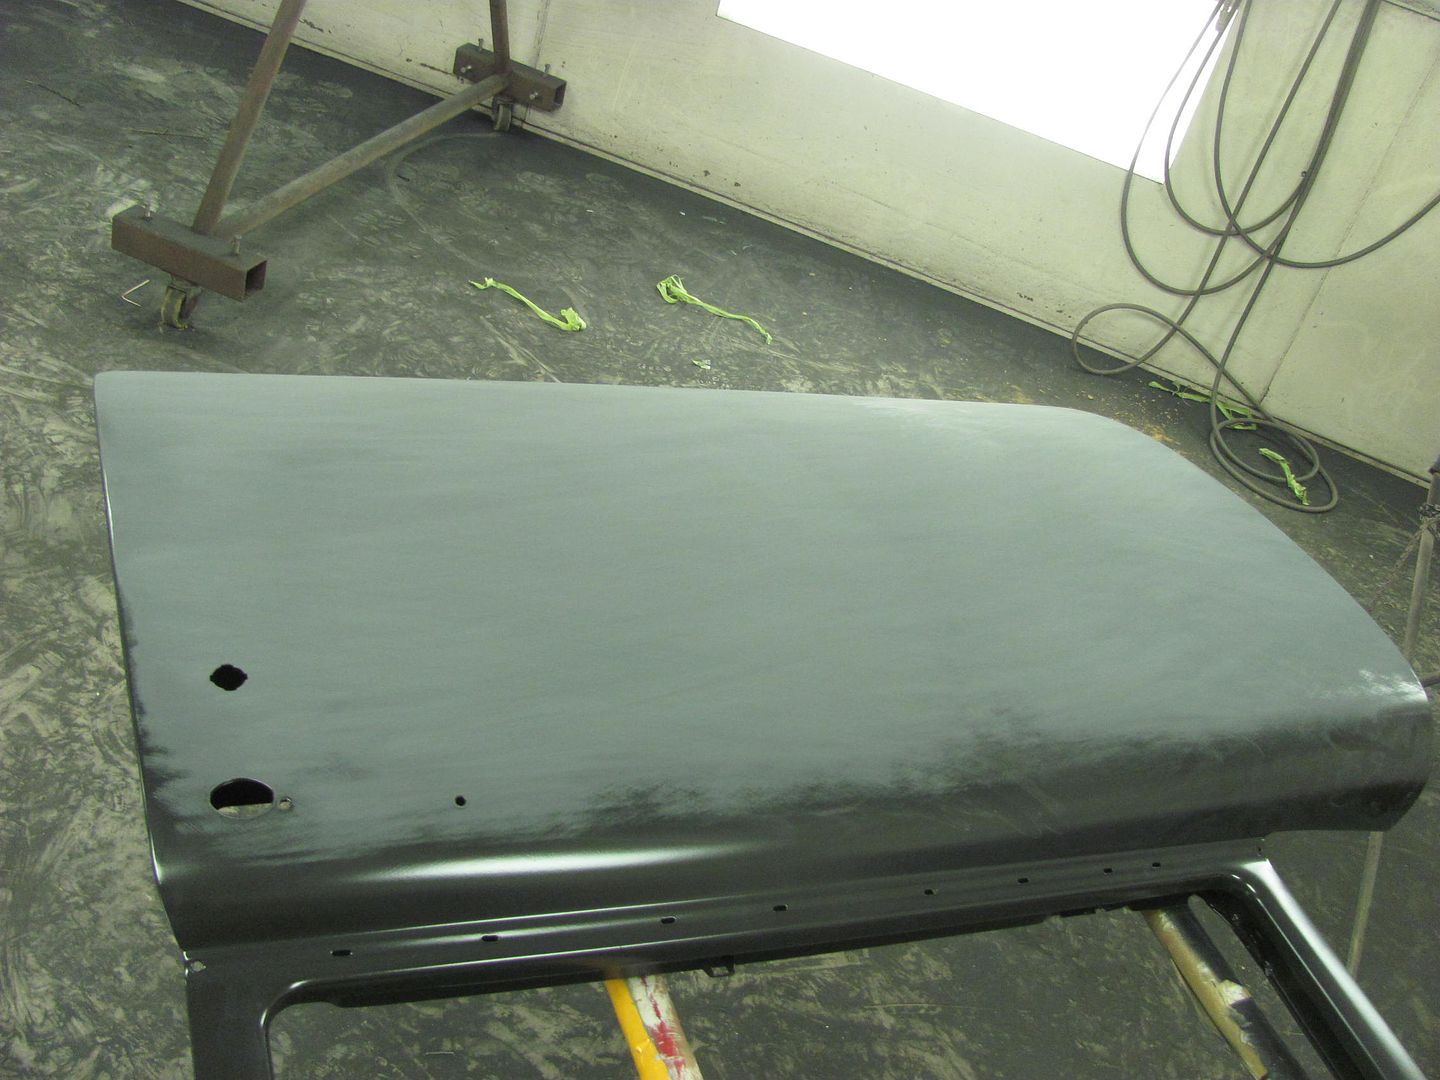
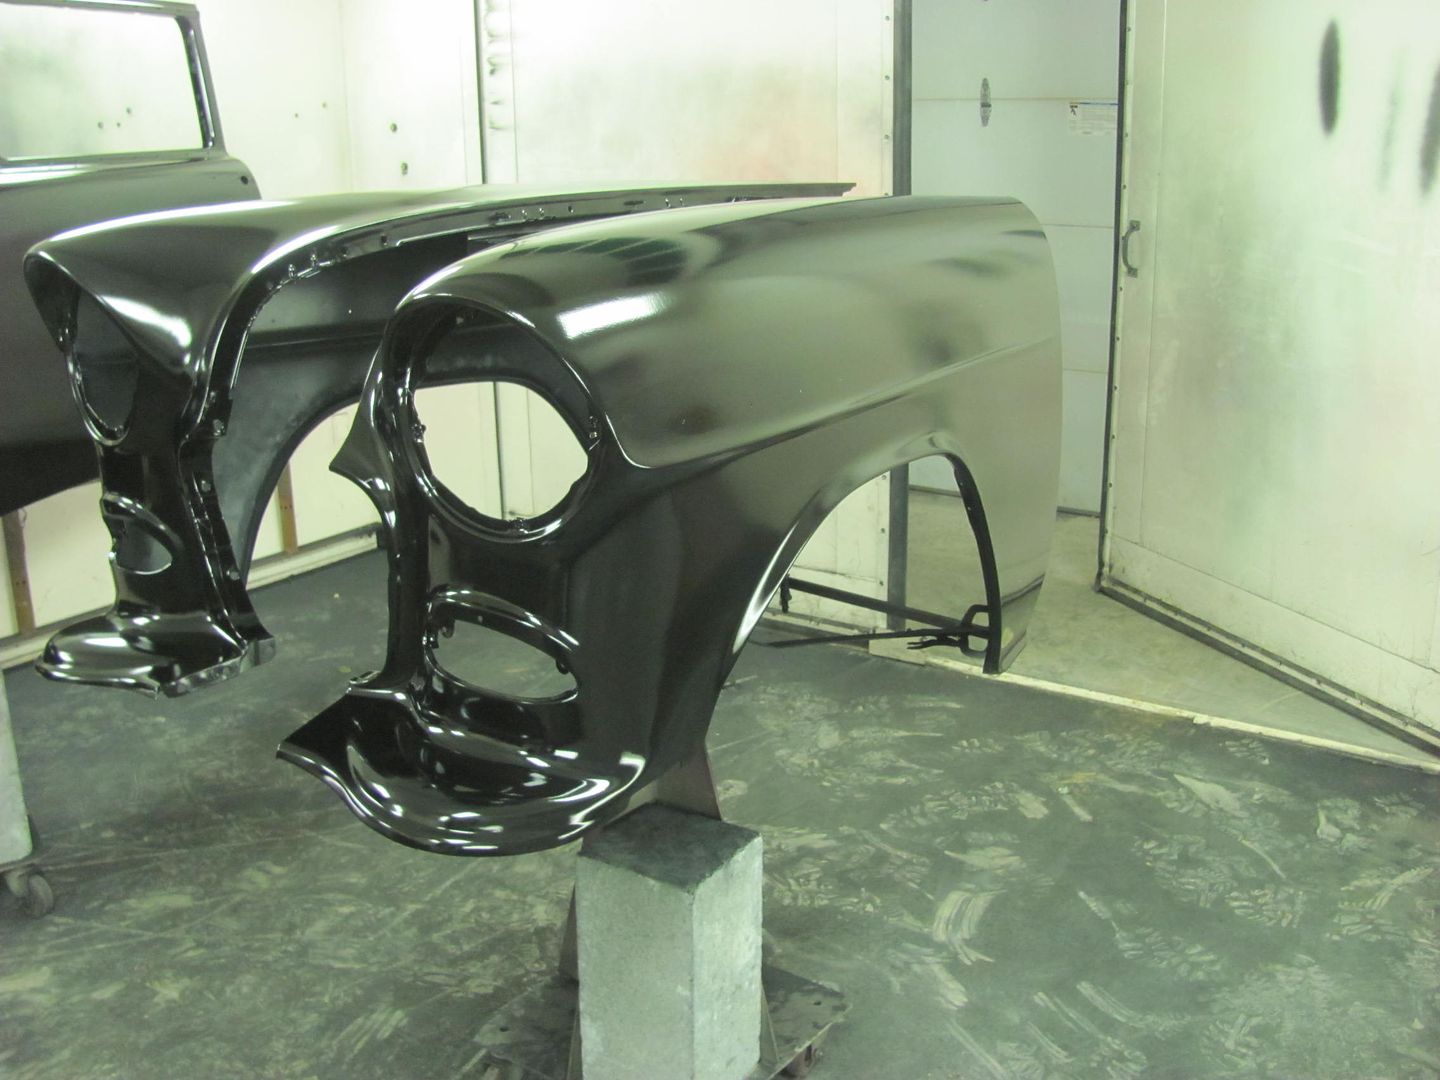
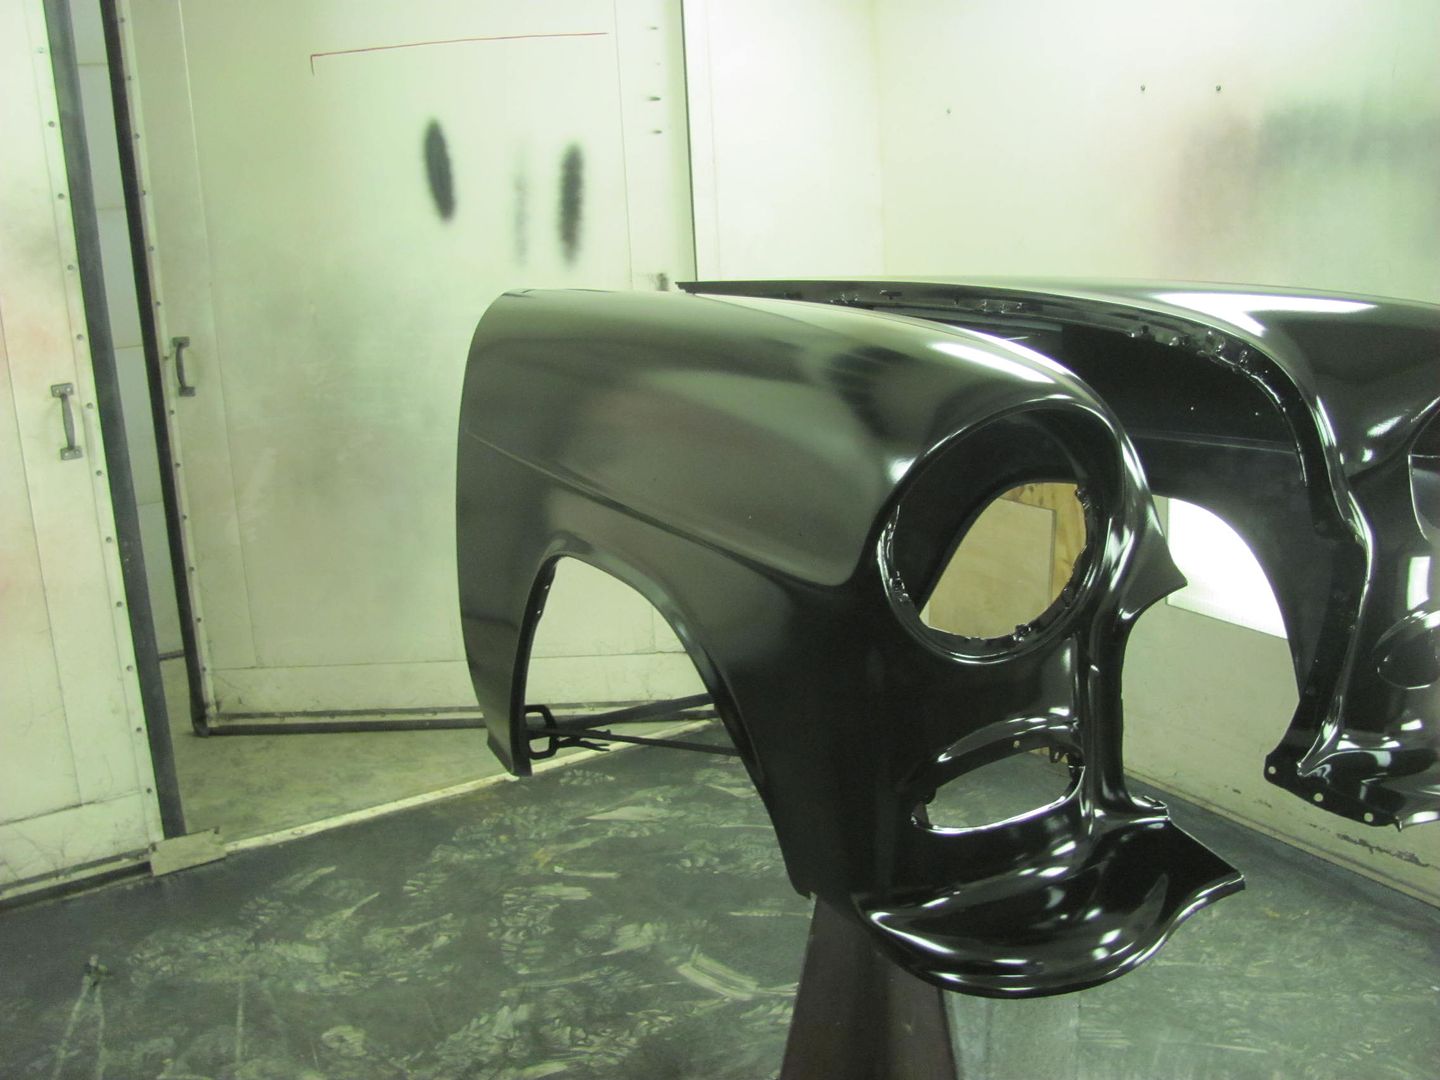
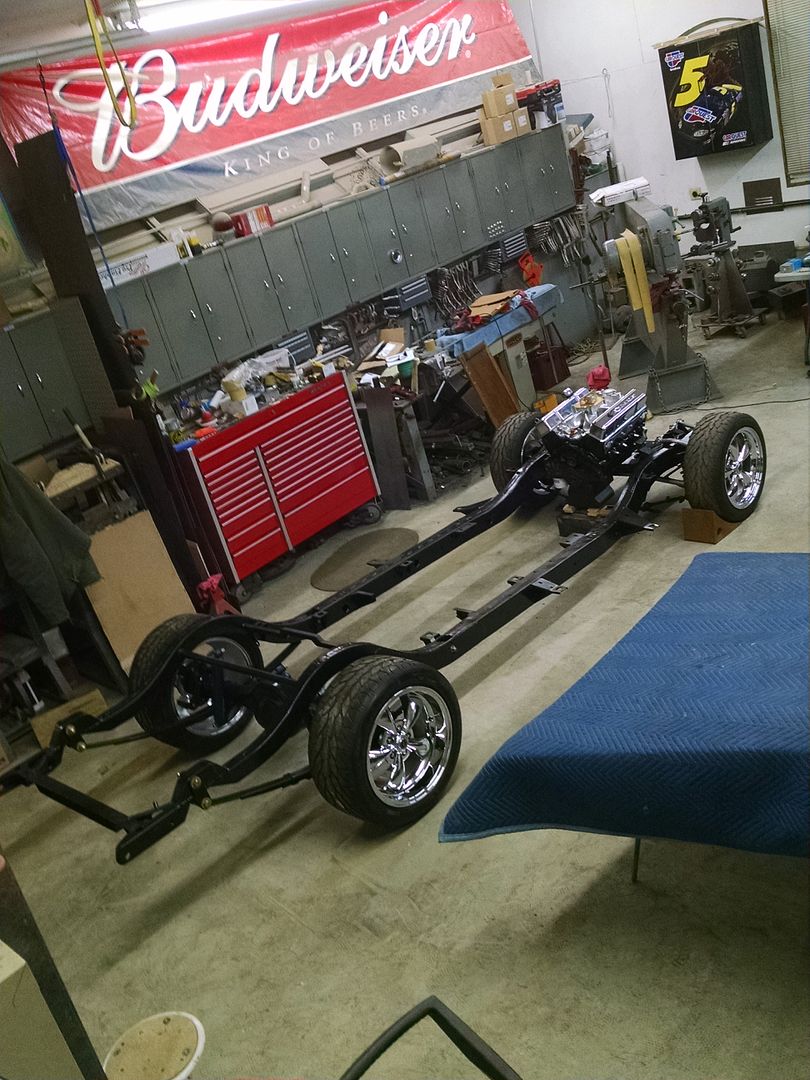
The wagon is coming right along and looking awesome. Your on the final stretch.
Your apprentice looks to be well on his way in the trade. Skills were there in the rough for you to model I suspect.:evil:
Mine is turning out to be the best employee trainee in my 26 years in business
so far.
 
To avoid these ads, REGISTER NOW!

tlmartin84

Well-known member
Joined
Apr 23, 2012
Messages
1,085
Location
West Virginia
Mike, check out their website, http://www.southernpolyurethanes.com/

They have epoxy in black, white, grey, and red oxide. They have clears, high builds, etc, and solid urethanes in red, black, orange, etc.


Well tonight we worked on getting the parts out of the booth so we can get the next load of parts ready for epoxy, and in between spent some more time on straightening the rear. In measuring at the bead of the 18" wheels, we had a +/- .020 on the passenger side and a +/- .035 on the drivers side.


Picture%203977.jpg


....and more heat applied for some shrink..


Picture%203979.jpg


Picture%203981.jpg


We'll let that cool and get some of the front end parts bolted up..


Picture%203982.jpg


Picture%203983.jpg

So that's how it's done.... how do you determine where to heat?
 
OP
M

MP&C

Well-known member
Joined
Oct 21, 2009
Messages
4,396
Location
Leonardtown, MD
Thanks Claude!


So that's how it's done.... how do you determine where to heat?


With the axle housing fixed on top of jack stands, a bent axle shaft would cause run-out as you rotated the tire. So first off, rotate the tires to insure the wheels are straight. Then with the tires fixed sitting on top of milk crates, as shown above, the axle housing is rotated around the axle shafts. The shrinking from welding on the pads causes a short side along the bottom, which pulls the wheels inward. This pull follows the bottom (pad) side of the housing as it is rotated around. So the dial indicator shows where these narrow and wide spots are. Our shrinking efforts have removed about 1/2 of the run-out, just a bit more to go.
 

EdT

Well-known member
Joined
Sep 21, 2010
Messages
1,104
Location
North Georgia
How do you determine that the wheels are not tweaked? Also, it would seem to me (but I'm no expert) that if the axle shaft itself or the flange (not the housing) is bent you would see some run out at the axle flange and, consequently, a magnified runout at the wheel rim (assuming the wheel is straight). If the housing is bent from welding then I'd think that would cause a fixed "camber" effect which would be bad for the axles and bearings since they are trying to go around a corner, but would not produce runout. I think some of the NASCAR guys tried to get some negative camber this way. IIR it didn't work out and /or was banned. LOVE your thread. I'm learning a lot.
 

GoodJobTim

Member
Joined
Sep 15, 2012
Messages
18
Location
Magnolia, Tx
EdT

He is saying have the tires fixed, sitting on the milk crates, then rotate the axle housing to check for run out. He checked the wheel for run out by rotating the wheel, which would be constant as you said.
 
Last edited:

gahrajmahal

Well-known member
Joined
Dec 12, 2008
Messages
2,518
Location
Cincinnati, Ohio
Remarking on post 1619, do you have a good source for lace? The local fabrics shop patterns are all too floral for my tastes. I like vintage, but hate to ruin nice patterns with paint. Also hard to find large pieces. Really enjoying the thread!
 

tlmartin84

Well-known member
Joined
Apr 23, 2012
Messages
1,085
Location
West Virginia
OK let me see if I have this:

First the dial is stationary on the rim. You rotate the wheel looking for a bent axle. Once this you confirm it is straight, you set it down onto the crates.

Then where on the housing do you check for the runout? Where is the dial positioned? Close to the hogshead I would presume?
 
OP
M

MP&C

Well-known member
Joined
Oct 21, 2009
Messages
4,396
Location
Leonardtown, MD
OK let me see if I have this:

First the dial is stationary on the rim. You rotate the wheel looking for a bent axle. Once this you confirm it is straight, you set it down onto the crates.

Then where on the housing do you check for the runout? Where is the dial positioned? Close to the hogshead I would presume?


My theory is that once you weld the pads repeatedly it should introduce some shrinking along the bottom side which I believe introduces deflection in the housing and also perhaps to the shafts bolted into that housing. I feel this also will deflect the wheels/tires that they will be pulled in at the bottom of the housing, which is the results we noticed.


Picture%203993.jpg


The wheels are 18" diameter, which should show an "exaggerated" look at this deflection. So the dial indicator was placed on the wheel bead. Right now we are at about +/- .020 on the wheel edge, which is likely better than some factory wheels, so I think we are about where we are going to leave it..
 
OP
M

MP&C

Well-known member
Joined
Oct 21, 2009
Messages
4,396
Location
Leonardtown, MD
Getting the front end put together...


Picture%203985.jpg


Picture%203986.jpg


Picture%203987.jpg


....and more blocking and hanging parts in prep for the next round of epoxy...


Picture%203988.jpg


Picture%203989.jpg


Picture%203990.jpg


Picture%203992.jpg


The doors are getting real close to needing wet sanding..


Picture%203991.jpg
 
OP
M

MP&C

Well-known member
Joined
Oct 21, 2009
Messages
4,396
Location
Leonardtown, MD
Here's a video taken yesterday using the 36" AFS sander. Note how the sander is grasped and the fact that this promotes letting the sandpaper do the work without "leaning" on it. Applying downward force through your palm to get the job done more quickly runs the risk of deflecting the sander downward at that point, causing low spots...


Bob Heine

ALLIANCE MEMBER
Joined
Oct 24, 2009
Messages
10,703
Location
Boca Raton, Florida
I've stopped drinking Scotch so I'm not as frugal as I once was. I thought I was saving money by completely wearing out my sandpaper before putting a fresh piece on the block or DA. Turns out I was just wasting time. I keep a worn-out paint brush handy to clean the dust off the paper and check if it's worn. I'm using a lot more sandpaper but the job goes much quicker.
 

tlmartin84

Well-known member
Joined
Apr 23, 2012
Messages
1,085
Location
West Virginia
My theory is that once you weld the pads repeatedly it should introduce some shrinking along the bottom side which I believe introduces deflection in the housing and also perhaps to the shafts bolted into that housing. I feel this also will deflect the wheels/tires that they will be pulled in at the bottom of the housing, which is the results we noticed.


Picture%203993.jpg


The wheels are 18" diameter, which should show an "exaggerated" look at this deflection. So the dial indicator was placed on the wheel bead. Right now we are at about +/- .020 on the wheel edge, which is likely better than some factory wheels, so I think we are about where we are going to leave it..

I guess I don't understand how you are turning the housing, I agree with your drawings and the heat.

So bothe the axle measurements, and axle housing measurements are taken using a dial indicator on the rims?
 
OP
M

MP&C

Well-known member
Joined
Oct 21, 2009
Messages
4,396
Location
Leonardtown, MD
With the tires sitting on milk crates, they aren't moving. Grab the center section and rotate the housing around the stationary tires and axle shafts.

With housing stationary and wheels rotated, we did see a bit of fluctuation of about +/- .005 to .010, so although the wheels arent perfect, it was rather sporadic and not relative to the welded pads. When the tires were stationary and the housing was rotated around, before our heating efforts the runout started at about +/- .050, and was directly related to the welded pad location. At the point the housing was being rotated, the dial indicator remained in the same spot on the wheel, so although the wheel isn't perfect, the reading should have reflected housing issues only.
 
OP
M

MP&C

Well-known member
Joined
Oct 21, 2009
Messages
4,396
Location
Leonardtown, MD
Well Kyle was mostly on his own tonight as I had some repairs to do on the wife's vehicle..


New U-bolts came in yesterday, they have a pretty good selection on their web site if anyone needs some....


Picture%203997.jpg


Threads taped off and all the parts media blasted...


Picture%203994.jpg


Picture%203996.jpg


Then Kyle got the rear torn down for media blasting as well. Blast cabinet just the right size..


Picture%203998.jpg


Picture%203999.jpg
 
OP
M

MP&C

Well-known member
Joined
Oct 21, 2009
Messages
4,396
Location
Leonardtown, MD
Keeps the smoother finish for less chance of galling, etc. The threads will be masked for painting as well, since the Epoxy does have a bit of build. They will get assembled and then we'll get some paint on the threads..
 
To avoid these ads, REGISTER NOW!
OP
M

MP&C

Well-known member
Joined
Oct 21, 2009
Messages
4,396
Location
Leonardtown, MD
Getting things ready for the next round of SPI epoxy, here hanging the 9" rear on the multi-purpose rotisserie a-frame..


Picture%204007.jpg


Picture%204008.jpg


We had this bare spot after the last time we blocked, and had bumped it a bit with the flat body hammer.


Picture%204009.jpg


Doesn't look like it did much to rectify the issue, let's look further....


Picture%204012.jpg


Looks like the rear end of the inside bracket is pushing a bit on the skin, no wonder the hammer didn't do much. Time to find the tool for the job, a pair of crimping pliers for stove pipe/ductwork.....


Picture%204013.jpg


Picture%204014.jpg


That should give us some breathing room, and bumped it again with the hammer.


Put the SPI in the paint shaker, should have tapped the lid a bit tighter..


Picture%204015.jpg


More parts ready for spraying....


Picture%204017.jpg


Picture%204018.jpg


After 3 coats of epoxy....


Picture%204019.jpg


Picture%204020.jpg


Picture%204021.jpg


Picture%204022.jpg


Picture%204026.jpg


Picture%204027.jpg


Picture%204028.jpg


Here's some of the "restraint" methods for painting the small parts....


Picture%204023.jpg


Picture%204024.jpg


Picture%204025.jpg


Here clamps for the tie rod ends are held in a twisted loop..


Picture%204029.jpg


Picture%204030.jpg


I think the fenders should be good for wet sanding after this go round:


.
 
Last edited:

TimeWarpF100

Well-known member
Joined
Aug 21, 2010
Messages
6,784
Location
not here
Looking really nice!

So if you were doing a vehicle for yourself would you still use that primer?

How does it compare to the HOK primer.

Need to order some primer for my project soon and still undecided what to go with.
 
OP
M

MP&C

Well-known member
Joined
Oct 21, 2009
Messages
4,396
Location
Leonardtown, MD
Randy, I've used quite a bit of the H/K KP2-CF over the years, and after using the SPI now I think I would go with the SPI. For a two gallon kit of SPI it's $182 and change free shipping to my door. Looking at TCP global, the same amount of H/K is over $100 more, and then add in your shipping cost. The SPI sands easier, and in using the black color, can be blocked without the need for a guidecoat. I've been real pleased with it..
 

22george

Well-known member
Joined
Jan 26, 2011
Messages
1,634
Location
SW Ohio
Robert,
Thanks for taking the time to post the pictures etc. I like the use of coat hangers???? to hold small parts while painting. I've learned many things from your posts.
 

Duke55

Well-known member
Joined
Jan 18, 2013
Messages
370
Location
Utah
Robert, I may have missed it but what is the main reason for getting a new cast e-wheel?

Also, the color of the week was organic green candy and platinum. Thought I'd warn you if the plan was HOK platinum pearl it doesn't cover at all. Last one I did I ended up spraying silver and top coating with the platinum pearl.

Another curiosity question, wondering if you have ever played with a Mittler brother power hammer? I did the other day and wouldn't mind having something like that.


Sent from my iPhone using Tapatalk
 
OP
M

MP&C

Well-known member
Joined
Oct 21, 2009
Messages
4,396
Location
Leonardtown, MD
I have not used the Mittler Brothers PH, but did use a Yoder last year. In the case of the Yoder, I think the majority of time is spent in die changeout and setup, where most production shops that needed the flexibility of more than one die would have more than one machine to negate the time lost to die change out. I took the Baileigh class a couple years back, soon after they had come out with their MH-19 hammer. For flexibility it is one bad *** machine. But your shop better be using it about every day to overcome that capital investment..


On the wheeling machine, they were originally made in cast, and for a very good reason. It is the best performing wheeling machine out there. Compare using Snap on or (insert other brand name) body hammers vs. rubber handled HF specials. Can you get the HF to do the job? Sure. Will a well balanced hammer from (Snap-on) be better? Normally a finer tool will get the job done quicker, with a finer finish. In the hands of inexperience, does it matter? For someone wanting to learn proper methods, the better tools offers consistency and "feedback" through the tool when used on your panels. Used properly, a cast wheel will be quicker and provide a better finish, and provides better feedback to the operator as to what is happening with the panel in the machine. For a small shop or home enthusiast, it's like the Baileigh machine.... you have to justify the expense.


On the platinum color, we haven't nailed it down yet, but that was less likely to be a HOK product over an OEM color of sorts. And I may want to give you a phone call one day to talk in more detail on the lace paint...
 

zmotorsports

ALLIANCE MEMBER
Joined
Oct 20, 2009
Messages
21,312
Location
Northern Utah
Getting things ready for the next round of SPI epoxy, here hanging the 9" rear on the multi-purpose rotisserie a-frame..


More parts ready for spraying....
Picture%204018.jpg

Boy does that look familiar. I remember when I built my 40 Chev coupe I had parts hanging the exact same way as every single piece was sprayed indiviually. What a PITA, but what a final result it creates.

Great work as always Robert.

Mike.
 

Duke55

Well-known member
Joined
Jan 18, 2013
Messages
370
Location
Utah
Not far from what I was expecting you to say. I heard something very similar from another very talented metal shaper a few weeks ago. I spent some time around a very nice and expensive home built Yoder and have looked at the MH-19. Both of those would be hard for me to justify. The Mittler Brother I had never heard of until recently when I went into a shop that had one. Obviously the guys with the Yoders or MH-19's would say theirs are better (rightfully so) but I had a good time with it.


Sent from my iPhone using Tapatalk
 

TommyD

Well-known member
Joined
Jan 27, 2012
Messages
180
Location
Yeastern CT
Robert, thanks to all the information and pictures on how to do proper metal work, it gave me the confidence to pull the trigger and buy a '56 Chevy 3600 pick-m-up truck that somebody had put a dump bed on somewhere during it's life. During this time it's owner snapped the frame just behind the passenger side rear wheel and did a hack job repairing. I didn't see this when I went to look at it in the garage of the person I bought it from for a project he lost interest on. I don't post up much but from this thread and a LOT of internet searches, I am pretty much on my way to tearing the rear of the truck apart, fixing the frame and refreshing all the original parts that have had a serious lack of attention over it's life time. I have been indulging my fetish for tools and have a pretty much purchased all the tools I'm gonna be needing.......for now.

As I wrote you, I have a lot of pics that I'll post when I get the time to upload them to a hosting site. Try as I might I keep crashing the internet when I try to post them on any site I am on. Now that winter has finally arrived, heavy construction in my back yard has finally come to an end 'til spring so I will be having a little more free time.

Thanks again for showing how it is all done.
 
OP
M

MP&C

Well-known member
Joined
Oct 21, 2009
Messages
4,396
Location
Leonardtown, MD
Thanks for the comments Tommy, looking forward to your build thread!


Well we didn't get many pictures tonight, but we've got the frame back on 4 wheels!


Picture%204034.jpg
 

TimeWarpF100

Well-known member
Joined
Aug 21, 2010
Messages
6,784
Location
not here
Thanks for the comments Tommy, looking forward to your build thread!


Well we didn't get many pictures tonight, but we've got the frame back on 4 wheels!


Picture%204034.jpg

Oh WOW! Looking really sharp! That's going to be one Killer car.

I keep checking back to see if its done yet . . HA~ha

Do you ever sleep?
 

mikhett

Well-known member
Joined
Sep 21, 2007
Messages
107
Location
jackson nj
Robert,I too am very happy with the SPI epoxy primers and i have used the HOK KP2 CF in this past but the price has gone up.I used to get it at Smartshoppers in louisville KY.Their prices were good.
 
OP
M

MP&C

Well-known member
Joined
Oct 21, 2009
Messages
4,396
Location
Leonardtown, MD
Yeah Claude, and way too many pieces in this puzzle. :lol:

Thanks for the comments guys. Well after the weekend off for the Snowmaggedon, back at more parts prep for the next round of primer..

Kyle did some media blasting on the steering box and other parts while I blocked out the inside of the hood and the hood brace..


Picture%204036.jpg


Picture%204038.jpg


Picture%204040.jpg


Then Kyle worked on degreasing and scuffing the trans...


Picture%204041.jpg
 
OP
M

MP&C

Well-known member
Joined
Oct 21, 2009
Messages
4,396
Location
Leonardtown, MD
For those that followed the Louver job on the 35 Chevy hood sides, Cody Walls (the builder) and Dave Thomas (the owner) will at the Grand National Roadster Show Jan 29-31. The 35 will be the feature car in The Rodder's Journal booth in building 4, so if you're going be sure to stop by and check out Cody's craftsmanship and attention to detail.. absolutely beautiful car..

TRJ will also have a full feature article in the next issue.


35CodyWalls.jpeg
 

bulletpruf

Well-known member
Joined
Nov 28, 2013
Messages
10,913
Location
San Antonio
Robert -

Is everything getting painted black on the suspension? Hardware, too? I personally prefer the contrast of gray/silver here and there, especially for hardware and parts that weren't painted from the factory. On nice clean blasted parts, a flat clear looks pretty good, in my opinion.

Scott
 

Glenwood

New member
Joined
Jan 28, 2016
Messages
2
Location
Ontario Canada
Finally read this entire thread & loved it! It's like reading a book you just can't put down.
Thanks so much for taking the time to do this Robert, I'm learning so much from you!

Glen
 
To avoid these ads, REGISTER NOW!
Top Bottom