shortykorte
Well-known member
Question about seam sealer. the sealer at the rear fender well and floor (interior of Tahoe is peeling and I wonder what you recommend? Thanks.


 Maybe the design will catch on.

")

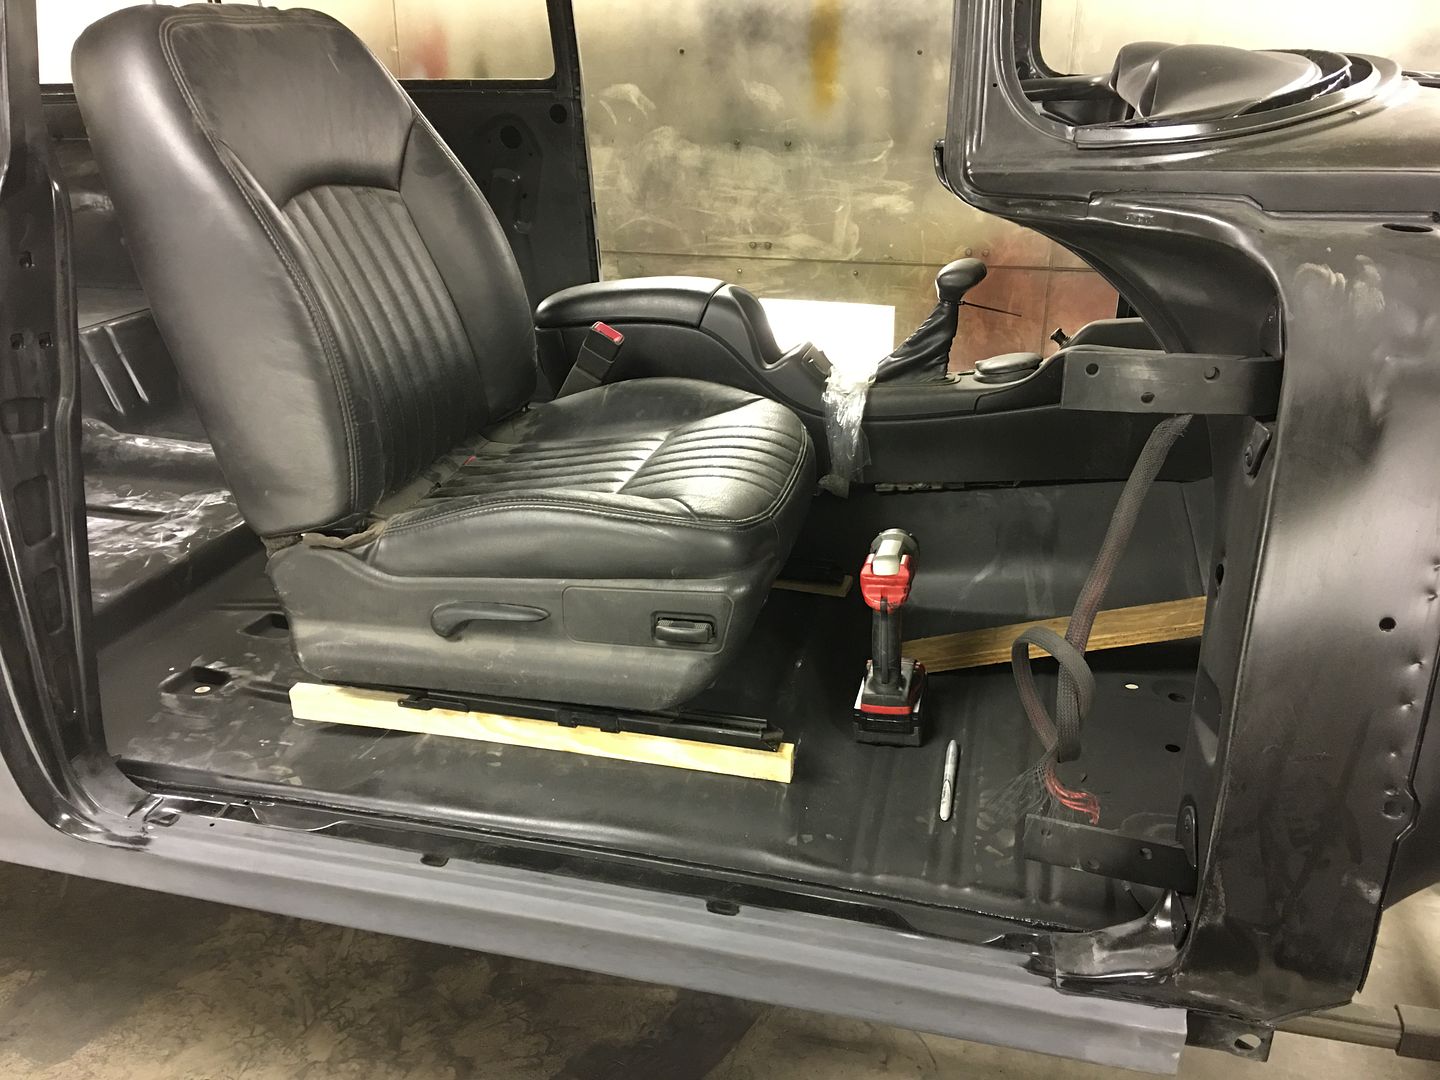
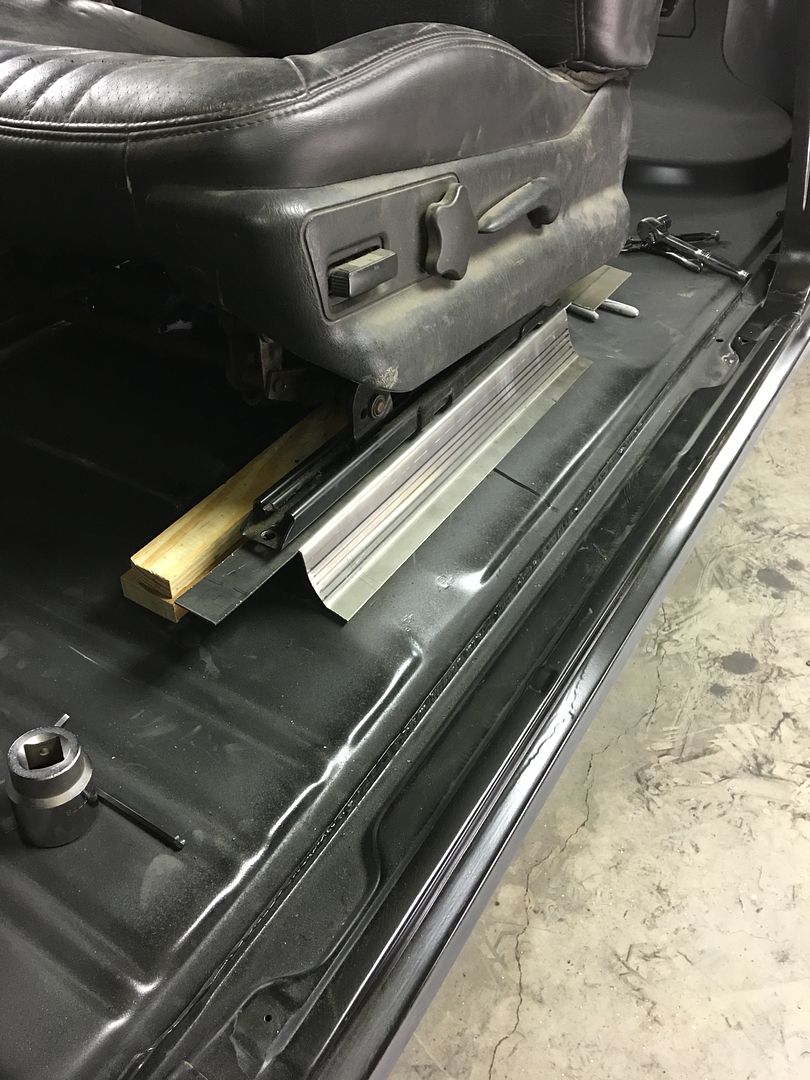
Robert....what are those bucket seats out of originally?
Awesome work as usual Robert!
Where did you get that piloted burnishing brush? Starting the floor pans on my '67 and that would be a great help.
Rob
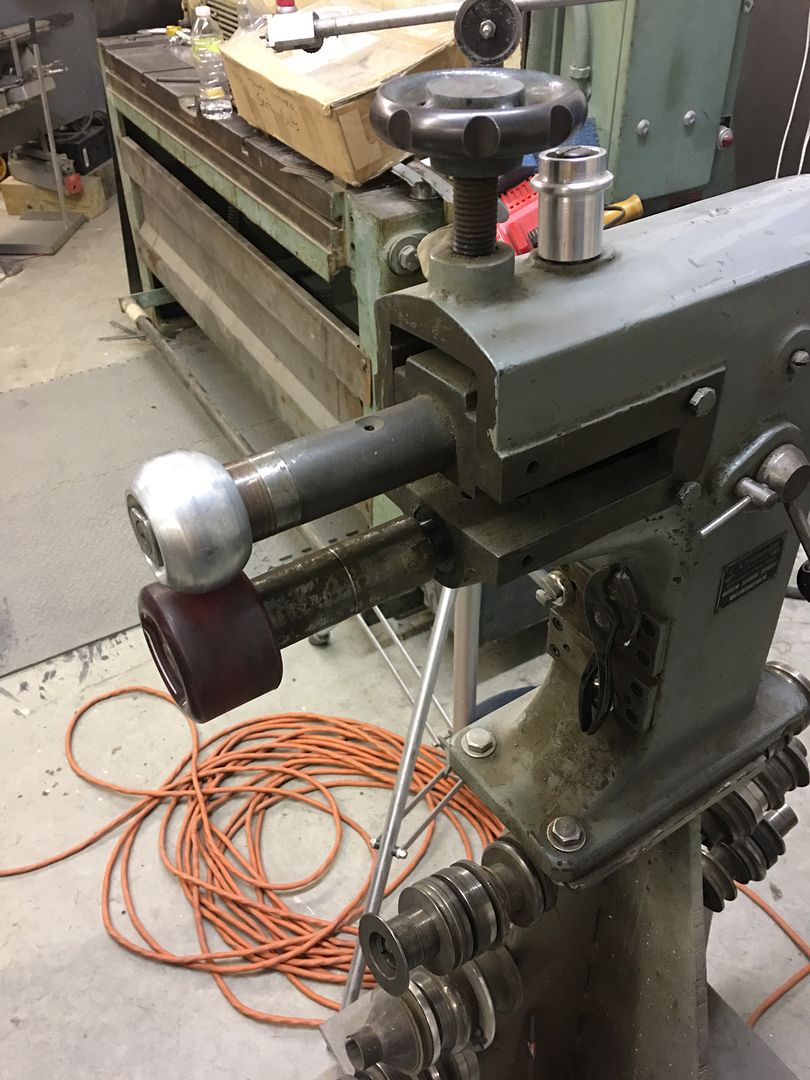
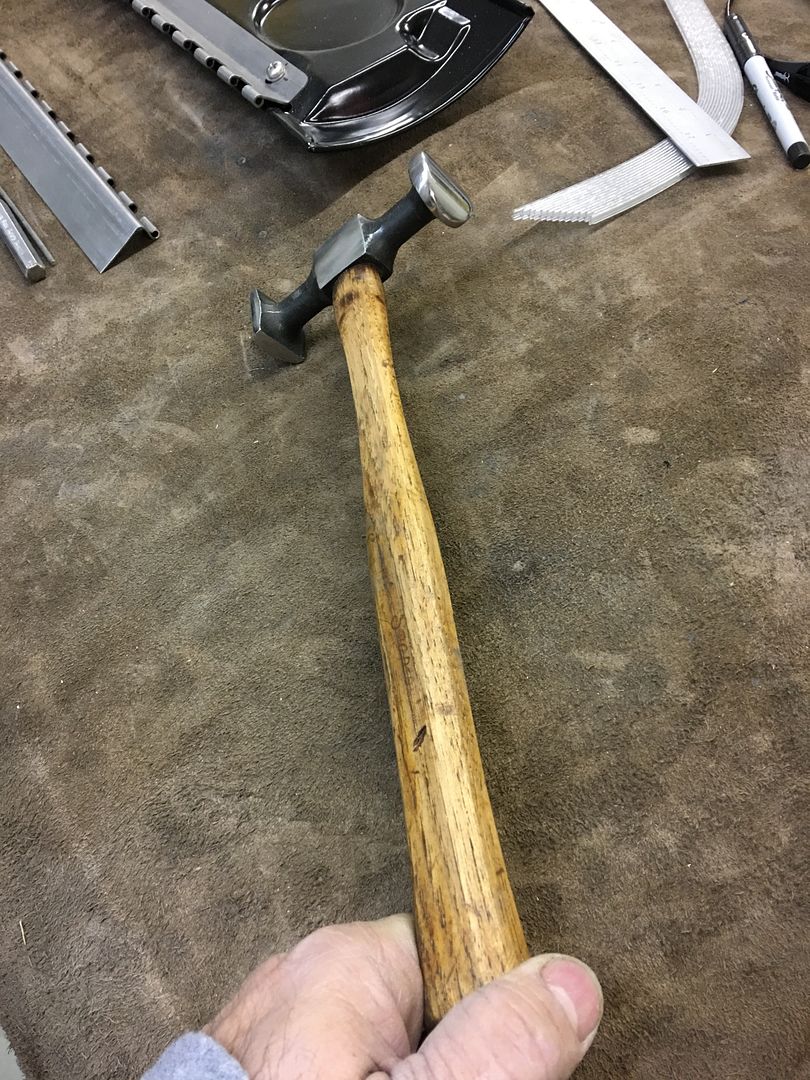
Nice job Robert, but I am waiting to see some power hammer work. ��
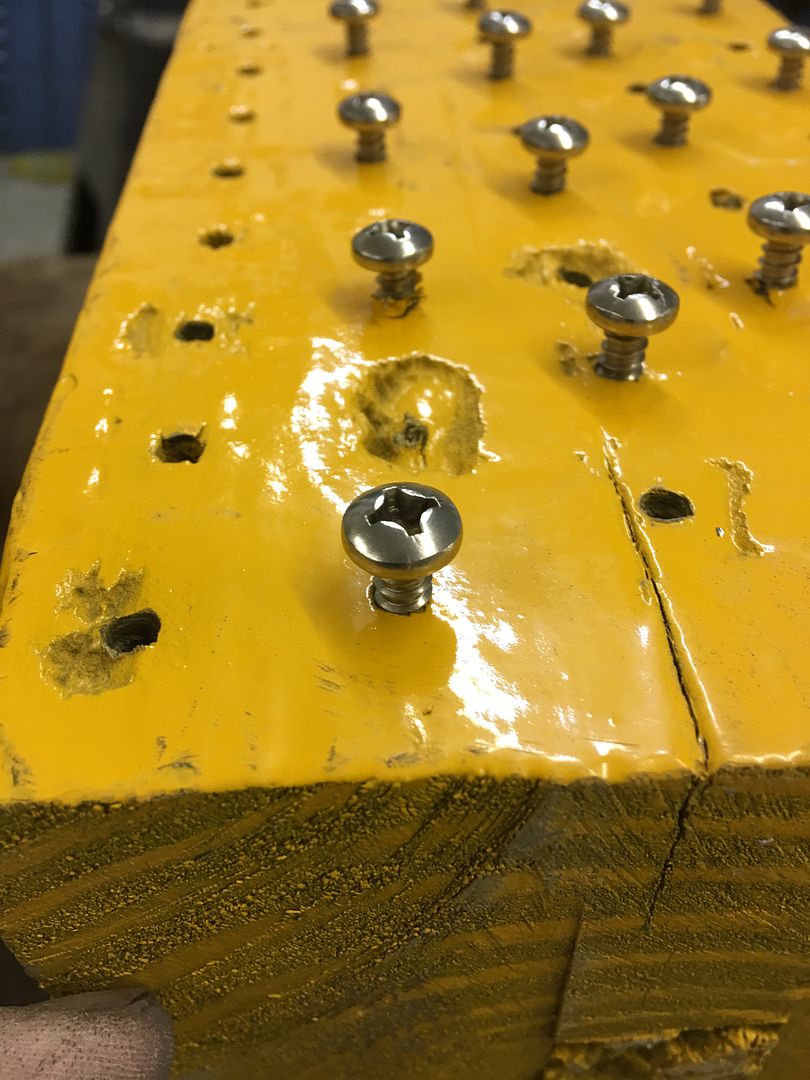
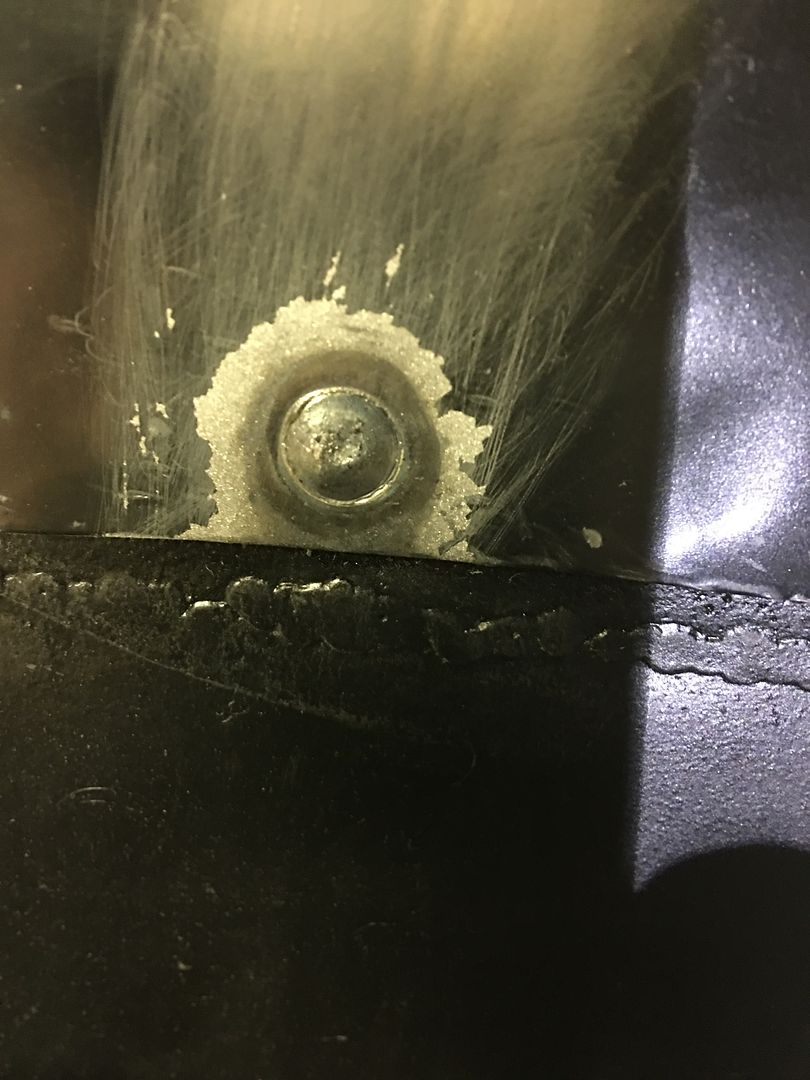
 did you polish up the heads or is that the condition they were in when you recieved it?
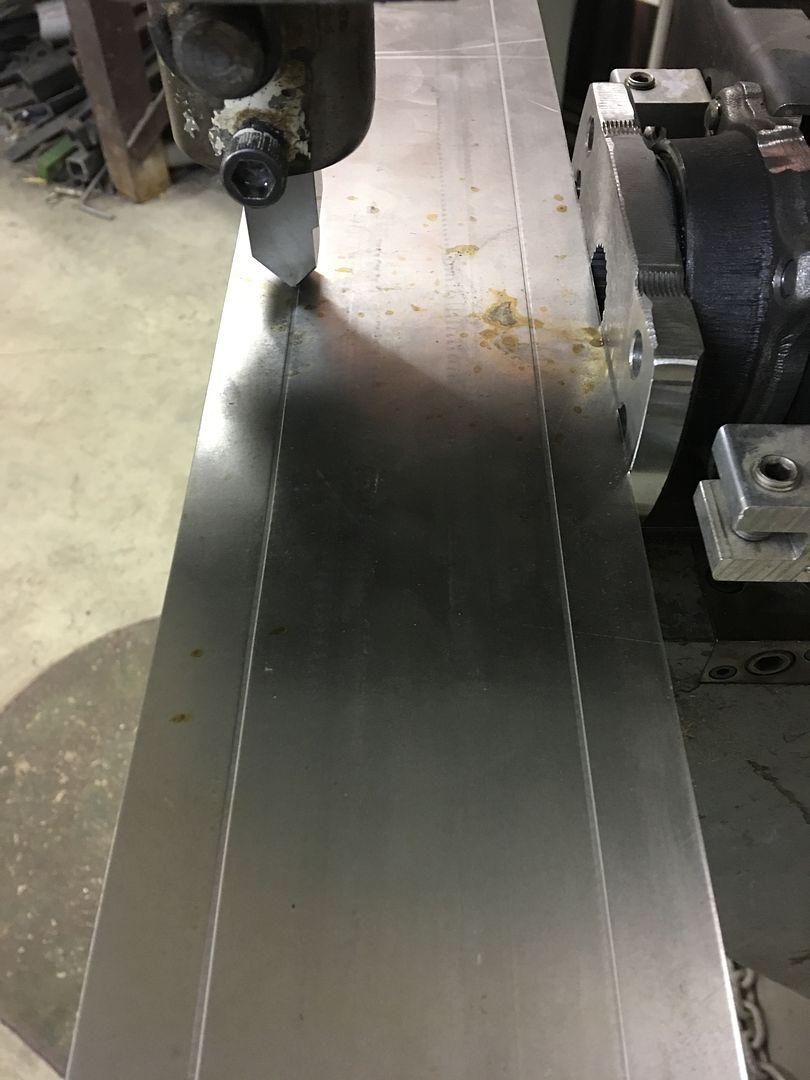

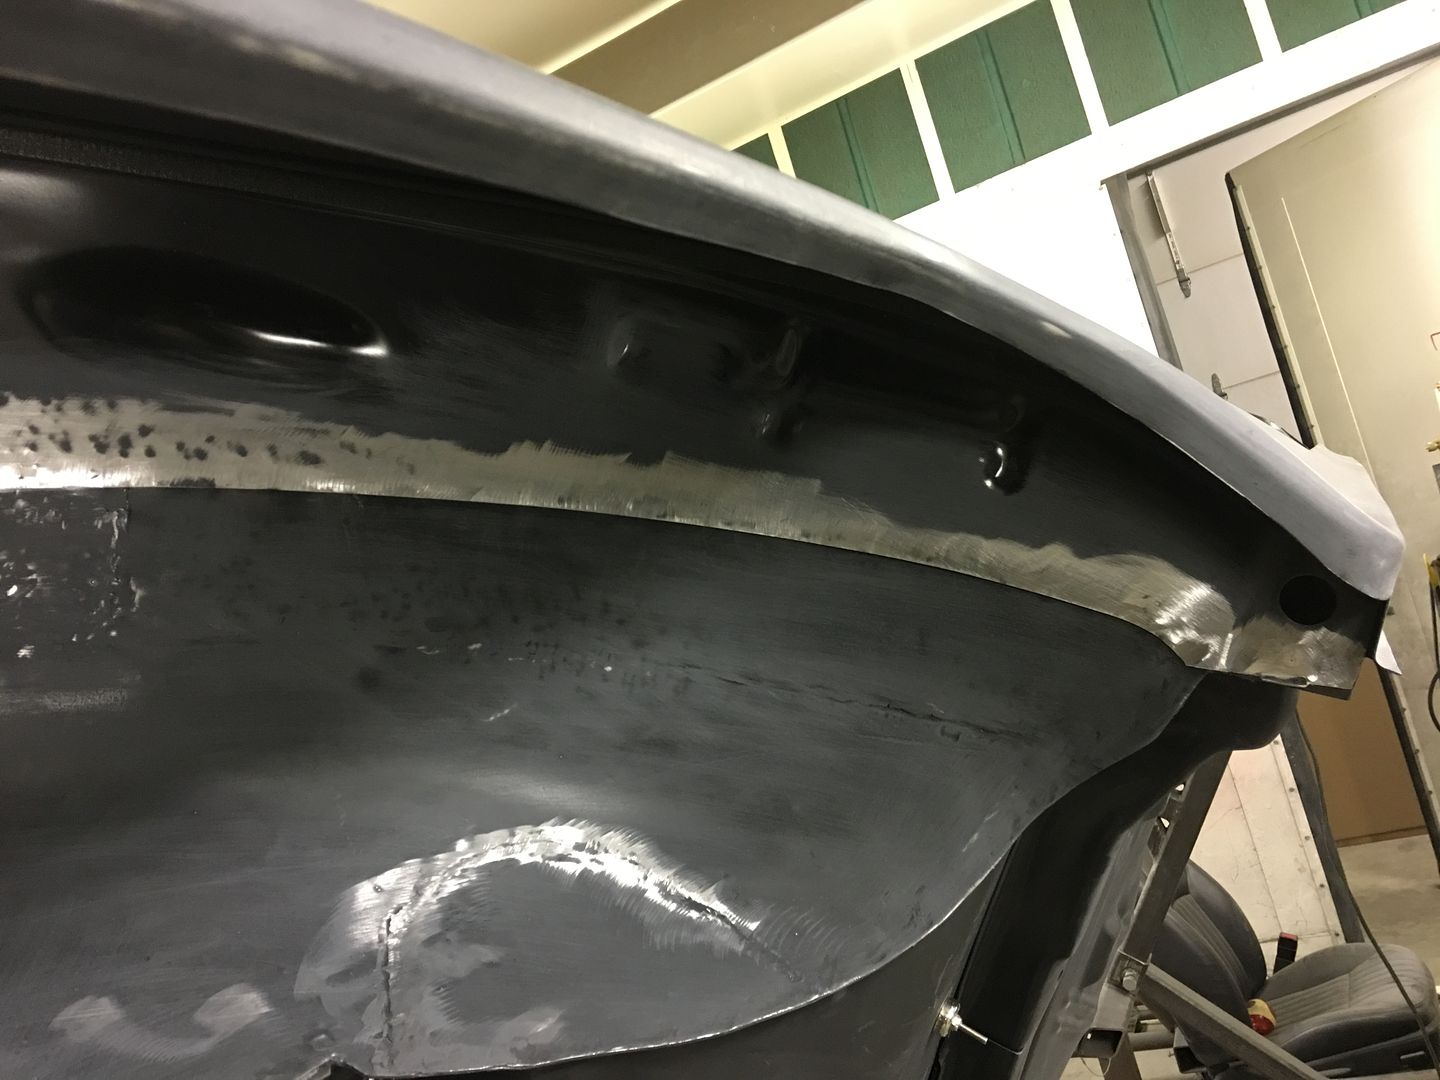
Robert, every time I look at something I've done I have that thought. For me, re-doing it sometimes made it worse. The details you are taking care of are just astounding and give me the courage to try new things. Thanks so much for posting your work and the thought process behind it -- it's inspiring.OK, so sometimes you take another look and think yeah, we can do better than that.

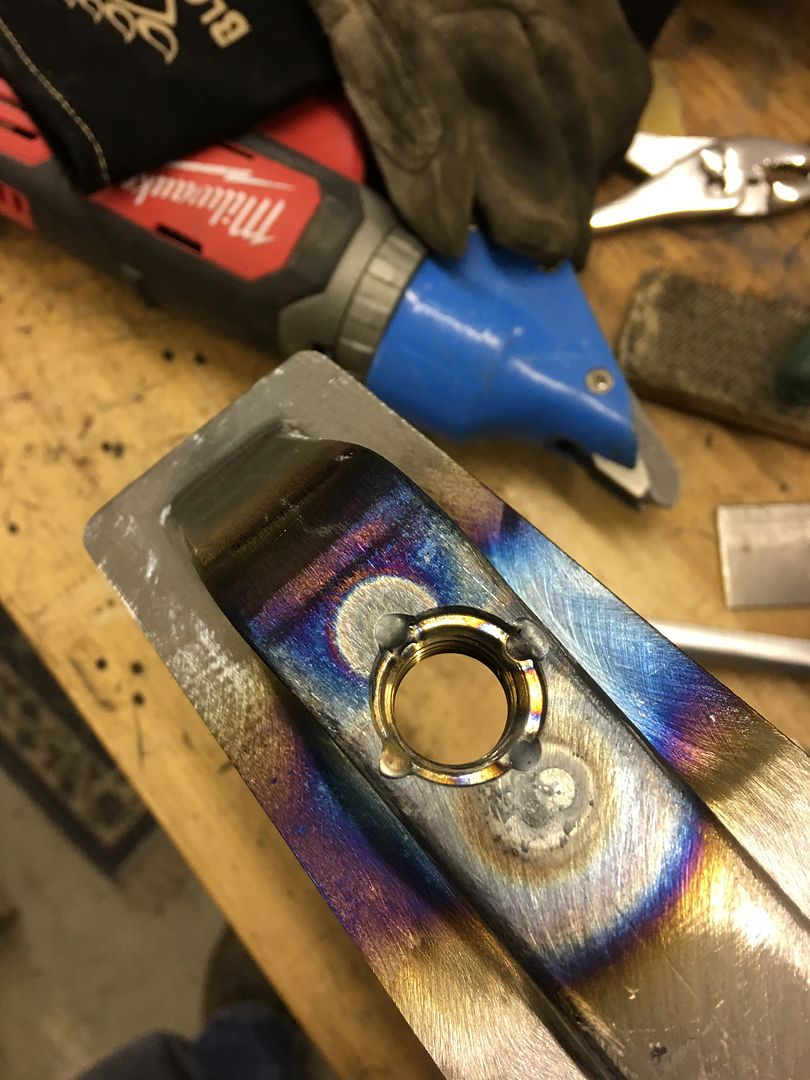

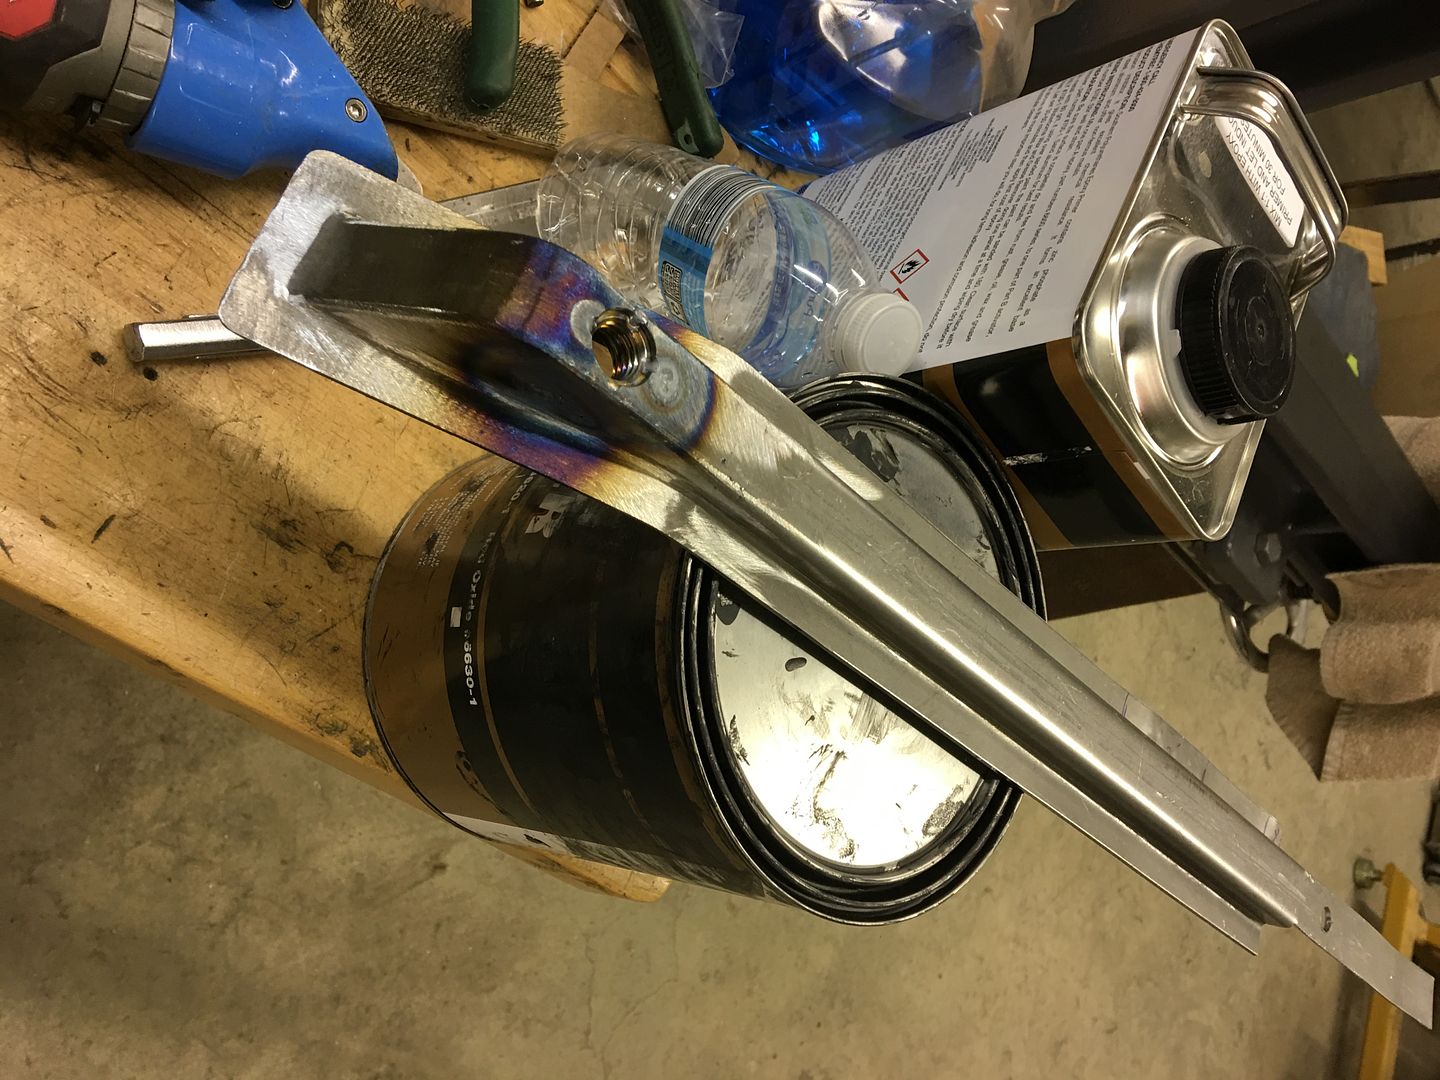
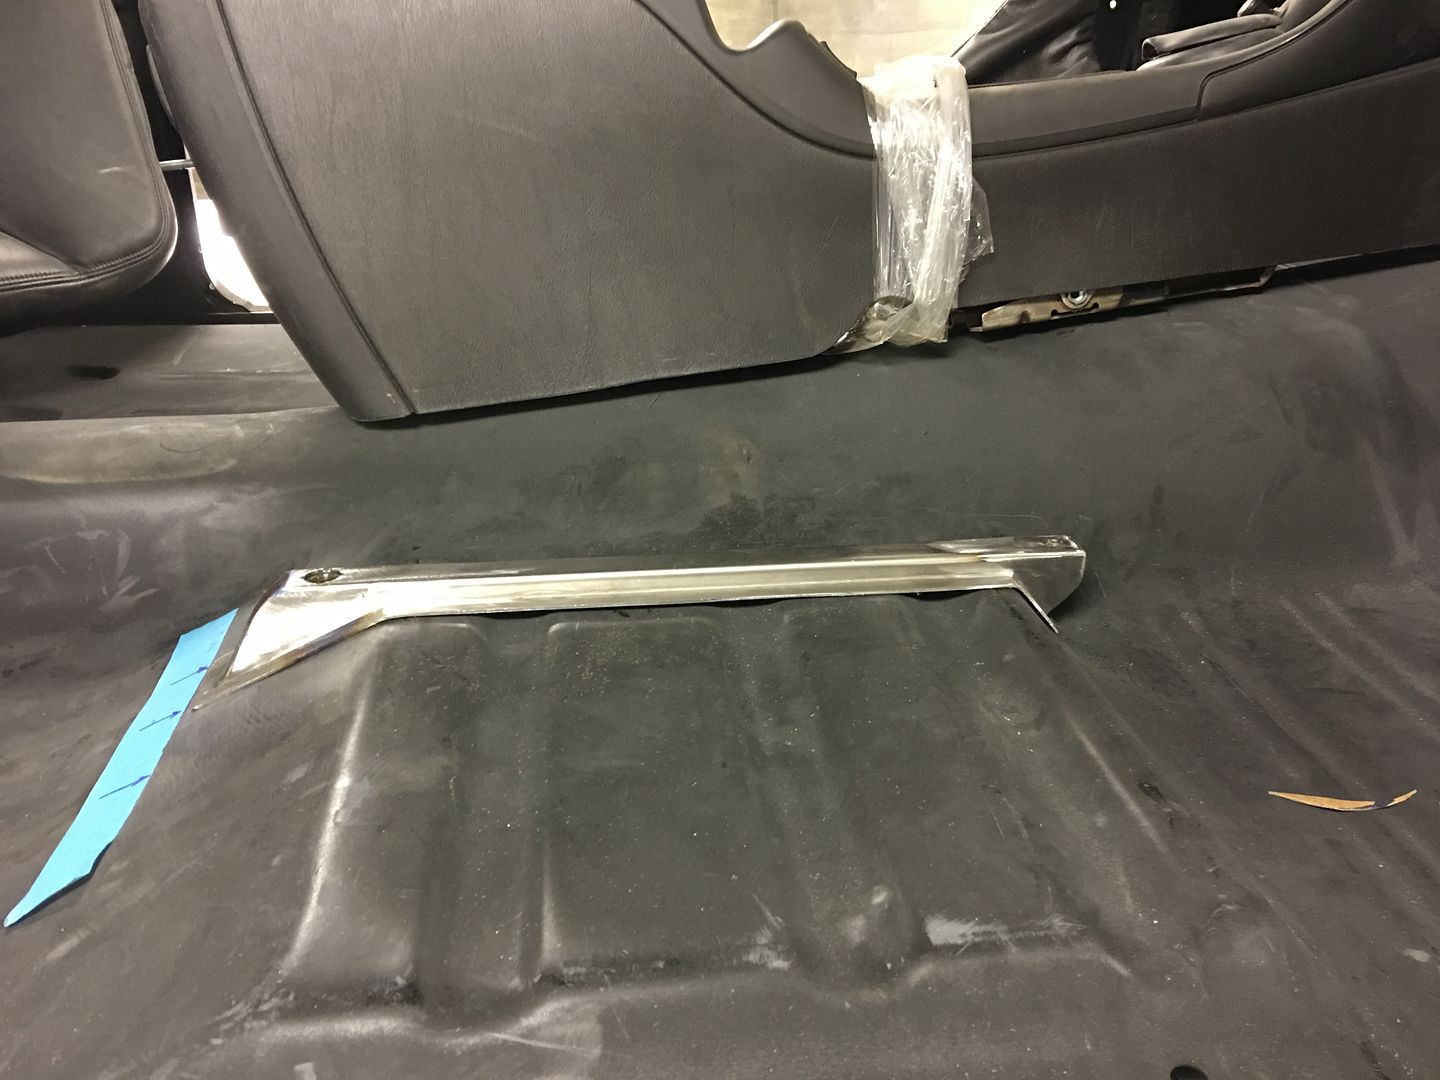

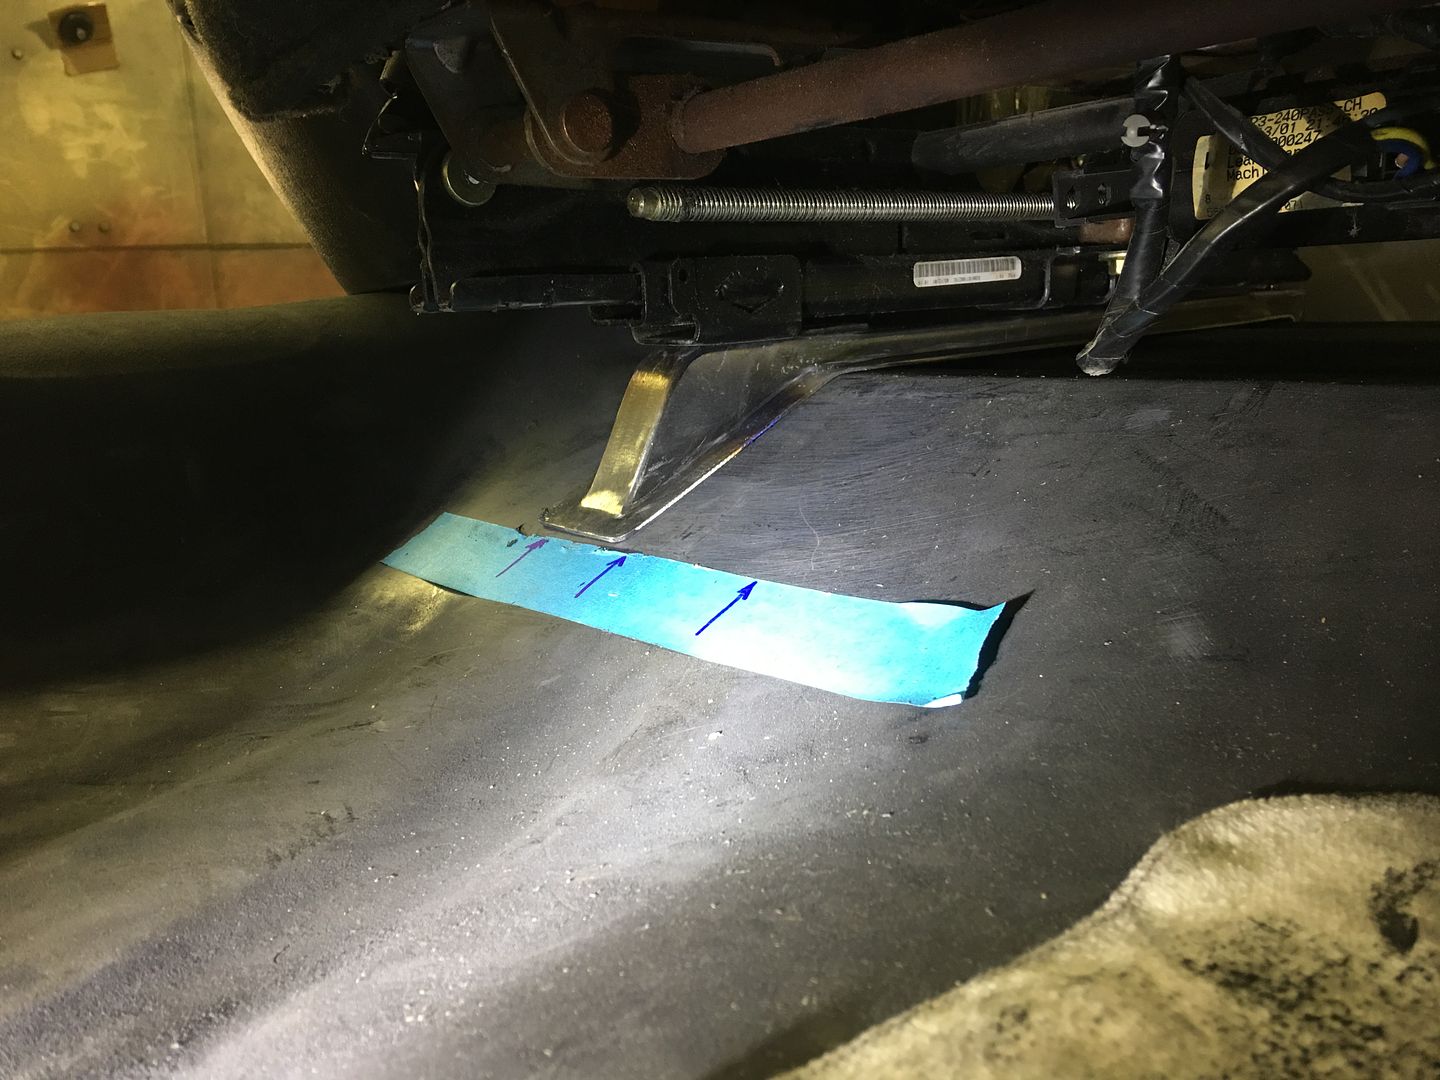
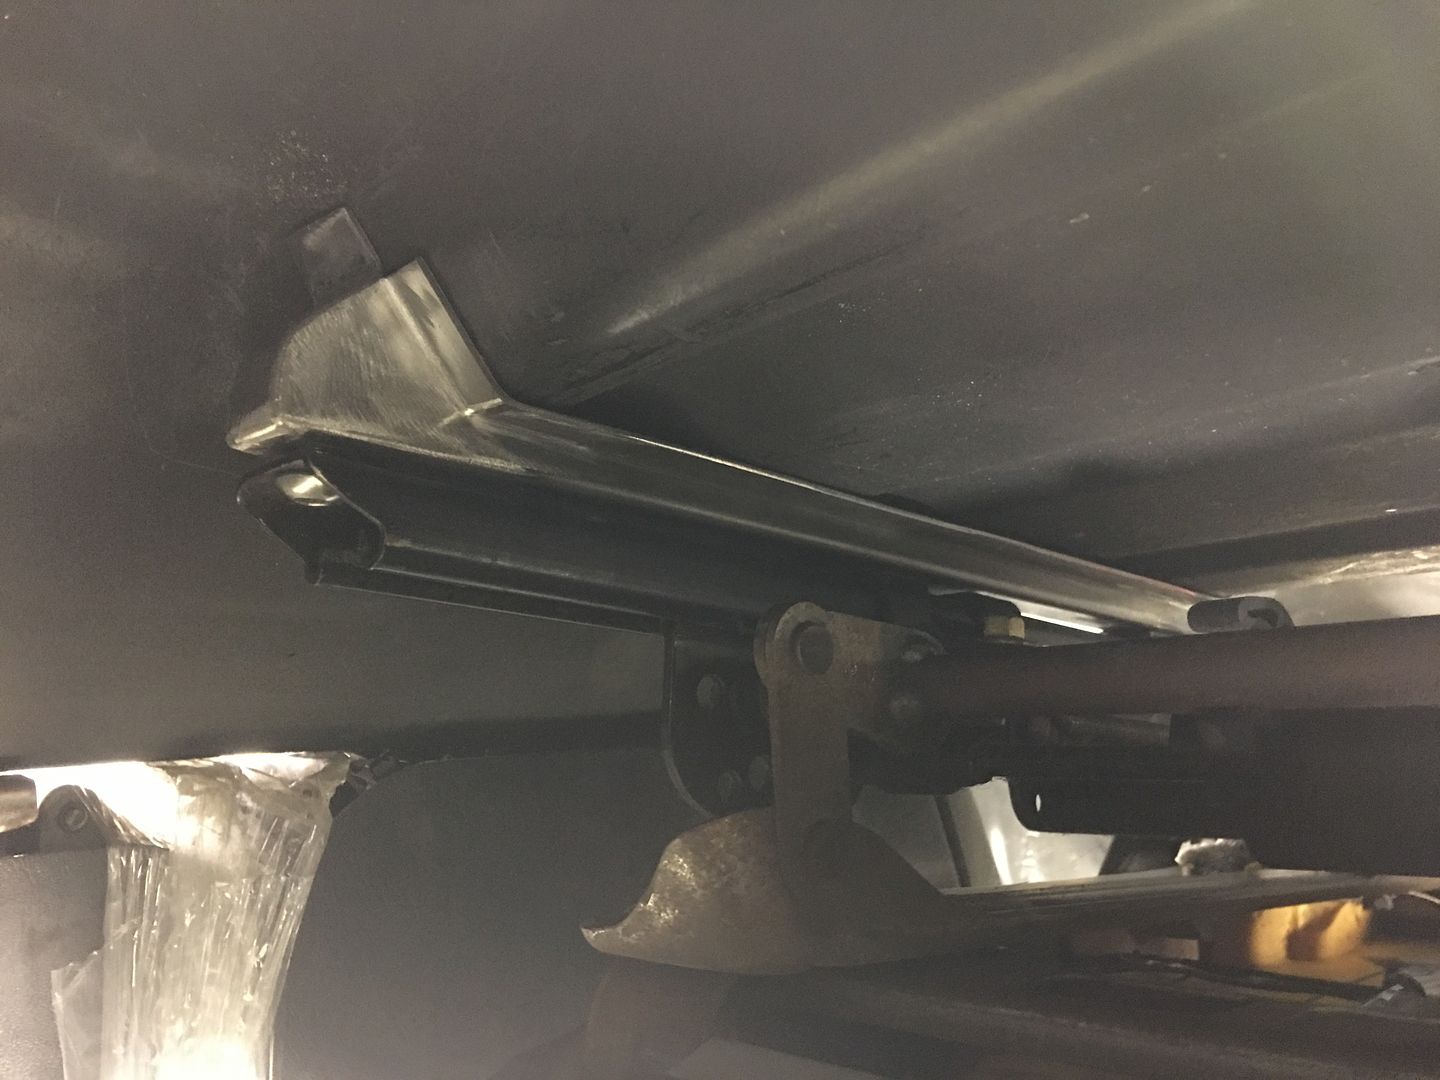
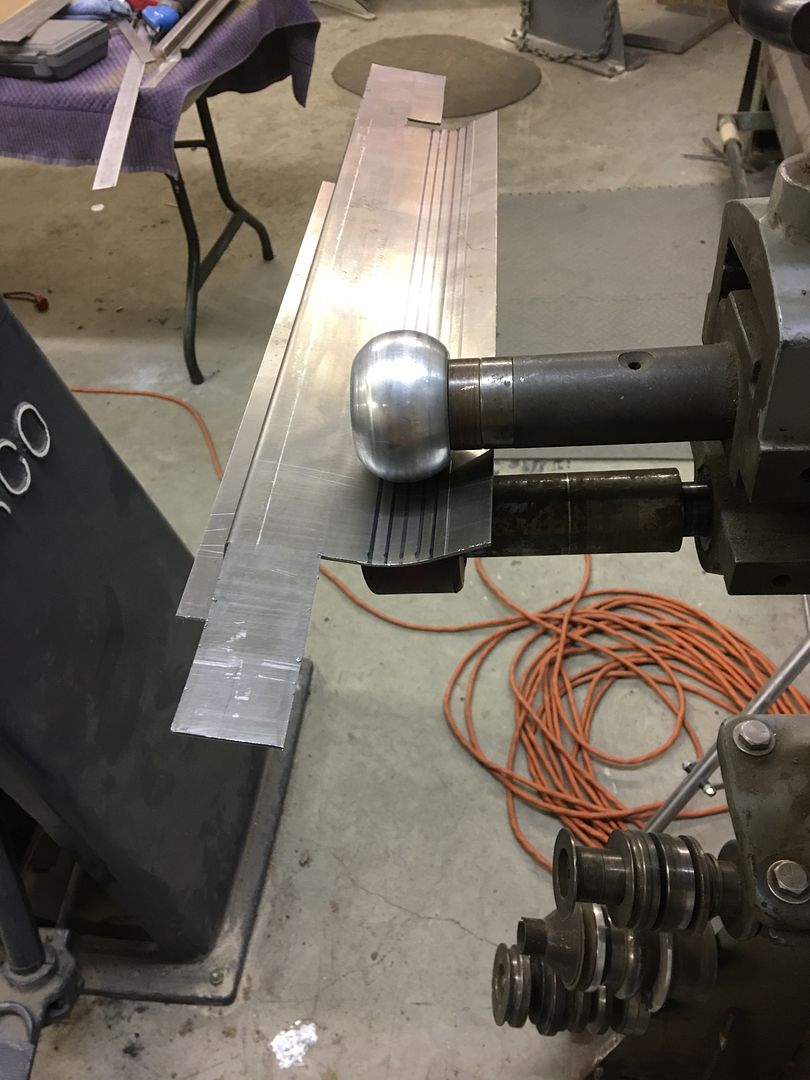
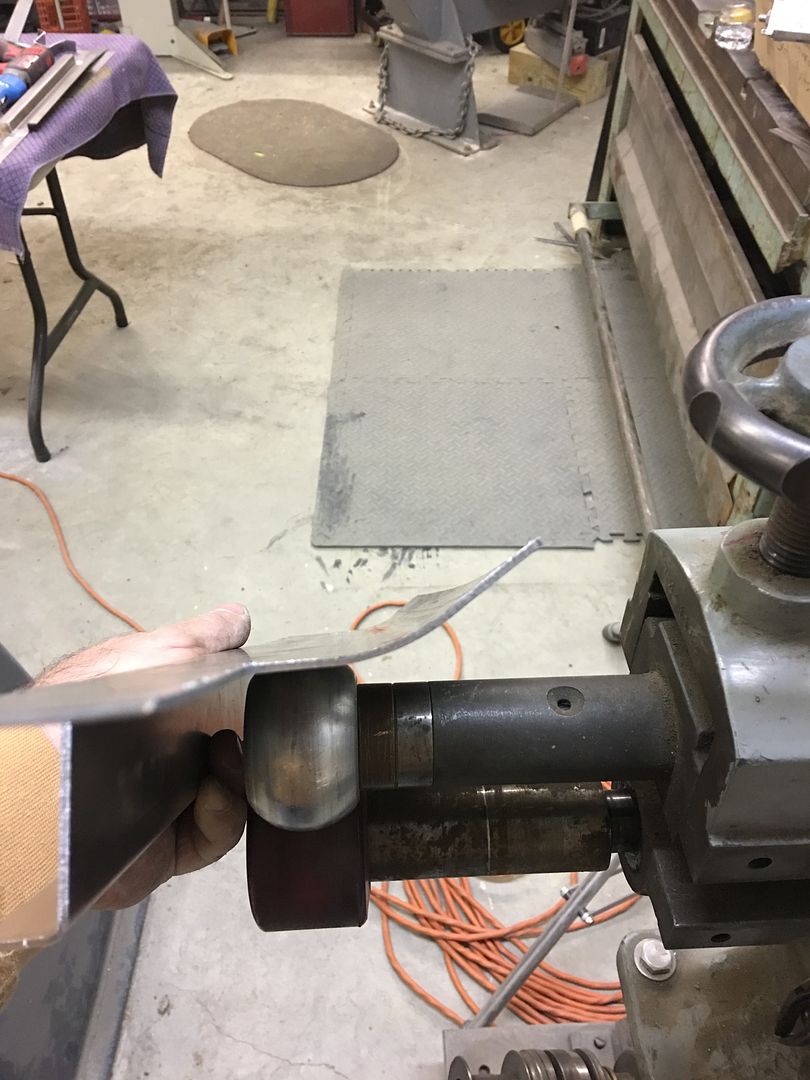
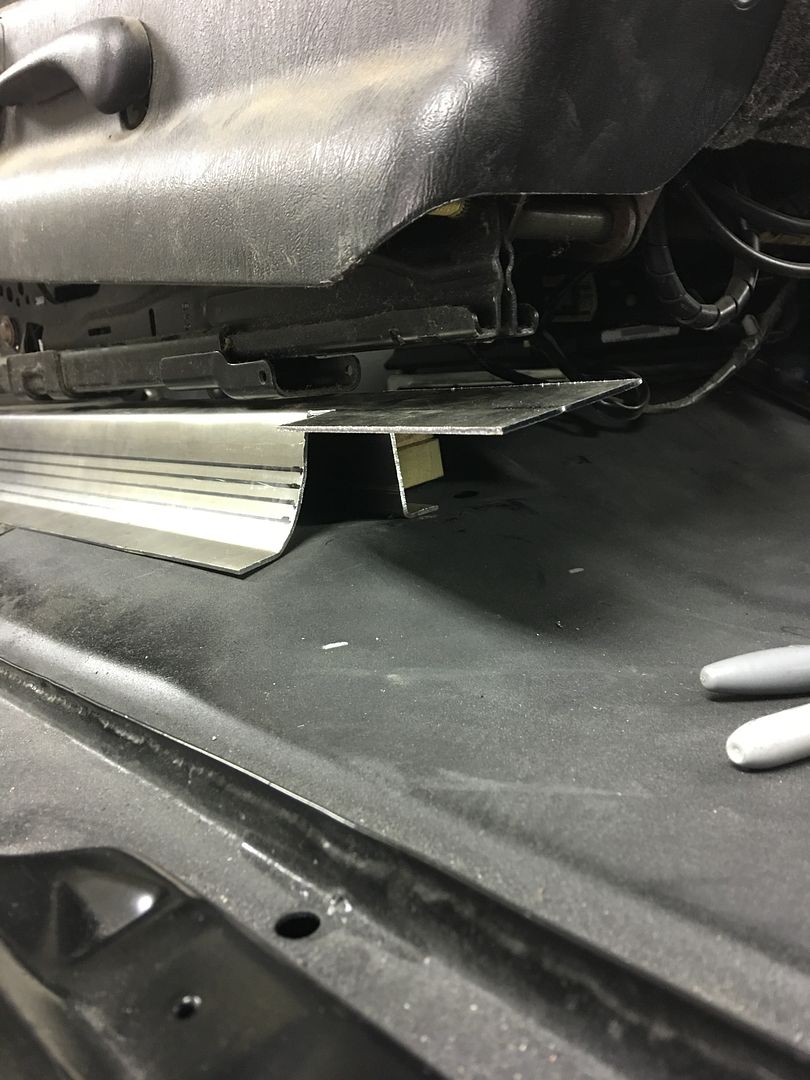
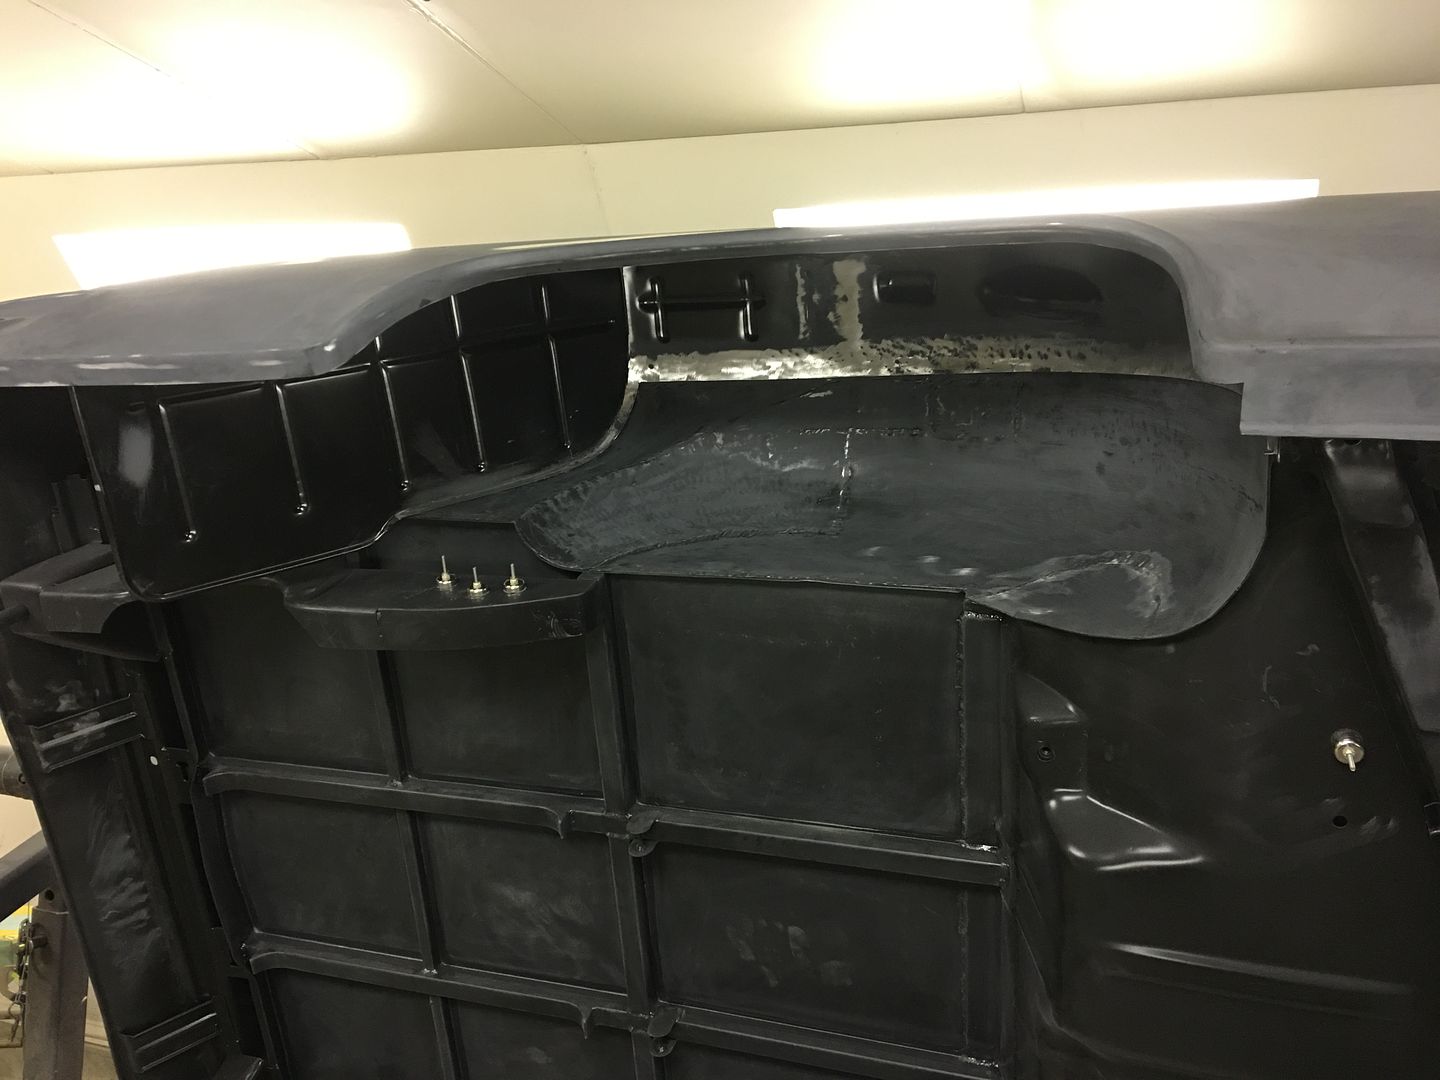
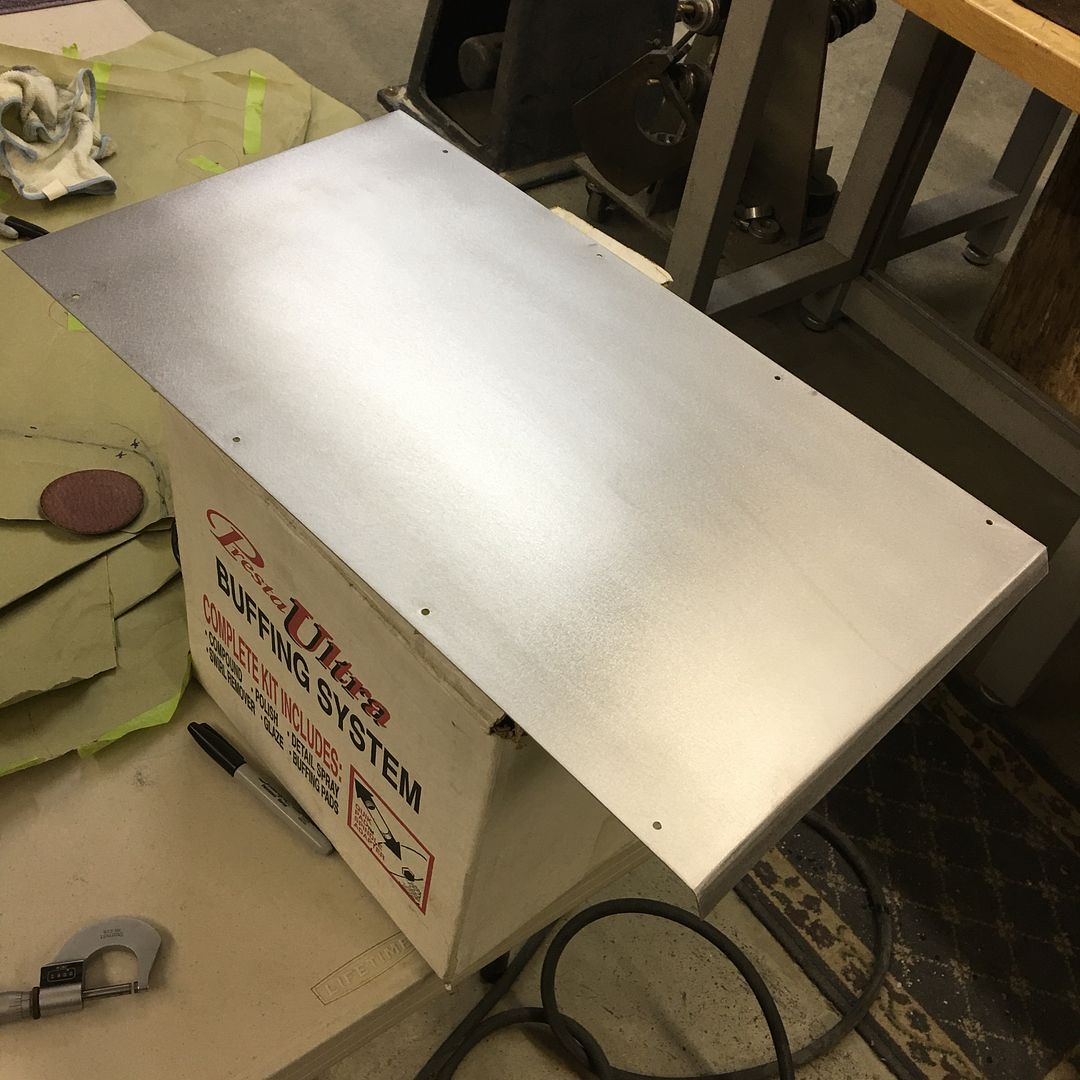
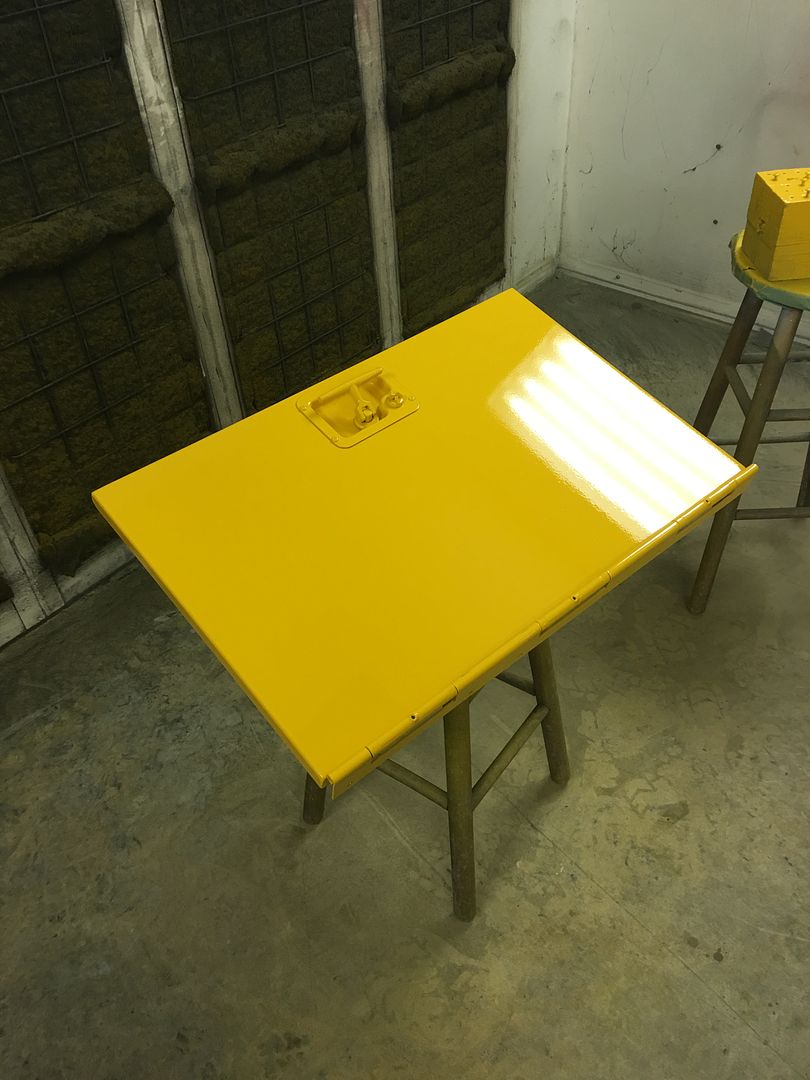
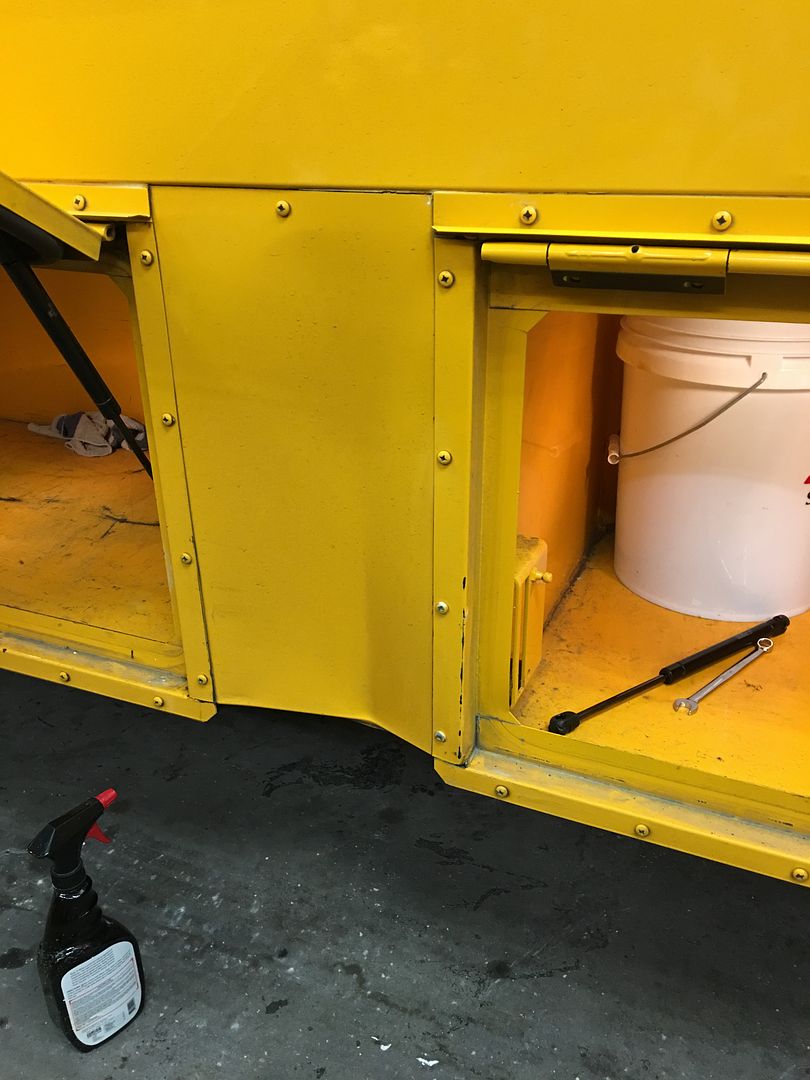
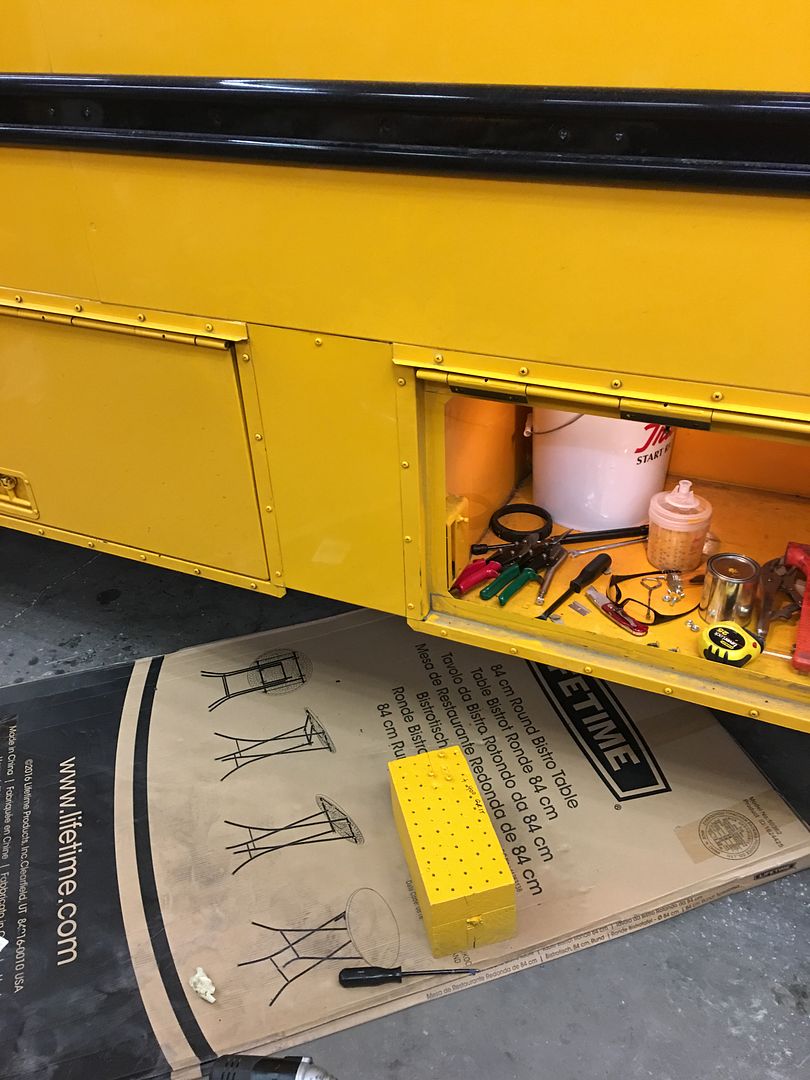
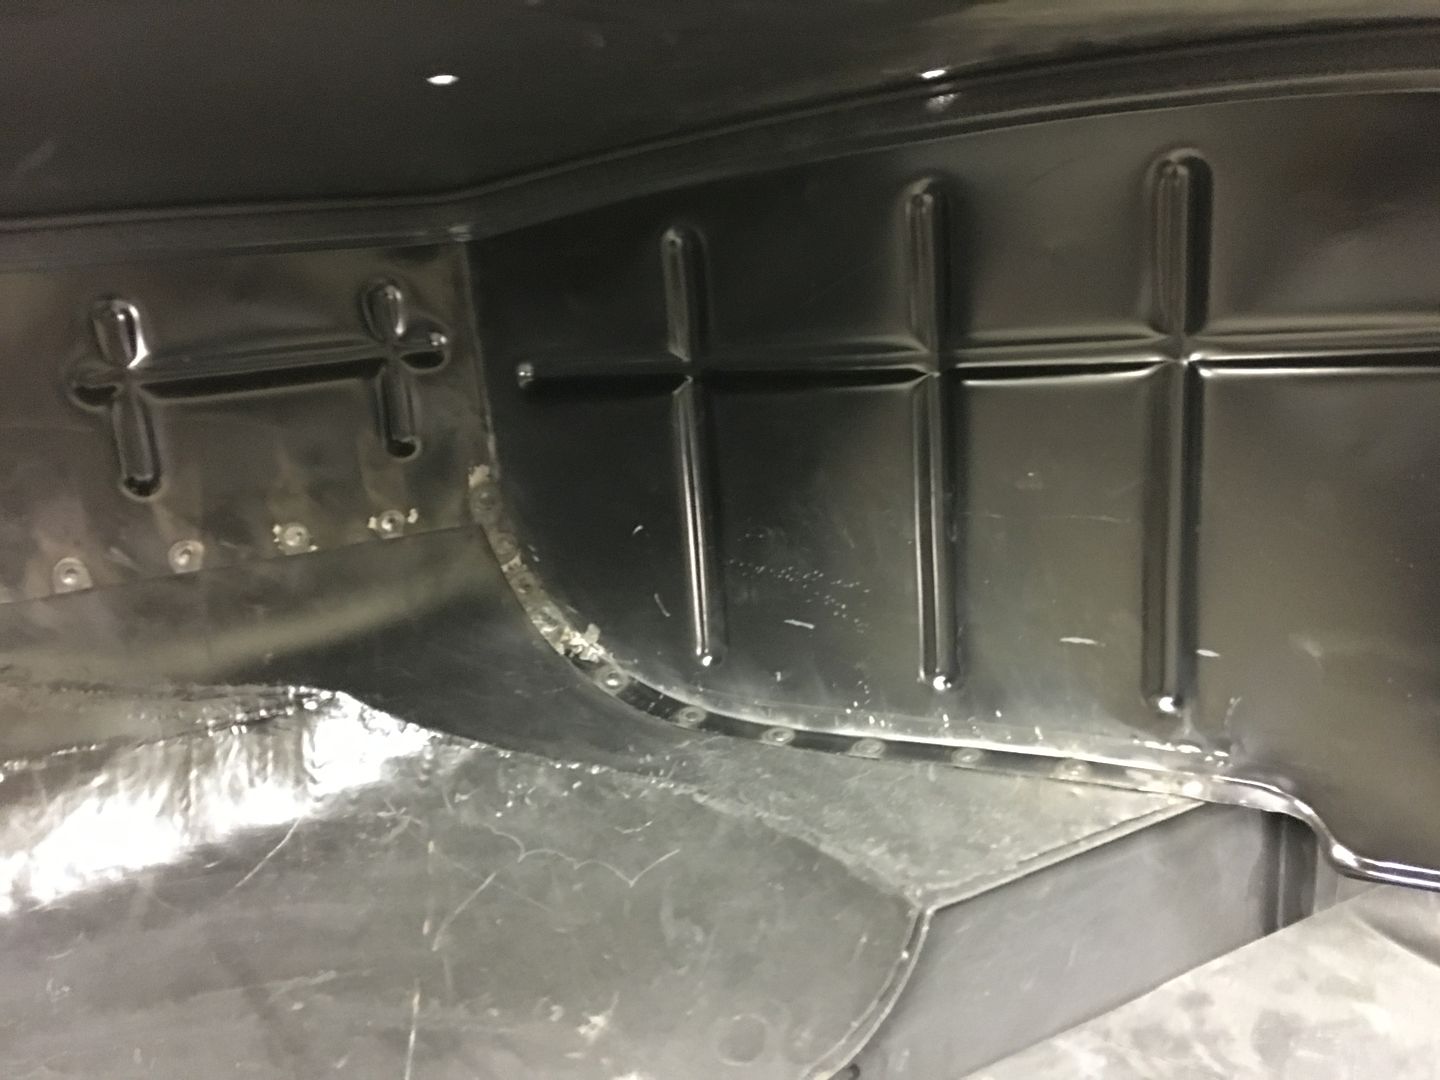
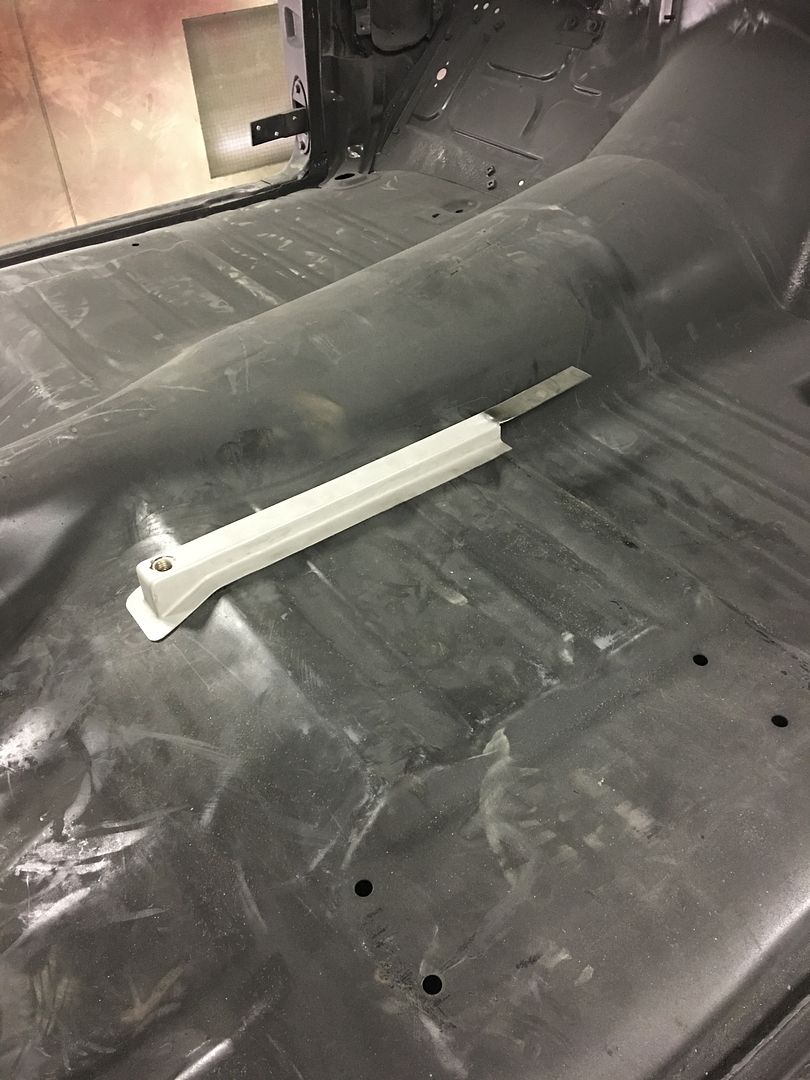
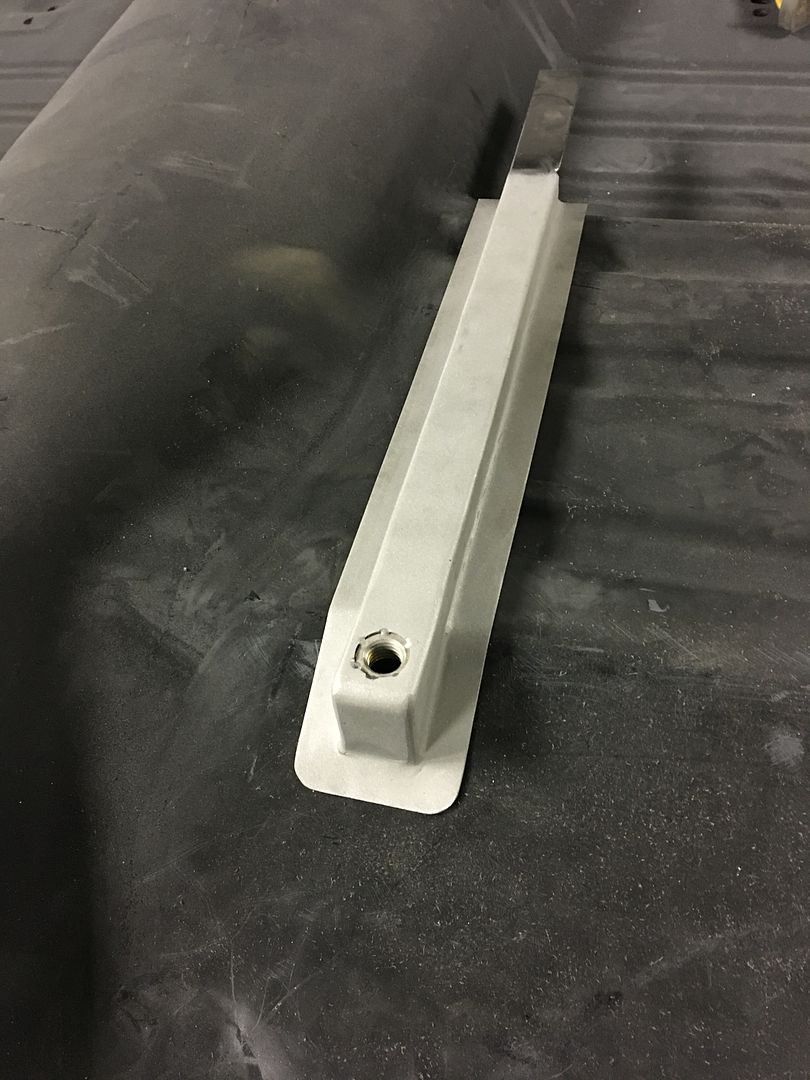
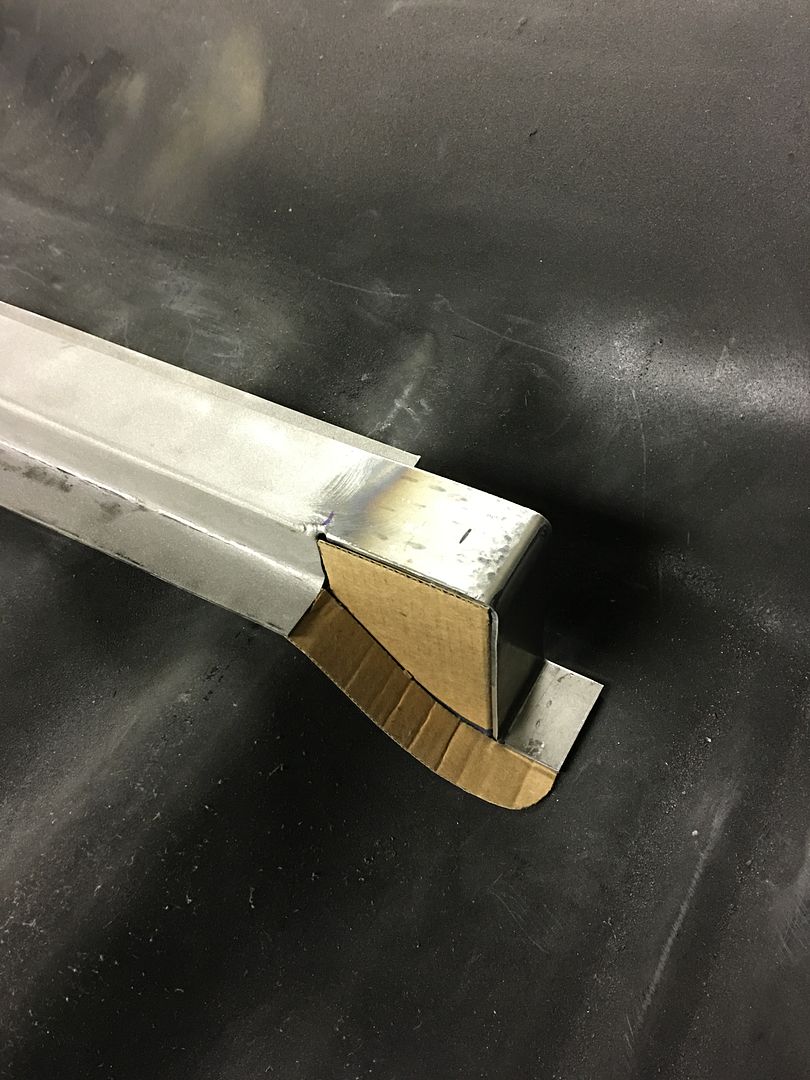
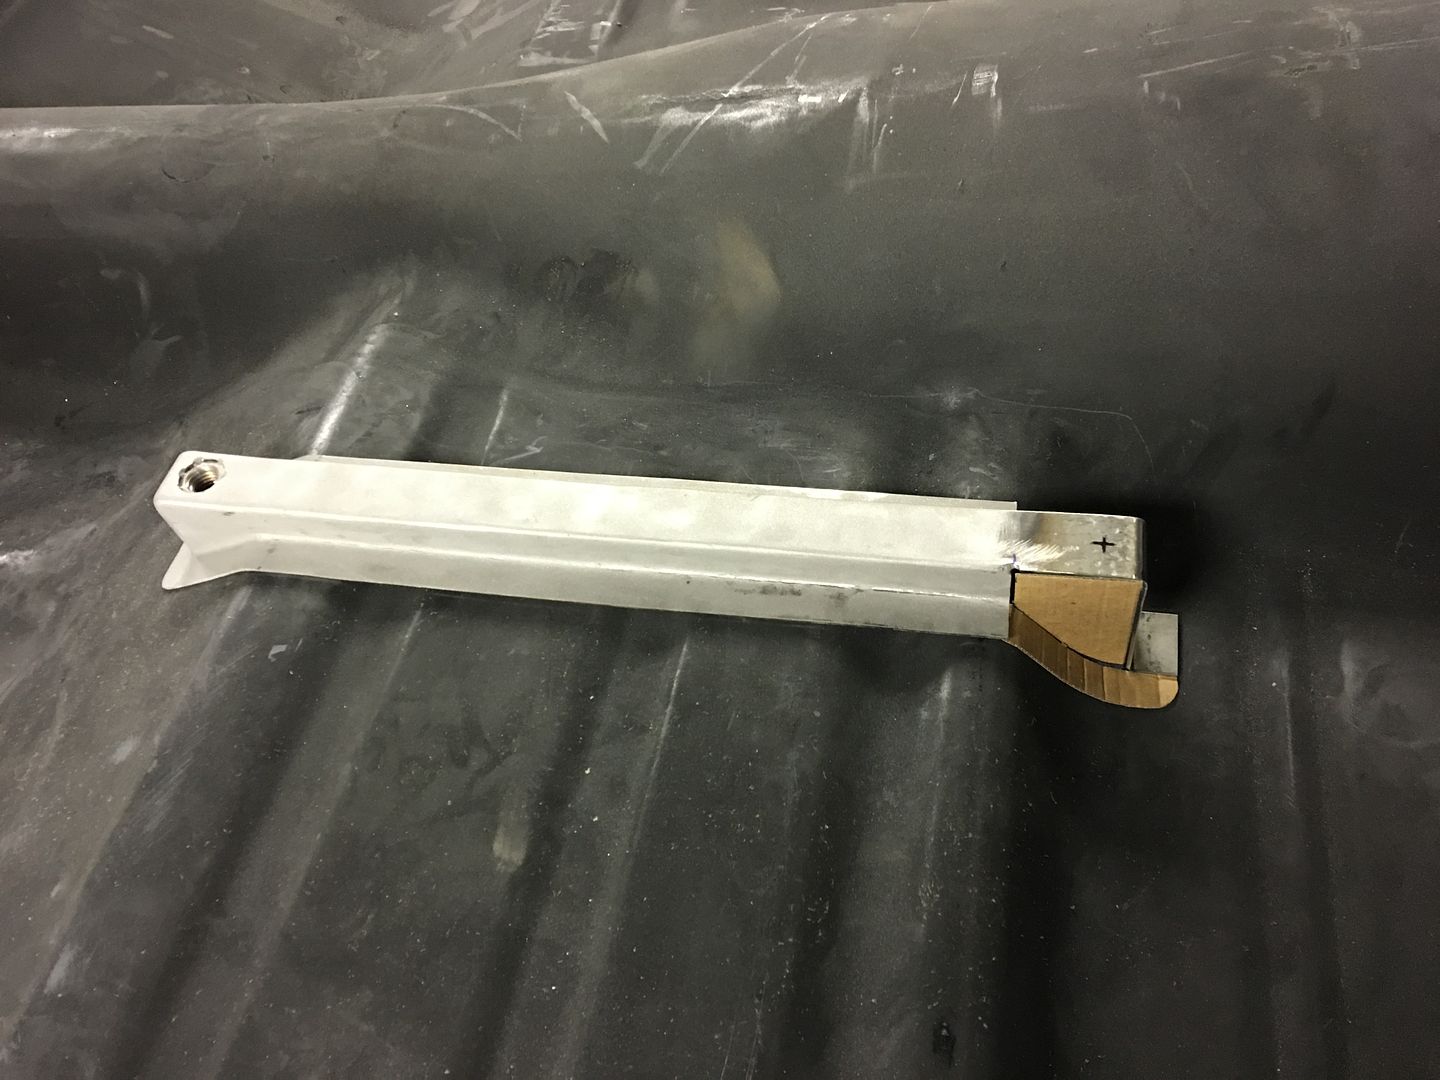
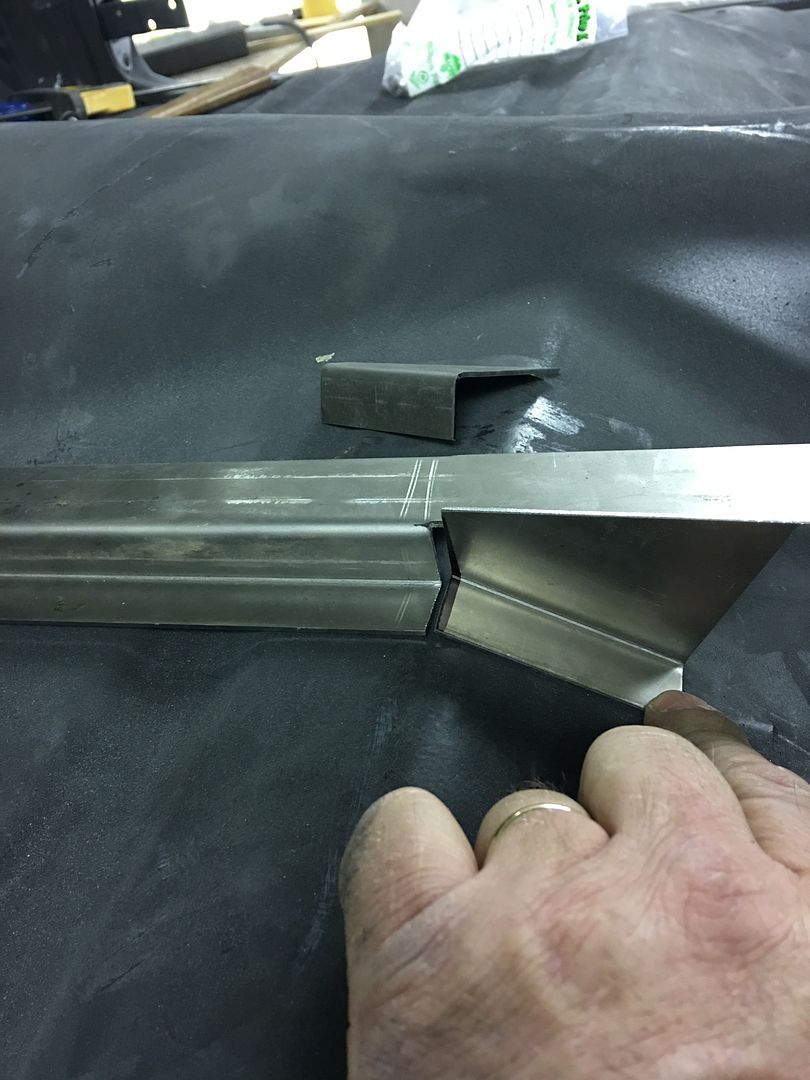
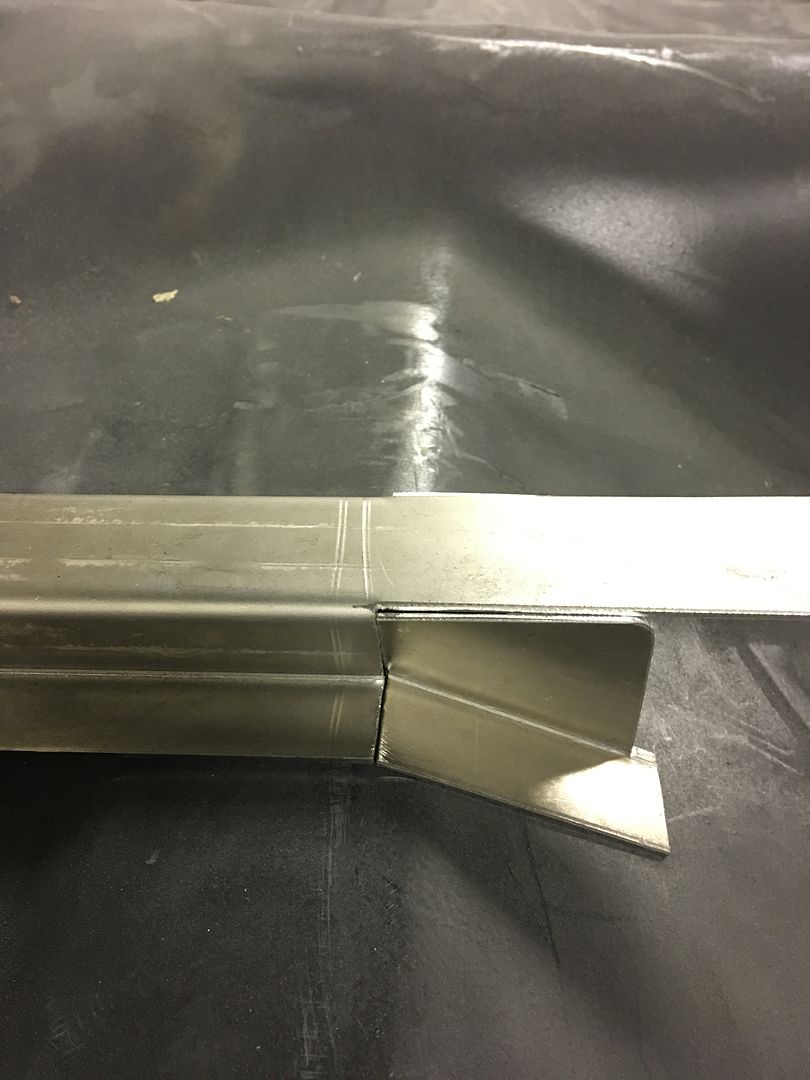
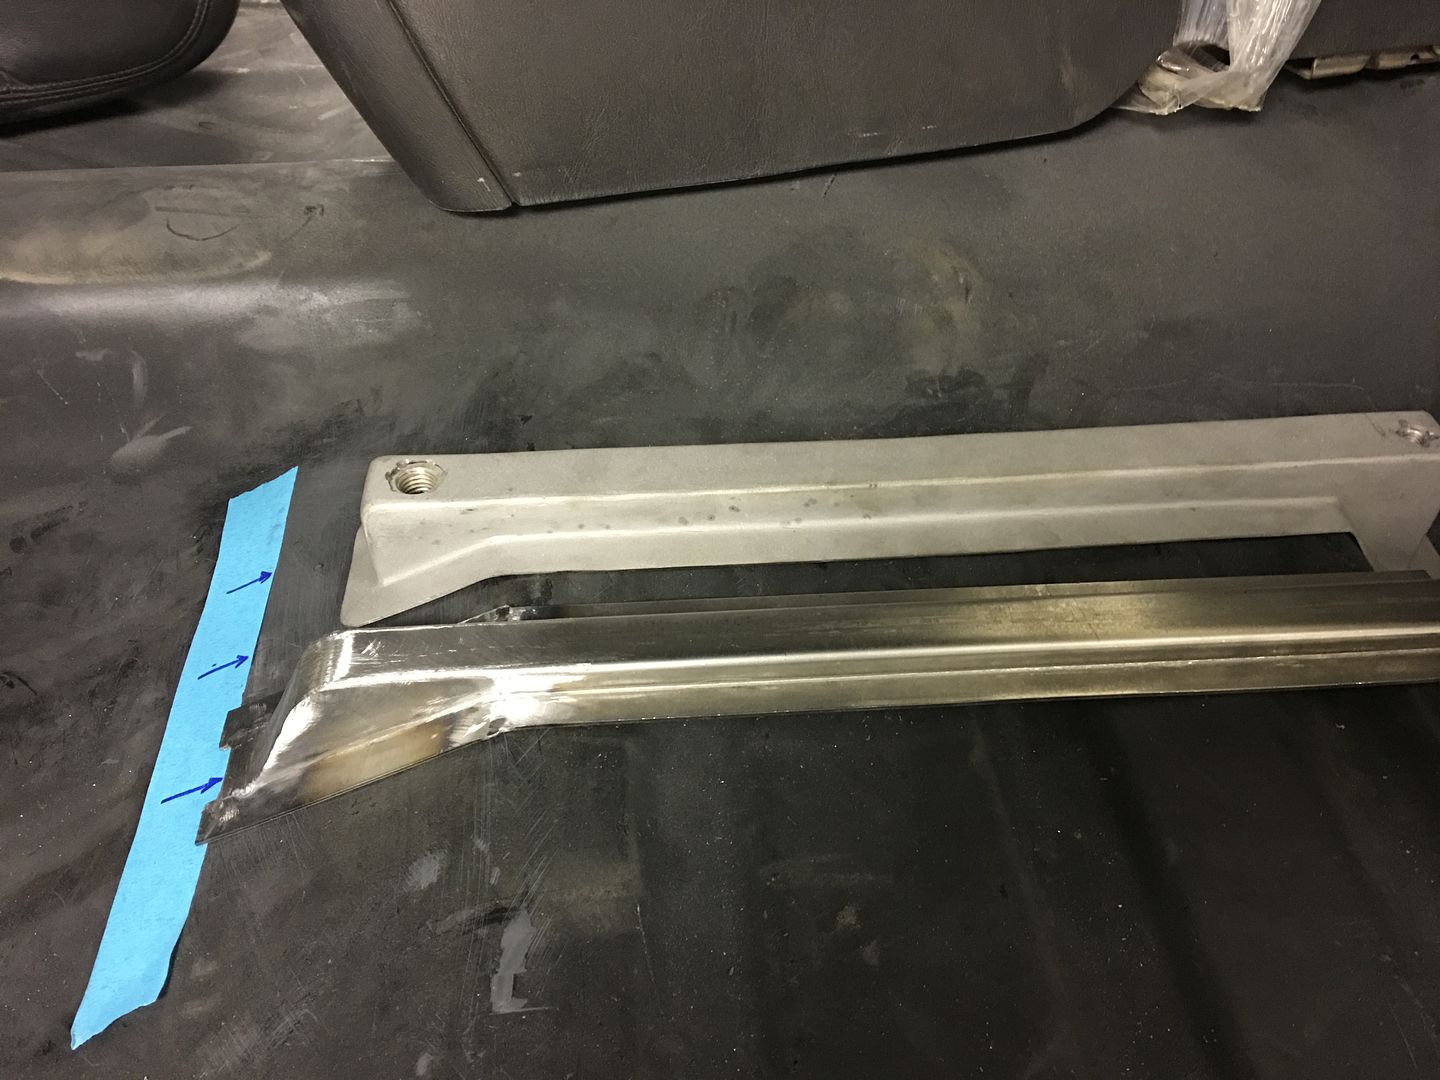
Here's our updated riser, half as tall, and once trimmed the flange will match to above the cross member..