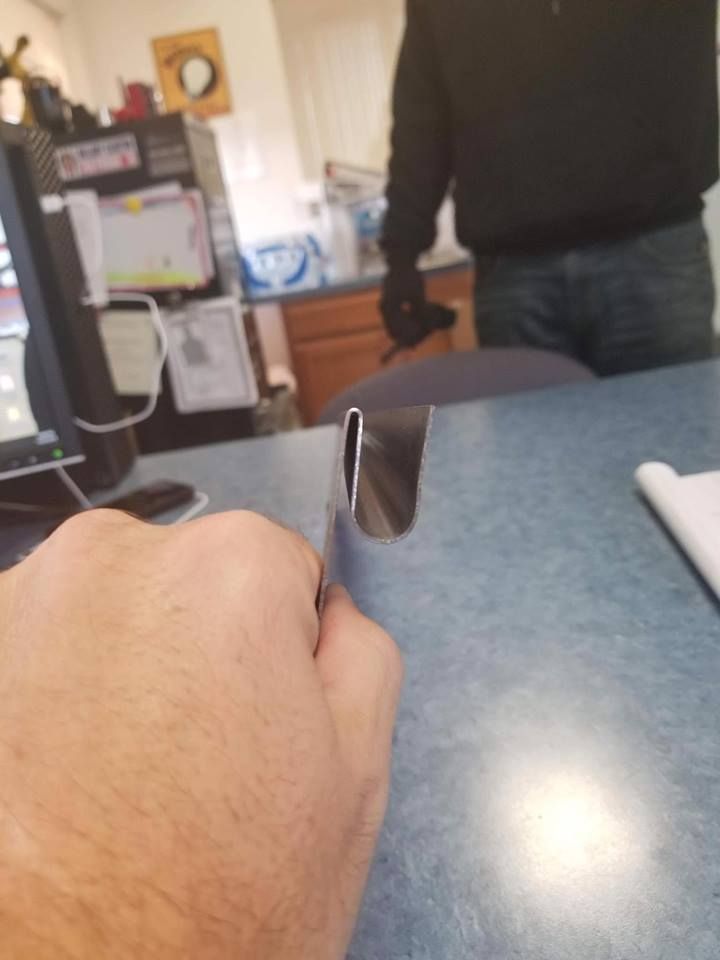
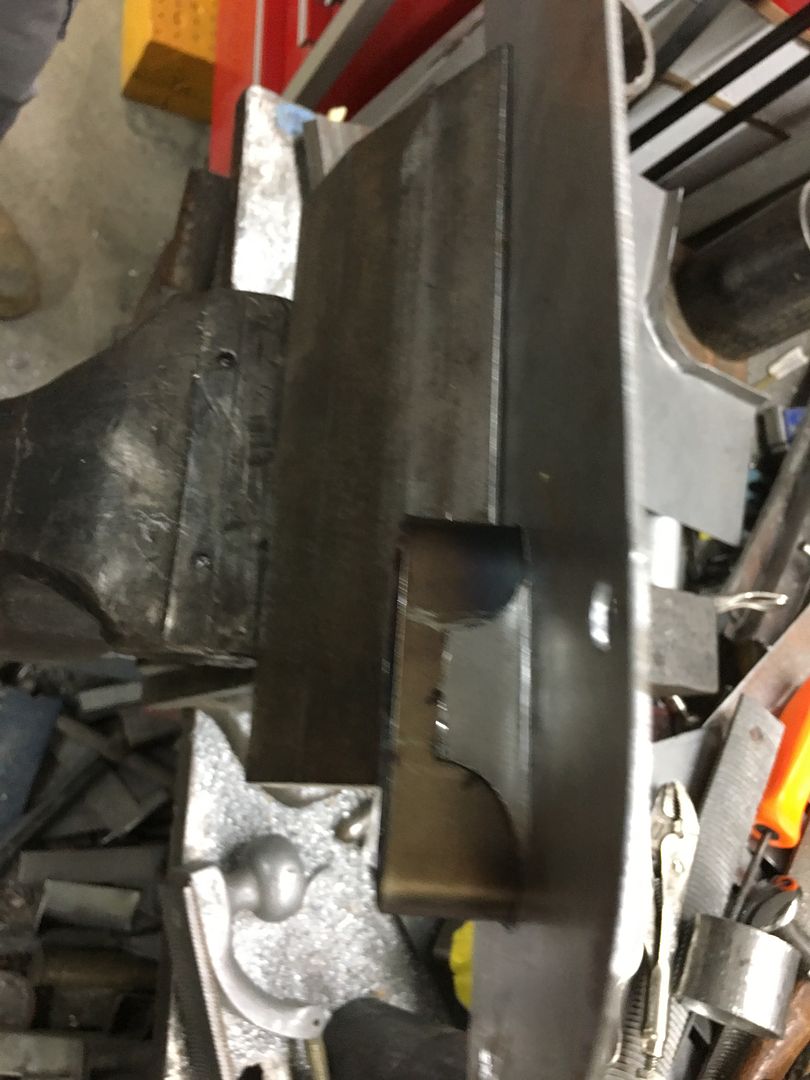
My brake is a home made press brake. it is 13" wide and fits into my 12 ton HF press. Works great. I can stall the jack on big stuff but usually bends what I want. Biggest issue is when I have something longer than 13". One it will not fit between the uprights on the press two I have to bend a little then shift then bend a little then shift. Do this till I get the bend all the way across. not the prettiest but it works.
I have bent 1/2" thick x 2.5" wide stock with it no problem. That surprised me.
A press brake that will bend 3/16 steel is going to be at least 4 figures, if not more. For the cost of a bit of metal, you could likely widen your press and also increase the width of the bottom VEE die to increase its capacity. Worst case add another 12 ton jack to share the load.
")