zmotorsports
ALLIANCE MEMBER
The console turned out amazing Robert, like everything else you do. Keep up the great work.


The console turned out amazing Robert, like everything else you do. Keep up the great work.

Robert is the best metal smith I've ever followed, one learns a great deal. Method wise, meaning production/building and solving problems. This wagon he's building when finished will be a true rolling work of art.
It will almost be a shame to paint, covering the workmanship that would hide. If I had this type of talent I'd just clear it. Remembering this is one individual. Unlike the SEMA bunch that has others creating ideas for them.
Robert does much, much more then a sketching, the man is hands on.
Well done Robert
Pep
THANK YOU Robert!!.
.
.
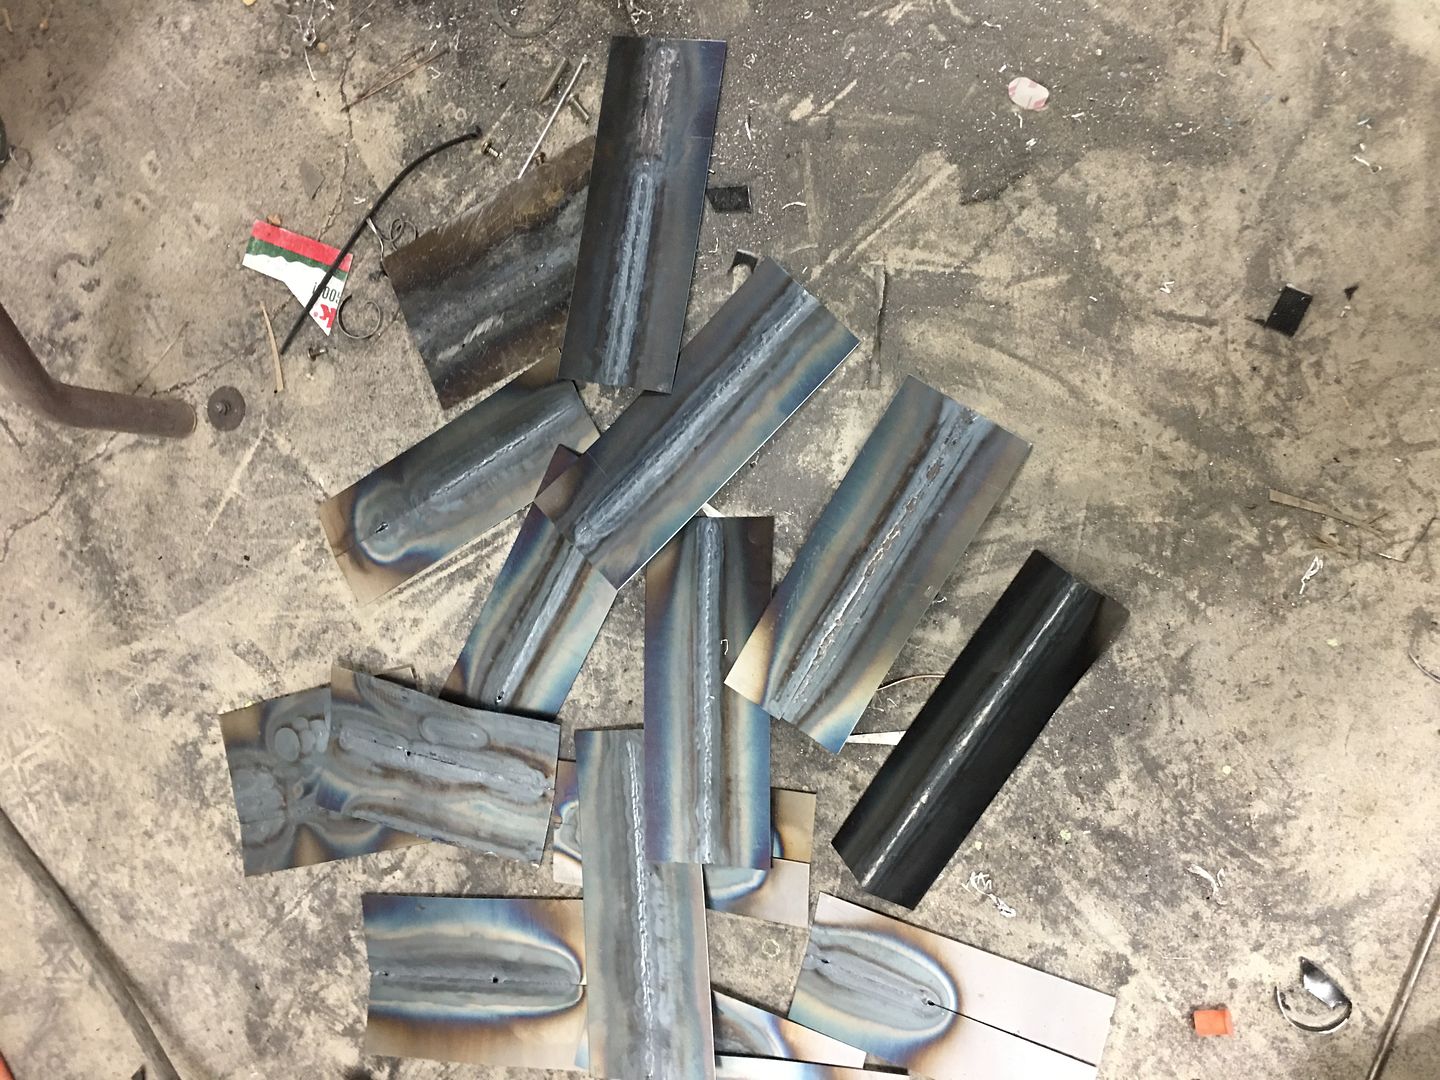
These are filmed through the Miller Digital Elite, Weld setting 9, delay 2. sensitivity 6. I think I still need to come up with something better, especially for showing any TIG welding. Are there any Photography guru's that can steer me in the right direction for filming weld processes?
Tacking:
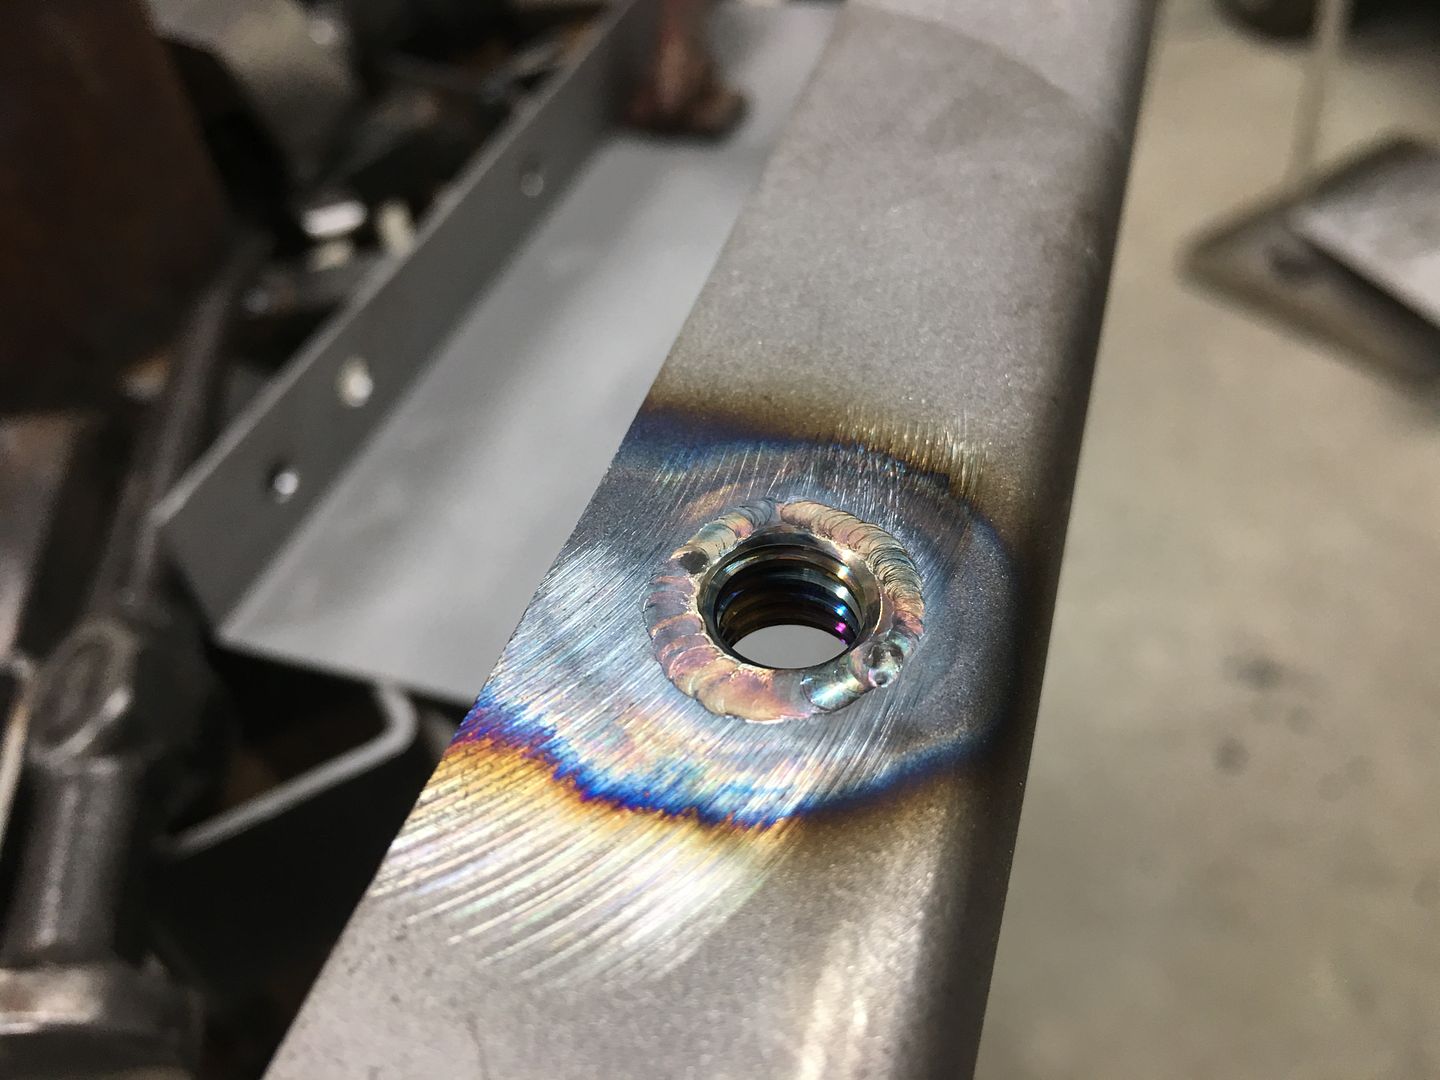
Weld pass:
…....Well done Robert
Pep
I second that! THANK YOU Robert!!
Are there any good videos of cutting and fitting patch panels?
Most I've found show marking and then welding, no how to on cutting everything out.
I've followed Roberts guidelines and my welds are coming out much better and are finishing out pretty nice. The problem is it is taking hours to cut out the rust and then fit a preformed panel to the cut out so I can weld it.
I'm doing a couple of 5 window Chevy trucks and I have pre-fitting panels, so I just have to cut out the rust and fit the panel to the cut out and weld it up, but it is taking hours to get them cut out and fit.
How about a fixed Shade 5 filter for the camera when you're doing your gas welding? Our eyes adjust much faster than the camera does, so that way the camera can 'settle down' and stay on one setting as you start and stop welding. You could use the rectangular lens out of gas welding goggles.
You could use a Shade 15 fixed lens for TIG from a non-adjusting hood.
For example, I don't see the filler rod in your video. I can't tell if you just melt the two pieces together or if there's rod involved.
....
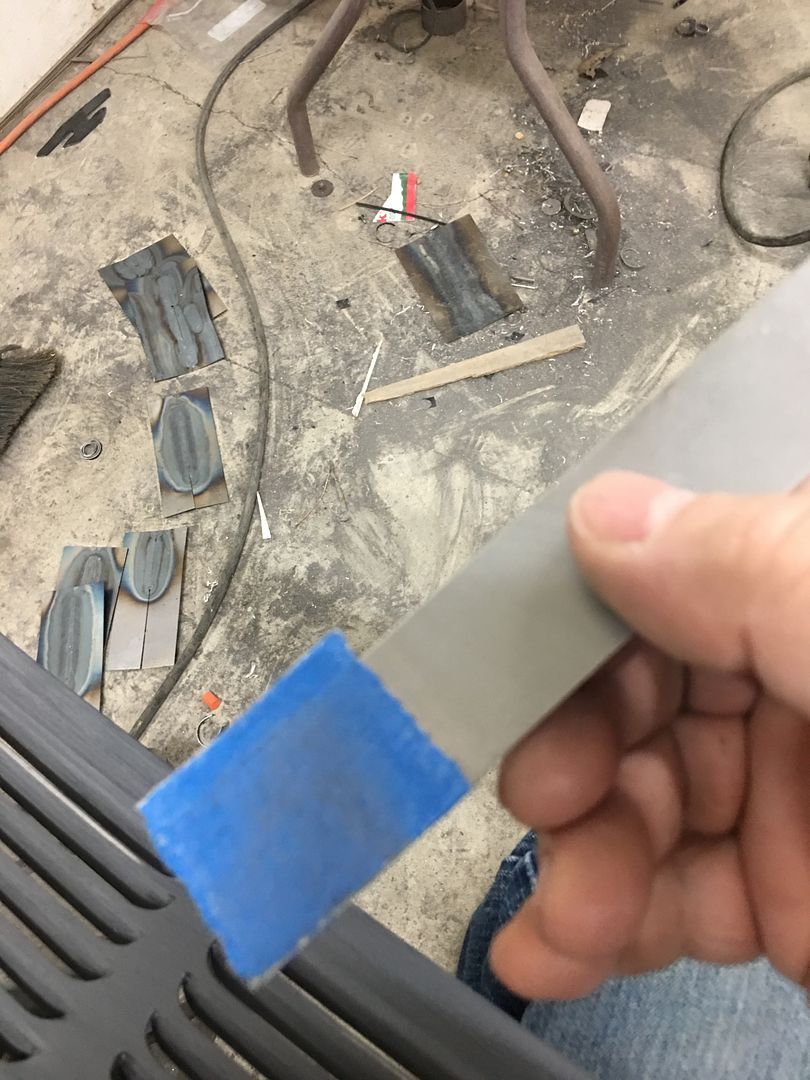
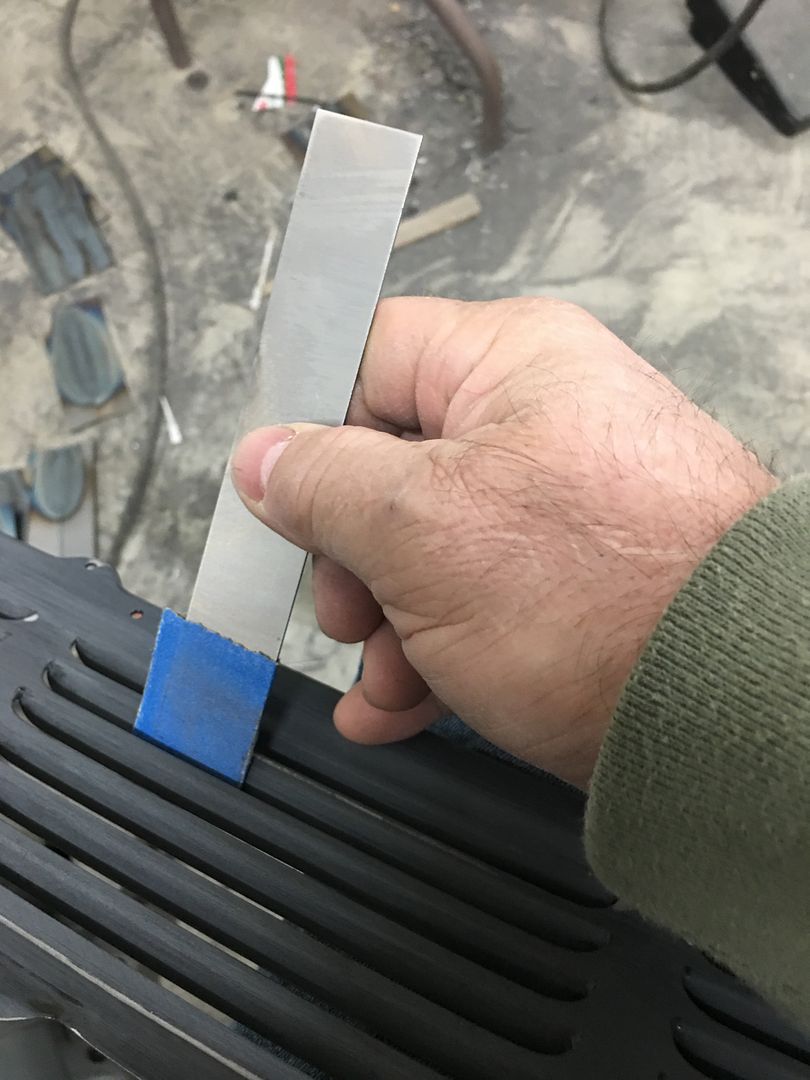
Side note, the 1/4" width is the ideal width for cutting with tin snips/aviation shears as that is what they are designed for.
....
Here's about the best tin snip tutorial going from my friend Bill Gibson:
Just watching and absorbing the information on this video will help out your panel trimming tremendously.
.
.
.
Thanks for the suggestions, the video was a fusion weld, no filler. I also have a green tinted welding hood for gas welding that I tried initially, but the flame was too bright to be able to see the puddle.
I am looking for a filming process that doesn't darken so much that the weld arc or flame is the only thing you see, to allow you to discern what/where we are welding. (without having to mortgage the house for new camera equipment) I agree the welding lens I used is not ideal, but it's the closest I've gotten to clearly showing the puddle movement. I'm told a variable ND filter will help, but I'm looking for someone that has actually used them on the iPhone for filming a welding process so that I'm not buying something that doesn't work.
My goal is to be able to show how a different process can be used if perhaps someone doesn't have a MIG or TIG welder, with video quality such that you can see what is going on and not just see a bright light.
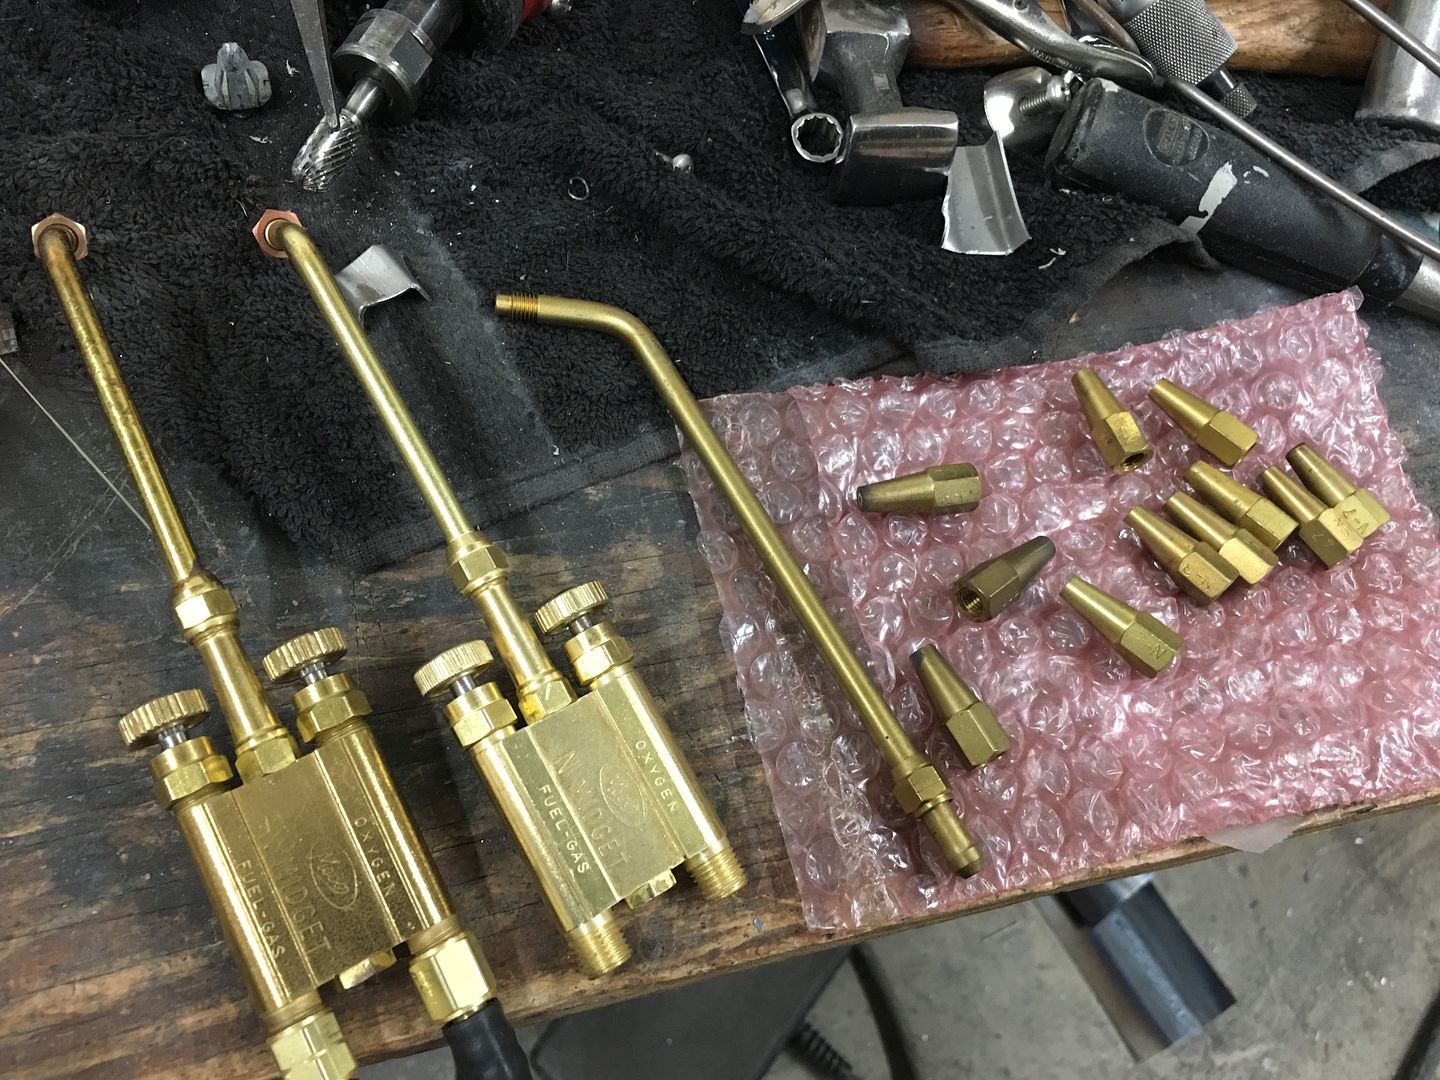
This is the light I was using …..
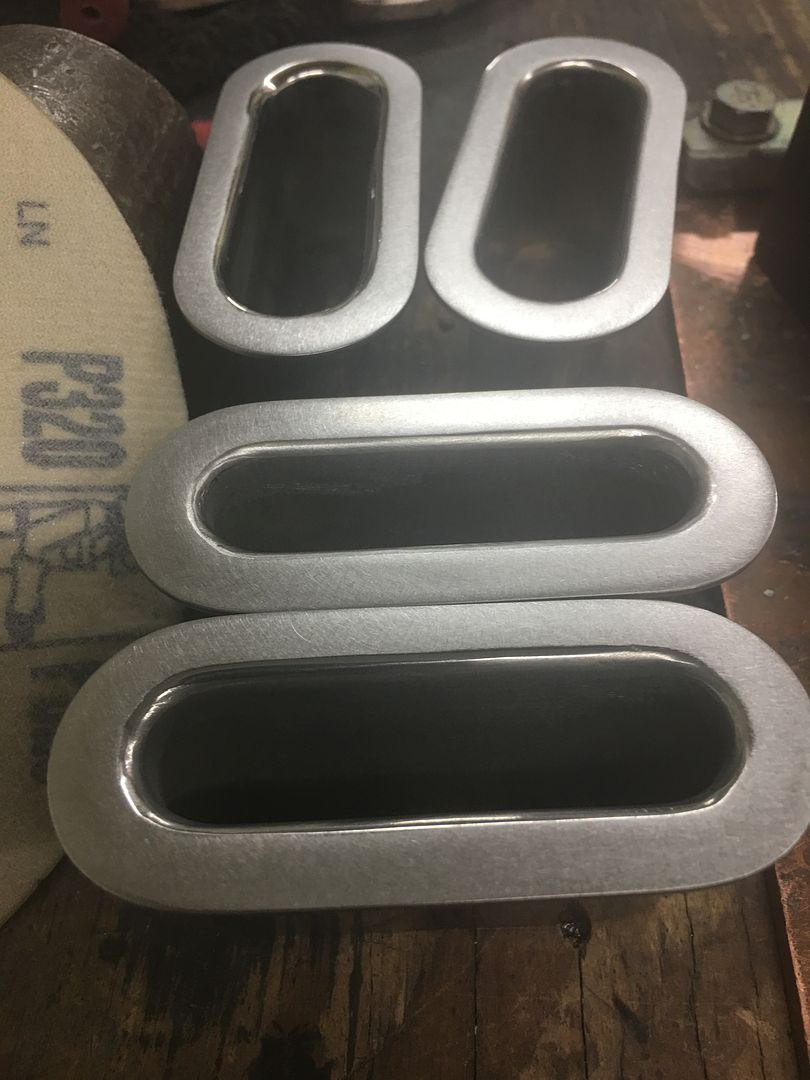
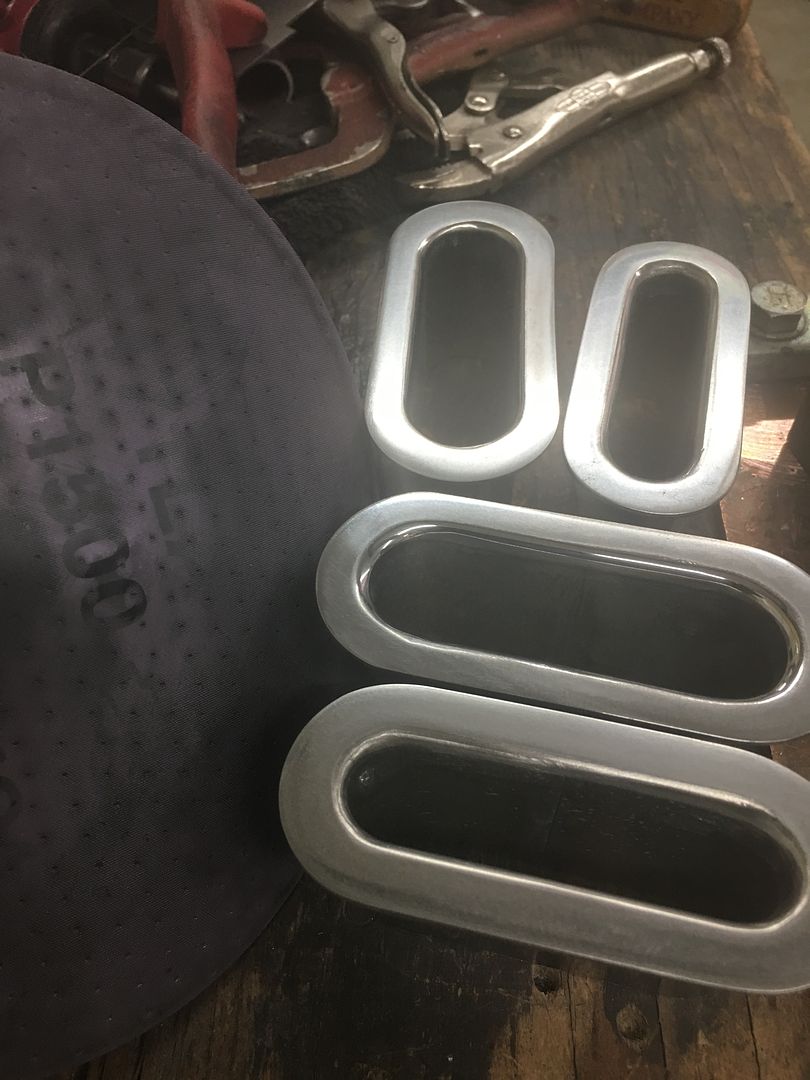
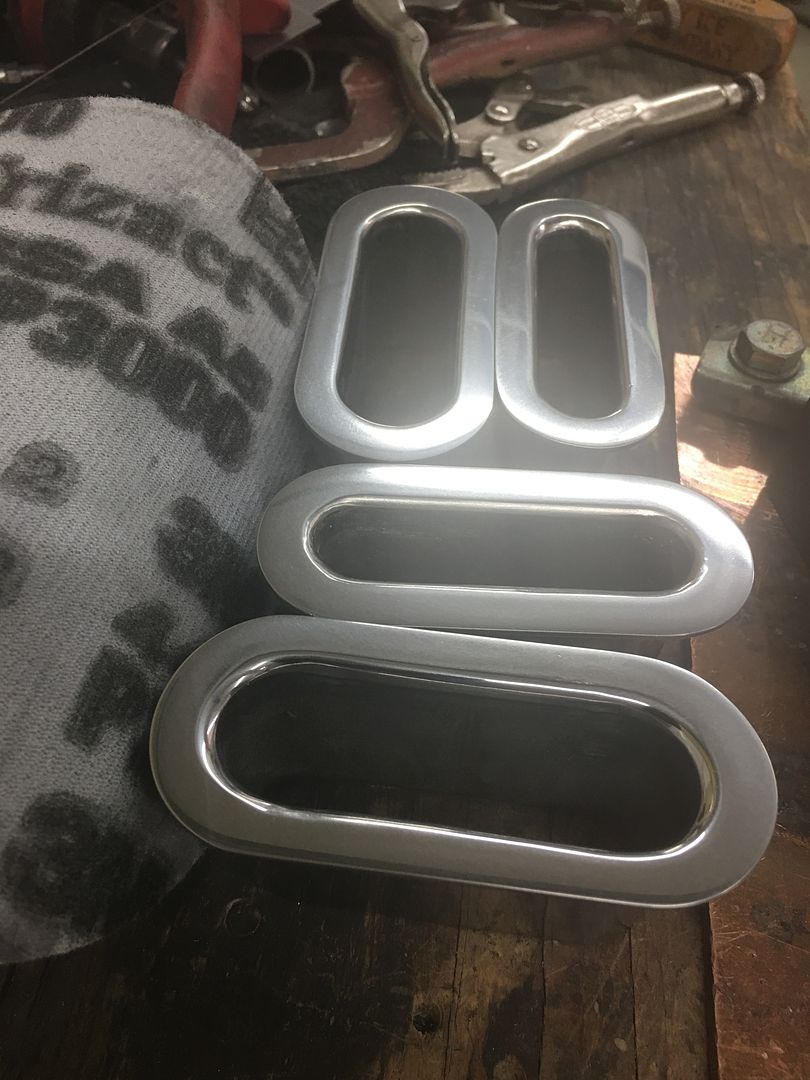

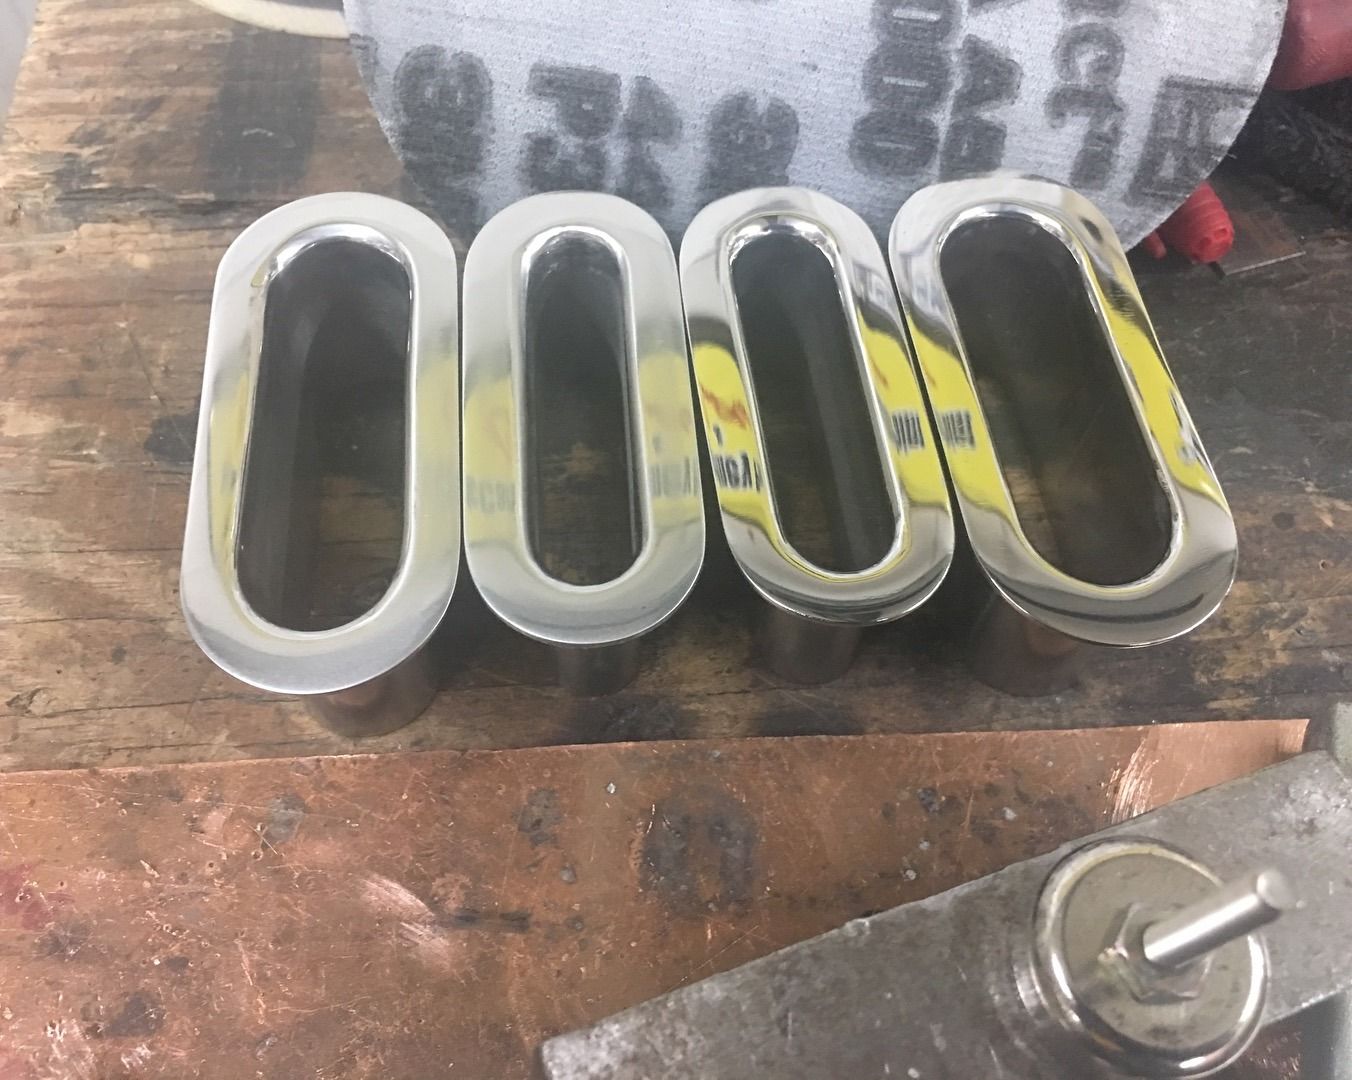

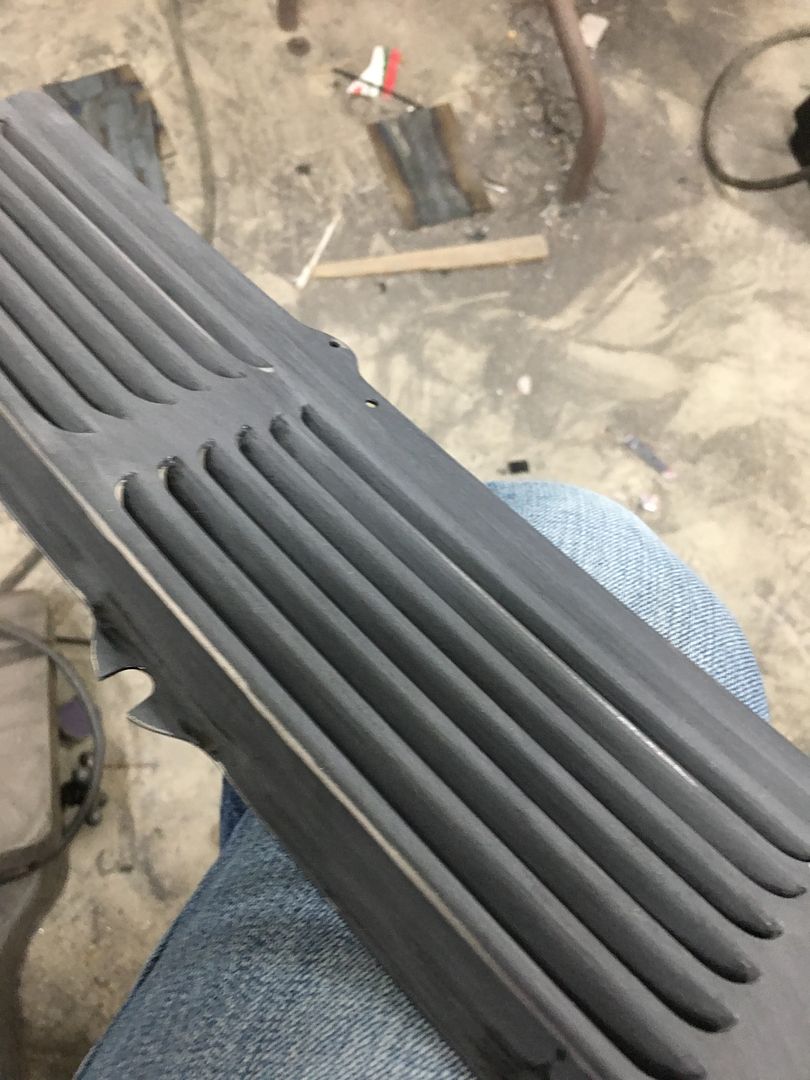
I've never polished like this before. Do you do it by hand or on a die grinder?
Thanks.
I might suggest that you check out allmetalshaping.com not that you can't learn a great deal right here.Robert, thank you so much for sharing these techniques and pictures.
I just have one question: where should somebody who knows next to nothing about metal working go to begin learning these skills? I just bought a small mig welder & small bead roller from Eastwood, a bench vice, angle grinder, and a hammer and dolly set.
Oh, and I bought a very rusty '67 VW Type 3. Patch panels are hard to find and expensive when you do, and I'll need so many that it's clear to me that I better just learn how to make them myself. I'll need to make rocker panels, head light "eyebrows" (for lack of better term, they're not like your client's '55 Chevy), inner fenders, and just general body patch panels for the fenders, doors, window sills, etc.
Thank you for everything
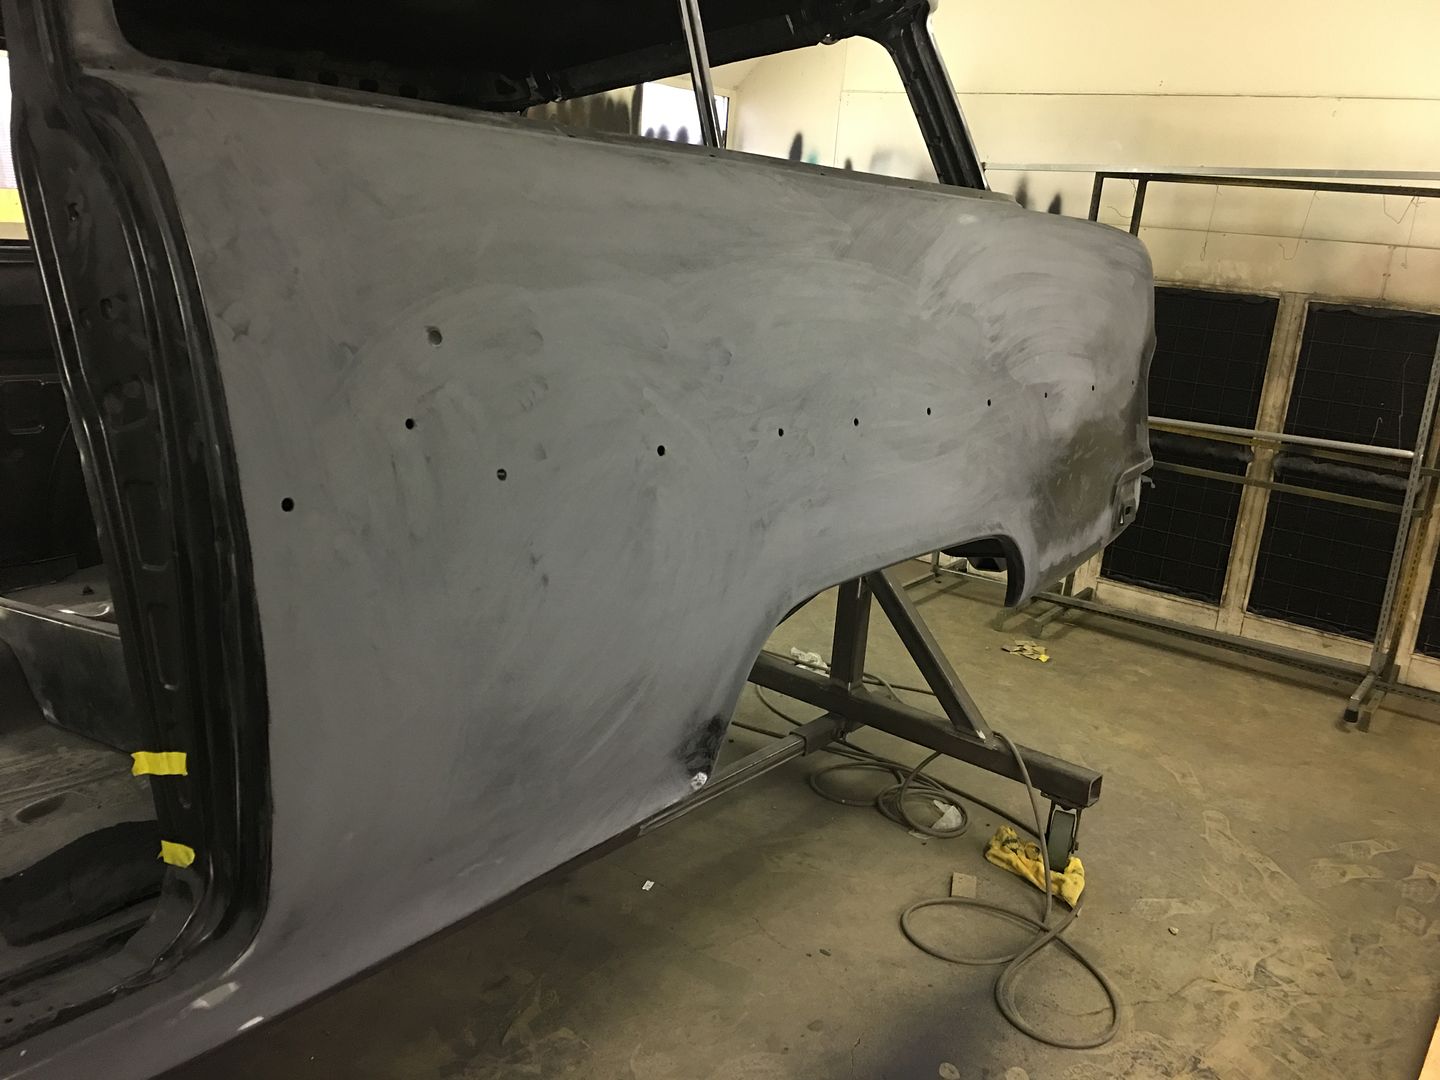
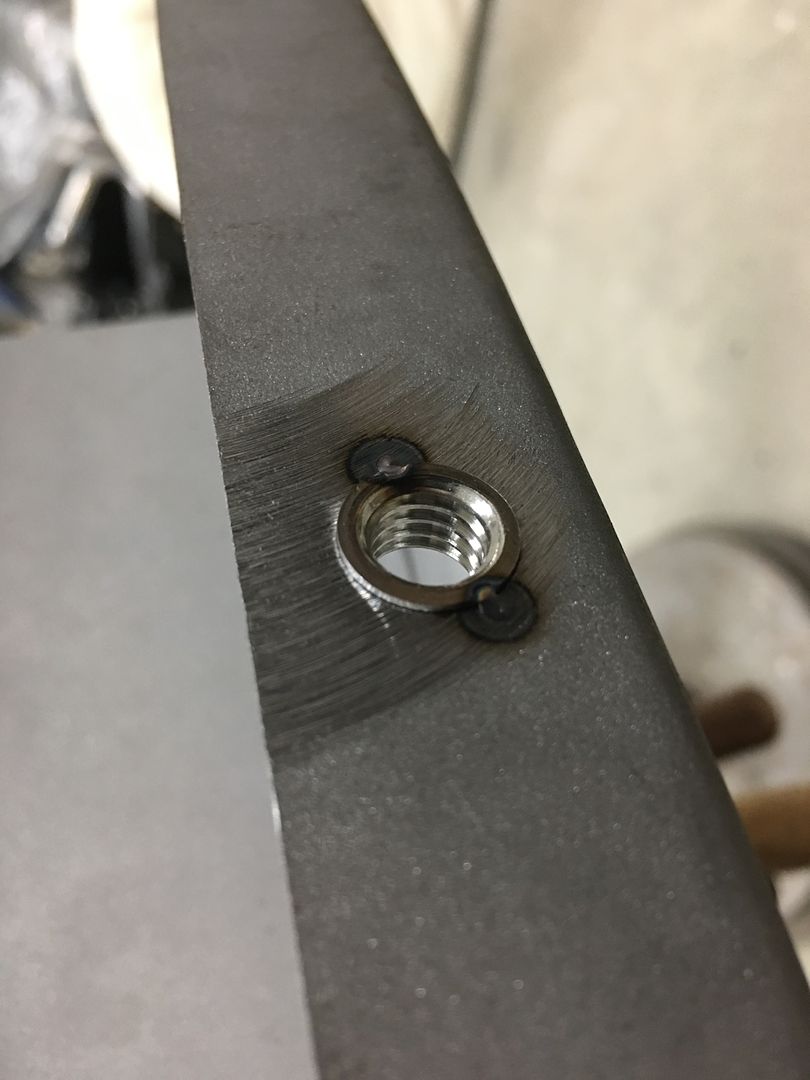
What happens if you leave them. Do they show up in the final paint? Or is there something else?
")


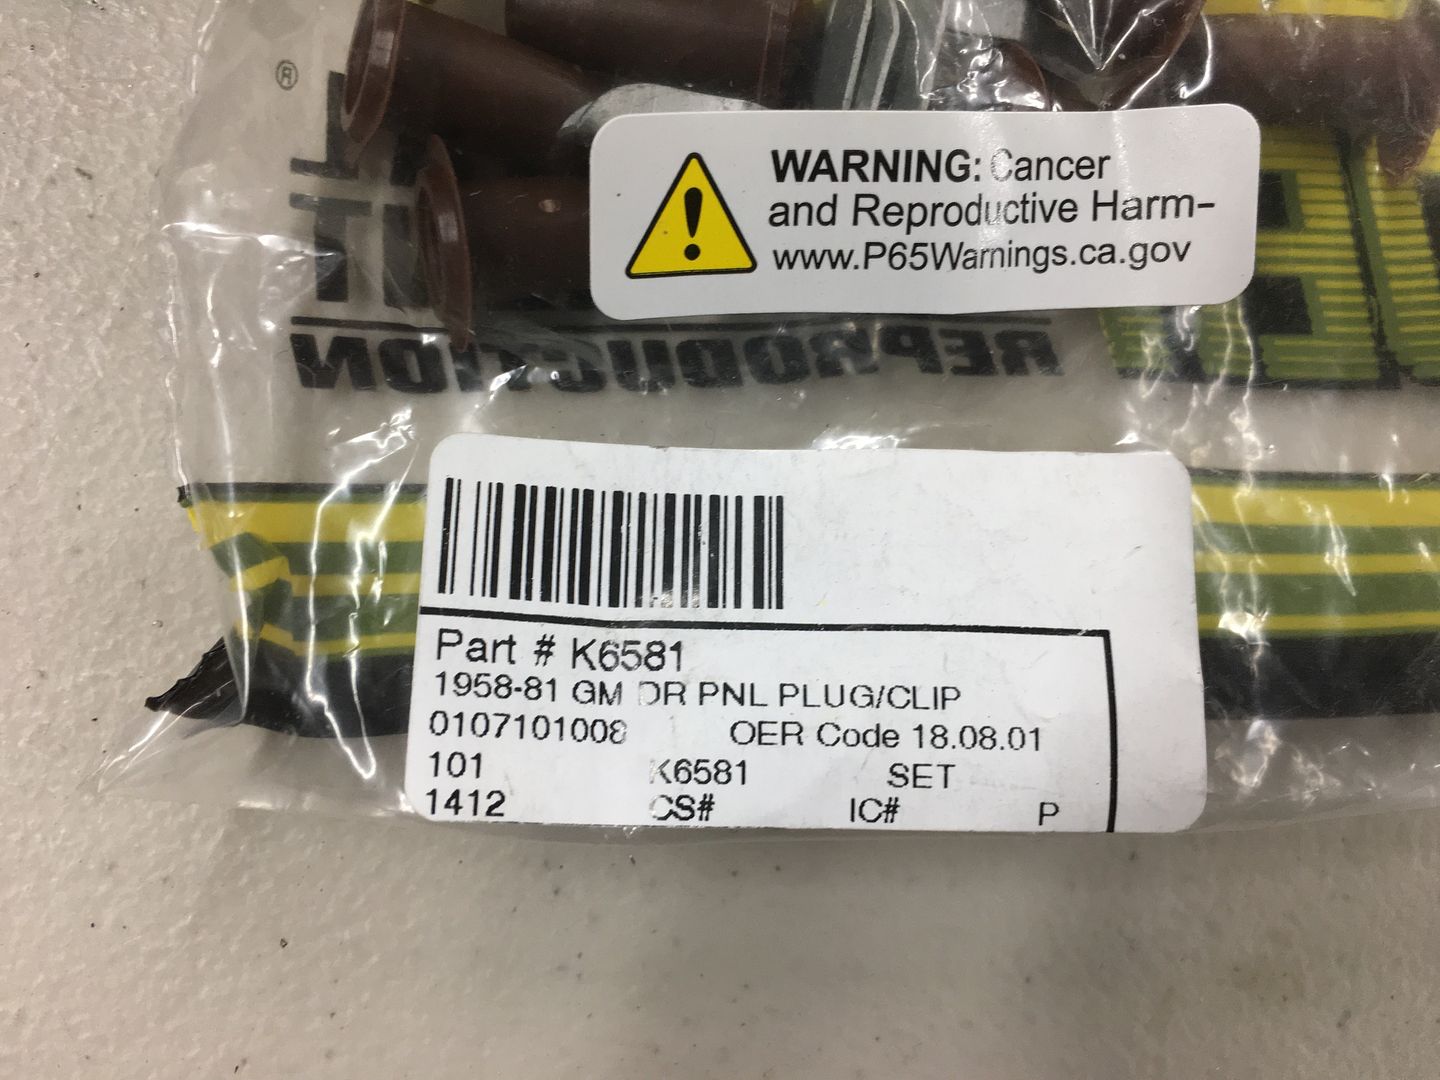
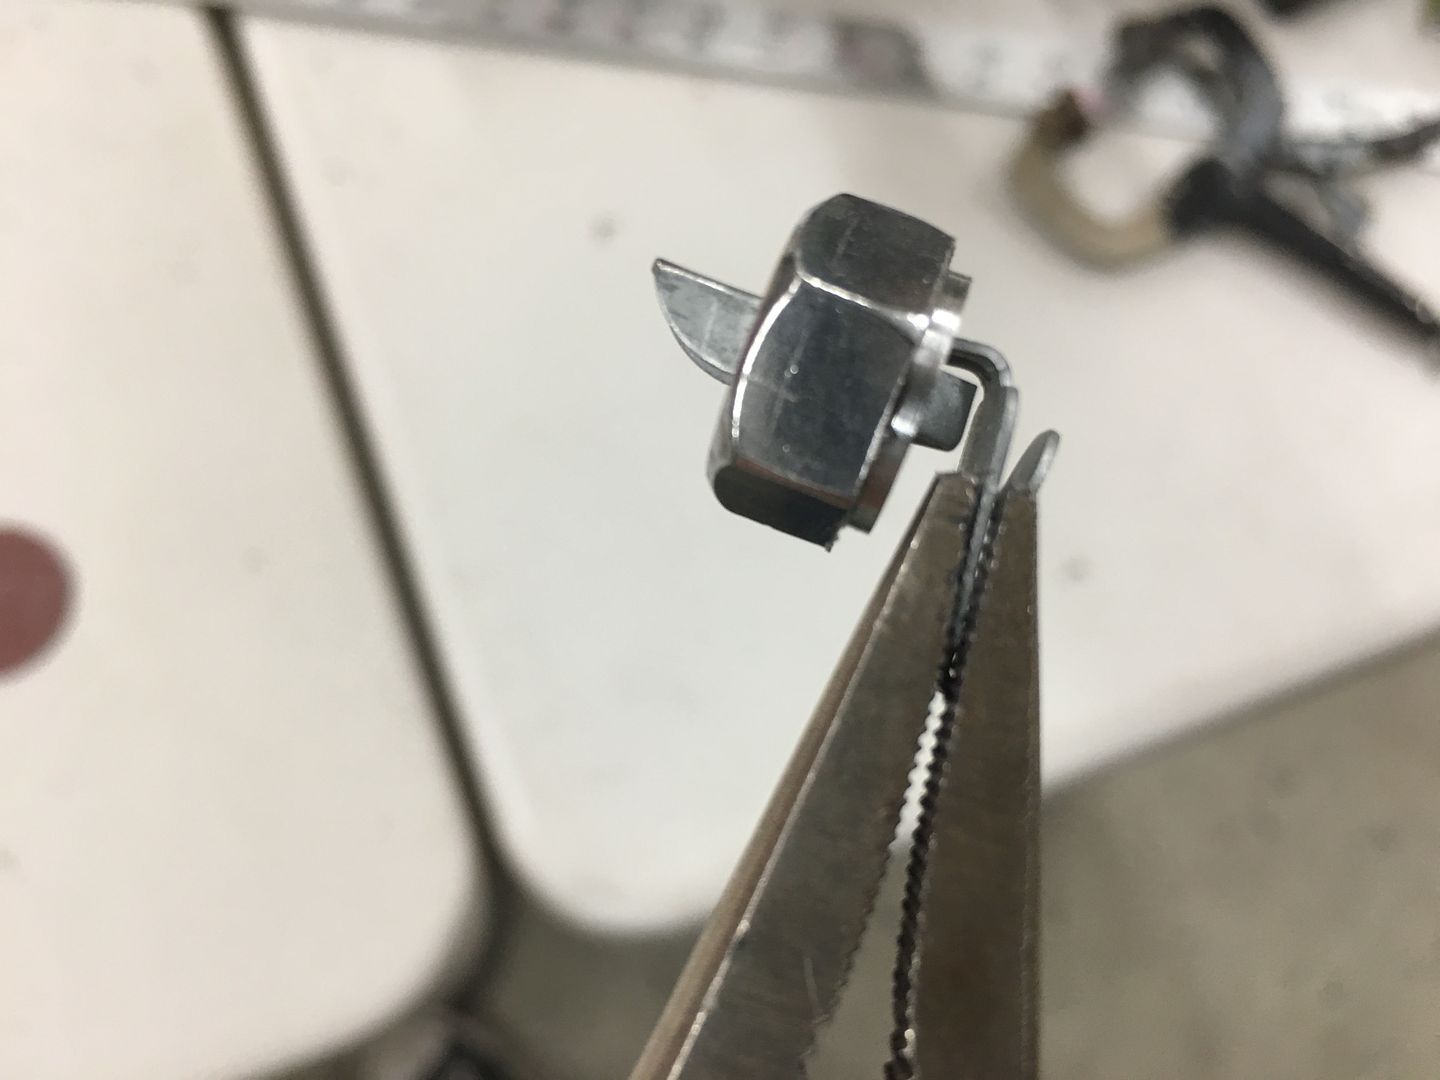
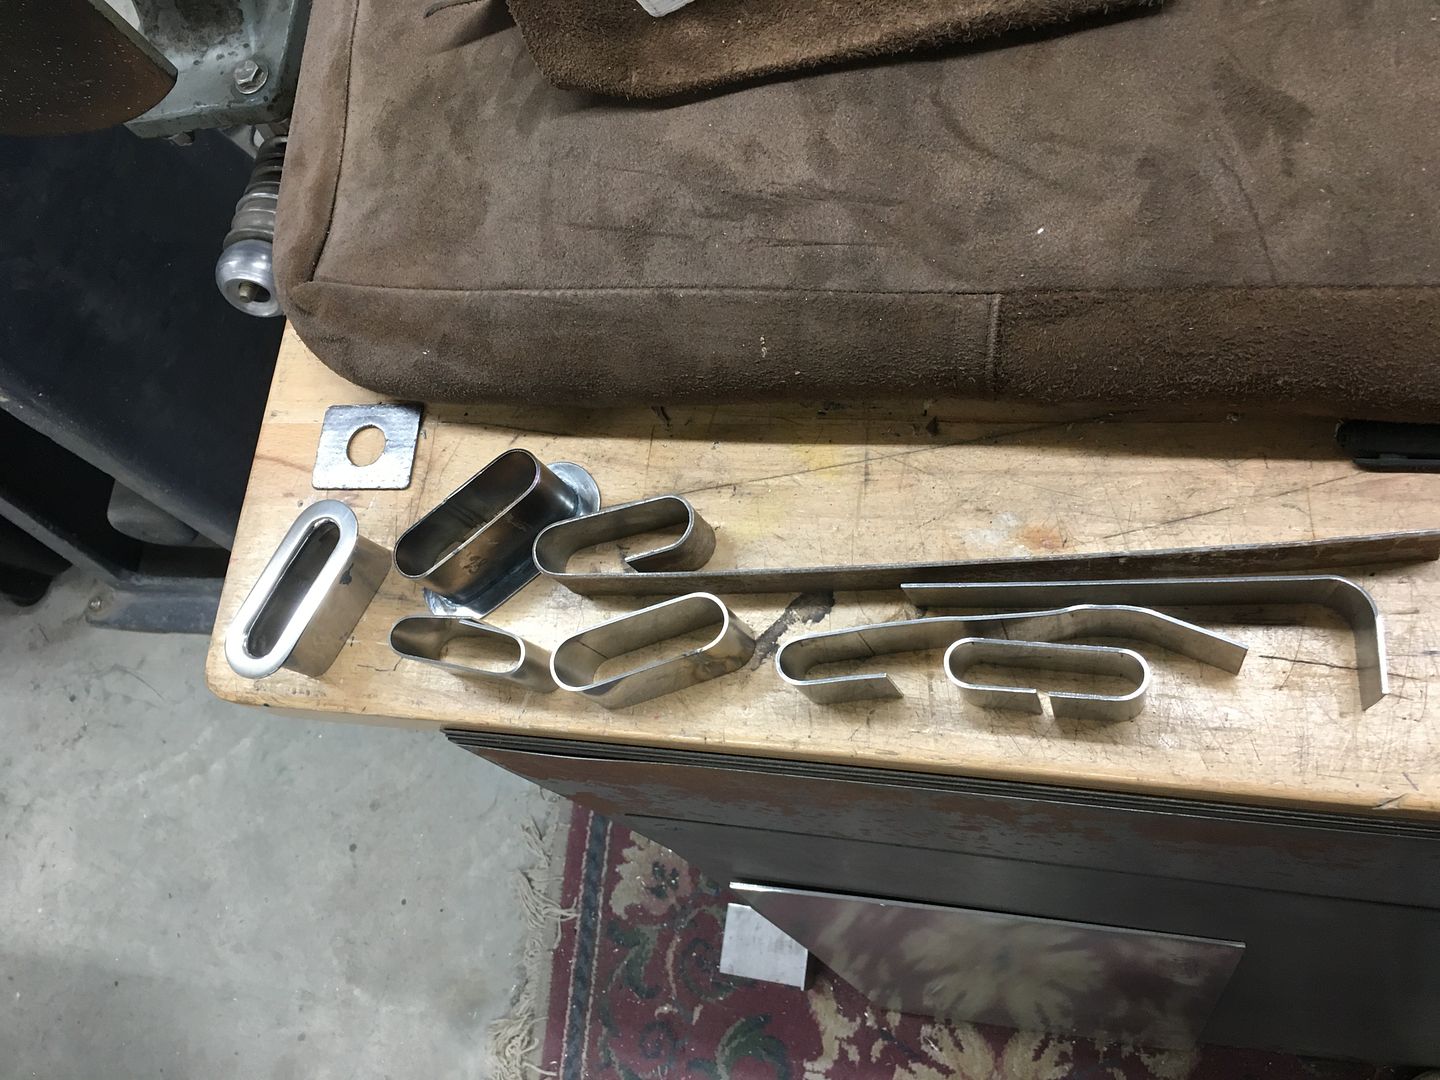
Incredible work. Stanley Engineered makes all sorts of automotive clips and fasteners. Maybe see what they have next time?
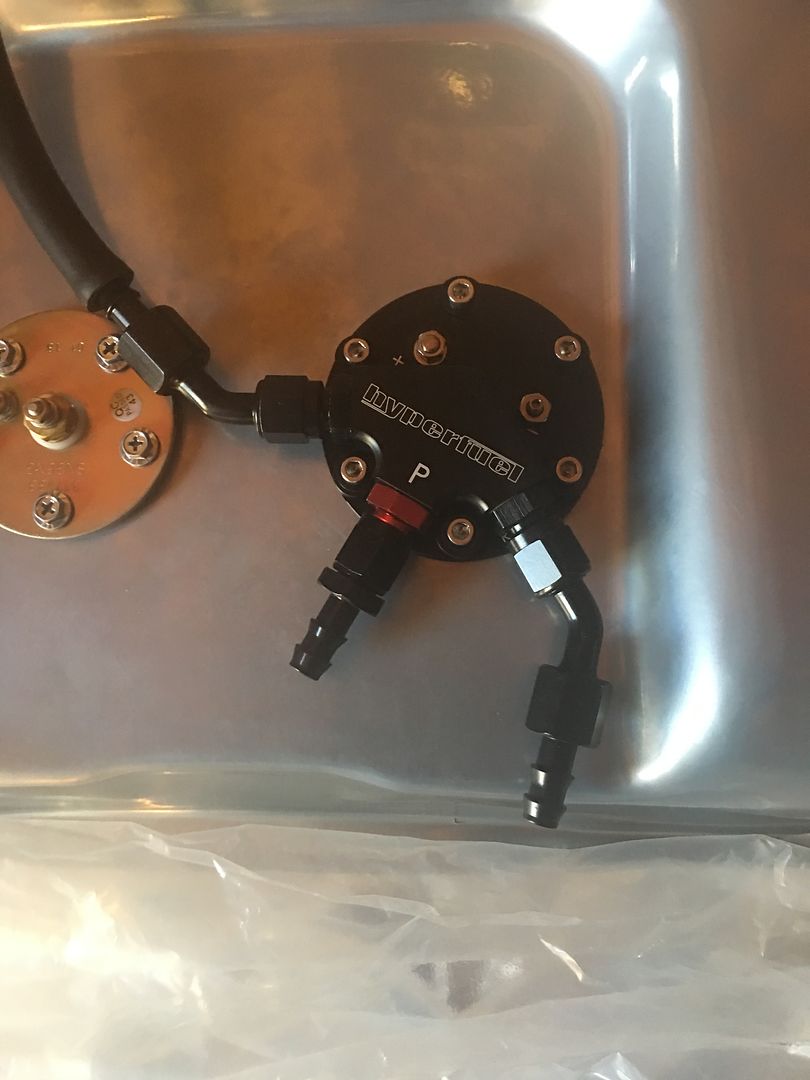
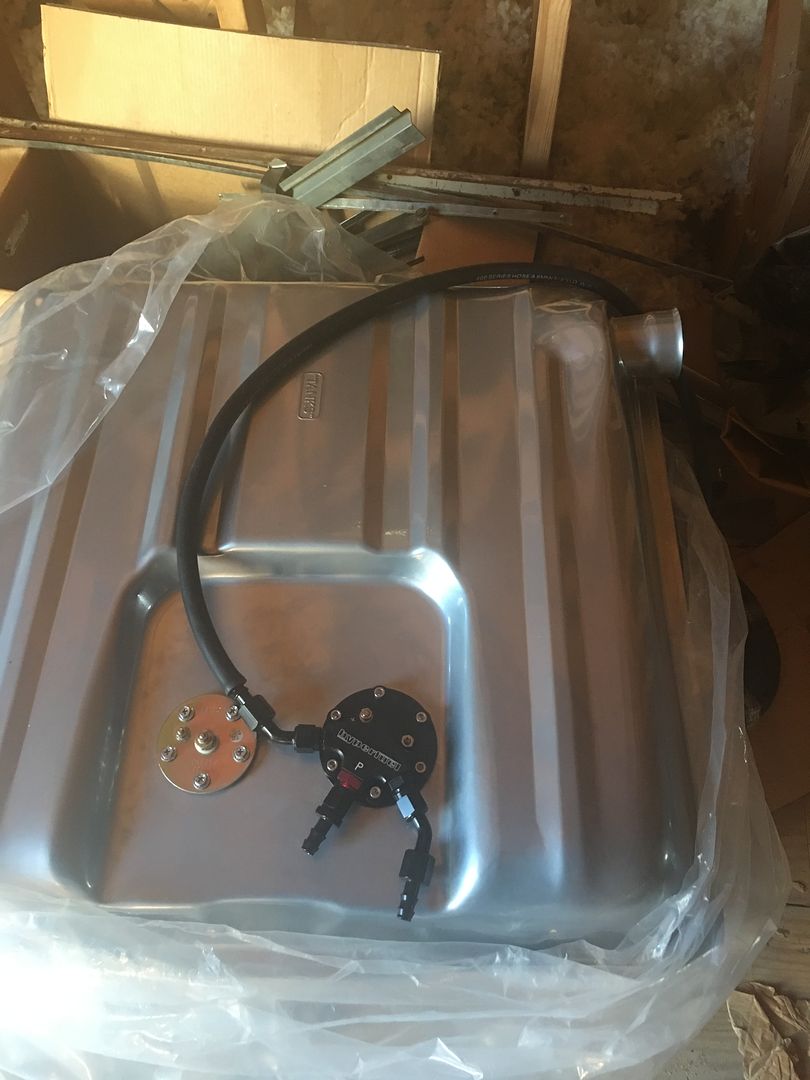
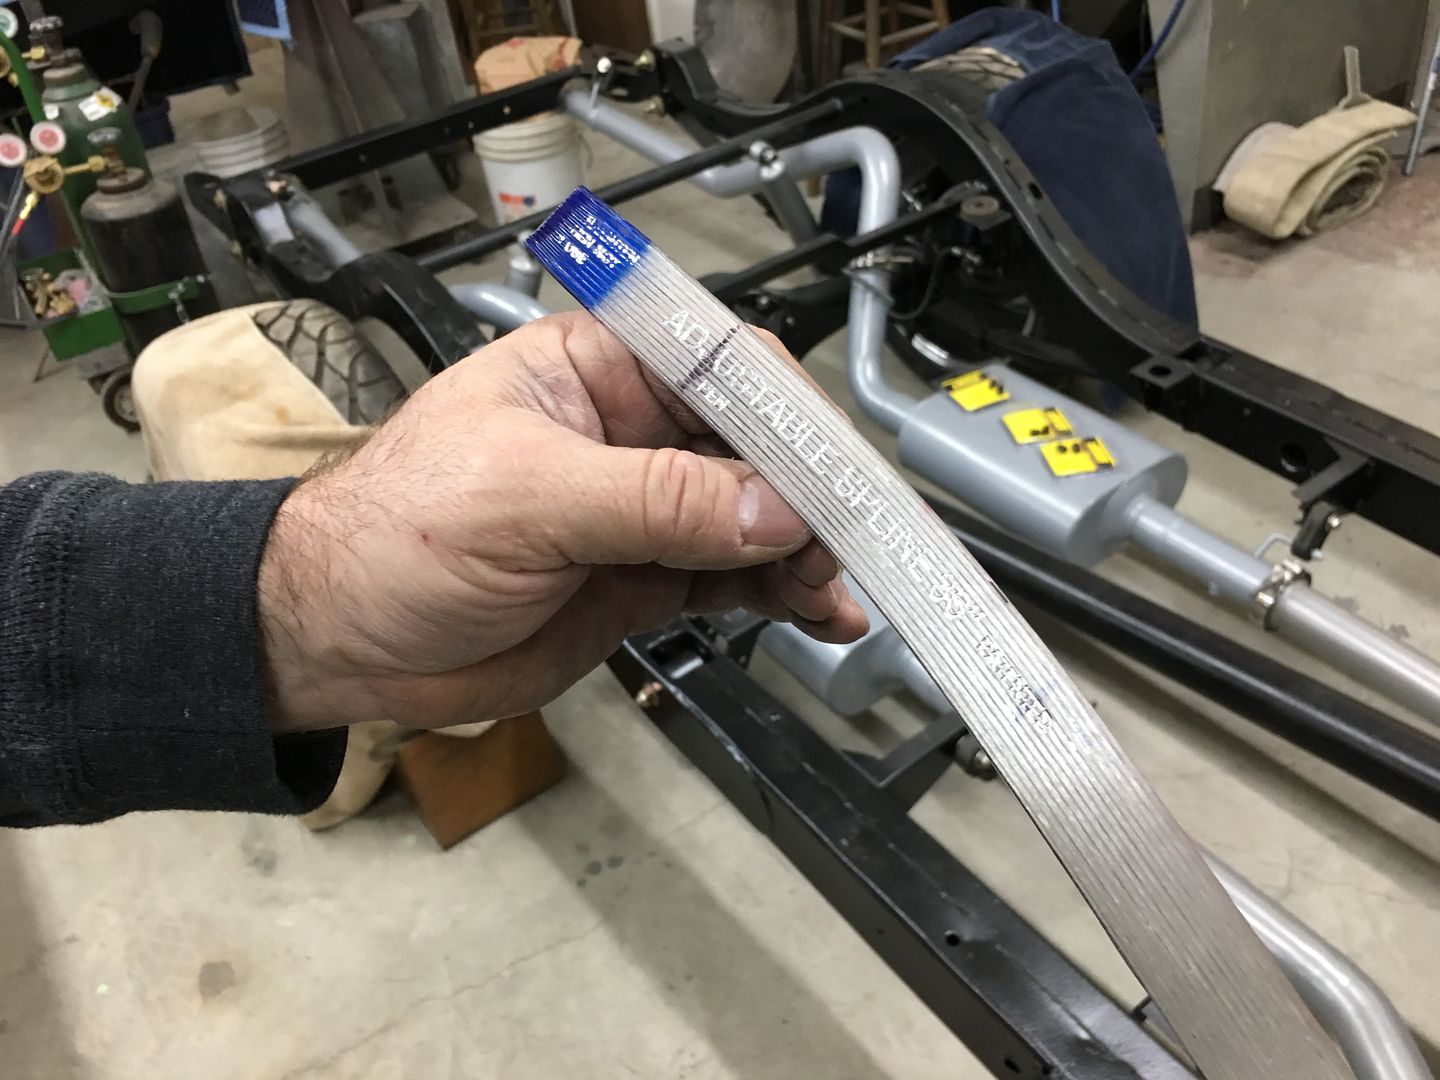
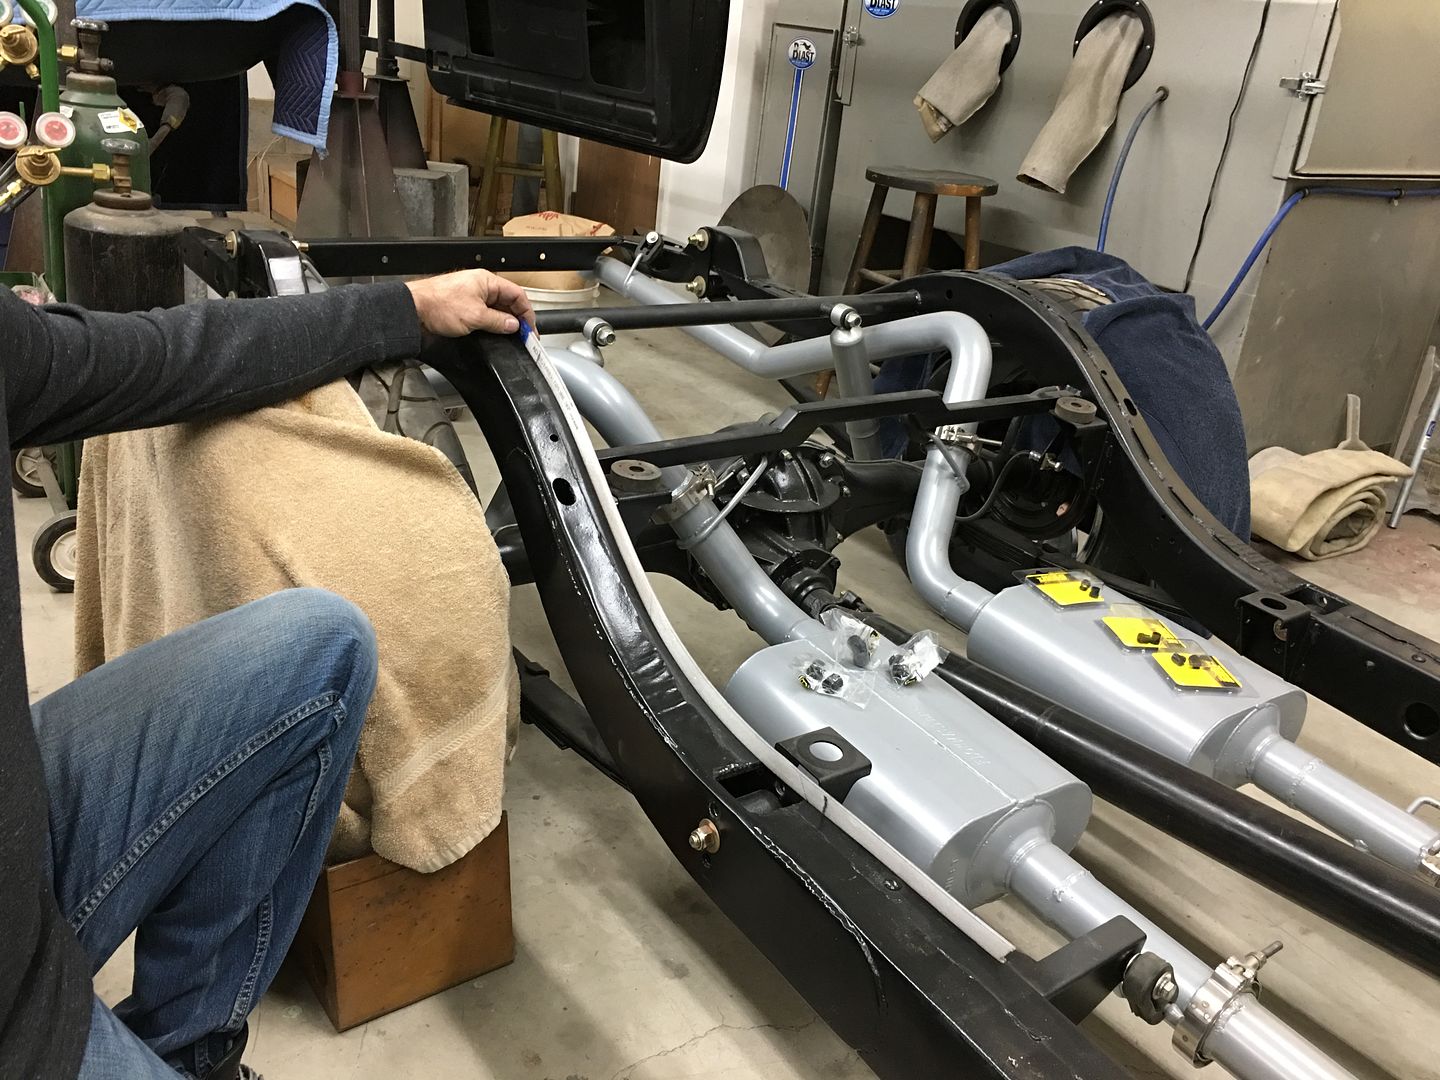
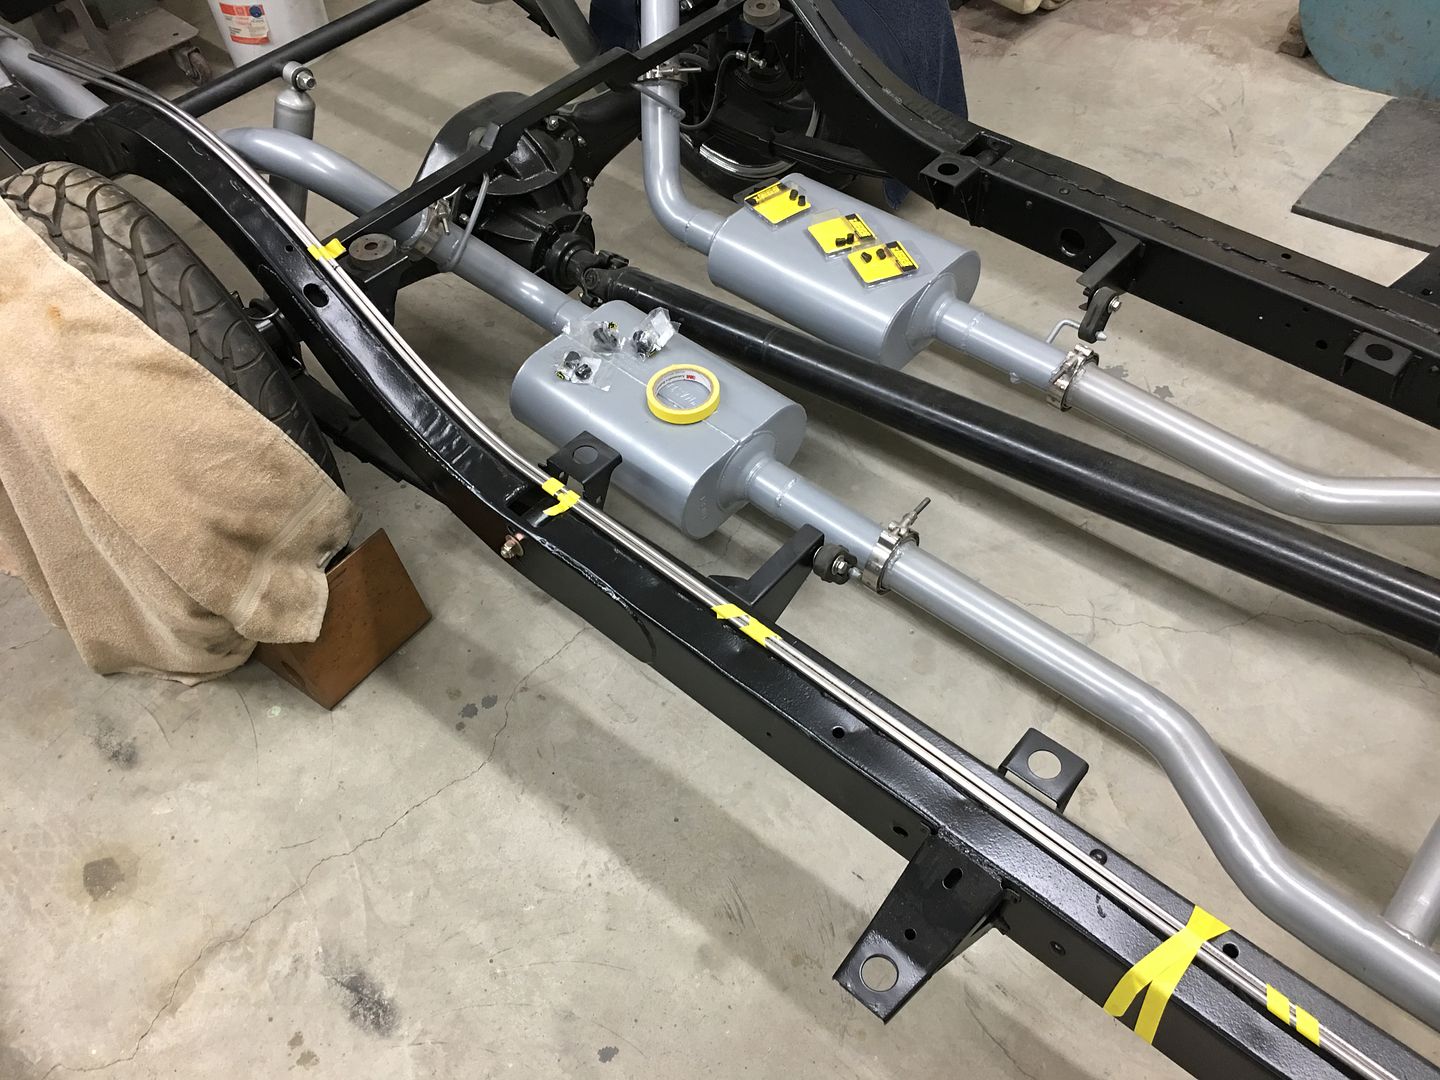
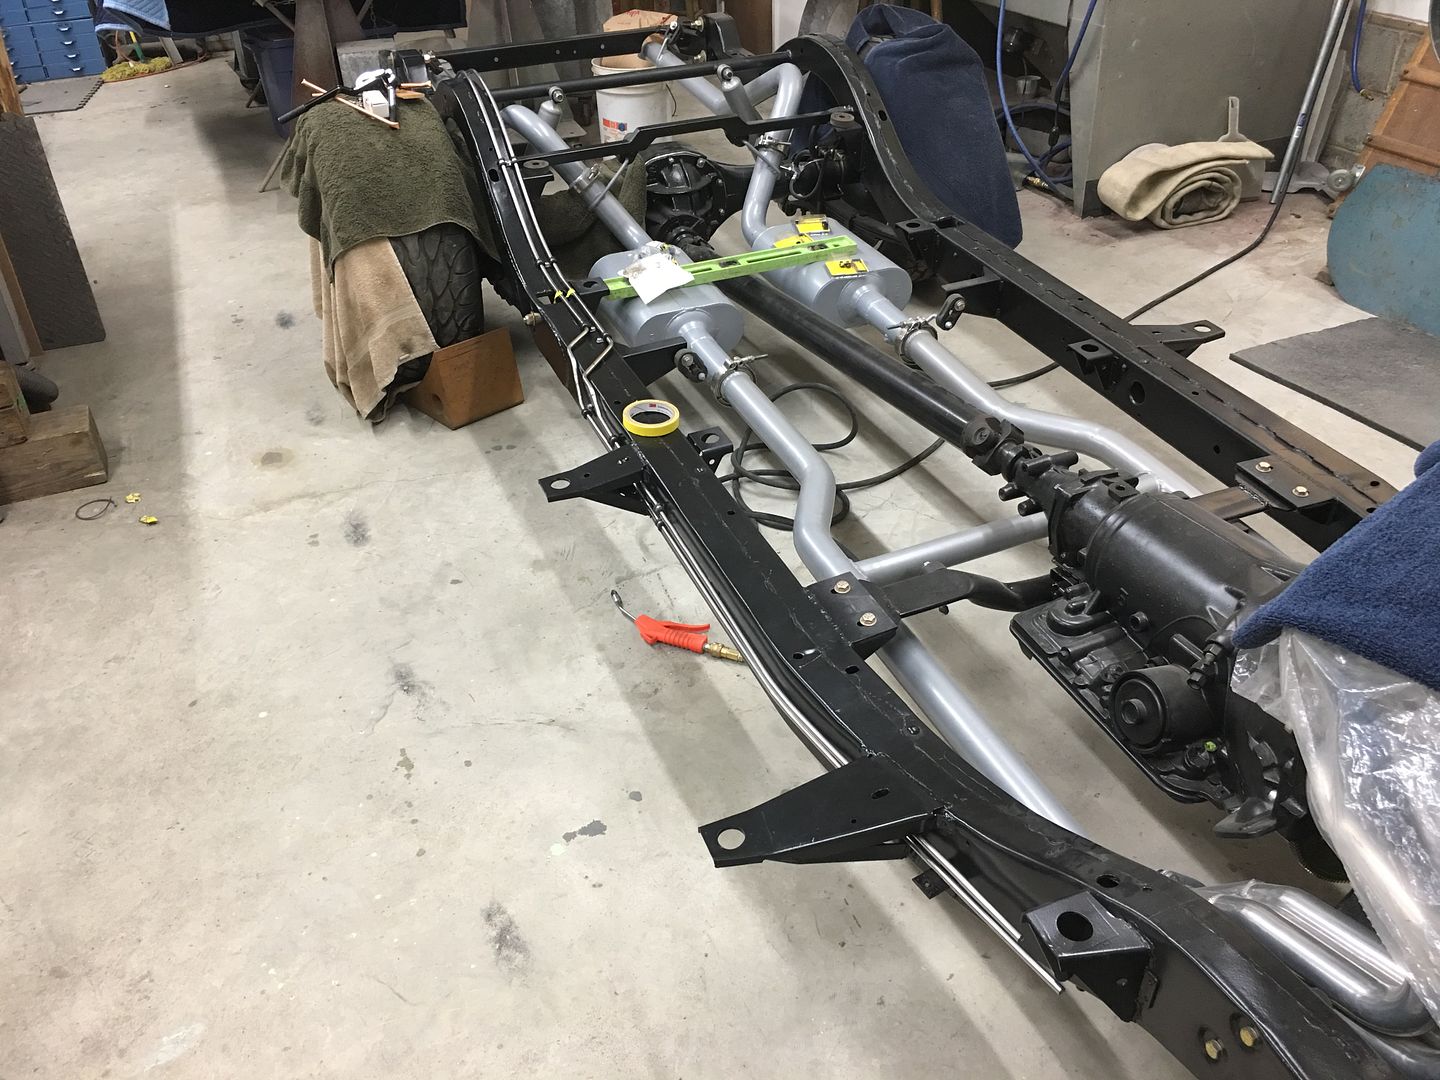
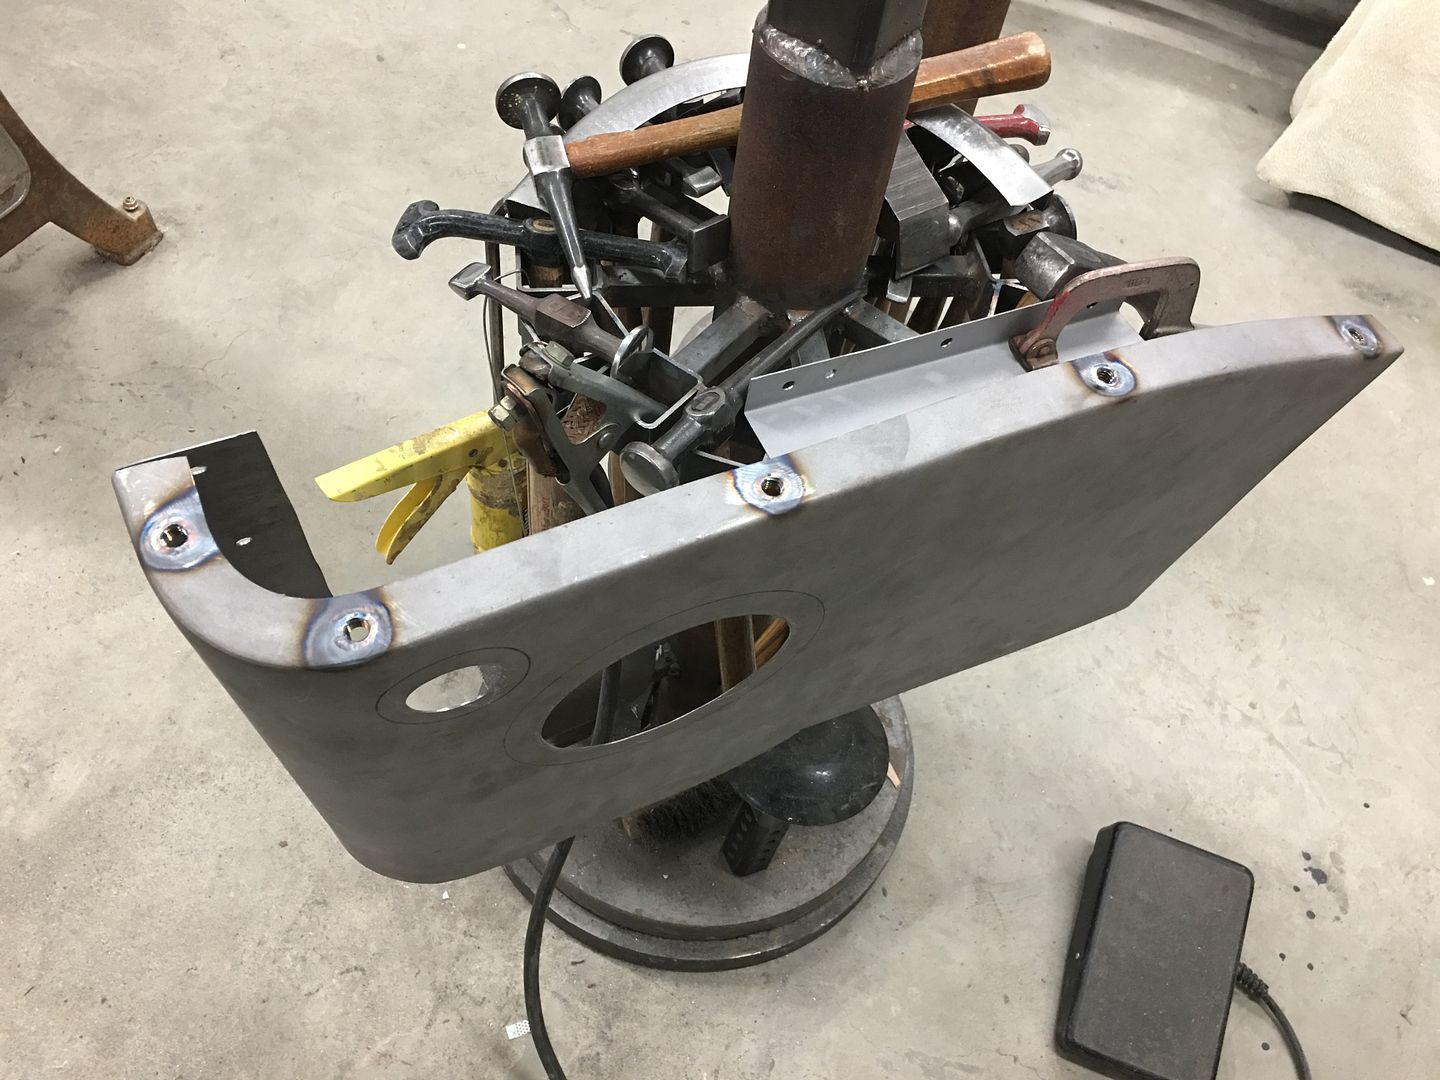
Robert, are you laying that fuel line right on the frame rail or do you use an adel clamp or something similar? This thread always gets me pumped.
Mike