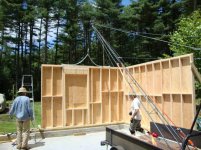
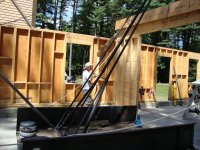
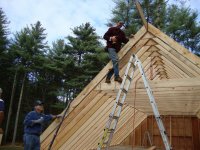
Nice crane!!! Great job framing!! It looks like you used every type of metal connector..
Why did you use a double beam for the ridge beam on the "breeze way"? What did you use for roof sheathing?? Taped joints, and no tar paper?? Did you use any ice guard??
Great JOB!! MORE PICS!!!!
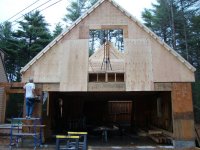
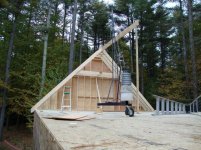
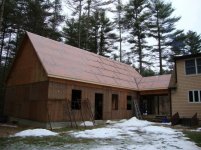
I used the LVL beam in the ridge of the breeze way because it was a load bearing ridge beam rather than having the walls bear the load. That allowed us to build it without having to have any cross-ties (rafter-ties) so we could end up with an open vaulted-ceiling space. If the walls bear the load, you have to tie them together to resist the natural tendancy to spread outward. If the ridge bears the load you don't need to. That's the difference between a load bearing ridge beam and a non-load bearing ridge board. In the main garage (with rafter0-ties) we used a ridge board made of doubled 3/4 ply because the walls, not the ridge bear the load.
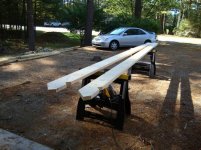
And the reason it was a double LVL beam instead of a single is because my local supplier only stocked LVLs in the 1 3/4 size. I had to double them up to get the 3 1/2 width required for that span.
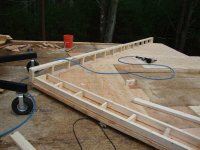
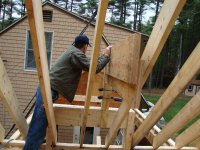
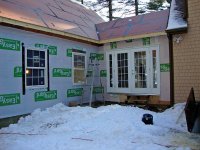
The roof sheathing is a product specifically designed to be used without tar paper. It's called the Zip System, by Huber Engineered Woods. It's an OSB product with a weather proof coating on one side and a specific tape designed to seal the joints.
The overall cost is just a little bit more than traditional OSB sheathing plus tar paper (but less than using plywood plus tar paper), and the reason I chose it is because it is designed and approved to be left exposed for a while before you shingle it without any problems. You can't leave a conventional tar-papered roof exposed to the weather for very long before the tar paper gets all wirnkley or torn. This being a DIY project, I knew it would take me a while to finish sheathing and shingling so I liked the idea of a product that could survive the weather for a while. Zip system says it can be left exposed for up to 120 days.
I have to give credit to my guy at our local Home Depot pro-desk for suggesting it. He's been immensly helpful all along, and knew I'd run into problems if I left traditional sheathing exposed for as long as I probably would.
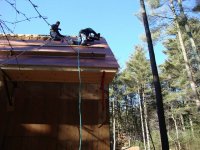
And yes, I used ice guard at the eaves and valleys- 36" wide rolls.