i borrowed an old welder, it welded like ****
Please don't be offended, but I thought I'd throw some pointers out here that others may learn from it too......
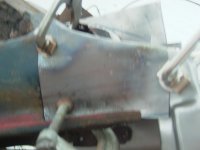
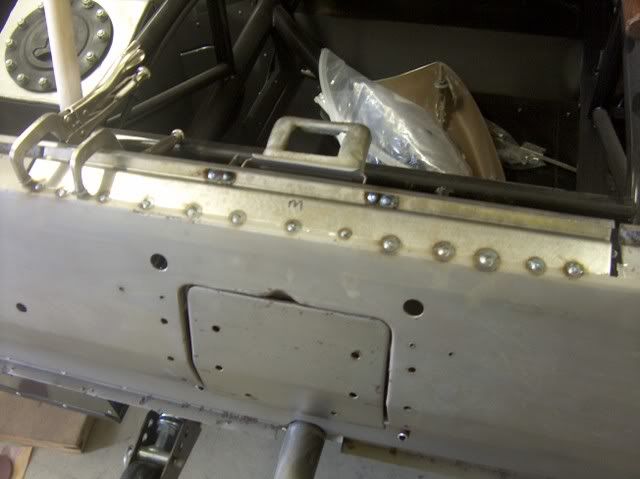
Looking at the welds the arrow points to, they appear to be just sitting on top of the metal. If you were to grind this flush, you would see the joint between the two pieces of metal again. This is equal to no weld penetration, and to be on the safe side, I would recommend to grind the weld away and reweld. (you can't weld over top of weld that has not penetrated, as you'll still have a mound of weld and no penetration) Some of the splatter issue may be flux core wire, but I think it may also be more related to rusty, dirty metal. You want nice, clean, shiny metal when using your MIG, it is not as forgiving as using stick.
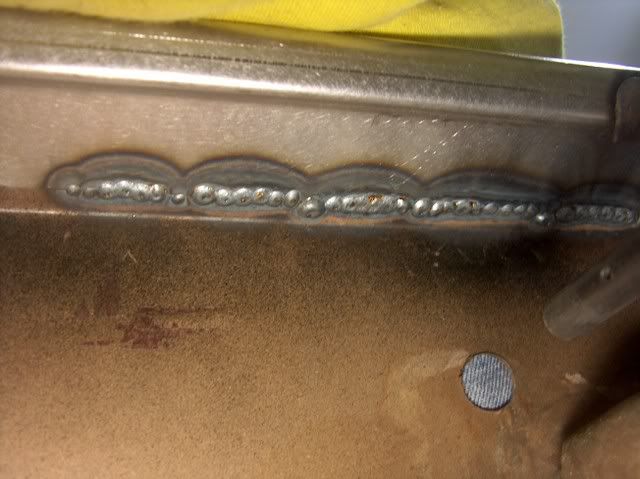
Secondly, the welder is not set hot enough in the picture shown above. If the weld is sitting on top of the parent metal, there is no fusion. Set the welder hotter, and also increase the wire feed speed (especially if it tends to blow holes) until you are getting something that flows together better, similar to this:
........and ideally you would want the weld hot enough and wire feed speed such that your welds would provide a full penetration weld, as seen here (back side of above)
With MIG welding using an inert gas, the argon mix is intended to provide a shielding cloud around the weld to prevent impurities from contaminating the welds. Flux core uses the flux to provide this same feature, similar to stick welding. So you should be able to see from this that trying to weld on anything but clean, shiny metal will introduce impurities in the weld puddle. All that is needed is to sandblast/sand/grind about a 1/4" along the seam til it's shiny. Also, it appears in your pictures you may be welding outside. A little bit of breeze blowing will remove your shielding cloud, whether you are using argon or flux core, so some curtains or temporary "walls" may need to be set up if those weather conditions exist while welding outside.
Lastly, try to get your welder setup dialed in by welding
on some scraps (the same thickness as your sheet metal) off the truck.. Once you now have your welder setup satisfactorily, you won't have to worry about damaging your repair panels from the need for rework...

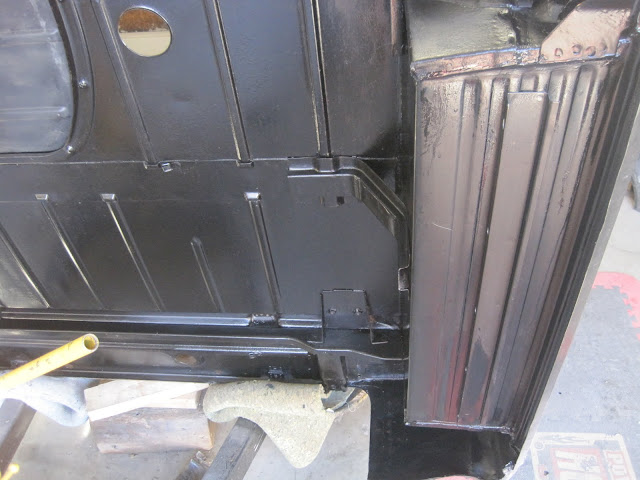
 took it apart & started on the chassis.i did 95% of taking it a part my self,leg still broke. had my friends put the chassis on work horses,i did all wire wheeling & grinding my self. when it was ready for paint i towed it to my sons garage,he & my grandson helped paint it & put the rear & front end back on.
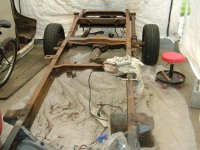
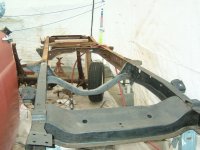


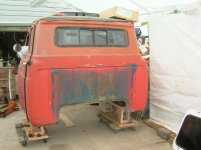
 Would simply love to see more. I am specialy interested in that A frame but want to see more of the project as you progress.
 .
.


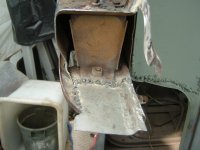
 not bad for a first time welder.i borrowed an old welder, it welded like **** (see floor board patch compared to front post) i bought a new lincon mig, what a diffrence.