krzemienr
Member
I started the project in February and finished today. Here are some pictures:
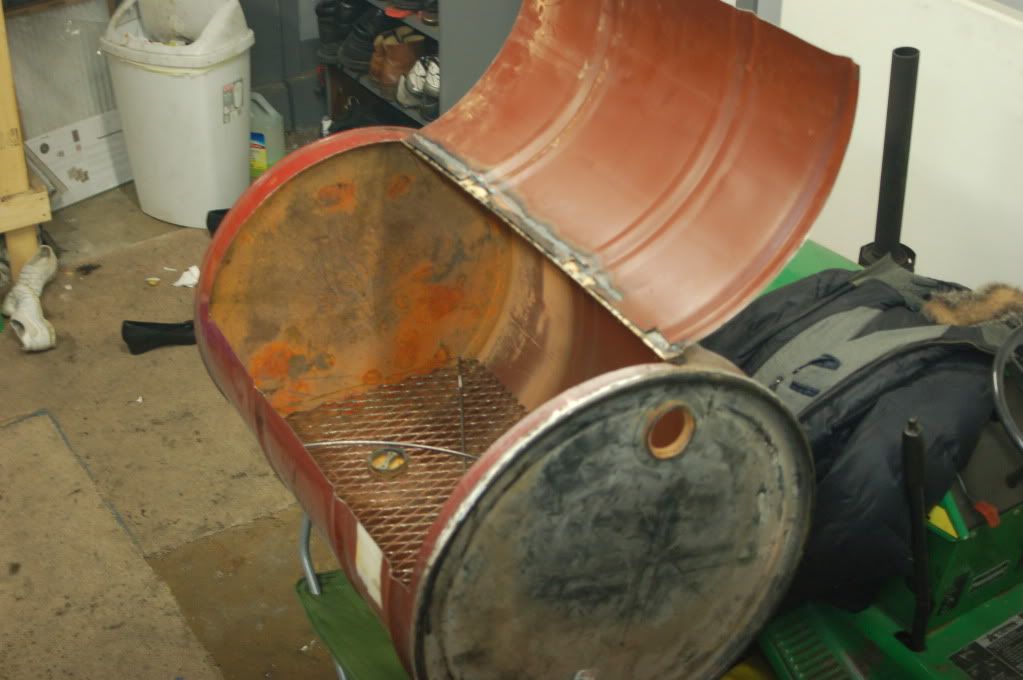
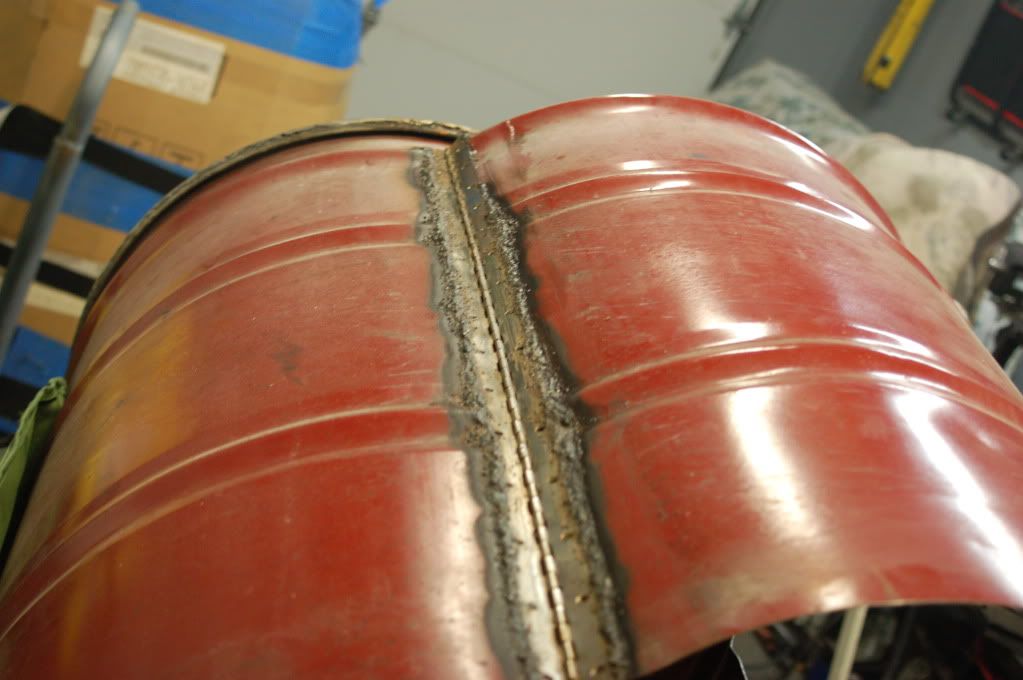
Found a 55 gallon barrel, cut out an opening for the door, welded a piano hinge for the door:
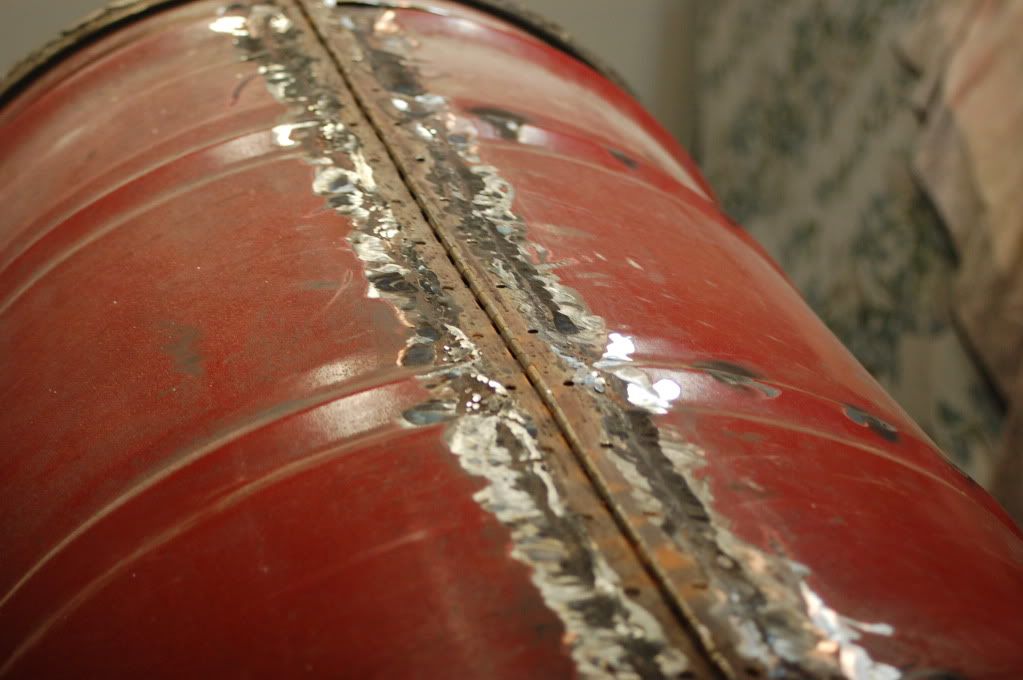
my poor welding (this was my first time welding sheet metal and it was def. a learning experience):
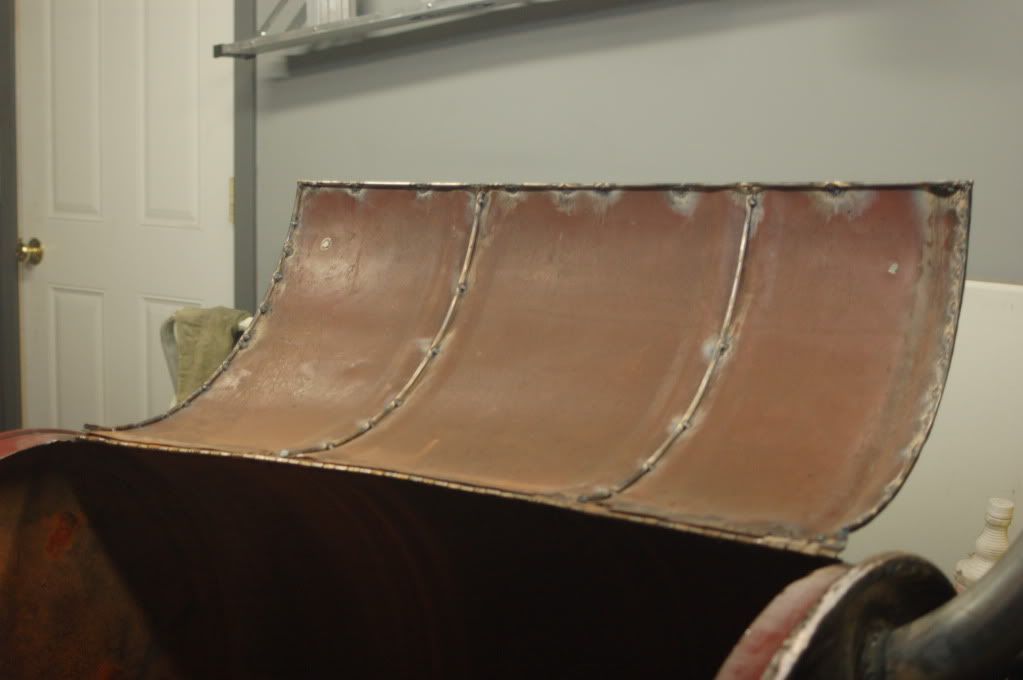
welds grinded down a bit:
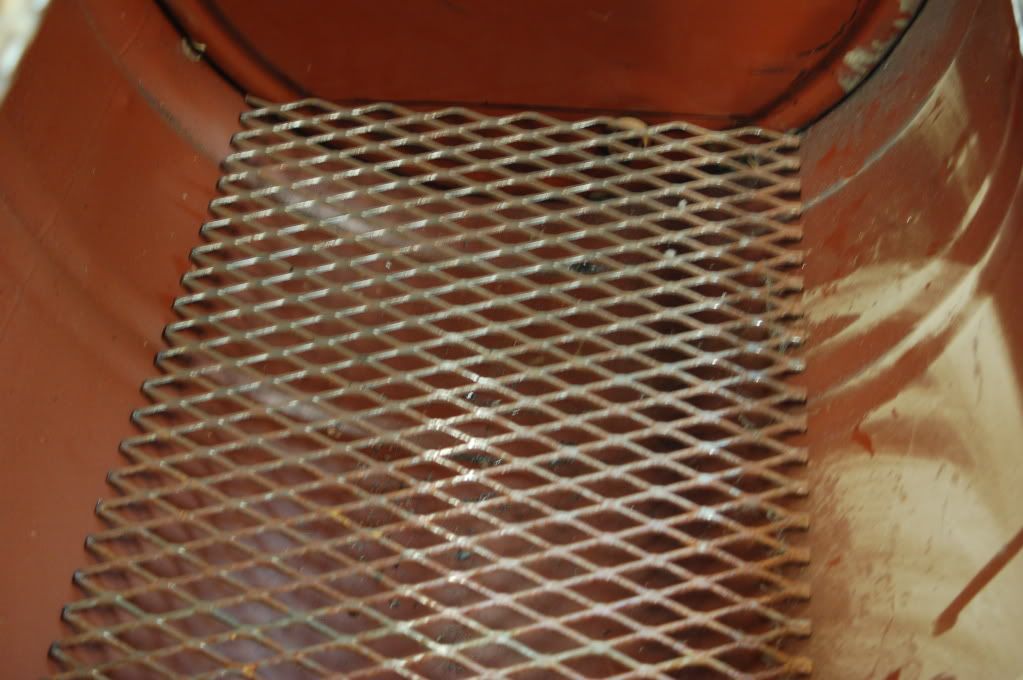
cut out bottom grate for the charcoal:
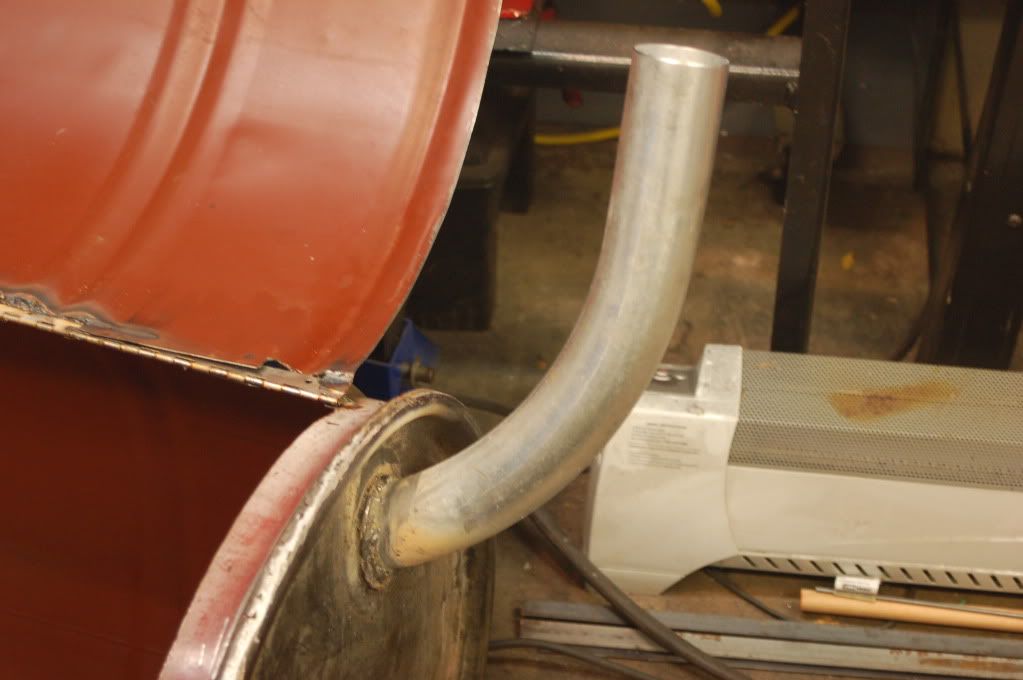
welded on a smoke stack, it's 2.25" mandrel bent exhaust tubing:
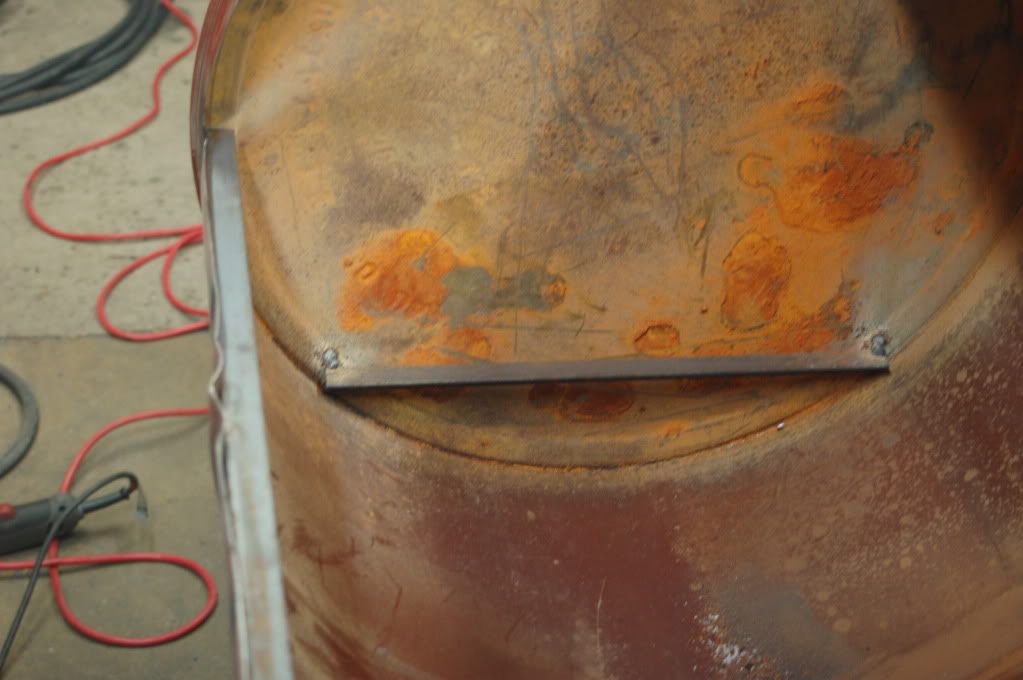
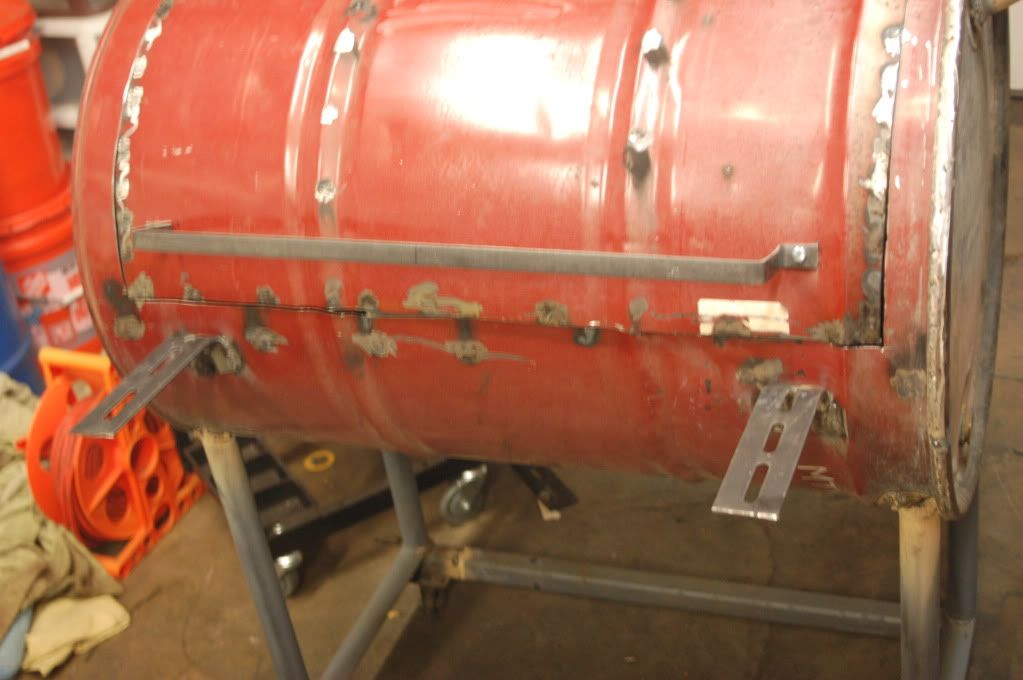
welded in brackets for bottom charcoal grate and top food grate:
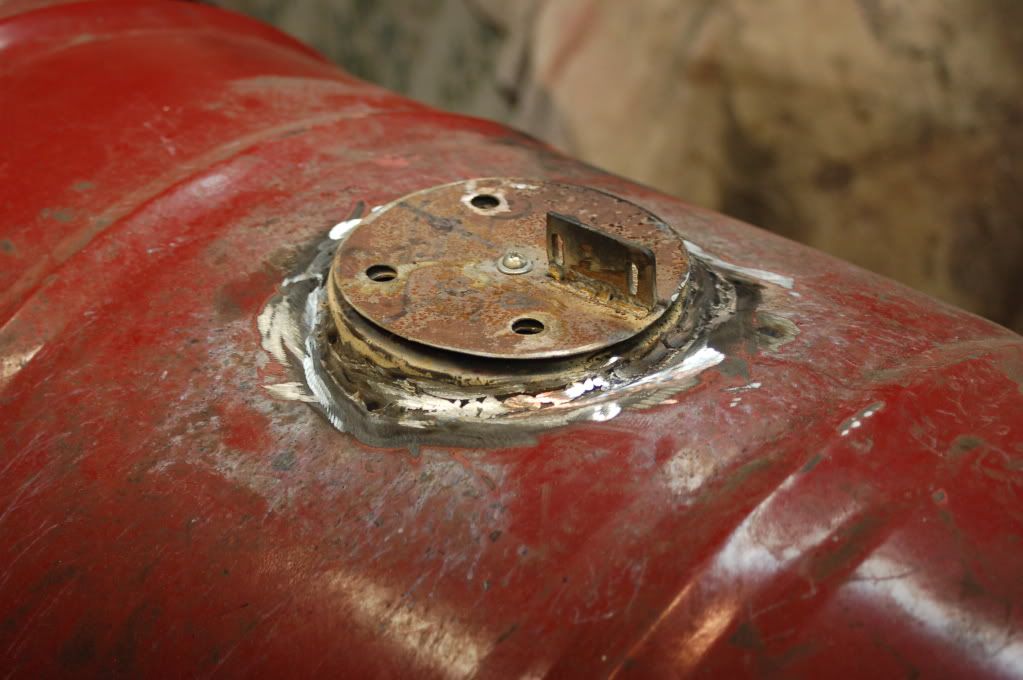
Here is my air/temp control welded up at the bottom (since this picture was taken I have opened up the hole to 3/4"):
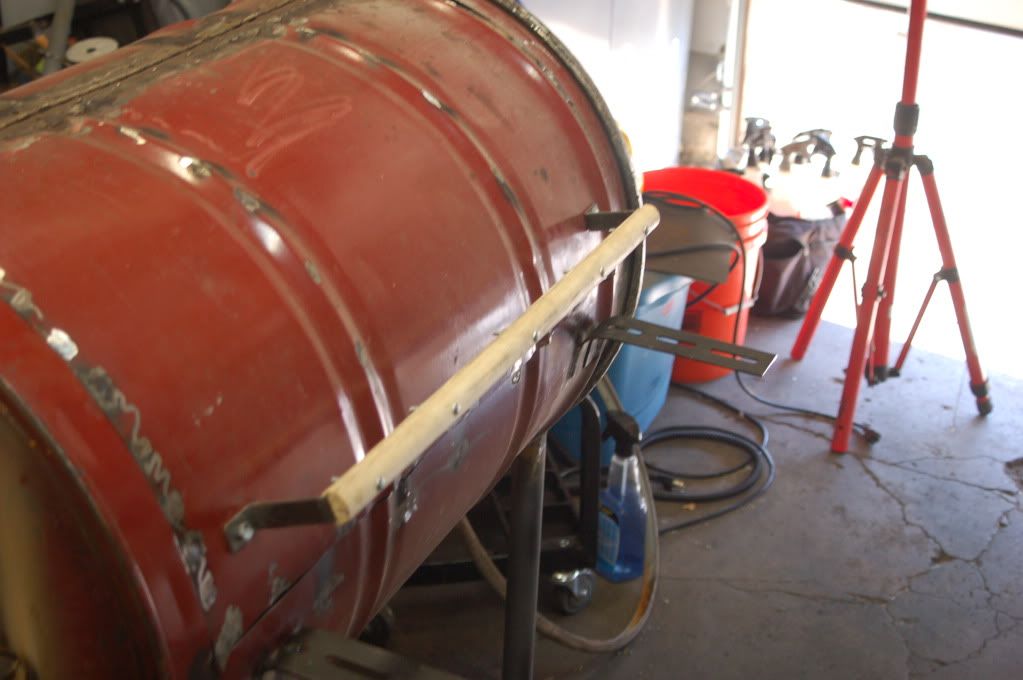
Had to tack on some rod to the door as the metal is thin, the door bent everytime you tried to open/close it. This made it much more sturdy:
I modified one of the 2 wood racks I have built previously to fit the bbq and added some brackets for the front shelf and handle:
Cut a 1" wooden dowel in half and wrapped the handle:
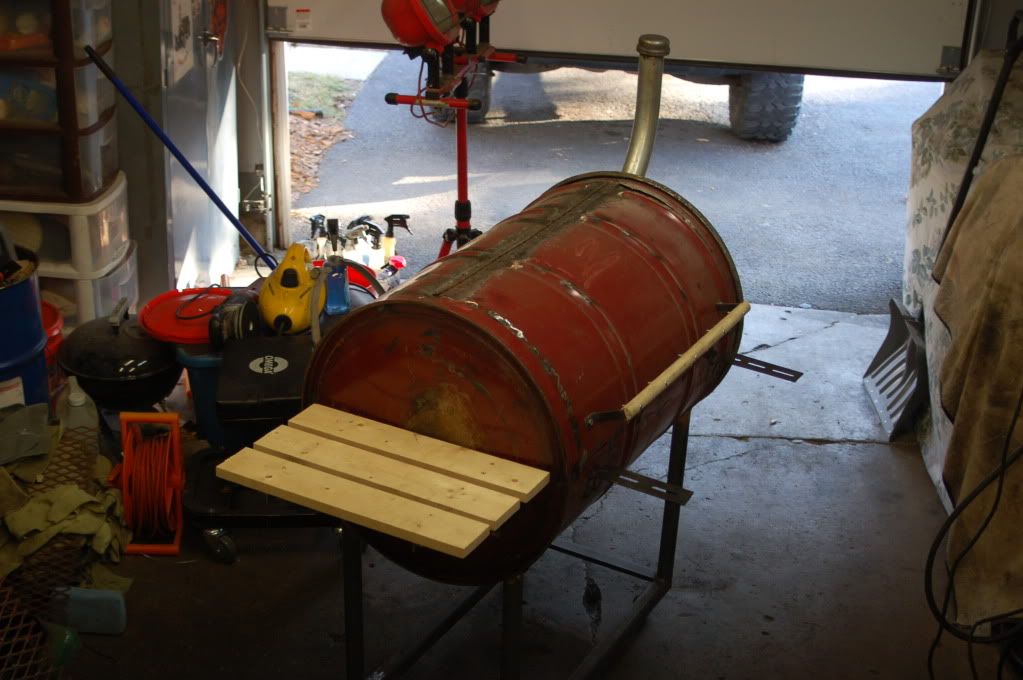
Fabricated and welded the side shelf on:
Cut pieces of 1x4 to length and bolted them on:

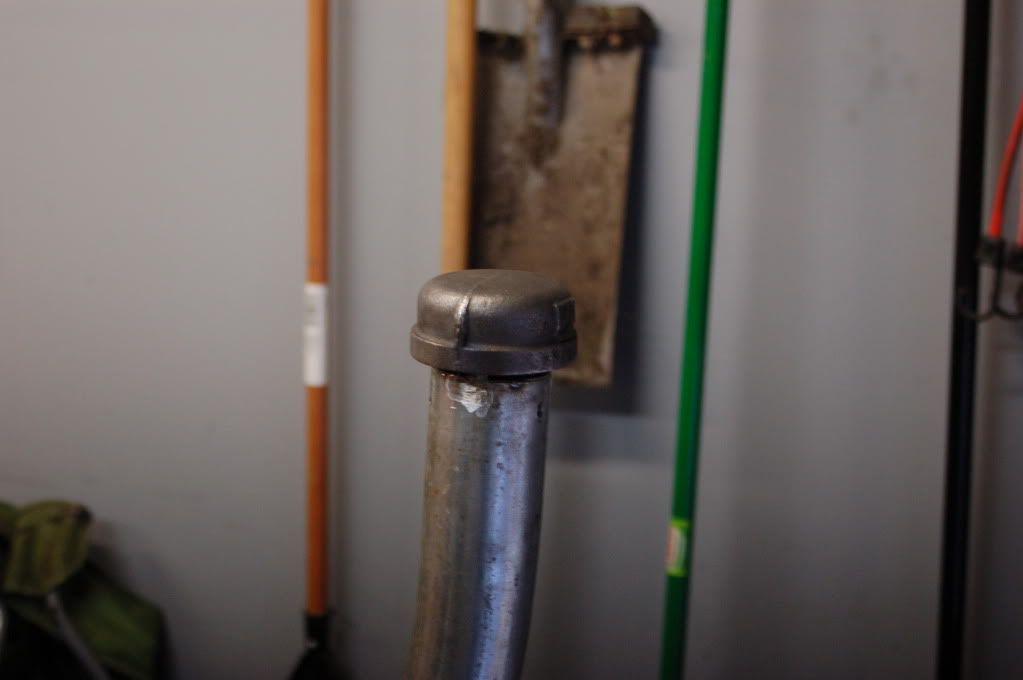
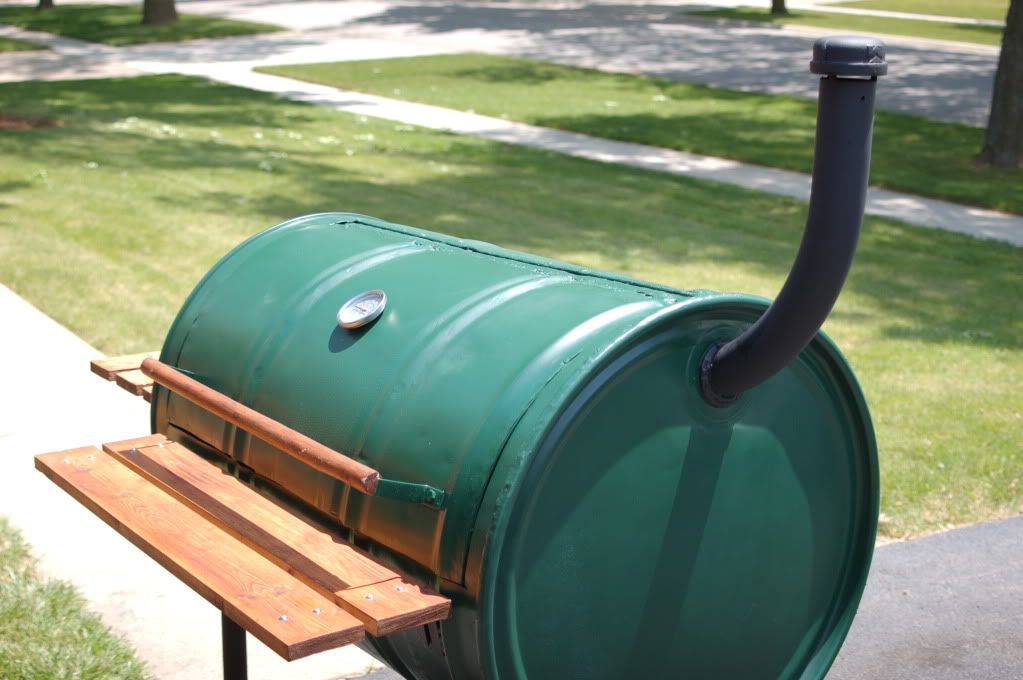
Found a 2" pipe cap and welded it together on the smoke stack (you can't see it in the pictures, but there are 3 steel rods welded to the cap and the stack leaving a 1/2" space between the 2):
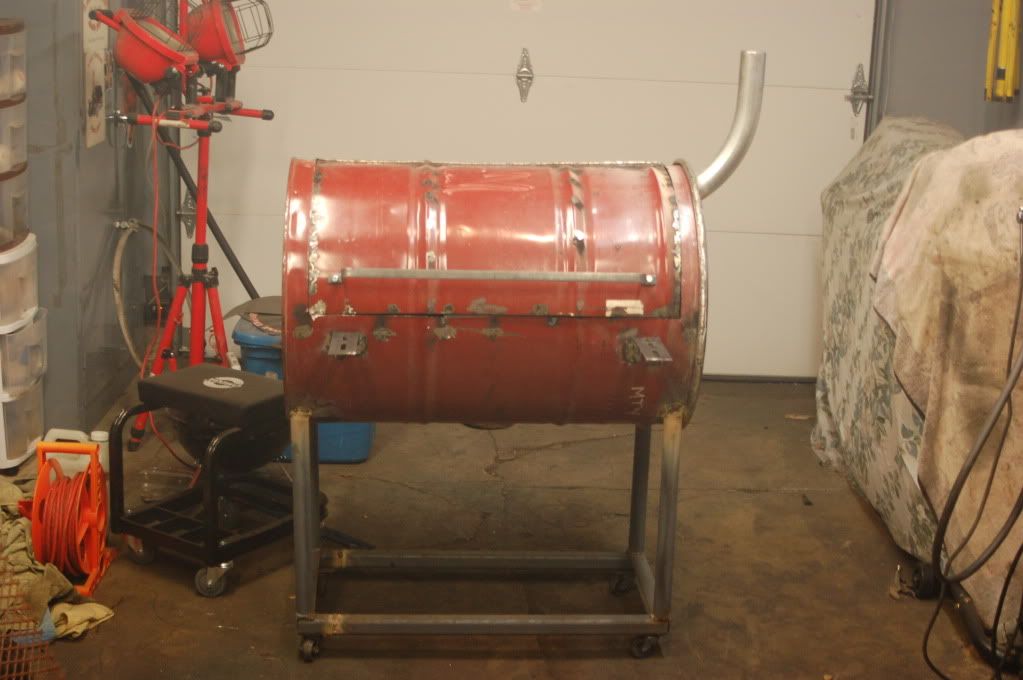
Progress thus far:
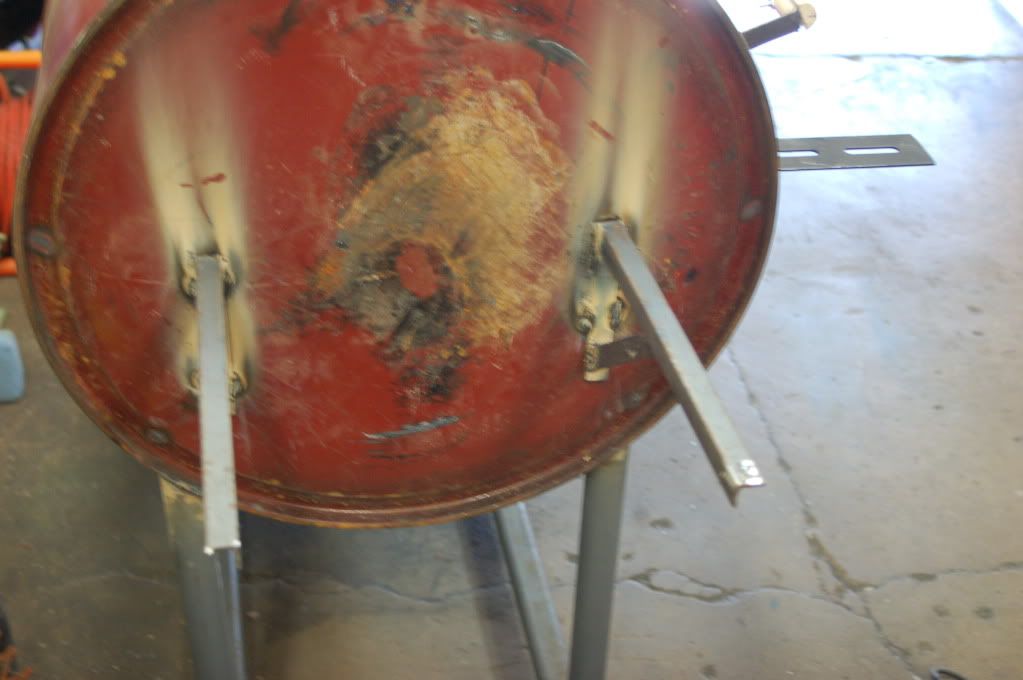
welded 6" locking casters to one side and just cut pieces of angle to make the feet on the other:


I got all of the wood stained, and I countersunk all of the screws for the handle, filled all gaps with flexible/stainable wood filler and made it look like one piece with not bolts showing:


Primed the BBQ. I use Rustoleum high heat primer (it is rated for 2000*). I have to say it is the weirdest primer I have ever used. When you spray it, it almost looks like it's gray primer with clear mixed (the clear part I'm assuming is the ceramic part of the coating). I ended up using 4 cans for 2 coats.
After 1 coat:

After 2 coats:

I already painted the "barrel" area at this point and just need to paint everything else. Overall I'm really happy with this bbq paint. It goes on smooth and dries very quickly. The green color needed much more coats than the black to cover the primer, but I was doing light coats about 20 min apart with 70-75 degree weather. As far as paint goes:
4 cans of primer
6 cans of green bbq paint
2 cans of black bbq paint
All Rustoleum products

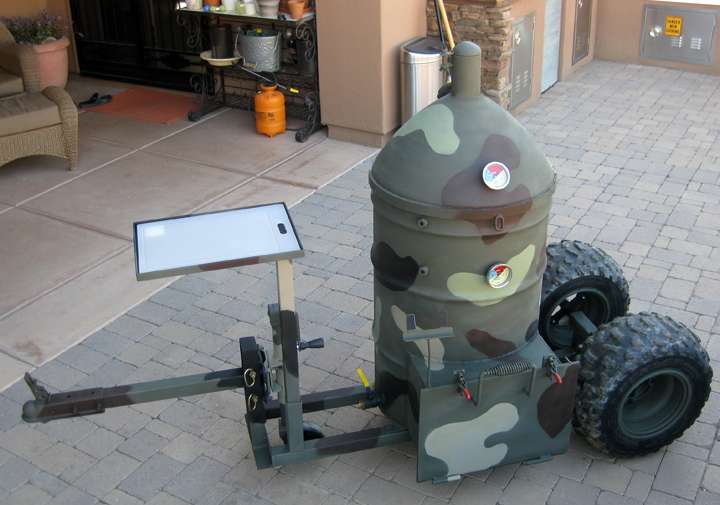
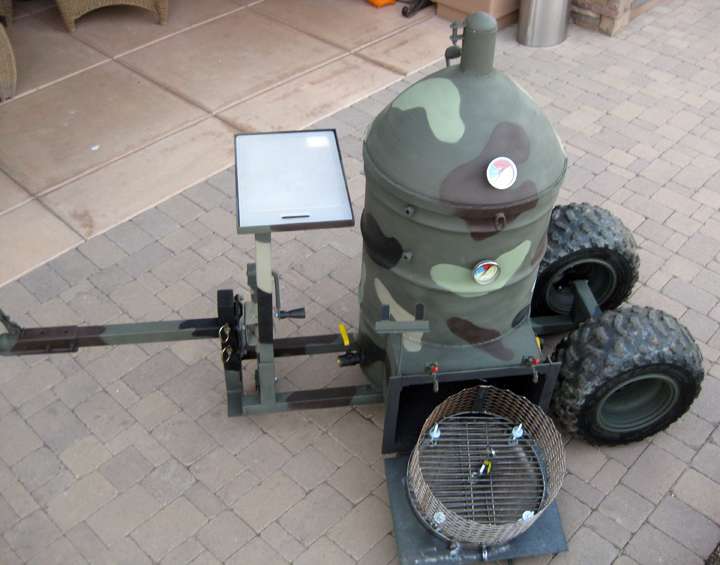
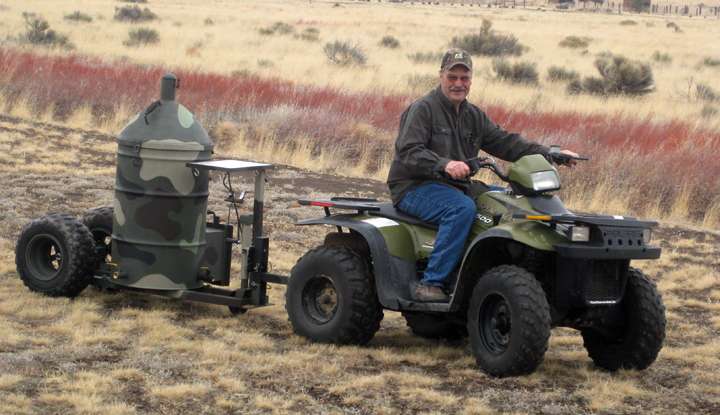
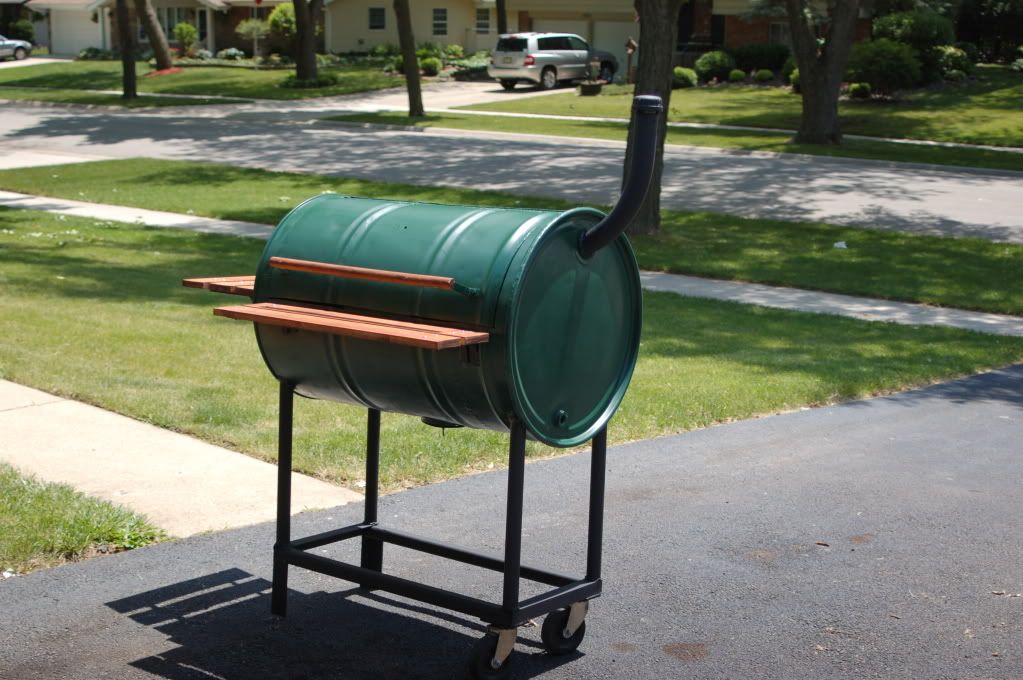
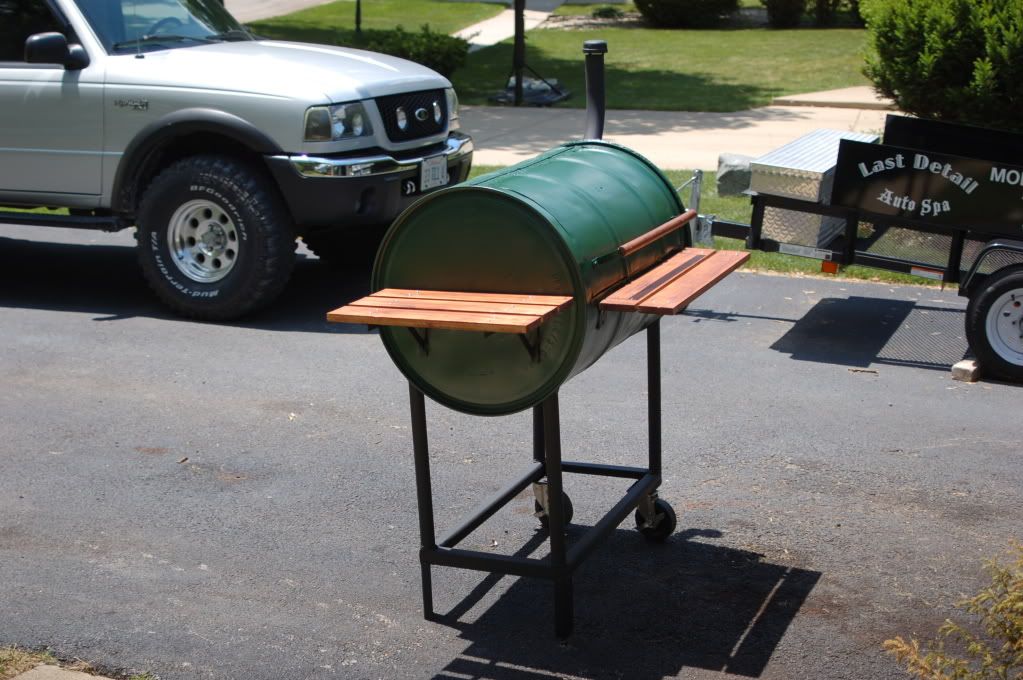
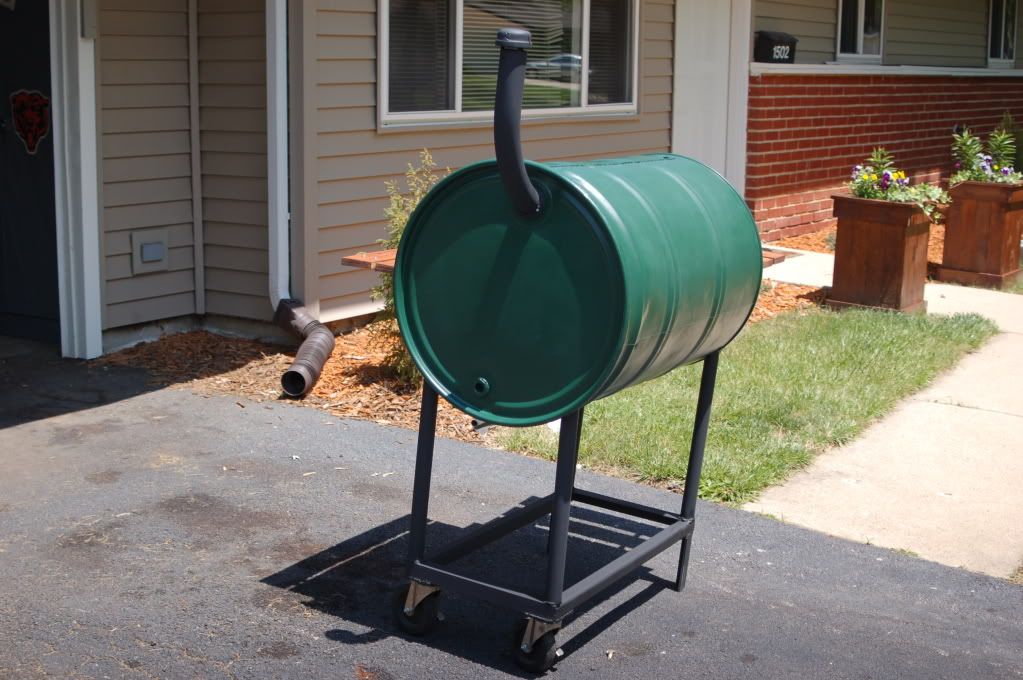
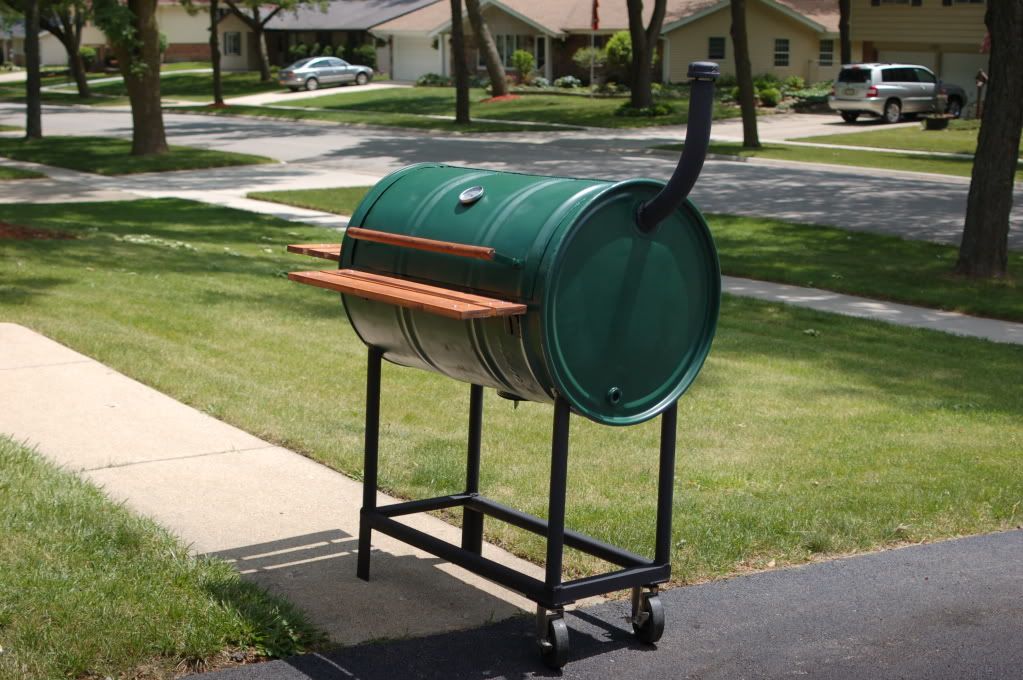
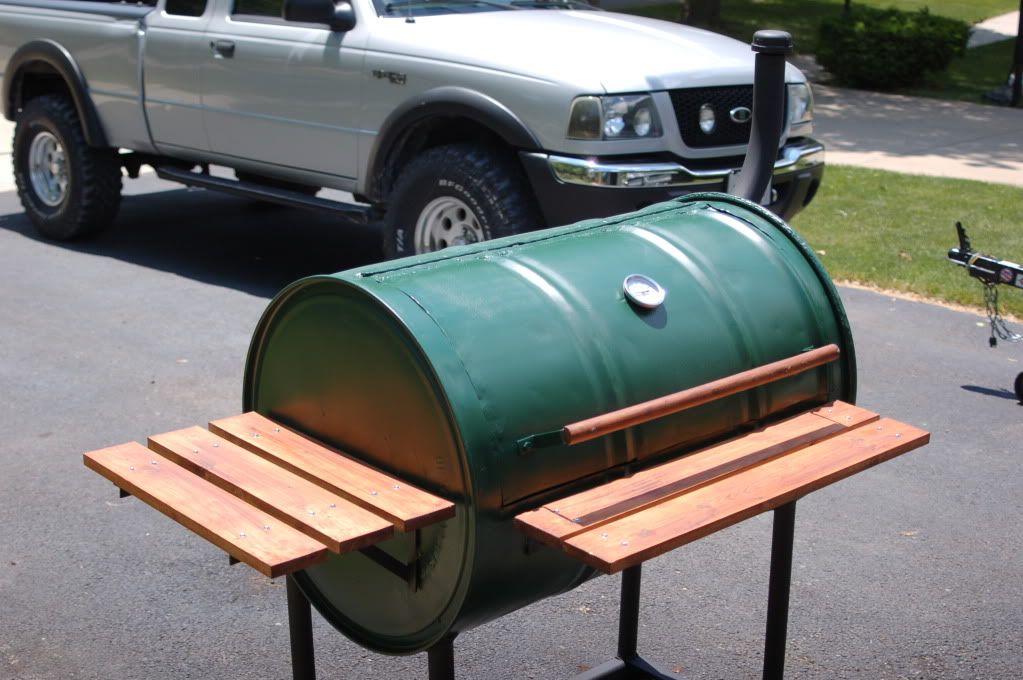
Finished:
Thanks for looking
Rafal
Found a 55 gallon barrel, cut out an opening for the door, welded a piano hinge for the door:
my poor welding (this was my first time welding sheet metal and it was def. a learning experience):
welds grinded down a bit:
cut out bottom grate for the charcoal:
welded on a smoke stack, it's 2.25" mandrel bent exhaust tubing:
welded in brackets for bottom charcoal grate and top food grate:
Here is my air/temp control welded up at the bottom (since this picture was taken I have opened up the hole to 3/4"):
Had to tack on some rod to the door as the metal is thin, the door bent everytime you tried to open/close it. This made it much more sturdy:
I modified one of the 2 wood racks I have built previously to fit the bbq and added some brackets for the front shelf and handle:
Cut a 1" wooden dowel in half and wrapped the handle:
Fabricated and welded the side shelf on:
Cut pieces of 1x4 to length and bolted them on:
Found a 2" pipe cap and welded it together on the smoke stack (you can't see it in the pictures, but there are 3 steel rods welded to the cap and the stack leaving a 1/2" space between the 2):
Progress thus far:
welded 6" locking casters to one side and just cut pieces of angle to make the feet on the other:
I got all of the wood stained, and I countersunk all of the screws for the handle, filled all gaps with flexible/stainable wood filler and made it look like one piece with not bolts showing:
Primed the BBQ. I use Rustoleum high heat primer (it is rated for 2000*). I have to say it is the weirdest primer I have ever used. When you spray it, it almost looks like it's gray primer with clear mixed (the clear part I'm assuming is the ceramic part of the coating). I ended up using 4 cans for 2 coats.
After 1 coat:
After 2 coats:
I already painted the "barrel" area at this point and just need to paint everything else. Overall I'm really happy with this bbq paint. It goes on smooth and dries very quickly. The green color needed much more coats than the black to cover the primer, but I was doing light coats about 20 min apart with 70-75 degree weather. As far as paint goes:
4 cans of primer
6 cans of green bbq paint
2 cans of black bbq paint
All Rustoleum products
Finished:
Thanks for looking
Rafal