aka Larry
Well-known member
Bed Frame Project
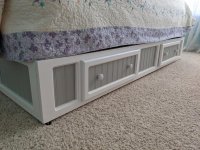
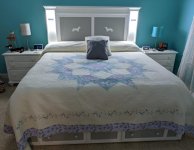
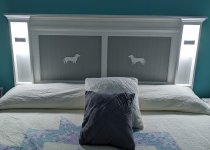
My wife recently bought a new adjustable bed, so sans it's support legs, it's totally open underneath, which doesn't look good, and is wasted space. The wife wanted a skirt to hide the underside so I was tasked with building a frame with two sides taking up the extra space between the bed frame and the floor, and the footboard end which will have two drawers.
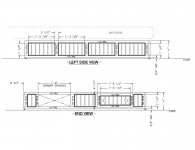
As always, I started with a drawing:

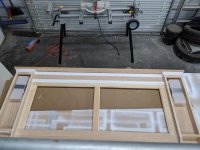
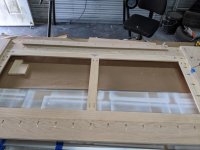
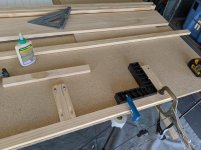
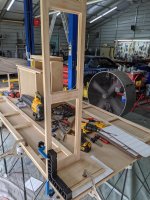
After acquiring all the materials I got started by cutting the members to size. The two sides (seen here), and end panels are a face frame design using 1x2 rails and 1x3 stiles. All pieces are joined using pocket hole screws and wood glue:

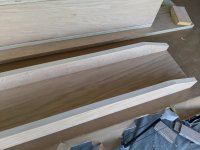
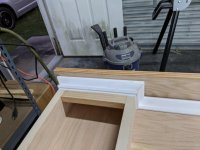
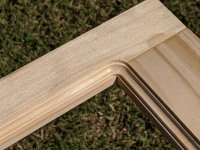
To add some depth, I used a roman ogee bit in the router to form this detail. I was smart this time and moved the project OUTSIDE before firing up the router!

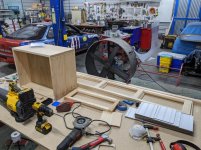
Next, I ripped the 1/4" plywood for the bottom of the drawers and proceeded to assemble the drawer boxes. Here's most of the pile of stuff at this point:

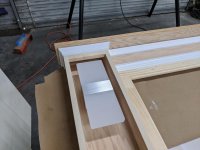
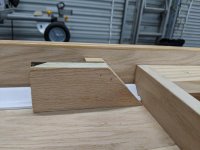
I bought a set of brackets designed for bed frames and fitted those to the front and side pieces. One side has a pair of pins and the other a pair of slots as seen here:


My wife recently bought a new adjustable bed, so sans it's support legs, it's totally open underneath, which doesn't look good, and is wasted space. The wife wanted a skirt to hide the underside so I was tasked with building a frame with two sides taking up the extra space between the bed frame and the floor, and the footboard end which will have two drawers.
As always, I started with a drawing:
After acquiring all the materials I got started by cutting the members to size. The two sides (seen here), and end panels are a face frame design using 1x2 rails and 1x3 stiles. All pieces are joined using pocket hole screws and wood glue:
To add some depth, I used a roman ogee bit in the router to form this detail. I was smart this time and moved the project OUTSIDE before firing up the router!
Next, I ripped the 1/4" plywood for the bottom of the drawers and proceeded to assemble the drawer boxes. Here's most of the pile of stuff at this point:
I bought a set of brackets designed for bed frames and fitted those to the front and side pieces. One side has a pair of pins and the other a pair of slots as seen here:
Attachments

Last edited: