To avoid these ads, REGISTER NOW!

My first garage remodel

RDK_YJ88

Member
Joined
Sep 18, 2011
Messages
22
*Note* I started this build on another website and just copied and pasted it, so they dates are a little off.

After one boring night of searching around the internet, I stumbled upon www.garagejournal.com. After looking through a few pictures on here, I was hooked! I have been sick of the crappy layout of my garage and decided to redo it.

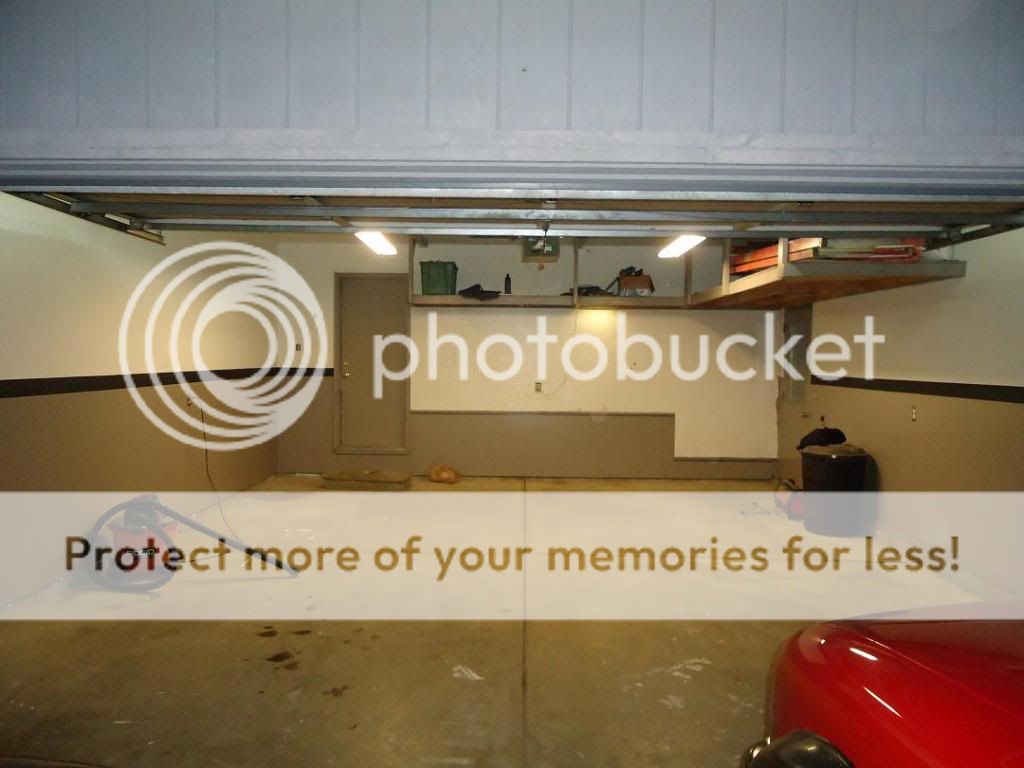
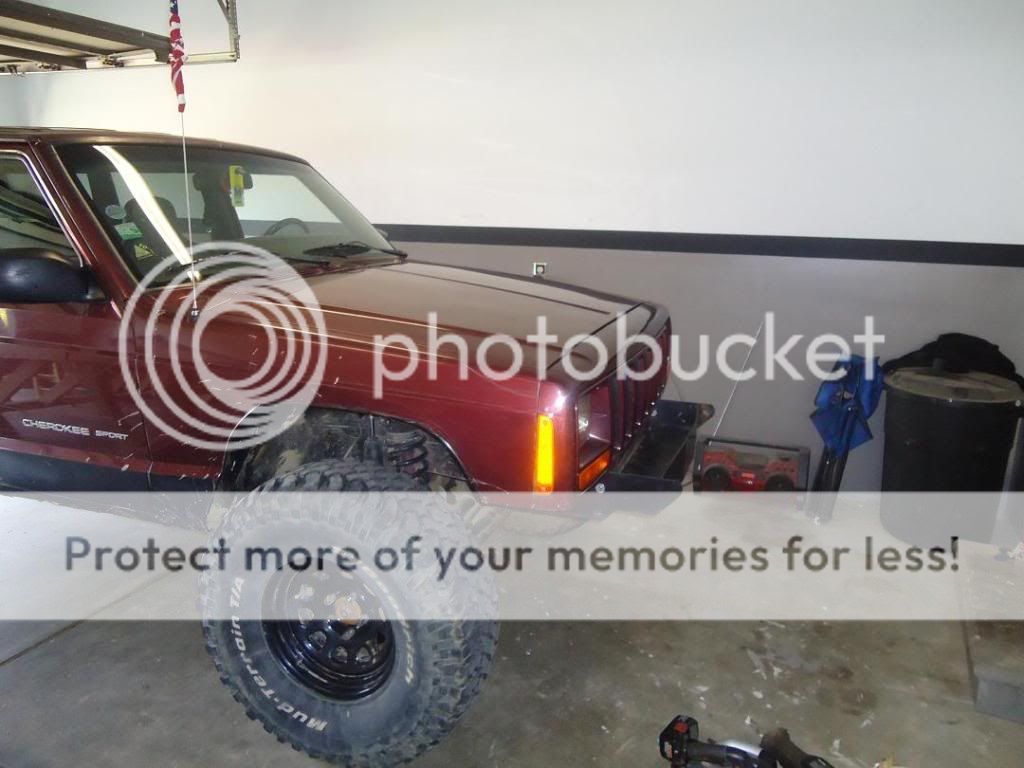
To start things off, the awful before picture.


2-2.jpg


1-2.jpg


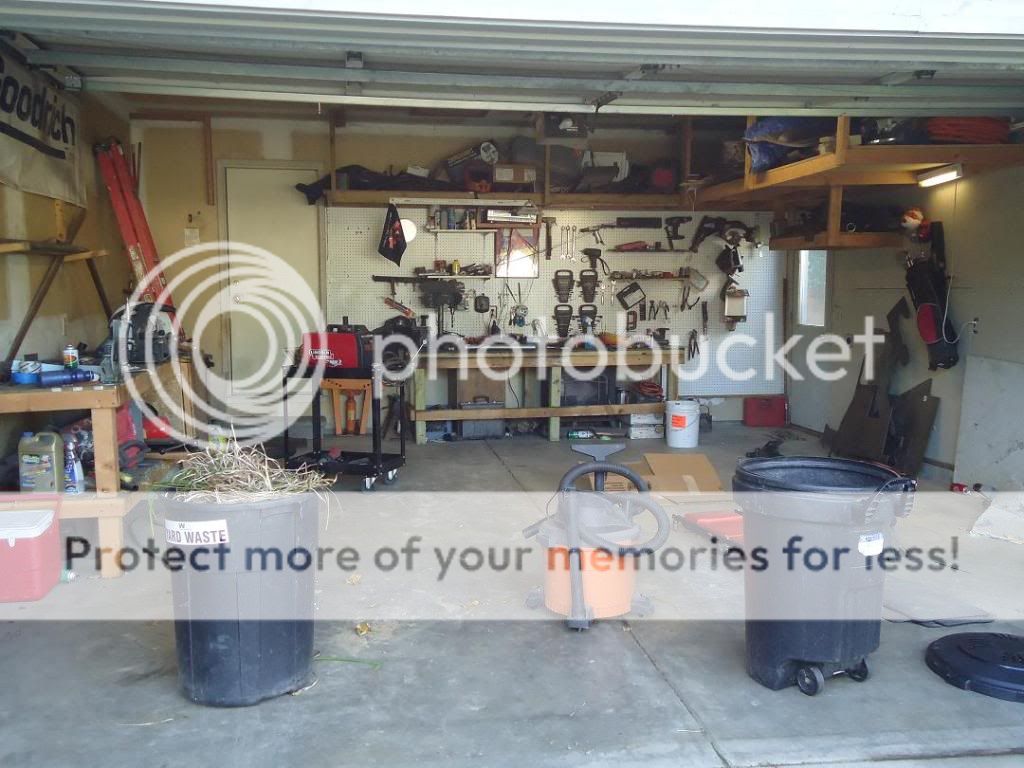
Please note, those were taken on a bad day. :bdr2: The one thing that I do like about the garage and I plan to keep and expand on is the peg board. I hate digging through tool boxes/chests, and am a strong believer of every tool having a place. I love the peg board because every tool is out in the open and easy to find. My plan for the layout (not set in stone yet) is to have the left side be the "bay" for the Jeep and the right side to be the work shop with a work bench. Below the Peg board will be cabinets and some kind of countertop with my PC on top. I have plans of putting a TV in here some where just not sure where yet. In between the bay and work shop I would like another work bench on wheels that can be moved.

Heres a pic of the peg board that is currently in there.

5-1.jpg


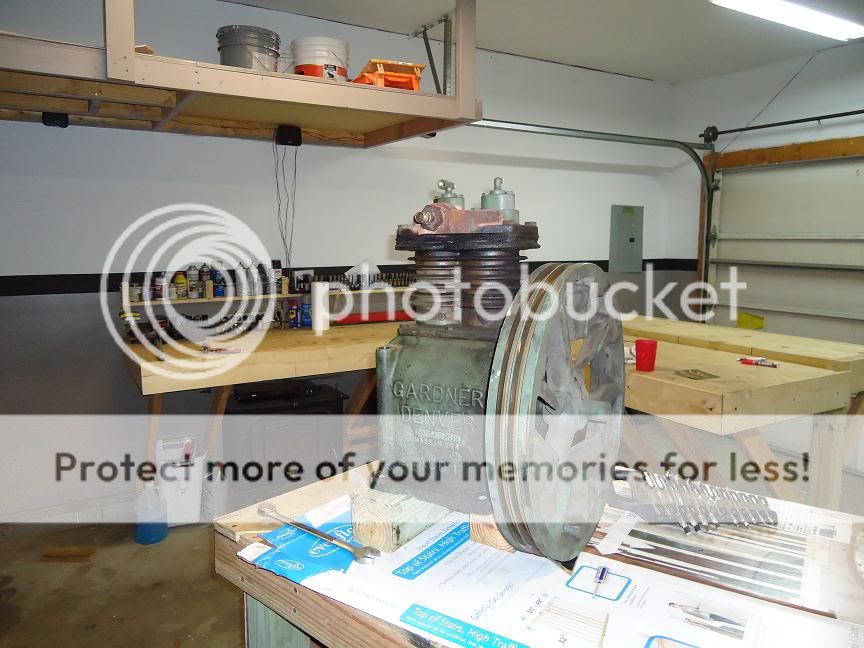
First step was to get the garage cleaned out enough to start the paint process.

3-2.jpg


The previous owners of the house had dry walled the garage but didn't tape and mud one side. So it was up to me to finish it. Here's a pic of the tape on the wall.


4-1.jpg


This was my first time doing any type of dry wall work, so you don't get any finished pics. :sonicjay:


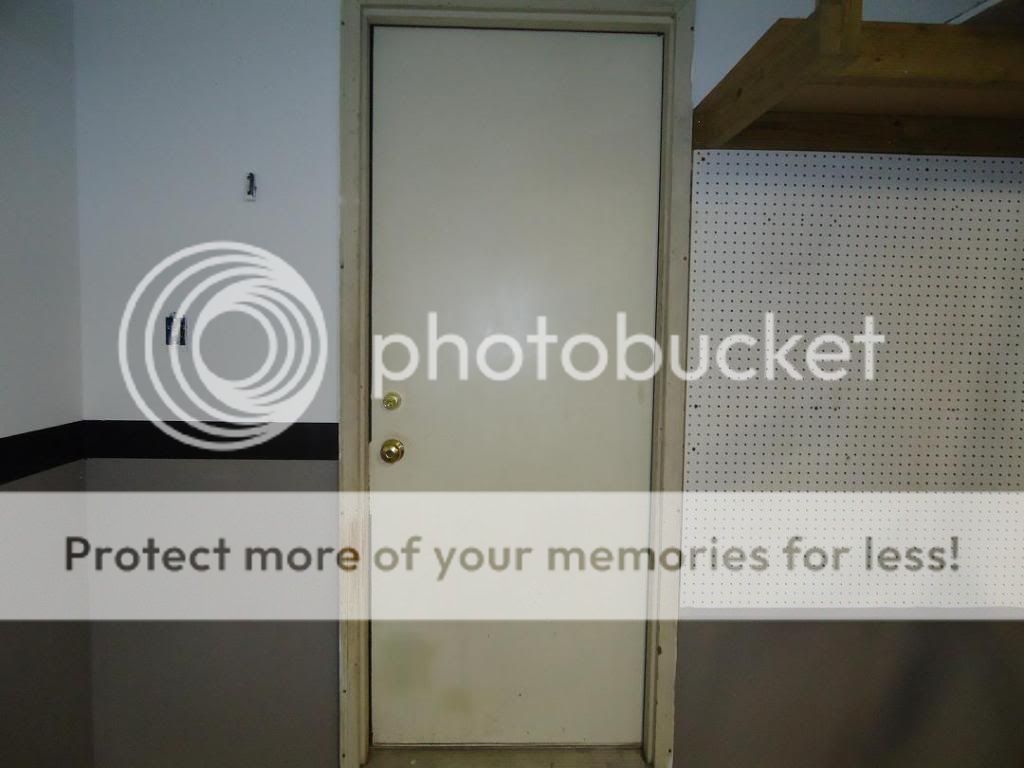
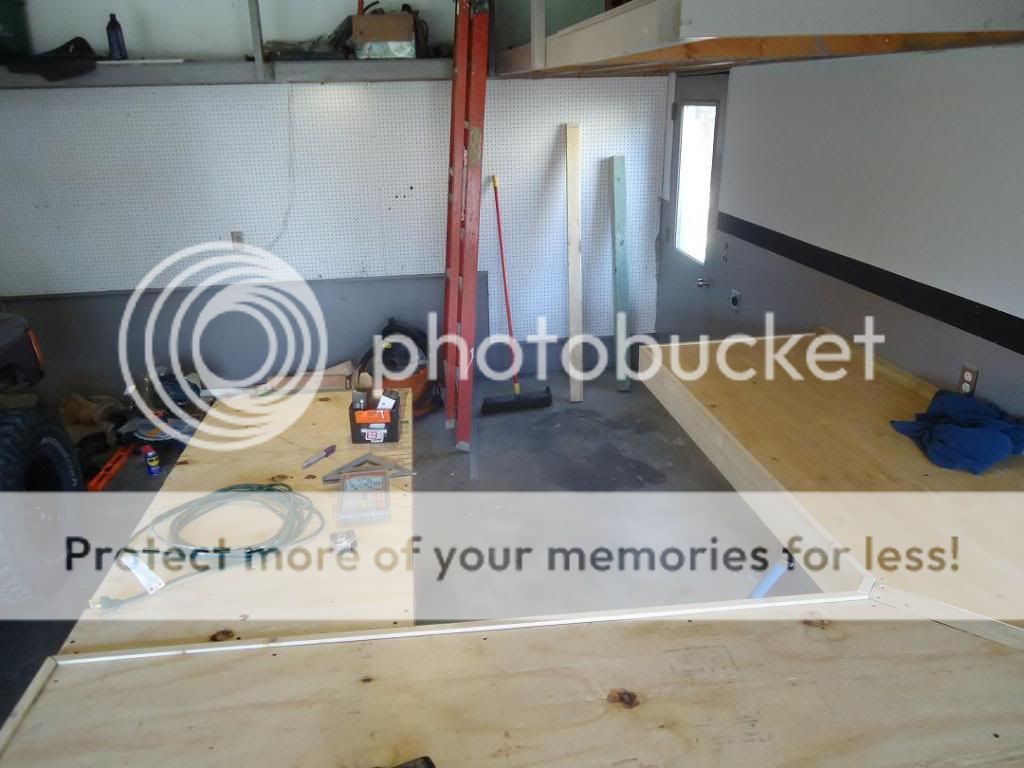
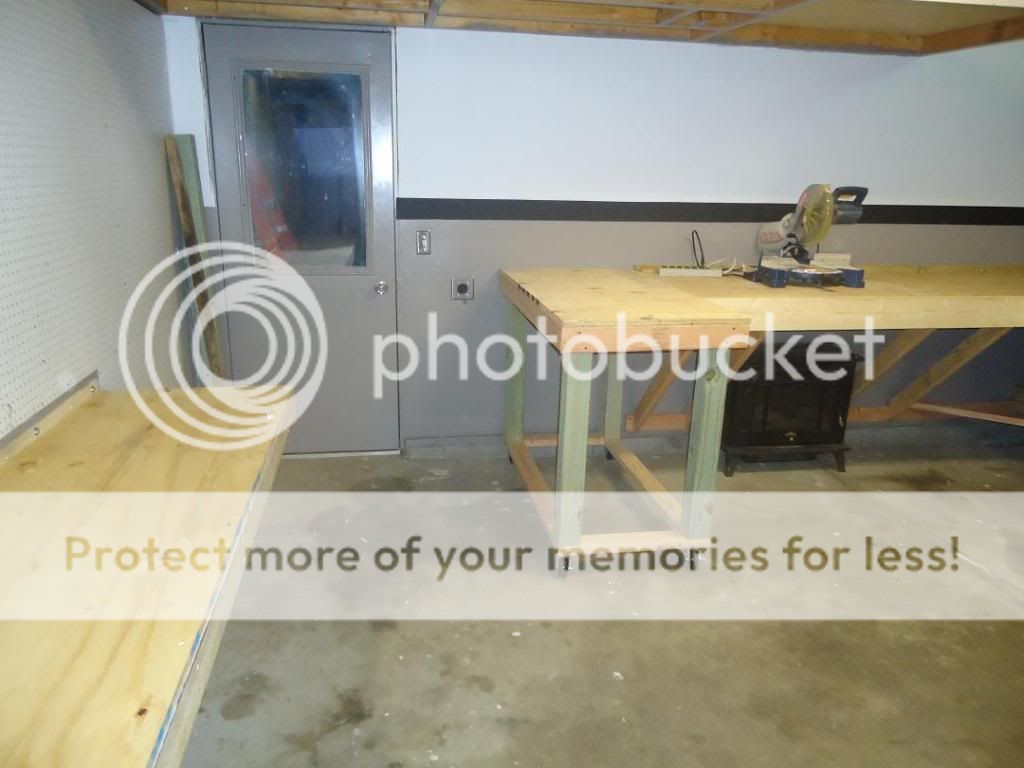
Now onto the paint. The paint scheme I am going with is made of three colors, light grey, black, white. Light grey will be the bottom four feet with white on top, the black will be a small stripe to separate the two. I first painted the walls with white primer, then went and painted with flat white paint. Once that was dry I measured up 4 feet, drew a line, and taped it off for the grey. Hopefully tomorrow I will be able to add the black stripe.

7.jpg


8.jpg


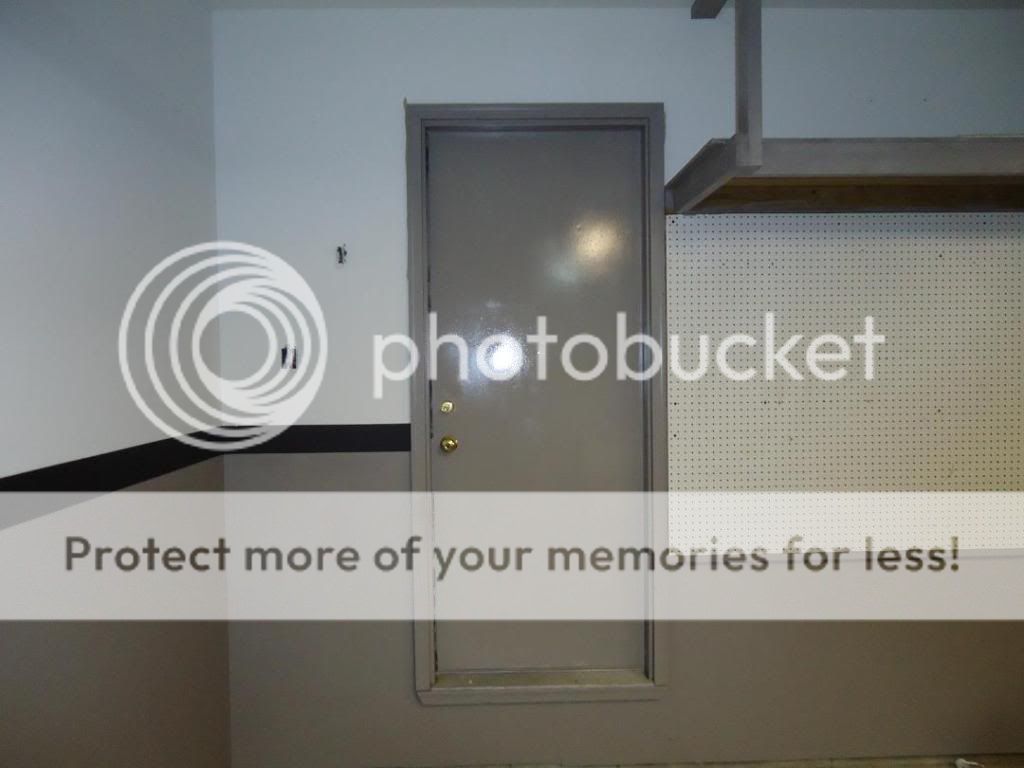
I will be painting the doors white, and the trim around the doors, lights, and attic opening will be grey. The shelves will also be grey.

Once the paint is done I plan to do a few more things. I'd like to recess the lights into the ceiling with some molding around them. Also looking into flooring options, (open to opinions).

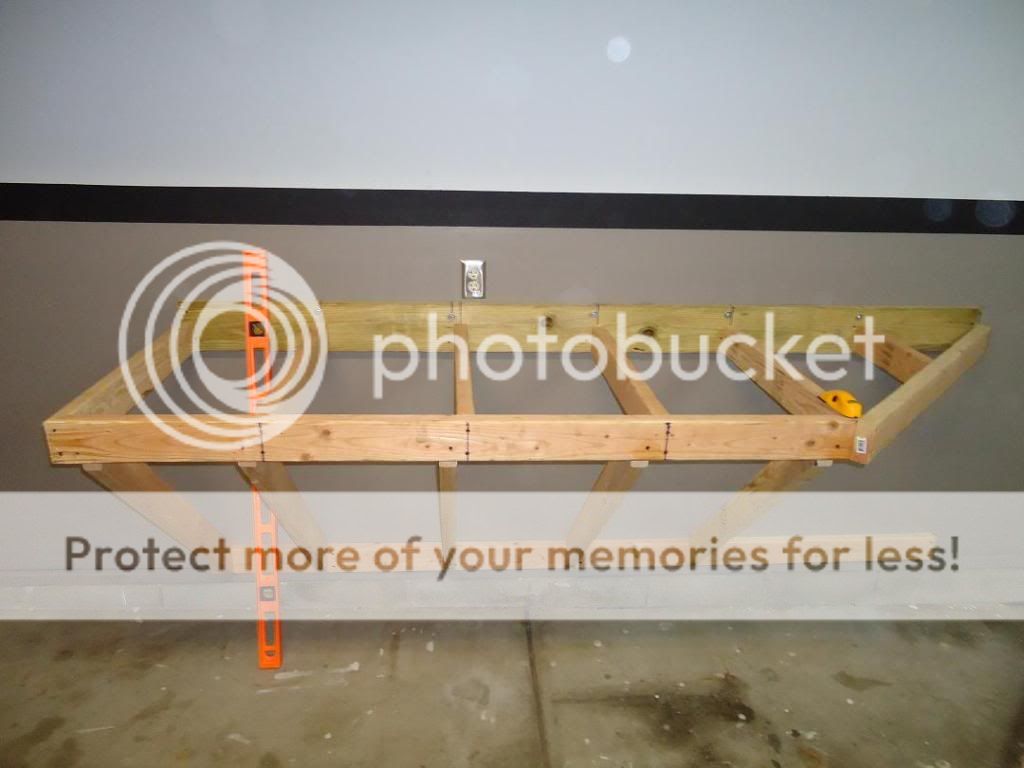
For work the work bench I'd like to make one that is attached to the wall with out legs so I will be able to easily sweep underneath it.

I have a few more ideas bouncing around the old noggin but I'm open to any Ideas/comments/criticism.
 
Last edited:
To avoid these ads, REGISTER NOW!
OP
R

RDK_YJ88

Member
Joined
Sep 18, 2011
Messages
22
Got a few more things done tonight. I got the black stripe painted on and was also able to do some grey trimmings. I got the trim around the attic opening done and decided to paint one of the doors grey to see how I liked it. I have to say the door came out good, and I will be doing the other door too.

Door:

10.jpg


The color looks off because the door is still wet.

Here is a before picture of the other door (it's ugly):

11.jpg


Black stripe:

12.jpg


And the Attic opening:

13.jpg


I have to say, I'm not very good at painting, so I have some small touch ups to do.
 
OP
R

RDK_YJ88

Member
Joined
Sep 18, 2011
Messages
22
Well, I was able to get a little more work done over the past few days. I was able to get the other door all painted, and it looks a ton better! Onlyinmyxj22 stopped by today and helped me get all of the other **** out of the garage so i can get the floors degreased and cleaned tomorrow. I'm also looking into flooring options (rustoleum expoxy paint, Behr epoxy paint, etc).

A few pics of the progress:

Door:

15.jpg


Todays progress:

14.jpg


Also put in all new electrical sockets and light switches with Stainless Steel covers.

16.jpg
 
OP
R

RDK_YJ88

Member
Joined
Sep 18, 2011
Messages
22
Well, cleaning the floor really didn't sound like much fun, so I decided to start on the work benches. I went with the wall mounted style because what i hated the most about my other benches, was not being able to sweep under then very easily. The new bench is 8'x8' and the bench itself is 2.5' deep. Sits roughly 40" off the floor. On the back side of the bench, towards the garage door, I will turn it into a little "bar" with stools.

Than plan is to have my Desktop PC on the far left of the wall mount bench, with a TV on the wall above it.

Now for some progress pictures:

Nice wood
DSC01985.jpg


Wall mount bench:

DSC01990.jpg


DSC01988.jpg


DSC01987.jpg


The island.

DSC01989.jpg


Hope to finish these up tomorrow, and then start on the mobile work bench that will "box" off the other benches.
 

Red Leader

Well-known member
Joined
May 15, 2011
Messages
2,689
Location
Denver, CO
Excellent progress so far. You are well on your way.

You've got the same kind of floor that I do, concrete slab divided into 4 pads with (what looks like) the wide type of expansion joint. Your floor looking in a lot better shape than mine. You can pretty much do anything with it.

What are your big next steps for the place?

Remember, take lots of pictures!

-RL

EDIT - One more thing, you may want to size your photos to the next smaller size, as viewer may find themselves having to scroll sideways to see the whole pictures + text and may lose a bit of perspective in your shots.
 
OP
R

RDK_YJ88

Member
Joined
Sep 18, 2011
Messages
22
Well, I decided against building cabinets under the peg board, and just built another wall mount bench. This one is 10 ft long and a little lower than the others (to fit under the peg board). Also started on the mobile bench, and played around with a few ideas of where to put it.


The Jeep fits great with plenty of room all the way around it.

DSC02005.jpg


DSC02006.jpg


New work bench:

DSC02010.jpg


Mobile bench (possible placement ideas):

DSC02007.jpg


This is where it will probably stay:

DSC02011.jpg


Overall view:

DSC02009.jpg
 
OP
R

RDK_YJ88

Member
Joined
Sep 18, 2011
Messages
22
Excellent progress so far. You are well on your way.

You've got the same kind of floor that I do, concrete slab divided into 4 pads with (what looks like) the wide type of expansion joint. Your floor looking in a lot better shape than mine. You can pretty much do anything with it.

What are your big next steps for the place?

Remember, take lots of pictures!

-RL

EDIT - One more thing, you may want to size your photos to the next smaller size, as viewer may find themselves having to scroll sideways to see the whole pictures + text and may lose a bit of perspective in your shots.

Thanks!

For the floor, I still don't know what I'm going to do with it. I'm open to suggestions.

As for the pictures I just used photobucket and had them resize for posting on forums. I'll look into other sizes, thanks.
 

Cougar67

Well-known member
Joined
Nov 19, 2009
Messages
868
Location
Virginia
Wow. It looks like you did all that THIS weekend. Since you have the heater on and the snow shovel at the ready, maybe an insulation kit on the garage door would be a good idea. Since you are able to clean the garage out so well you could do an epoxy floor. I'm planning to do the Rustoleum epoxy since it's cheap. I was going to do it this weekend but we got 2" of rain. Cleaning the garage floor with a power washer was kind of fun.
 

Kevin54

MEMBER EMERITUS
Joined
Jan 12, 2005
Messages
29,341
Location
Urbana, Ohio
Is the bar bench easily removable just in case you had to get a second vehicle in? Did you think about putting the bar at the other end so you could have some access in front of the garage door? Or is there just going to be one vehicle involved and that is it? Nice work though :thumbup:
 
OP
R

RDK_YJ88

Member
Joined
Sep 18, 2011
Messages
22
looks good.

great start there cant wait to see more and weclome to the forum.

Thanks! I'm glad I found this place.

looks really good mate!

Thanks!

Wow. It looks like you did all that THIS weekend. Since you have the heater on and the snow shovel at the ready, maybe an insulation kit on the garage door would be a good idea. Since you are able to clean the garage out so well you could do an epoxy floor. I'm planning to do the Rustoleum epoxy since it's cheap. I was going to do it this weekend but we got 2" of rain. Cleaning the garage floor with a power washer was kind of fun.

I've done all of this over the past week or so. Mostly done by me and my girlfriend, but had a buddy come help here and there. Ive been debating on doing the Rustoleum epoxy or not, I've read it could take up to two weeks, including prep, before it will be usable. I've got some degreaser/cleaner to put soon though. I've been eyeing the garage door insulation kits at Home Depot, it may happen this year :bounce:

Is the bar bench easily removable just in case you had to get a second vehicle in? Did you think about putting the bar at the other end so you could have some access in front of the garage door? Or is there just going to be one vehicle involved and that is it? Nice work though :thumbup:

Thanks!

I could remove the bar if needed, but I doubt I will ever need to. I wanted to make the garage a place both me and my girlfriend can enjoy together. It will be mostly used to work on my Jeep, atv, and dirtbike. Occasionally my truck will go in for routine maintenance. If I ever need to garage both vehicles at the same time, I have my dads 40x60 heated barn 10 minutes down the road.


Appreciate all of the feed back guys!
 

flybefree

Well-known member
Joined
May 18, 2008
Messages
1,111
Location
Ohio/Kentucky
Looks great...purely FYI I did the big box epoxy in one weekend...biggest hurdle was just moving everything out! It's cheap, but it works.
 

Jack Olsen

Super Moderator
Staff member
Joined
Mar 22, 2009
Messages
6,678
Location
Los Angeles
Very cool! That L-shaped table with the almost-not-there footprint is pretty great. It's rare that a garage has any kind of bench that you haven't seen before -- but that's the first one like it that I've seen, at least.

I keep wondering if there's a way to make storage out of the triangle-shaped space formed by the wall, the ben chtop and the legs. You could have a piece of plywood hinged near the flow that opens out and down, for example. The trick is to think of what you'd store in a box that shape, with the change in orientation as the door comes down.

I started with shelves like you have in the upper perimeter. I ended up enclosing them as cabinets. You might think about that.

Is everything going to get painted? It would be a shame to leave it as dirty, naked wood with such a cool wall (and I presume, a cool-looking floor one day soon).

In any case, great job! :beer:
 
OP
R

RDK_YJ88

Member
Joined
Sep 18, 2011
Messages
22
Very cool! That L-shaped table with the almost-not-there footprint is pretty great. It's rare that a garage has any kind of bench that you haven't seen before -- but that's the first one like it that I've seen, at least.

I keep wondering if there's a way to make storage out of the triangle-shaped space formed by the wall, the ben chtop and the legs. You could have a piece of plywood hinged near the flow that opens out and down, for example. The trick is to think of what you'd store in a box that shape, with the change in orientation as the door comes down.

I started with shelves like you have in the upper perimeter. I ended up enclosing them as cabinets. You might think about that.

Is everything going to get painted? It would be a shame to leave it as dirty, naked wood with such a cool wall (and I presume, a cool-looking floor one day soon).

In any case, great job! :beer:

Thanks!

Right now, I'm trying to leave it open under the work benches as much as possible, so I can easily sweep under there. As for the painting, I'm trying to decide between painting them a matching grey, just sealing them with something like Thompson's Water Seal, or staining them. I'm afraid the grey and stain will darken the overall look of the garage, and was leaning towards just sealing them as this would protect them from greasy fingers and leave the bright natural wood color. Nothings set in stone yet, and am always open to other ideas.

Your garage was one of the first ones I looked at for inspiration! Great job on yours :thumbup:
 
To avoid these ads, REGISTER NOW!

trent_44

Active member
Joined
Jul 6, 2009
Messages
37
Location
Kansas
I would say go with paint, it will clean it up nicely and I don't think it would darken the space up that much. However, nice start to the project!!
 
OP
R

RDK_YJ88

Member
Joined
Sep 18, 2011
Messages
22
I would say go with paint, it will clean it up nicely and I don't think it would darken the space up that much. However, nice start to the project!!

After some thinking, this may be the route I take.

Thanks!
 
OP
R

RDK_YJ88

Member
Joined
Sep 18, 2011
Messages
22
Got a little more work done.


Started putting things back on the peg board.

DSC02022.jpg


Worked on the mobile bench also. Got it closed in, put in some more peg board in and a small shelf.

DSC02017.jpg


DSC02016.jpg


DSC02015.jpg


DSC02014.jpg


Built a small shelf over the work bench to hold some paint cans and other misc. items. Also holds my Sockets.

DSC02019.jpg


DSC02018.jpg


Also picked up and installed a new Home Theatre system.

DSC02023.jpg


Still working on a solution to covering up the ugly wires for the speakers. Eventually I want to run wires in the wall to In-ceiling speakers, but thats won't be for awhile.
 

tuner4life

Well-known member
Joined
Aug 24, 2011
Messages
266
Location
Indiana
Nice work!! This is similar to how I am planning on doing the benches in my garage.

How are you planning on finishing the benches in the garage? Painting? Stain? Nothing?
 
OP
R

RDK_YJ88

Member
Joined
Sep 18, 2011
Messages
22
You have it spectacular!!:thumbup:

Thanks!

Nice work!! This is similar to how I am planning on doing the benches in my garage.

How are you planning on finishing the benches in the garage? Painting? Stain? Nothing?

I've decided to paint everything the same gray as the lower portion of the wall.

My side job of welding/fabricating has taken up my free time and half of my garage. Once I get that out of the way I'll be getting back to the garage.
 

On1Wheel

Well-known member
Joined
Oct 17, 2011
Messages
349
Location
NE Texas
Nice work! One idea for covering your wiring without going into the wall is to get some 1x4 and cut two grooves the length of the board. Buy some thin but stiff plastic and bend the plastic to sit in the grooves to form a tube...running the wiring inside. Paint it all to match and voila.

6257590133_f6d64269b1_z.jpg
 
OP
R

RDK_YJ88

Member
Joined
Sep 18, 2011
Messages
22
Well I didn't like the peg board layout so I changed it up a little.


DSC02123.jpg


*I'm in the middle of several projects right now, so some tools were being used and are not up on the wall. Normally there isn't empty spots.
 
OP
R

RDK_YJ88

Member
Joined
Sep 18, 2011
Messages
22
Well picked up another project that will look great in my Garage. Had a small electrical fire in the motor on the compressor at work. They got quoted to high to fix it so they decided to buy a new one that's bigger. Since they were just going to scrap it, they said I could take it. Plans are to clean it up and paint it, rebuild the pump, and buy a new 220v single phase motor for it, and put all new lines, pressure switch, control panel, etc on it. It is an 80 gallon.


Compressor.jpg
 
Last edited:
OP
R

RDK_YJ88

Member
Joined
Sep 18, 2011
Messages
22
Well, I started tearing into the Compressor Pump.


Gardner Denver-

DSC02235.jpg


DSC02234.jpg


After draining the oil, I pulled the inspection cover off.

DSC02236.jpg


DSC02237-1.jpg


Looked pretty clean inside, even though it was very low on oil.

Next was the head and cylinders. Head looks to be in good shape, but the cylinders could use a good clean up.

DSC02240.jpg


DSC02241.jpg


DSC02239.jpg


DSC02238.jpg


Now that I've got the pump apart, I am amazed this thing never self destructed. The connecting rods are very loose and sloppy, and I can make the thing "knock" just wiggling the connecting rods with my hands.

Fortunately a long time family friend is in the compressor industry and is looking to see what parts he can get me for it. I'm not dead set on fixing this one, but I would like to keep it for the vintage look it holds. Should look good all cleaned up with fresh paint.
 
OP
R

RDK_YJ88

Member
Joined
Sep 18, 2011
Messages
22
Alright, time for an update. I ended up giving the Compressor to my Dad, he needed another project more than I did. I picked up a 32 gallon compressor pretty cheap and I didn't have to do any work to it.

And as some of you may have expected, I reworked the work bench for something that took up less space. Just finished painting it, white on the bottom and gray on the work surface. I was pretty happy that I was able to reuse the wood from the old bench, and still have some left over for shelves and things.


18.jpg

17.jpg


When the paint dries I can reorganize and move onto the other work bench that's in need of paint.
 
Last edited:

transam4ever

Member
Joined
Nov 26, 2011
Messages
19
Location
kansas city
very nice work your paint looks a lot like what i did to my garage just different colors. I really like the 3 tone painted walls really makes the garage stand out and look clean. Also very good job on the work benches. keep it up look forward to seeing more as you get it done.
 
OP
R

RDK_YJ88

Member
Joined
Sep 18, 2011
Messages
22
very nice work your paint looks a lot like what i did to my garage just different colors. I really like the 3 tone painted walls really makes the garage stand out and look clean. Also very good job on the work benches. keep it up look forward to seeing more as you get it done.

Thanks!
 

DC1

Member
Joined
Oct 23, 2009
Messages
8
Location
Southern California
Like how you setup the rolling workbench, I recently built one similar. Like the electrical and pegboard...hope you don't mind if I steal your idea to do something like that.:beer:
 
OP
R

RDK_YJ88

Member
Joined
Sep 18, 2011
Messages
22
Like how you setup the rolling workbench, I recently built one similar. Like the electrical and pegboard...hope you don't mind if I steal your idea to do something like that.:beer:

Thanks, glad you like it.
 
To avoid these ads, REGISTER NOW!
Top Bottom