SweetD
Well-known member
porphyre,
Did you ever end up taking the lid off of your box to paint it on this project? If so, how?
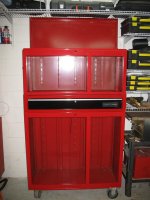
Thanks to your guidance, I have my (same as yours) top box totally dis-assembled. Waiting on a spot-welding favor from a friend, and then some decent warmer weather for paint...but made a lot of progress today...
Dave
Did you ever end up taking the lid off of your box to paint it on this project? If so, how?
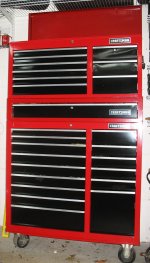
Thanks to your guidance, I have my (same as yours) top box totally dis-assembled. Waiting on a spot-welding favor from a friend, and then some decent warmer weather for paint...but made a lot of progress today...
Dave