So, everything aligned and I got few hours QST last night. 10:30ish to 1:30. Uninterrupted with 80's tunes on the sound system.
After reading and not quite understanding the instructions that came with it, I managed to wire up the switch controlled outlet I bought for the router table by finding a YouTube video.
There are two ways to wire this thing and about a million videos on how to do the way I didn't want to do it. I finally found one and watched about 3/4s of it and wired it up the way I *thought* the video said to. Turns out, I wasn't paying close enough attention.
Luckily, to test it out, I connected my drill press to it and used the little light to blow my circuit and not some high amp power tool. I guess a blown fuse is a blown fuse, right?
(Mental note: to much **** piled under/near the breaker box)
It was late and I wasn't thinking about photos enough so I could show you pictures I took of the switch wired wrong while I was still happy to be out in the shop OR I could show you a picture of it all tidied up, with no internals showing, that I took after I was frustrated and just trying to get through the process!!! HA
View media item 71259
View media item 71260
Guess I should mention, I used the good male end of a bad extension cord as a pig tail. That went in the box with a good 10ish plus feet to run to any outlet near by. Ground to ground, hot to the non bridged side of the switch and neutral to the non bridged side of the outlet. The fixture comes bridged meaning it's connected on one side so that 1 set of wires (properly installed, mind you) will cause the switch to control the outlet. The other option is to break the bridge tab and then you have a switch that can control a light and an outlet that always has power.
That was tidied up in a shallow oldwork box with a stainless faceplate. I'm not excited about trying to cut it into the box somewhere like the chimney, so I think I'll surface mount it a little more permanently when I figure out the best place for it.
After that, I set out to fix my problem with the router plate moving around in the inset that I cut poorly. In thinking about it, It dawned on me that I could just route the inset a touch bigger and make a new plate to fit that!
Again, it was late and I was more interested in getting on with getting on, so my picture documentation is severely lacking.
I referred back to a copy of the original article/plans for the router table and employed those methods using a pattern bit.
Essentially you create a raised box pattern out of 3/4" ply etc for the bit to follow.
View media item 71261
I used double sided tape to temporarily fasten the pattern boards to the table surface. Strait and smooth surfaces are preferred for the router to rest on and follow.
View media item 71262
After knocking that out, I failed to take any more pics till I was done for the night.
Photo ops missed:
- Cutting plexiglass on the band saw
- Cutting Plexiglass on a table saw because the piece cut on the band saw was a fraction to small and the cut edges weren't strait
- Trying to sand crooked plexiglass on the big belt sander with out melting and clogging it
- Finding the diameter of the pattern bit using my circle template.
- Tayloring in the slightly over sized piece of plex I cut on the table saw using my palm sander, rasps and whatever else while keeping things strait and sqaure, except for the corners.
I had to put a little tape handle on the plex in order to pull it back out of the inset each time I tried to fit it.
View media item 71263
After working so much to fit it, I'm afraid to cut the wholes in it to mount it to the router.
Anyone have relatively easy methods for cutting round smooth circles in plex?


")
 You ****!


 20170315_090325 by bjohnson388, on Flickr
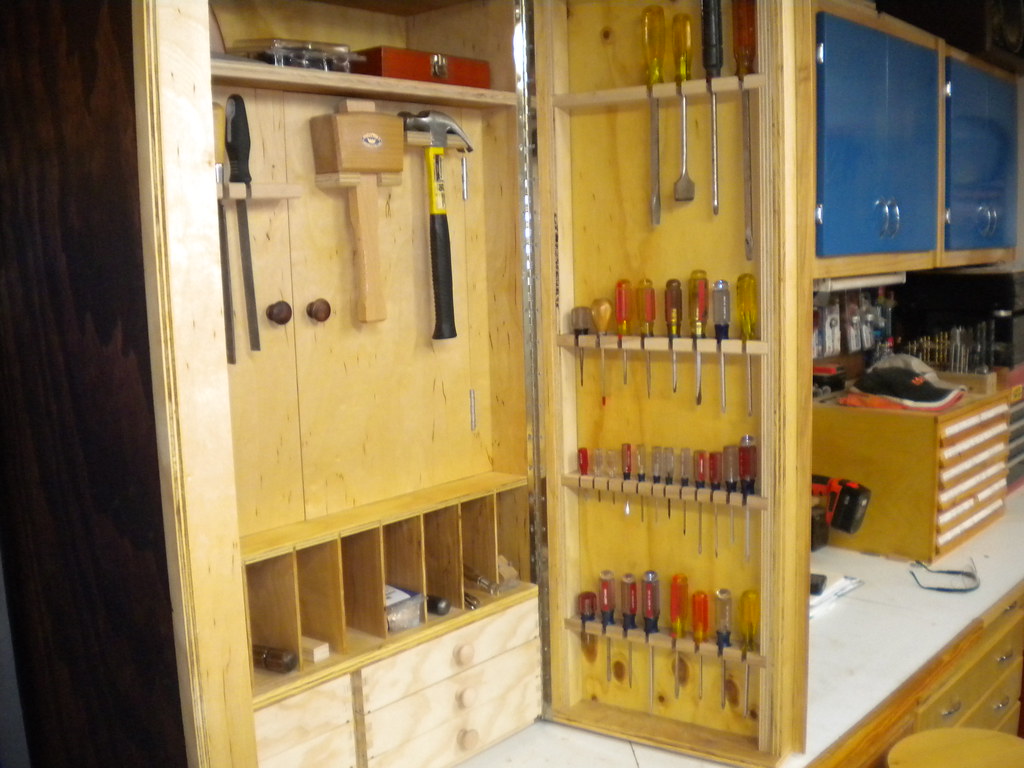 Picture 099 by bjohnson388, on Flickr
 It can't be unseen!
  20180319_163252 by bjohnson388, on Flickr
 20180319_163224 by bjohnson388, on Flickr
 20180319_163218 by bjohnson388, on Flickr
 Mtneer_man shop by bjohnson388, on Flickr