To avoid these ads, REGISTER NOW!

My garage upgrade thread - 24x24 2 car attached

StarWolve

Well-known member
Joined
Jul 7, 2009
Messages
104
Location
The Queen City
I've been lurking on this site and contributing on some other threads, but I figured it's time I start my own garage gallery thread.

My wife and I purchased a new home in July of 2009. Our previous house did not have a garage, so I was working on my bikes in a basement workshop. The new house has a 24x24' garage with 13.5' ceilings. Unfortunately, the rear of the garage contains a large set of stairs into the house, as well as a water purification system, oil furnace, and oil water heater. So I lose about 4' at the rear of the garage for all that.

The previous owner wasn't really a "wrench turner", at least from my impression of how he set up the garage. Here's a few "before" shots:
100_2368.jpg


100_2432.jpg


100_2433.jpg


100_2434.jpg


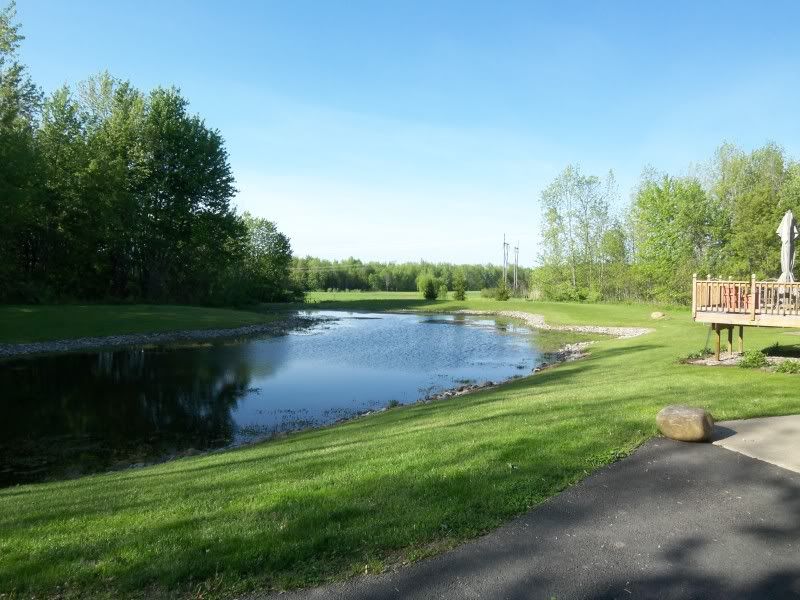
While the garage needs some work, at least the yard is nice:
100_2365.jpg


The first major project to be accomplished would be the lights. 2 incandescent bulbs is not enough for any respectable garage.

To be continued...
 
To avoid these ads, REGISTER NOW!
OP
S

StarWolve

Well-known member
Joined
Jul 7, 2009
Messages
104
Location
The Queen City
Lighting

I posted these pictures in a lighting thread, found here:
http://www.garagejournal.com/forum/showthread.php?t=39365&showall=1

However, to keep it all in one thread, I'll repost some of what I wrote here.
Ok - Update, now that the lights are up - and I apologize for the thread hijack, but here's the info.

The lights were GenLyte Thomas, Day-Brite Lighting, and the model # was TT232-UNV - they are T8's in a 8' long configuration, with 2 rows of 4' tubes per fixture (4 bulbs per fixture.) The quantity was 6 for the garage, spaced in 2 rows of 3.

Here's a few pictures to explain better than I can put into words

Before (and note the garage door is open):
Picture001.jpg

(That was all that was there - 2 sockets in a 24x24 garage with a 13' ceiling)

Fixtures, and my father who helped with the entire project (Thanks Dad!!!):
Picture005.jpg


Scuttle-hole to attic and the ladders - FYI: 8' ladders don't work that well for 13' ceilings, but they got the job done:
Picture006.jpg


Attic:
Picture007.jpg


First light up using the original socket - compared to the original lighting:
Picture017.jpg


Layout of the lights:
Picture022.jpg


After:
Picture027.jpg
 
To avoid these ads, REGISTER NOW!
OP
S

StarWolve

Well-known member
Joined
Jul 7, 2009
Messages
104
Location
The Queen City
Toys

Here's another angle of the garage, so you can see what I'm working with:
Picture023.jpg


And here's a few of the toys that will be living in the garage:
Picture017-1.jpg

From L to R: 2002 Virago 250 (my wife's bike), 2003 HD Fatboy, 1977 Honda CB750F, 1978 Honda CB750F, 1981 Yamaha XS650 Chopper

There's a few more bikes in storage, but those are the ones I'm playing with right now.

My father-in-law also has a hobby (read as: addiction) of buying and fixing up old Gravely walk behind tractors. When we bought the house and needed a better mower, he recommended we try fixing up an old Gravely rider. So I picked up a Gravely 816 - which is in the picture below. Someone along the way replaced the 16hp Kohler Magnum with a 18hp Kohler Magnum, so it has some power! 50" deck, hydraulic lift, and just about any attachment you can think of is capable of running off it. So far, I have a snow-blower and a plow blade for it, but will be adding a tiller when I find one, and maybe a power broom.

The other Gravely in this pic is one of my father in law's walk behinds, with a sickle bar. Makes clearing brush pretty easy:
HousePics004.jpg
 
OP
S

StarWolve

Well-known member
Joined
Jul 7, 2009
Messages
104
Location
The Queen City
Benches

The next item to tackle was some workbenches. The "workbench" the previous owner had wasn't going to cut it. Even in my previous basement workshop, I had a pretty nice set of benches and pegboard:
bikepics-547562-full.jpg


I took the pegboard down from that workshop to use in the new garage. I also had an old computer desk that I didn't want to use in the new house. I was able to salvage the surface pieces from the computer desk to make 2 rather nice benches. They're tall - over 44" if memory serves, but they're the right height for me to work on.

The first one was made entirely of scrap lumber. Total cost: $0. I built it with the idea that I wanted it to be strong (recessed 2x6" cross members into 4x4" posts) and be able to store 4 storage totes. Here's what I came up with:
cp1_0919091817.jpg


The idea for the second one was to be able to roll my craftsman tool chest underneath. The drawers were from the old desk, and were an afterthought once I had already started. I think they work nicely though. Here's how I have the 2 benches set up now:
Garage.jpg


This is where I'm at right right now. Before winter, I will be adding a door seal to the 16' door, and continuing to clean up and organize the garage before moving the project bikes back in. The Gravely rider with the snowblower will be living in the garage, but my truck and wife's car will be outside. We're planning to add an outside hose spigot (really, who doesn't put that in when you build?!) and a slop sink.

Next year we would like to build a garden "shed" (a 1 1/2 car garage sized shed for the tractors and the yard tools) that will really help in cutting down what is stored in the garage. I'll try to post all the upgrades I make along the way. The long term (5+ year) plan is to build another garage, detached from the house. It will be just for my projects, enabling my wife to reclaim the attached garage for parking her car! But until then, this will continue to be my "man-cave" for working on the bikes and tractors.
 
To avoid these ads, REGISTER NOW!
Top Bottom