To avoid these ads, REGISTER NOW!

Between 705 & 1200 SQ/FT My Mini Garagemahal

Workspaces between 705 and 1200 squarefeet.
OP
F

fouckhest

Well-known member
Joined
Jul 24, 2013
Messages
1,866
Location
Greer, SC
Hope everyone had a good weekend, I didn't get as much shop time as I wanted this weekend, but still got a little work done.

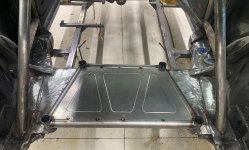
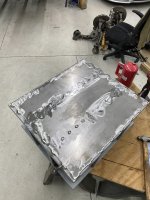
Pulled the fuel cell cage back out to start prepping for permanent install, first step was to weld a plate on the bottom so once it is permanently installed it will be able to be sealed from the outside. Then I wanted to drill all the holes for the lid to attached, there is no way I wanted to deal with that in the car! LOL

Marked out the bottom plate for some plug and stitch welds
55363465827_19caab76a5_c.jpg by fouckhest, on Flickr

All burned in and smoothed out, I'll seam seal the edges once paint/undercoating time comes around
55364406726_9204102eb7_c.jpg by fouckhest, on Flickr

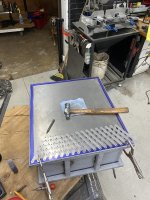
Next up was laying out for the lid holes, I have to admit, this little tool is worth every penny!
55364597429_dfc867f615_c.jpg by fouckhest, on Flickr

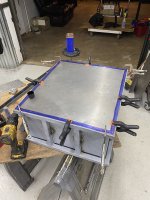
Mark, punch, drill, then more drilling....in a holding pattern now until nutserts arrive along with the final size drill bit
55364813735_610c1c30a1_c.jpgUntitled by fouckhest, on Flickr

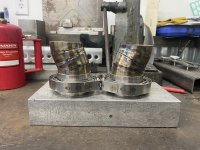
Wrapped up the weekend by welding up the turns for the back of the z-pipe so the straight sections will fit nicely into the rear subframe.
55363465817_4f1274f74a_c.jpg by fouckhest, on Flickr

Hopefully keep plugging away this week.
 
To avoid these ads, REGISTER NOW!
OP
F

fouckhest

Well-known member
Joined
Jul 24, 2013
Messages
1,866
Location
Greer, SC
Been chipping away at some less than glamorous work the past couple days, but its all good progress towards starting on the floor, tunnel and floor panels.

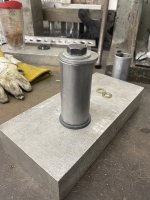
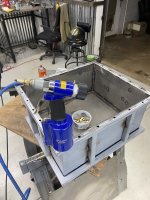
Yesterday my nutsert order showed up from mcmaster, I wanted to ensure these are good quality, so it was worth the wait. First I got out one of my favorite tools in the quiver

Astro pneumatic nutsert tool
55368550655_b596bfdfa2_c.jpgUntitled by fouckhest, on Flickr

Ran a couple tests to make sure settings were dialed
55368336039_06f5c5cb59_c.jpgUntitled by fouckhest, on Flickr

Check that off the list, my fasteners show up today, so other than paint and cutting the lid for the fill plate, its basically done
55367208207_0cc8276a65_c.jpgUntitled by fouckhest, on Flickr


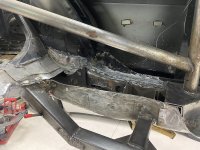
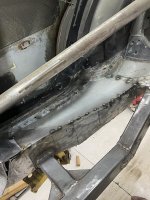
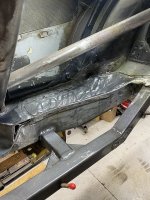
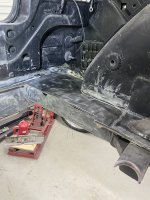
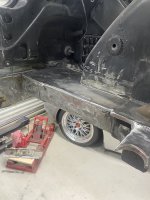
For the less than glamourous work, I finally decided to cut the old rear flat floor pan/plate out, this was welded in years ago to cover the old spare tire well, the shop that did the work years ago did an "okay" job, but it was full of bondo, it had holes from the old fuel cell and other things, so trying to fix that around bondo made the decision to cut it out simple....i hate bondo lol

So much room for activities!
55365325897_64c75e0fd6_c.jpg by fouckhest, on Flickr

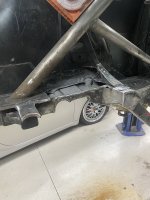
This also gives me the opportunity to access all the subframe mounting points, which means now I can tie those into the cage, which will be both functional and much better looking in my opinion
55368294213_7529a0e963_c.jpgUntitled by fouckhest, on Flickr

Also spent some time cleaning up this area, which had some different shapes in it as it was the edge of where the rear seats would be, so it needed cleaned up so when the cell cage is mounted it will make building the floor much easier and cleaner
55368143261_b3039f95e4_c.jpgUntitled by fouckhest, on Flickr
55367208287_defe4799f2_c.jpgUntitled by fouckhest, on Flickr

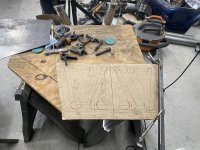
Hope to start making some templates tonight, maybe start working on the subframe mounts, will see how I am feeling after work.
 
OP
F

fouckhest

Well-known member
Joined
Jul 24, 2013
Messages
1,866
Location
Greer, SC
Hope everyone had a good 4th, rather busy in our world, but managed to find some shop time here and there.
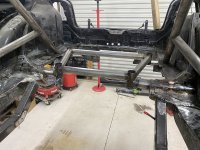
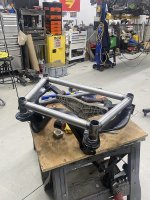
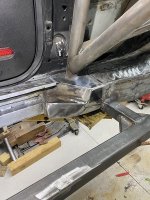
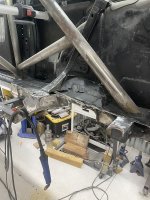
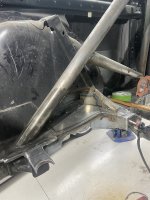
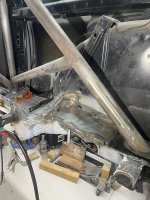
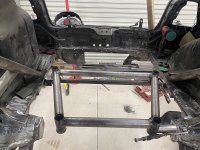
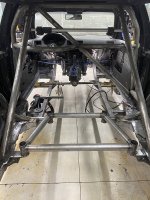
After cutting out the rear floor, I opened pandoras box and decided to tackle building a new mount for the rear subframe, which well, took WAY longer than I intended, but I decided to TIG it since it will be very visible in the back of the car.

Started off by making the attachment point(s)

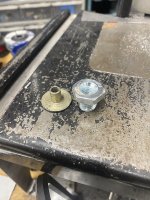
Beefy washer and M14x 1.5 nut w/1-3/4 0.090 wall tubing to match the cage
55378704009_1a37311fe9_c.jpgUntitled by fouckhest, on Flickr

secured for welding
55378525121_0e0a3ed523_c.jpg by fouckhest, on Flickr

Burned together
55378704079_9e8ea76e45_c.jpg by fouckhest, on Flickr

Repeat that 3x more times, then start cutting/fitting
55378923040_fa8c52467f_c.jpg by fouckhest, on Flickr

Made a couple tubes a few too many times, but I wanted good fit and welds
55378922955_1321a90ce1_c.jpg by fouckhest, on Flickr

Got a little time in before work and just got it finished up, its currently cooling so I can working on getting it final welded into the car, debating a removable panel over the diff using some push button quick disconnects, but still TBD on that.
55378525176_7f7b91e577_c.jpg by fouckhest, on Flickr
55378704084_185e567617_c.jpg by fouckhest, on Flickr
 
To avoid these ads, REGISTER NOW!

fourmotioneer

Well-known member
Joined
Mar 19, 2015
Messages
225
Location
Ann Arbor, MI
Curious why the subframe is necessary. Sure there is a reason, but what stands out is that you could mount diff directly to chassis and eliminate subframe, which is a design for manufacturing concession
 
OP
F

fouckhest

Well-known member
Joined
Jul 24, 2013
Messages
1,866
Location
Greer, SC
Curious why the subframe is necessary. Sure there is a reason, but what stands out is that you could mount diff directly to chassis and eliminate subframe, which is a design for manufacturing concession

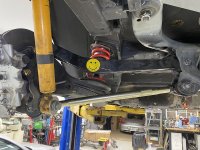
I assume you mean the "black subframe," that is where the control arms (upper & lower) connect, so in theory, that entire unit, the piece I just made and the black subframe, certainly could have been merged into one larger unit.
53334696032_bc693e150f_c.jpgUntitled by fouckhest, on Flickr

That was more of an undertaking than I was willing to do for right now. This was a way to upgrade/update the black subframe mounting points b/c the way it was attached previously was not my favorite, but it was a way to do the all wheel drive swap years ago, plus now I can tie the new piece into the cage.

A big part of this was to make a better mounting point and redo the floor in the back, not the best photo, but previously the fuel cell was mounted on top of the hatch floor, along with the air tanks. So there were lots of holes and that panel was full of bondo, so it was just easier to start over (in my mind lol).

fuel-cell-vw-mk4-gti.jpg
 
To avoid these ads, REGISTER NOW!
Top Bottom