Hello Guys,
I found this site about a year or so ago and have been watching and commenting from time to time. Anyway I started the planning for a shop last December and I am now pretty far along in the build. So I figured that I need to start a thread and show it off and hopefully I will get this finished in the next few months.
So lets start with details. I looked at all types of buildings from stick framed, pole buildings, and steel buildings. After about 5 months of research I placed the order for a 60' x 60' x 18' tall Crown Steel Building with the capacity to install a 2-ton bridge crane on the ceiling. The crane is what sold me on the steel building and that I am a metal head. I do light welding and fabrication for local people so that will be very helpful as I get older. LOL Anyway the building is being built on some property that we purchased in the country about 2 years ago and will build a house next after the shop is up and working. I have 4" of insulation on the walls and 6" on the ceiling. (1) overhead door 16' wide x 14' tall and (1) 14' tall and 14' wide. Both doors have high lift track to not interfere with the crane or other items that may be added in the future. Commercial openers, remote’s, and lights(windows)in each door.
To the west of the building I am also stick framing a bathroom/kitchen/party room that will be attached to the steel building. The same tin will be used so everything will match. In floor heat in both areas, a zone for the party room and one for the shop. Gas fired boiler is the current plan.
Bathroom will have a toilet, sink, and a shower stall. The mechanical room where the boiler is will be in the party room also. I will post a drawing of the layout in the next few days.
Any way take a look at the pictures and enjoy. I have seen a lot of cool places and ideas on this site and maybe my garage will end up half as nice as some of them on here.
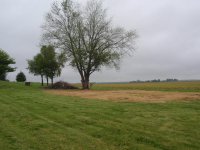
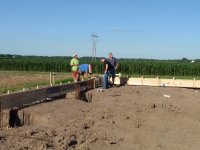
Pic 1: The site with grass killed and ready to remove the tree.
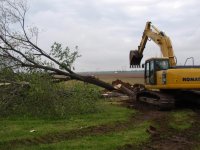
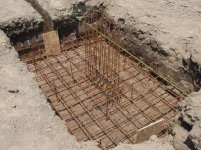
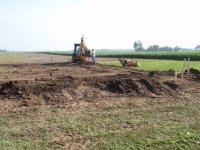
Pic 2: Tree coming down, the sod was removed to allow the hauled in dirt to stick better.
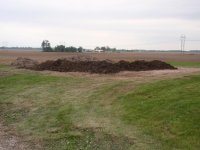
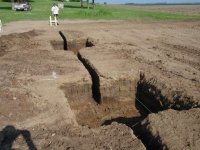
Pic 3: The start of the dirt being hauled in. 2' drop from front to back rear corner. 42 Tandem loads of dirt hauled total.
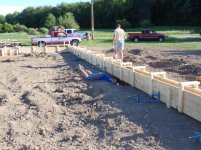
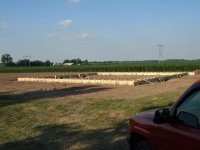
Pic 4: First Loads of dirt leveled and compacted
Thanks for looking and stay tuned for more,
Brian
I found this site about a year or so ago and have been watching and commenting from time to time. Anyway I started the planning for a shop last December and I am now pretty far along in the build. So I figured that I need to start a thread and show it off and hopefully I will get this finished in the next few months.
So lets start with details. I looked at all types of buildings from stick framed, pole buildings, and steel buildings. After about 5 months of research I placed the order for a 60' x 60' x 18' tall Crown Steel Building with the capacity to install a 2-ton bridge crane on the ceiling. The crane is what sold me on the steel building and that I am a metal head. I do light welding and fabrication for local people so that will be very helpful as I get older. LOL Anyway the building is being built on some property that we purchased in the country about 2 years ago and will build a house next after the shop is up and working. I have 4" of insulation on the walls and 6" on the ceiling. (1) overhead door 16' wide x 14' tall and (1) 14' tall and 14' wide. Both doors have high lift track to not interfere with the crane or other items that may be added in the future. Commercial openers, remote’s, and lights(windows)in each door.
To the west of the building I am also stick framing a bathroom/kitchen/party room that will be attached to the steel building. The same tin will be used so everything will match. In floor heat in both areas, a zone for the party room and one for the shop. Gas fired boiler is the current plan.
Bathroom will have a toilet, sink, and a shower stall. The mechanical room where the boiler is will be in the party room also. I will post a drawing of the layout in the next few days.
Any way take a look at the pictures and enjoy. I have seen a lot of cool places and ideas on this site and maybe my garage will end up half as nice as some of them on here.
Pic 1: The site with grass killed and ready to remove the tree.
Pic 2: Tree coming down, the sod was removed to allow the hauled in dirt to stick better.
Pic 3: The start of the dirt being hauled in. 2' drop from front to back rear corner. 42 Tandem loads of dirt hauled total.
Pic 4: First Loads of dirt leveled and compacted
Thanks for looking and stay tuned for more,
Brian