
Hello there, finally making a topic about the build of my workshop.
Been reading here from time to time, and thought i would share with you the biggest project so far
I mainly work on VW's, own a '83 Jetta myself who is waiting for a 16v transplant for over a year now. Also have an '86 Audi 100 with a broken 5 cilinder engine who needs a new one.
Drive a Bora (Jetta in the US) wagon with a chipped 1.8t as a daily.
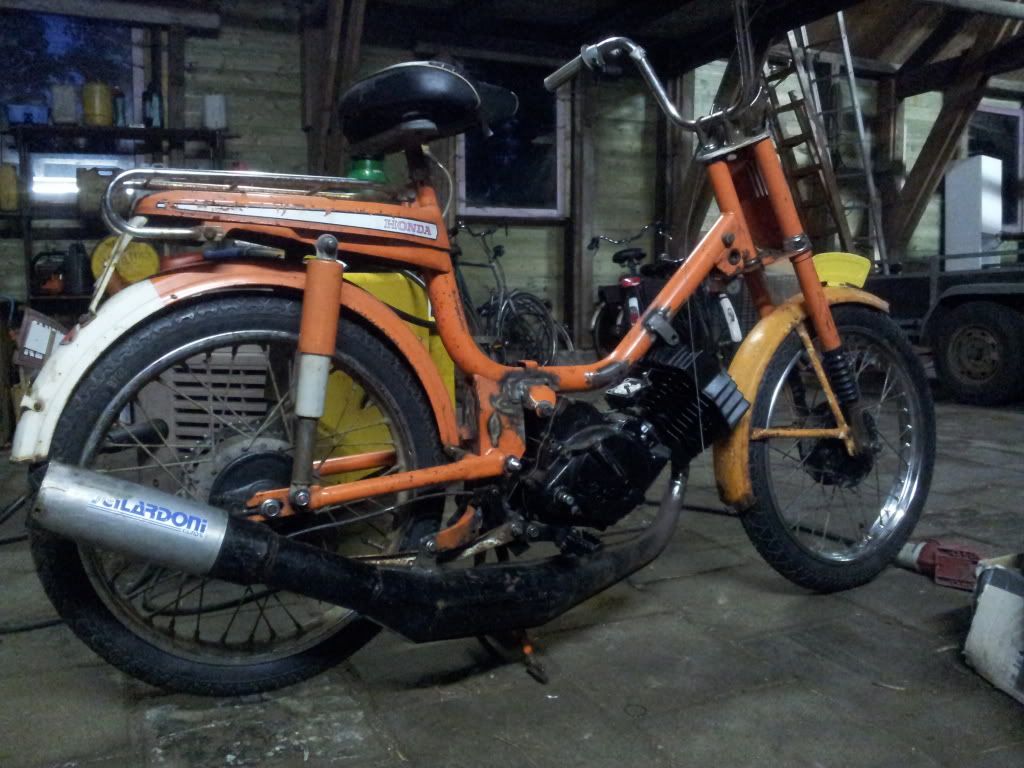
And tinker around with old motorcycles and mopeds.


The workshop is built on my fathers farm in the Netherlands. I live a 15 minute drive away from it.
The new workshop replaces a very old shed built in the 70's by my father and grandfather, from scrap wood leftovers from another old shed they had torn down.


It didn't take much effort to take it down

In the original plan we were only going to rebuild this old shed, and put a new 7 by 9 meters new building up. But after a lot of hassling to get the permits, we decided to also tear down the chicken shed beside it and just make a new shed for the chickens inside the new shop.
And just make the new shop 7 by 13 meters (about 22 by 42 feet)


Did some digging and the floor was there

Next up was the framing. Just two steel ones, the rest would be made out of wood.


Then the woodwork began. I was doing this with a (very skilled) carpenter, helped whenever I could but eventually he did most of the work.


And then it became time to put in the roof. We used insulated plates, and put them in with just the two of us and a scaffold. And a lot wind


And then the outer walls could be filled up.


Time for the rooftiles. Man, I'm glad I don't have to do that every day. We did the whole roof in one day. At least the weather was nice.


[URL=http://s281.photobucket.com/user/jegertje/media/Schuur/WP_20140416_004_zps96a4e5ef.jpg.html]
 [/URL]

Beginning to look finished From the outside

Inside there will be two attics to store my junk.


Will be continued in a new post.
Been reading here from time to time, and thought i would share with you the biggest project so far
I mainly work on VW's, own a '83 Jetta myself who is waiting for a 16v transplant for over a year now. Also have an '86 Audi 100 with a broken 5 cilinder engine who needs a new one.
Drive a Bora (Jetta in the US) wagon with a chipped 1.8t as a daily.
And tinker around with old motorcycles and mopeds.


The workshop is built on my fathers farm in the Netherlands. I live a 15 minute drive away from it.
The new workshop replaces a very old shed built in the 70's by my father and grandfather, from scrap wood leftovers from another old shed they had torn down.


It didn't take much effort to take it down

In the original plan we were only going to rebuild this old shed, and put a new 7 by 9 meters new building up. But after a lot of hassling to get the permits, we decided to also tear down the chicken shed beside it and just make a new shed for the chickens inside the new shop.
And just make the new shop 7 by 13 meters
(about 22 by 42 feet)


Did some digging and the floor was there

Next up was the framing. Just two steel ones, the rest would be made out of wood.


Then the woodwork began. I was doing this with a (very skilled) carpenter, helped whenever I could but eventually he did most of the work.


And then it became time to put in the roof. We used insulated plates, and put them in with just the two of us and a scaffold. And a lot wind


And then the outer walls could be filled up.


Time for the rooftiles. Man, I'm glad I don't have to do that every day. We did the whole roof in one day. At least the weather was nice.


[URL=http://s281.photobucket.com/user/jegertje/media/Schuur/WP_20140416_004_zps96a4e5ef.jpg.html]


Beginning to look finished
From the outside 
Inside there will be two attics to store my junk.


Will be continued in a new post.
Last edited:


 (I can practically live in it. But my girlfriend doesn't want to


 )
)


