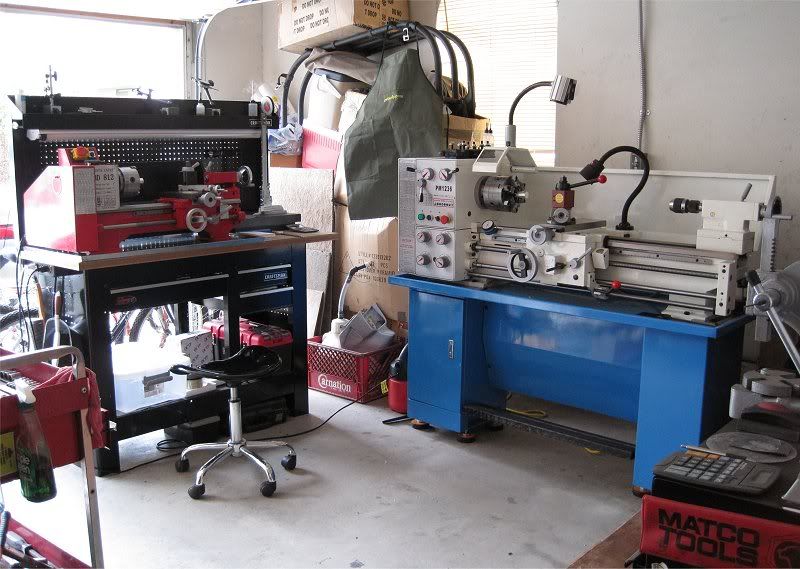
Darkzero, thanks for the pics
Yup no problem. Hope you don't mind but since it's your thread, I'll post some of the mods I did to my 8x14. With a few mods & adjustments, the 8x14 can turn out great parts.
I really like your chip pan, may have to incorporate that idea for my lathe.
One other option for a cheap chip tray is an oil drip pan from the automotive section at Wally World .
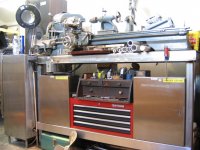
An oil drip pan is a great solution & is what I originally used. But for the size I liked, around here I could not find a "flat" one. They all had raised lettering/logo which the spindle side sat on. You can see it in the pic below. The main reason why I went with something else as it affected the leveling of the lathe. I really like the chip pan I got after as it fit my Craftsman bench better & had higher edges to catch the chips, plus it was flat.
What QCTP is that? I need to get one for mine, been looking at lathemasters and little machine shops.
LMS (LittleMachineShop) are great people with great products. But I choose not to get the A2Z mainly cause it was made of aluminum. For light duty use it's fine but I've heard of people stripping them.
I went with the LM (Lathemaster) QCTP since it was designed for this lathe. As you probably know, the LM8x14 & HF8x14 (named 8x12) are identical lathes, made in the same factory. The LM QCTP bolts right on with no modifications needed to the compound. And it's an AXA size. I don't think the A2Z is an industry standard size.
I used the LM modified tool holders too. However, to use 1/2" tools, you still need to mill 30-40 thou off the bottom of the LM holders otherwise the 1/2" tools will not reach centerline of the spindle.
Here's the lowest I got with 1/2" tools with an unmilled LM holder.
On the left is a milled LM holder, on the right is an unmilled LM holder.
Also milled the parting blade holder.
And with the LM QCTP you could always buy AXA holders from elsewhere cheaper & mill them down. I took most of mine to a local engine machine shop & they milled them for cheap. Or mill the compound for the QCTP to sit lower so you don't have to mill each holer.
I added knobs for quicker access. You'll find yourself opening the drive cover quite often.
Belt changes for speed sucked. So I used a Fenner Power Twist belt (3/8" width) to make the belt length slightly longer. This allowed the belt to be removed much easier. I also change the hex head bolt for the belt tensioner to a hex socket bolt, much easier to use a hex t-handle to loosen/tighten the tensioner.
The change gears for the leadscrew are noisy. Since changing the gears also *****, I left them set to a TPI that I used often rather than for feeding. I just feed by hand most of the time. To reduce wear on the change gears, to the right of the bottom gear is the adjuster, I loosen the bolt & pull the top of the assy slightly back so it disengages from the spindle. Quick & easy.
If you're going to do any threading, it's a good investment to get the speed reduction pulley from LM.
http://lathemaster.com/SPEED%20REDUCTION%20PULLEY.htm
It's pricey but well worth it. Don't forget that when you use it, you'll have to switch the spindle direction as the plentary gears inside it makes it spin the opposite direction. It's possible to thread fine at 125 RPM (lowest speed stock) but if you're threading coarser TPI it can be pretty interesting at that speed.
These are the speeds I got with it.
RPM Actual
2000 2459
1000 1269
620 840
420 205 (RP)
210 103 (RP)
125 60 (RP)
Or do a DC varibale speed motor conversion.

When I called HF they told me the back splash was discontinued (early 2009). So I contacted LM & they agreed to sell me one.
The coumpound bolts stripped out in less than a couple of months. Couldn't find quality replacements easily so I got some grade 8 hex head bolts, threadeded them, cut them off & used them as the nuts inside the cross slide. I then used hex socket bolts. I used metric so I still only had to keep a metric set of hex t-handles by the lathe. Never had a problem with stripping them again.
I even did this to my 12x36 even though they never stripped. I just find it much more convienent to use a hex wrench than an open end wrench.
The threading dial is what limits the travel to the right. If you remove it you'll gain extra bed travel. But if you choose to always leave it on like I did, replace the hex socket bolts for the half nuts (between the apron & the threading dial) with set screws. I shortened the set screws to the shortest possible length to reduce how much they stick out. I then shortened the spacer for the threading dial. You don't gain much but every little bit helps on a mini lathe.
For the tailstock, making a quick release cam lever would be best, but if you never get around to making one, add a long spring on the bolt in between the bottom of the tailstock & the plate that locks onto the ways. The spring tension will help it release better when you loosen the tailstock nut.
I also shortened the arbors on my drill chucks & centers that had a tang. This gets you more tailstock travel for drilling. Again not much but every little bit helps. Just don't shorten them too much or you won't be able to eject them out of the tailstock ram. I also made a plug for the tailstock to keep unwanted chips out. Since the lathe is short, leaving a drill chuck or center can get in the way.
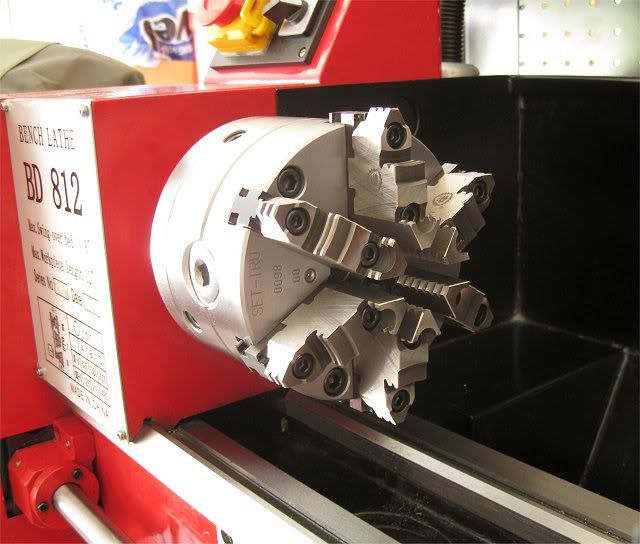
a 5" chuck is the largest chuck I would put on the 8x14. Some people have put a 6". LMS sells a bolt on adapter & I really loved using the 5" 3-jaw. That is until I got a 5" Bison 6-jaw Set-Tru. The price new cost almost 3 times than what I paid for the lathe on sale & with discount. Luckily I got the chuck used at half price. But I had to make a back plate for it. (I have plenty of pics of when I made the backplate for it, I won't post unless someone's interested)
If you use the carriage lock often, you can add a handle in place of the bolt. Kipp makes multi position handles that allow you to pull up on the handle & move it into a different position after it has been tightened down. I did not figure this out until I got my 12x36 but you can easily add one to the 8x14.
Here it is locked/tightened.
Then pulled up.
And moved into a different position
I'm sure there's more that I'm forgetting but I've probably bored you enough already.