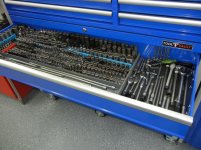
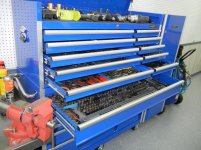
So my wife pretty much "forced" me to buy the 44" roller cab from a HF. I filled it up completely with all the stuff I have. So my wife, in her great wisdom, decided I needed a new top chest to go with it so I could actually organize the tools and not just have every drawer crammed full.
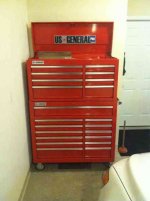
Now that I had my new boxes, I set out to find a way to organize my sockets. Socket rails proved to be more expensive than I wanted to mess with, so I devised my own.
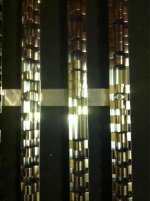
I used tool shop brand rails from menards. They were on sale for a buck a pack for one rail of each size. I bought all they had for the extra clips. I then got some thin aluminum flat bar from Home Depot and cut it in to appropriate lengths to mount the rails. I used a riveter to attach the rails to the aluminum.
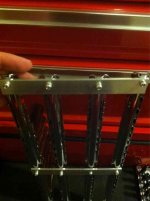
I was able to group my 1/2", 3/8", and 1/4" together on separate "trays" if you will. The 1/4" and 1/2" each took 3 rails, while my 3/8" took 4. I made them separate so I can pull them out easier in the future. And here is the finished shot of all of them. Still need to make a set for impacts. Total cost was around 20 bucks because I had to spend 5 bucks on a box of rivets. Saved me a ton of room.

Now that I had my new boxes, I set out to find a way to organize my sockets. Socket rails proved to be more expensive than I wanted to mess with, so I devised my own.
I used tool shop brand rails from menards. They were on sale for a buck a pack for one rail of each size. I bought all they had for the extra clips. I then got some thin aluminum flat bar from Home Depot and cut it in to appropriate lengths to mount the rails. I used a riveter to attach the rails to the aluminum.
I was able to group my 1/2", 3/8", and 1/4" together on separate "trays" if you will. The 1/4" and 1/2" each took 3 rails, while my 3/8" took 4. I made them separate so I can pull them out easier in the future. And here is the finished shot of all of them. Still need to make a set for impacts. Total cost was around 20 bucks because I had to spend 5 bucks on a box of rivets. Saved me a ton of room.
Last edited:
 Nice!
Nice!