
AllenV
Member
Hi all, I am a new member. Thought I'd introduce myself.
A dozen years ago I was "lurking" here looking for insight on my shop construction project. I finished it quite a while back and now my son is seriously thinking about a new shop at his place.
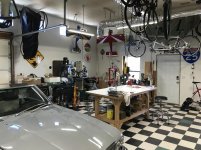
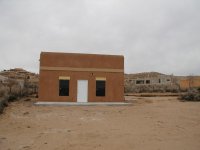
What I did is build a 40x26x12ft stick building with a stucco exterior matching our home and southwest neighborhood. The floors are 6" fiber reinforced concrete with parts that are 8" thick under the two-post lift. Floors are standard commercial vinyl tile. Lighting is LED replacement units in the original 4 ft fluorescent fixtures.
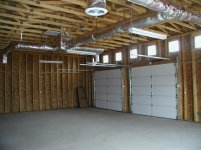
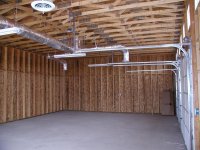
2x6 framing in walls. Lots of insulation. Package heating/cooling unit on roof.
The north-face clerestory windows have proven to be a very nice feature as they bring in plenty of natural light and don't cause much heat loss in winter.
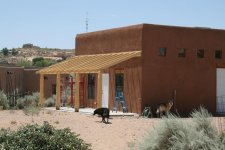
A dozen years ago I was "lurking" here looking for insight on my shop construction project. I finished it quite a while back and now my son is seriously thinking about a new shop at his place.
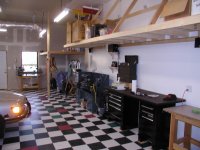
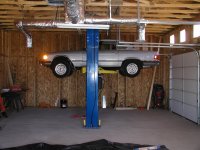
What I did is build a 40x26x12ft stick building with a stucco exterior matching our home and southwest neighborhood. The floors are 6" fiber reinforced concrete with parts that are 8" thick under the two-post lift. Floors are standard commercial vinyl tile. Lighting is LED replacement units in the original 4 ft fluorescent fixtures.
2x6 framing in walls. Lots of insulation. Package heating/cooling unit on roof.
The north-face clerestory windows have proven to be a very nice feature as they bring in plenty of natural light and don't cause much heat loss in winter.


")