John after reading most of your barn thread, all I can say is WOW you had a ton of BS to deal with. My hat is off to you for standing your ground and holding them accountable for their screw ups. No way were you too picky.
Thanks. I called Morton early on, 3 times, they never got back to me. We live in a somewhat remote area. As fate would intervene, they were having representative issues and the new guy finally contacted me months later, after I already had signed with Lester.
I can't recommend Lester.. they aren't the company they used to be. After the barn was built I returned their feedback survey, outlining the issues with the barn. They never responded.
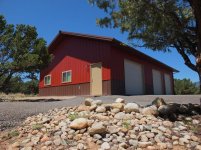
Probably a little late to post this but I have a building almost exactly as you describe yours, only mine is a little smaller (40 X 60). The one thing I did not do, that was a major mistake was to wrap the building with Tyvek or some similar wind proofing material. I placed studs between the poles, used 6 inch batt insulation, painted OSB walls, but I still have a lot of air coming in around the plugins and other cracks and gaps.
I didn't really have a chance to wrap mine due to the crew worked very efficiently. Meaning I would have been in their way. The temps the week mine was built were in low teens to single digits, very windy all week as well. Im thinking of having all the corners where walls meet or meet the slab sprayed with closed cell foam to air seal the bldg.
Pole buildings are leaky by nature of their construction. I had Tyvek on site to wrap my building, but it was just to damned windy that day. If I had it to do over I would have had the entire building, walls and roof, sheathed with osb and Tyvek before the steel went on.
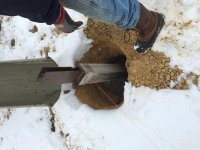
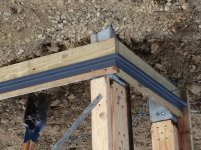
Those concrete caissons on your building are slick. I reoriented your photo's, and re-posted them below.
Why are you wanting additional bracing in the truss area?