To avoid these ads, REGISTER NOW!

New shed/workshop build

RoadMark

Member
Joined
Jul 8, 2016
Messages
15
Location
New Zealand
The dream shed. Within a budget. :rocker:
I'm a toolmaker in the plastics injection industry doing CAD/CAM.
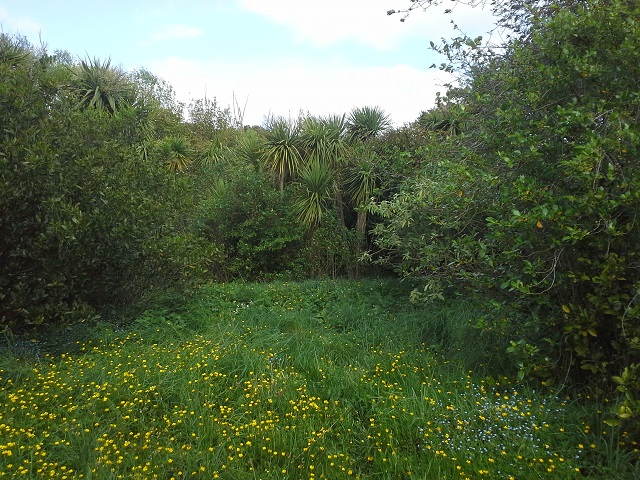
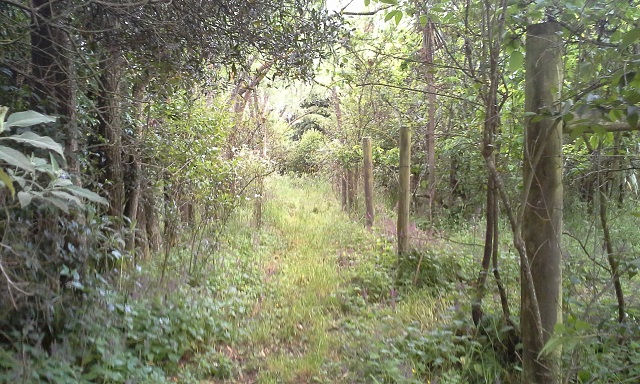
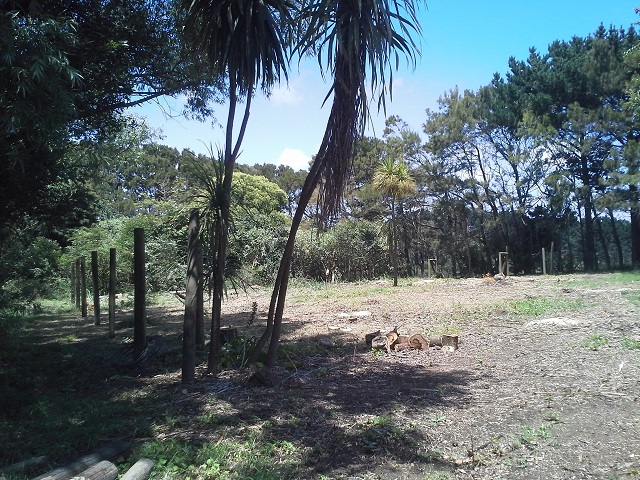
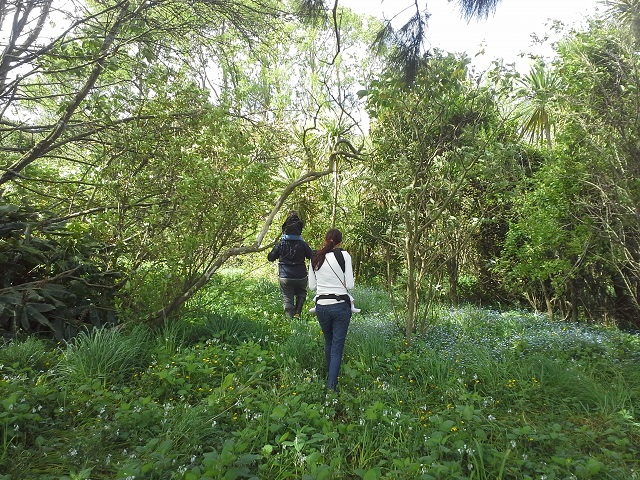
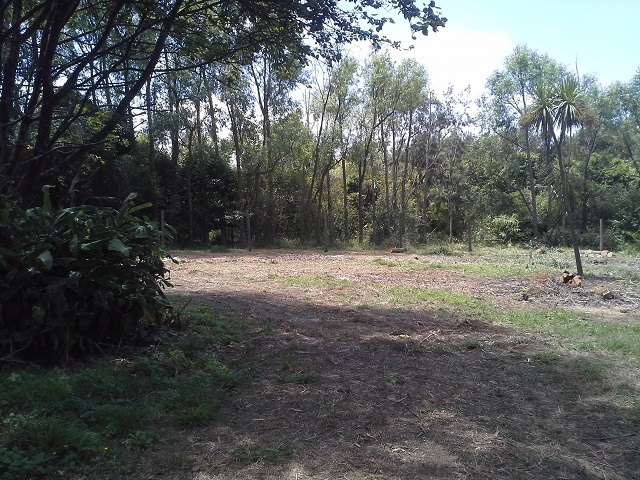
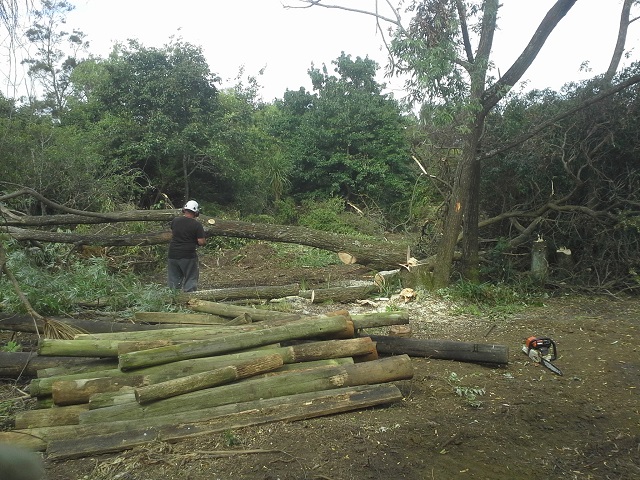
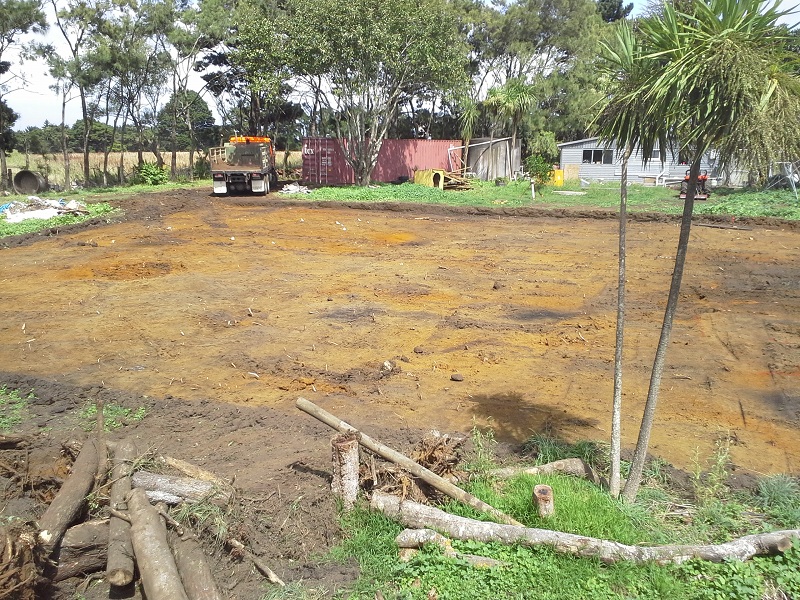
Had opportunity to purchase land with family.. pool the expenses, share the loot. 3 hectares of an old orchard left to go bush. Had an existing 21x12m packing house which will be restored for a woodworking cave.

My shed is a new build. timber framed and tin covered with concrete floor. As large as could be afforded with the internals to be done by self later. Have a guy i've known since a kid that has a shed business to erect it.
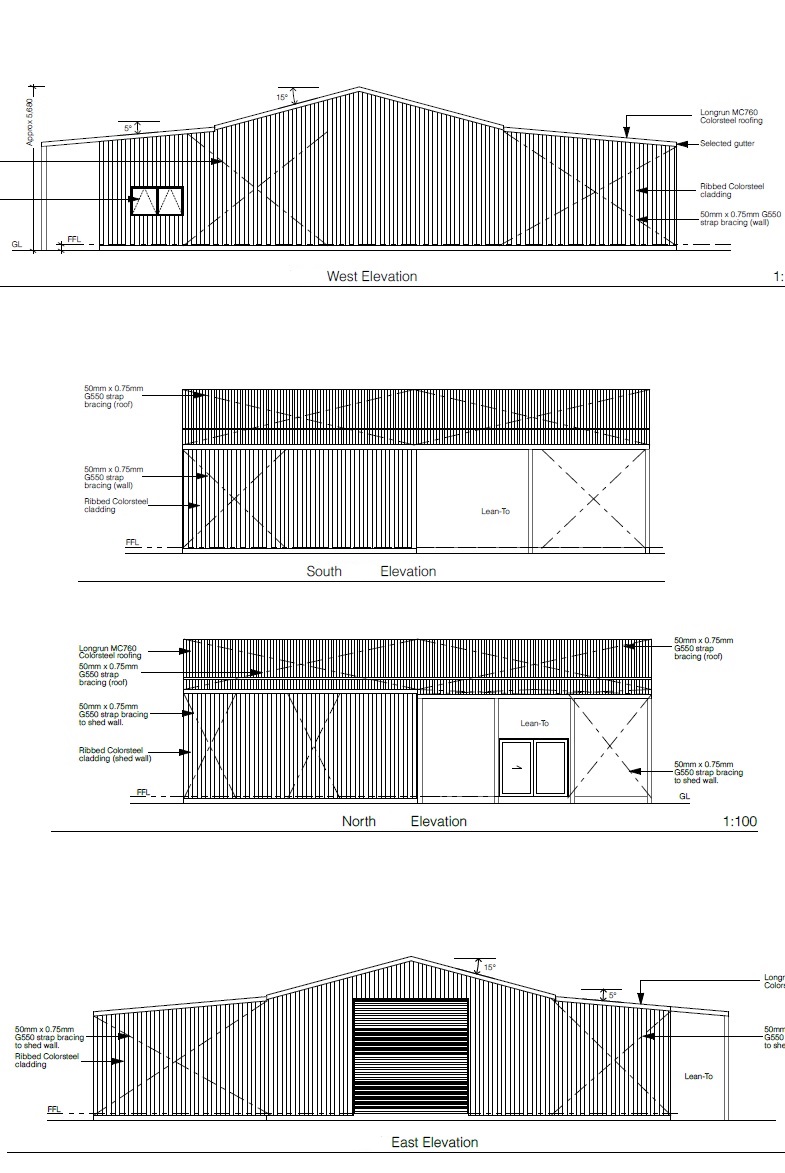
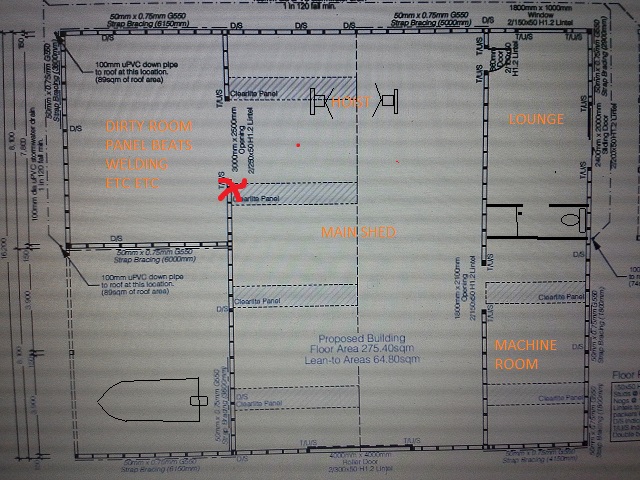
20x16m total footprint. 10x16 gable roof main room, 4m stud 4x4m roller door. 6m and 4m leanto's off each side. 4m side fully enclosed and split into two. one for machine room the other lounge area with 2m roof overhang and ranch slider access. 6m side is half enclosed for dirty room with 3.5m wide doorway into it from main room. the other half as an open leanto for boat etc. Tin is NZ made coloursteel in karaka green. (think british racing green).

This plan i thought, should cover all my metalwork antics. I tinker with 70's/80's toyota mostly. but forever making/repairing things. I'm a total DIY person. If I don't know how it's done i'll research it to death and then do it.
Also a perfectionist which doesn't help.. like to do things right the first time. Prefer to buy locally made or quality gear over cheap knock offs.

Would really appreciate any ideas or pointers for getting this shed built to suit my purposes.
yet to decide is insulation, ventilation, drainage, power, air, hoist and machine layout, lounge interior fitout.
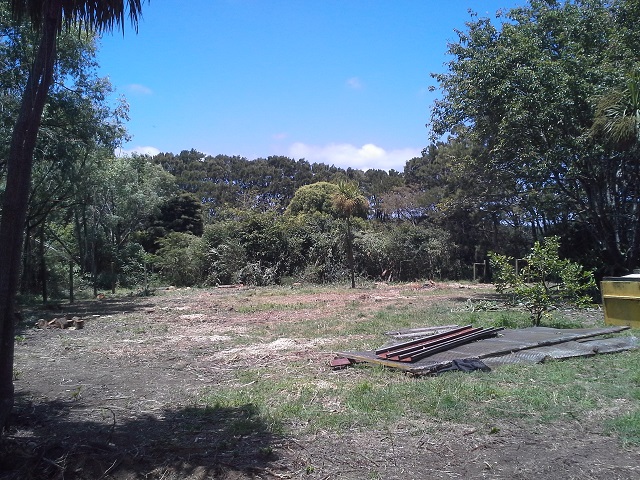
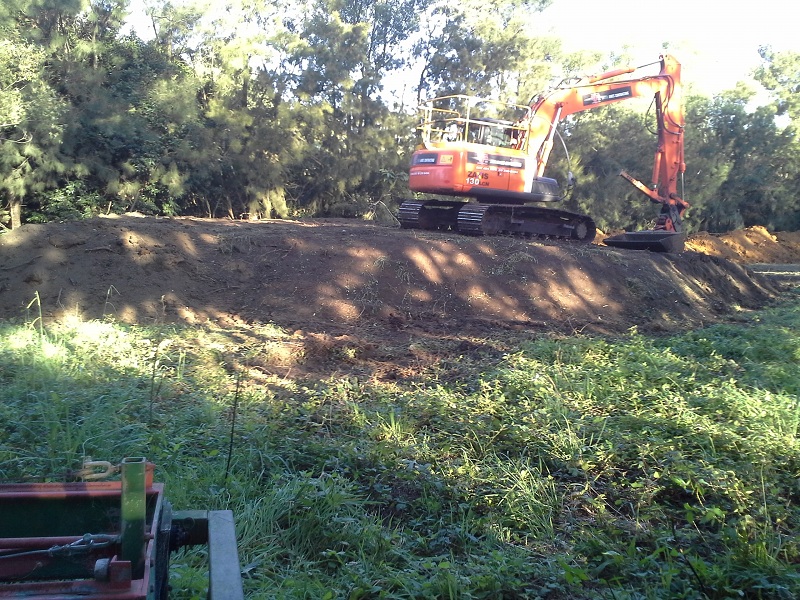
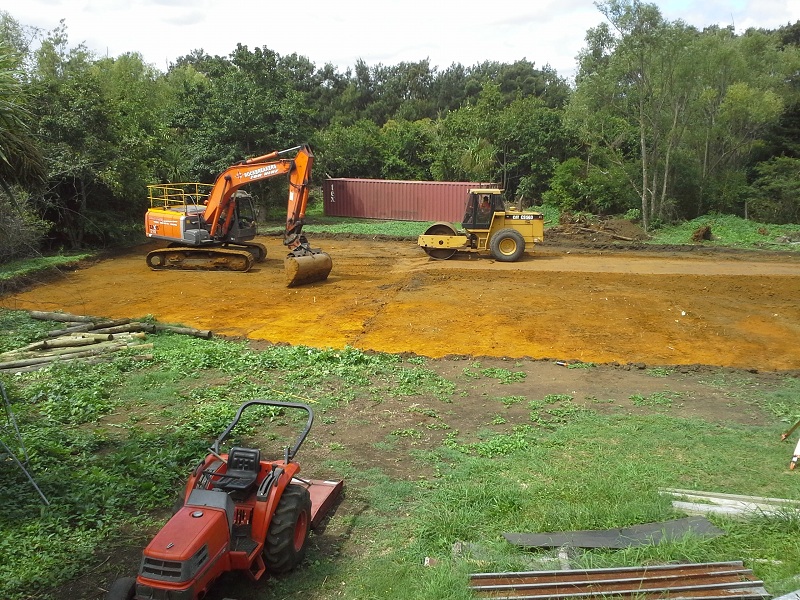
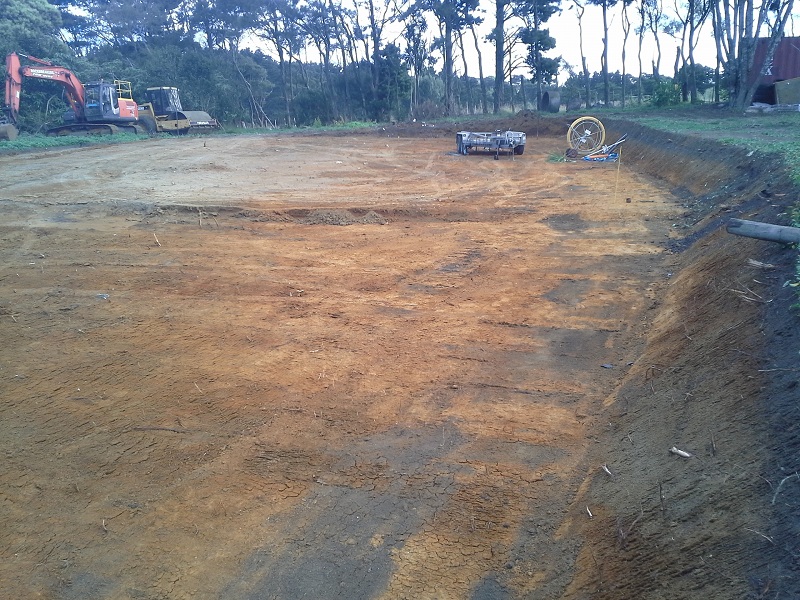
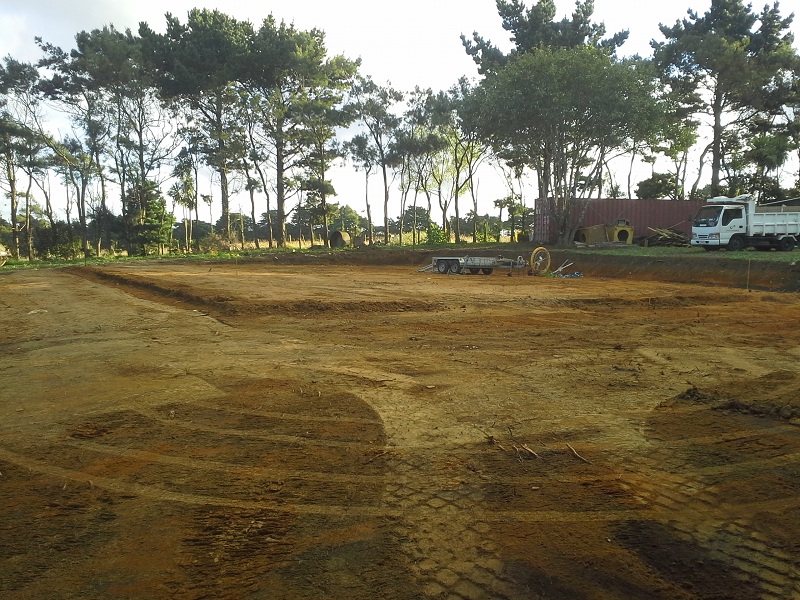
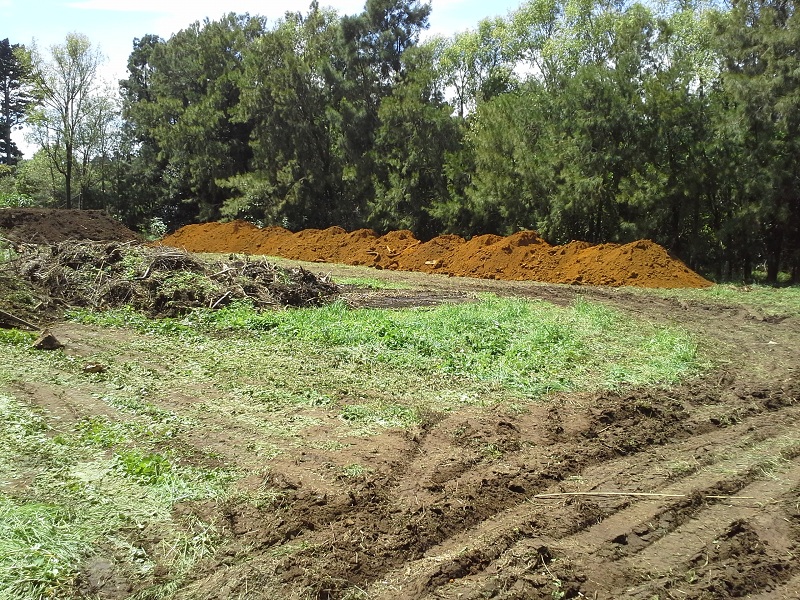
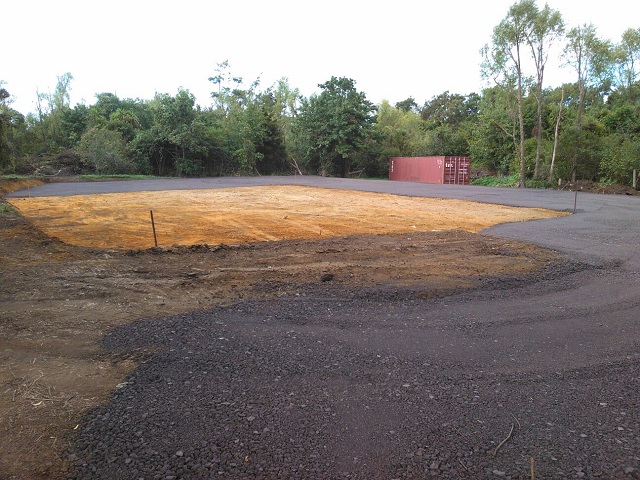
At this time piles are in, concrete to be poured tomorrow in both sheds. I'll get some pics up when i get a chance.

screen shot and paint edit :dunno:
20160626plan.jpg


cheers
 
To avoid these ads, REGISTER NOW!
OP
R

RoadMark

Member
Joined
Jul 8, 2016
Messages
15
Location
New Zealand
first thing for any mechanics on here.. where would you have the hoist?
I'll likely have cars positioned down the sides leaving an accessway down the centre to hoist. Problem encountered was then access into the dirty room impeded with the hoist in use. so looking to widen doorway (red X). want to be able to push a car in there.
thoughts?
 

Oldsklrolla

Well-known member
Joined
Jan 1, 2011
Messages
96
Location
Christchurch, New Zealand
Hi Mark, congrats on finding GJ, plenty of ideas to borrow from on here :)
If i was setting up the hoist I'd possibly look at pushing it towards the top right corner of that room a little more with a slight angle on it just to help clear the dirty room door a bit more. Key thing will be making sure you keep your access ways clear to it so you don't block your own access to the hoist.
Hope to see some pics of your toyotas make an appearance, got myself a ke35 that is sitting waiting for a cash injection.:lol_hitti
 
OP
R

RoadMark

Member
Joined
Jul 8, 2016
Messages
15
Location
New Zealand
Hi 1/2 Cup, not sure what you mean by install PA door? I know it as a personal access door??

Hi Oldsklrolla. Yep access has been an issue in the past, not having enough working space and too much clutter. :dunno: 3x 40ft containers has sorted the storage problem :lol:
Had a ke35 SR once. bought it for the sole purpose of the 4age inside it. stripped it and installed into my ke25 SR. the 35 shell had rust and 16yrs ago they weren't worth much so gave it away. heh. Those quakes caused chaos for ya eh!

Ok so went with the central location for hoist and 3.3m from the end wall. (A bit closer than a 4 ton Molnar clear-floor manual recommends at 3.6m but oh well). Instructed builder to widen the side room doorway to 3.6m as per plan above.
pics coming..
 
OP
R

RoadMark

Member
Joined
Jul 8, 2016
Messages
15
Location
New Zealand
side views of new shed
shedsideviews.jpg


So back in october 2015, I took some snaps of the property when we first inspected it. When the decision was made to build a new shed we then had to clear a space for it.

Looking down from the original garage.. those trees all gota go! We kept the little lemon tree in bottom right.
20151025shedsite3.jpg


After. lemon tree survived the chipper. Now I can pretend to be Burt Munro :thumbup:
20151228shedsite3after.jpg


The place had rows of galv wire strung between posts and access ways at the ends.
20151130shedclearingb4.jpg


After
20151228shedsite2.jpg


This will be a recurring progress shot. shed will be centre/right
20151025shedsite1b4.jpg


After. The overgrown pear tree on left was kept.
20151228shedsite1.jpg


Measured the area and it wasn't yet big enough. So the willows in background above got the chop

20160106shedsitecutwillows.jpg


Clean canvas! There end's the scrub clearance mission. And the end of my christmas holiday break.
 

Bib Overalls

Well-known member
Joined
Dec 4, 2006
Messages
3,318
Location
Jonesboro, Arkansas
When I was a kid my Mother saved a "saved" back yard lemon tree when we moved to a new house. At least we think it was a lemon tree.

It produced large orange fruit and they tasted like lemons, very tart lemons. So tart that we never used them for anything other than practical jokes. It was also a prolific producer and picking up dropped over ripe moldy insect hosting fruit was one of my more onerous chores.

Both I and my brothers lobbied hard over the years, to take it out but my Mother like the slick leaves and the sweet smell of the small flowers in the spring.

So, my advice to you is taste the fruit first, before you let it get so big and so loved by your significant other that it can not be disposed of for any reason.
 
To avoid these ads, REGISTER NOW!

matt_i

Well-known member
Joined
Mar 14, 2008
Messages
10,725
Location
SE Michigan
Those clear roof panels make me nervous. Fine right now, but 10+ years from now they seem to have problems, plus susceptible to anything that would ever fall on them (hail, coconuts ;) etc)

It looks really tropical there, are you planning any A/C? If not, some ceiling fans would be my choice to keep air moving.

Looks like a great start!
 
OP
R

RoadMark

Member
Joined
Jul 8, 2016
Messages
15
Location
New Zealand
Hi Matt_i
The climate in the north of NZ is subtropical and we're surrounded by ocean. No coconuts though. We can grow banana's and maybe mango if it's protected from frosts. We don't get snow, nor do we have blistering summers. It's rather temperate for most of the year. We wouldn't bother with A/C in the shed as opened windows are usually enough. Our biggest concern is high humidity and a scorching sun. The hole in the ozone over antarctica moves over NZ in spring/summer and our midday sun will burn in less than 15mins. The hottest days of year are low 30'C (90'F). It's most uncomfortable when humidity is in the 90's though, which is when A/C would be nice!

What I do want though, is more than just some thermocraft paper under the tin roof. It's not the air temp that is the problem, more so the radiant heat coming off the tin creating an oven inside. I'm looking into kingspan aircell insulshed80. Thats what the NZ kingspan distributor recommends for NZ sheds?? But nz$450 per roll retail price is hella expensive. I'll need 6 rolls.
http://www.kingspaninsulation.com.au/Products/Kingspan-Air-Cell/AIR-CELL-Insulbreak/Overview.aspx
Yeap know what you mean with the clearlight. the old FRP stuff looks pretty shabby after 20years. But what alternative is there? I think these days people install polycarb instead? I should take a pic of the roof above me at work.. boss just replaced a couple sheet that were cracked. The light difference is almost blinding even with the lights on.
 
OP
R

RoadMark

Member
Joined
Jul 8, 2016
Messages
15
Location
New Zealand
landscaping work done by contractors.. two 20ton diggers, two 6 wheeler dumpers and a compactor.
Last of the biggest tree stumps pulled with digger then top soil removed.
topsoilcut.jpg


top soil dump. We'll use this later for gardens.
topsoildump.jpg


Site cut and levelled about 30x50m. Back filled and compacted just the lower side of shed pad about 50mm. The shed site is up 250mm from surrounding area to allow for surrounding metal. 300mm thick metal compacted. More than i'll ever need but was recommended by my arborist brother and the contractors as there'll likely be trucks driving into the shed.
fillandcompact.jpg


Site cut. Shows the meter depth of cut at top side.
sitecutafter.jpg


sitecutafter2.jpg


That concluded day one. :eyecrazy:

Clay taken away too. But this wasn't supposed to happen!! I made contractors move it back and compact it to level out the driveway access around the bottom entry side of shed (left side of above pic). No way was I going to push a powerless car into my shed up a slope!
claydump.jpg


Surrounding areas slagged. There's a 1/2m drop off at the bottom but we'll fill/smooth that later. We use crushed slag for driveways from a local steel mill. Mixed grade gap40. Much cheaper at about $8/ton. But with 980tons going on the property including the front shed it was a large part of the total site prep cost.

siteslagged640.jpg


Lessons were learned. Don't trust contractors will do exactly what you request. Ideas and instructions get miscommunicated. They pull shortcuts and if you're not watching it'll be too late to fix. I would've had a dirt wall in front of my open leanto, a cambered out driveway that was barely driveway width, far from the turning room i needed to access the shed with a truck, and a pile of clay dumped 200m from where it should've been put and compacted.
They did a great job otherwise. Glad we got the big boys in. That would've taken forever with a 2.5ton digger :D
 

oldironfarmer

Well-known member
Joined
Jun 25, 2016
Messages
6,664
Location
Terlton, Oklahoma
Welcome to GJ. Great build and wonderful site. Looks like you are doing things right. I always assume contractors want to do what you tell, them, but there are always miscommunications, forgetfulness, and just true misunderstanding of what you said. Often times the guy doing the work didn't actually ever talk to the guy you talked to. Sent out by the office with vague instructions, etc.

I have always shied away from sky lights for the reasons described. Maybe if one plans to replace and replaces on a schedule instead of when damage is noticed, it would work better. My shop always needs the lights on, with no skylights.

I think you'll find access to the dirty room is not too bad if you have the car on the lift raised.
 
OP
R

RoadMark

Member
Joined
Jul 8, 2016
Messages
15
Location
New Zealand
too true.
I guess if they last 10 years +.. 6 sheets of clearlight over that period is not too major. Possibly covered in costs compared to having lights on any time i need to use it? Although that'll be a false statement if we have solar fitted. (waiting on energy storage price to drop before committing to that).
Yeah i'm happy now with access. proof in the pudding though. And a car in the dirty room will likely be there a while so it's not a high traffic area. Ive got plenty of rusty cars. Or should that be Ive got cars of plenty rusty. lol
 
To avoid these ads, REGISTER NOW!
Top Bottom