To avoid these ads, REGISTER NOW!

New workshop in the uk. Woop woop!!!

Busters_Caddy

Well-known member
Joined
Nov 8, 2008
Messages
45
Well finally after a long wait and family issues (Explained here) http://www.vwcaddy.com/showthread.php?t=27005 i have my own workshop.

Thought i'd start this thread just so that if anyones interested they can follow the progress on how things go over the next couple of months.

Pictures below are from a few hours of fannying about this afternoon. :thumbs_up :D

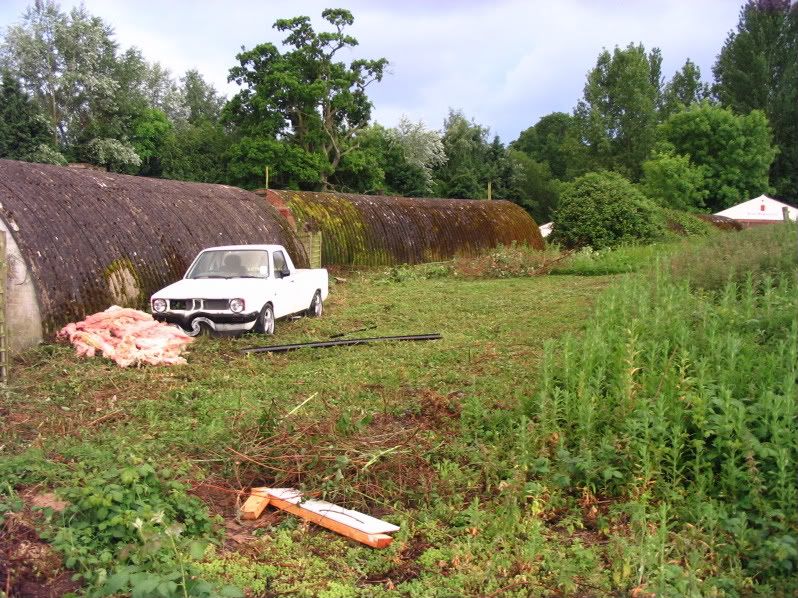
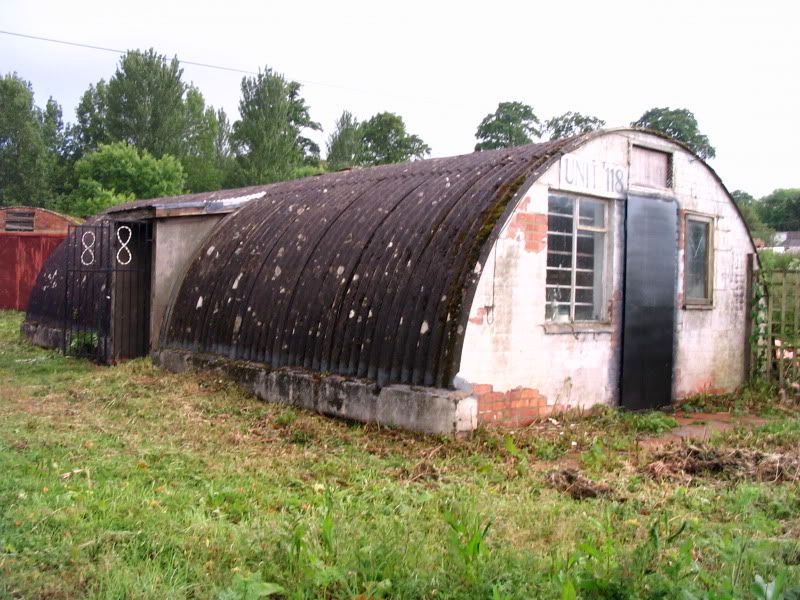
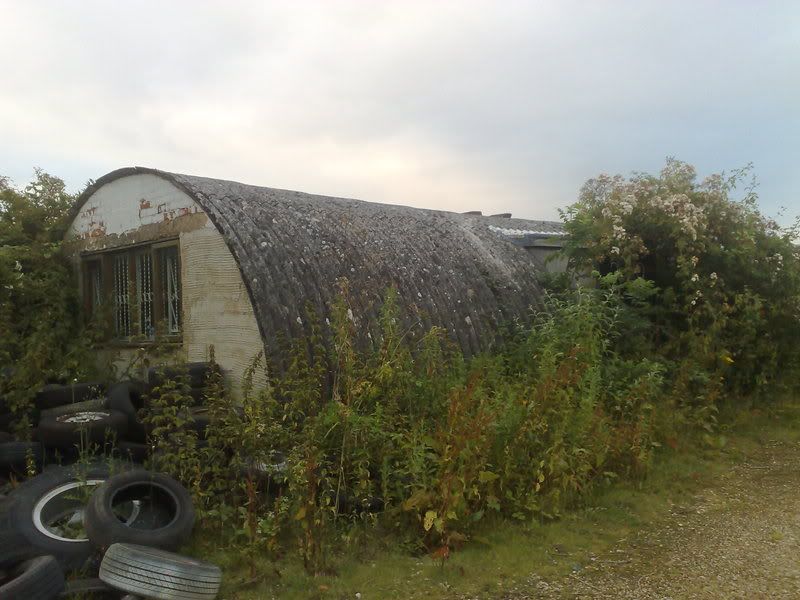
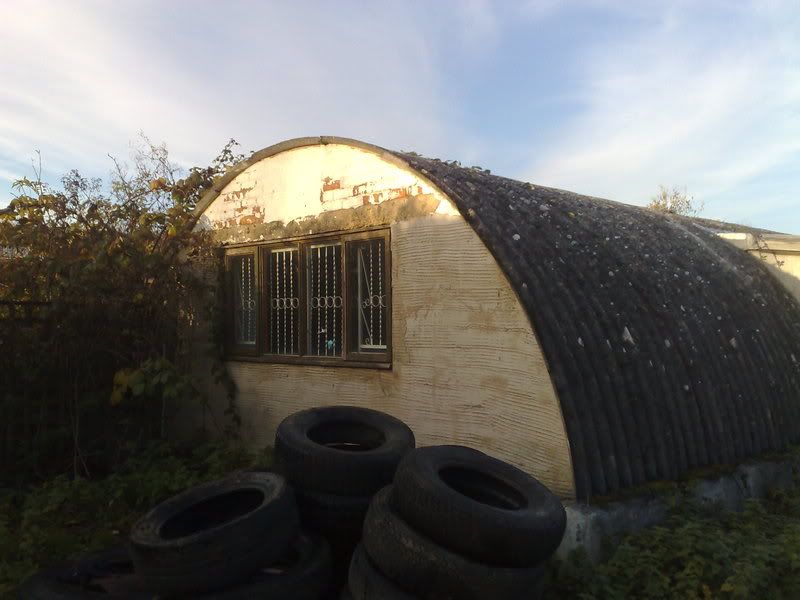
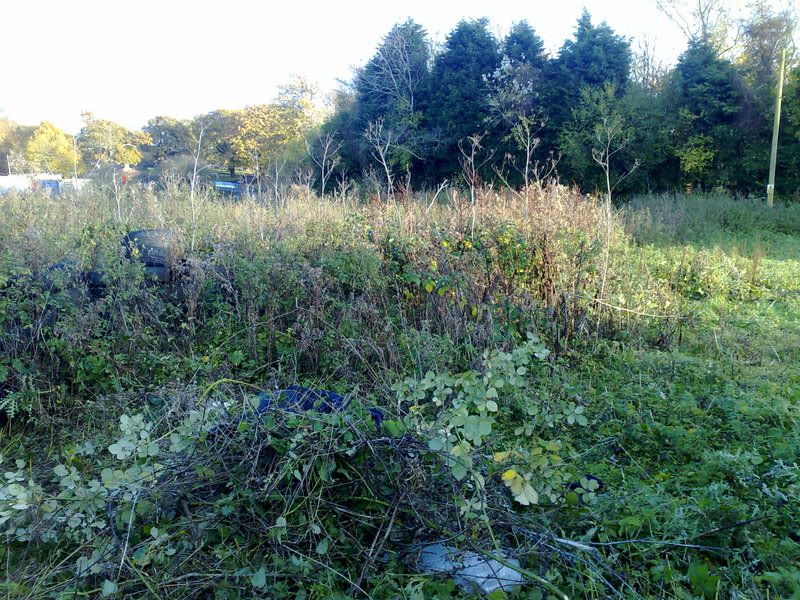
The unit was without a tennant for almost a year so it was fairly overgrown!
14072008408.jpg


Inside it was full of c*ap, But luckily the landlord had it cleared. Bit gutted about the leather sofa though! Would have made a great tea break seat :D
14072008410.jpg


14072008412.jpg


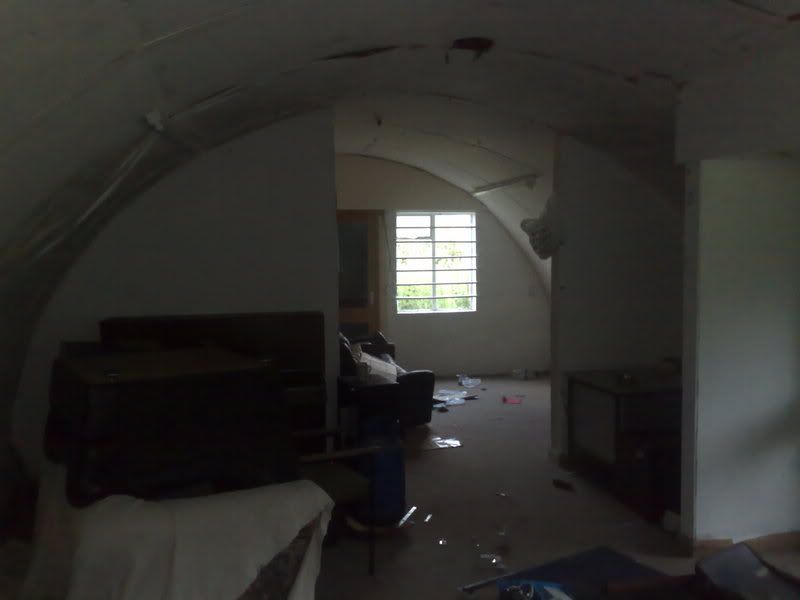
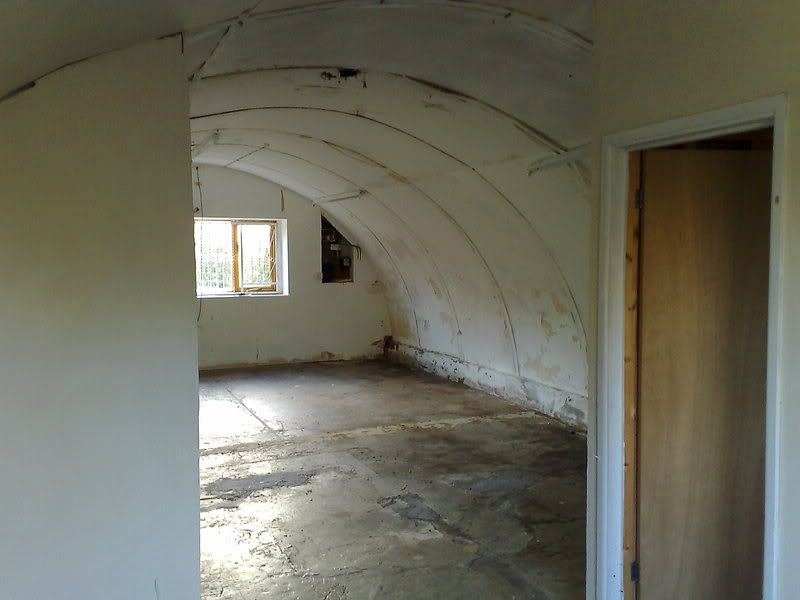
All cleared out now.
07112008456.jpg


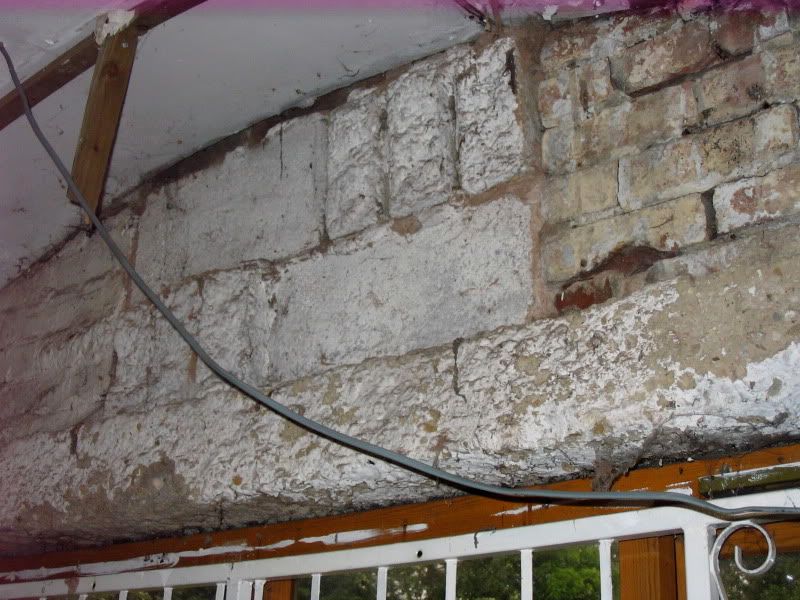
Im going to take down all the studd work as i want it back to one open space. Plus the work is really shoddy and would probably fall down given time anyway!
07112008452.jpg


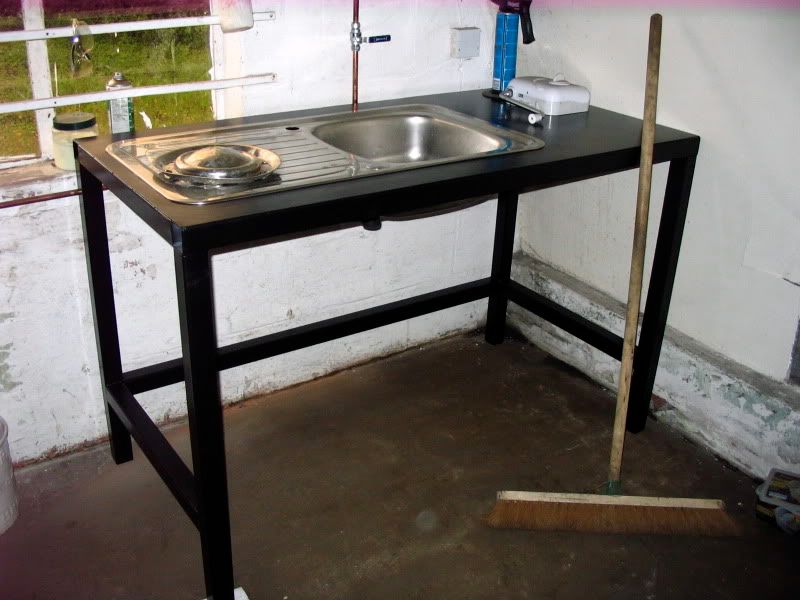
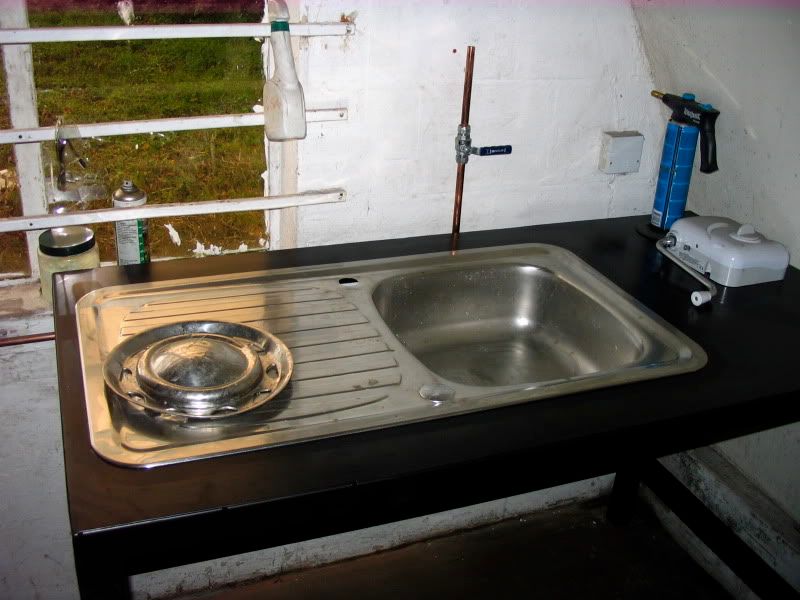
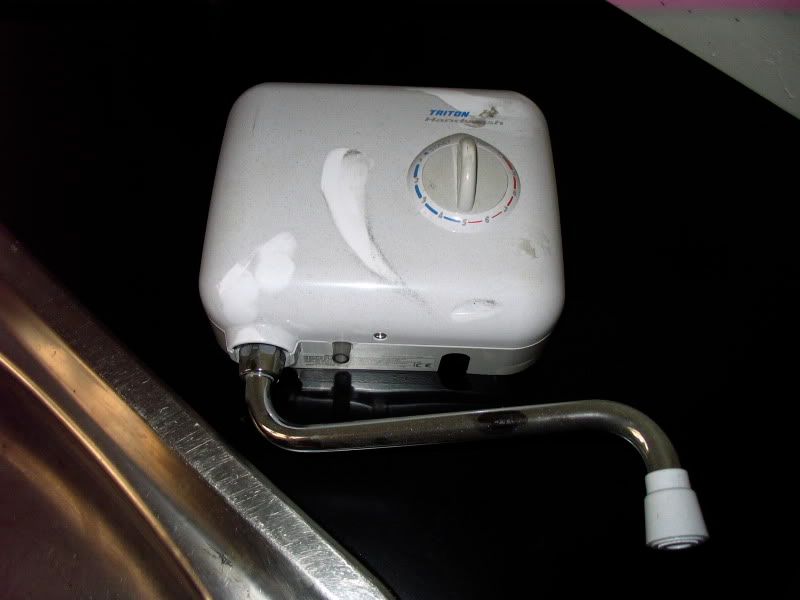
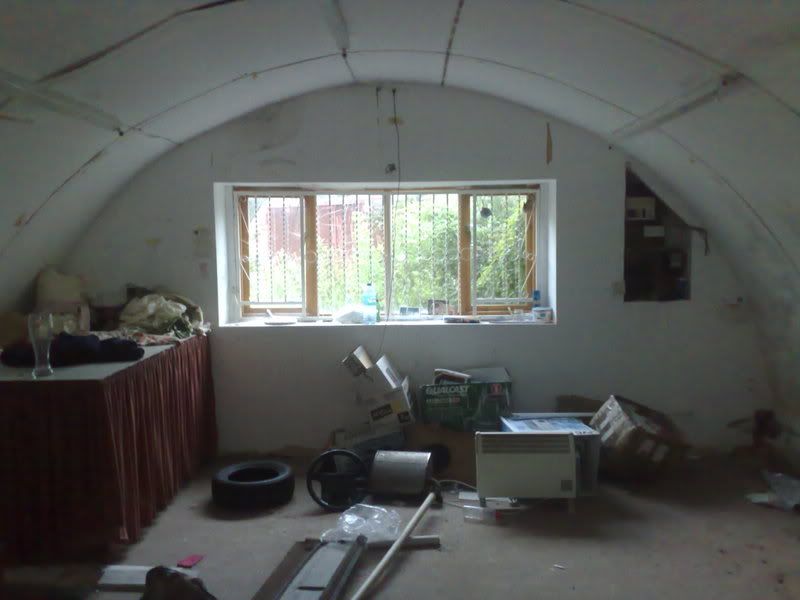
Water point which works fine.
07112008454.jpg


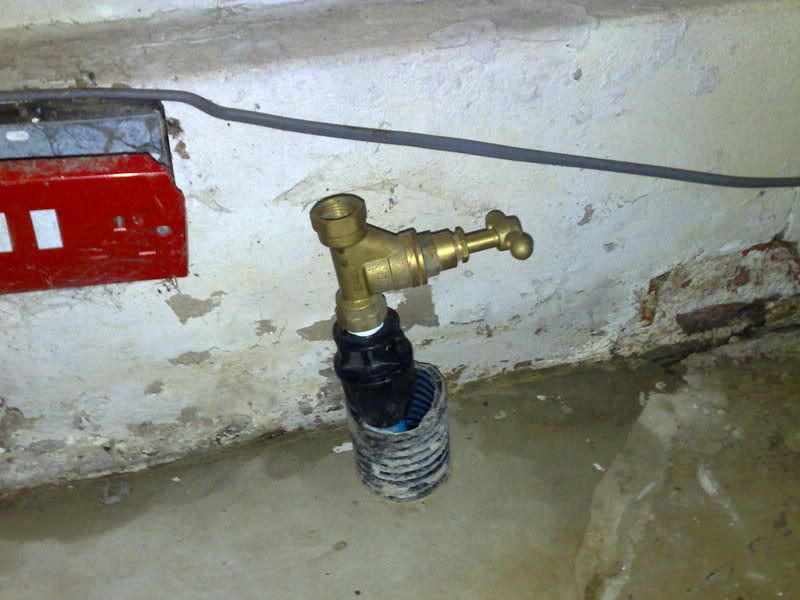
Phone line which i probably won't use. Just an extra expense that aint that neccesary. Can get an excellent signal on mobile anyways.
14072008411.jpg


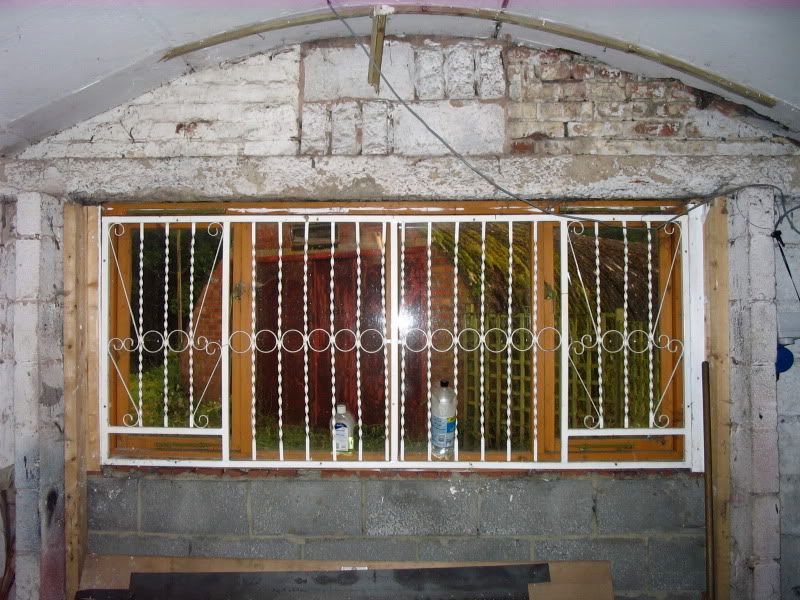
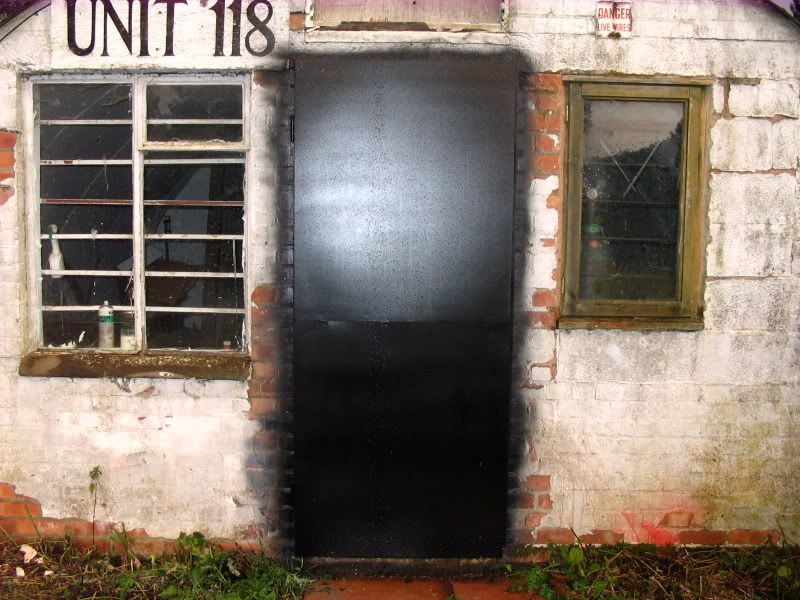
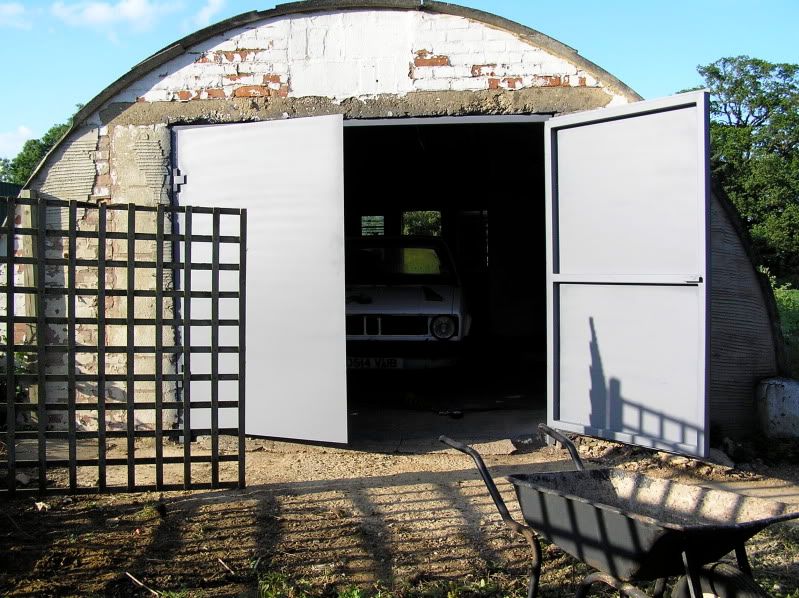
Bodged side door will be coming down too. Again really shabby and not that secure.
07112008443.jpg


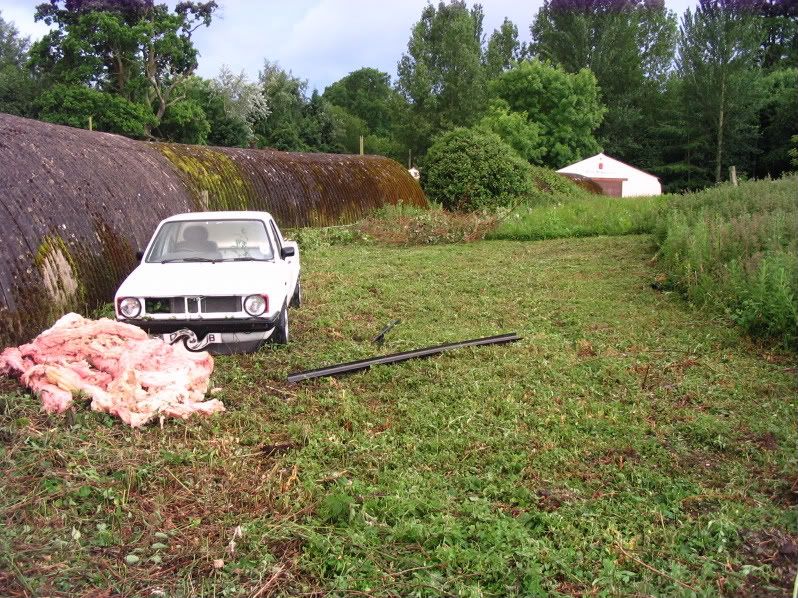
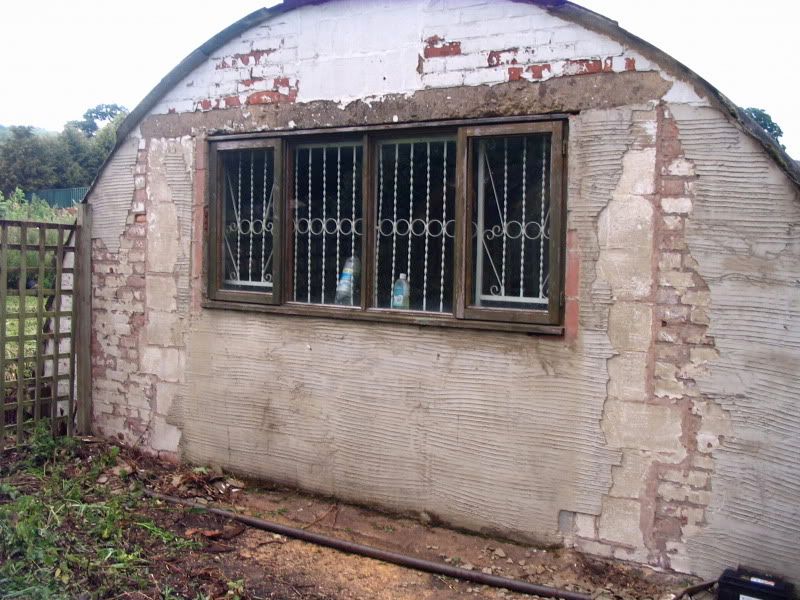
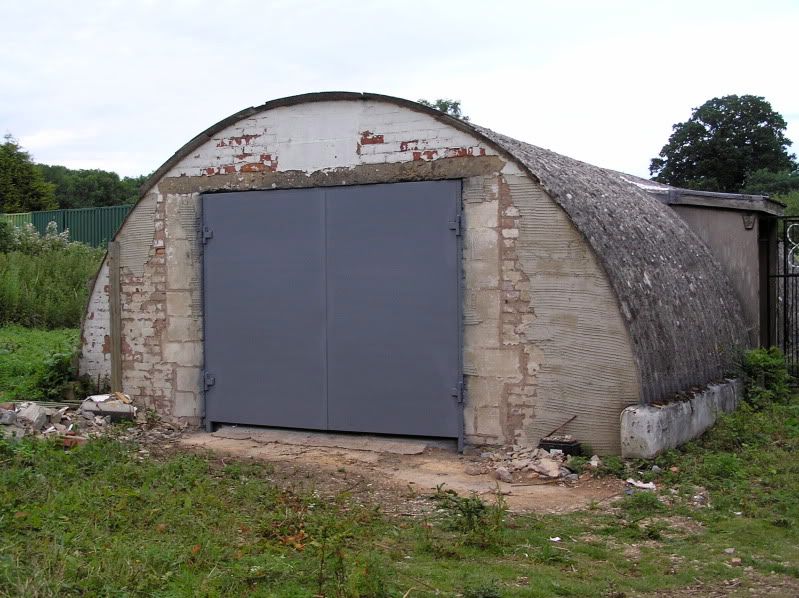
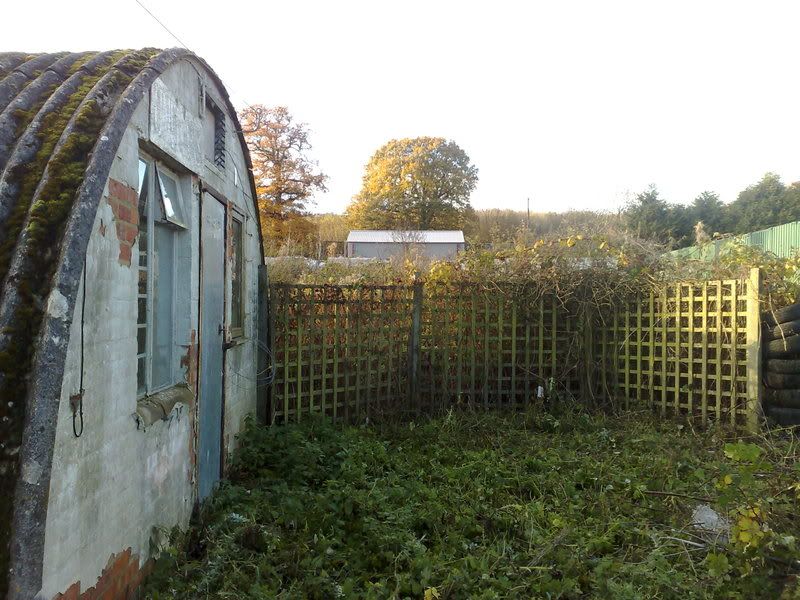
Most of the swingers (edit-stingers) and weeds hacked down now. The unit is 35 foot long and 17 foot wide which is massive for what i will be doing.
07112008434.jpg


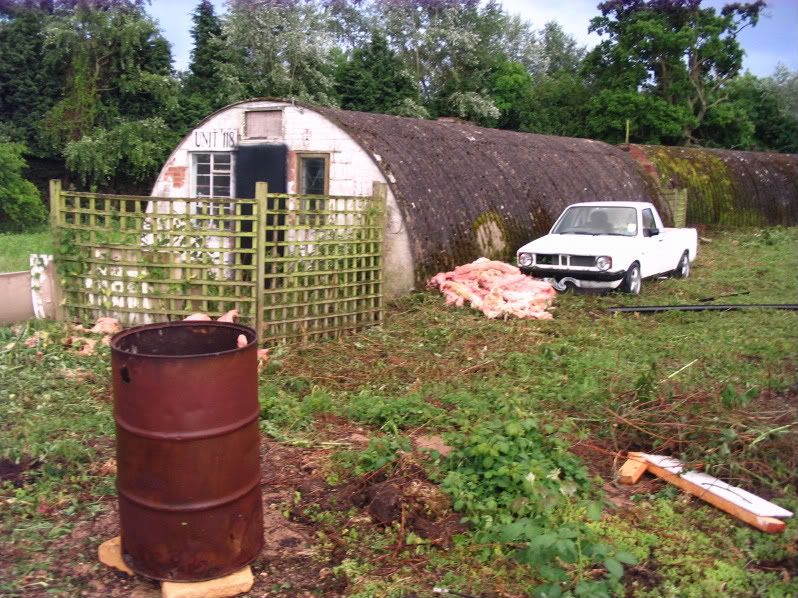
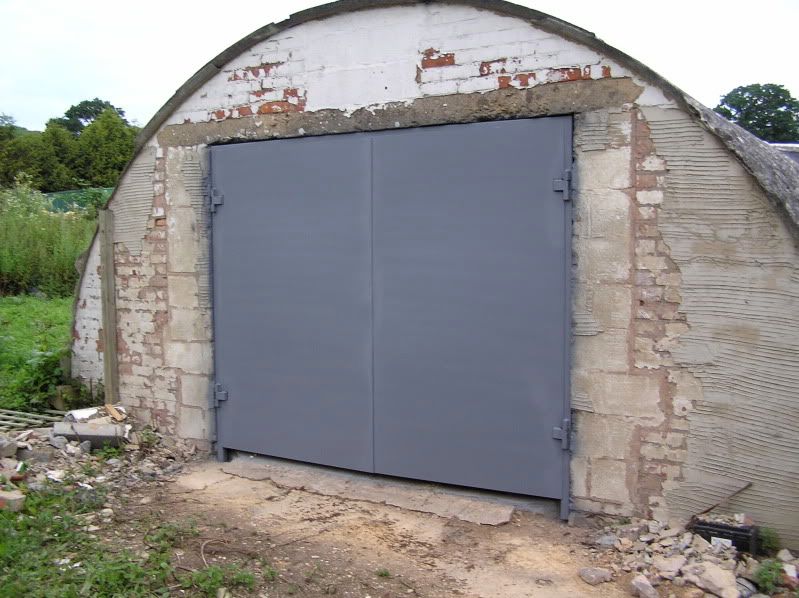
On this end of the unit i will be putting on a set of steel barn type doors for obvious reasons and eventually it will be the only access in and out. I wont be forgetting the unit number... Got your number :D
07112008435.jpg


A neighbouring unit has similar doors to what i will be doing.
07112008439.jpg


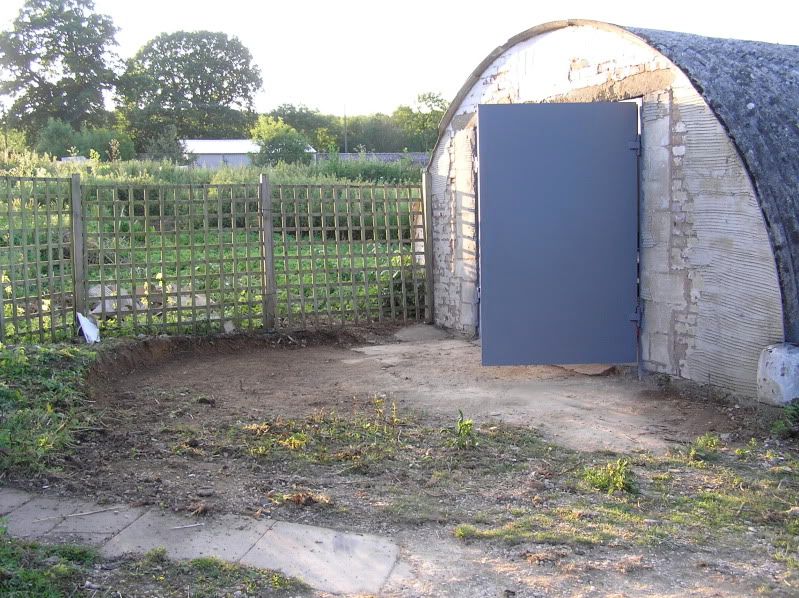
Just some of the 100+ tyres that were scattered around the place! Im not joking you name it, their here. Bus, tractor, cars and bikes... Going to stack them to make a bit of a fence/boundry at the other side of the unit. Would cost me a small fortune to get rid of them properly!
07112008436.jpg


Forgot to take a before. The weeds were fairly high, so i hacked them down with a sythe (Spelling? One of the hook shaped old fashoned garden tools) which uncovered more tyres and some trellice fencing. Will eventually put some ******** down here or old tarmac road waste which a friend can get:thumbs_up
07112008441.jpg


07112008432.jpg


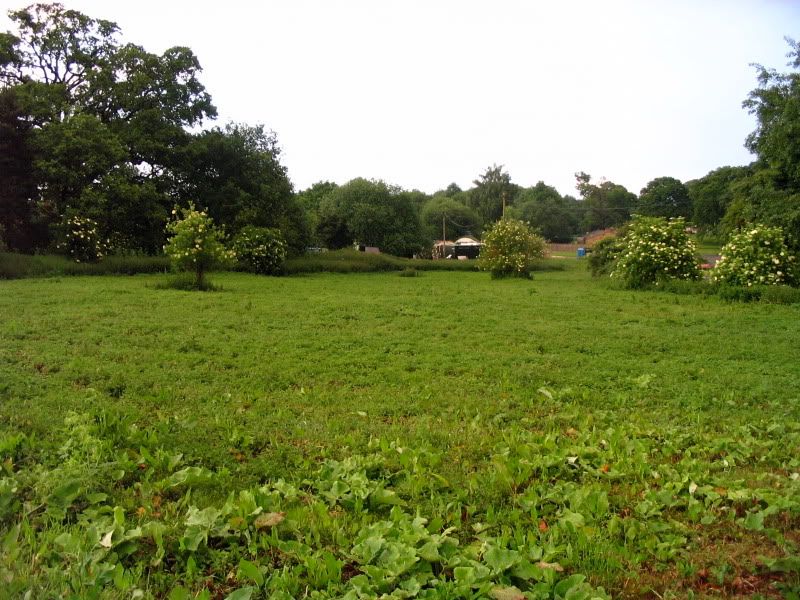
More weeds that will come down tomorrow if the weather is ok.
07112008442.jpg


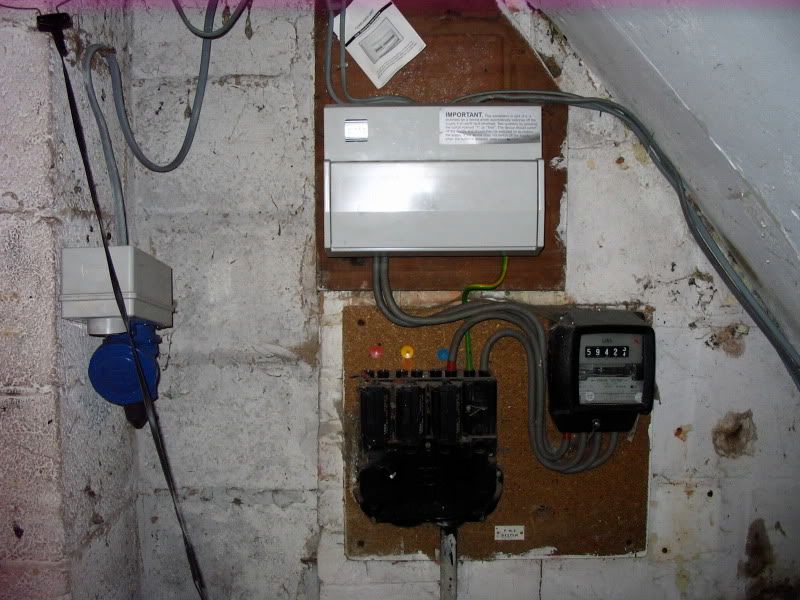
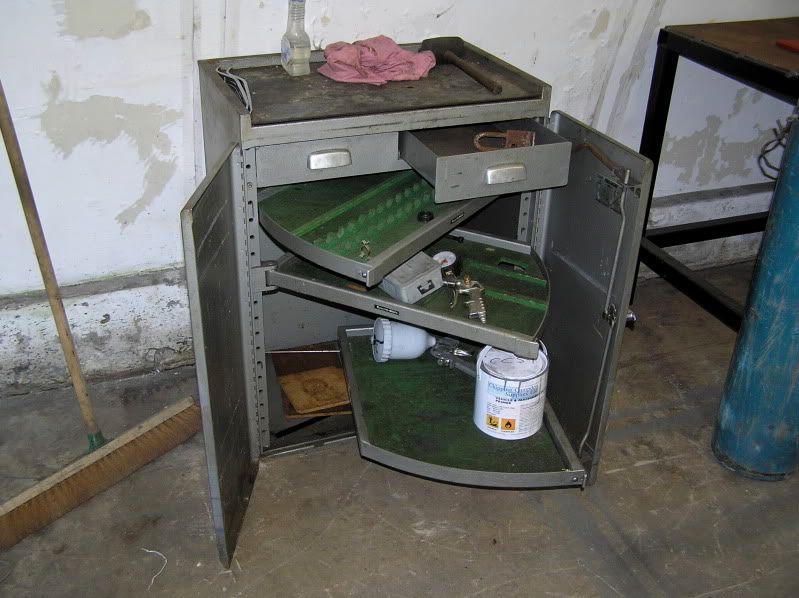
A straggler photo from inside of the fuse box and meter. Any one know how to slow them down :thumbs_up :D
07112008446.jpg


Well thats it for now. I'm so excited. Cant wait to get the bigger jobs done, e.g. barn doors, repair/remove side door. Build work benches and tables etc and more importantly start work on the caddy.

Hope you have enjoyed reading this.

Buster
 
Last edited:
To avoid these ads, REGISTER NOW!

justinmc

Well-known member
Joined
May 25, 2006
Messages
2,239
Location
KCMO
HOLY COW..... I'm loving that space and the potential it has! Is this in an industrial type park? I'm just curious if there is a drive or concrete path of some sort leading to the main access door? While the side door is kinda shoddy I rather enjoy its looks and asthetics. Too bad there isn't a way to salvage it and make it secure without much work.

Good idea on the use for those tires... If you can stack/lace em the right way it makes a fairly solid barricade. You could always paint them up like they do on race tracks in the corners!

To borrow an English term... Cheers to your new place!
 

russlaferrera

Well-known member
Joined
Nov 24, 2006
Messages
2,035
Location
Central Virginia
Great potential.

What is with all the tyres? No way to recycle them? Send them to China. They can make flip flops (sandals) Seriously there is no way to get help from the local government to remove them?
 

Malt_Vinegar

Active member
Joined
Nov 7, 2008
Messages
31
My local authority refuse yard here in newbury will take tyres, but you would need to make a few visits by the looks of things!

Check out the website for your local authority, and see if they have tyre facilities!
 
OP
B

Busters_Caddy

Well-known member
Joined
Nov 8, 2008
Messages
45
HOLY COW..... I'm loving that space and the potential it has! Is this in an industrial type park? I'm just curious if there is a drive or concrete path of some sort leading to the main access door?

Yes it is now a small industrial estate. It used to be however an american hospital for the injured soldiers in ww2. It was later a polish camp. The "nissin" hut that once housed a polish family is now my workshop!

There is an access road to the side of the unit. In one of the pictures you can just about see my car.

I will eventually put some ********/graveldown to make it more durable.
 
OP
B

Busters_Caddy

Well-known member
Joined
Nov 8, 2008
Messages
45
Great potential.

What is with all the tyres? No way to recycle them? Send them to China. They can make flip flops (sandals) Seriously there is no way to get help from the local government to remove them?

I'd imagine someone was going around garages and getting paid to dispose of them... Where as they were actually just dumping them here. As i said above i am going to recycle the tyres back stacking them to make a fence/boundry.
 

autoclassicnut

Well-known member
Joined
Nov 24, 2007
Messages
1,382
Location
Montana
Cool! i think I'd keep the other side door , just for another way to get out in case of a fire??? Good luck and post more pics! :thumbup:
 

Frank Elson

Well-known member
Joined
Apr 12, 2008
Messages
1,375
Location
Lancashire, UK
I used to deliver bread to a Polish camp near Market Drayton - that would have been around 1965. Those Nissan huts were made well enough for people to live in, so should make decent workshops.
Keep us informed how you get on with it. Wish I had half as much space.

About the tyres, get rid... every now and again, on the news, there's a tlel about scrotes setting fire to piles of tyres. Possibly all that's stopped them so far is the scattering about in the weeds. Pile them up and you're asking for trouble.
 

RobSmith

Banned
Joined
Feb 5, 2009
Messages
562
Location
NSW Australia
Keep the side door, lose the inside partitions,keep the windows and make decent 'bars' over them for security. Rebuild the side door to look like a military "hatch" and make the rear double door to look the same. Then call it "THE BUNKER" Those nissen huts look cool.
 

dan-o

New member
Joined
May 31, 2009
Messages
2
Location
Appleton,WI
Rad as hell!
As cool as this place is, I'd love to see pics of the caddy.

I built a 16vG60 rabbit so I have a soft spot for Mk1's
Cheers!


Dan
 
To avoid these ads, REGISTER NOW!
OP
B

Busters_Caddy

Well-known member
Joined
Nov 8, 2008
Messages
45
Well i've made some progress...

Things i've done so far are:

1) Got ride of over 60 old car tyre's.
2) Removed all the inside stud work.
3) Had it completely rewired, single phase, with an additional 30 amp socket for my mig welder.
4) Made two benches, one as a sink unit, the other as a main work bench.
5) Made a better steel door for the end wall.
6) Removed the old bitumen floor.
7) Plumbed in the cold water supply.
8) Hacked all the weeds down outside and had a general bloo*y good tidy up.

Pics to follow shortly.
 
OP
B

Busters_Caddy

Well-known member
Joined
Nov 8, 2008
Messages
45
Heres the sink unit, Made from 50x50mm box, a bit over kill i know but the steel was free! All tig welded, grey primed, and a satin black top coat. Siliconed the sink to the table as the fit was really good, so it isn't going anywhere.
IMG_0217.jpg

IMG_0218.jpg

This is the hot water hand washer i have yet to wire up, a little dirty!
IMG_0219.jpg

Some of the plumbing work. Did it all myself and its my first attempt at plumbing, so far so good... well there's no leaks anyway!
IMG_0220.jpg

Some pictures from inside
IMG_0224.jpg

This is where the double steel doors will go, As you can see the brick work is very poor so will end up rebuilding the wall with concrete blocks. Also a new steel lintel.
IMG_0225.jpg

IMG_0227.jpg

New fuse board, and 30 amp socket, needs tidying up, wooden cabinet enclosure maybe.
IMG_0226.jpg

IMG_0232.jpg

Main work bench. Again 50x50mm box, 5mm thick plate 2x1m, tig welded, grey primer, satin black top coat.
IMG_0228.jpg

IMG_0229.jpg

New steel door.
IMG_0233.jpg

IMG_0234.jpg

General pictures from outside.
IMG_0237.jpg

IMG_0236.jpg

IMG_0235.jpg

IMG_0238.jpg

IMG_0240.jpg

IMG_0241.jpg

IMG_0247.jpg

IMG_0249.jpg

IMG_0243.jpg


Thats about it for now. Another update to follow when i have the double doors in. Please excuse the quality of the pictures, as my camera is not that great.

Tata for now!:thumbup:
 

Iron-Iceberg

Well-known member
Joined
Feb 14, 2006
Messages
887
Location
A-town
I like that hot water hand wash. I dont think we have anything like that here. That would work good in my shop.
 
OP
B

Busters_Caddy

Well-known member
Joined
Nov 8, 2008
Messages
45
The hand washer is made by a firm called triton. Just google that, you should get good results. Their main business is showers etc however they do make these small instant hand hot washers too. They have to be hard wired, e.g your can't just plug them in to a wall socket which i what i was hoping you could do, hence why i haven't got mine working yet. Got to wait for the electrician!

Actually bought mine brand new from ebay for around £30. I think retail is around £60.

Hope this helps.
 
OP
B

Busters_Caddy

Well-known member
Joined
Nov 8, 2008
Messages
45
Haven't had an update in a while. Got some more stuff done since last time.

Got the double doors on now, sprayed them with grey primer, will give them a top coat of black or green, haven't made my mind up yet!

P6300015.jpg


Still have to fill the gaps between the frame and the brickwork/lintel with some expanding foam. Will also put a cover strip made out of hard wood and scribe and cut it to make a nice fit against the jagged edge.
P6300002.jpg


The caddy's now inside!
P6300001.jpg

P7030010.jpg


I decide to have a tidy up outside the new doors as the years of over growth had made the ground unlevel and just generally tatty looking. I was pleasantly surprised, as there is a fair bit of hard standing immediately outside the doors. Had about 20 wheel barrows full of dirt that i dug out by myself! Needless to say, i slept well that night.

P6300016.jpg

P7030004.jpg

P7030014.jpg

P7030015.jpg


The other big thing that has happened is that i have bought a second hand milling machine. It was delivered last thursday, and i am so pleased with it. Its a KRV 2000. To top it off, the store man at work said did i want and old cabinet that was going to get thrown in the skip. I snapped his arm off, when he said it was one of the old Bridgeport milling machine cupboards.

It could do with a clean, but apart from that it is in excellent condition!
P7050010.jpg


As you can see there are 2 draws at the top and three shelves that swing out. They are really heavy duty and can take alot of weight. We still have about 5 at work, Might see if i can blag another one!
P7050013.jpg

P7050011.jpg


Had fun on the way home on the supermoto. Laid a few blackies down at the notorious Fish Hill! Did several runs up and down.
P6300008.jpg

P6300029.jpg


Till Next time...
 
OP
B

Busters_Caddy

Well-known member
Joined
Nov 8, 2008
Messages
45
Few picks of the milling machine.
It has a power draw bar, X axis power feed, vari-speed, X and Y Axis dro. Also came with the vice, drill chuck and also the full user manual which even has the original quality control and installation check sheets, dro and one-shot lube manual and spare parts catalogue.
Can't wait to put it to good use!
Picture113-1.jpg

Picture114-1.jpg

Picture115-1.jpg
 

Fins/413

Well-known member
Joined
Jan 27, 2009
Messages
161
Coming along, The doors look great and milling machine looks new. Does it need 3 phase power?
 
OP
B

Busters_Caddy

Well-known member
Joined
Nov 8, 2008
Messages
45
Coming along, The doors look great and milling machine looks new. Does it need 3 phase power?

Yes, I am awaiting a quote to have a 3 phase meter fitted, by the electricity board, only trouble is, it might mean having to undo all the electric work i had done a while back, (single phase fuse board etc). I'm no electrician so any help one be appreciated.

The alternative i am looking into is a 3 phase transformer, or swap the 3 phase motor on the mill for a single phase one.
 

Fins/413

Well-known member
Joined
Jan 27, 2009
Messages
161
There are single phase to 3 phase convertors available and diagrams how to build one on the internet.
 

GearBeer

Well-known member
Joined
Jun 12, 2009
Messages
252
That's a wicked shop man, talk about character.

...and I envy your bridgeport.
 
OP
B

Busters_Caddy

Well-known member
Joined
Nov 8, 2008
Messages
45
There are single phase to 3 phase convertors available and diagrams how to build one on the internet.

I have been doing some research on the net, it's just a case of working out which type is best suited. The motor on the mill is 3hp. If anyone could recommend the best type of converter...

As for building my own... Way to complex for my limited knowledge :headscrat
 

bimmer1980

Well-known member
Joined
Feb 5, 2009
Messages
2,103
Location
York, PA
Wow, I really like the mill and the bridgeport cabinet! Thsoe doors are neat! I might have to make a cabinet like that sometime. The power drawbar on the mill will be extremely handy.

FYI--when you spec out the three phase power, be sure to check if the mill uses 208 or 240 voltage or if it spec's a range--look on the motor name plate. Some will even run on 480 if the wires are connected properly.... The type of three phase will depend on what the power company has in the area. Both will require a completely new electrical panel. Also, the 120/240 will have a "wild phase" so when you go to wire up 1-phase circuits, you have to be sure to skip that phase. Basically, from that hot line (phase B) to neutral is 195-208 instead of 120. If you are running a 120 volt device, you run the risk of burning it up.

Also, if you run a phase converter, you will need a higher amperage single phase circuit. Usually you use 2 hots of single phase and use the phase converter to make the other hot line. So 2 hots in and 3 hots out. On the three phase side, if you require 10 amps per line, you will need to supply 15 amps per line on the 2 single phase hots....

Hopefully that all makes sense......
 

Lickers

Well-known member
Joined
Jun 1, 2009
Messages
56
Location
West Midlands - UK
You've knocked it into quite a decent shape already - fair play! I love the look of the building, proper old school affair. That could be made into something really special.

Whereabout in the West Mids are you? I'm just off J5 of the M6. Seems weird to catch up with a 'local' on a US forum!
 
OP
B

Busters_Caddy

Well-known member
Joined
Nov 8, 2008
Messages
45
Wow, I really like the mill and the bridgeport cabinet! Thsoe doors are neat! I might have to make a cabinet like that sometime. The power drawbar on the mill will be extremely handy.

FYI--when you spec out the three phase power, be sure to check if the mill uses 208 or 240 voltage or if it spec's a range--look on the motor name plate. Some will even run on 480 if the wires are connected properly.... The type of three phase will depend on what the power company has in the area. Both will require a completely new electrical panel. Also, the 120/240 will have a "wild phase" so when you go to wire up 1-phase circuits, you have to be sure to skip that phase. Basically, from that hot line (phase B) to neutral is 195-208 instead of 120. If you are running a 120 volt device, you run the risk of burning it up.

Also, if you run a phase converter, you will need a higher amperage single phase circuit. Usually you use 2 hots of single phase and use the phase converter to make the other hot line. So 2 hots in and 3 hots out. On the three phase side, if you require 10 amps per line, you will need to supply 15 amps per line on the 2 single phase hots....

Hopefully that all makes sense......

Some usefull info there. Thanks. I'll have a look in the user manual and check the motor aswell before i dive in head first :thumbup:
 
OP
B

Busters_Caddy

Well-known member
Joined
Nov 8, 2008
Messages
45
More progress this weekend. Got the mill in the workshop now. Only just fitted through the doors. Luckily the head on the mill tilts through 90 degrees, so that it lies parallel to the table. It has been at a mates shop all week, so we used his forklift and strapped it to it, as its very top heavy. Then he drove it round to my shop just up the road, whilst negotiating 5 speed bumps and a load of pot holes!
I got to his shop at 6:40am and the mill was in my shop by about 8am which was hand as it started pi**ing down not long after!

We got it so that it was just inside my unit doors, as the top of the forks were against the frame and lintle. I had to nip to work and borrow a pump up pallet truck to move it to where i wanted it. It was handy that i smashed out my back windscreen the weekend before , else i wouldn't of got the pump truck in the back of my car!

The back screen story... Well, as i didn't have any insurance on the unit, i would always bring my tools at stuff back home just incase they got nicked. On the saturday i loaded my car up including the mig welder which is an industrial type. I drove about 5 miles back to near my house and all was fine, then i pulled out of junction a little to quick and the welder jolted back and went straight through the window! Doh i usually load everything in a certain way so that the welder doesn't move, this was the one time i didn't!

Anyways i've got insurance now so hopefully thats the last of ferrying tools about! Not only was is it a pain in the a*s but it wasted so much time loading stuff in and out.

Not at home at the minute. Will add some pictures later.
 
OP
B

Busters_Caddy

Well-known member
Joined
Nov 8, 2008
Messages
45
Here's a few pics as mentioned in an earlier post.

The pallet truck in the back of the car. Wouldn't fit so i smashed fook out of the boot, (read earlier post for the full story).
SDC10281.jpg


This is where the mill is at the minute. I've got to make a lifting bracket to bolt to the base so that i can lift it off the pallet with a jack. We used to have some machine jacks at work, if i can find them / if we still have them i'll borrow them.

As you can see it only just fits, tough its sitting 6" higher at the minute on the pallet.
P7120019-1.jpg

P7120033.jpg
 
To avoid these ads, REGISTER NOW!
Top Bottom