To avoid these ads, REGISTER NOW!

Norb's BMW/Audi Double Garage

OP
N

nsogiba

Well-known member
Joined
Jan 16, 2013
Messages
232
No real progress in the garage, kind of just been using it.

I did finally paint and hang the pegboard that I bought over a year ago, and hung some tools on it. Hooks are McMaster, they use 2 holes for support, and hold all that weight nicely. It looks nice, and frees up 2 drawers worth of space in the actual toolbox.

image by Norbert Ogiba, on Flickr

Also, no picture on this, but I expanded a section of chalkboard-painted wall where I keep notes like oil changes for the cars, to-do lists, parts to order, etc.

Still mulling over how I want to install the lift...
 
To avoid these ads, REGISTER NOW!
OP
N

nsogiba

Well-known member
Joined
Jan 16, 2013
Messages
232
Things are moving along on Project Dig to China

First off, I needed to finalize placement of the columns, which was easy enough using existing vehicles. I just kept tweaking the location of the columns and rolling in each of the vehicles to make sure the lift points would line up and the car would reasonably fit. However, I wanted to plan for a future vehicle that I might buy in the next few years that had some awkwardly placed lift points, so I slapped together a quick wooden frame as a template to mock up the lift points.

image by Norbert Ogiba, on Flickr

Once the columns were in their final location, I measured where they stood in relation to each other and in relation to other points in the garage that would not move. Initially I was basing my measurements off one of the central joint lines in the slab, but something didn't look right there - turns out the joint line did not run even close to perpendicular to the wall, so I re-measured and placed using the front edge of the slab (by the garage door) as my starting point, and everything fell into place. I cut up a sheet of plywood to use as a template and laid some heavy parts on it to stop it from moving, and spray painted my edge to show where the cut had to go.

image by Norbert Ogiba, on Flickr

After a long weekend in Boston for a wedding, I came back and rented a nice Makita 14" gas saw with diamond blade and went to town. The water kept the dust to a minimum and the diamond blade cut through like butter. I ended up making multiple longitudinal and transverse cuts in the slab to be removed, so that I could remove it piece by piece. It went easily and there was no need for a jackhammer.

image by Norbert Ogiba, on Flickr

I finished the initial cut and got this,

image by Norbert Ogiba, on Flickr

After staring at it I realized that I would be tying my new slab into a very short section of slab that was near the control joint. I had avoided cutting along that joint because of a drainage pipe running along underneath it, but after measuring the depth of the pipe from inside the drain, I found that the pipe had been buried deep enough and would not be disturbed if I pulled off that last section of concrete. So, that section was removed too, which worked out for the better in that there were a few cracks in that section by the wall that got removed at the same time.

After some more cutting, I now have two very large and stable slabs in like new condition that will be used to tie in the new one.
image by Norbert Ogiba, on Flickr

Removing the broken up slab
image by Norbert Ogiba, on Flickr

image by Norbert Ogiba, on Flickr

After that I started excavating the stone to get to my desired depth - still have a ways to go as of last night. You can see the drainage pipe that I was worried about slicing.

image by Norbert Ogiba, on Flickr

My custom stainless steel baseplates and rods are getting finished up right now. Once I've removed enough stone I can set up the baseplates using a jig and start planning for the pour!
 
OP
N

nsogiba

Well-known member
Joined
Jan 16, 2013
Messages
232
I got the stainless plates and rods in from a friend, so it was time to join them up. I have learned that nothing ever fits as well as it does on the actual workpiece, so I bolted the rods to the stainless plate and column baseplate assembly to make sure they fell into place.

image by Norbert Ogiba, on Flickr

The extra set of holes were a result of trusting a manufacturer drawing that was not actually correct, lesson learned.
image by Norbert Ogiba, on Flickr

Time to burn some metal
image by Norbert Ogiba, on Flickr

The final result, upside down:
image by Norbert Ogiba, on Flickr

Next steps:
-dig out more stone to a common depth (I think I'll go to 14" compacted depth from top of slab)
-level existing stone, add if necessary, tamp
-set up jig to mount and level plates
-set up rebar
-pour
 

bonecrrusher

Well-known member
Joined
Aug 18, 2011
Messages
578
Location
Charlotte, NC
Nice plates!

I'm about to install my MaxJax in my new shop as well - I got the hammering drill and the bits - but now I'm waiting for my epoxy anchors.
 
OP
N

nsogiba

Well-known member
Joined
Jan 16, 2013
Messages
232
I spent a few hours on the MIG yesterday putting on the cross bracing (1/2" rod)

image by Norbert Ogiba, on Flickr

And after a Rustoleum Flat Black Enamel

image by Norbert Ogiba, on Flickr

Need to finish digging out the stone, level and tamp, and start suspending the plates. I am also lining up a contractor for the pour in the next 2 weeks.
 

sstrawsb

New member
Joined
May 26, 2014
Messages
3
Location
Orlando, FL
Awesome garage and sweet 540i! Do you know off hand what the dimensions of your garage are? I did not see it in your initial post.
 
OP
N

nsogiba

Well-known member
Joined
Jan 16, 2013
Messages
232
I need to re-measure. I used to have a very detailed SolidWorks model of the whole space but unfortunately it was lost on my computer at work. Off the top of my head it's 220" wide.
 
OP
N

nsogiba

Well-known member
Joined
Jan 16, 2013
Messages
232
lots of progress this past week, the hardest work is done

laid down some quikrete on the sides of the hole to prevent stone from falling out from under the existing slab
image by Norbert Ogiba, on Flickr

20 wheelbarrow loads later the stone pile is finally gone. my back still hurts thinking about it
image by Norbert Ogiba, on Flickr

supported it via jig on the rear set of holes. this was not too stable and it turns out the extra set of holes in the plate was a blessing in disguise.
image by Norbert Ogiba, on Flickr

I welded some nuts to the underside of the front most set of holes and suspended the plates evenly. much more stable!
image by Norbert Ogiba, on Flickr

From there it was a ton of time with a wrench and level setting the heights equal, and angles to zero
image by Norbert Ogiba, on Flickr

image by Norbert Ogiba, on Flickr

image by Norbert Ogiba, on Flickr

image by Norbert Ogiba, on Flickr

cut and laid in all the rebar
image by Norbert Ogiba, on Flickr

FourEyed's guy came and did the pour yesterday with a helper, it turned out nice. after it had taken a set, i removed the jigs so the guys could finish it more nicely.

image by Norbert Ogiba, on Flickr

image by Norbert Ogiba, on Flickr

image by Norbert Ogiba, on Flickr

i wet down the concrete and put some plastic sheeting over it to prevent drying too quickly. while it dries over the next few weeks i'll be assembling the hydraulic stuff and doing a dry run off to the side.
 
OP
N

nsogiba

Well-known member
Joined
Jan 16, 2013
Messages
232
never fun running out of material during a job. As "calculated" I thought I'd need about 1.81 yards of concrete, turns out we used just over 2; the guys brought 2.25 just be safe, and I'm glad they did.
 
OP
N

nsogiba

Well-known member
Joined
Jan 16, 2013
Messages
232
finally got the columns loosely bolted down. I still need to do a final torque on the hardware. It has been 10 days since the pour and I'm itching to put some weight on the columns, but I'm going to wait. I did hook up all the hydraulics and power unit to verify operation. Spent some time bleeding the columns, which was very easy, and they seem to be operating fine. The wait continues...in the meantime, I had my wife start parking in the garage, and it looks like the grand experiment worked because she hasn't (yet) banged into the post with her car. I plan on adding some visual aids to help her pull in easily every day without worrying about hitting anything.


image by Norbert Ogiba, on Flickr
 

bonecrrusher

Well-known member
Joined
Aug 18, 2011
Messages
578
Location
Charlotte, NC
First suggestion - gets some 90* fittings on those hoses and the power cart - make tripping over the hoses far less likely.

Second suggestion - mount that power car on the wall!

Otherwise looks good!
 
OP
N

nsogiba

Well-known member
Joined
Jan 16, 2013
Messages
232
Bonecrusher, we're on the same page. I plan on mounting the power unit on the wall where the 2x4's are leaning. I'll use whatever fittings make sense when I get that far. Alternatively I might mount it on the center column, facing the back wall. Not sure yet.

The other change that I made was to use a 90 coming out of the cylinder in the middle of the garage. I didn't want it doing an awkward loop out before coming back in to hug the column.
 

Theruse

Well-known member
Joined
Aug 12, 2012
Messages
341
Location
Maryland
Smart move to get married on your birthday. That way you will never forget your Anniversary. You are already way ahead of the game!
 

bonecrrusher

Well-known member
Joined
Aug 18, 2011
Messages
578
Location
Charlotte, NC
I wall mounted my power car over the weekend - used 2x4s on the inside edge of the metal metal plate that connects the power unit to the cart. I then cut a 2x11 18" across and got that attached to the wall. I drilled 4 holes in the metal plate/2x4 and used lag screws to attach that setup to the 2x11 on the wall.

Overall it was pretty easy - and I ended up having all the hardware.

I had to order 18' of hydraulic hose - and it should ship tomorrow.
 
To avoid these ads, REGISTER NOW!

MGUY

Active member
Joined
Sep 22, 2006
Messages
30
Nsogiba, I like your thread. What brand is your wall mounted propane heater ?
 
OP
N

nsogiba

Well-known member
Joined
Jan 16, 2013
Messages
232
FINALLY

28-days-later.jpg


one long month of waiting and we're ready to roll. I used that time to mount the power cart and hydraulic stuff on the wall by the rear of the car. It's close to an electrical box that I'll be using to permanently power the unit. I also need to route the hydraulic lines over the ceiling to clean up the floor.

I got home from a weekend trip to NYC late last night and of course the first thing I did was pull the wagon in for a test. Being that it has the most suspension travel I figured it would be lowest risk for damage should something happen. Although I bled the columns multiple times unloaded, there was still a tiny bit of air once the car had been resting on hydraulics alone for a few minutes. Before heading in for the night I brought the car up to the first stop and rested it on the safety bars to sit overnight. Will probably bleed again tonight and should be all done!

image by Norbert Ogiba, on Flickr

image by Norbert Ogiba, on Flickr
 
OP
N

nsogiba

Well-known member
Joined
Jan 16, 2013
Messages
232
Looks great! tenman here from M5board. Should be making my journal soon.

:beer:

Nicely done, though I think since you had dug up the floor, should of ran a piece of conduit for the lift lines.

I tossed around the idea of doing that for a while. However, since I regularly wash cars in the garage during the winter time, I didn't want to have moisture and water seep down into the conduit, and risk having it pooling in there.
 

bonecrrusher

Well-known member
Joined
Aug 18, 2011
Messages
578
Location
Charlotte, NC
We have lift off - awesome!!

Once you start using it for your projects you will never want to crawl under a car again!

I used mine in my last shop to build my LS2, install coilovers, and install new control arms on my G8.

I've already done the Brembo swap on my SS - and hopefully this weekend I'll be dropping the fuel tank in my C6 to put in a bigger pump - then start on the blower project.

How much does that Subaru weight?
 
OP
N

nsogiba

Well-known member
Joined
Jan 16, 2013
Messages
232
We have lift off - awesome!!

Once you start using it for your projects you will never want to crawl under a car again!

I used mine in my last shop to build my LS2, install coilovers, and install new control arms on my G8.

I've already done the Brembo swap on my SS - and hopefully this weekend I'll be dropping the fuel tank in my C6 to put in a bigger pump - then start on the blower project.

How much does that Subaru weight?

They really are the most versatile tool in the garage. I'm most excited to do brakes, swap wheels, etc on it (make quick jobs even quicker).

I have wanted the MaxJax basically since moving in, in October 2013. I spent 18 months pondering where to put it and how to install it, and then another 6 months planning the details of the install and actually completing the work. After many uncomfortable and messy jobs over the past 2 years, I finally have my toy and can wrench like an adult!

The Subaru weighs in the neighborhood of the BMW, about 3900 lbs I think? But moves nicely with the 250hp turbo 4 under the hood. It has a leaking exhaust flange and one rotor cleaned up, but otherwise is ready to rock for the winter once I slap my snow tires on it.

Great thread, love your progress.

Thanks!

Ok, finally had some time to get the BMW up on the lift (which was intended to spend the most time up there).

Initial impressions are that lift is a lot easier working on things, but at the same time I just had to pick a job that was generally not easy. The aggressive clutch was slipping after 3 years of abuse so out comes the T56 to get paired up with a new LS7 combo! Very surprisingly, even the very low ride height I was still able to get the pads under the lift points without having to pre-lift the car using the floor jack. I don't have a trans jack or anything of the sort, so I basically rested the trans on some wooden cribs I built and lifted the car up off it. Not fun. Anyhow, the rest of the job leading up to this went very smoothly and it was nice having room to roll around on a stool.

If you look closely from picture to picture you can see that I ended up putting the car up on the truck adapters and a piece of wood to get a few more inches of height out of it. With the garage door open, I'm getting 1/2" of clearance from the rear glass of the car to the top of the garage door. Perfection!

image by Norbert Ogiba, on Flickr

image by Norbert Ogiba, on Flickr

image by Norbert Ogiba, on Flickr
 
OP
N

nsogiba

Well-known member
Joined
Jan 16, 2013
Messages
232
^very cool, will have to keep that in mind if I keep working on heavy components like trans, diff, etc
 
OP
N

nsogiba

Well-known member
Joined
Jan 16, 2013
Messages
232
new garage mate arrived over the weekend.

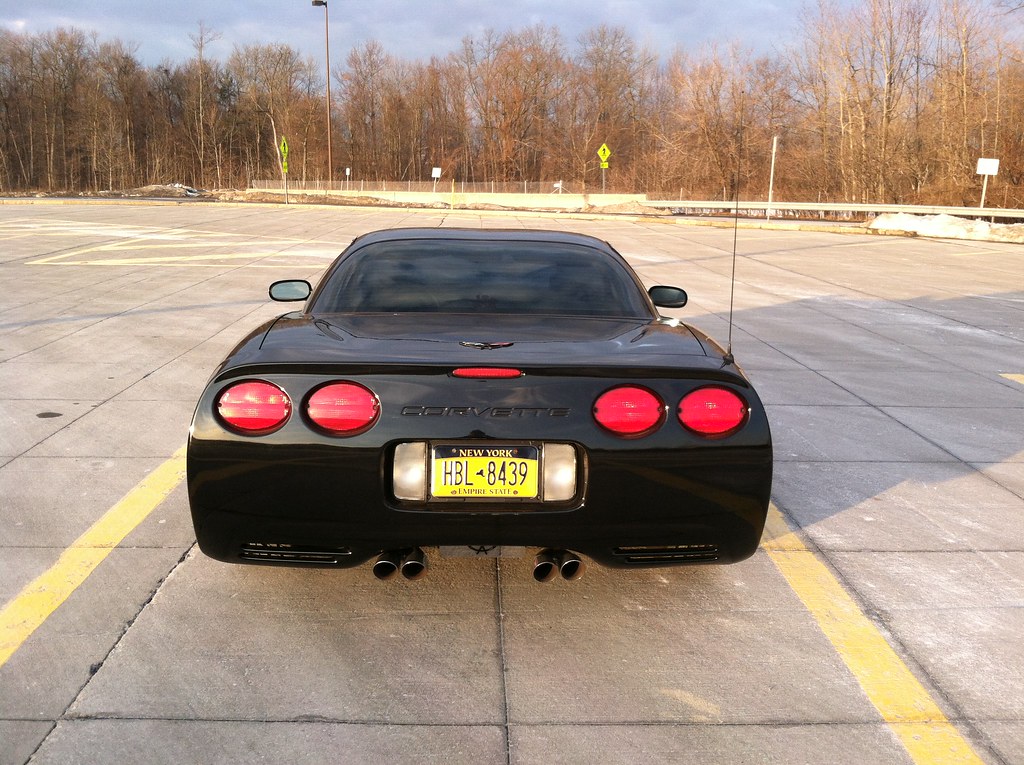
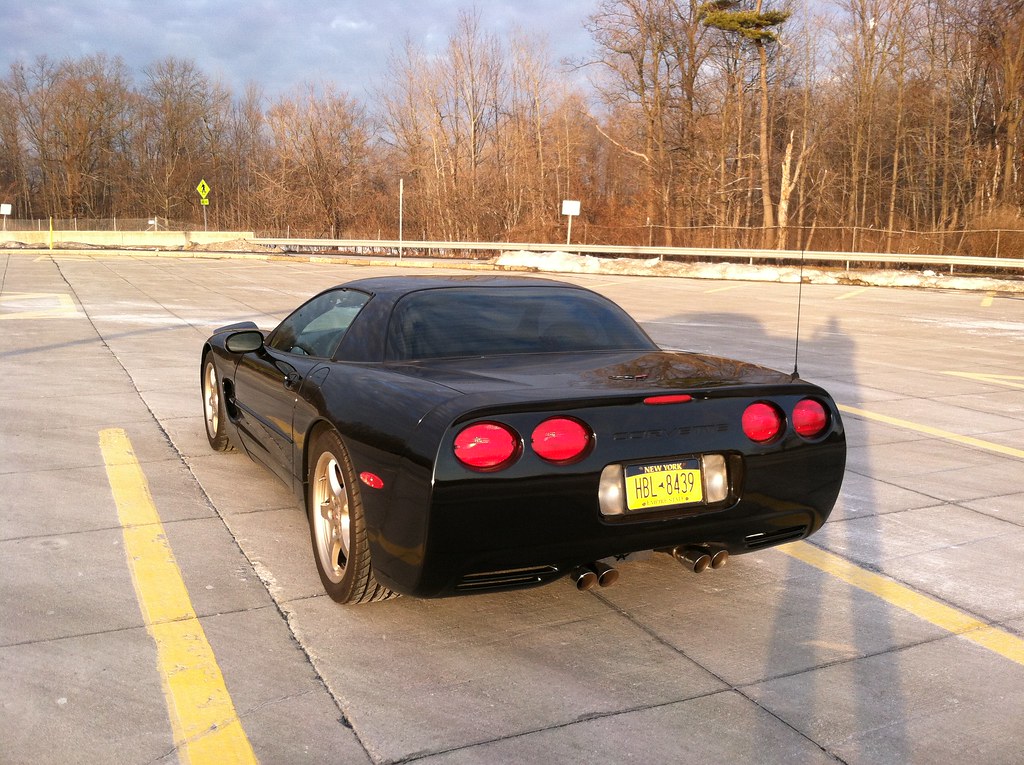
With my 6.0 LS powered E39 saying goodbye in late December '15, I was in the market for something smaller, more fun, more agile, and better on gas. I was willing to give up some horsepower and engine size to gain that, but found a nice compromise :) After about 8 months of deliberation I settled on this nice 2000 Corvette FRC Hardtop (fixed roof coupe).

After the usual slew of homework and background checks on the car, I booked a flight out to Providence to go pick her up. Nothing quite like getting on a one way flight with a pair of license plates and crossed fingers. This was my first time buying a car out of state and everything went off without a hitch.

Apologize in advance for the poor quality pics. Here is the traditional long winded, pic heavy story.

Early flight out of Buffalo to Philadelphia was uneventful if a bit early.

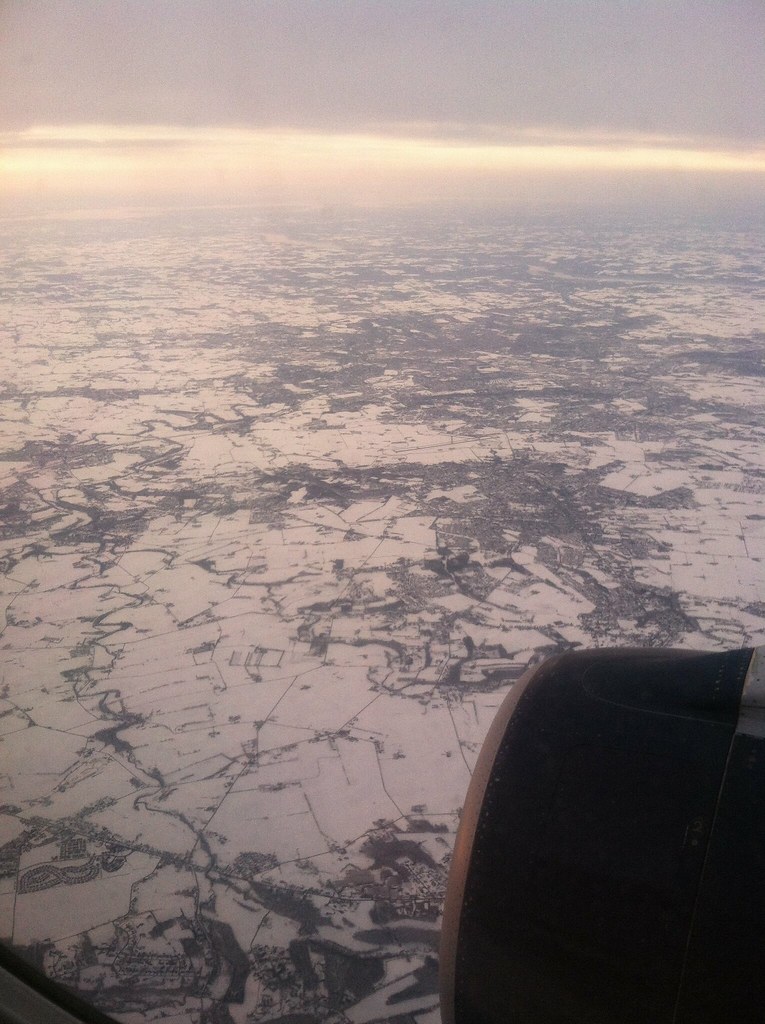
Somewhere over PA:
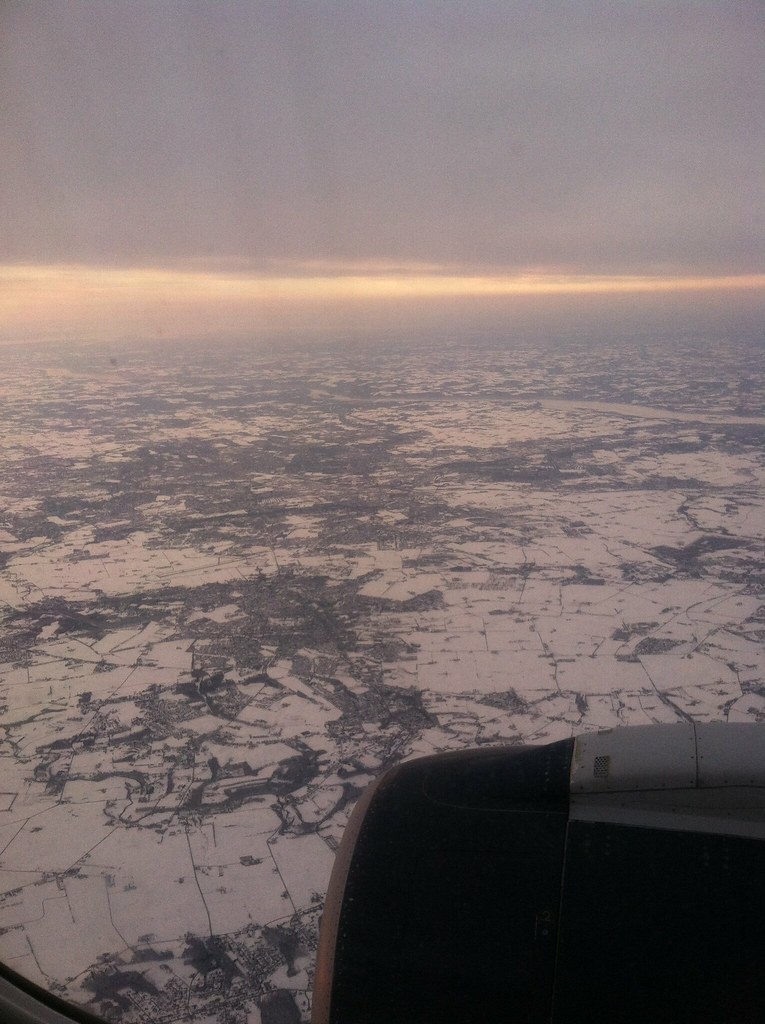
IMG_1177 by Norbert Ogiba, on Flickr

IMG_1178 by Norbert Ogiba, on Flickr

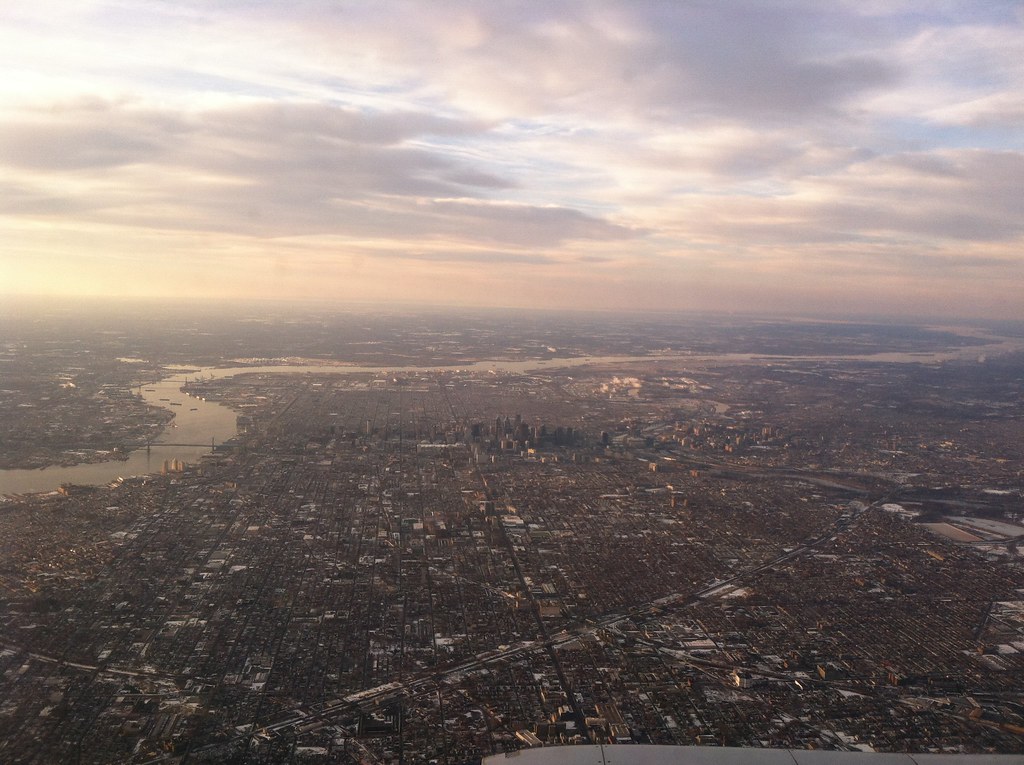
Flying into Philly on a nice Sunday morning. Need to visit in person some day.

IMG_1180 by Norbert Ogiba, on Flickr

IMG_1179 by Norbert Ogiba, on Flickr

Quick layover and a bite to eat, back on the plane to continue on to Providence. 40 minutes later, the sellers Joe and Kathy picked me up at T.F. Green Airport and we made the 45 min drive to their place to inspect the car. I can't thank them enough for their generosity in making the drive there and back on a Sunday morning!

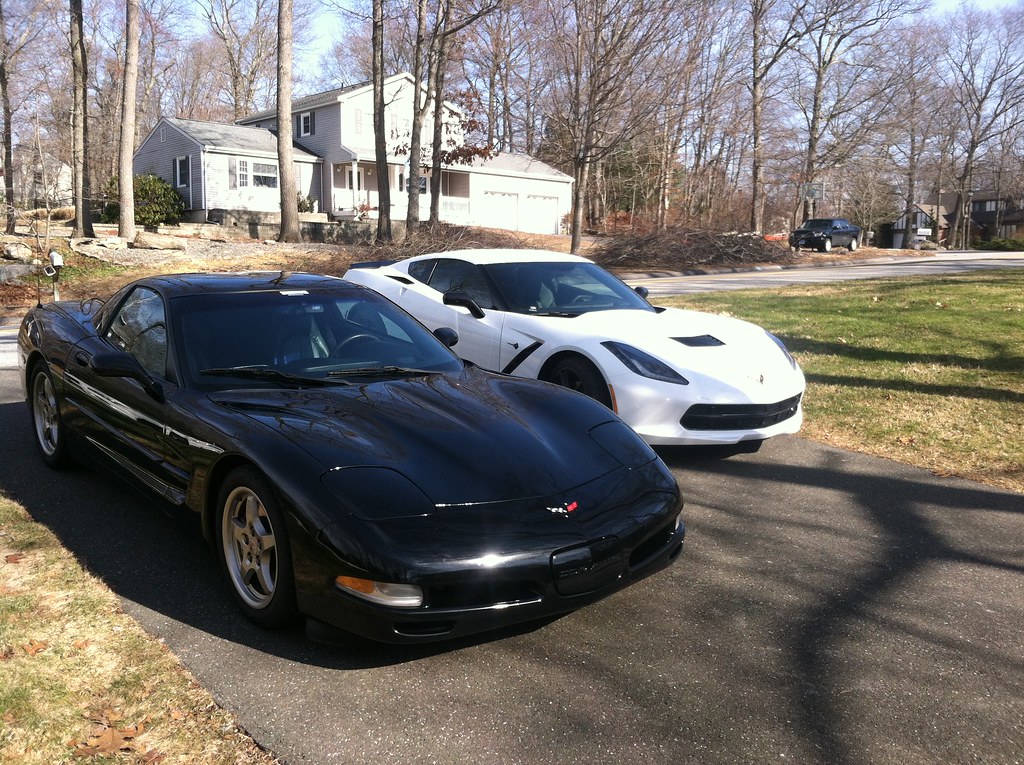
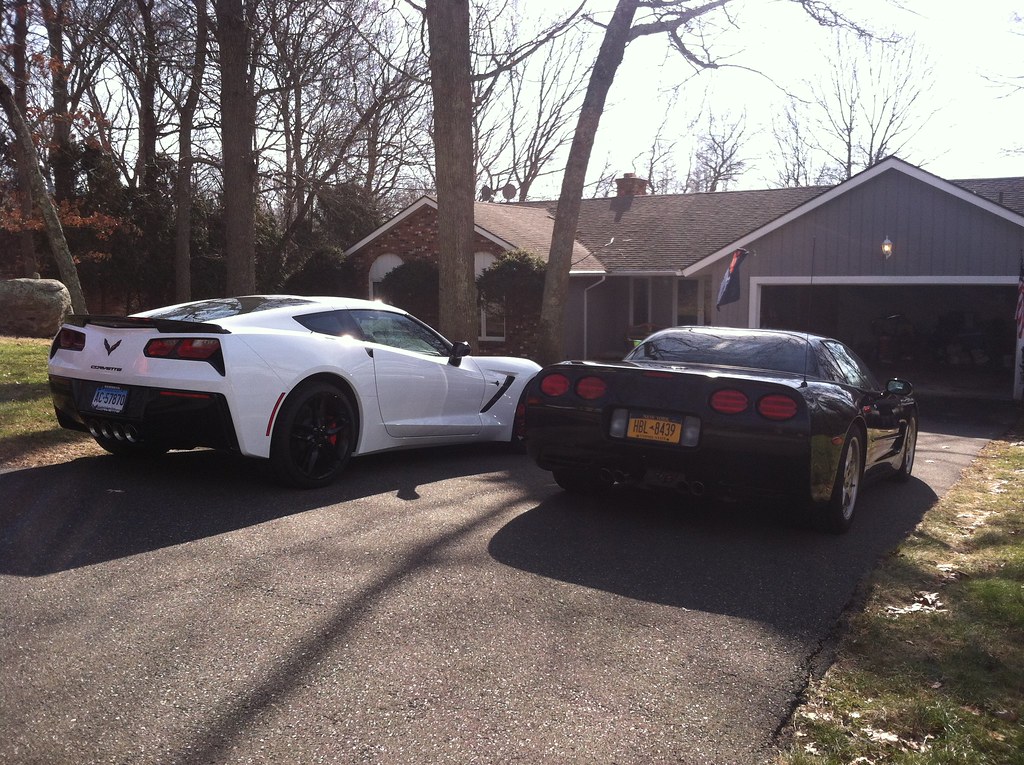
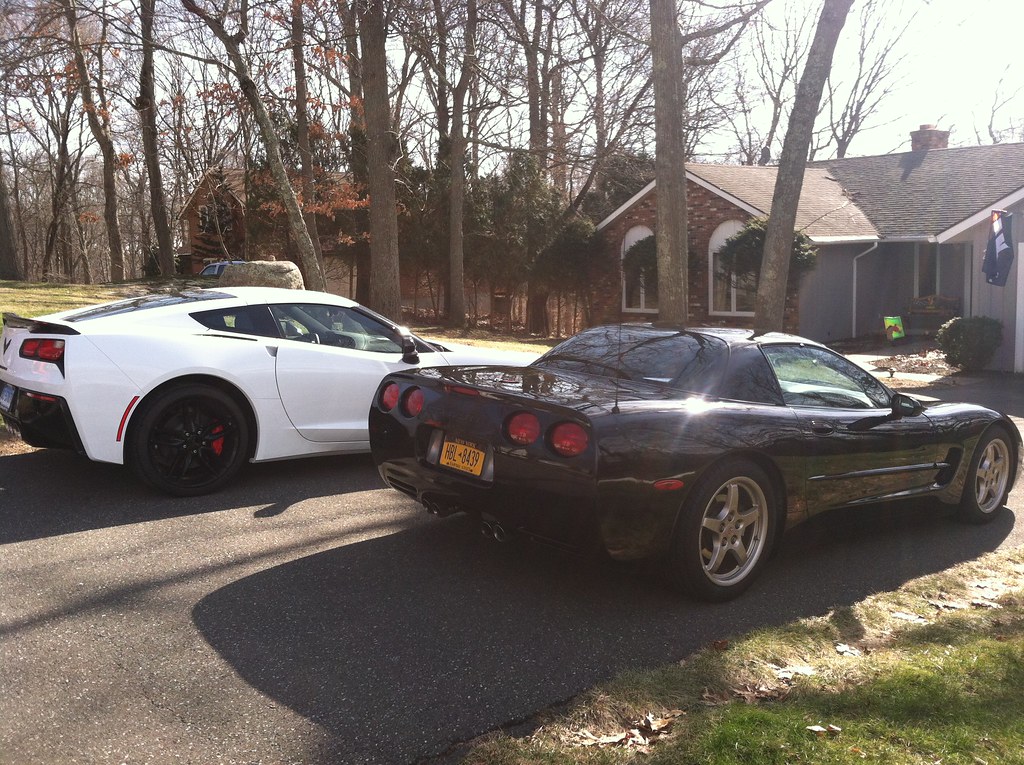
Pulled up to their place and pulled out Kathy's new C7 and my new C5 for inspection, comparison, and general drooling.

Kathy's new C7 Stingray. What a sound out of the exhaust on this car...no, it's not stock either
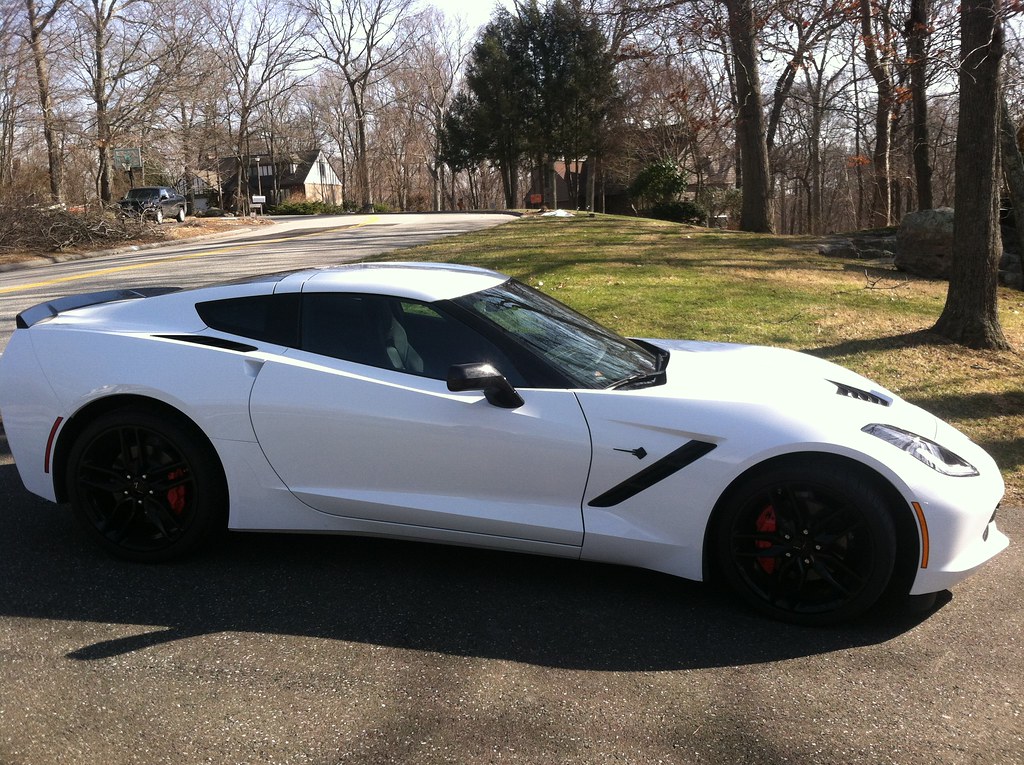
IMG_1185 by Norbert Ogiba, on Flickr

15 year generation gap
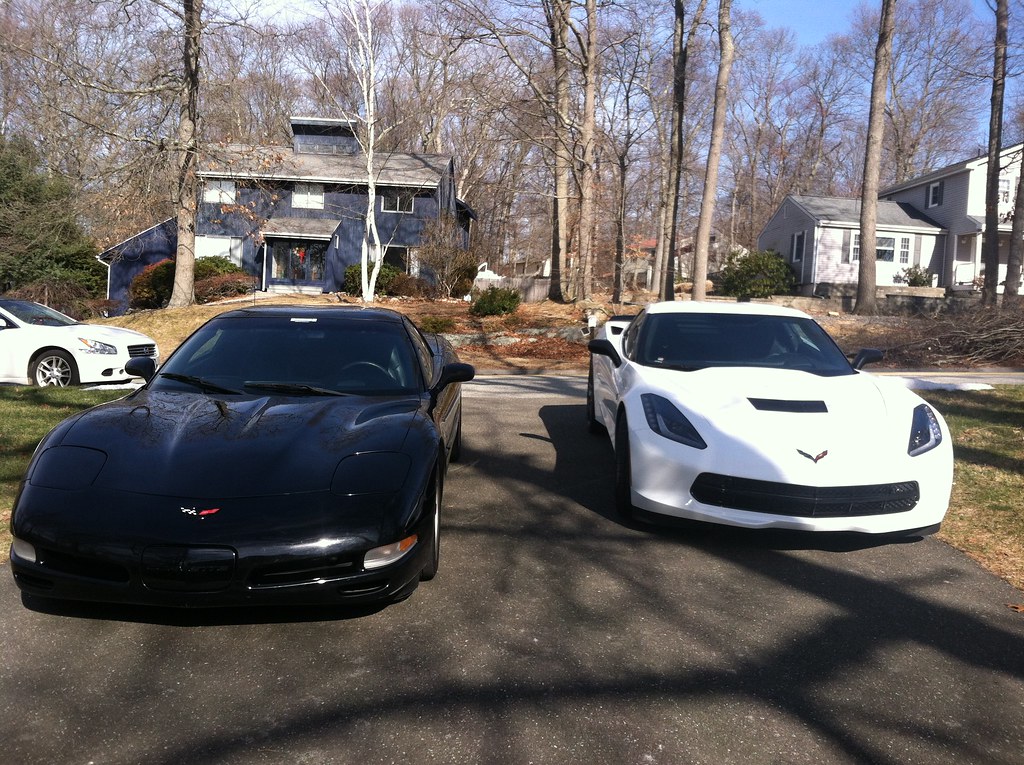
IMG_1186 by Norbert Ogiba, on Flickr

IMG_1187 by Norbert Ogiba, on Flickr

IMG_1188 by Norbert Ogiba, on Flickr

IMG_1189 by Norbert Ogiba, on Flickr

Myself and the new car.
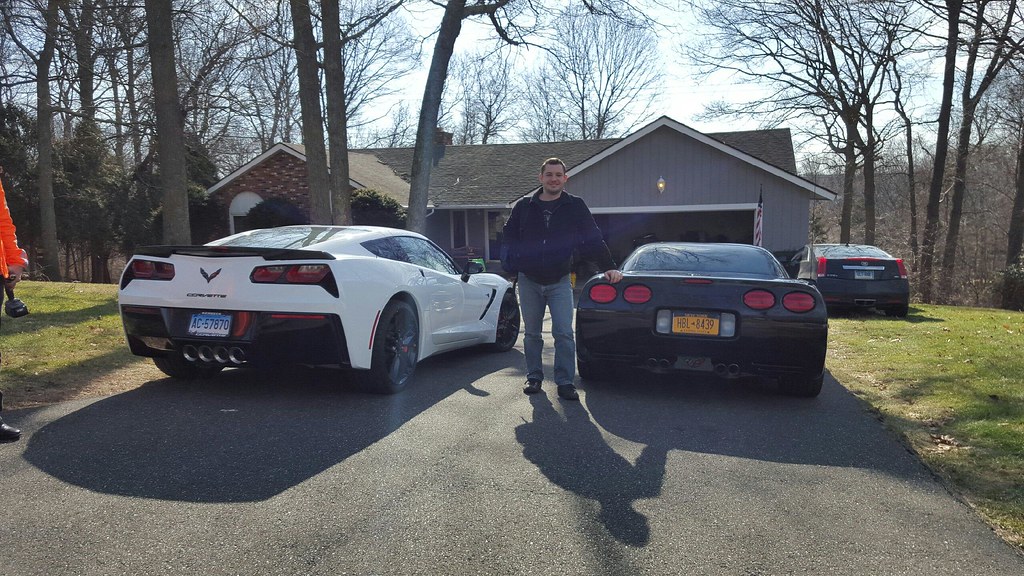
IMG_1217 by Norbert Ogiba, on Flickr

After tying up the last few loose ends I tossed my bag in the car, said my goodbyes, thanked Kathy and her husband for everything, and hit the road:
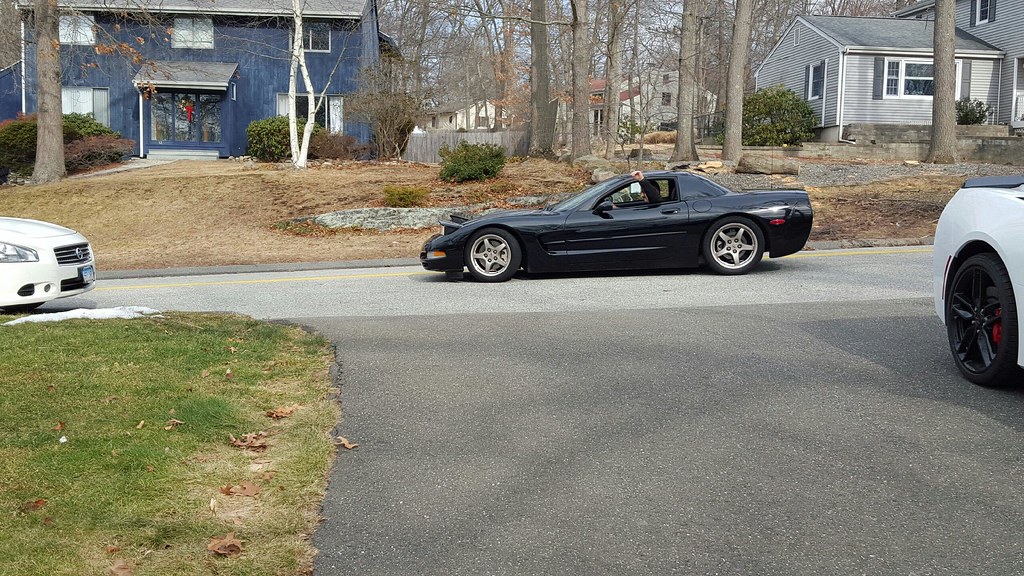
IMG_1216 by Norbert Ogiba, on Flickr

I was lucky enough to get a 50F day at the end of January with no snow on the ground to make this journey.

Some ominous clouds gathering around Hartford CT

IMG_1194 by Norbert Ogiba, on Flickr

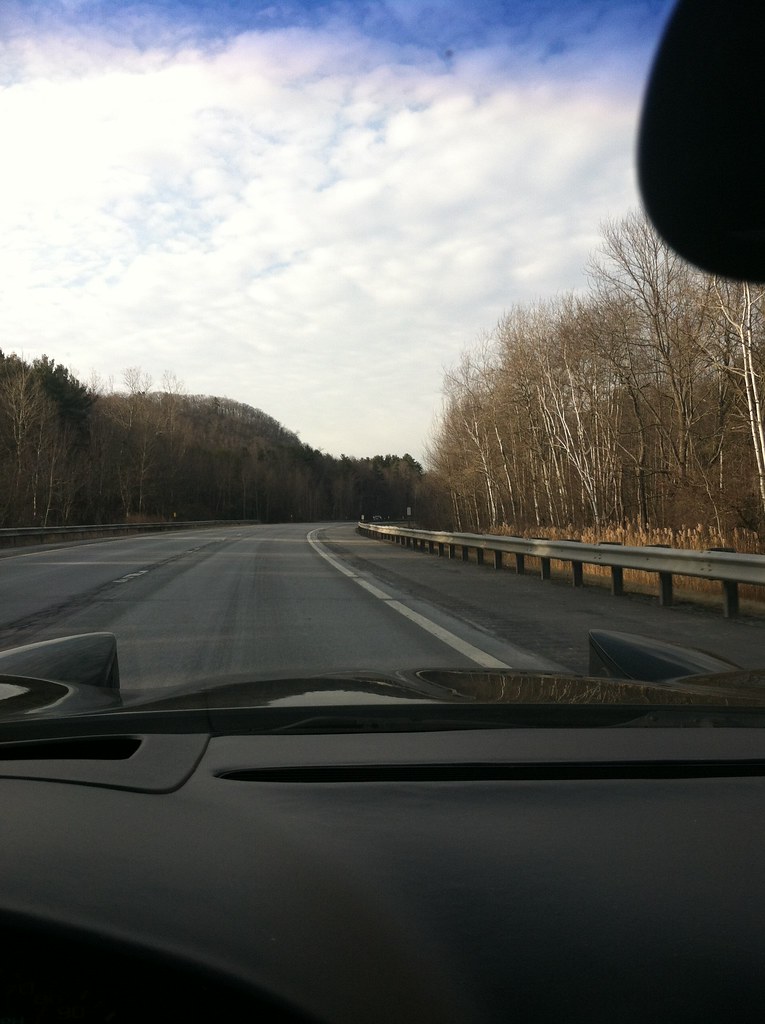
Open road and remnants of fall scenery in Connecticut

IMG_1198 by Norbert Ogiba, on Flickr

IMG_1196 by Norbert Ogiba, on Flickr

I passed over this bridge north of Hartford many times as a kid in the family van on the way to visit family. A nice memory.

IMG_1199 by Norbert Ogiba, on Flickr

IMG_1200 by Norbert Ogiba, on Flickr

IMG_1201 by Norbert Ogiba, on Flickr

Beautiful skies coming out of Massachusetts, pictures don't do it justice.

IMG_1202 by Norbert Ogiba, on Flickr

hmmmm...decisions, decisions.
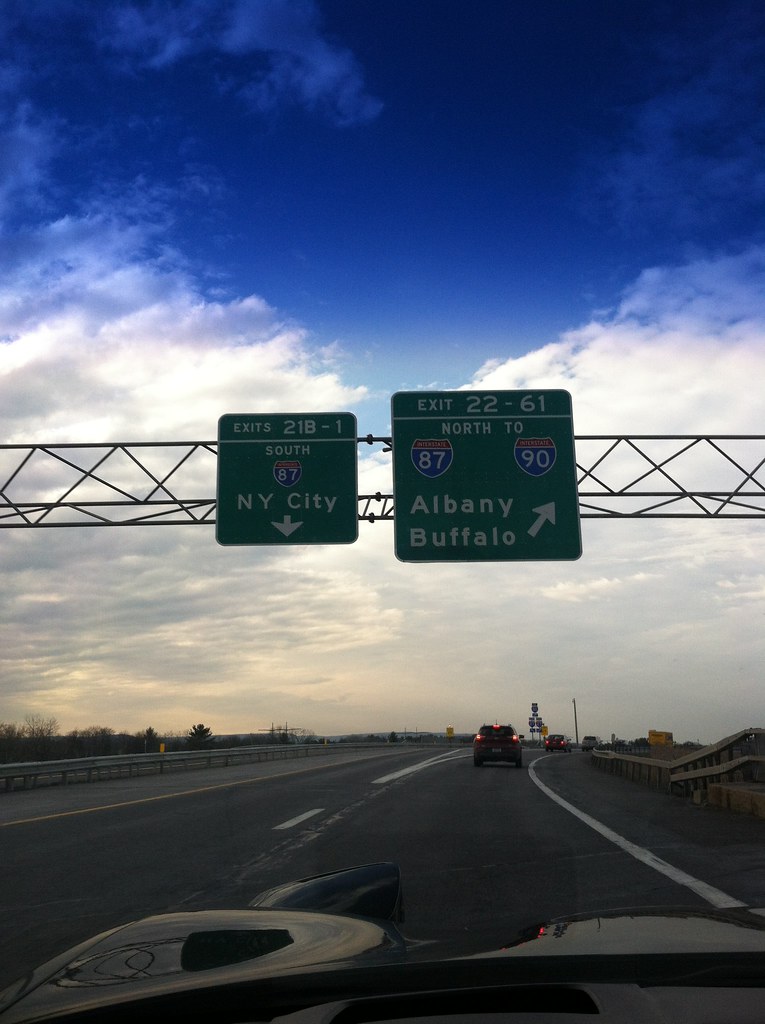
IMG_1203 by Norbert Ogiba, on Flickr

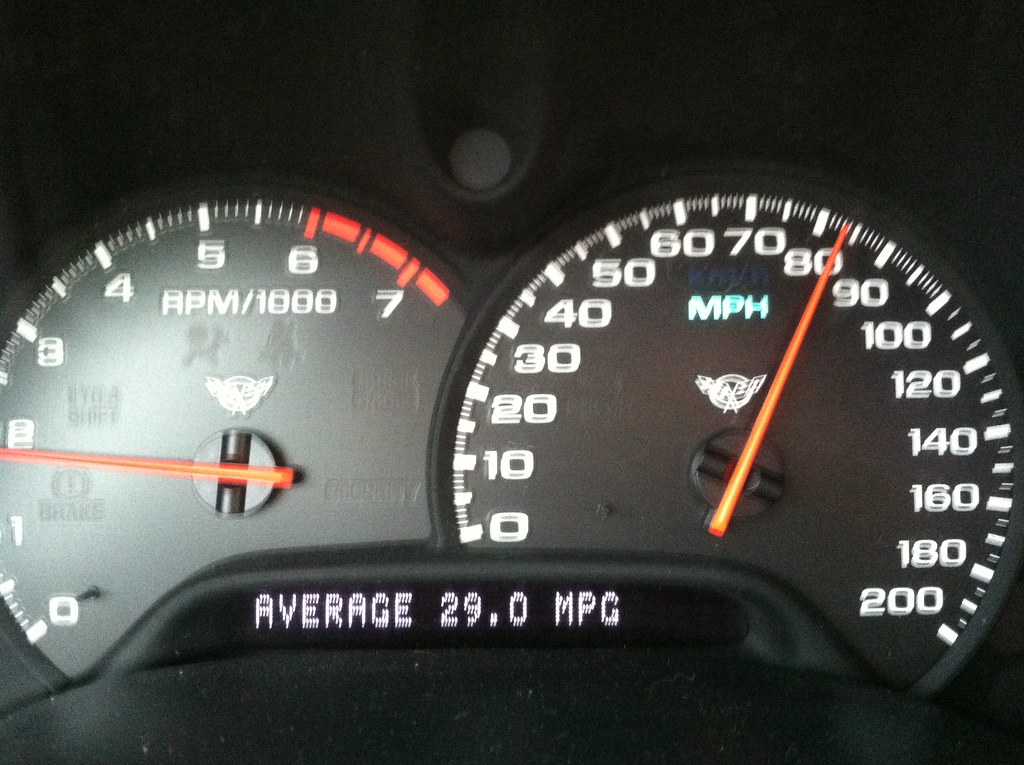
Cruising at an easy 82mph, the car returned stellar gas mileage.
IMG_1205 by Norbert Ogiba, on Flickr

Being the realist that I am, I decided to pull over to fill up the half empty tank and see how she really did. Exactly 250.1 miles, it used 9.345 gals, for an average of 26.7 mpg, with me ripping on it every chance I got. I'm sure it would come close to 30mpg if I were cruising at 70.

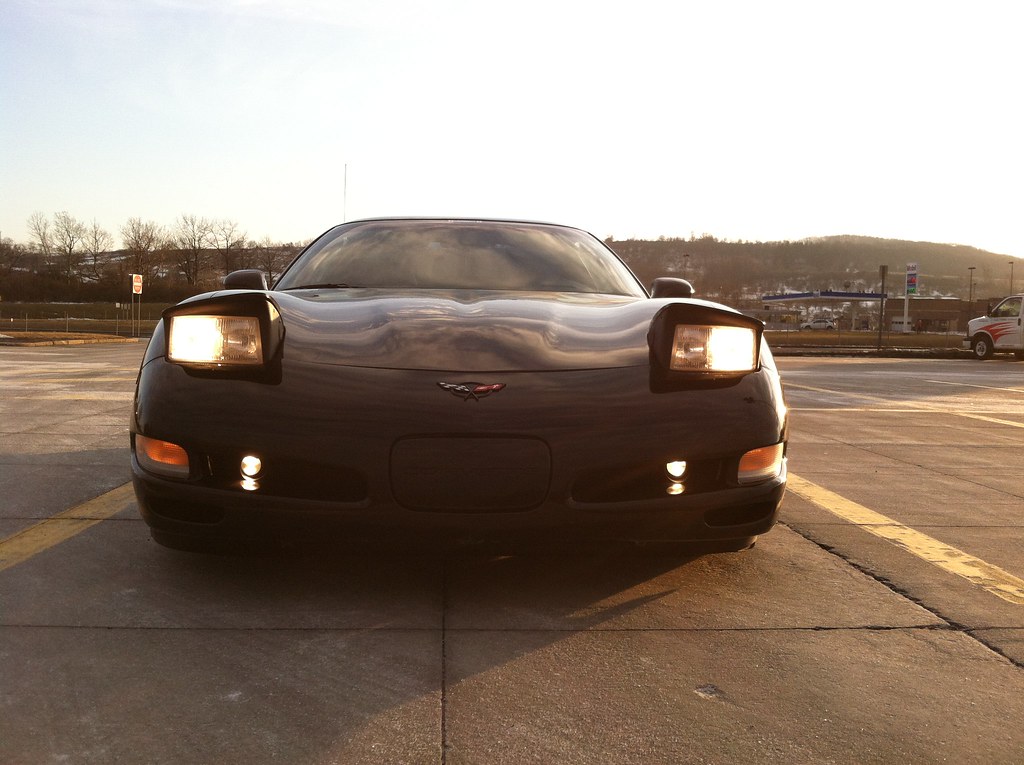
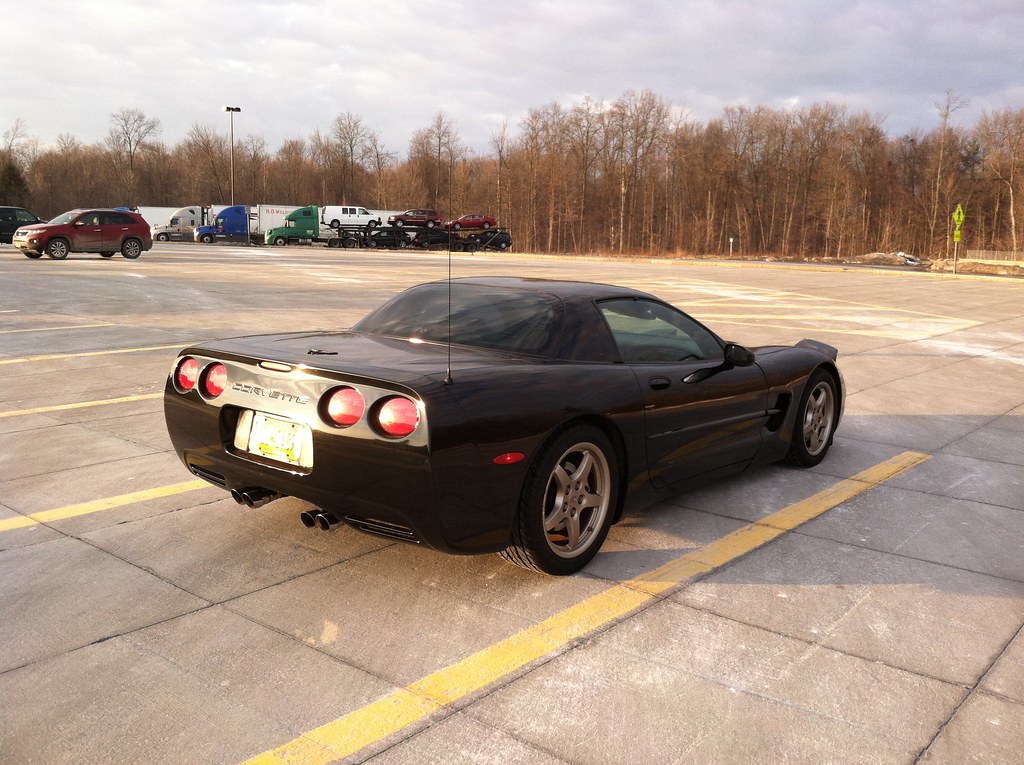
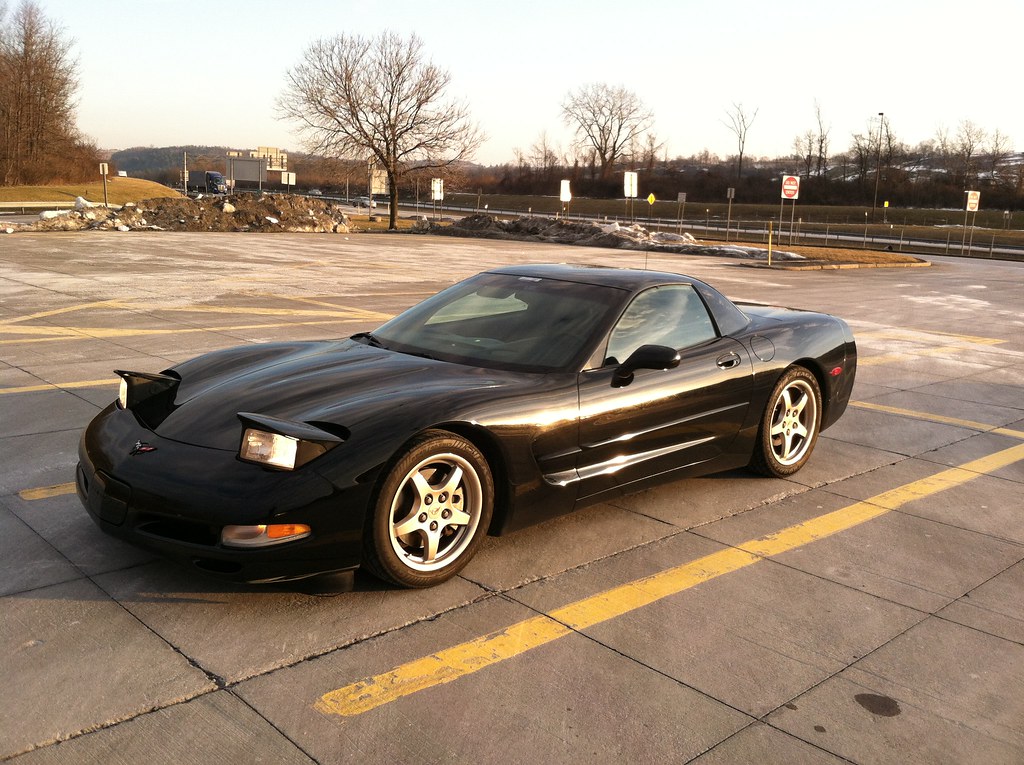
Some pictures and admiring the lines as the sun set in Central New York State
IMG_1207 by Norbert Ogiba, on Flickr

IMG_1208 by Norbert Ogiba, on Flickr

IMG_1209 by Norbert Ogiba, on Flickr

IMG_1210 by Norbert Ogiba, on Flickr

IMG_1211 by Norbert Ogiba, on Flickr

IMG_1212 by Norbert Ogiba, on Flickr

Last couple hours were uneventful.

IMG_1213 by Norbert Ogiba, on Flickr

The HUD is awesome.

IMG_1214 by Norbert Ogiba, on Flickr

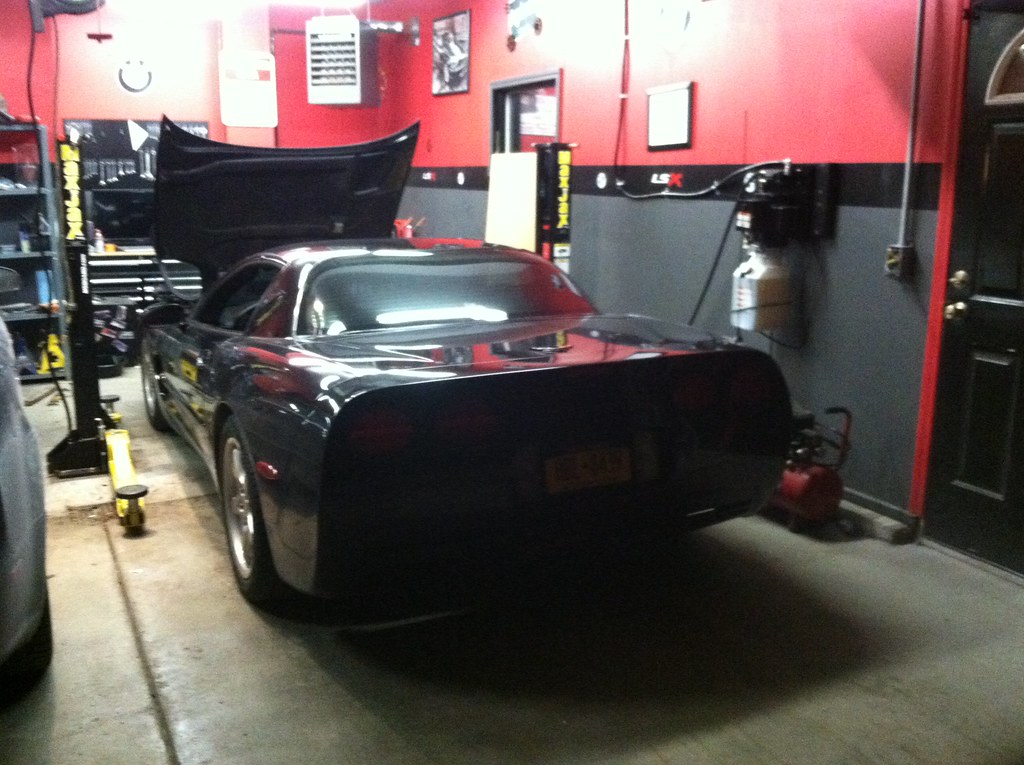
Finally back to the Bat Cave:
IMG_1215 by Norbert Ogiba, on Flickr


Will be back in a BMW some day, but for now it's time to enjoy this one. :woohoo: :cool: :cheers: :rock: :thumbs:

The progress/build thread can be found over on corvette forum:
http://www.corvetteforum.com/forums/c5-general/3774651-2000-black-frc-progress-thread.html
 

Mickm

Well-known member
Joined
Nov 8, 2006
Messages
156
Location
Louisiana
Congrats on getting a great car and having a great trip doing it.
I just bought a 2008 vette convertible and like you are having a blast with it.
Enjoy the open road in a Vette!!!
 
OP
N

nsogiba

Well-known member
Joined
Jan 16, 2013
Messages
232
^ Thanks, it's a lot more rewarding to drive than the BMW, and is just as fast in a straight line, but is bone stock :)
 
To avoid these ads, REGISTER NOW!
Top Bottom