To avoid these ads, REGISTER NOW!

Not what I would have built...

Quiksilver

Well-known member
Joined
Jun 22, 2006
Messages
333
Location
Loveland, OH
... but we'll make it work.

Hello everyone, I thought I would drop a few photos of where my pole barn is right now, and update as I make further progress.
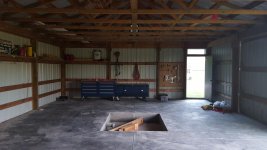
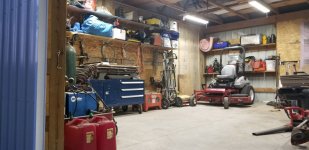
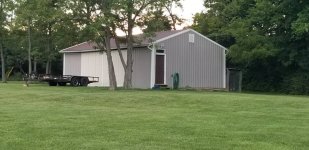
A little over two years ago we purchased our second home. I was fortunate enough to find a house we like that already had a pole barn. It measures 24' x 36' with 9' ceilings.

When we purchased the house the barn was basically a shell.

attachment.php


I had concrete poured about two months after moving in.

attachment.php


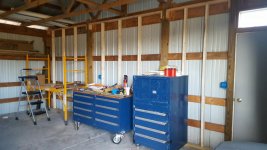
I started framing out walls and running electric.

attachment.php


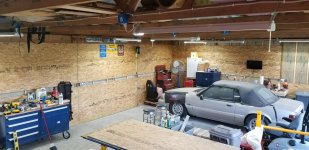
Started covering the walls with OSB.

attachment.php


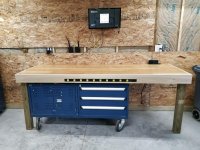
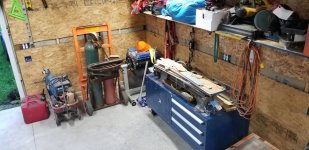
I built a main workbench.

attachment.php


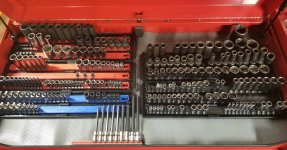
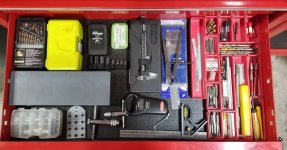
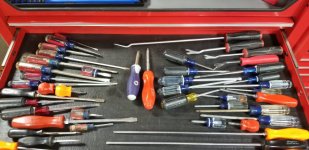
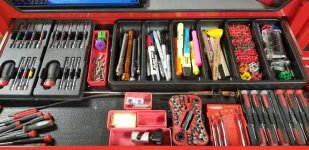
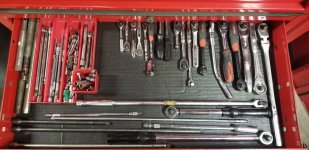
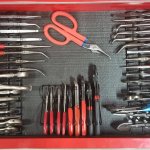
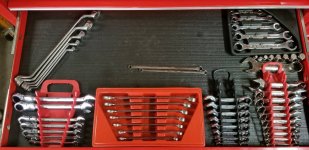
Then finally brought all of my tools home to one place. They used to be scattered out across 4 or 5 different places. This is how it sits today.

attachment.php
 

Attachments

  • 20160522_163448.jpg
    20160522_163448.jpg
    155.5 KB · Views: 1,913
  • 20160718_192837.jpg
    20160718_192837.jpg
    132.5 KB · Views: 1,916
  • 20170212_164834.jpg
    20170212_164834.jpg
    133.4 KB · Views: 1,906
  • 20171015_182014.jpg
    20171015_182014.jpg
    154.9 KB · Views: 1,906
  • 20180428_193530.jpg
    20180428_193530.jpg
    152.5 KB · Views: 1,913
  • 20180805_204240.jpg
    20180805_204240.jpg
    148 KB · Views: 1,904
Last edited:
To avoid these ads, REGISTER NOW!

slow

Well-known member
Joined
Feb 26, 2006
Messages
2,596
Location
near Orlando
lift or whats in the middle of the space? I like the idea of the powerstrip in the front of the bench.
 

jrevans

Well-known member
Joined
Jun 29, 2009
Messages
82
Watching with interest.

Looking good so far...

I have a 24'x 32' Pole building, Similar plan to stud frame w/insulation and painted OSB.

Keep us posted on the progress.
 
OP
Q

Quiksilver

Well-known member
Joined
Jun 22, 2006
Messages
333
Location
Loveland, OH
The workbench is framed out and covered with osb and some 5/8" laminate bamboo flooring. It was actually fairly cheap and has earned some scars already.

I started sorting out the other side of the garage this week. If I can determine what items stay and what items go, I should be in good shape.

It's also about time to start considering what type of door I want to go behind the mower. Sliding, roll-up, or swing out?20180808_204939.jpeg20180808_202318.jpeg

Sent from my SM-G950U using The Garage Journal mobile app
 
Last edited:

rattle_snake

Well-known member
Joined
Jun 25, 2015
Messages
5,230
Location
Chandler, AZ
Is your plan to make removable covers for the gap between the OSB sheets, for future wiring?
What's the story of the Fox Vert?
 
To avoid these ads, REGISTER NOW!
OP
Q

Quiksilver

Well-known member
Joined
Jun 22, 2006
Messages
333
Location
Loveland, OH
Installing the osb this way served two purposes. The first is exactly what you said, it should make adding electric easier if needed in the future, it's no more than 5ft to fish a line from anywhere. The second reason is that there was very little hole cutting and placing for the outlets. A full sheet of osb fit perfectly above each box, then after I installed the treated 1x4 base molding, I ripped the bottom sheet and screwed it to the studs.

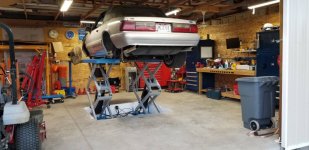
So far as the Mustang, there isn't too much to tell. I bought it about 4 years ago, installed the convertible top and it's just been sitting since then. Now that I have a decent place to work on it I'm getting excited to turn some wrenches on it. It really just needs some general TLC. I started a list of repairs it needs last night, so we'll see how the progress goes.

Sent from my SM-G950U using The Garage Journal mobile app
 
OP
Q

Quiksilver

Well-known member
Joined
Jun 22, 2006
Messages
333
Location
Loveland, OH
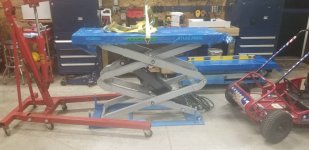
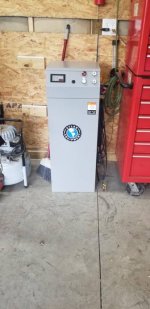
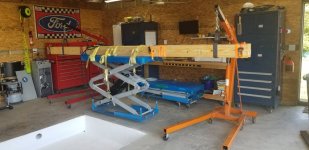
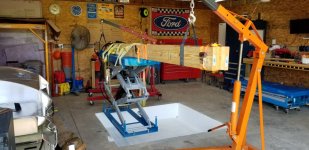
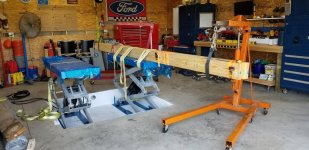
I painted the pit with dryloc this week and set the platforms down in the pit. I set my control panel further away from the pit than recommended, which means I've ended up with deficit of 56" in length on one of the hydraulic lines. I'll get that sorted out this week and hopefully be able to test it out and get it mounted by next weekend. I'm getting really excited about being able to lift the first car on this thing.
AF1QipOq_hAD-IuwtFZ0dKtgm2R1j0-I0PNw0-PM8fch
 

Bessy

Well-known member
Joined
Dec 18, 2012
Messages
995
Location
Ontario, Canada
Any plans to fill in the section between the lift pads? I'd hate to be looking elsewhere and take a step into the pit between them.

Sent from my Pixel 3a using Tapatalk
 

Unruh

Well-known member
Joined
Aug 12, 2017
Messages
1,431
Location
Silverdale, Washington
What great progress! I may not have been what you would have built, but you are doing a great job of making it yours. I like how you seem to have a pretty clear idea of what you want to achieve and are taking the steps to get there.
 
OP
Q

Quiksilver

Well-known member
Joined
Jun 22, 2006
Messages
333
Location
Loveland, OH
Bessy, yeah, I plan to fill the space with a framework that has a removable top on it. I haven't finalized that design yet, but I expect a metal framework and either a metal or "2 by" wood top.

Unruh, thank you. I've been working on the space in my head and in Sketchup for quite a while now.

Sent from my SM-G950U using The Garage Journal mobile app
 
OP
Q

Quiksilver

Well-known member
Joined
Jun 22, 2006
Messages
333
Location
Loveland, OH
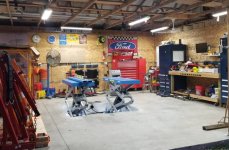
I've been using the lift for about 3 weeks now and I'm absolutely loving having the new capability. I upgraded the brakes on the Mustang and have put a few miles on it this weekend. There is still a long way to go on this car, but it feels great to drive it.

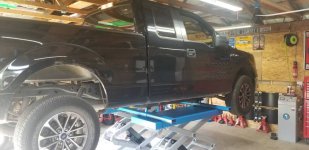
I lifted my truck for the first time today and repaired a heat shield rattle. I should be able to start raising the section over the lift here in the next few weeks. I want to be able to stand under the truck.

IMG_20190915_003608_860.jpeg20190915_130504.jpeg

Sent from my SM-G950U using The Garage Journal mobile app
 
To avoid these ads, REGISTER NOW!
Top Bottom