It has been quite a while since I posted any update in this thread. For the last few months I've been quite busy at work, working over 75 hours per week so my time in the shop is pretty limited, but I try to do my best to improve it.
Here are some pictures from this weekend.
The following picture deserves a bit of explication...
There was a "Vehicles entering and exiting" sign near the place I work and every morning that I passed I admired the shape of the car on the sign (looked like my Camaro). Then suddenly one day the sign was gone... Probably a truck or a bus that was passing, hit it and it fell who knows where...
Then after a week or so after, going out to lunch I spotted it laying in a trench nearby...
Long story short... I restored it and put it on a wall in the shop.

Also the hoist is ready to pull the engine out of the Camaro... can't wait...
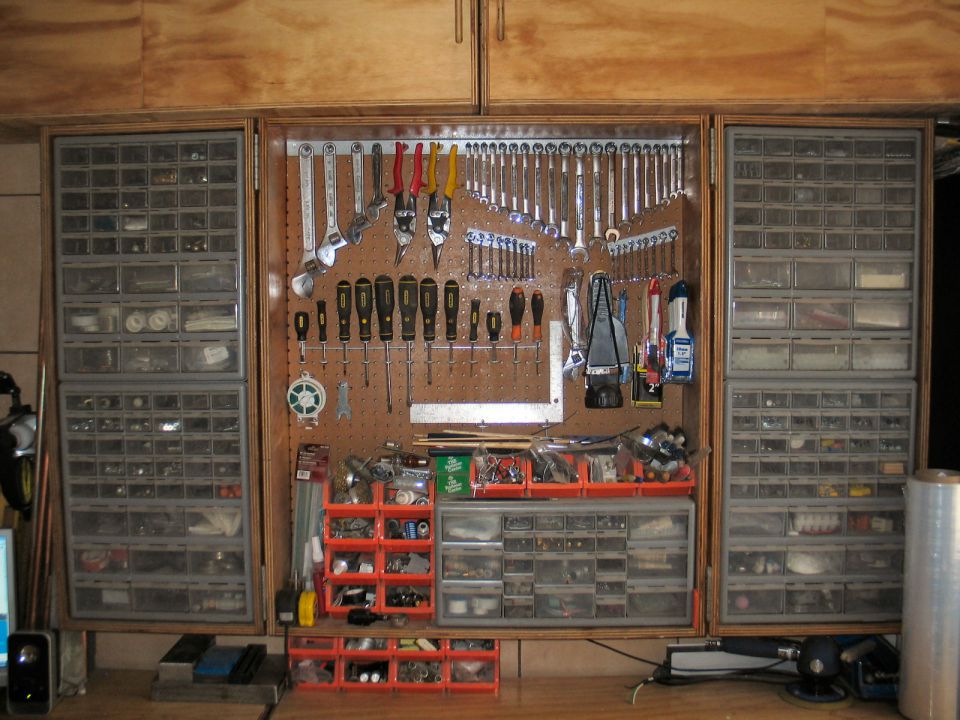
Organized a little bit my pegboard
Added more storage cabinets on top of pegboard cabinet
More cabinets added. Love the one in the corner. It looks small, but it holds a circular saw, a router, cylinder compression test kit, full face respirator, a drill, paint gun, Dremel kit etc...
Have to find time to finish the speaker so it matches the right one.
Had to modify the workbench a little bit to fit the air compressor. I also added two drawers and doors on the bottom.
Covered all the drawers with non-slip foam/rubber lining.
Added matching front panels for drawers.
More storage next to the computer.
Organised the drawers a bit... way better than have everything just piled up on the bench.
Metric drawer...
Standard drawer
Misc. drawer
Another misc. drawer organised with Akro-mills boxes
Also the toolboxes got a bit of the OCD

Need to find some time to paint the small toolbox to match it to the tall one.
This is it for now. Hope you like it.
Beside finishing and painting the left speaker box I also need to finish the amplifier so I can play music from the computer on the big speakers.
Another thing to do is to put in place a hard copper line for compressed air with water/oil separator, regulator and some filters to get the air quality up for painting.
Matt


")


