zmotorsports
ALLIANCE MEMBER
Nice job Paco. Brake fluid is one item I am **** about as well. It's cheap and doesn't stay too awfully long in my cars either.


Nice job Paco. Brake fluid is one item I am **** about as well. It's cheap and doesn't stay too awfully long in my cars either.
Mike,
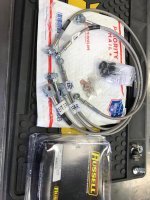
Heres a link to the bat seller:
https://www.ebay.com/itm/Russell-69...e=STRK:MEBIDX:IT&_trksid=p2057872.m2749.l2649
I now remember I had a $10 drop from ebay bucks. They do charge Tax now so expect a little bit more.
The seller has impeccable feedback too.


Thank you Mike,
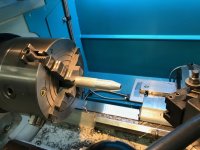
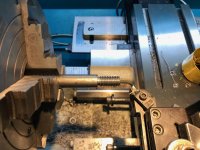
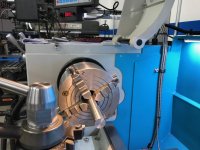
The inserts leave a nice finish but like you I use a 220 grit followed by steel wool.
On Aluminum I get an almost mirror finish with the right speed/feed and insert with no secondary finish operation.
Hey Paco, I'm glad to see that I'm not the only on the writes dimensions on the mill vise with a sharpie to keep track of where I'm at or where I have to go.

Who doesn't do that??


Exactly. Easily wipes off when cleaning up afterwards and doesn't get lost like a small piece of paper.
I also picked up a smallish (12"x14") dry erase magnetic board that I have stuck to my control box directly above my lathe that I write measurements on so I can see them while standing at the lathe and then wipe them off when done and wiping the lathe down.

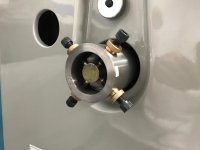
Nice fit.


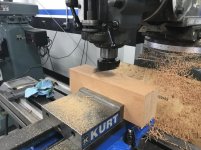
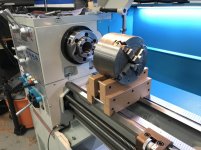
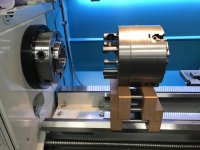
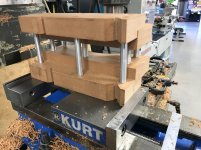
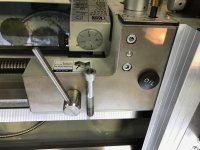
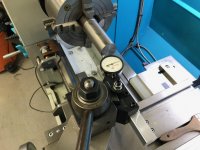
") But the experience in fixturing was valuable..
But the experience in fixturing was valuable..Hey Matt,
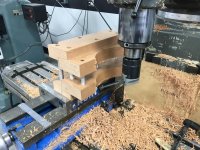
When you think of the cost of the machines we used and our time to make those oil filter tools, it becomes apparent how much they really cost. lol, But like mentioned previously, it puts a smile on our faces. Lisle $7-9 bucks. DIY, $300 hahah.
I think you and I both took after our grandfathers....
Incidentally, here's a nice 0-4" Starrett No.224 SET AA my Grandfather gave me back on Nov 6, 1979.
I was a sophomore in H.S. taking intermediate Machine Technology at the time. While on Thanksgiving break visiting him in Juarez, Mexico he learned of my machining interest and presented me with the micrometer and note.
Grandad also gifted me a slide rule that day although I prefer a calculator
No projects in the immediate future as the shoulder is on the mend but soon enough brother.
That's awesome Paco that your grandad had enough insight to see your interests and wanted to inspire and encourage your education in the field with such a generous gift. I love hearing stories like this.
Hi Mike,
Thanks brother, It was/is a special gift. I remember hanging out with him as a tike during summer vacations. He was the superintendent of an American owned plant that processed Cotton into bails, crushed the seed to extract oil and further process the crushed seed into feed If I remember correctly. The plant was rudimentary like most back then with open auger feeders and conveyer systems. I remember is shack (office) was right in the middle of the plant. filled with interments and a drafting table he always used for calculations. On any given day he could hear of feel something wrong from his shack and correct it before a total failure.
He was a firm man but gentle with us kids. He passed when my son was an infant back in 88.
My mom hangs out in the shop with me sometimes and shares many stories about her life in Juarez Mexico. I no longer have any family there. It's a dangerous sh*t hole now but a ton of priceless memories where made there.
Be well my friend.