To avoid these ads, REGISTER NOW!

Our Little Garage

wmchurch

Active member
Joined
May 4, 2010
Messages
36
Location
Saint Petersburg, Fl
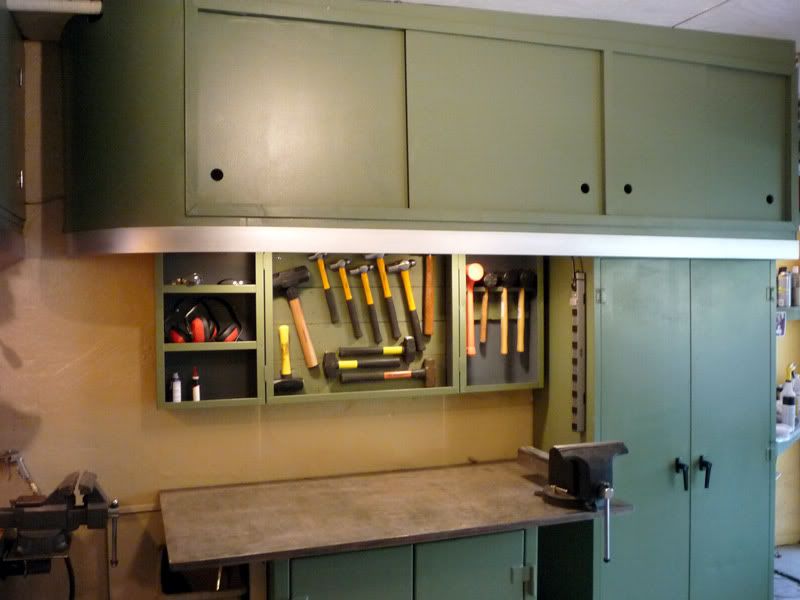
It will pale in comparison to most everything here, but it's our little garage and it needs love too. The Mrs and I decided that after 12 or so years we need to get it done.

So here we are, with the beginning of our transformation.

This garage started out as a carport 60 or so years ago. When we moved in one of the first things I did as a new homeowner at the age of 24 was to enclose the garage. I don't think I did a horrible job but a years later and wiser I see some things that don't quite make sense and we hope to correct that.

The stats:

- Single Car garage
- Roughly 12'wx23'dx(7'5"-8'7")h inside dimensions
- Garage door that's seen better days
- An opener that never worked properly with the door ( I blame the installer, oh wait that was me )
- A washer and dryer that are probably worth more than the garage
- Water heater
- Main electrical panel

The wants:

- Garage door repaired or replaced w/ opener
- Insulation. It's Florida and it gets hot
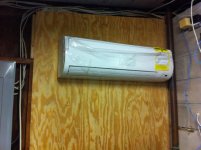
- Air Conditioning (see above) will probably be a mini-split
- Wash sink
- Drywall
- Outlets everywhere
- Better lighting
- Nice floor (paint or epoxy)
- Network / Cable distribution box
- Flood "protection". We're near the bay and during tropical storms water rises quite a bit. Only had water in the garage one year out of the 13 or so but would like to mitigate the effects as much as possible.

Google SketchUp of what we have to work with:
Little%20Garage.png


We don't want the Taj Mahal, just want it to be nice.

I'm looking for suggestions on how to tackle a few things. Any feedback will be greatly appreciated.
 
To avoid these ads, REGISTER NOW!

Dan in Pasadena

Well-known member
Joined
Feb 18, 2009
Messages
13,149
Location
Pasadena, CA
No comments on the insulation but I DO have comments on adding storage - IF you want them. I'd suggest perimeter soffit cabinets to get everything up off the floor since the space is small and it is subject to flooding. Since you mentioned flooding, I think I'd step away from the idea of an epoxy painted floor or VCT, and go for either ceramic tile or a RaceDeck type floor. Since you intend to make it a rental eventually, you can take it with you....but it is pricey.

Examples of soffit cabinets:
JacksOverheadSLidingDoorCabinets.jpg

These are Jack Olsen's. My his admission they were inexpensively made and use sliding plywood doors in dado'ed 2x lumber:
JacksCabinetGrooves103-1.jpg


I can never remember the name of this GJ'er (the FRIGGIN AWESOME '69 Camaro fogs my brain every time!) YOu can just see his soffit cabinets in this shot:
ThomasGarage3.jpg


Hope this helped a little. Doesn't have to be expensive. Scout Craigslist for scrap lumber and left over drywall. It's out there if you're patient - ask me how I know?! ha ha.
 
To avoid these ads, REGISTER NOW!
OP
W

wmchurch

Active member
Joined
May 4, 2010
Messages
36
Location
Saint Petersburg, Fl
Dan:

That is great advice. Out of curiosity, why no epoxy since it floods? Is there an issue with it lifting?

I do happen to have quite a few Gladiator wall cabinets that I will be making use of, however I did consider some additional cabinets on the taller wall and those soffit types will be perfect. It's a concrete block wall as well so it's got a good anchor point.

Jack Olsen's garage makes me drool, showed the wife last night and I think we're going to rip off the color scheme. ;)
 
OP
W

wmchurch

Active member
Joined
May 4, 2010
Messages
36
Location
Saint Petersburg, Fl
We placed the order for insulation and plywood to get things kicked off this weekend. We also picked up a 12,000 BTU mini-split from MiniSplitWarehouse which just happens to be in Tampa!

This is the unit we snagged.

http://www.minisplitwarehouse.com/K...ni_Split_Air_Conditioner/p315964_7228425.aspx

If you call, and they have it in stock, they give you a decent discount when you pick it up ($748.99). They also offer cash discounts as well when you pickup.

I can't comment on how well it works yet, hopefully by this weekend I'll be able to tell you. I can say everything was packed good and looks in great condition.

I did opt for this less expensive unit since it won't be running 24x7 and it also had a greater BTU output (if we move, I plan on taking this with us) so it should work good in a bigger space.
 
OP
W

wmchurch

Active member
Joined
May 4, 2010
Messages
36
Location
Saint Petersburg, Fl
Did some work the past few weekends. My brother and his family spent labor day weekend with us and his family was kind enough to lend his services to me to get the hairy part of the garage squared away.

Undoing my past wrongs with the garage. I had installed a fan in the rear to help get air moving through. The fan had since died and was just taking up space so we removed it.

attachment.php


Seemed like a good idea at the time, but she had to go.

In it's place, the 12,000 BTU mini-split I got the week before.

attachment.php


And it gets cold!

attachment.php


Installation of this unit wasn't too terribly difficult. The poorly written translated directions did give us some head scratching moments but at the end of the day the basic steps are.

  1. Cut a good sized hole for the lines (think it was probably close to 3 inches)
  2. Mount the inside unit
  3. Connect the extension lines between the condensor and evaporator
  4. Mount the external unit
  5. Vac the system down for 15 minutes (need a manifold gauge and vac pump for this)
  6. Leak test (turn on the packed valve/ supply for about 3 seconds and then turn it back off, use soapy water over the connections, looking for bubbles).
  7. Open packed valves fully, remove close and remove manifold valve and vac pump
  8. Turn her on and cool the place down

We then moved on to insulation, so far I have the walls pretty much done and plywood over them and I'll tackle the ceiling this weekend (in theory). The electrical will probably come around that time too. Just a simple run of conduit over the plywood.

attachment.php


I've been thinking more about RaceDeck for the floors and I was wondering how to deal with the baseboard. I have the plywood walls about 1" off the floor, so I need some sort of trim to bridge that gap. Considering that I'm using the RaceDeck for the floor, what are the thoughts to material selection for the baseboards?

I'm also wondering how I should deal with the plywood seams, if anyone has any ideas I'm open.
 

Attachments

  • wh01.jpg
    wh01.jpg
    35.8 KB · Views: 124
  • wh02.jpg
    wh02.jpg
    48.6 KB · Views: 124
  • wh04.jpg
    wh04.jpg
    40.6 KB · Views: 122
  • wh08.jpg
    wh08.jpg
    49 KB · Views: 121
Last edited:
OP
W

wmchurch

Active member
Joined
May 4, 2010
Messages
36
Location
Saint Petersburg, Fl
Almost forgot, moved the water heater supply lines higher and built a platform for the tank to get it off the ground!

attachment.php


I'll sneak some plywood behind those legs next week, maybe, but the hard part was done.

One thing I wish I did, that I didn't catch until I filled it up with 350lb of water was to orient the drain valve so that it was inline with the corner, instead of the way it is now. I'll drain it eventually and reposition it because it will bug me!
 

Attachments

  • laborday05.jpg
    laborday05.jpg
    52.5 KB · Views: 128
To avoid these ads, REGISTER NOW!
Top Bottom