Hi everyone,
I'm currently in the process of constructing a workshop and storage garage. Unfortunately, the construction process has gone horribly wrong. After providing me with months of troublesome, incompetent subcontractors he went bankrupt and left me with liens and two unfinished garages. The silver lining to this story is twofold: Michigan's construction law prevents the subcontractors and suppliers from coming after me through lawsuits (although they can push for foreclosure) and his absence provides me with the opportunity to carefully vet the concrete contractors.
The following is a long winded overview of the project so far:
Plans:
Workshop:
Storage Garage:
Tuesday 11/25
Everything is moving on schedule. The foundations have been dug and poured and everything was buttoned up for the night.
Workshop

Storage Garage

Wednesday 11/26
The problems begin.
The masons (Manuel and Jose...) have poured the bottom of the wall. Poured walls are not what I'm paying for, but my advisors (two friends of the family and an uncle) say its as good or better than block. On top of that, they've poured a man door in the west (closest) wall and put the garage door on the north wall! The garage door should be where the man door is and there shouldn't even be a man door (I supplied them with a detailed plot plan).

The back garage hasn't been poured yet, but everything is A-O-K back there.

Friday 11/28
Well Friday I panicked after realizing that they probably intended on pouring the workshop's floor at a different level than my current attached garage, so I drove back home to check everything out.
Fortunately they didn't pour anything, but they'd removed the forms, which allowed me a better view at what they had done. The poured wall was made to match the top block on the attached garage.

Monday 12/1
Meeting and Trusses
My not-quite-retired Father shuffled his schedule and I arraged for him to meet the builder (I have no vacation days left ). During the meeting the builder agreed to add a course of 4"x6" block to get the block above the poured floor (he confirmed that the workshop and garage floors will be poured to match); apparently Manuel and Jose didn't call me to open the garage so they could check the level of the garage floor 'cuz dey no speaka englais :roll: . The meeting also revealed the source of the garage door-man door problem: the builder communicated the plans verbally to the architectural firm who drew them up (one of them messed up, I don't know or care who), then builder didn't review the plan before passing it to his project manager, who didn't know any better and passed it off to Manuel and Jose, who built it exactly to the plan that they were given. The trusses for both garages were also delivered on Monday.


Tuesday 12/2
Lumberfumble
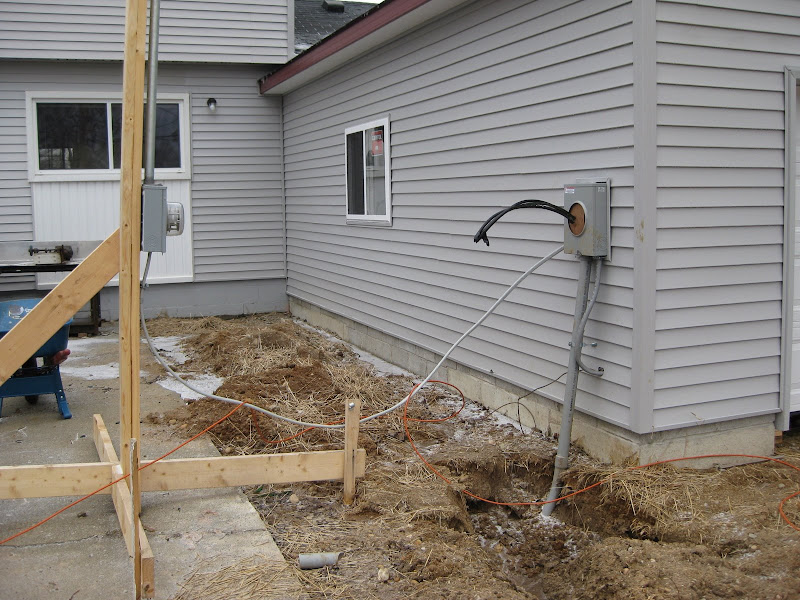
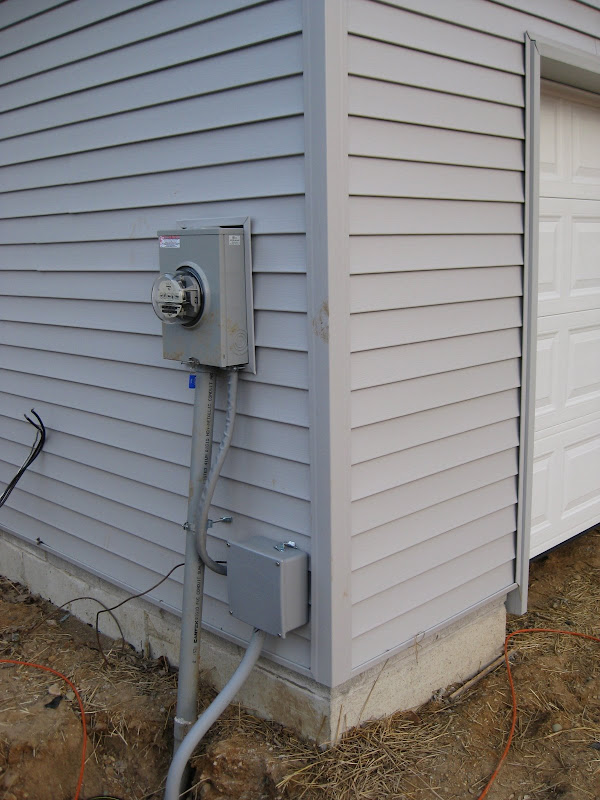
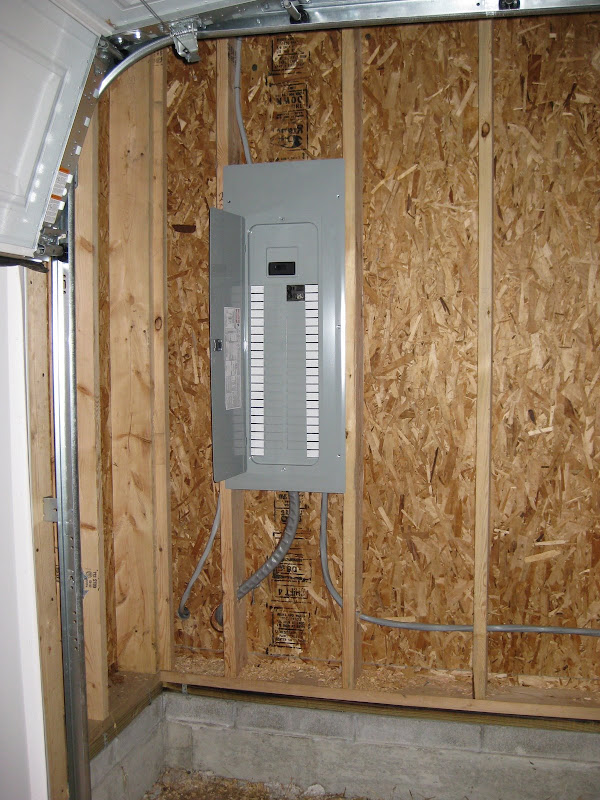
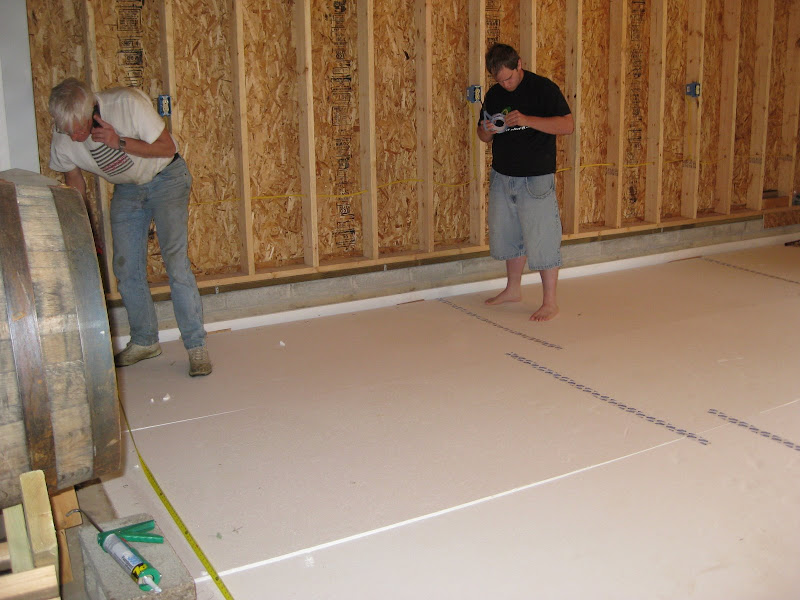
The supply company delivered 2x4s instead of 2x6s, setting my project back another day. The project manager claims he put a couple extra guys on the project since it's fallen behind, I have no reason to doubt him... I guess. He's supposedly sending out a plumber to quote the utility sink tomorrow (it wasn't part of the original quote, my bad). I'll be doing most of my own electric (plugs and lights), but I'm going to have a qualified person connect the 200 amp service to my workshop and subfeed the house and storage garage.
They delivered the 2x6s and a stack of OSB board this evening, it looks like they should be getting going tomorrow as promised!

Wednesday 12/3
Finally, back underway!
When they arrived this morning they pushed the trusses off to the side, one by one. Unfortunatley, they set them on the neighbor's property, so I'm going to have to go over and apologize when I get home from work.

They loaded the lumber in one of their pickups and hauled it back to the detached garage load by load. They've also got a portable generator and an air compressor out there.


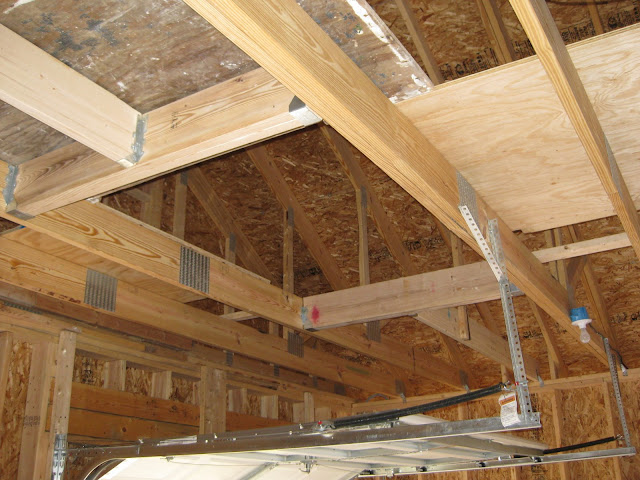
They're making good progress. The engineered beam is almost ready for installation and the back OSB is being installed.


And I thought this was pretty.

I've been promised that the masons will be back today to fix the workshop. These pictures were snapped around 9:30 after a meeting in Pontiac and before I went to Warren. At that time the plumber and electrician hadn't arrived either.
Here are some pictures my Dad took during the day yesterday and a couple I took in the evening when I got home:
The walls went up quickly

Followed by the trusses


The mason actually did show up...

...and he got a lot done! :roll: He cut the poured wall where it needs to be broken out for the garage door...

...and laid a couple blocks on top, as though he actually got to laying block.

Thursday 12/4
Garage Door-be-gone!
The mason blocked in the incorrect garage door and laid the block around the foundation to bring it up above the pad.

The offending chunk of wall was busted out where it had been cut. Its ready for walls now!

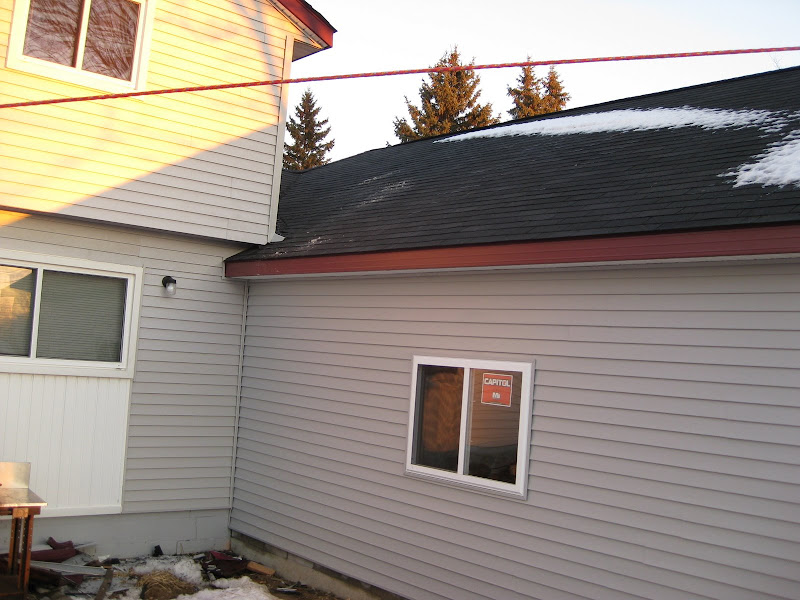
They got the OSB on the trusses on the back garage. Its ready to get roofed and sided!

They also cut out the sill plate that had been over where the apron is going to be poured.

I'm currently in the process of constructing a workshop and storage garage. Unfortunately, the construction process has gone horribly wrong. After providing me with months of troublesome, incompetent subcontractors he went bankrupt and left me with liens and two unfinished garages. The silver lining to this story is twofold: Michigan's construction law prevents the subcontractors and suppliers from coming after me through lawsuits (although they can push for foreclosure) and his absence provides me with the opportunity to carefully vet the concrete contractors.
The following is a long winded overview of the project so far:
Plans:
Workshop:
- 24'x24'
- 2x6 walls
- Full storage trusses for bulky and heavy parts (read: engines, axles, bumpers, and body panels)
- French doors over garage door for access to attic
- Walk-through into existing attached garage attic
- Trolley-mounted electric hoist for lifting parts into the attic and engines out of cars 8)
- 4'x8' opening in ceiling for hoist cable and parts
- Single piece "swing-down" stairwell
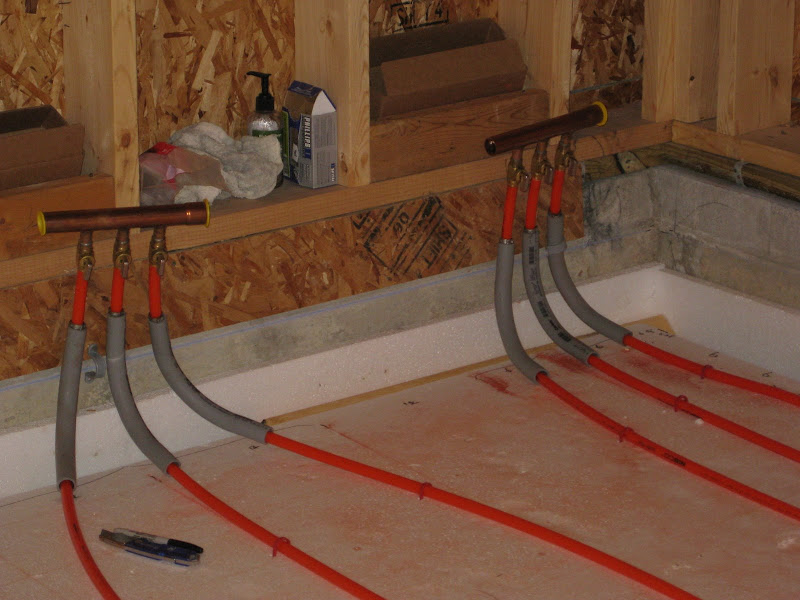
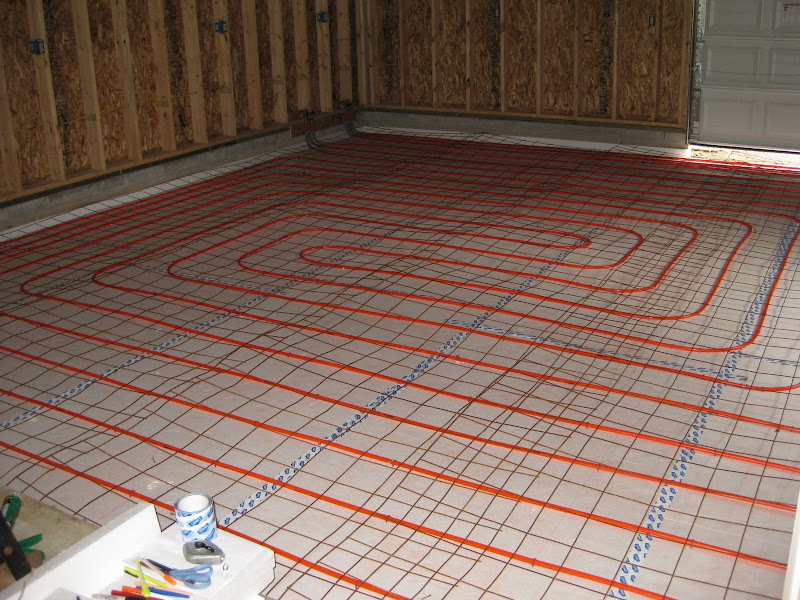
- Radiant heat
- 16' garage door into existing garage
- 8' garage door to the back yard
- One window on north face for natural light
- Utility sink
- Utility room for air compressor and floor heat equipment
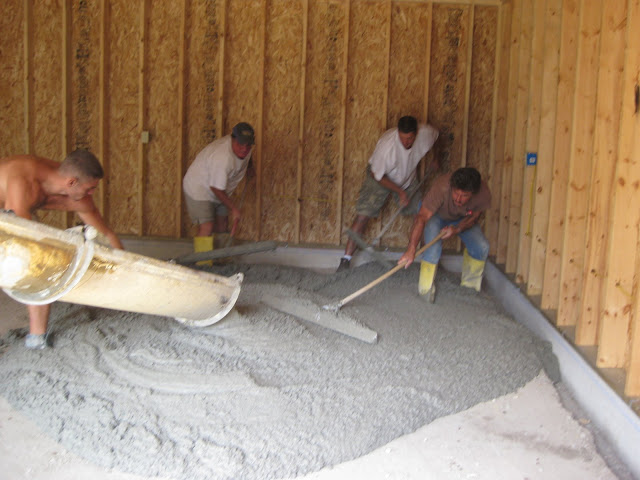
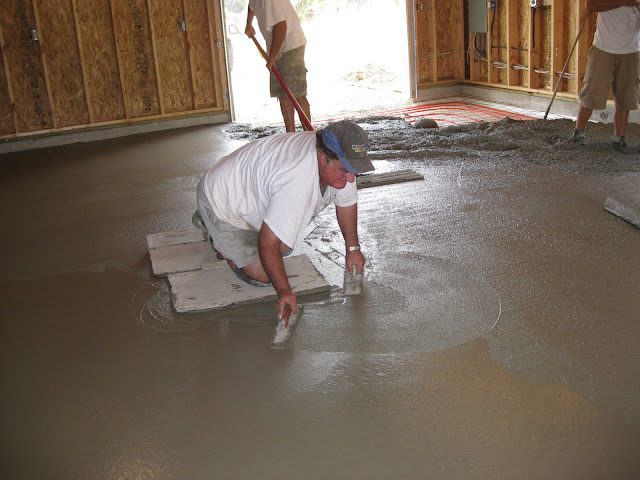
- 4" wire-mesh reinforced concrete floor
- Additional reinforcement where the floors meet (thicker and connected with rebar)
- 2" insulation underneath floor
- 1" insulation between floor and block/poured wall
- Exhaust fan (for automotive exhaust)
Storage Garage:
- 24'x24'
- 2x6 walls
- 2x8 full storage trusses
- French doors over garage door with chainfall for lifting parts
- single piece stairwell
- 16' garage door
- no windows
Tuesday 11/25
Everything is moving on schedule. The foundations have been dug and poured and everything was buttoned up for the night.
Workshop
Storage Garage
Wednesday 11/26
The problems begin.
The masons (Manuel and Jose...) have poured the bottom of the wall. Poured walls are not what I'm paying for, but my advisors (two friends of the family and an uncle) say its as good or better than block. On top of that, they've poured a man door in the west (closest) wall and put the garage door on the north wall! The garage door should be where the man door is and there shouldn't even be a man door (I supplied them with a detailed plot plan).
The back garage hasn't been poured yet, but everything is A-O-K back there.
Friday 11/28
Well Friday I panicked after realizing that they probably intended on pouring the workshop's floor at a different level than my current attached garage, so I drove back home to check everything out.
Fortunately they didn't pour anything, but they'd removed the forms, which allowed me a better view at what they had done. The poured wall was made to match the top block on the attached garage.
Monday 12/1
Meeting and Trusses
My not-quite-retired Father shuffled his schedule and I arraged for him to meet the builder (I have no vacation days left
). During the meeting the builder agreed to add a course of 4"x6" block to get the block above the poured floor (he confirmed that the workshop and garage floors will be poured to match); apparently Manuel and Jose didn't call me to open the garage so they could check the level of the garage floor 'cuz dey no speaka englais :roll: . The meeting also revealed the source of the garage door-man door problem: the builder communicated the plans verbally to the architectural firm who drew them up (one of them messed up, I don't know or care who), then builder didn't review the plan before passing it to his project manager, who didn't know any better and passed it off to Manuel and Jose, who built it exactly to the plan that they were given. The trusses for both garages were also delivered on Monday.
Tuesday 12/2
Lumberfumble
The supply company delivered 2x4s instead of 2x6s, setting my project back another day. The project manager claims he put a couple extra guys on the project since it's fallen behind, I have no reason to doubt him... I guess. He's supposedly sending out a plumber to quote the utility sink tomorrow (it wasn't part of the original quote, my bad). I'll be doing most of my own electric (plugs and lights), but I'm going to have a qualified person connect the 200 amp service to my workshop and subfeed the house and storage garage.
They delivered the 2x6s and a stack of OSB board this evening, it looks like they should be getting going tomorrow as promised!
Wednesday 12/3
Finally, back underway!
When they arrived this morning they pushed the trusses off to the side, one by one. Unfortunatley, they set them on the neighbor's property, so I'm going to have to go over and apologize when I get home from work.
They loaded the lumber in one of their pickups and hauled it back to the detached garage load by load. They've also got a portable generator and an air compressor out there.
They're making good progress. The engineered beam is almost ready for installation and the back OSB is being installed.
And I thought this was pretty.
I've been promised that the masons will be back today to fix the workshop. These pictures were snapped around 9:30 after a meeting in Pontiac and before I went to Warren. At that time the plumber and electrician hadn't arrived either.
Here are some pictures my Dad took during the day yesterday and a couple I took in the evening when I got home:
The walls went up quickly
Followed by the trusses
The mason actually did show up...
...and he got a lot done! :roll: He cut the poured wall where it needs to be broken out for the garage door...
...and laid a couple blocks on top, as though he actually got to laying block.
Thursday 12/4
Garage Door-be-gone!
The mason blocked in the incorrect garage door and laid the block around the foundation to bring it up above the pad.
The offending chunk of wall was busted out where it had been cut. Its ready for walls now!
They got the OSB on the trusses on the back garage. Its ready to get roofed and sided!
They also cut out the sill plate that had been over where the apron is going to be poured.


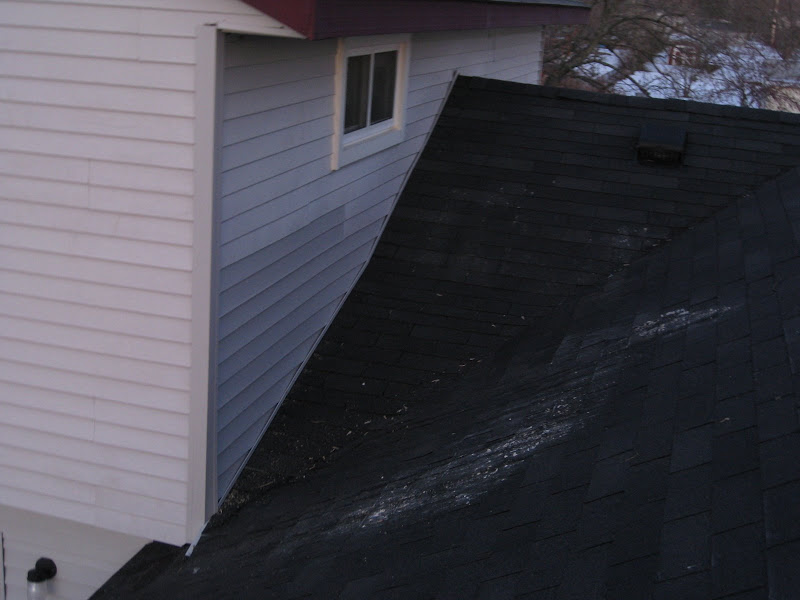
 Oh, and there's supposed to be a window in the wall in the first photo. :roll: