Real_PhillBert
Well-known member
Hey all!
I really should have started this thread when I started the project, but I thought I'd share even though I'm almost done at this point.
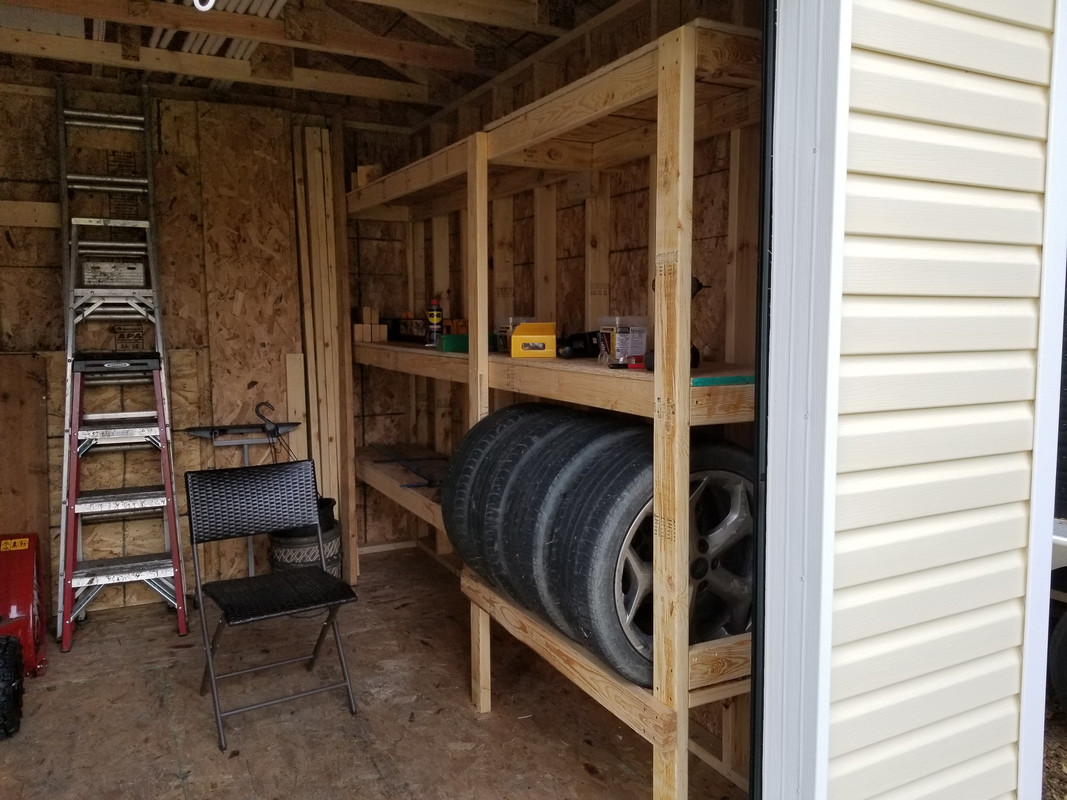
I'm a first time homeowner, so my house is in need of some improvements. I've been slowly picking away at improvements over the last two years but the next biggy on the list is to tear down the itty bitty single stall garage and replace it with something more fitting. However, I need a place to put the toolbox, work bench, motorcycle, lawn mower, snow blower and all the other misc stuff that's currently in the garage when I tear down the current garage. I figure a garden shed is as good of an option as any.
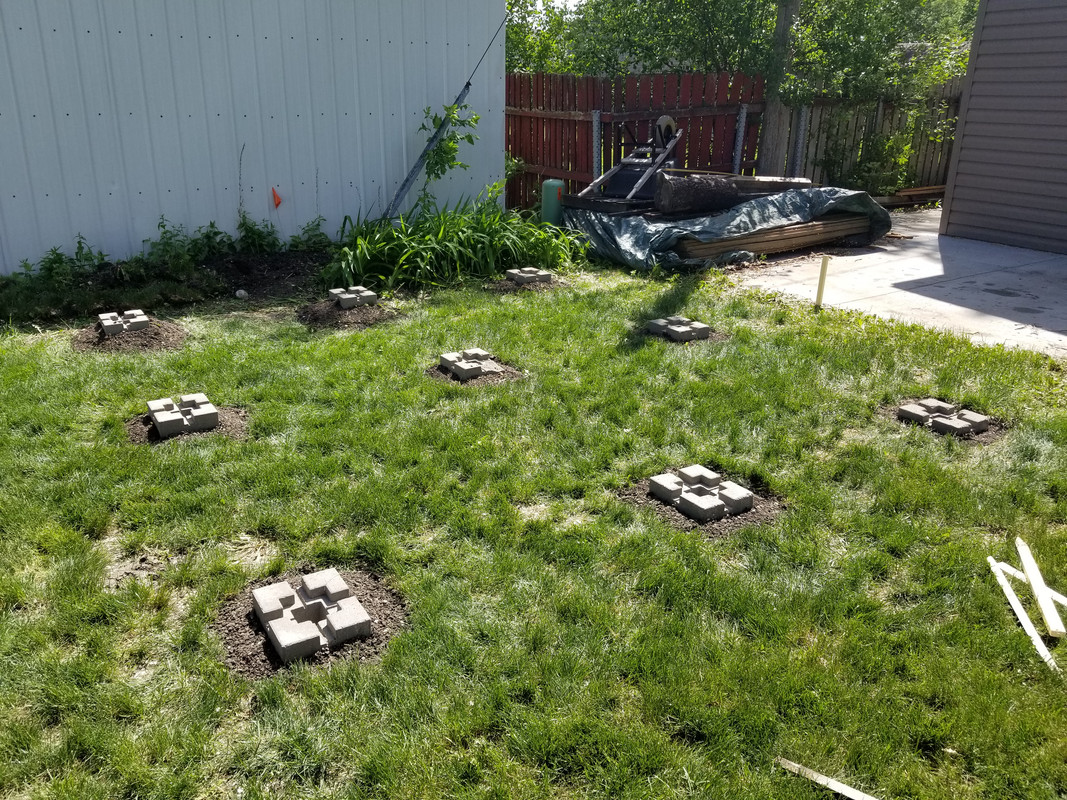
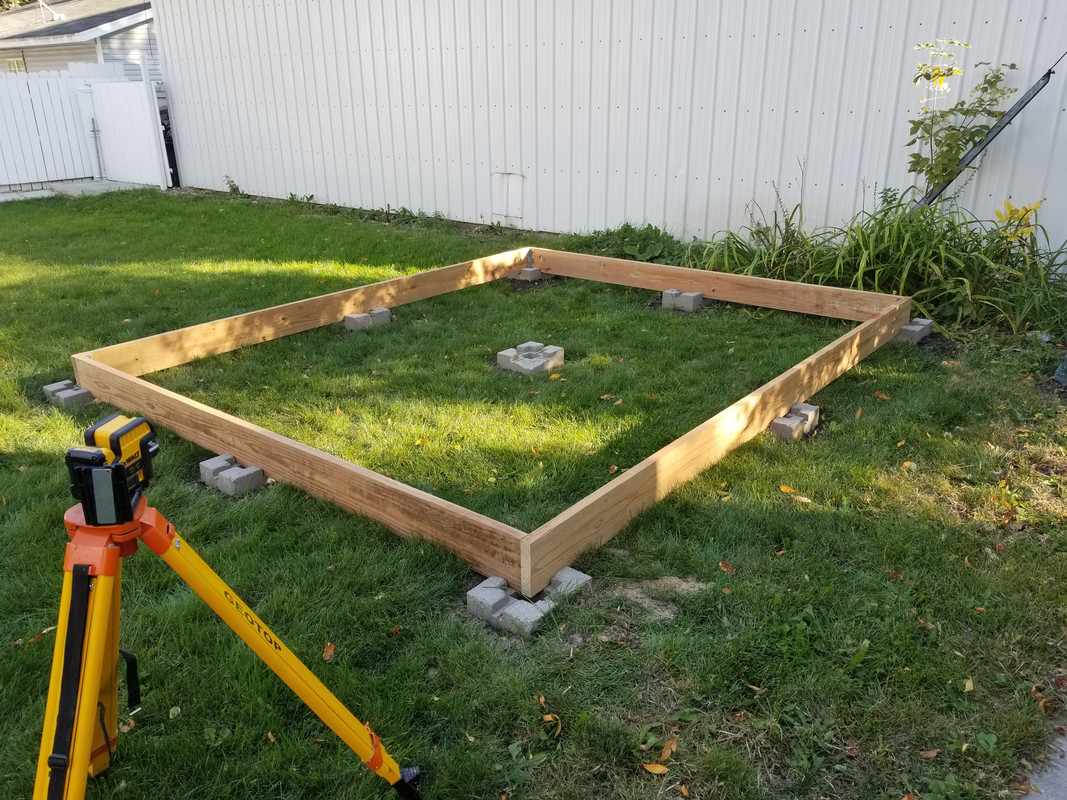
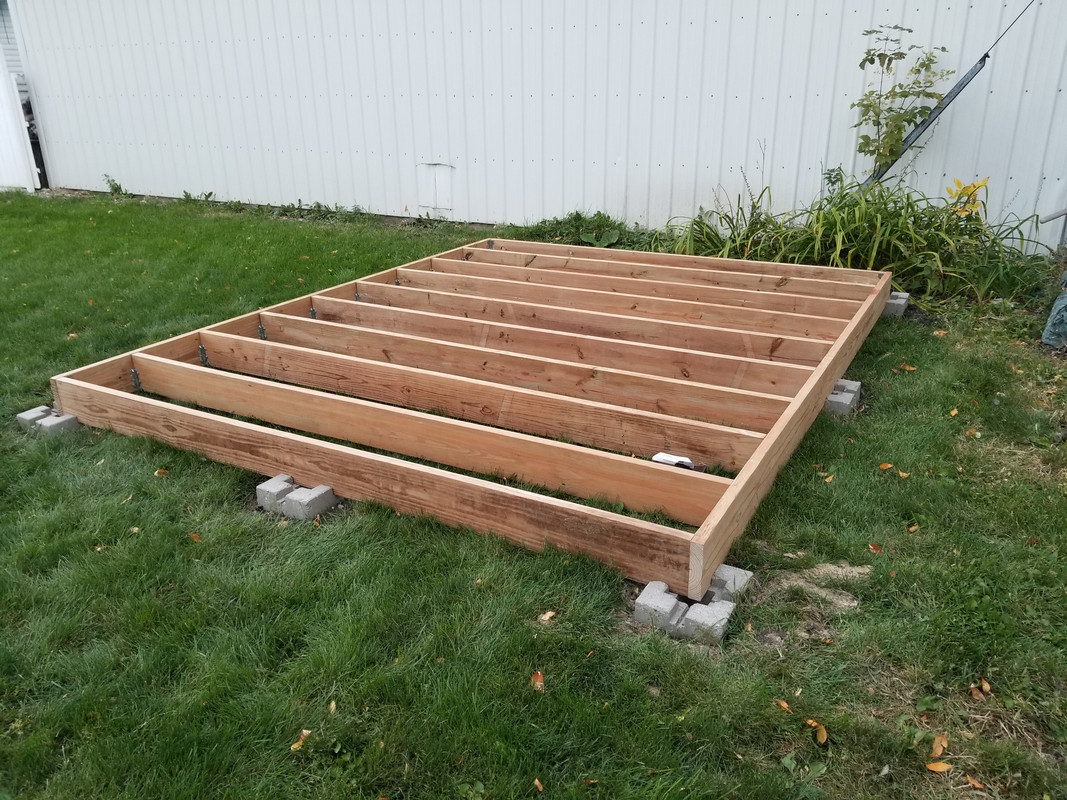
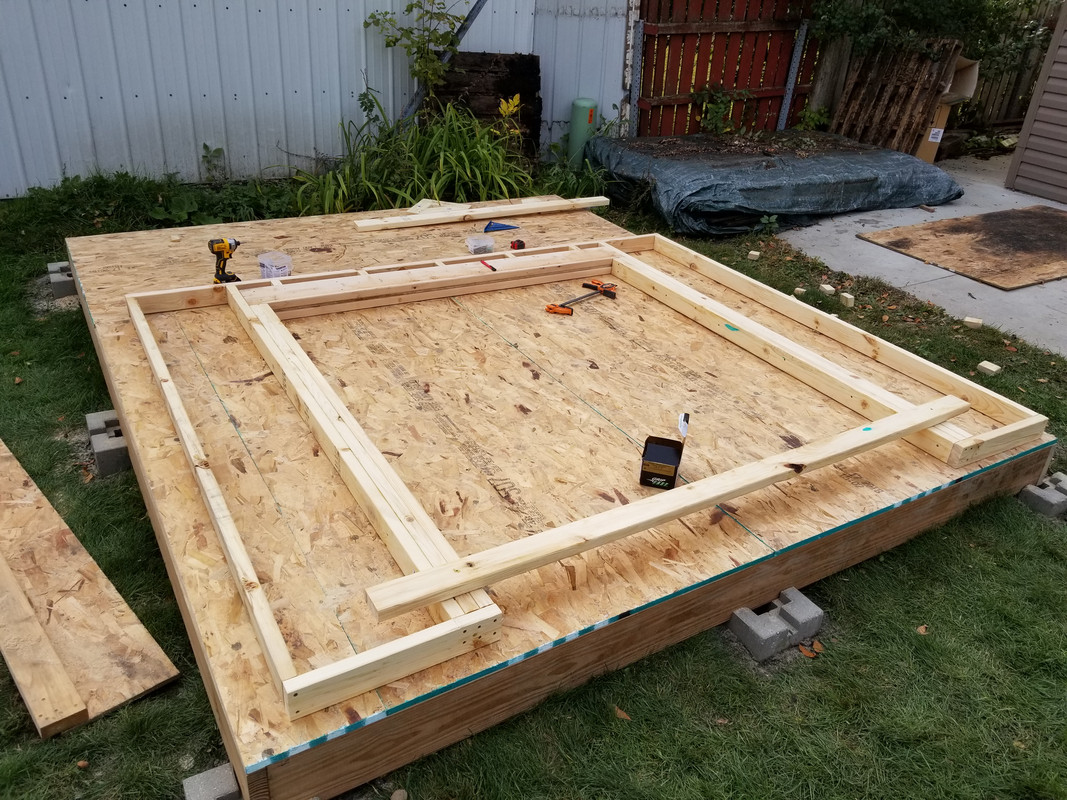
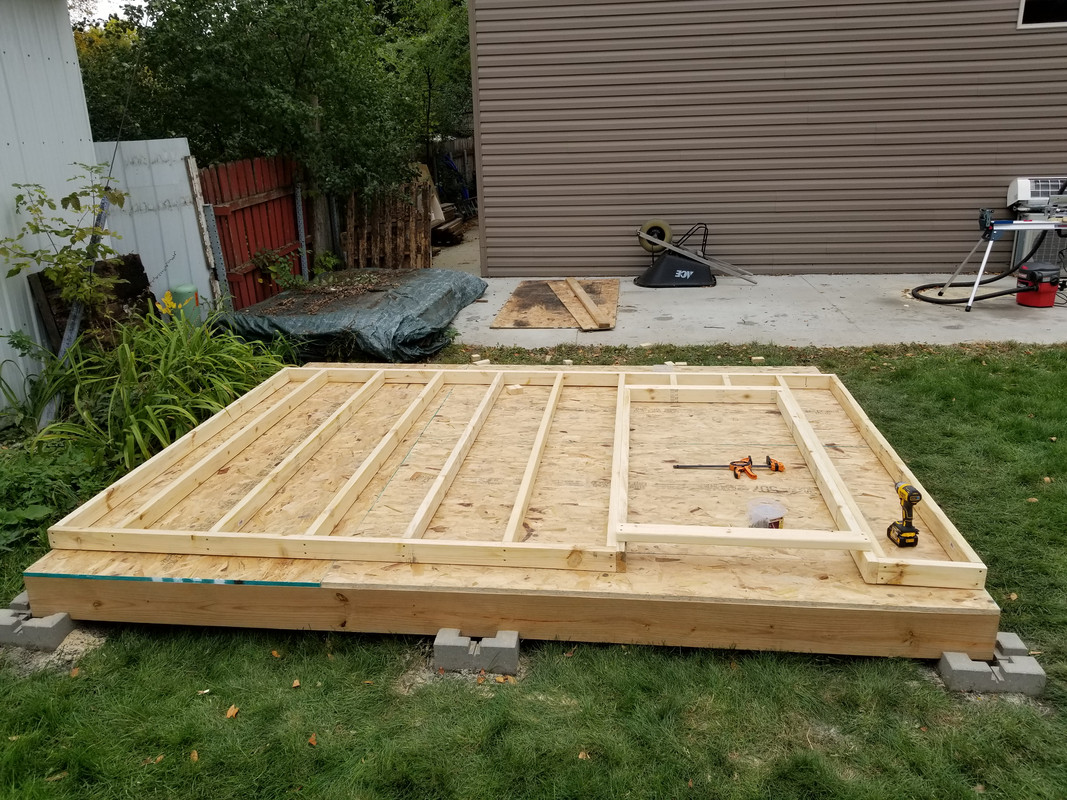
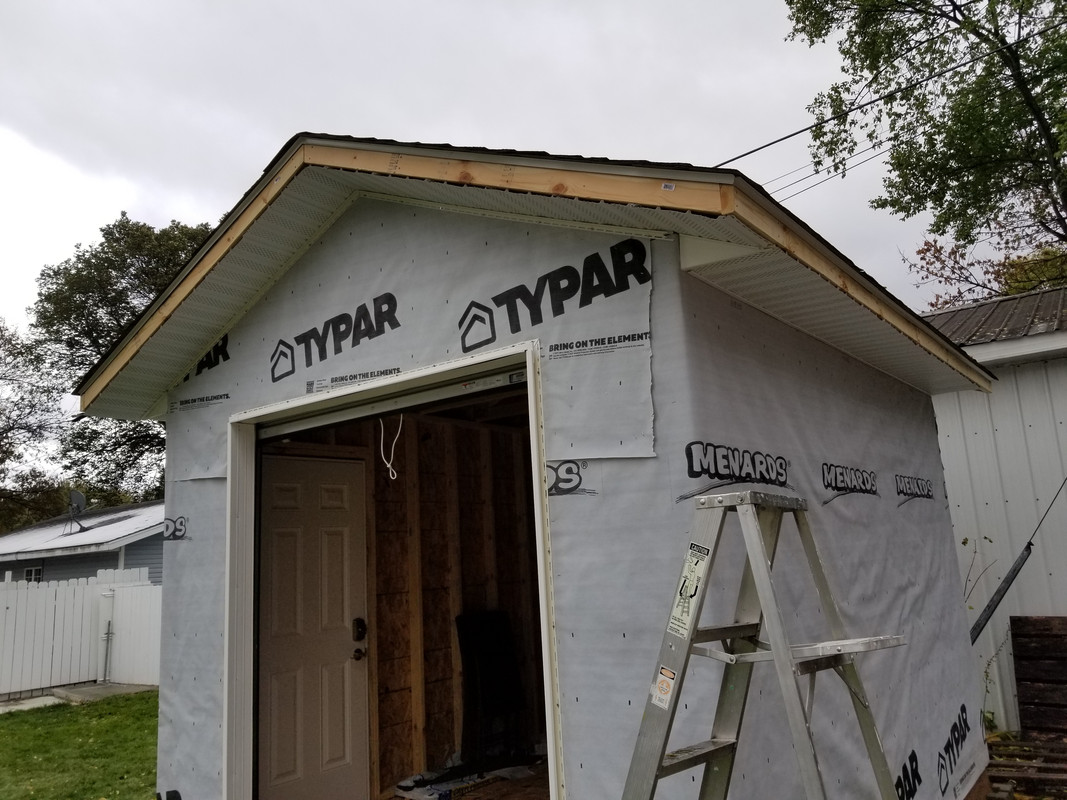
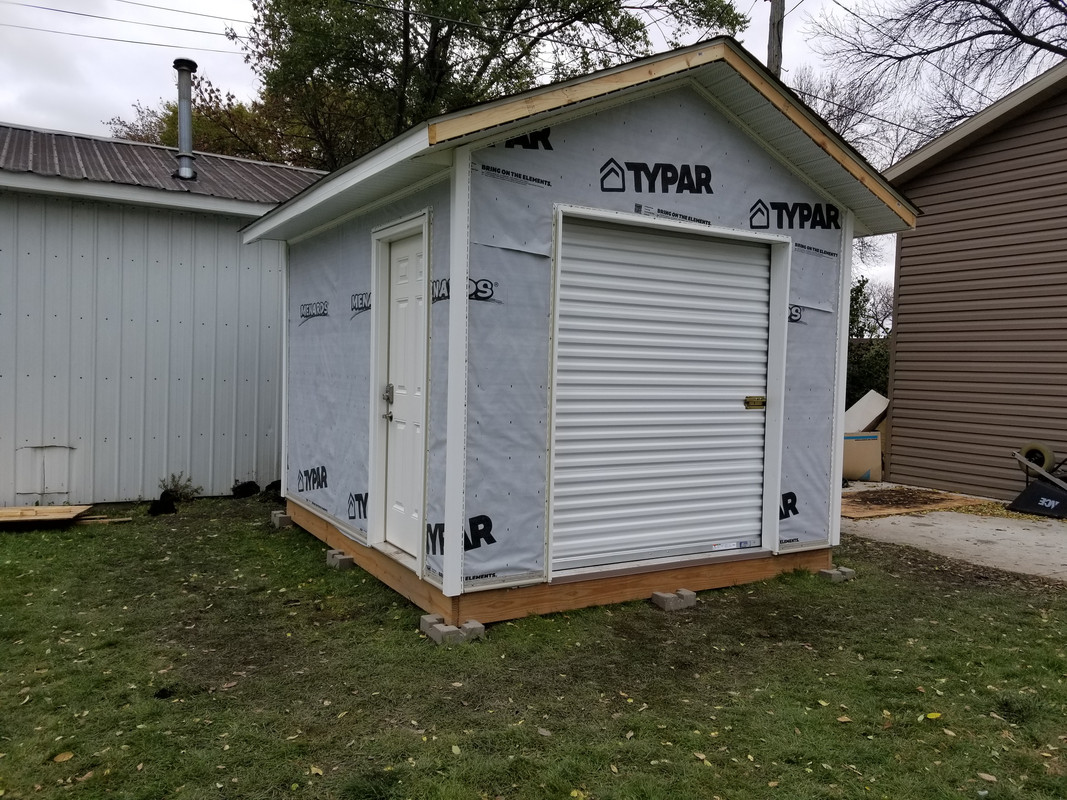
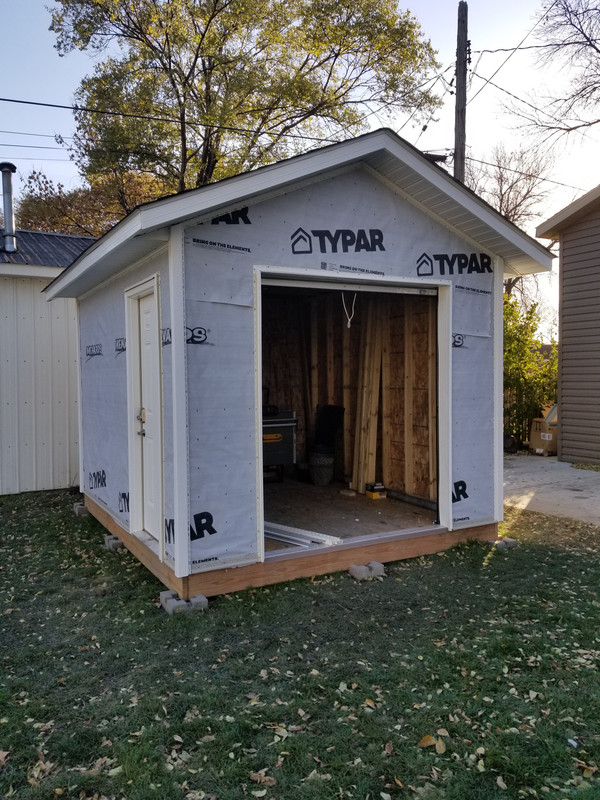
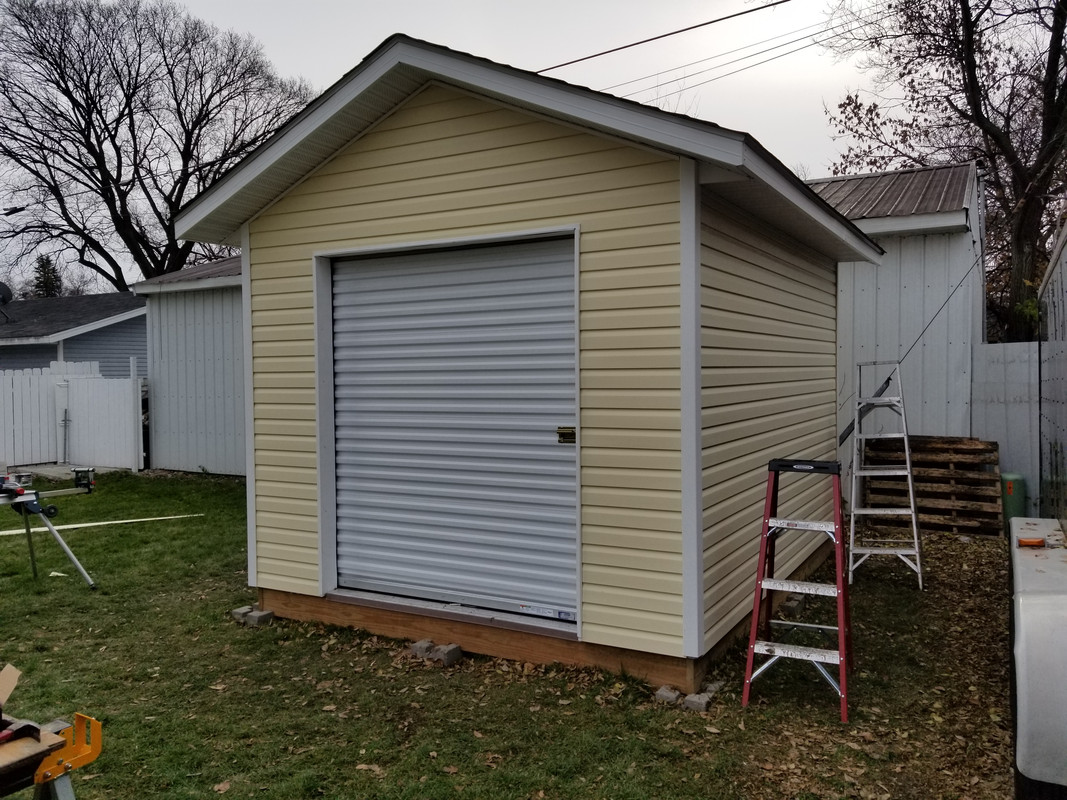
In my area a garden shed that's on blocks can be up to 10'x12' without a permit. Any larger than that and I need a permit, but if I get a permit, every square foot I put into the shed is a square foot less that I can put into the garage, so 10'x12' it is!
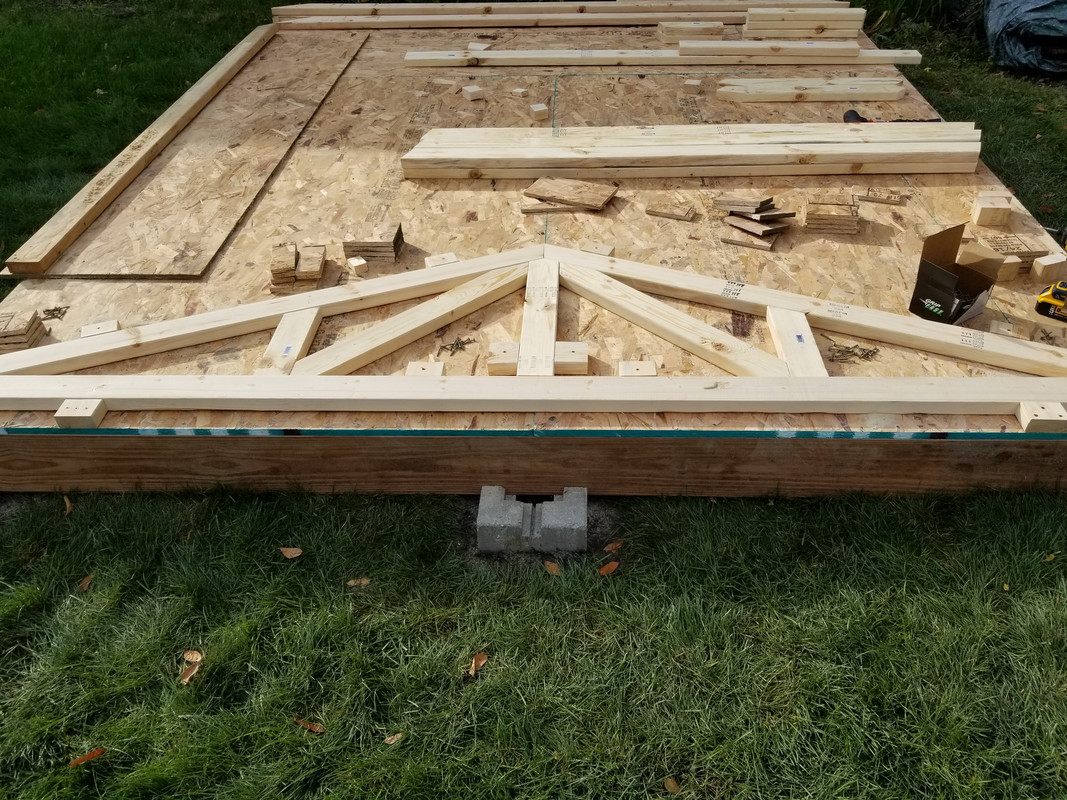
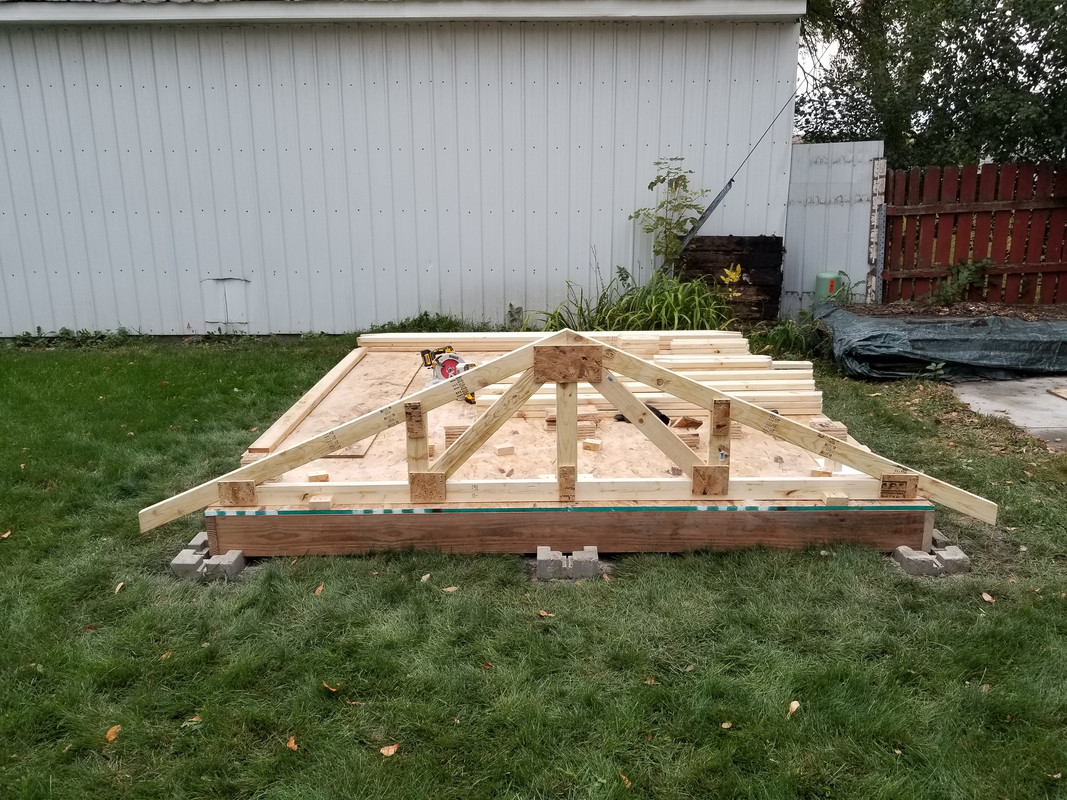
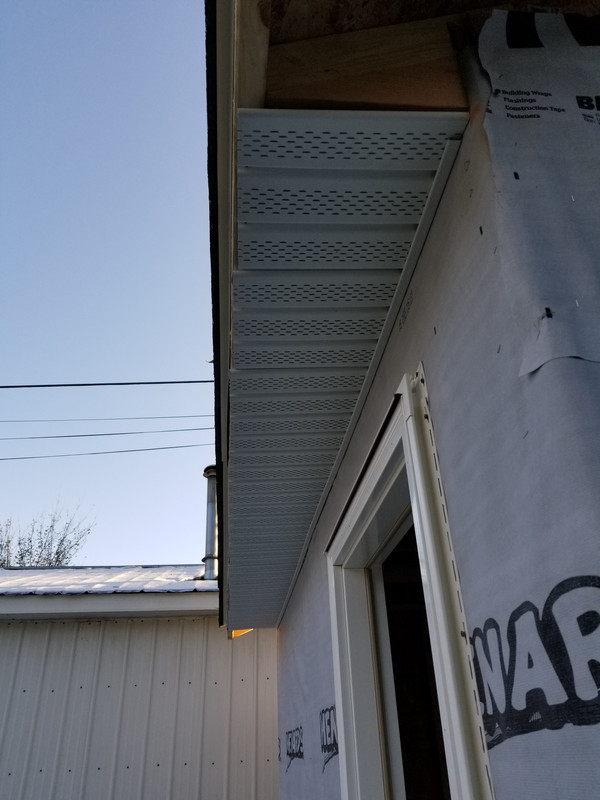
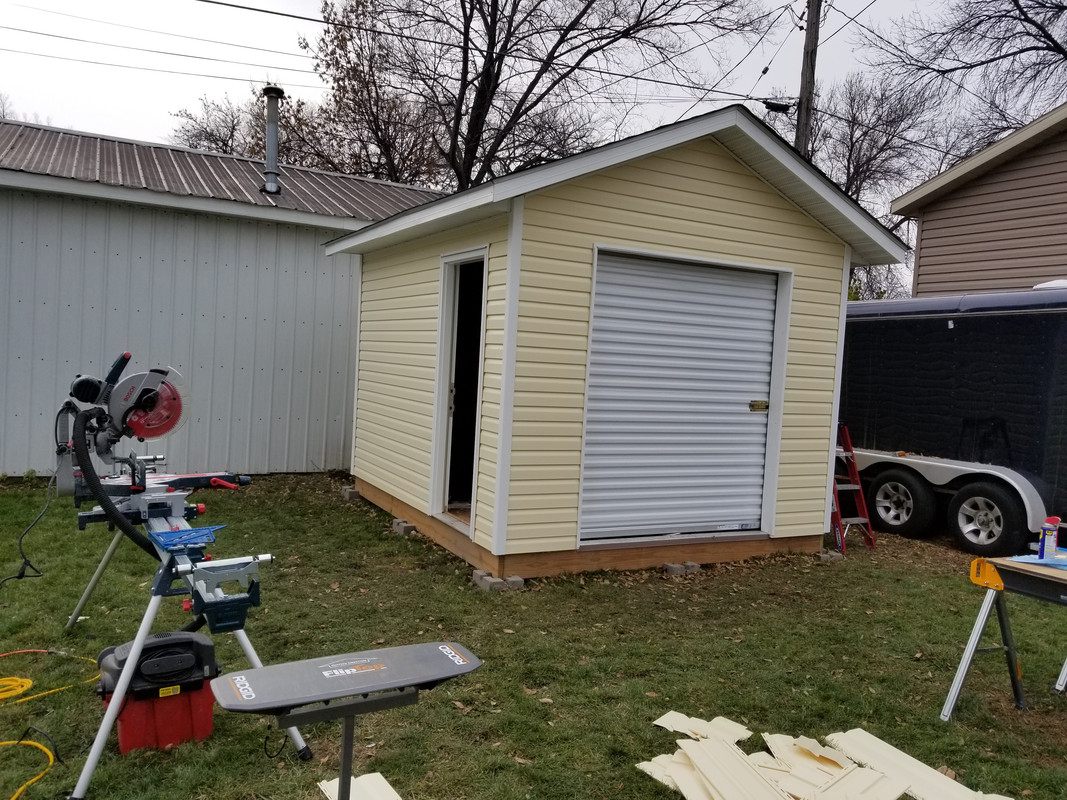
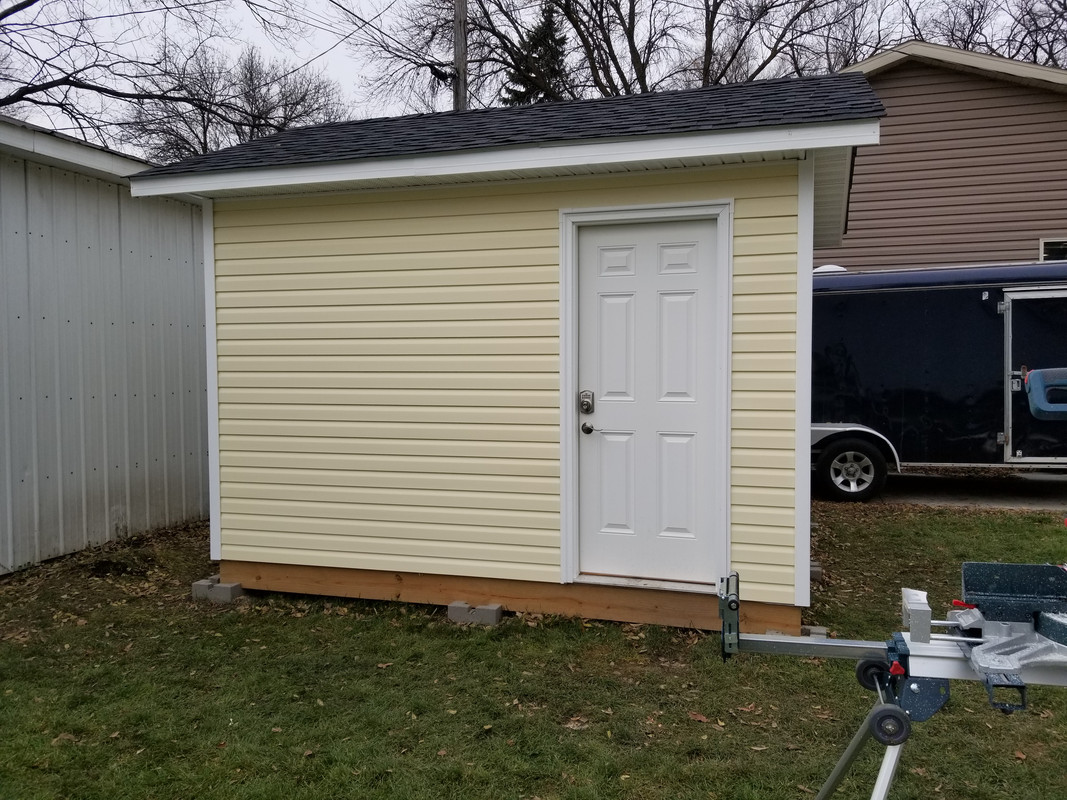
I decided on a 6'x7' roll up door on the front, and a 32" entry door on the side, so that I can lock the roll up from the inside, and put a keypad deadbolt on the entry door so that I don't need a key to access the shed. So I broke out the CAD software and came out with this:
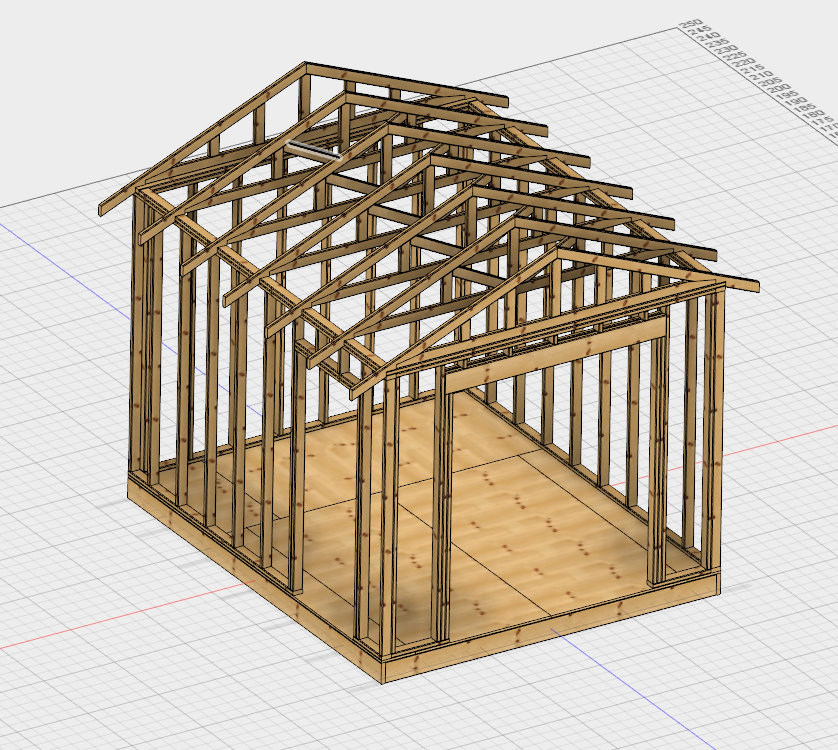
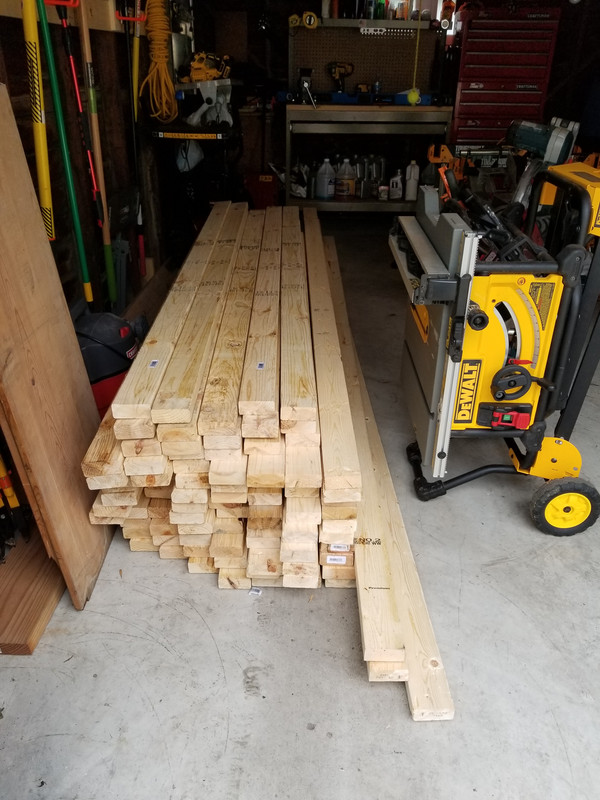
Although I'm pretty handy, and have done a lot of projects with my dad while I was young, a lot of this is all new to me, so if I make mistakes, please be nice.
I really should have started this thread when I started the project, but I thought I'd share even though I'm almost done at this point.
I'm a first time homeowner, so my house is in need of some improvements. I've been slowly picking away at improvements over the last two years but the next biggy on the list is to tear down the itty bitty single stall garage and replace it with something more fitting. However, I need a place to put the toolbox, work bench, motorcycle, lawn mower, snow blower and all the other misc stuff that's currently in the garage when I tear down the current garage. I figure a garden shed is as good of an option as any.
In my area a garden shed that's on blocks can be up to 10'x12' without a permit. Any larger than that and I need a permit, but if I get a permit, every square foot I put into the shed is a square foot less that I can put into the garage, so 10'x12' it is!
I decided on a 6'x7' roll up door on the front, and a 32" entry door on the side, so that I can lock the roll up from the inside, and put a keypad deadbolt on the entry door so that I don't need a key to access the shed. So I broke out the CAD software and came out with this:
Although I'm pretty handy, and have done a lot of projects with my dad while I was young, a lot of this is all new to me, so if I make mistakes, please be nice.