Planning mini split install in Dallas: Line set install
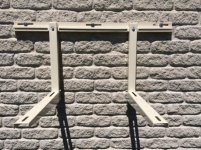
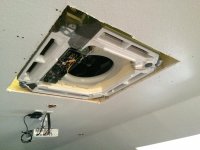
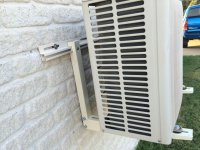
To pickup up where I left off at, I had the condensing unit and the ceiling cassette installed. The wired remote was mounted and the thermostat line was run and connected. I was finally ready to run the line set. As I had mentioned before, I had plans to save a few bucks and use some economical vinyl guttering.
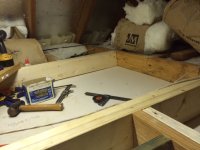
I had envisioned building up the 18ft section of guttering, then running the lines inside it and with the help of my wife and others, carefully run the assembled guttering with lines up the ladder and feed the exposed attic lines in. I assumed the large diameter condensation tube would help keep it rigid for handling.
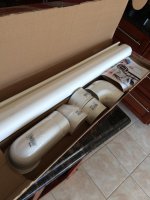
However when I tried to cram both the 1/4" and 1/2" insulated lines, a 1 1/4 dia, drain line and the 14/4 control wire it was just too much to shove thru that small of a duct. I tried some talc powder on the insulation and it did work well initially but with 6ft in, there was too much friction and I could not see being able to go another 12ft without taking a chance on kinking the copper lines. So I ordered the RectorSeal product called Fortress Lineset Ducting and waited for it to arrive.
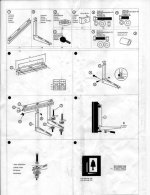
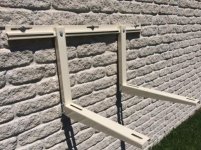
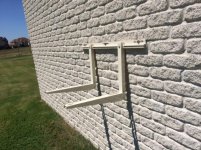
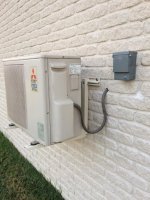
As much as I hoped to avoid this expense, after getting the product in my hands I could see the benefit in its design. Because I needed 18 ft, it was cheaper to just buy two of their 12 ft kits. Longer straight sections were available thru a dealer special order but its was going to cost more than the buying two kits put together. It was a pain getting a plumb line popped from 18ft up and then installing each section using anchors in the brick and mortar. Keeping them straight was a challenge but I made it work.
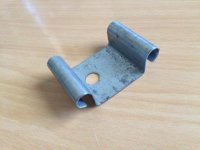
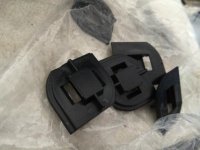
The benefit the kit has over my cheaper idea using guttering was that you can pre-install the wall side first and handle the line installation separately. The top fitting is large enough to leave you room for forming a decent radius to make the turn going inside the structure. Also, there is a channel that runs along the length of the duct in the center on the wall side. There are black plastic clips that insert into this channel and with a twist, they affix to the duct and provide a tywrap block for you to stay the lineset to keep all snugged up and together. Genius.
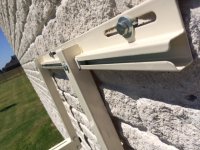
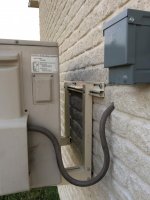
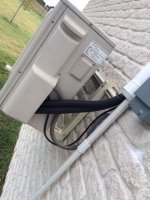
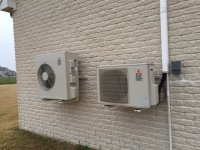
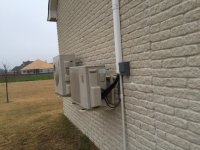
With the lines now run and secured at the evaporator end and then cut and flared at the condenser in, I ty-wrapped the lines and snapped the outside covers into place. I had to trim the funnel piece to allow the larger lines exit but once done, looks very clean and professional. I used a Ritchie flaring tool with the bicycle handle. Another tool I used from my aircraft repair days.
I still need to run the condensate line lower and add a p-trap. Also need to split a brick and mortar it in at the top of the run. Not looking forward to that but plan to do it when I am doing another brick mailbox project here in the next week or so.
Next post: Charging the system up

")