
Electron2002
Well-known member
- Joined
- Aug 21, 2012
- Messages
- 77
I recently came up with a Plomb 4751, which has a been a quest tool for me for a while now. When I got it, it only worked in one direction and the throw out lever wouldn't stay in position and would creep back to a center position. When I tried to select the opposite direction, the gear would just freewheel.
I had my suspicion about the cause, but couldn't open it up there to inspect. Instead I just used it to my advantage and got it for a whole $2.
When I finally got to open it up, My thoughts were confirmed and I found that one of the two pawls was flat out missing. The spring however was still there, bouncing freely in the case.
No service parts exist for the 4751 and considering that it is marked a "No Replacement" tool, I kinda doubt they ever offered them.
Since the 4751 is a fairly rare tool in the Plomb universe, it seems unlikely that I'll find another one that still has the pawl in it that I would need, unless I pay considerable more money when one pops up for auction. Even then, you never know if the right one is in there, or if its even usable.
So, I decided to make my own pawl. Since the remaining pawl was actually in very good shape, I was able to measure and pattern the opposite side part. I picked up a 6" piece of D2 tool steel from McMaster (1/16" x 1/4") and went to work.
First, I shaped the rounded "pivot end". One of the ends of the tool steel had a slightly rounded end from when it was originally cut, so continued rounding that end off.
Second, I began filing in a V notch just inside of the pivot point. On the original part, this notch is there to help it clear a corner on the body of the ratchet.
Third, I ground the width of the steel down to .200"
Fourth, I ground the inside body of the pawl down to .1615". The pivot point of the pawl has an extended tab that indexes into the body of the ratchet to keep it in place.
Fifth, I filed the index tab round, so that it would fit to the hole in the body.
Sixth, I cut the pawl from the length of stock, slightly long.
Seventh, I ground and flat filed the square end of the pawl down to an exact 0.335"
After a bit of cleanup and a tiny bit of lubrication, I reassembled and it sprung back to life. All in all, I spent about 45 minutes doing the work. Totally worth it.
I don't ever plan to use this ratchet for any purpose than to have in my collection, so I'm not that worried about the pawl not being correct.
Here are some photos that I took while working on it.

End rounded and v-notch cut

While cutting the steel down to width (sorry couldn't get focus)

Index tab profile cut in and pawl cut from stock.


Final product before final cleanup

Final product installed in ratchet during test assembly
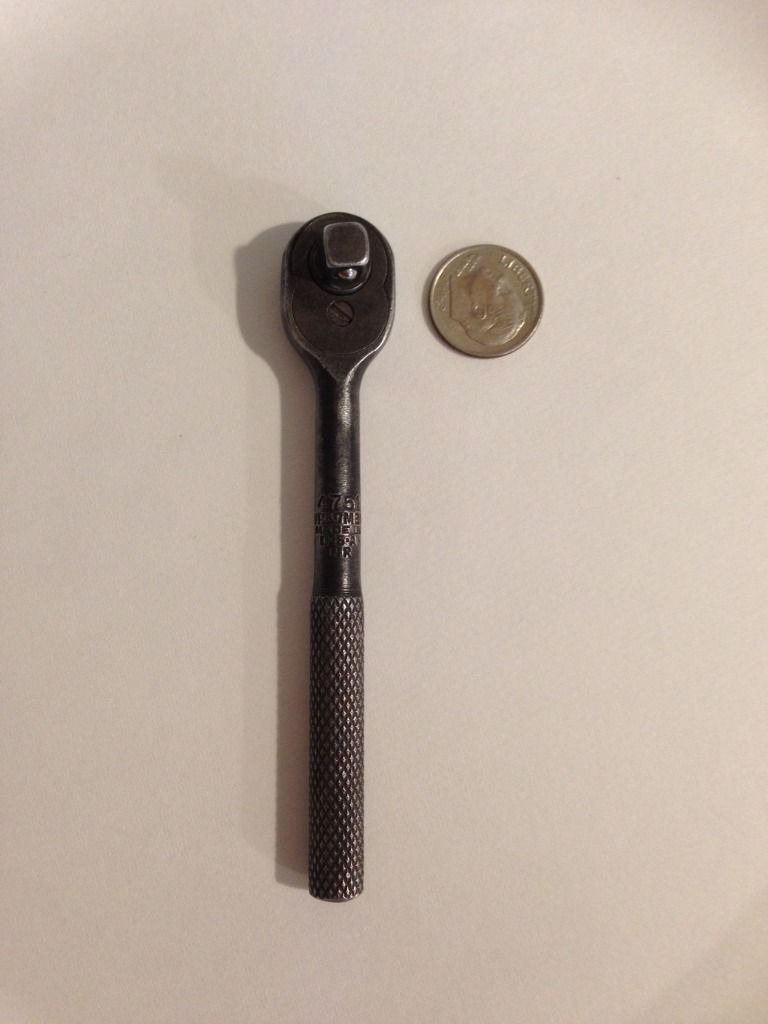
The finished product. Works smooth as butter.
I had my suspicion about the cause, but couldn't open it up there to inspect. Instead I just used it to my advantage and got it for a whole $2.
When I finally got to open it up, My thoughts were confirmed and I found that one of the two pawls was flat out missing. The spring however was still there, bouncing freely in the case.
No service parts exist for the 4751 and considering that it is marked a "No Replacement" tool, I kinda doubt they ever offered them.
Since the 4751 is a fairly rare tool in the Plomb universe, it seems unlikely that I'll find another one that still has the pawl in it that I would need, unless I pay considerable more money when one pops up for auction. Even then, you never know if the right one is in there, or if its even usable.
So, I decided to make my own pawl. Since the remaining pawl was actually in very good shape, I was able to measure and pattern the opposite side part. I picked up a 6" piece of D2 tool steel from McMaster (1/16" x 1/4") and went to work.
First, I shaped the rounded "pivot end". One of the ends of the tool steel had a slightly rounded end from when it was originally cut, so continued rounding that end off.
Second, I began filing in a V notch just inside of the pivot point. On the original part, this notch is there to help it clear a corner on the body of the ratchet.
Third, I ground the width of the steel down to .200"
Fourth, I ground the inside body of the pawl down to .1615". The pivot point of the pawl has an extended tab that indexes into the body of the ratchet to keep it in place.
Fifth, I filed the index tab round, so that it would fit to the hole in the body.
Sixth, I cut the pawl from the length of stock, slightly long.
Seventh, I ground and flat filed the square end of the pawl down to an exact 0.335"
After a bit of cleanup and a tiny bit of lubrication, I reassembled and it sprung back to life. All in all, I spent about 45 minutes doing the work. Totally worth it.
I don't ever plan to use this ratchet for any purpose than to have in my collection, so I'm not that worried about the pawl not being correct.
Here are some photos that I took while working on it.

End rounded and v-notch cut

While cutting the steel down to width (sorry couldn't get focus)

Index tab profile cut in and pawl cut from stock.


Final product before final cleanup

Final product installed in ratchet during test assembly

The finished product. Works smooth as butter.
 Two have been ebay, and two have been from the local swap meet.