I had originally started a thread based on my old garage a couple years ago. Since then I have moved and have had to re-think the garage option and although I updated my old thread, I figured it warranted a new thread. Anyway, enjoy the ride...
I needed to move my workshop and given we were moving to a rental, building a garage was not an option. Instead I opted for a shipping container.
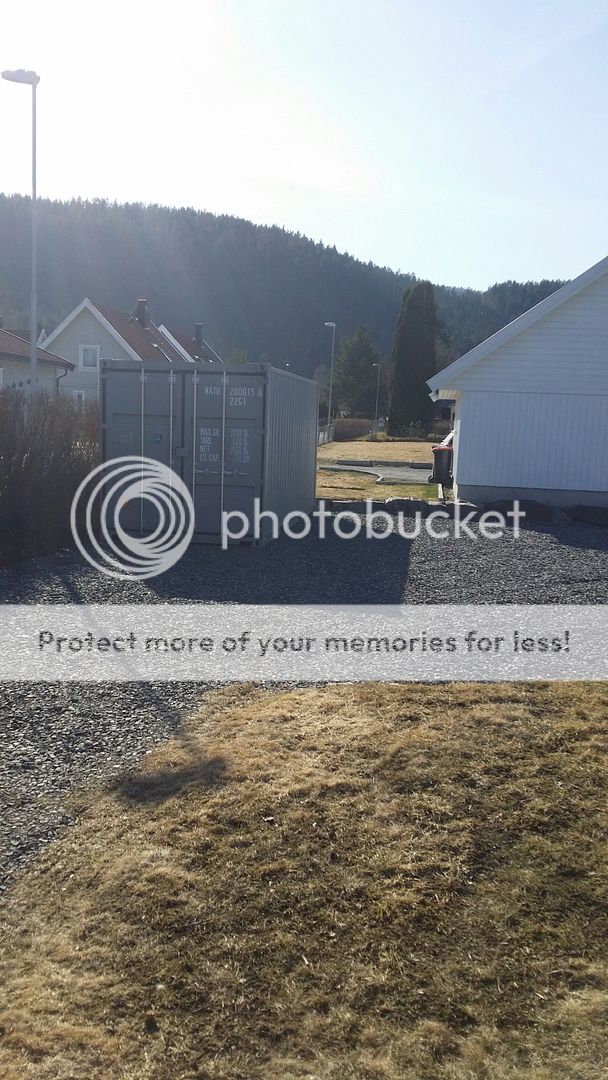
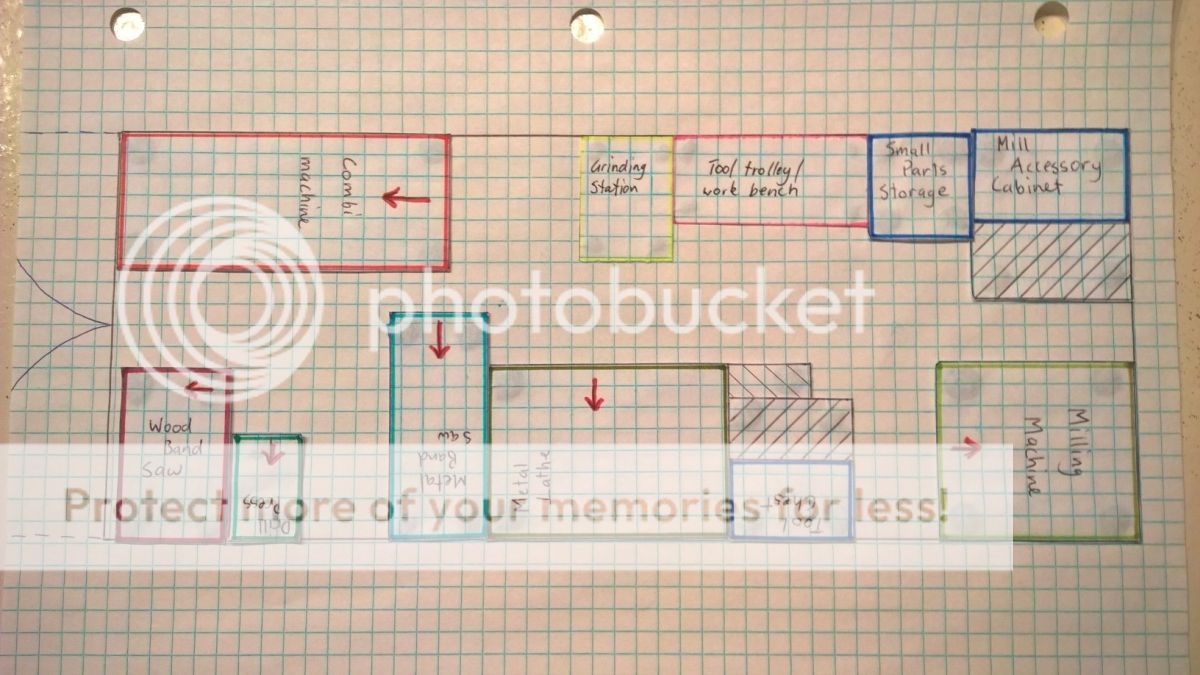
It was a 20 footer so I needed to figure out a floor plan that would allow me to have adequate bench space, plus the following machines:
- Metal Lathe
- Metal mill
- Metal bandsaw
- Tool and cutter grinder
- Drill press
- Woodworking combination machine
- Wood bandsaw
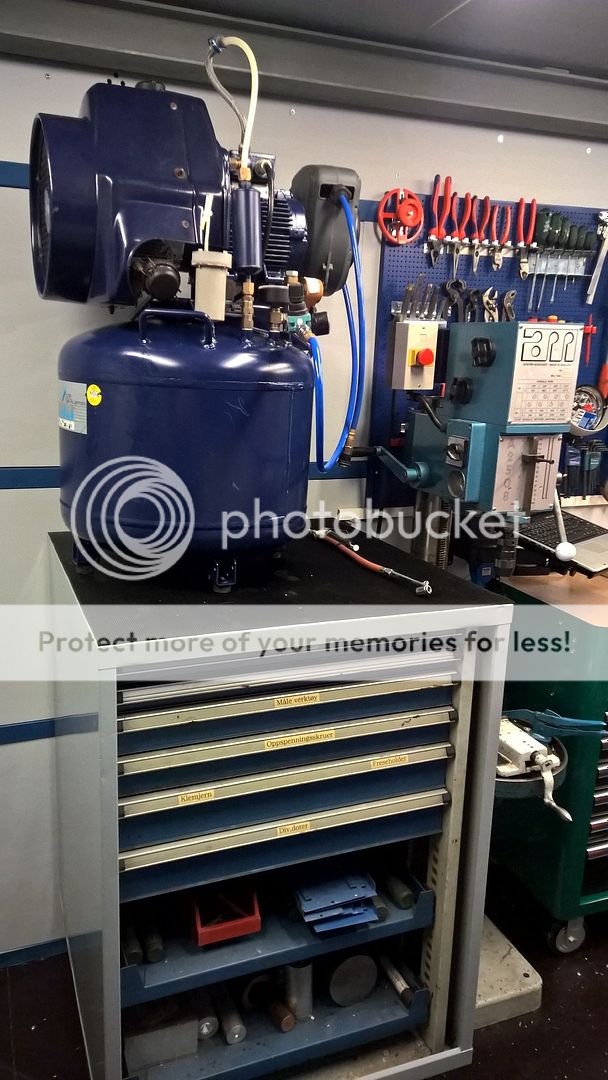
- Compressor
This meant having to do some serious thinking about placement since I needed access to use the machines, change gears for various threading and speed ranges, allow access to the metal bandsaw for cutting longer stock etc... I also needed to make the workshop in such a way I could strap the machines down so I could transport the container later with the machines in situ.
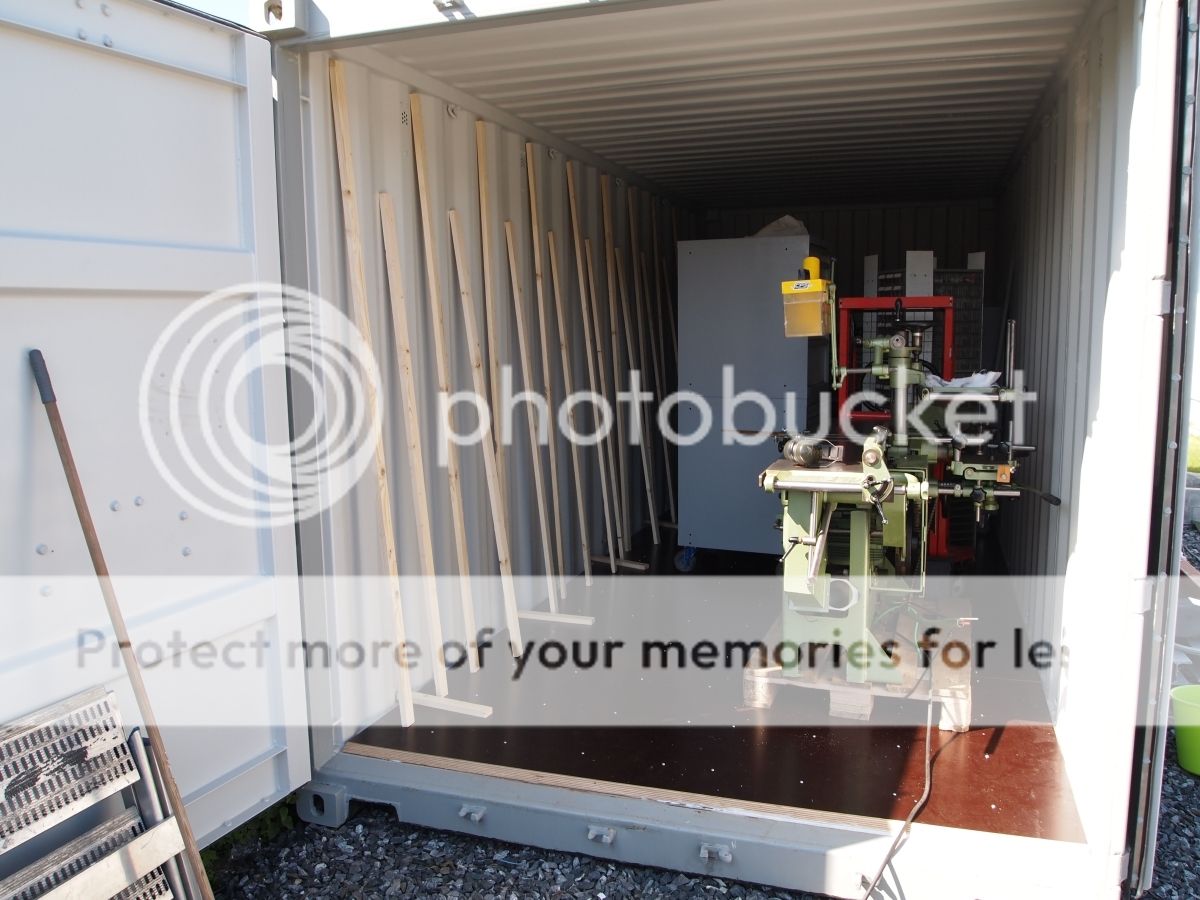
Since I knew the area would be cramped, I also wanted to have a travelling bridge crane to allow me to change the milling machine tables and accessories with minimal effort and minimal risk to myself and to the machines. I purchased some H beams for this task.

I also needed to ensure the container was insulated sufficiently for the Norwegian winter so I could work comfortably in winter and the machines would not be at risk of condensation and rust. I decided to go with styrofoam insulation.
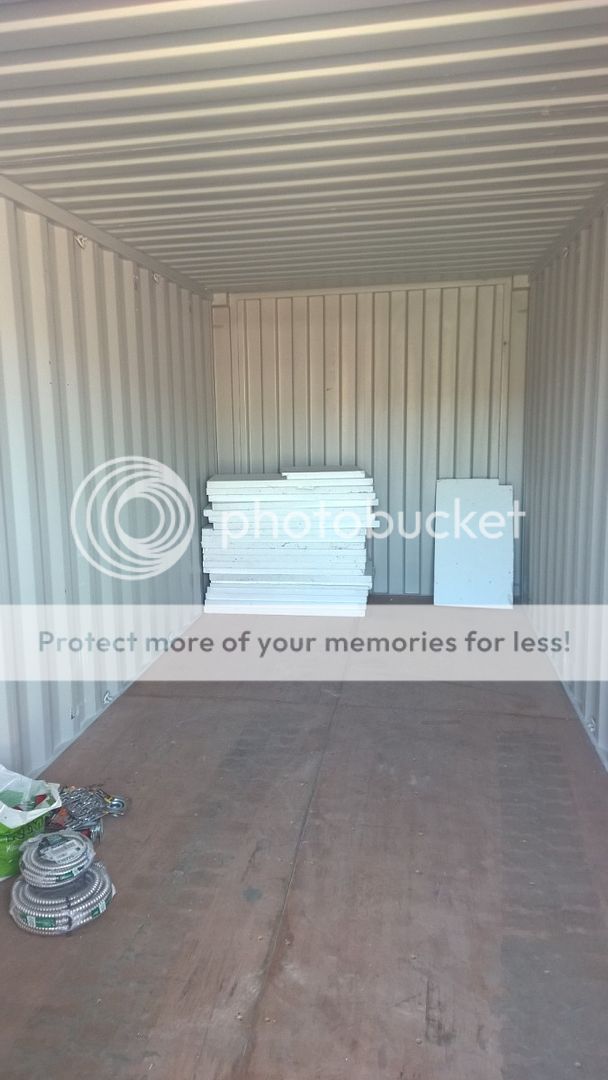
I decided to go with 50mm thick plates for the ceiling and 20mm for the walls. To cover the walls I decided to go with 9mm plywood. I made a start by installing the floor first which was 21mm waterproof ply, then installing the wall studs. The floor was done by pre-drilling where the screws would be installed, then grinding away the finish on the underside of the ply to allow good adhesion of the glue to support the screws.
Once the wall studs and ceiling battons were glued up, I started installing the insulation.

I pre-painted some parts to ensure a neat finish when I installed the ply wall material. This provides a sharp contrast and saves having to do taping later.

I also cut out parts of the walls to allow access to tie-down points.

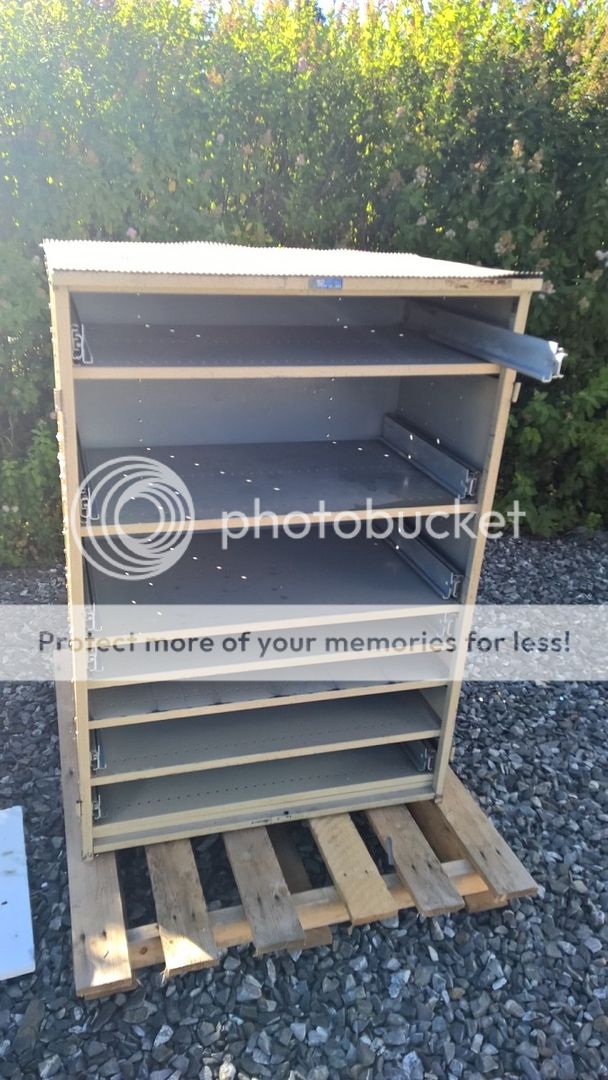
While working on the container, I managed to score some industrial cabinets that would help solve my storage problems. They needed some work.


I needed to get the H beams welded up for the crane before I could finish the walls and ceiling.


More to follow...
I needed to move my workshop and given we were moving to a rental, building a garage was not an option. Instead I opted for a shipping container.
It was a 20 footer so I needed to figure out a floor plan that would allow me to have adequate bench space, plus the following machines:
- Metal Lathe
- Metal mill
- Metal bandsaw
- Tool and cutter grinder
- Drill press
- Woodworking combination machine
- Wood bandsaw
- Compressor
This meant having to do some serious thinking about placement since I needed access to use the machines, change gears for various threading and speed ranges, allow access to the metal bandsaw for cutting longer stock etc... I also needed to make the workshop in such a way I could strap the machines down so I could transport the container later with the machines in situ.
Since I knew the area would be cramped, I also wanted to have a travelling bridge crane to allow me to change the milling machine tables and accessories with minimal effort and minimal risk to myself and to the machines. I purchased some H beams for this task.
I also needed to ensure the container was insulated sufficiently for the Norwegian winter so I could work comfortably in winter and the machines would not be at risk of condensation and rust. I decided to go with styrofoam insulation.
I decided to go with 50mm thick plates for the ceiling and 20mm for the walls. To cover the walls I decided to go with 9mm plywood. I made a start by installing the floor first which was 21mm waterproof ply, then installing the wall studs. The floor was done by pre-drilling where the screws would be installed, then grinding away the finish on the underside of the ply to allow good adhesion of the glue to support the screws.
Once the wall studs and ceiling battons were glued up, I started installing the insulation.
I pre-painted some parts to ensure a neat finish when I installed the ply wall material. This provides a sharp contrast and saves having to do taping later.
I also cut out parts of the walls to allow access to tie-down points.
While working on the container, I managed to score some industrial cabinets that would help solve my storage problems. They needed some work.
I needed to get the H beams welded up for the crane before I could finish the walls and ceiling.
More to follow...


")


 I am not sure how much money there is to made doing this commercially since I would likely use sprayfoam rather than insulation plates. Anyway, a few more pictures...