wfopete
Well-known member
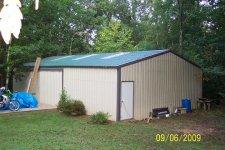
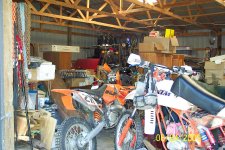
Ok guys, here the scenario: About 10 years ago I had a 30x50 pole barn built. Nothing fancy, just your basic pole barn w/10ft walls. I use it for storing and working on various toys, but I have run out of room. The floor consist of an 8” concrete pad, which was poured days after the barn was built. Some folks don’t consider pole barns legitimate buildings because of their lack of a foundation but I think a 8” pads helps make up for some of that missing foundation. The bad part is I didn’t use a vapor barrier prior to having the pad poured, so sometimes I will get a damp spot in areas of the floor.  The building does not have any gutters and I believe much of the dampness can be attributed to this. I think a viable solution could be achieved by simply adding good gutter/drainage system in conjunction with an addition of a 10-12ft overhang around the building. I am going to upgrade and convert this pole barn into a garage & office space.
See this link for an example:
http://www.barnplans.com/showcase/main.cgi?month=nov07
The upgrade calls for:
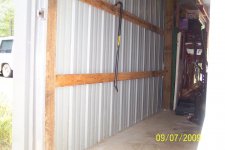
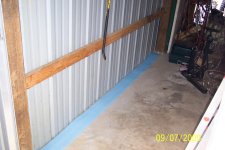
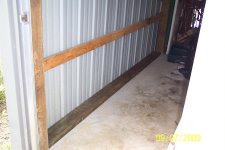
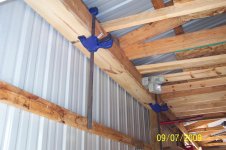
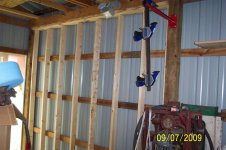
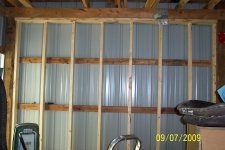
Installing fully studded walls around the interior perimeter of the building (for added support) in addition two interior walls that will be built approximately 15ft from each end of the barn. Essentially the floor will be divided into three rooms (15x30, 20x30 and 15x30). The main reason for the studded walls is to support a second floor that will be installed after the existing truss/roof assembly is removed. I-joist will be installed for floor support and I’ll cap it off with a gambrel (barn style) roof. I really like the “Barn” theme as I live out in the country. Pouring a 10-12ft, 4-6”concrete pad around the circumference of the building with a corresponding over hang w/gutters and an appropriate drainage system to channel away runoff water. I hope that will take care of the dampness and allow me to paint the floor. After that, interior work will consist of electrical, plumbing, insulation and finishing off each room for its intended purpose.
Anyway that’s the plan and I’ve already started making the layout and building the studded walls on the lower level. I see a lot of neat garages out there but rarely with a second floor. I think a second floor really adds a good measure of options and coolness that is tough to get with a single level unit.
So that's the plan. Has anyone gone through this type of upgrade and can give me advice on “thinking ahead” for possible issues with this design? Thanks!
The building does not have any gutters and I believe much of the dampness can be attributed to this. I think a viable solution could be achieved by simply adding good gutter/drainage system in conjunction with an addition of a 10-12ft overhang around the building. I am going to upgrade and convert this pole barn into a garage & office space. See this link for an example:
http://www.barnplans.com/showcase/main.cgi?month=nov07
The upgrade calls for:
Installing fully studded walls around the interior perimeter of the building (for added support) in addition two interior walls that will be built approximately 15ft from each end of the barn. Essentially the floor will be divided into three rooms (15x30, 20x30 and 15x30). The main reason for the studded walls is to support a second floor that will be installed after the existing truss/roof assembly is removed. I-joist will be installed for floor support and I’ll cap it off with a gambrel (barn style) roof. I really like the “Barn” theme as I live out in the country. Pouring a 10-12ft, 4-6”concrete pad around the circumference of the building with a corresponding over hang w/gutters and an appropriate drainage system to channel away runoff water. I hope that will take care of the dampness and allow me to paint the floor. After that, interior work will consist of electrical, plumbing, insulation and finishing off each room for its intended purpose.
Anyway that’s the plan and I’ve already started making the layout and building the studded walls on the lower level. I see a lot of neat garages out there but rarely with a second floor. I think a second floor really adds a good measure of options and coolness that is tough to get with a single level unit.
So that's the plan.
Has anyone gone through this type of upgrade and can give me advice on “thinking ahead” for possible issues with this design? Thanks!
Last edited: