Iamkar33m
Well-known member
Hello All,
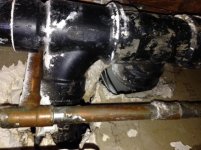
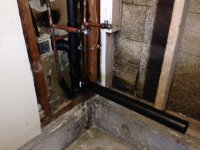
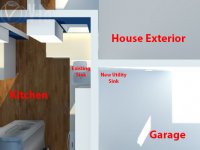
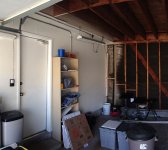
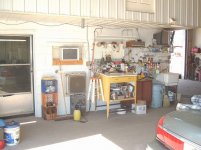
I wanted to see if there's any way I can put in a utility sink on my own, or if I should hire a plumber to do this job. There is currently no drainage or water pipes in the garage, however the corner I want to put the sink in will be adjacent to the kitchen sink (just on the other side of the wall, see picture attached). How difficult will it be to tap the H/C water pipes and (perhaps more importantly) set up adequate drainage? I'm hoping I can tap the Kitchen sink's drainage without having to cut into my slab.
Since I've joined i've gotten quite a bit of information from this community, I don't know if I could do half the things I've wanted to without your collective knowledge and support. =)
- Kareem

 Definitely not suitable for a toilet or shower I would think but the sink was no issue as I pointed it out to him prior to purchasing.

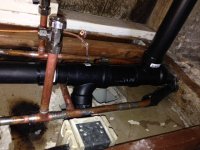
 If you tap the kitchen drain do it after the trap (I'm not a plumber but assume there is a trap in the kitchen plumbing). No fuss no muss.
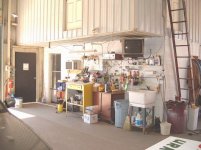
")