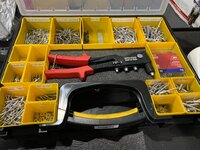
I’ve had some welding successes and failures over the past week in the garage in the pursuit to build square. Let’s start with the success.
Picked up some 1”x2” .065 tube from Steelcraft. I try to consolidate trips to the shop as much as possible so I picked up the material for the next project as well.
Good use of time and resources right there!
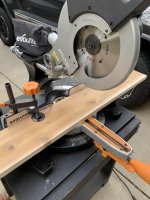
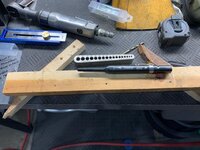
I have said it before and I will say it again, the evolution miter saw is impressive.
 I am starting to think I need one of those now! Thanks A Lot!
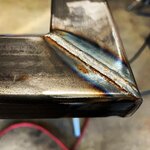
The controls and adjustments are not all that precise but a little nudging and checking with a square and you can get some great miter joints. Makes an amateur like me look like a pro.
 That is the difference between a Competent Craftsman and a hack, you have clearly been moving [Quickly I might add] to the CC end of the spectrum! Pro and ameteur have both extremes and lots in between!
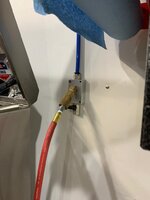
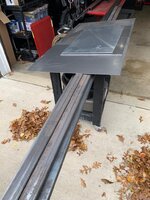
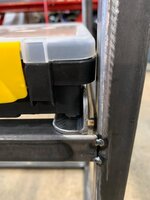
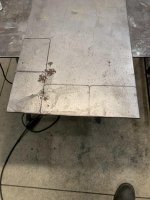
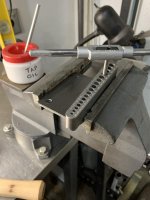
Rather than clamping directly to my
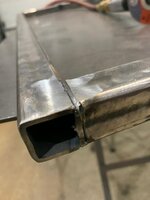
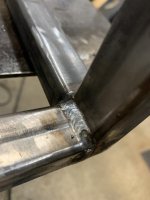
warped bench top I tried the 3 points method recommended by Fireball Tool and it worked pretty well for me. It got a little more complicated as the project got too big for the bench but it was an improvement. This material shape was perfect for miter joints.
We should address that, I have some DIY idea's, [we can tackle this later if you are interested] Or I can suggest getting the top "Stress Relieved" and that should fix the problem with money$]
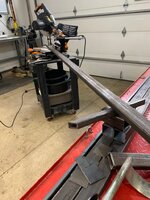
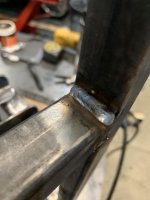
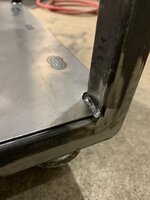
I feel like I really got the welder dialed in after a few passes. It was unfortunate that most of these were ground flush
 Back in my early welding days I laid one of my best looking beads 1/2" over from the joint I was trying to weld
  I have no idea what I was seeing through the helmet. All part of the learning curve I guess, that did turn out looking purdy though!
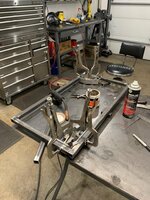
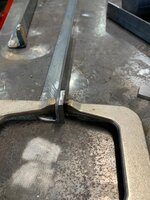
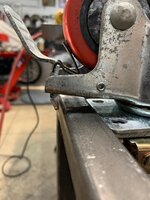
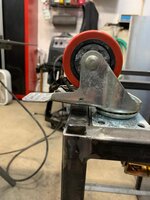
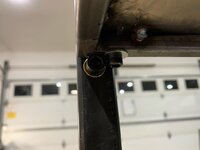
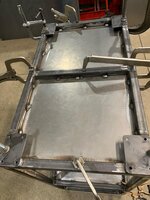
Attaching the the cross supports on the floor was not ideal. I really wished I had something other than welding magnets.
 Those Magnets are a Godsend! But they aren't ever strong enough alone, next time try a piece of everybody's favourite metal "Bed Frame" as a triangular member with some "C Clamps" to add some strength while getting it tacked up.
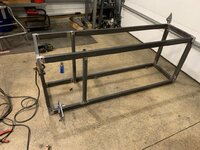
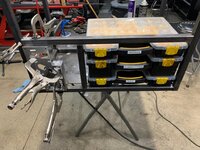
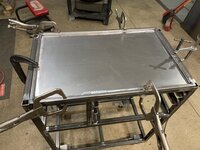
After multiple measurements and adjustments I got pretty close to square and the whole assembly rests on the concrete floor without a wobble. I was not planning on adding feet so this was important.
 I Love and use my Tie Down straps often very useful but beware of the heat build up, they don't take to heat very well! Don't ask how I know
 As for the feet I would suggest that you could add a couple of washers in the corners to keep the tubing off of the ground to create sacrificial contact points and reduce any wobble and inevitable rust issues and then it would be easy to add an extra if you had been less successful with the lack of wobble
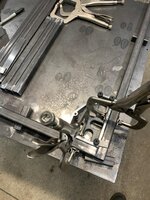
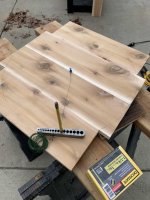
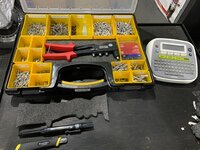
Something I missed in the design planning was the need to notch the center uprights in order to keep their orientation correct to match the sides. Not a big deal but something I didn’t catch on paper. I just picked up this little Kreg multi mark and it’s very handy for this type of layout.
It happens to the best laid out plans I wouldn't sweat it! if only that was my biggest/most embarrassing mistake!
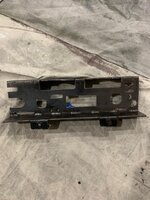
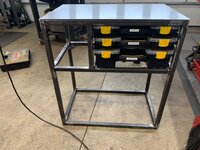
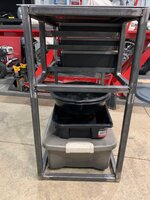
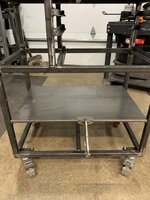
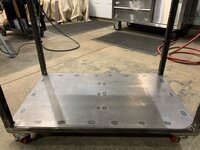
The main frame welded up.
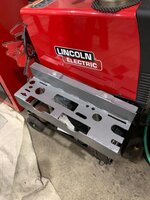
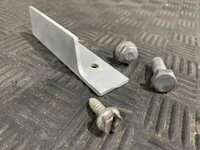
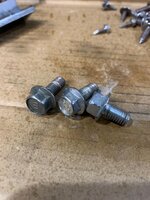
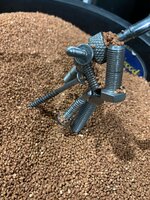
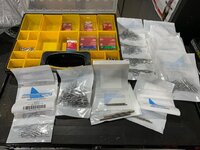
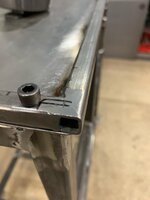
I cut and drilled 6 pieces of angle iron to secure the wood top. I used a scrap of the wood and a piece of sheet metal as a spacer. The added thickness of the spaces helped get a tight fit when the screw pulled it down.
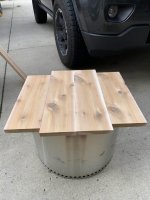
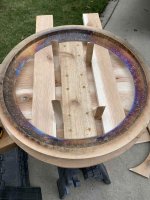
I cut and test fit the 1x4 cedar boards for the top using the evolution saw after swapping in a wood blade.
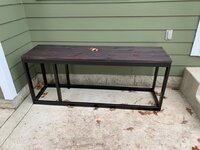
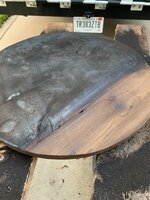
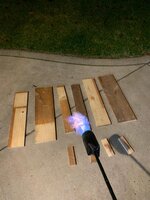
I think I have been watching too much DIY Network because I have been dying to try my hand at Shou Sugi Ban.
I torched each board on all surfaces including the cross supports. I then lightly brushed them off with a brass brush before wiping on a coat of boiled linseed oil.
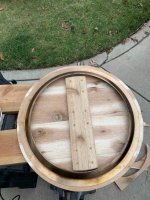
I cut the cross braces to fit the inside width of the frame and spaced them to align with the 6 brackets added earlier.
A quick coat of primer and 2 coats of satin black.
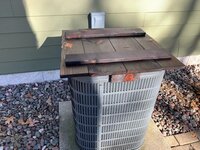
I was concerned that I had overbuilt this thing but the weight wasn’t too bad. It was easily carried around the house by a guy with a broken rib and his patient wife.
Did she need medical attention to her tongue? Mine ends up biting hers to mask her true feelings in these endeavours LOL!
I think with a re coat of linseed oil ever 3-5 years this wood rack will serve us well for many years

Thanks for following along. Stay tuned as we cover my failures on the next project and how I overcame them.
Sent from my iPhone using Garage Journal