jhn9840
Well-known member
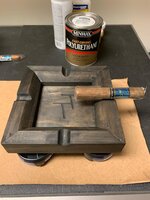
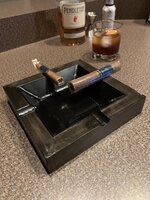
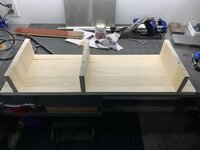
Excellent job on the ashtray. Going to look good with the dark stain. I was concerned at one point that the insert wasn’t going to go well for you.
jhn9840
John
jhn9840
John

ThanksExcellent job on the ashtray. Going to look good with the dark stain. I was concerned at one point that the insert wasn’t going to go well for you.
jhn9840
John


Well done!


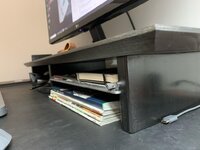
Looks good. I too just did some work on the work from home office, most rearranging... And I'm back in the office most of the time now. [emoji2371]
Thank you. I think the home office has become more important to people around the world in this past year.


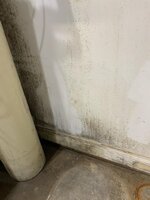


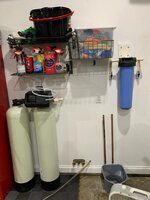


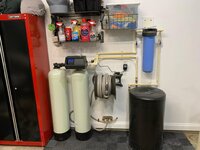


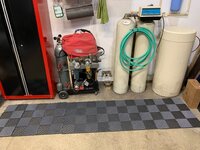
Nice clean install! I don’t know what it is with water softeners, but so often I see them just slapped in all willy-nilly with no thought or care. I’m glad you took the time to do it proper!